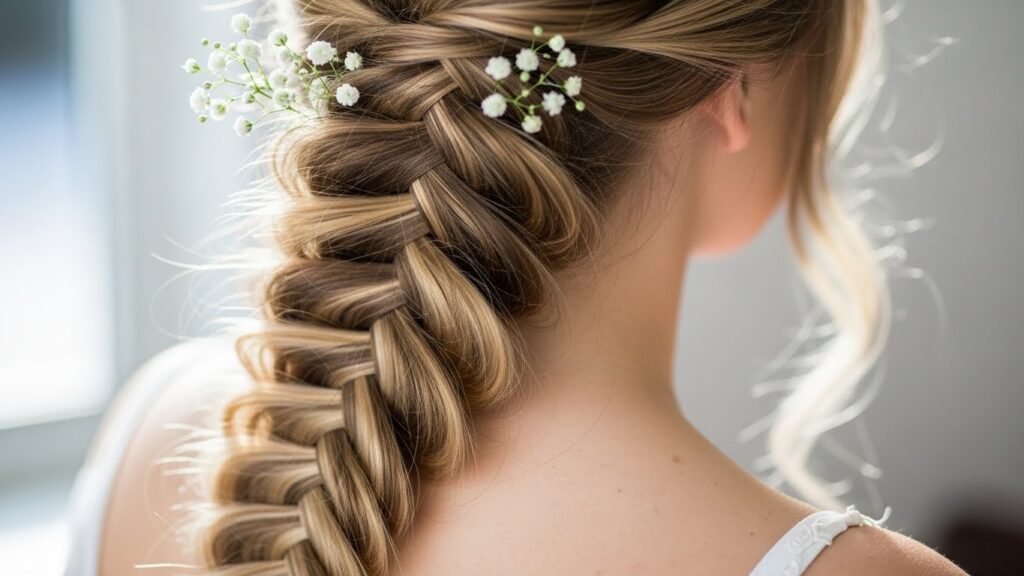
10 Waterfall Braid Tutorials for Romantic Hair
There’s something undeniably magical about a waterfall braid. It’s the hairstyle that whispers of fairy tales, bohemian weddings, and sun-drenched meadows. Unlike a traditional braid that weaves all the hair tightly together, the waterfall braid allows strands to cascade freely, creating a look that is both intricately crafted and beautifully soft. It’s the perfect marriage of elegance and effortlessness, making it a go-to for anyone seeking a romantic, ethereal hairstyle.
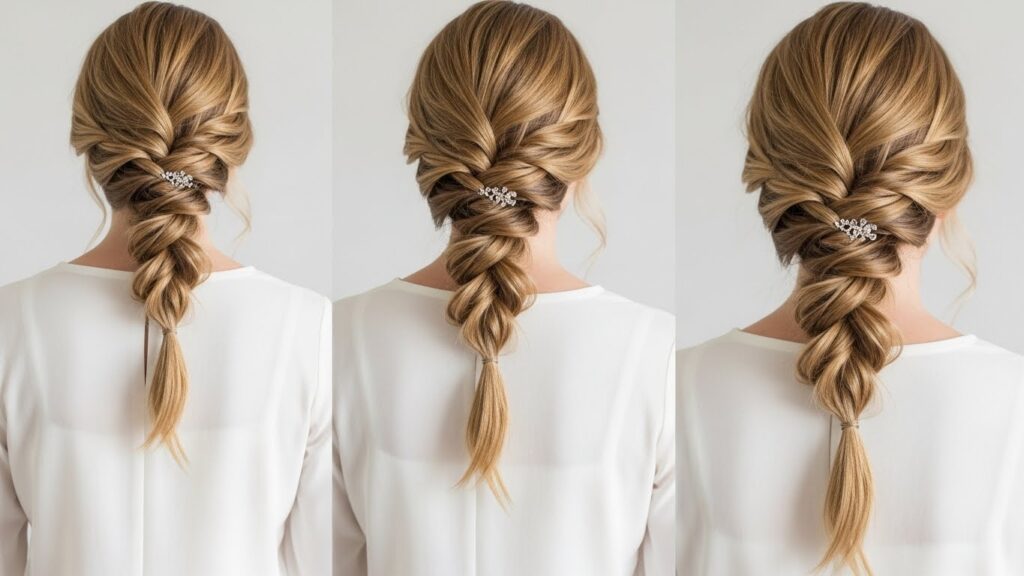
1. The Classic Side-Swept Waterfall Braid
This is the quintessential waterfall braid and the perfect starting point for beginners. Flowing gracefully over one shoulder, this style adds instant romance to any look. It works beautifully on medium to long hair and is ideal for both casual days and dressed-up evenings.
How to achieve it: Start by taking a section of hair at your temple. Begin a French braid, but as you cross a strand under, let it fall down instead of incorporating it into the braid. Pick up a new section of hair from the top to replace it. Continue this pattern along the side of your head until you reach the opposite ear, then secure it with a clear elastic. Gently tug on the braid loops to create a fuller, softer appearance.
2. The Boho Double Waterfall Braid
Double the braids, double the romance. This tutorial takes the classic style to the next level by creating two parallel waterfall braids on the same side. The result is a richly textured, bohemian masterpiece that looks incredibly intricate but follows the same basic principle.
Pro Tip: Start the first braid higher up on your head. Once you finish it and secure the end, start a second braid just below it, following the same path. Leave the waterfall strands from the first braid loose—they will blend beautifully with the second braid’s cascade, creating a lush, layered effect.
3. The Waterfall Braid Crown (Halo Braid)
Transform into a hair goddess with a waterfall braid crown. This 360-degree style encircles your head like a delicate halo, offering a supremely elegant updo that’s perfect for weddings, proms, or any event where you want to feel like royalty.
The key is continuity: Begin above one ear and braid around the back of your head to the other ear, continuing the waterfall technique all the way. When you reach the starting point, carefully tuck the end of the braid under the beginning and secure with bobby pins. Fluff and adjust for a seamless, circular look.

4. The Messy, Textured Waterfall Braid
Not all romance is perfectly polished. This tutorial embraces effortless, lived-in texture. It’s the ideal style for second-day hair or when you want a more relaxed, bohemian vibe. The “messiness” actually adds volume and a touch of playful charm.
Start with unbrushed, textured hair—use a texturizing spray or work with day-old waves. As you braid, don’t pull the sections too tight. After securing the braid, gently pull apart the woven sections to amplify the volume and deliberately loosen a few strands around your face and from the waterfall.
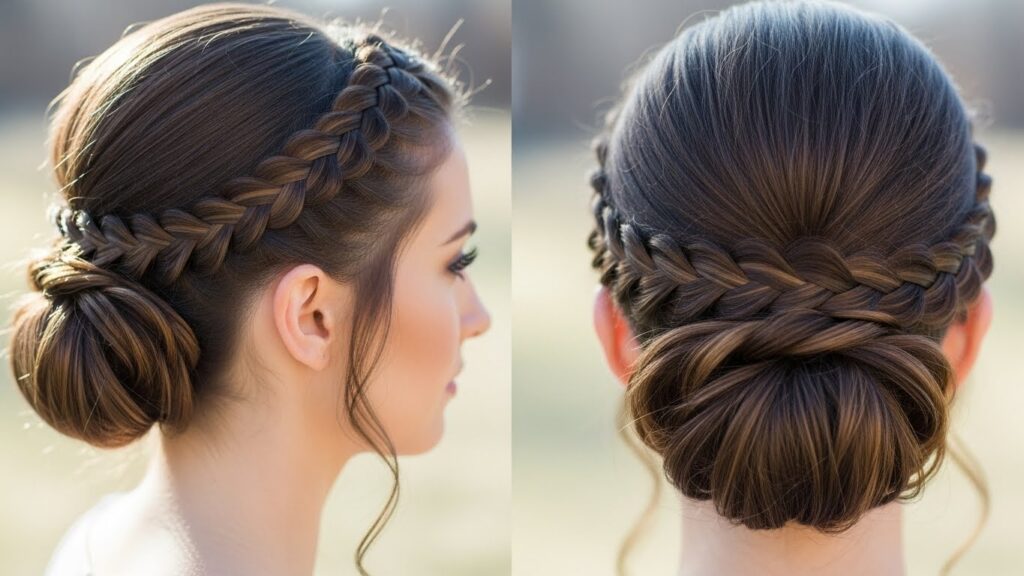
5. The Waterfall Braid into a Low Bun
Combine the delicate detail of a waterfall braid with the sophisticated polish of a low bun. This hybrid style is a stunning choice for formal events, from black-tie galas to being a bridesmaid. It keeps hair elegantly off the face while showcasing the beautiful braiding detail.
Create a waterfall braid along one side of your head, from temple to the nape of your neck. Gather all your hair, including the braid and the loose waterfall strands, into a low ponytail at the nape of your neck. Twist or braid the ponytail and wrap it into a bun, securing with pins. The braid will act as a beautiful accent along the hairline.
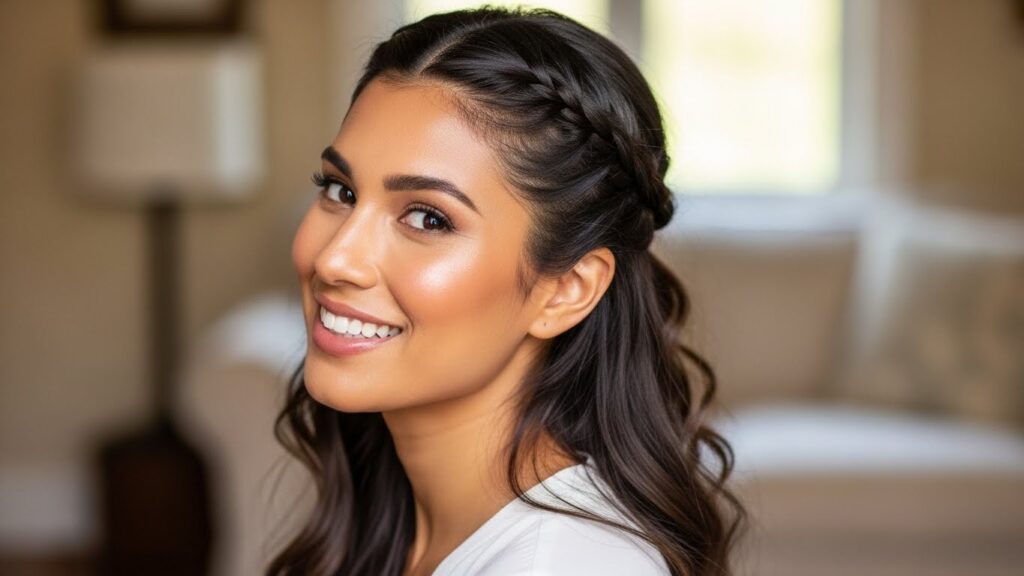
6. The Half-Up Waterfall Braid
This is a quick, everyday romantic style. The half-up waterfall braid adds a special touch to your look while keeping most of your hair down. It’s perfect for work, dates, or when you want to look put-together in minutes.
Simply create a short waterfall braid starting from one side and ending at the back of your crown, just above the ear on the opposite side. Secure it with a small, pretty clip or pin. This style beautifully pulls back the hair around your face without being too severe.
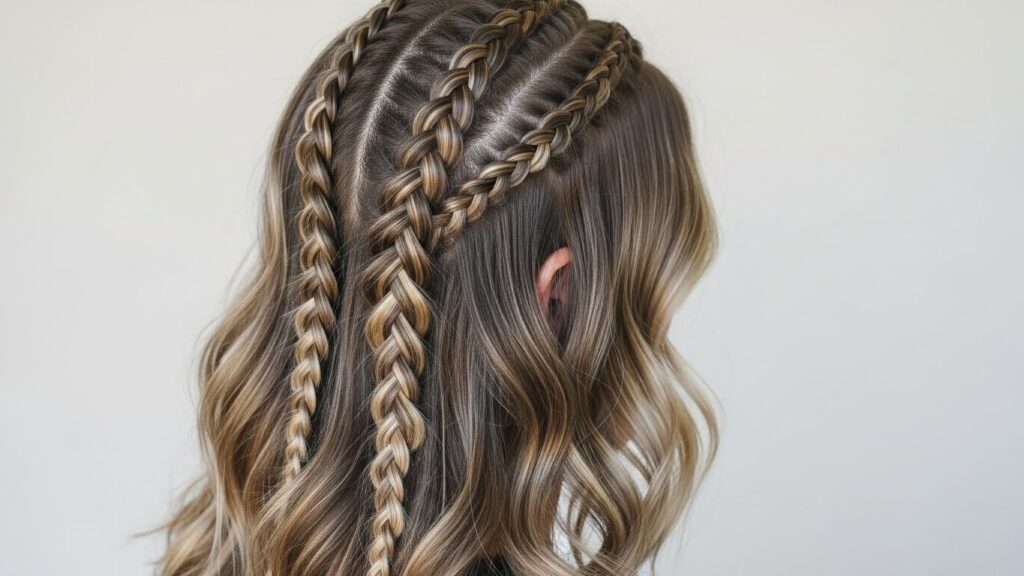
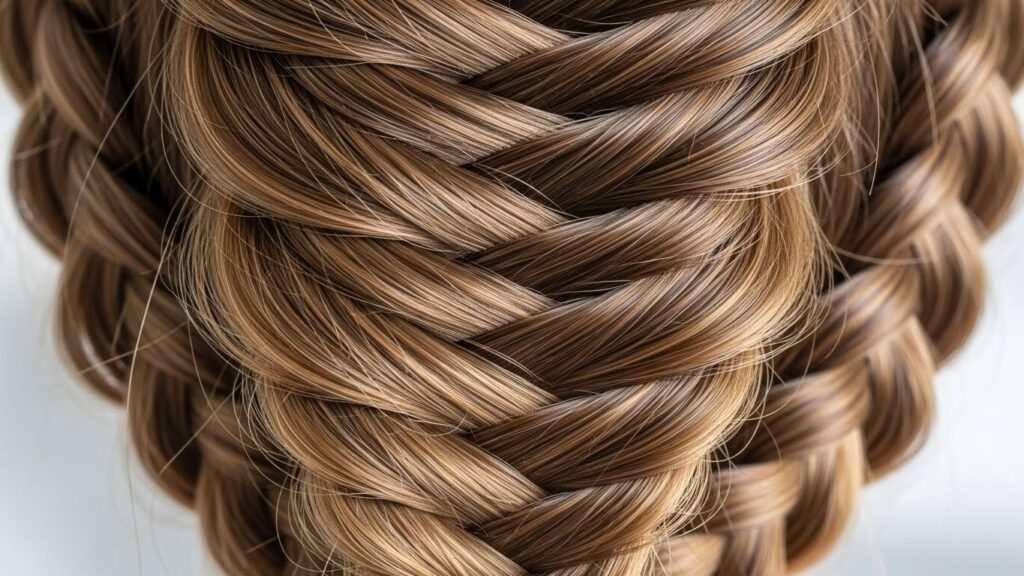
7. The Fishtail Waterfall Braid
For those who love intricate detail, this tutorial merges the waterfall technique with a fishtail braid. The result is an exceptionally pretty and unique pattern that is sure to draw compliments. It requires a bit more patience but is absolutely worth the effort.
Instead of using a standard three-strand braid for the waterfall, use a fishtail technique. Take small pieces from the top section and cross them over into the opposite bottom section, while still dropping the designated waterfall strands. The finished braid will have a herringbone-like texture.
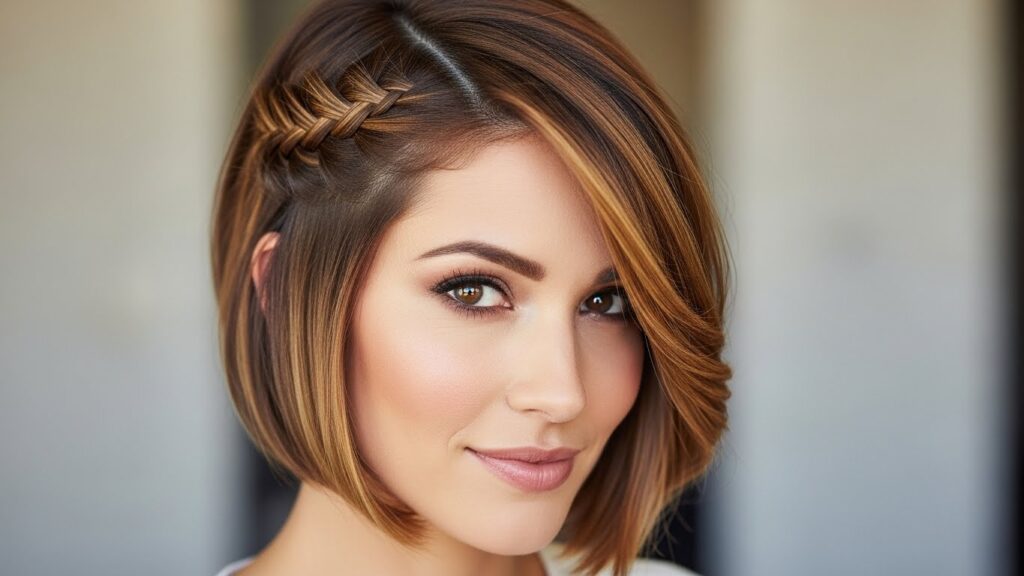
8. The Waterfall Braid for Short Hair
Think waterfall braids are only for long locks? Think again! This tutorial adapts the technique for short to medium-length hair. The braid may be smaller, but the romantic impact is just as significant.
The trick is to keep the braid tight and close to the head and to make your sections smaller. The waterfall strands will be shorter, creating a cute, flirty frame around your face. Use bobby pins to secure any ends that won’t reach the main braid.
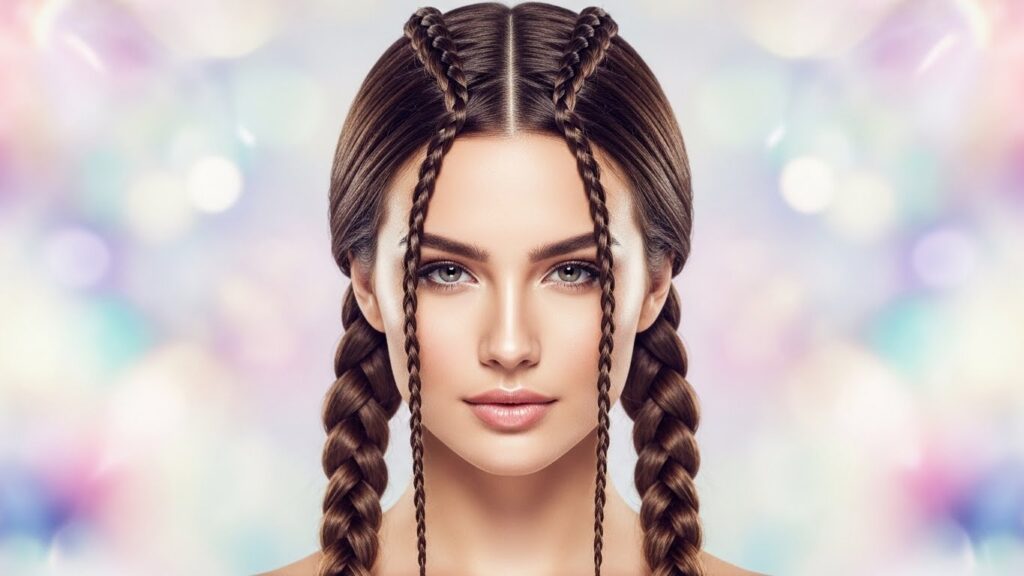
9. The Double-Sided Symmetrical Waterfall Braid
This regal style features two waterfall braids that start at the center part and flow symmetrically down each side. It’s a breathtaking look for a bride or anyone wanting a balanced, fairy-tale aesthetic.
Part your hair down the middle. On each side, start a waterfall braid at the part, braiding downwards towards your ear. The braids should mirror each other. You can leave them as face-framing accents or gather the rest of the hair into a low ponytail or bun.
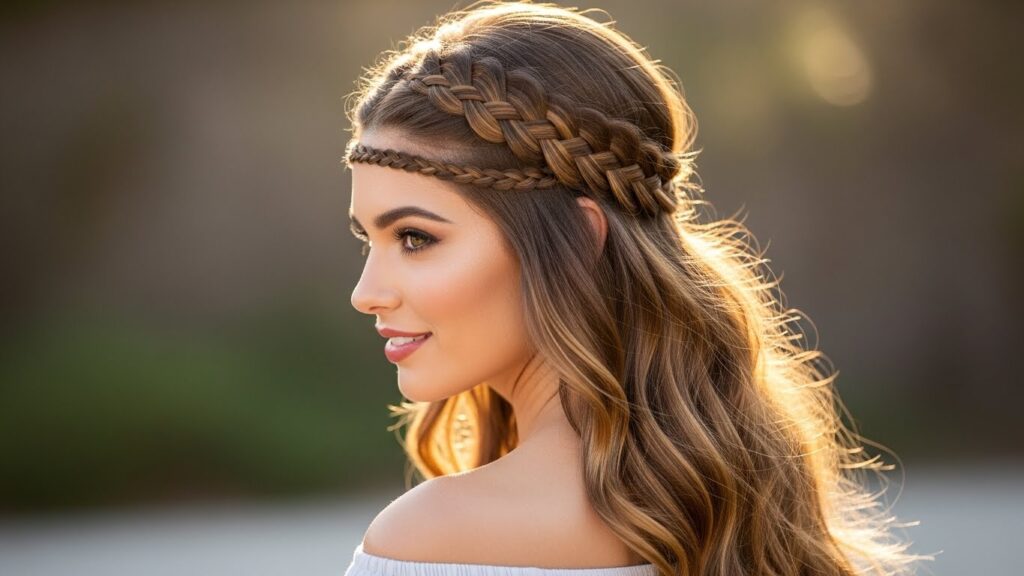
10. The Waterfall Braid Headband
This is a subtle yet stunning way to wear the trend. Instead of braiding along the side of your head, create a waterfall braid that sits like a headband from one ear to the other over the top of your head.
Begin just above one ear and braid across your hairline, dropping the waterfall strands as you go. Secure the end above the other ear with bobby pins tucked underneath the braid. Let your hair flow freely underneath this beautiful braided headband.
Mastering Your Waterfall Braid: Pro Tips & Tricks
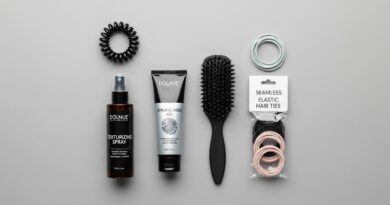
Now that you’re inspired by these tutorials, here are some universal tips to ensure your waterfall braid success. Practice makes perfect—your first attempt might be loose or uneven, but you’ll improve quickly. Always start with slightly dirty or texturized hair; freshly washed, silky hair can be too slippery. A light-hold spray or mousse can provide necessary grip.
Don’t be afraid to use bobby pins and clear elastics liberally to secure your work as you go. Most importantly, remember to pull and loosen the braid after you finish. Gently tug on the outer loops of the braid to create that soft, voluminous, romantic appearance that defines this gorgeous style.
The waterfall braid is more than just a hairstyle—it’s an expression of softness, intricacy, and timeless romance. With these 10 tutorials, you have a treasure trove of ideas to explore. So, whether you’re channeling your inner boho spirit or preparing for the most important day of your life, let your hair flow and cascade with beautiful, romantic artistry.