Pull-Through Braid: The Fake Braid That Looks Real
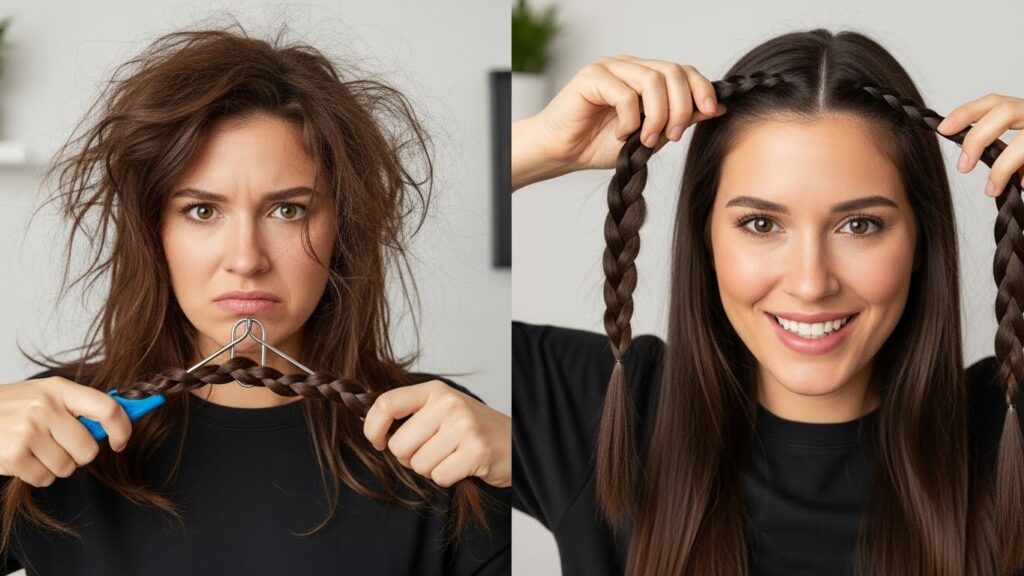
Have you ever scrolled through social media, mesmerized by those impossibly intricate, waterfall-like braids, and felt a pang of hair envy? You think, “I could never do that,” or “That would take me hours.” What if we told you there’s a secret? A braiding technique so clever, so deceptively simple, that it creates the illusion of a complex, multi-strand masterpiece while being, well, kind of a cheat. Welcome to the world of the pull-through braid—the fake braid that looks astonishingly real.

What Exactly Is a Pull-Through Braid?
At its core, the pull-through braid is an illusion-based hairstyle. Instead of crossing three sections of hair over and under each other, you create the braid by sequentially pulling small sections of hair through a series of elastic bands. The result is a beautiful, cascading column of hair that mimics the look of a Dutch braid, a fishtail braid, or even a complex rope braid—but it’s far easier to execute.
Think of it as building a chain. You start by sectioning the top part of your hair and securing it with a ponytail holder. Then, you split that ponytail in two, gather a new section of loose hair from beneath, and combine it to form a new ponytail secured with another elastic. You repeat this process all the way down, and then—the magic step—you gently pull apart each segment to create volume and conceal the elastics. The final product is a braid that looks professionally done, hiding its simple construction in plain sight.
Why the Pull-Through Braid is a Game-Changer
So, why has this technique taken over hair tutorials and red carpets alike? The benefits are as clear as a freshly styled look.
Accessibility for All Skill Levels: If you can make a ponytail and thread a piece of hair through a loop, you can master this braid. It bypasses the complex hand coordination required for traditional braiding, making high-fashion hair accessible to everyone.
Major Time Savings: What might take 20 minutes of frustrating attempts with a Dutch braid can be achieved in 5-7 minutes with the pull-through method. It’s a lifesaver for busy mornings or last-minute events.
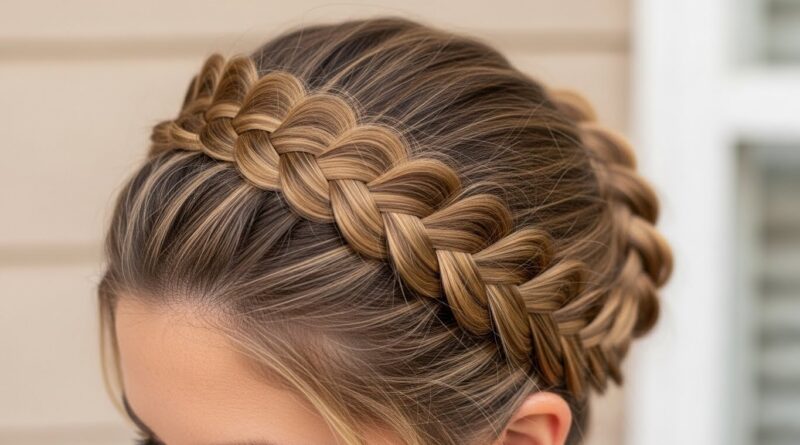
Versatility in Style: The pull-through braid is a chameleon. Create a tight, sleek look for the office, or pull it apart for a voluminous, bohemian vibe. It works as a classic single braid, a crown braid, or even a stunning updo.
Kind to Your Hair and Scalp: Unlike constantly tugging and weaving sections in tight braids, the pull-through method is gentler. The tension is distributed more evenly, and the style is often more comfortable to wear throughout the day.
Step-by-Step: Mastering Your First Pull-Through Braid
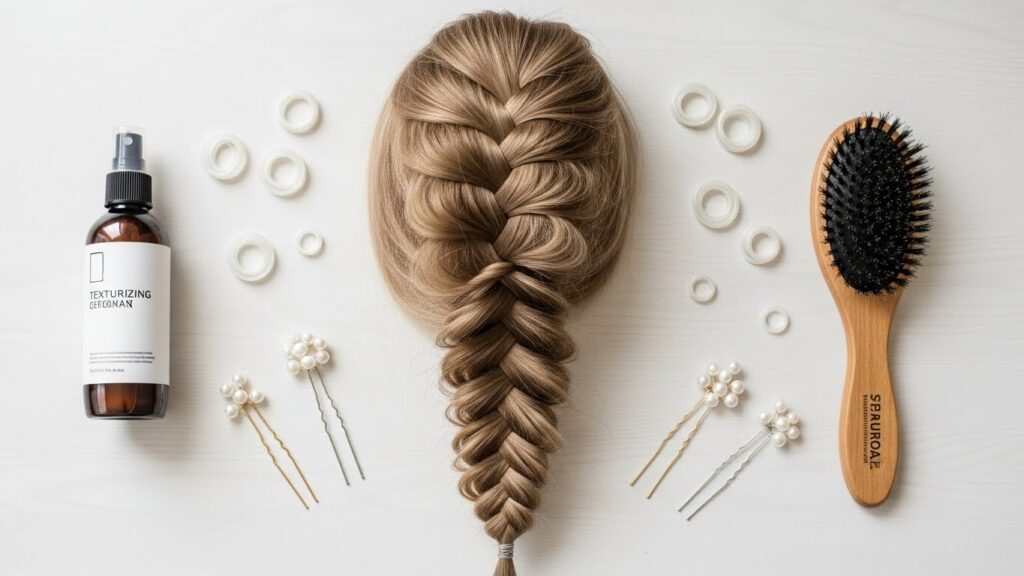
Ready to try? Grab a handful of small, clear or color-matched elastic bands, a brush, and maybe a texturizing spray. Let’s break it down.
Step 1: Preparation is Key. Start with day-old or texturized hair for better grip. Lightly mist with dry shampoo or texturizing spray. Brush through to remove tangles.
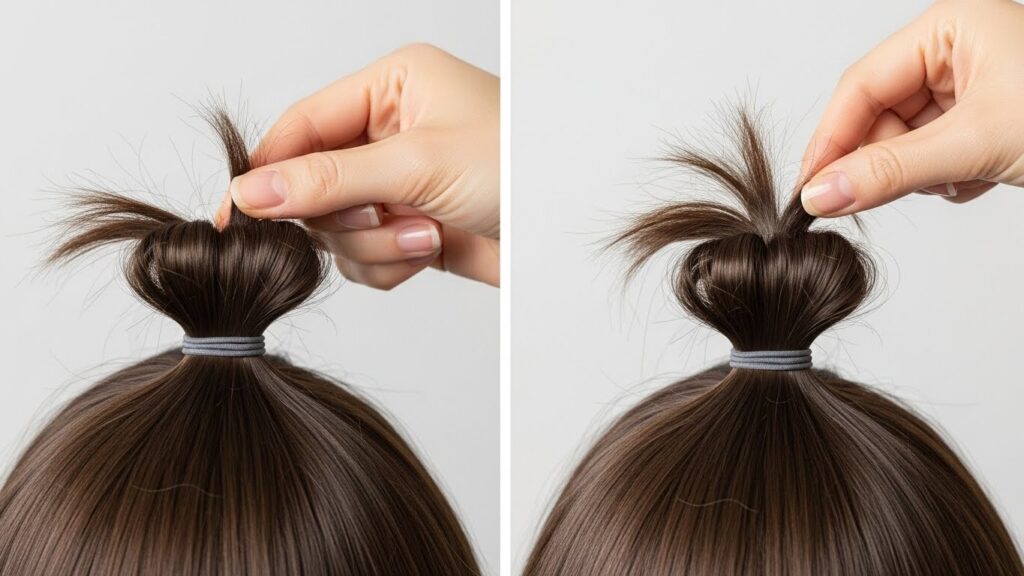
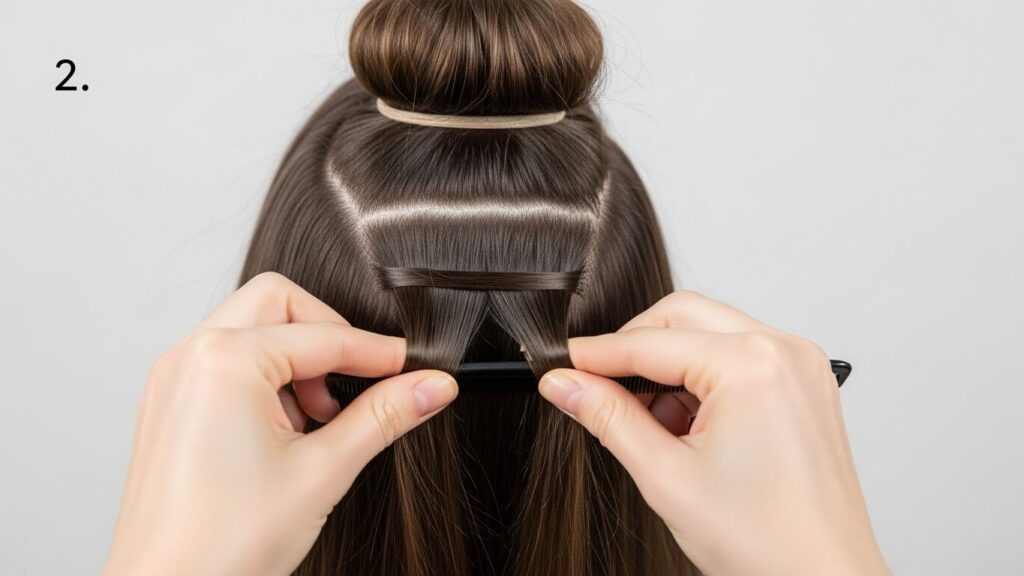
Step 2: Create the First Section. Decide where you want your braid to start (high, low, or side). Gather a section of hair at the crown, as if making a half-up style. Secure it firmly with your first elastic.
Step 3: The Pull-Through Sequence. Split the ponytail you just made into two equal parts. With your other hand, gather a new section of loose hair from directly beneath the existing ponytail. Bring this new section up and combine it with the two split sections. Now, secure this entire new bundle with another elastic, creating a second ponytail directly below the first.
Step 4: Repeat and Build. Continue this pattern: split the latest ponytail, gather a new section from below, combine, and secure with an elastic. Keep your sections even for a uniform look. Continue until you’ve incorporated all your loose hair, ending with a final elastic at the bottom.
Step 5: The Art of the “Puff”. This is where the braid comes to life. Starting from the top, gently grasp each segment between two elastics and pull it outward to loosen and create volume. Alternate sides as you go down to mimic the pattern of a real braid. Pull until the elastics are hidden and the braid looks full and seamless.
Pro Tips for a Flawless, “Real” Look
To elevate your pull-through braid from obvious hack to undetectable art form, keep these expert tips in mind.
Choose Your Elastics Wisely. Small, thin, clear or matte elastics are your best friend. They’re less visible and create cleaner sections. Avoid thick, colored bands unless they’re part of the decorative look.
Embrace Texture. Slightly messy, textured hair not only holds the style better but also makes the “pulling apart” step easier and more effective. The frayed edges help blend the sections seamlessly.
Vary Your Section Sizes. For a more organic, realistic look, don’t make every new gathered section perfectly identical. Slight variations add to the illusion of a hand-woven braid.
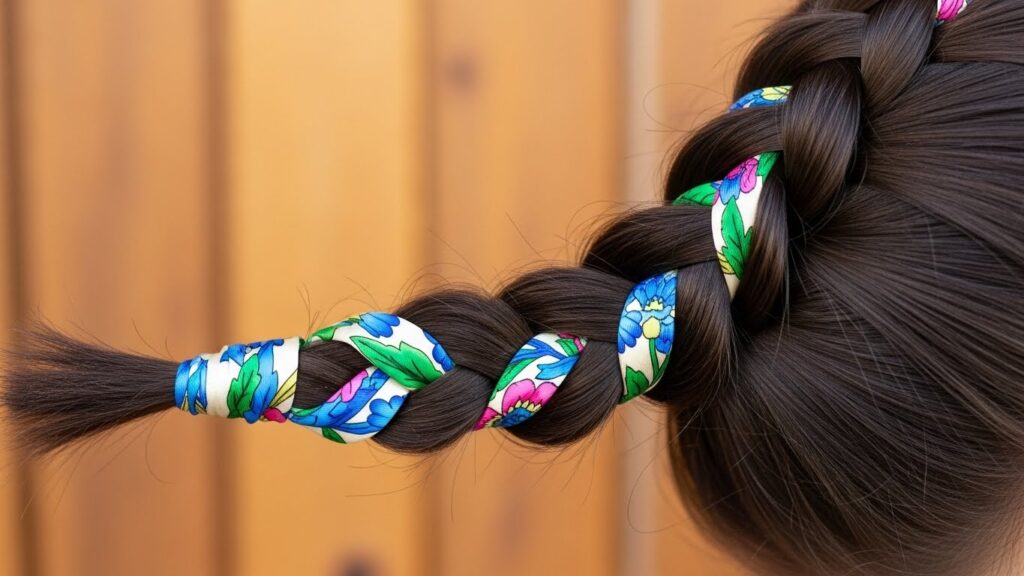
Accessorize Strategically. Once your braid is complete, weave a delicate ribbon through the gaps, or add small clips where the elastics are hidden. This draws the eye and further disguises the technique.
Beyond the Basics: Stunning Variations to Try
Once you’ve nailed the classic version, the creative possibilities are endless.
The Boho Crown: Create a pull-through braid starting at one temple, working it around the back of your head to the other side, securing with pins as you go. It’s an instant festival-ready look.
The Pull-Through Ponytail: Instead of incorporating all your hair, stop halfway down your head. The result is a voluminous, detailed ponytail that looks incredibly intricate.
The Double Pull-Through: Create two parallel pull-through braids (one above the other) on the same side of your head, then loosely twist or braid them together for a mega-textured, complex masterpiece.
Incorporating Ribbons or Scarves: Tie a ribbon to the first elastic before you begin. As you create each new section, ensure the ribbon is split and pulled through with the hair, weaving it beautifully into the final braid.
Common Mistakes and How to Fix Them
Even the simplest hacks have pitfalls. Here’s how to avoid them.
Mistake 1: Pulling Too Tight. If your braid looks flat and scalp-straining, you’re pulling the sections too taut before securing the elastic. Keep it snug but loose enough to allow for the later “puff” step.
Mistake 2: Uneven Sections. This can make the braid look lopsided. Try to glance in the mirror as you gather each new section from the loose hair to ensure consistency.
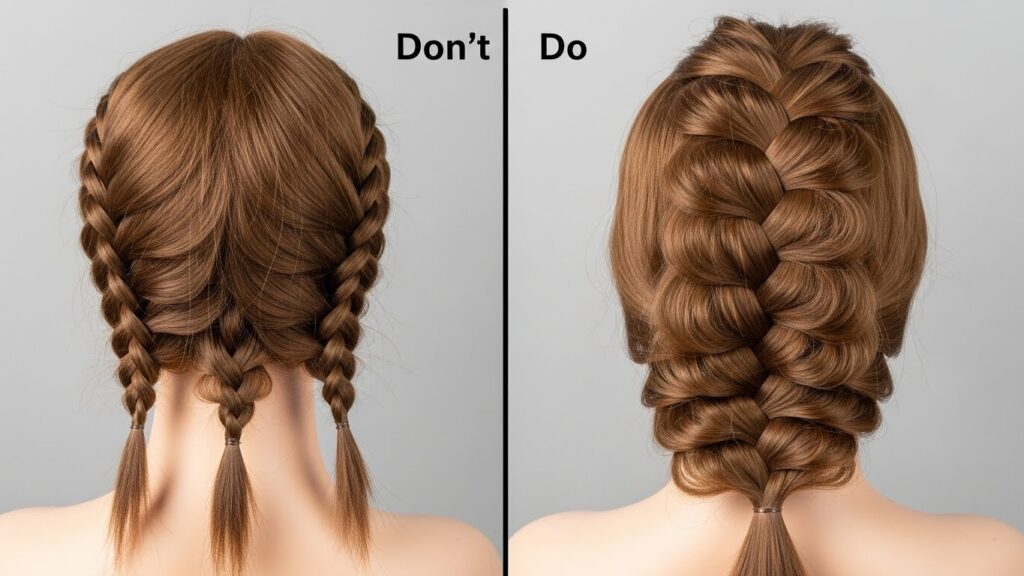
Mistake 3: Not Fluffing Enough. The braid will look like a series of ponytails if you skip the pulling step. Don’t be shy! Pull each segment firmly but gently until the elastic is hidden and volume appears.
Mistake 4: Using the Wrong Hair Type Prep. If your hair is very silky or freshly washed, the elastics may slip. Always start with texturized hair for the best hold.
Embrace the Illusion: Your New Go-To Hairstyle
The pull-through braid is more than just a trend; it’s a smart, stylish solution for modern life. It democratizes beautiful hair, proving that you don’t need to be a professional stylist to achieve a look that turns heads. It’s the perfect blend of form and function—a beautiful illusion that saves you time and frustration.
So, the next time you’re faced with a special occasion, a hectic day, or simply the desire to feel put-together, remember this clever hack. With a few elastics and this simple technique, you can create a fake braid that looks so real, it’ll become your most cherished hair secret. Give it a try, play with the variations, and get ready to answer the inevitable question: “How did you do your hair?” with a knowing smile.