Low Bun Tutorial: Sleek, Sophisticated, and Timeless
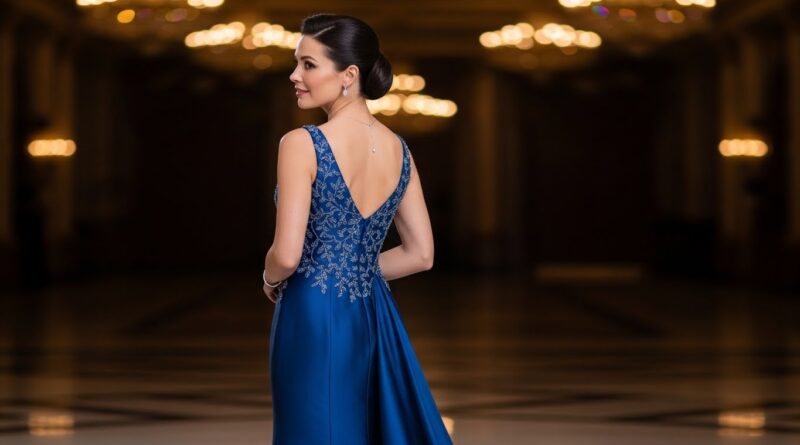
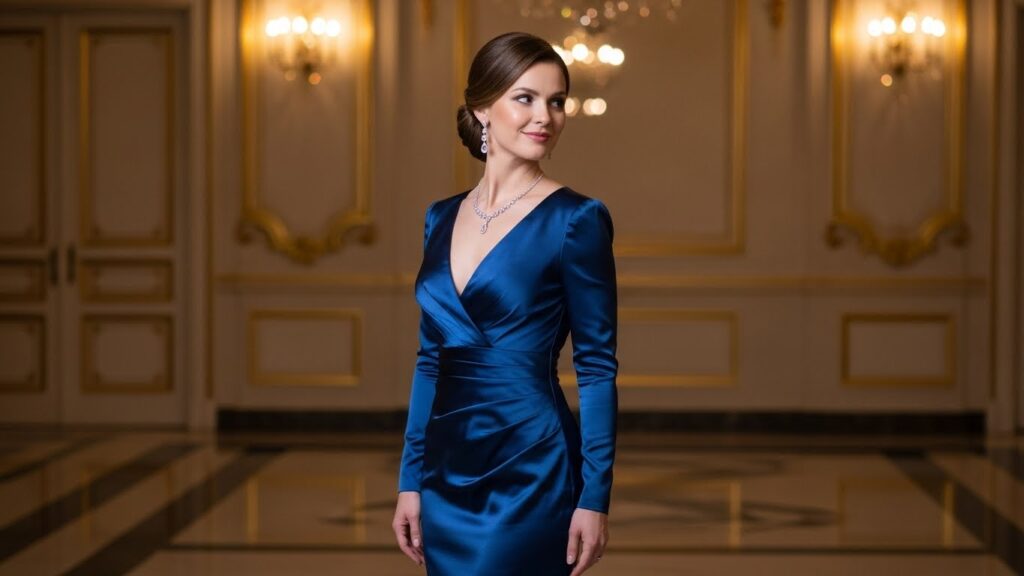
In the ever-changing world of hair trends, some styles possess a quiet power that transcends seasons. The low bun is one such masterpiece. More than just a way to secure your hair, it is an emblem of effortless elegance, a versatile companion that moves seamlessly from a morning board meeting to an evening gala. It whispers of sophistication rather than shouting for attention, offering a polished, clean, and undeniably timeless look.
The Foundation: Prepping Your Hair for Perfection
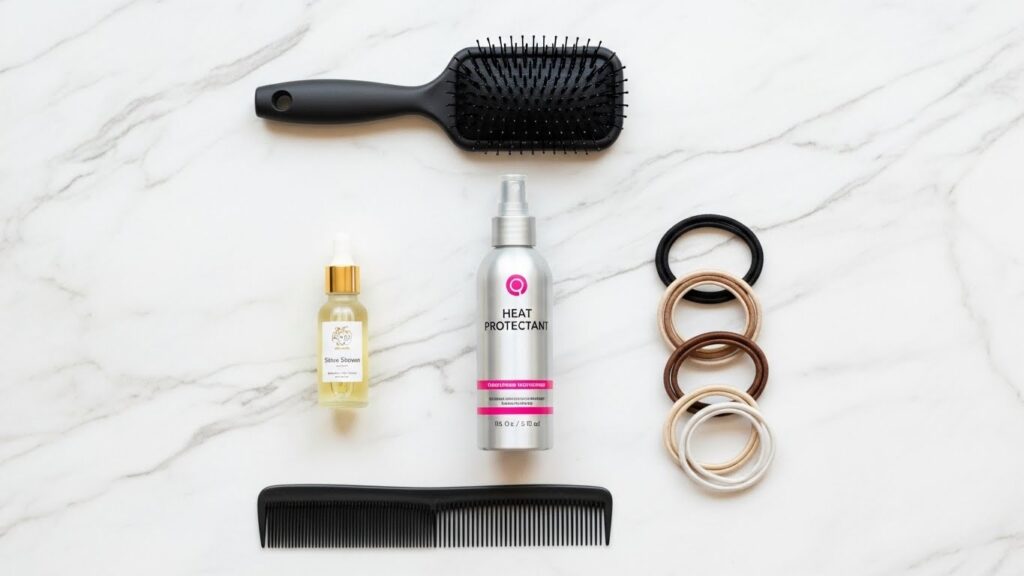
Every great hairstyle begins with the right foundation, and the low bun is no exception. Starting with freshly washed hair is not always the answer; in fact, day-old hair often has more natural texture and grip, making it easier to work with. If your hair is freshly washed, a light spray of texturizing or dry shampoo at the roots will provide the necessary hold.
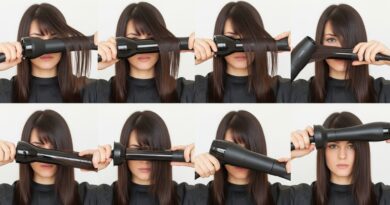
The key to a sleek look is smoothness. Begin by applying a heat protectant if you plan to use hot tools. Then, using a paddle brush and a blow-dryer, smooth your hair thoroughly. For an ultra-glossy finish, follow with a flat iron, taking small sections from roots to ends. This step eliminates any bumps or waves that could disrupt the bun’s clean lines. Before styling, apply a small amount of shine serum or light-hold styling cream to tame flyaways and add a luxurious sheen.
Step-by-Step: Crafting the Classic Sleek Low Bun
Now, let’s create the classic version. Follow these steps for a bun that is secure, symmetrical, and stunning.
Step 1: Create a Smooth Ponytail. Brush all your hair back towards the nape of your neck. Hold it at the point where you want the center of your bun to sit—typically at the base of your skull, not too low. Use a fine-tooth comb to smooth the surface, ensuring no bumps along the sides or crown. Secure with a snag-free, elastic hair tie. For extra sleekness, you can wrap a small section of hair around the elastic and pin it underneath.
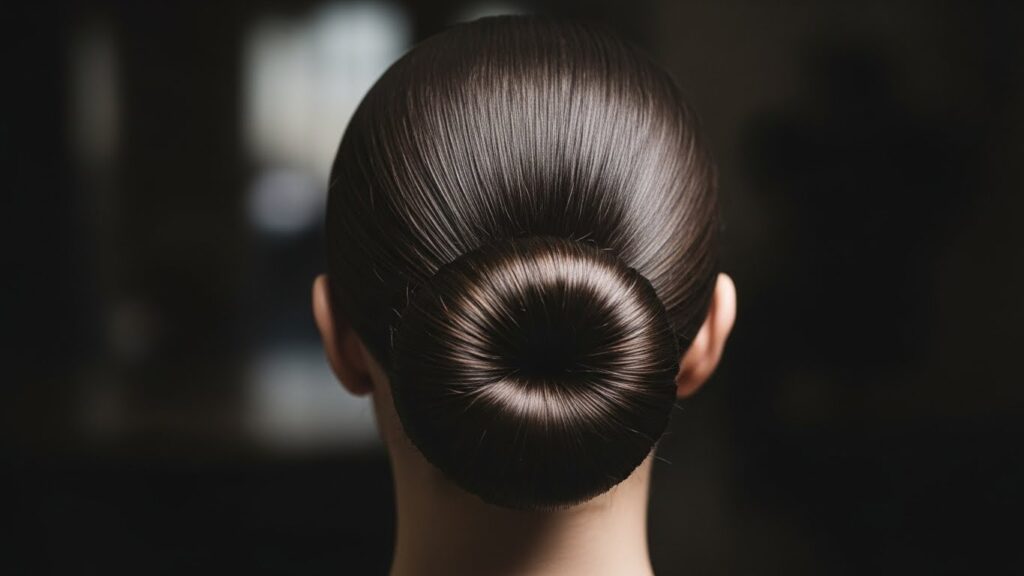
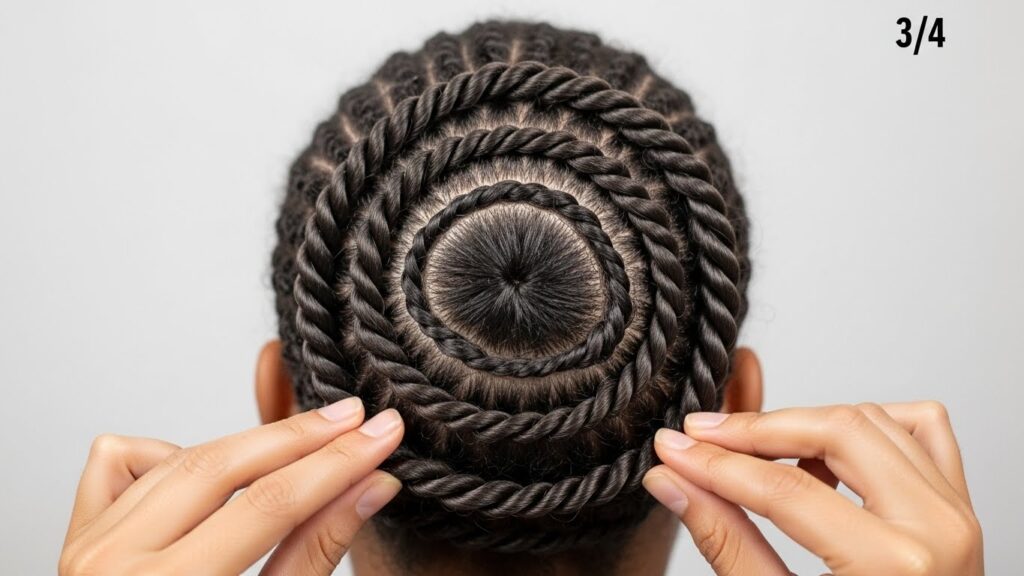
Step 2: Twist and Wrap. Twist the ponytail tightly from the ends all the way up to the base. As you twist, the hair will naturally coil. Wrap this twisted rope around the base of the ponytail. For a more textured look, you can wrap it loosely. For our sleek bun, keep the twist tight and wrap it neatly, laying each coil flat against the previous one.
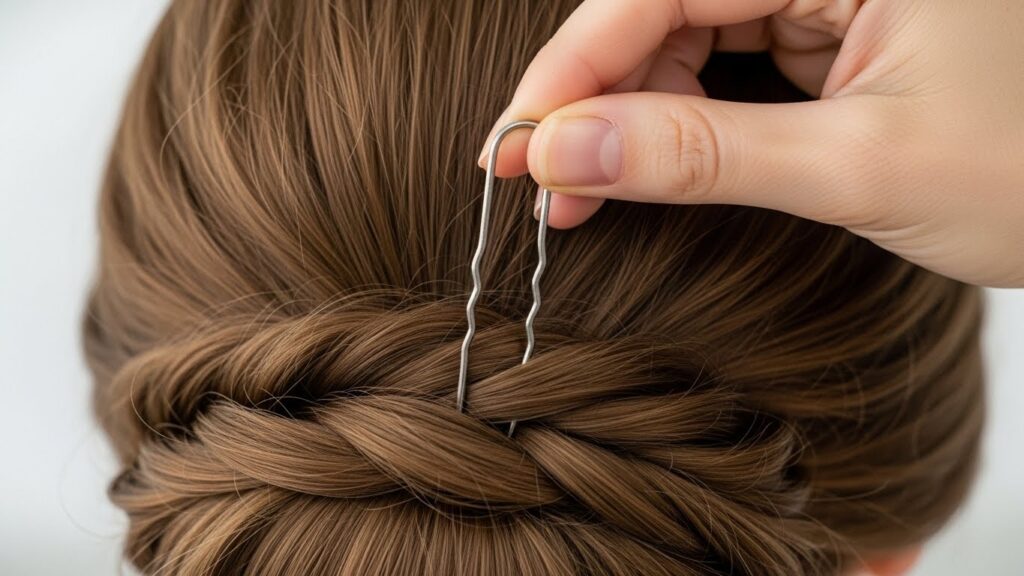
Step 3: Secure and Tuck. As you wrap, use your other hand to hold the bun in place. Once the ends are wrapped, tuck them neatly under the base of the bun. Use U-shaped pins or bobby pins that match your hair color to secure the bun. Slide pins through the outer edges of the bun into the base of your ponytail, crisscrossing them for maximum hold. Use more pins than you think you need—this is the secret to all-day security.
Step 4: The Final Polish. Mist a soft-bristled toothbrush or a clean mascara wand with a strong-hold hairspray. Gently smooth down any baby hairs or flyaways around your hairline and the bun itself. For an ultra-glossy finish, a final light mist of shine spray will seal the deal.
Pro Tips and Troubleshooting for a Flawless Finish
Why do some buns look like a masterpiece and others look messy? The devil is in the details.
Problem: The Bun is Lumpy or Uneven. Solution: This often stems from an uneven ponytail base. Re-do the initial ponytail, using a fine-tooth comb on small sections at the sides before pulling them back. Ensure the tension is even on both sides of your head.
Problem: Flyaways and Frizz. Solution: Prep is everything. Use that serum or pomade. For stubborn flyaways, the toothbrush trick with hairspray is a lifesaver. You can also use a tiny bit of clear mascara or eyebrow gel to glue them down.
Problem: The Bun Feels Loose and Falls Out. Solution: You’re likely not using enough pins or inserting them correctly. Pins should grip both the bun and the hair beneath it. Insert them in a crossing pattern, not just straight in. For heavy hair, consider using a bun form or doughnut for extra support and volume before wrapping.
Secret Pro Tip: For invisible hold, after securing your bun, take a single, clear elastic and discreetly wrap it around the entire bun circumference. Then, pin as usual. This acts as an internal anchor.
Variations on a Timeless Theme
Once you’ve mastered the classic sleek bun, the world is your oyster. Here are a few elegant variations to suit different moods and occasions.
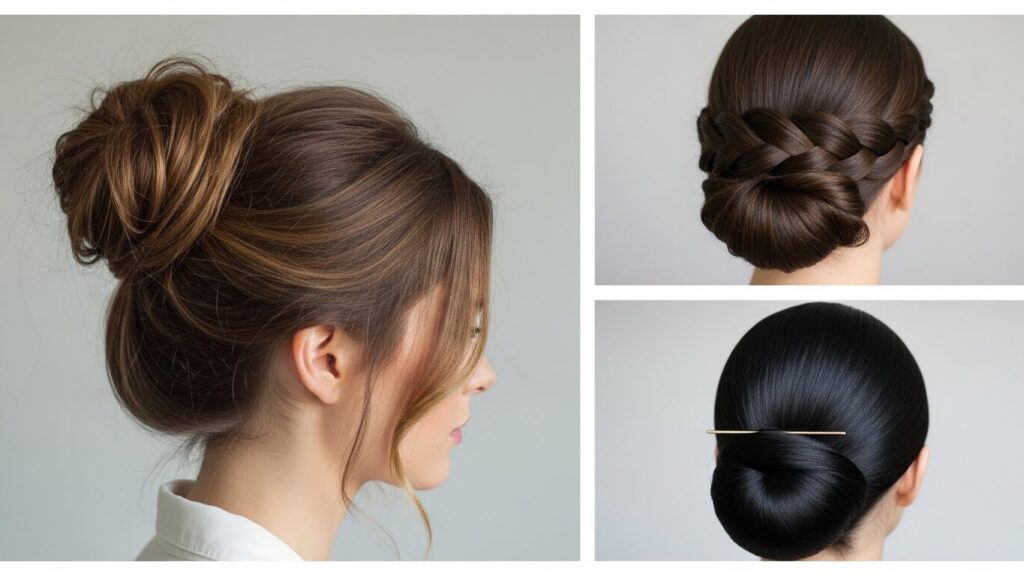
The Textured, “Undone” Low Bun: Start with waved or curled hair. Follow the same steps, but leave out face-framing pieces and don’t pull the ponytail too tight. Instead of a tight twist, gently twist and loop the hair loosely, allowing ends to poke out for a soft, romantic effect. This is perfect for a more bohemian or casual-chic look.
The Braided Low Bun: Create a simple three-strand braid or a more intricate Dutch braid down the center of your head, ending in a low ponytail. Then, twist and wrap the braid into a bun. This adds incredible detail and visual interest, making the style even more secure for fine hair.
The Accessorized Bun: Elevate your bun instantly with elegant accessories. Slide a delicate pearl-encrusted pin into the side, or wrap a silk scarf around the base of your ponytail before creating the bun. A sleek barrette placed horizontally underneath the bun is a modern, minimalist touch.
Why the Low Bun Endures: A Style for Every Occasion
The low bun’s enduring popularity is no accident. Its versatility is unmatched. It keeps hair professionally off the face in work settings, projects an air of refined grace at formal events, and can be quickly fashioned for a workout or a busy day of errands without sacrificing style. It complements every face shape and works with nearly every hair type, from fine to thick, straight to coily (with the right prep and products).
It is a hairstyle that communicates confidence and composure. It tells the world you are put-together, that you appreciate clean lines and thoughtful details. In a fashion landscape filled with fleeting fads, the low bun remains a cornerstone of sophisticated style.
Final Thoughts: Your New Go-To Hairstyle
Mastering the sleek low bun is like learning a sartorial secret. It is an investment in a skill that will pay dividends for years to come. With the right preparation, precise technique, and a handful of bobby pins, you can create a look that is both powerfully simple and deeply elegant.
Do not be discouraged if your first attempt isn’t perfect. Like any art, it requires a little practice. Experiment with the tension, play with the placement, and find the exact iteration that makes you feel most confident. Once you do, you will have unlocked a timeless, sophisticated, and utterly reliable hairstyle ready for any chapter of your life.