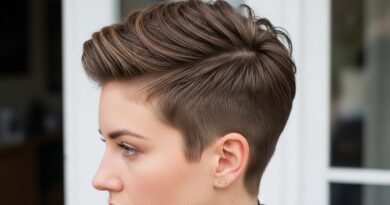
20 Beach Wave Tutorials That Don’t Require a Trip to the Ocean
Who doesn’t crave those perfectly imperfect, sun-kissed beach waves? They whisper of salt air, bare feet in the sand, and effortless cool. But let’s be real: most of us don’t live within walking distance of the shore, and actual ocean water can be surprisingly drying and unpredictable for your hair. The good news? You can achieve that coveted, tousled texture anywhere, anytime, with a little know-how and the right technique.

Section 1: Heat Styling Mastery – Irons, Wands & Dryers
For precise, long-lasting waves, heat tools are your best friend. The key is to avoid uniform, spiral curls and instead create bends and waves of varying sizes and directions.
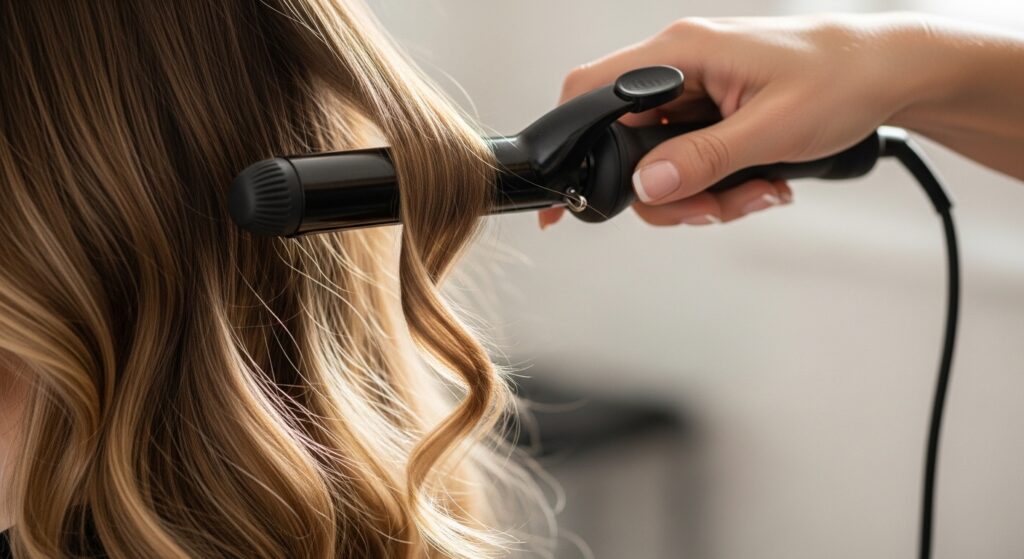
The Classic Curling Wand Technique
This is the gold standard. Use a 1 to 1.25-inch barrel curling wand (not a clamp iron). The secret? Wrap away from your face in alternating sections for a natural look. Don’t hold the wrap for more than 5-10 seconds. Before curling, apply a heat protectant and a texturizing spray to mid-lengths and ends.
Pro Tip: For the most authentic beach wave, curl random sections, leaving some pieces untouched. After curling, run your fingers through the waves to break them up, then mist with a flexible hold hairspray.
The Flat Iron Wave
Don’t have a curling wand? Your flat iron is a wave-making machine. Take a one-inch section of hair and clamp the flat iron near the roots. Instead of pulling straight down, gently twist the iron in a slight “S” pattern as you glide down the strand. This creates a soft, wave-like bend. It takes practice but yields incredibly natural results.
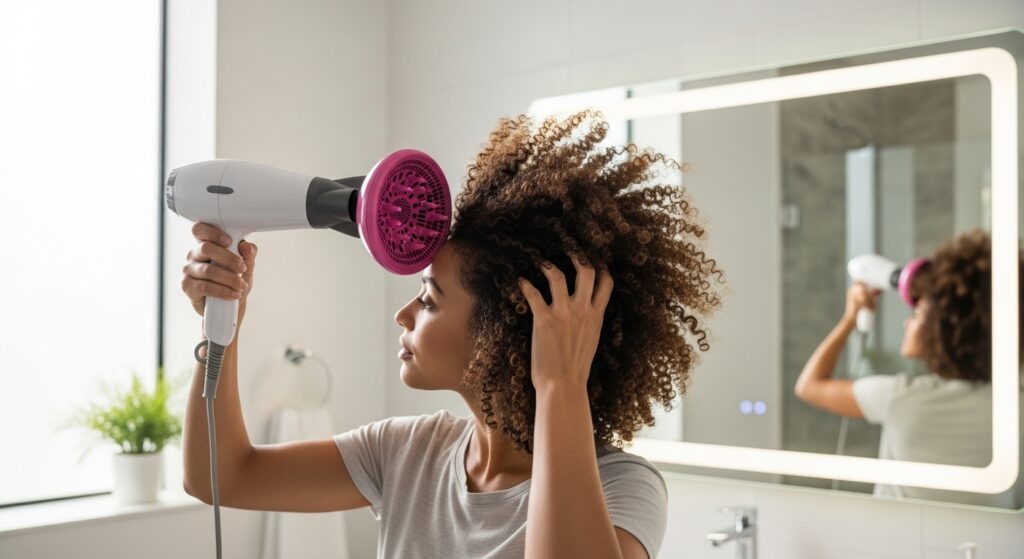
The Diffuser Drying Method
Perfect for those with naturally wavy or curly hair who want to enhance their texture. After washing, apply a sea salt spray or mousse. Attach a diffuser to your hairdryer, flip your head upside down, and scrunch sections of hair into the diffuser cup while drying on low heat and speed. Don’t disturb the hair much; let the diffuser do the work to create defined, bouncy waves with volume.
Section 2: No-Heat Champions – Braids, Twists & Updos
Give your hair a break while still getting stunning waves. These overnight or all-day techniques use the hair’s natural ability to hold a shape as it dries.
The Overnight Braid Brigade
The simplest method. Dampen your hair slightly (use a spray bottle) and braid it. For smaller, crimpier waves, do many small braids or classic pigtail braids. For looser, Boho waves, opt for one or two loose side braids or a loose French braid. Sleep on it, unravel in the morning, and shake out with your fingers. For added texture, spritz with a dry shampoo at the roots.
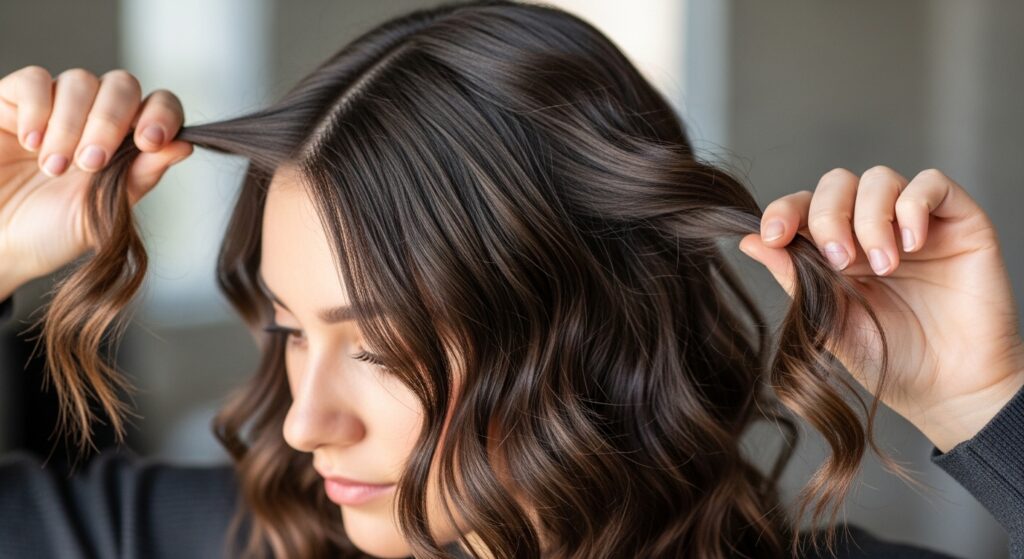
The Sophisticated Twist
Twists create a softer, more romantic wave than braids. Take two sections of hair and twist them around each other away from your face, securing the end with a soft coil. Repeat on multiple sections all over your head. Let dry completely or use a hairdryer on a cool setting to speed it up. The result is a beautiful, subtle wave pattern.
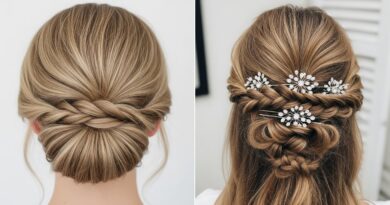
The Sock Bun or Headband Wave
Yes, really! For medium to long hair, this creates gorgeous, uniform waves. Dampen your hair, pull it through a soft headband or a donut bun form placed on your crown, and then wrap sections of hair around the base. Let it dry. When you take it down, you’ll have a head full of beautiful, set waves ready for gentle separation.
Section 3: Product Power – Mousses, Sprays & Creams
The right products are the unsung heroes of beach waves. They provide texture, hold, and that essential “lived-in” feel.
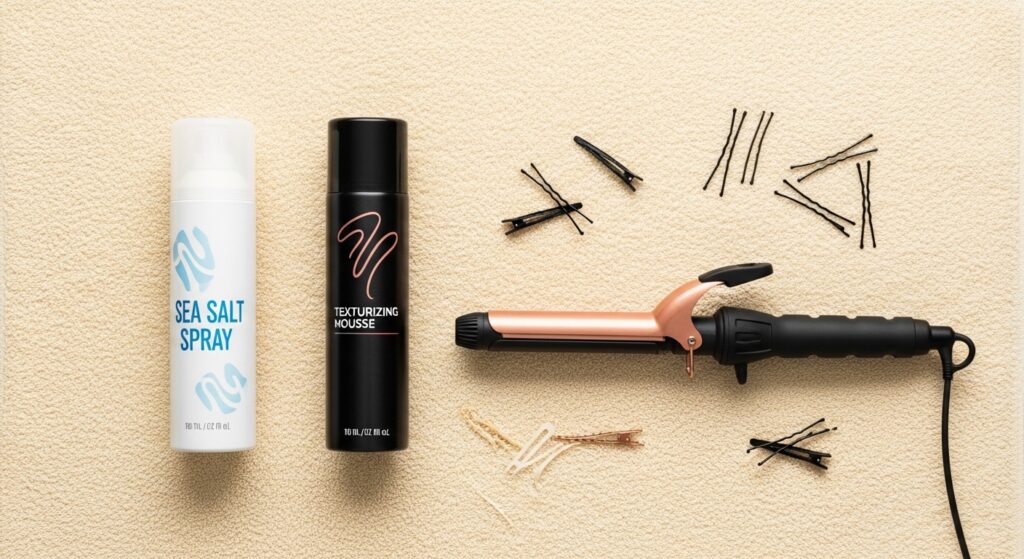
Sea Salt Spray: The Classic
A good sea salt spray is a must-have. It adds grit, texture, and a slight hold, mimicking the effect of ocean water without the dryness. Apply to damp or dry hair, focusing on mid-lengths and ends. Scrunch upwards while blow-drying or air-drying. Look for formulas with moisturizing ingredients like aloe or coconut water to avoid crunchiness.
Texturizing Mousse for Volume
For fine hair that needs volume and hold, mousse is your best friend. Apply a golf-ball-sized amount to damp hair from roots to ends. Scrunch and then either air dry or diffuse. The mousse will help your waves hold their shape and fight humidity, giving you that full, tousled look.
Wave Cream for Definition & Frizz Control
If you have wavy or curly hair prone to frizz, a wave-defining cream is essential. It enhances your natural pattern, controls flyaways, and adds moisture. Work a small amount through very damp hair, then style as desired. It provides a more defined, polished wave compared to the rougher texture of salt spray.
Section 4: Quick & Creative Hacks
Short on time? These clever tricks can give you waves in minutes.
The “Second-Day” Refresh
Beach waves often look better on day two or three. To revive them, mix a little texturizing spray or sea salt spray with water in a spray bottle. Lightly mist your hair, then scrunch. Use a curling wand to touch up any flattened sections at the front and crown only. Finish with dry shampoo at the roots for added volume and freshness.
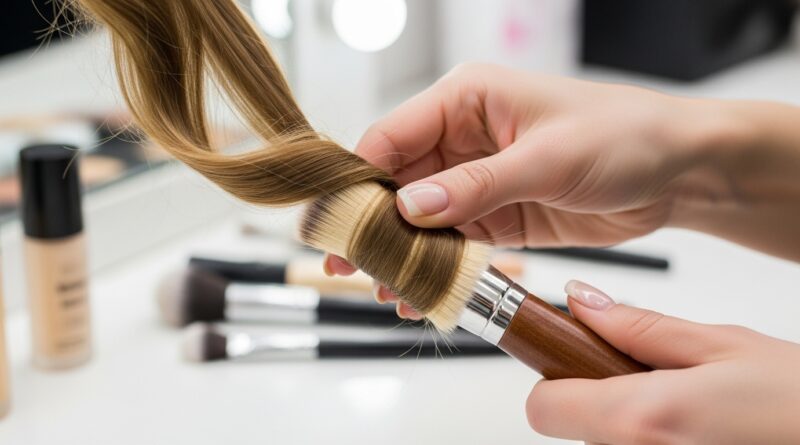
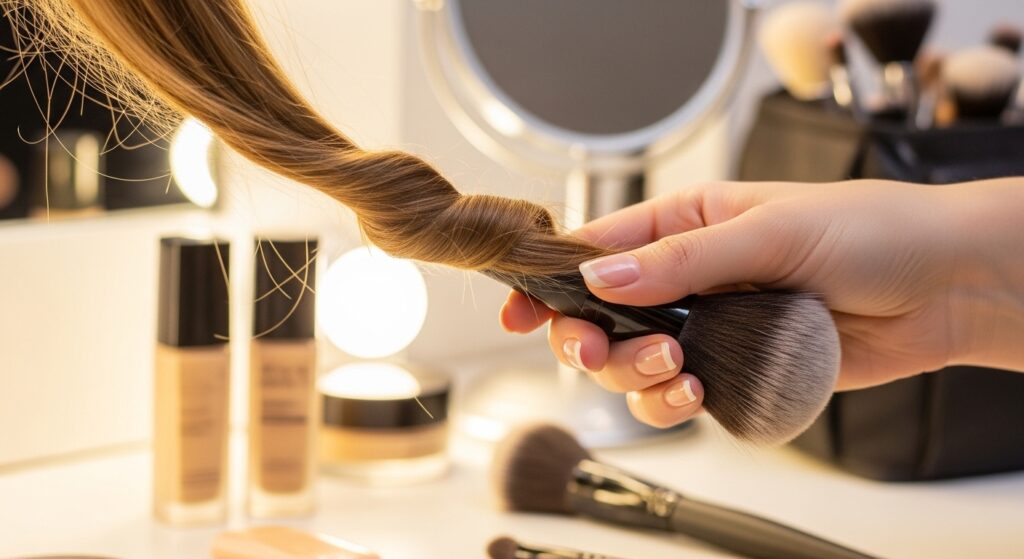
The Pencil or Makeup Brush Curl
A fantastic travel hack. Take a small section of dry hair, wrap it around a pencil, large makeup brush handle, or even a lipstick tube. Hold for 30 seconds, release, and repeat. The smaller the barrel, the tighter the wave. This is perfect for framing pieces or adding a few accent waves.
The T-Shirt Scrunch
Ditch the rough towel. After washing, apply your wave product. Then, lean forward and use a soft cotton t-shirt to gently scrunch your hair upwards, soaking up water while encouraging your natural wave pattern. Air dry or diffuse. This method reduces frizz and creates softer waves.
Bringing It All Together: Your Beach Wave Routine
Consistency is key. Start with a good haircut with layers, which gives waves movement and shape. Always use a heat protectant when using hot tools. Don’t overwash—beach waves thrive on a little natural oil. And most importantly, don’t seek perfection. The beauty of this style is in its randomness and ease.
Experiment with the methods above. Maybe you’ll love the hold of overnight braids on your Wednesday wash day, and the speed of a curling wand for Saturday night. With these 20 tutorials in your arsenal, you have everything you need to master the art of the at-home beach wave. So go ahead, bring the vacation vibes to your everyday look—no ocean required.