16 Finger Coil Styles That Define Every Single Curl
If you’re on a quest for ultimate curl definition, you’ve likely encountered the magic of finger coiling. More than just a styling technique, finger coiling is an art form that transforms frizz into flawless, springy spirals and gives every curl pattern—from loose waves to tight coils—a voice of its own. It’s the secret behind those mesmerizing, perfectly defined curls you see and admire.
What Exactly Is Finger Coiling?
Before we dive into the styles, let’s break down the basics. Finger coiling is a hands-on styling technique where you take small sections of damp, product-coated hair and wrap them around your finger to create a uniform spiral. This process encourages your natural curl pattern to clump together, reducing frizz and maximizing definition. It works on all hair types, from type 2 waves that need a little encouragement to type 4 coils that crave organized structure. The key is in the combination of moisture, a defining product (like a gel or cream), and the gentle, twisting motion.
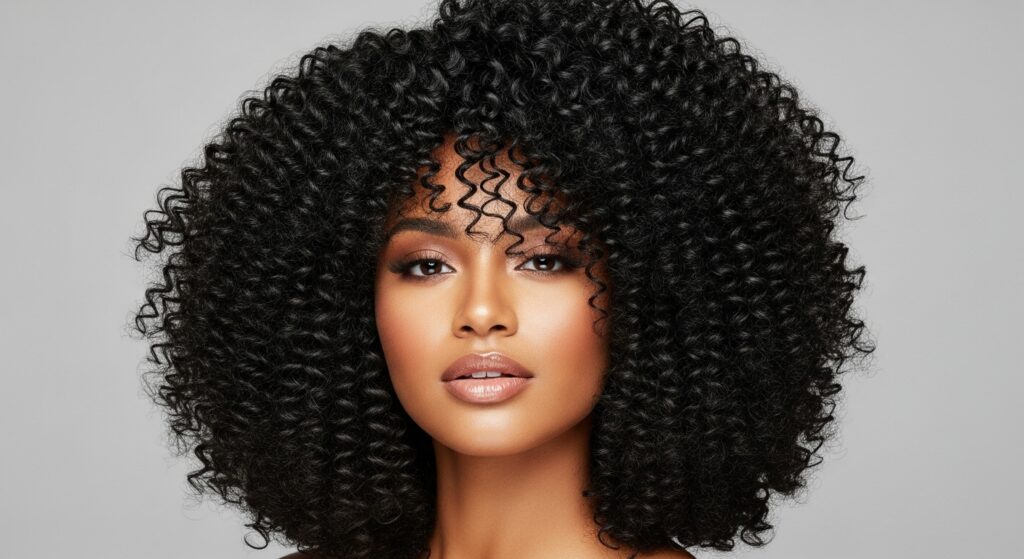
The Classic Defined Wash-and-Go
This is the cornerstone of finger coiling. The goal is uniform, all-over definition that looks effortlessly perfect. Starting with soaking wet hair, apply a generous amount of a defining curl cream or gel. Section your hair and coil every strand, from root to tip. Once dry, you’ll have a head full of separated, bouncy, and incredibly defined curls that last for days. It’s a timeless style that celebrates your natural pattern in its most pristine form.
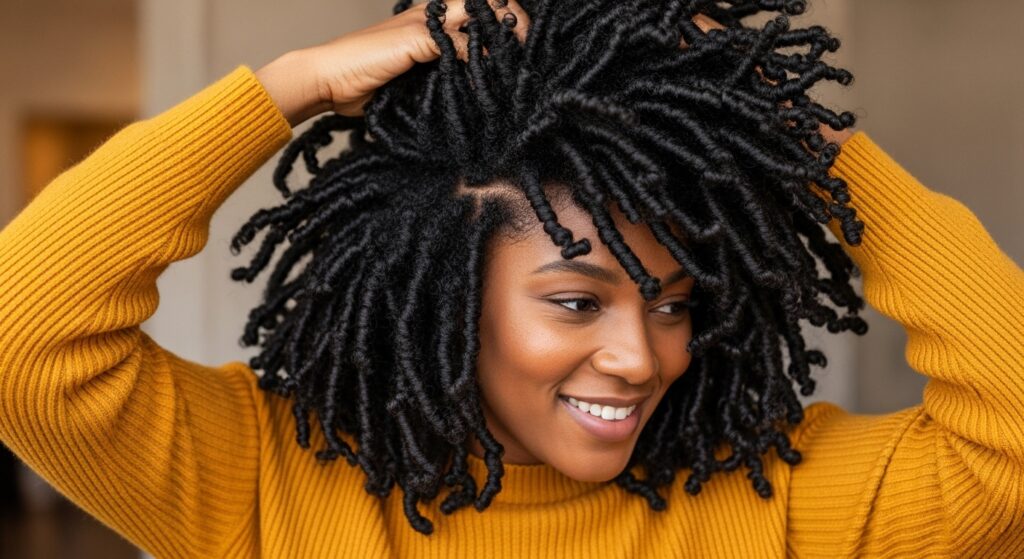
Chunky Coil Goddess
For those who love volume with their definition, the chunky coil is your go-to. Instead of taking small, precise sections, work with larger, thicker segments of hair. This creates bold, dramatic spirals that make a statement. The result is a look that’s both defined and voluminous, with fewer individual coils that each pack a powerful visual punch. It’s a quicker method that leads to a stunning, artistic finish.
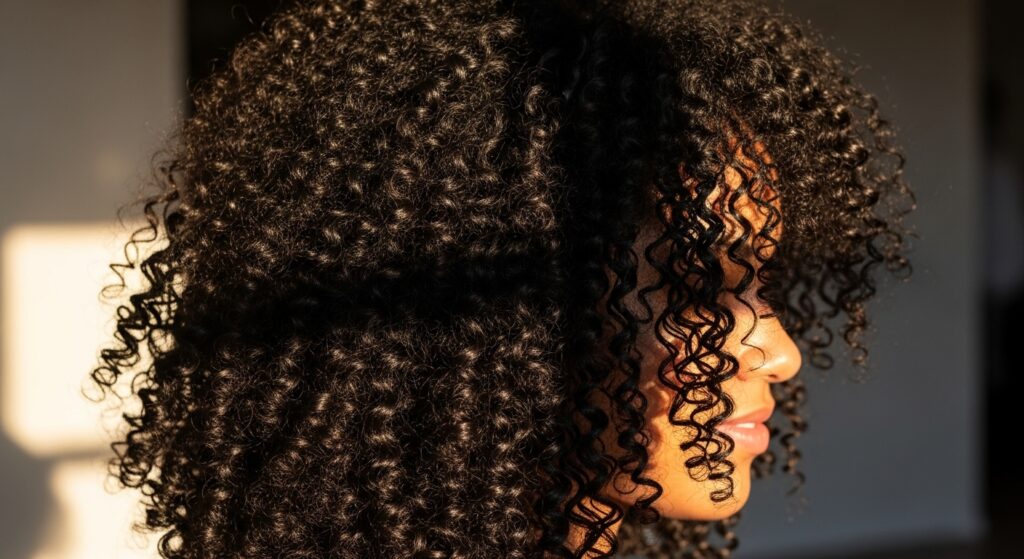
Root-to-Tip Perfect Spirals
This technique focuses on meticulous definition from the very root of the hair to the very end. It requires patience but pays off with unparalleled elongation and shape. Often using a smaller tool like a denman brush or a twisting motion with two fingers, this style ensures no fuzzy roots and perfectly tapered ends. It’s ideal for those with tighter curl patterns seeking maximum length and a sleek, polished spiral look.

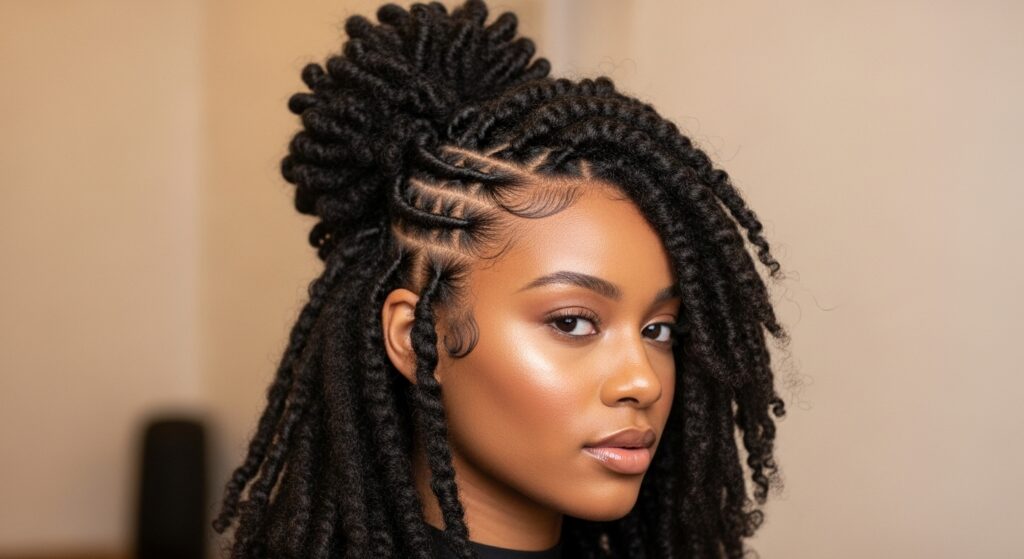
Half-Up, Half-Defined Crown
Why not have the best of both worlds? This playful style involves finger coiling only the top or crown section of your hair, while leaving the bottom in its natural state or styled differently. Pull the coiled top section into a half-up style. This creates beautiful texture contrast—defined, intricate coils on top with softer, looser hair below. It’s a perfect way to add interest and keep hair off your face.
The Sculptural Coil-Out
Think of this as finger coiling for a spectacular second-day (or third-day!) style. After your initial finger coils are completely dry, you gently separate or “shrink” them with your hands or a pick. Instead of breaking them apart completely, you manipulate them into larger, softer, voluminous shapes that retain the memory of the coil. The result is incredible volume, incredible definition, and a totally different look from your day-one wash-and-go.
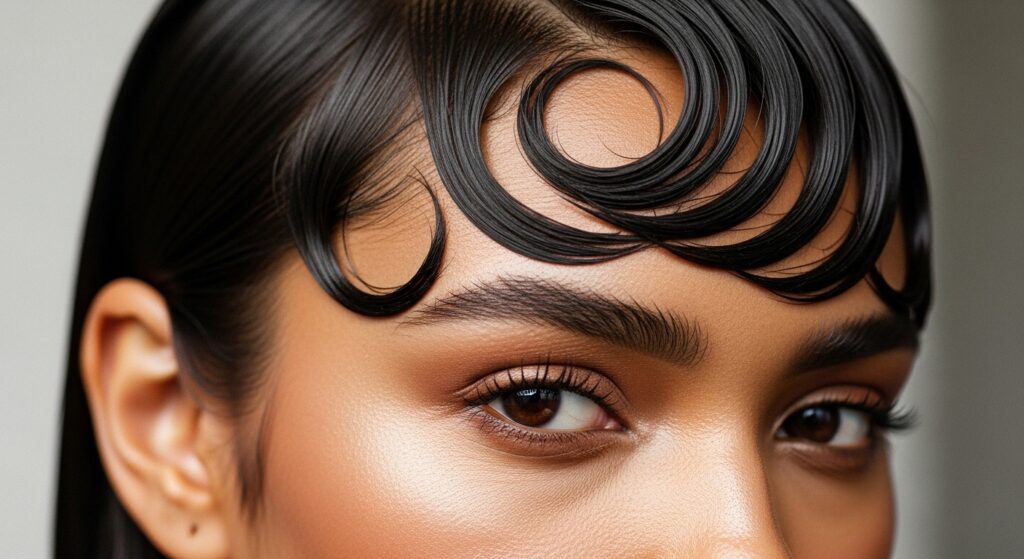
Side-Swept Coiled Bangs
Frame your face with definition. This style focuses on coiling just the front sections or bangs of your hair. Create a deep side part and meticulously coil the hair on the heavier side, letting them sweep across your forehead. It’s a chic, sophisticated look that draws attention to your eyes and cheekbones, offering a defined alternative to wispy or blunt bangs.
Coiled Pineapple Puff
A protective style that’s all about fun and function. Gather all your finger-coiled hair into a very high ponytail at the very top of your head, but only secure it loosely at the base. The coils will spill over, creating a “pineapple” effect. This style preserves your definition overnight and makes a stunning daytime look that showcases your coils in a gathered, voluminous display.

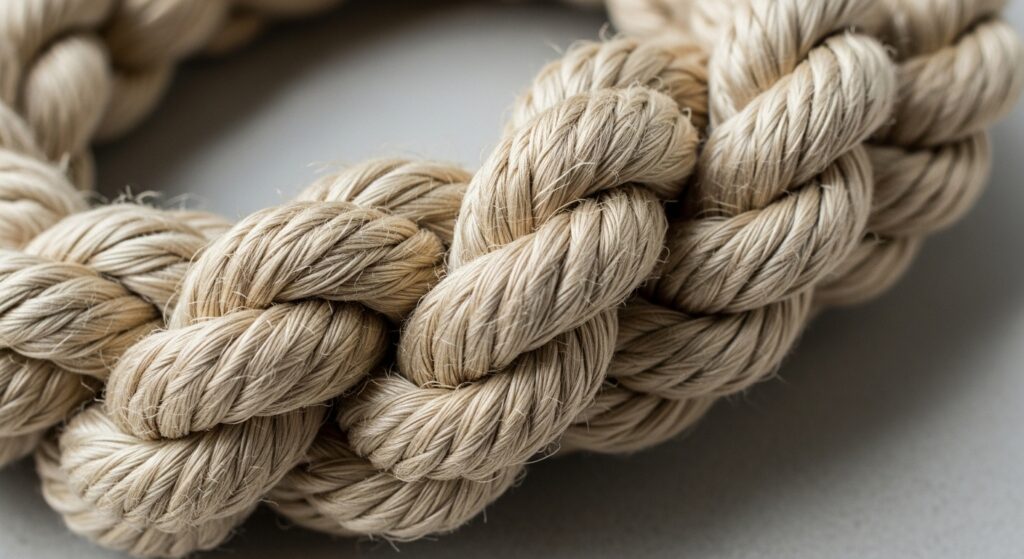
Twisted Rope Coils
For a more textured, bohemian feel, try the twisted rope. Instead of wrapping hair around a single finger, take two small sections, twist them around each other, and then allow them to coil together as one. This creates a thicker, rope-like strand with incredible hold and a unique visual texture that’s less uniform but deeply artistic.
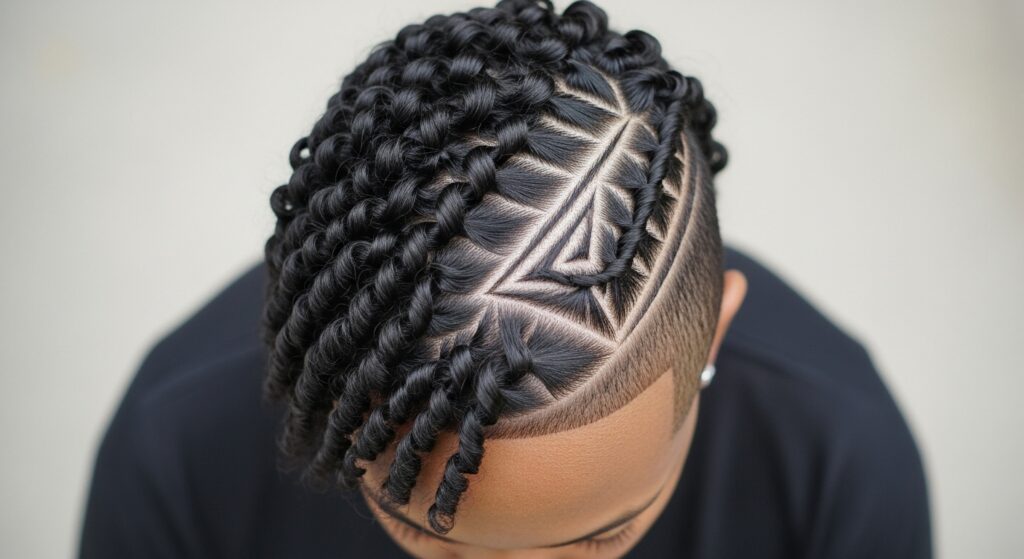
Geometric Part Coils
Elevate your look with architecture. Before you start coiling, use the end of a rattail comb to create sharp, geometric parts—think triangles, zig-zags, or rectangles. Then, coil the hair within each section. When dry, the contrast between the sharp part and the soft, defined coils is a stunning work of wearable art. It’s a bold choice for special events or when you want to make a memorable impression.
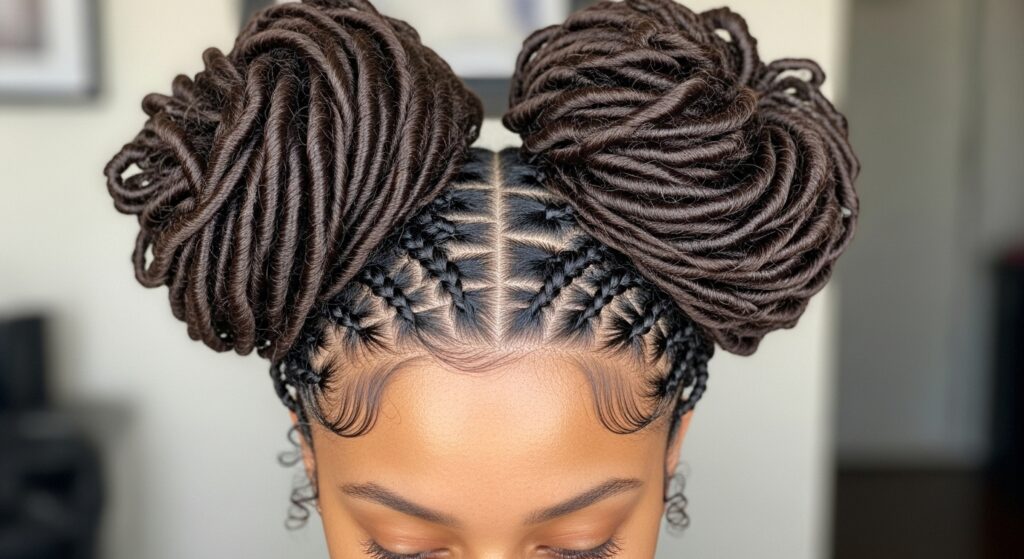
Coiled Space Buns
Youthful, fun, and utterly defined. Create two high ponytails (or more!) on either side of your head after finger coiling. Then, wrap the coiled hair around the base to form buns. Because your hair is already in defined spirals, these buns will be full of texture and pattern, unlike smooth ballerina buns. It’s a playful protective style that keeps your coils intact.
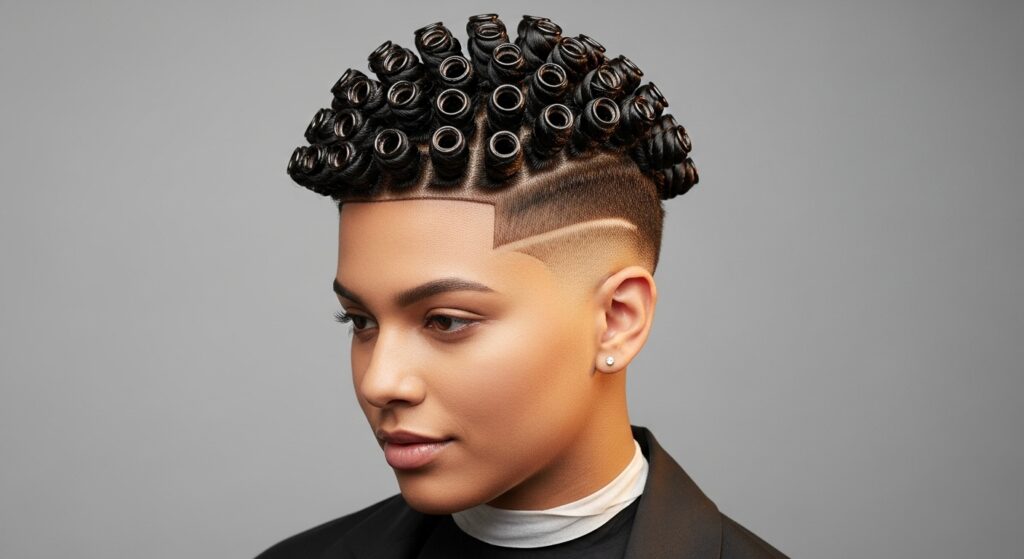
Finger Coil Fade (For Short Hair)
Short hair deserves definition too! This style is iconic on tapered cuts, fades, and TWA’s (Teeny Weeny Afros). The hair is finger coiled all over, often with smaller sections for tight definition. The coils stand proud, creating a full, textured, and incredibly defined crown that contrasts beautifully with faded or shaved sides. It’s a powerful, confident look.
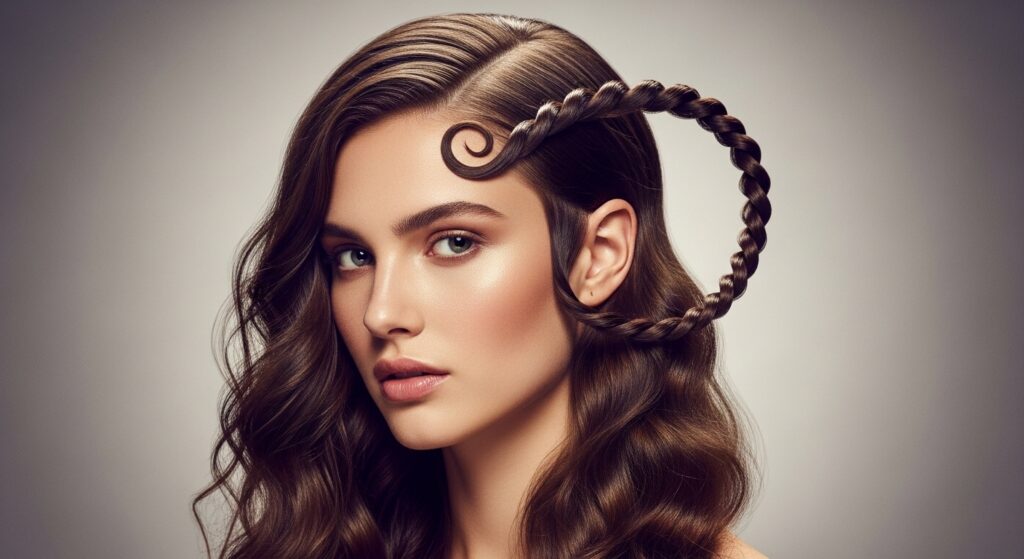
Bohemian Coiled Headband
Use your own hair as an accessory. Take a section of hair from your temple, finger coil it, and then drape it across your forehead to the opposite side, securing it behind your ear. You can do this on one or both sides. It creates a beautiful, defined headband effect that keeps hair back while showcasing your coiling skills in a delicate, romantic way.
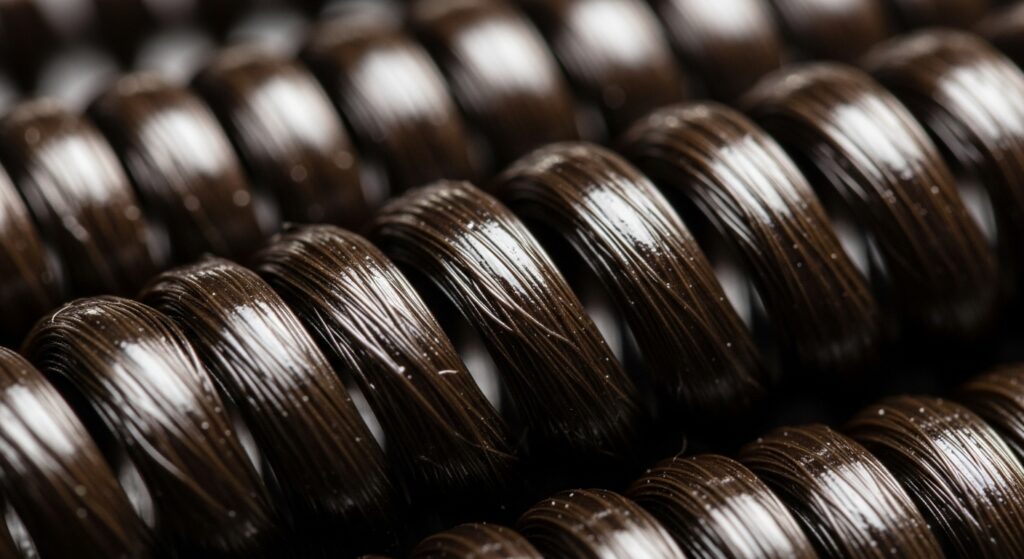
Wet-Look Glazed Coils
For maximum shine and a red-carpet-ready finish. After coiling, apply a generous amount of a high-shine, non-sticky gel or jelly over each coil while your hair is still damp. This seals in moisture and creates a glazed, “wet look” sheen that makes your curls look like liquid spirals. The definition is extreme, and the shine is breathtaking.
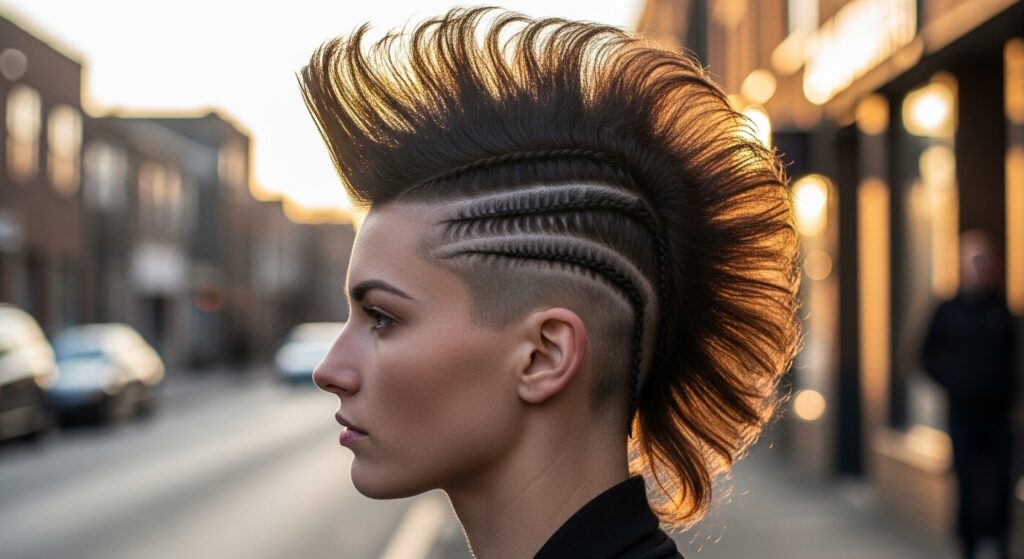
Coiled Mohawk or Faux Hawk
Channel your inner rockstar. Coil only the hair down the center strip of your head, from forehead to nape. You can leave the sides natural, flat-twisted, or even shaved. Gather the coiled center section to stand up or flow back. This creates a bold, textured mohawk made entirely of defined spirals, a fierce and fashionable statement.
Two-Strand Coiled Flat Twist
A hybrid protective style. Start at your hairline and do a two-strand flat twist for an inch or two along your scalp. Then, instead of continuing to twist the ends, take the two strands and finger coil them together as one. This gives you the neat, scalped look of a flat twist at the root that transitions into a defined, hanging coil. Perfect for edges and front styles.

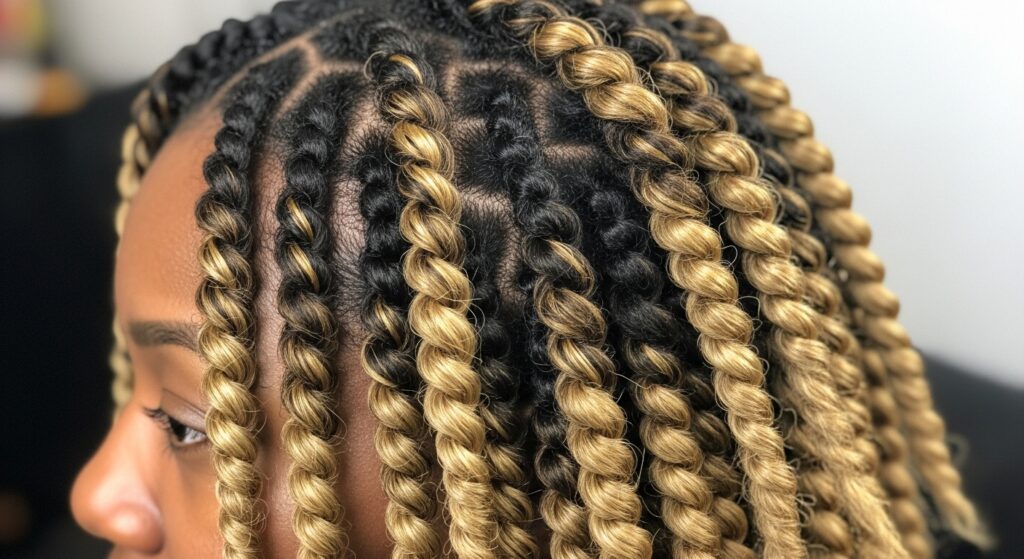
Color-Blocked Coils
If you have color-treated hair, this style makes it pop. Finger coil as usual, but the magic happens when the light hits the uniform spirals. The color, whether it’s highlights, balayage, or a bold fashion color, wraps around each coil in a stunning gradient. This technique showcases the dimension of your color in a way no other style can, making each spiral a canvas.
Mastering Your Finger Coil Routine: Pro Tips
Now that you’re inspired, here’s how to ensure success. Always start with clean, conditioned, and soaking wet hair. Water is your best friend for slip and definition. Use a leave-in conditioner followed by a generous amount of a styling product with hold—a custard or strong-hold gel often works best. Work in small, manageable sections for uniform results. Be patient and allow your hair to dry completely—air dry or use a diffuser on low heat—before touching or separating the coils. To refresh, lightly mist with water and a leave-in conditioner mix and recoil any frizzy sections.
The world of finger coiling is vast and wonderfully creative. It’s more than a method; it’s a way to connect with your curls, understand their pattern, and present them in their most defined, healthy state. From the classic wash-and-go to bold geometric statements, these 16 finger coil styles prove that every single curl has a defined destiny. So grab your gel, section your hair, and start coiling. Your most defined, head-turning curls are waiting to spiral into existence.