23 Steam Curl Techniques That Lock in Moisture While Styling
For years, the quest for the perfect, bouncy curl has been a battle against heat damage, frizz, and moisture loss. We’ve all been there: clamping down a scorching hot iron on dry hair, only to be left with a brittle, lifeless result that falls flat by midday. But what if there was a way to style your hair while actually improving its health and hydration? Enter the game-changer: steam curling.
Understanding the Magic: Why Steam Works
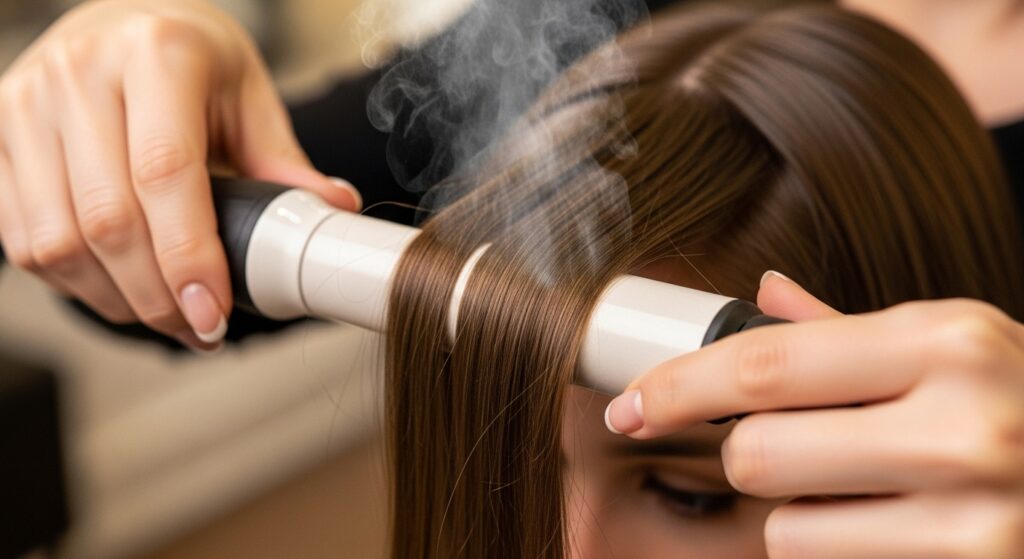
Before we master the techniques, let’s understand the science. Traditional irons use dry heat that can evaporate the natural moisture within your hair, leading to breakage and dullness. A steam curler, however, releases a micro-fine vapor. This vapor penetrates the hair shaft, hydrating from the inside out as it heats. The result is a pliable, receptive strand that molds into shape more easily and holds it longer because the cuticle is sealed smoothly. Think of it like steaming a garment versus ironing it dry; one is gentler and creates a better finish.
This makes steam curling especially powerful for those with dry, frizz-prone, curly, or color-treated hair. You’re not fighting against your hair’s texture; you’re working with it, using hydration as your styling ally. The benefits are undeniable: reduced frizz, enhanced shine, less heat damage, and curls that spring back to life even on day two or three.

Foundation Techniques: Prep is Everything
Even the best technique can’t compensate for poor preparation. Setting the right foundation is crucial for maximizing steam’s benefits.
1. The Damp-Dry Sweet Spot: Start with towel-dried hair. Your hair should be damp, not soaking wet, and not completely dry. This is the ideal canvas for steam to work its magic, helping to distribute product evenly and set the style.
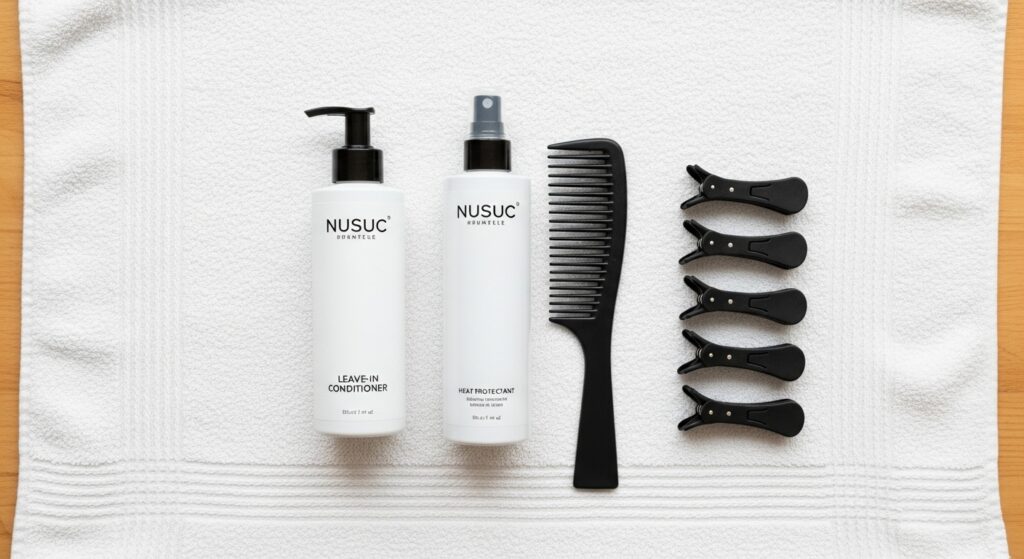
2. Hydration Layering: Apply a leave-in conditioner or a heat protectant specifically formulated for humid styling. Look for ingredients like glycerin or hyaluronic acid that attract and bind moisture.
3. Sectioning for Success: Neat, organized sections are non-negotiable. Use clips to divide your hair into four quadrants (two in front, two in back). This ensures you methodically style every strand and allows the steam to focus on one area at a time.
4. The Pre-Steam: Before taking a section to the barrel, hold the steamer a few inches away and give it a quick, one-second burst. This pre-hydrates the section for even more malleability.
Core Curling Methods with Steam
Now, let’s get to the core techniques. These methods form the basis of most steam curling styles.
5. The Classic Wrap: Take a 1-inch section. Open the clamp, place the mid-lengths of your hair into the barrel, close the clamp, and slowly wrap the hair down and around the barrel. Hold for 8-10 seconds. The steam will hiss gently—this is normal! Release for a soft, bouncy curl.
6. The Clamp-Free Glide: For a more relaxed wave, don’t use the clamp. Wrap the section around the barrel manually, holding the ends. This gives you more control over tension and creates a looser pattern.
7. The Vertical Barrel Twist: Hold the barrel vertically. Take a section and wrap it around the barrel like a candy cane. This creates beautiful, face-framing spirals or more dramatic, retro curls.
8. The Root Lift Technique: For volume at the crown, when you clamp the mid-lengths, angle the barrel so the tip points slightly upward and away from your head. This directs steam and lift right at the root as you curl.
9. The End-Smoothing Finish: For stubborn, frizzy ends, take the very last inch of your hair and gently clamp it, rolling the iron upward. The steam will smooth the cuticle perfectly.
Advanced Styling & Pattern Techniques
Once you’ve mastered the basics, play with pattern and direction to create unique looks.
10. The Directional Dance: Curl all sections away from your face for a voluminous look, or toward your face for a softer, more romantic frame. For a natural look, alternate directions.
11. The “Twist & Steam” Rope Braid Curl: Twist two small sections together into a rope, then wrap the twisted rope around the steam barrel. This creates an intricate, textured wave with incredible hold.
12. The Pin-Curl Set with Steam: After curling a section, don’t let it fall. Instead, pin it flat against your scalp in a coil while it’s still warm. Let all curls cool completely before taking down for ultimate, set-in volume.
13. The Half-Up Steam Wave: Only curl the bottom half of your hair, leaving the top section straight or pulled back. The steam-curled ends add a polished, modern touch to a simple style.
14. The Tousled Bob Method: For shorter hair, use a smaller barrel and only curl the mid-lengths to ends, leaving the roots straight. Use your fingers to break the curls apart for a chic, piecey finish.

Moisture-Locking & Finishing Moves
The work doesn’t stop when you put the iron down. These steps seal in the style and the moisture.
15. The Cool Shot Seal: If your steam curler has a cool shot button, use it! After releasing the curl, clamp it again briefly and hit the cool shot. This shocks the hair cuticle closed, locking in the shape and the hydration.
16. The “Pineapple” Cool-Down: For curly hair, once all curls are done, gently gather them at the very top of your head (like a pineapple) and secure with a loose scrunchie. Let them cool completely this way to preserve root volume.
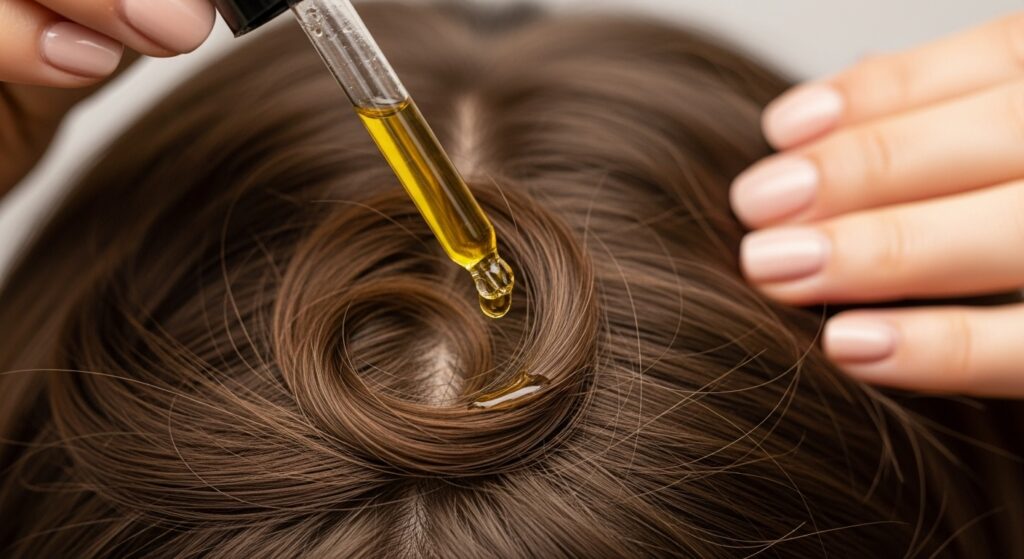
17. Oil-Scaling: Once hair is completely cool, take one drop of hair oil, rub between your palms, and gently “scale” your hands over the curls (don’t rake through). This adds a final moisture seal and mega-shine without disrupting the pattern.
18. The Steam Refresh: On day two or three, spritz dry curls lightly with water or a curl refresher. Then, take a cool section and gently clamp/glide the steam iron over it without re-curling. The steam will reactivate product and moisture, reviving your curls instantly.
Problem-Solving with Steam
Use steam to tackle specific styling challenges.
19. Frizz Taming Mid-Style: Notice a frizzy section? Isolate it, give it a light mist of water, and gently pass the steam iron over it without clamping. The vapor will smooth the cuticle back down.
20. The Defined Curly Girl Method: For natural curls seeking definition, style on sopping wet hair with your favorite cream. Use the steam curler on low heat to “hover” over sections, allowing the steam to set the curl clump without direct barrel contact.
21. The Blowout-to-Curl Transition: Have a blown-out style but want curls? You don’t need to wet your hair fully. Spritz each section with a hydrating spray before curling with steam to add the necessary moisture back in.
22. Bangs and Face-Framing Finesse: Use a small-barrel steam iron to curl bangs or face-framing pieces away from the face. The steam ensures they lie smoothly and blend seamlessly with the rest of your style.
23. The Emergency De-Frizz: Out in humid weather and frizz strikes? If you have a portable steamer (like a garment steamer), hold it at a safe distance and let the vapor lightly blanket your hair. Smooth with your hands—it’s an instant rescue.

Embrace the Hydrated Curl Revolution
Steam curling is more than a trend; it’s a smarter, healthier approach to achieving beautiful hair. By choosing to style with steam, you’re making a commitment to nurture your hair’s health while achieving your aesthetic goals. The 23 techniques outlined here are your toolkit, from foundational prep to advanced styling and clever problem-solving.
Remember, the key is patience and practice. Start with the basic wrap and moisture-locking cool-down. As you become more comfortable, experiment with patterns and textures. Listen to the gentle hiss of the steam—it’s the sound of moisture bonding with your hair, creating resilience, shine, and unforgettable bounce. Ditch the dry heat and let hydration lead the way to your best curls yet.