20 Plopping Methods That Define Curls While You Sleep
Imagine this: you wash your hair, apply your favorite products, and then… you go to bed. You drift into a peaceful sleep, and when your alarm rings, you wake up to a head full of perfectly defined, frizz-free, voluminous curls. No diffusing. No air-drying for hours. Just magical morning hair. This isn’t a fantasy for the curl- blessed; it’s the potential reality of mastering the art of overnight plopping.

The Foundation: Choosing Your Plopping Fabric
Before we jump into the methods, let’s talk fabric. Your choice of material is the cornerstone of successful overnight plopping. Avoid cotton towels at all costs for this extended technique. The traditional terrycloth is too absorbent and creates friction, leading to frizz and moisture robbery.
Your heroes are smooth, low-absorption fabrics. A 100% cotton t-shirt is the classic, accessible choice—its weave is gentler than towel terry. For the ultimate experience, silk or satin (either a scarf, bonnet, or pillowcase-style wrap) provides the least friction and helps retain essential moisture and product. Microfiber towels designed for curls are also a great option, but ensure they are the smooth, flat-weave kind.

Method 1-5: The Classic & Contoured Wraps
These are your foundational techniques, perfect for beginners and those with medium to long hair.
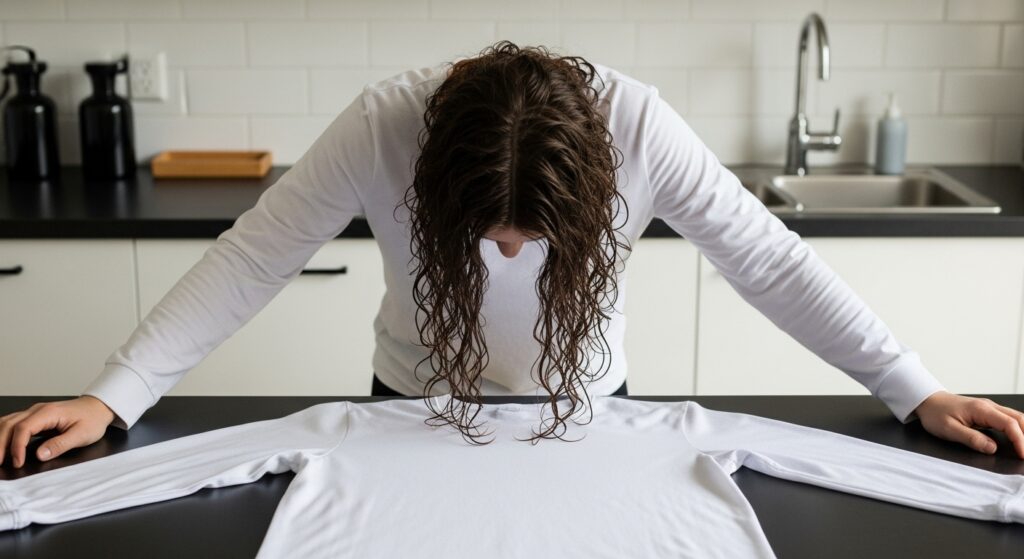
1. The Standard T-Shirt Plop: Lay a clean, dry t-shirt flat (buttons or collar at the top). Flip your head forward, drape your hair over the center of the shirt, then fold the bottom hem up over your neck. Tie the sleeves snugly (but not tightly) at your forehead. This is the OG method that works for most.
2. The Long-Sleeve Secure Plop: Using a long-sleeve shirt, follow the standard method, but use the long sleeves to wrap around your head multiple times for a more secure hold that’s less likely to slip off during a restless night.
3. The Satin Scarf Hybrid: After applying products, use a large square satin scarf. Place the center at your nape, bring the two opposite corners to your forehead, and tie. Then, take the remaining fabric at the back and tuck or loosely tie it at the crown. This offers less bulk than a t-shirt.
4. The Contoured Bonnet Plop: This is a two-part system. First, gently gather your wet curls into a loose, high puff on top of your head using a satin scrunchie. Then, secure a large, deep satin bonnet over the entire puff. This preserves root volume and prevents flattening.
5. The “Pineapple” Plop: Pineapple your hair (a loose, high ponytail on the very top of your head) with a satin scrunchie. Then, use a large scarf or bonnet to cover the pineapple and the rest of your hair. Ideal for longer curls that need length protection.
Method 6-10: For Volume & Root Lift
If your curls fall flat at the roots, these methods are for you. They focus on keeping your hair elevated and off your scalp.
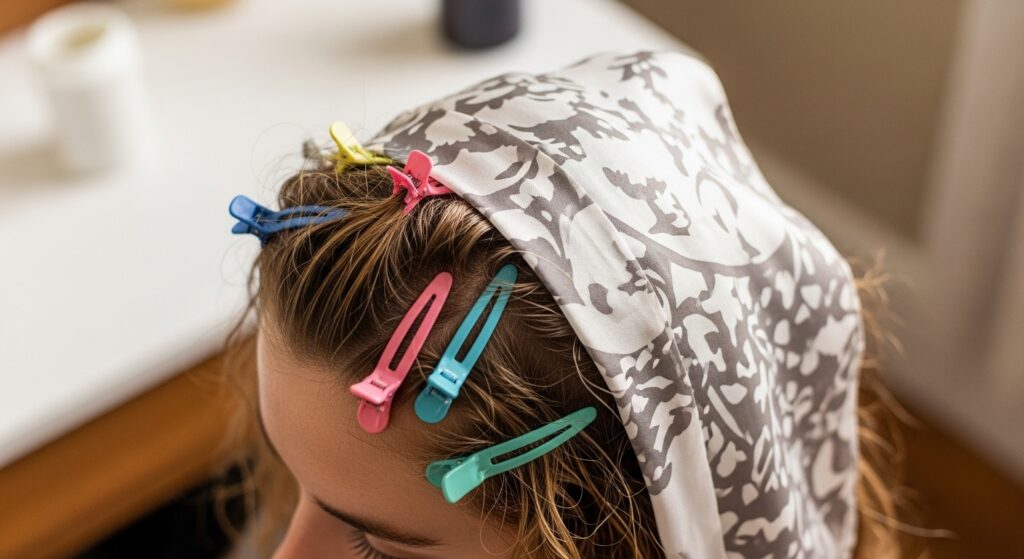
6. The Medusa Clip & Plop: Before wrapping, use several jaw clips to lift sections of hair at the roots, creating “peaks” all over your head. Then, gently place your plopping fabric over the clipped hair. The clips stay in all night, training your roots to dry upright.
7. The Stacked Scarf Plop: Use two silk scarves. With the first, create a basic headwrap that covers your hairline and nape. With the second, gather your loose curls up and towards the crown, tying the scarf to hold them in a lifted position. This creates a stacked, voluminous effect.
8. The Hover Plop (for shorter hair): Drape your plopping fabric over a tall, narrow object (like a styling spray bottle) on your nightstand. Carefully arrange your wet curls over it so your hair is “hovering” and not touching your head, then secure the fabric. This is an advanced but brilliant volume hack.
9. The Loose Bun Anchor: Twist your hair into a very loose, large bun at the crown. Use a satin scarf to wrap around your head, covering the bun but not squashing it. The bun acts as an anchor, creating incredible lift as it dries.
10. The Volume Band Plop: Start with a wide, soft satin headband. Pull your hair through it so it sits at the crown, creating immediate lift. Then, use a second scarf or bonnet to cover the length. Simple and effective.
Method 11-15: For Maximum Definition & Frizz Control
If your mission is clump integrity and a flawless cast, these meticulous methods deliver.
11. The Micro-Plop Then Macro-Plop: Before your final wrap, use a microfiber towel or t-shirt to gently scrunch (micro-plop) sections of your hair upwards to absorb excess water and encourage clumping. Then, proceed with your chosen overnight plop method (macro-plop). This two-step process sets you up for superior definition.
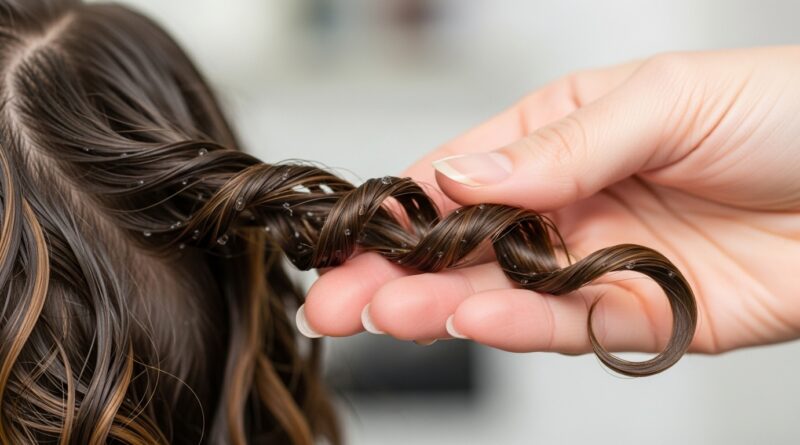
12. The Sectioned Plop: Divide your hair into 4-6 sections. Apply styler to each section, twist or coil it gently, and then place each coiled section onto your head. Finally, secure everything with a large bonnet or scarf. This ensures every curl gets individual attention and doesn’t get tangled with its neighbors.
13. The “Curl Trainer” Sock Method: Cut the toe off a long knee-high sock (or use a sleeve from an old t-shirt). After applying gel, gently place individual curl clumps into the tube, one by one, letting them rest on your head. Then, cover with a bonnet. It’s like curl training wheels!
14. The Damp Satin Bag Plop: Slightly dampen the inside of a satin bonnet or cap before putting it on. The light humidity inside the cap creates a perfect “drying chamber” that can enhance the gel cast and prevent the hair from drying out too quickly, which can cause frizz.
15. The Pineapple-Piggyback Plop: Create two pineapples: one high on the crown, and a second one below it. Plop as usual. This distributes the weight for very long or dense hair, preventing the bottom layer from being stretched and frizzed.

Method 16-20: Innovative & Specialty Techniques
Think outside the box! These creative methods solve specific problems or just offer a fun twist.
16. The Pillowcase Plop: Use a standard or satin pillowcase. Put your head into one open end, gather the fabric around your neck, and tie the other end closed at the top of your head. It’s roomy and great for those who feel constrained by scarves.
17. The “No-Tie” Turban Plop: Using a long, rectangular silk scarf, wrap your hair in a classic turban style that uses tucks and folds instead of a knot to secure it. This eliminates pressure points and creases.
18. The Diffuser Attachment Hack: For those who need a little heat. After plopping with a t-shirt for 30-60 minutes to remove excess water, attach a diffuser to your hairdryer on no heat or very low heat. Gently place the diffuser cup (still attached to the dryer) under your plopped hair at the roots for 5-10 minutes. This kickstarts the drying process to prevent mildew, then you can sleep with the plop in place.
19. The Neck Roll Plop (for side sleepers): Incorporate a slim satin-covered neck pillow. Arrange your plopped hair over the top of it while you sleep on your side. This prevents your head from crushing the curls on one side.
20. The Pre-Plopped Bonnet: Prepare your bonnet or scarf by attaching several satin-covered foam rollers or flexi-rods inside it. After applying your products, gently place your hair over the rollers and secure the bonnet. You’ll get defined curls with extra bounce and shape.

Morning After: Unveiling Your Masterpiece
The unveiling is a sacred ritual. Be gentle. Slowly untie or remove your plopping fabric. Don’t rake your fingers through your hair. If you have a cast (a crunchy feeling from gels or mousses), this is when you scrunch out the crunch. Pour a few drops of lightweight oil or serum into your palms, rub them together, and gently scrunch your curls upwards to break the cast and reveal soft, defined waves and coils.
If some areas are slightly damp or misshapen, don’t panic. Use a steamer or a spray bottle with water and a drop of conditioner to lightly dampen the section, then reshape it with your fingers and let it air-dry. For flattened roots, flip your head over and gently shake at the roots, or use a pick to lift them.
Final Curl Thoughts
Mastering overnight plopping is a journey of experimentation. Your perfect method depends on your hair’s length, density, porosity, and even how you sleep. Start with the classic t-shirt plop and then venture into the techniques that address your specific curl goals—be it volume, definition, or length protection.
The beauty of these 20 plopping methods is that they turn your precious sleep time into prime curl-enhancing time. You’re not just avoiding the hassle of daytime drying; you’re giving your curls a long, undisturbed period to set into their most beautiful pattern. So tonight, ditch the damp pillow and the morning frizz fight. Wrap it up, tuck yourself in, and let your curls get their beauty sleep too.