17 Denman Brush Techniques for Perfect Curl Clumps
If you’re on a quest for defined, bouncy, and utterly enviable curls, you’ve likely heard the holy grail whispers about the Denman Brush. This iconic styling tool isn’t just a brush; it’s a curl architect. But owning one and using it to create those perfect, juicy curl clumps are two very different things. The secret lies not in the brush itself, but in the technique.

The Denman Brush Foundation: Prep & Basics
Before we jump into the styling techniques, setting a strong foundation is crucial. Perfect curl clumps start long before the brush touches your hair.
1. The Soaking Wet Start: For most techniques, your hair should be dripping wet, freshly cleansed, and loaded with your preferred leave-in conditioner and styler. Water is the ultimate clumping agent, and applying your products to sopping hair ensures even distribution and superior slip for the brush.
2. The Product Cocktail: A good hold product (mousse, gel, or foam) is non-negotiable for clump longevity. Smooth your styler through each section before brushing. The Denman works by aligning curls and distributing product, so don’t be shy with your application on wet hair.
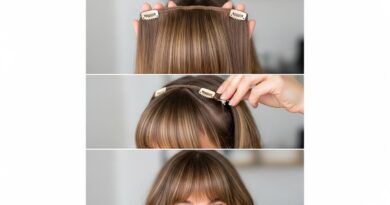
3. The Row Removal Secret: The classic Denman D3 or D4 comes with 7 or 9 rows. For thicker, chunkier clumps and less tension, remove every other row. This simple modification reduces drag and creates larger, more voluminous curl sections. It’s a game-changer for many curlies.
Core Brushing Techniques for Definition
These are the fundamental methods that form the backbone of Denman styling. Practice these to build your muscle memory.
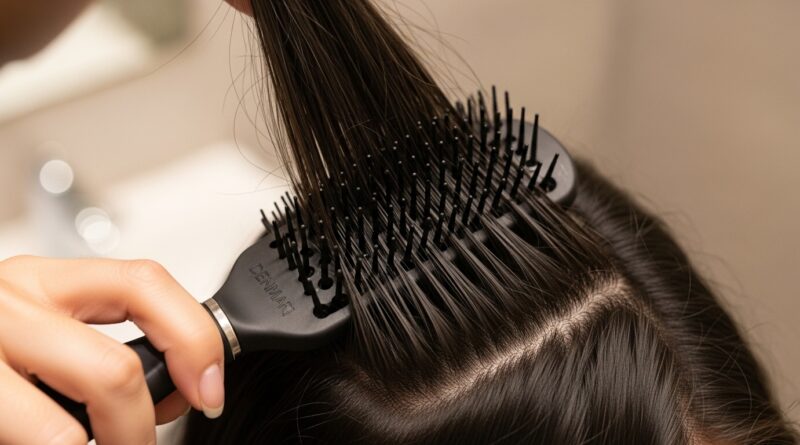
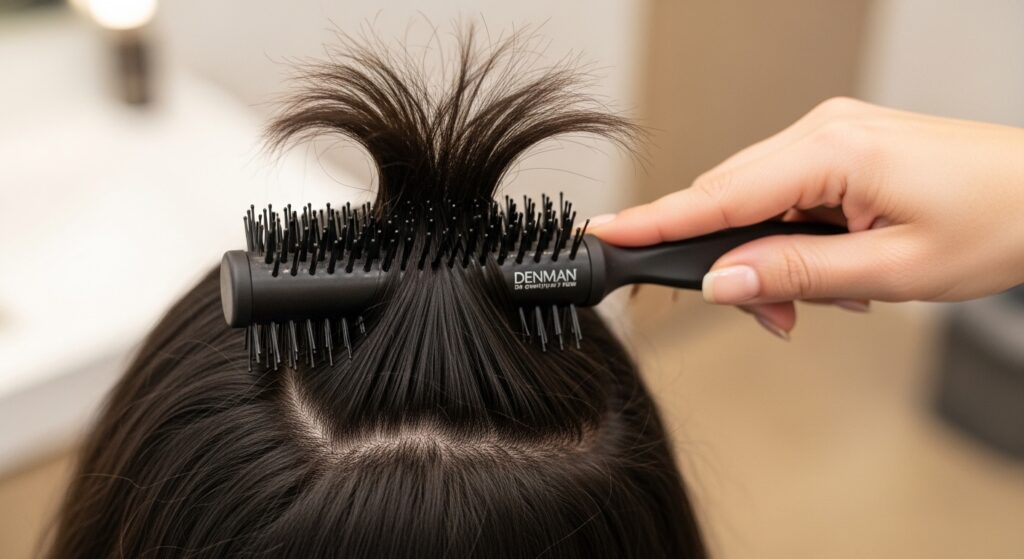
4. The Basic Brush-Through: Hold a section of hair taut away from your head. Starting at the roots, gently brush through to the ends in one smooth, continuous motion. This helps detangle, distribute product, and encourage the hair’s natural curl pattern to align from root to tip.
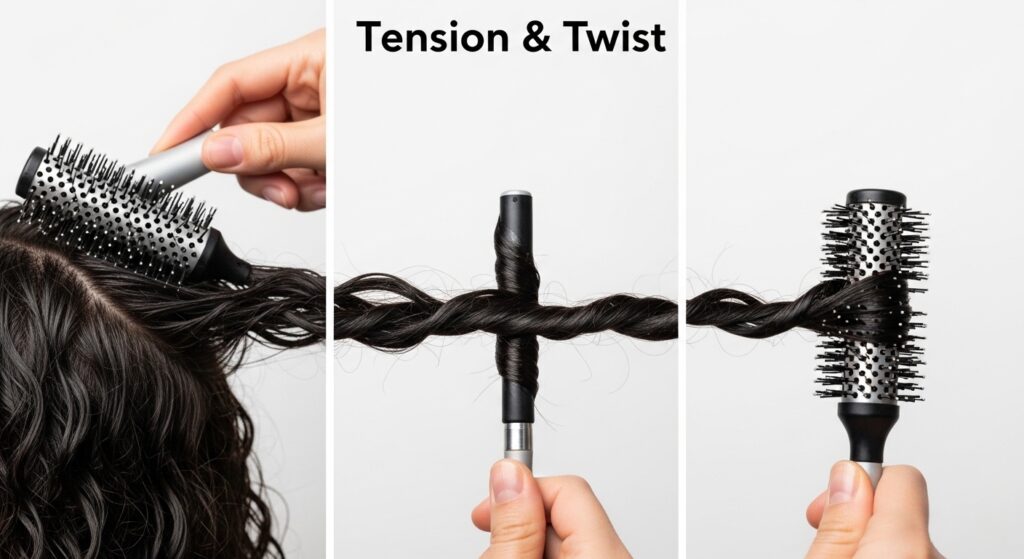
5. The Tension & Twist (The Classic): This is the most famous technique. Hold a section taut. Place the brush at the roots and, while applying gentle tension away from the scalp, slowly rotate the brush a full 360 degrees as you glide it down the length of the hair. The twist encourages the hair to spiral into a flawless, smooth clump.
6. The Scrunch & Release: After brushing a section through (using technique #4), gently scrunch the hair upward toward your scalp with your free hand. This helps encourage the curl formation and adds bounce right at the roots, preventing the “brushed flat” look.
Advanced Clump-Forming Methods
Ready to level up? These techniques offer more control over clump size, root volume, and curl direction.
7. The Ribboning Technique: For ultra-smooth, ribbon-like curls. After brushing a section through, place the brush under the hair at the mid-lengths. Twist the brush repeatedly as you move it down to the ends, wrapping the hair around the brush barrel. This creates a stunning, polished spiral.
8. The Root Flip for Volume: Focus on the roots for instant lift. After brushing a section and before twisting, use the back of the brush (or the handle) to gently lift the roots away from the scalp. Then, proceed with your twist. This creates airspace and lasting volume at the crown.
9. The In-Brush Clumping: Perfect for creating smaller, more defined clumps from larger sections. Brush through a large section, then re-insert the brush into the middle of the clump and gently pull it apart into two or three smaller, neater clumps. It’s like performing curl surgery for perfect separation.
10. The Coiling Method: Ideal for tighter curl patterns. Hold a very small section. Place the brush at the roots and, instead of gliding down, slowly coil the hair around the brush head in a circular motion, working down the strand. This manually forms a tight, springy coil.
Styling for Specific Curl Goals
Your desired outcome dictates your technique. Use these methods to solve specific curl concerns.
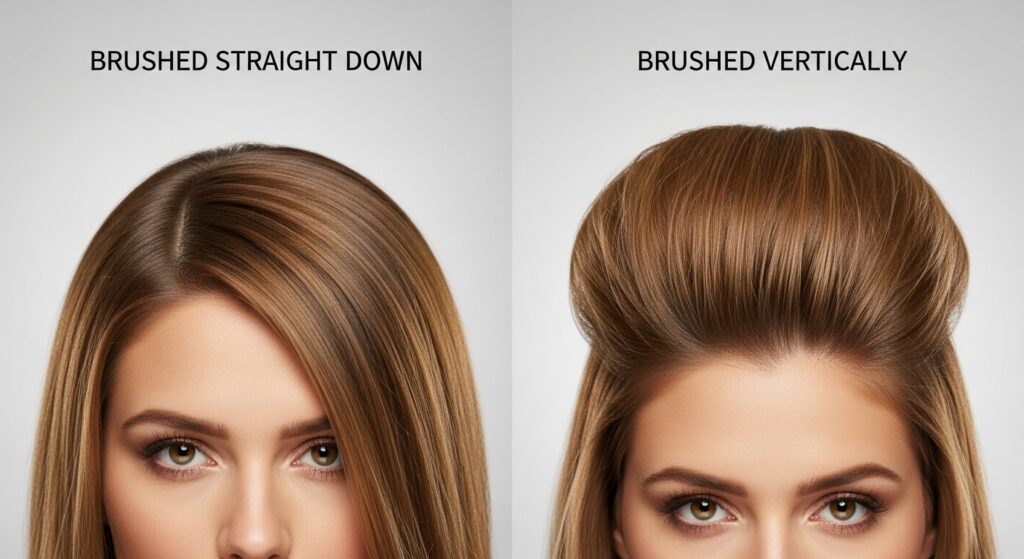
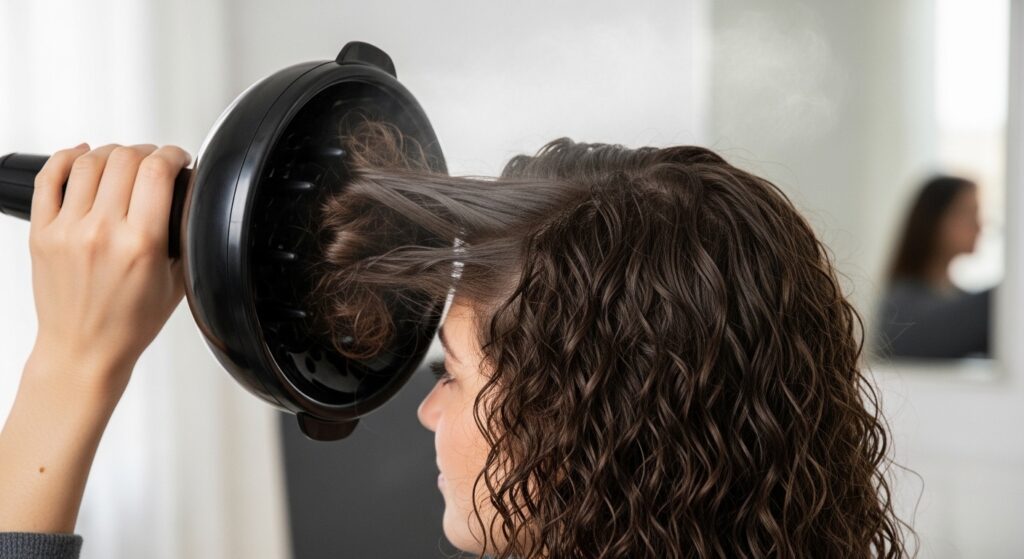
11. For Maximum Volume: Brush your sections vertically away from the scalp, rather than straight down. Use the Tension & Twist technique but direct the hair upward. Dry your hair with a diffuser upside down to set this voluminous lift in place.
12. For Flattened Roots: Employ the “Brush and Puck” method. After brushing a section, use your fingers to “puck” the roots away from the scalp, creating a small bump. Hold for a few seconds before moving on. This trains the roots to dry with lift.
13. For Frizz-Free Ends: Pay special attention to the ends of your hair. Ensure they are smoothly incorporated into your twist or coil. A common mistake is to twist tightly at the roots and forget the ends, leaving them frizzy. The brush should guide them into the clump seamlessly.
14. For Styling Curtain Bangs or Framing Pieces: Use a smaller, 5-row Denman or a single row from your modified brush. Brush these pieces away from your face, using a pronounced twist to create perfect, face-framing spirals that dry intentionally.
Pro Tips & Troubleshooting
Even with the right technique, small adjustments make a big difference.
15. The “Rake and Shake” Alternative: If twisting feels too precise, try this: Use the Denman to gently rake through a product-laden section from roots to ends. Then, hold the ends and gently shake the section up and down. Your hair will magically snap into its natural clumps with surprising definition.
16. Fixing a “Dent” or Line: Accidentally created a hard part or dent from the brush? Don’t panic. While your hair is still wet, spritz the dented area with a bit of water, add a tiny dab of styler, and use your fingers to gently re-clump the hair, blending it with the surrounding sections.
17. The Final Set & Dry: Your work isn’t done until your hair is 100% dry. Do not touch your curls while they’re drying! Diffuse on low heat and speed, or air dry completely. Once a cast is formed, you can gently scrunch out the crunch for soft, defined clumps that last for days.
Unlocking Your Best Curls
The journey to perfect curl clumps is one of experimentation. Not every technique will be a perfect fit for your unique curl pattern, density, and length. The true power of the Denman Brush is its versatility. Start with the foundational Tension & Twist, then play with Ribboning or the Rake and Shake. Pay attention to how your hair responds to tension, product amount, and moisture level.
Remember, the goal is not uniform perfection, but to enhance the natural beauty and health of your curls. With these 17 Denman Brush techniques in your styling arsenal, you’re equipped to tackle any curl day—from wash-and-go definition to special-occasion volume. So grab your brush, embrace the process, and get ready to meet your most clump-tastic curls yet.