19 Sectioning Techniques for More Even Curl Definition
If you’ve ever spent an hour meticulously applying products, only to end up with a head of hair where some curls are popping, some are flat, and others are just… confused, you know the frustration of uneven curl definition. The secret to transforming this experience isn’t necessarily a new miracle product—though those are fun too—it’s in the foundational art of sectioning. How you divide and conquer your mane directly dictates how evenly product is distributed, how thoroughly each strand is hydrated, and ultimately, how harmoniously your curls will clump and dry.
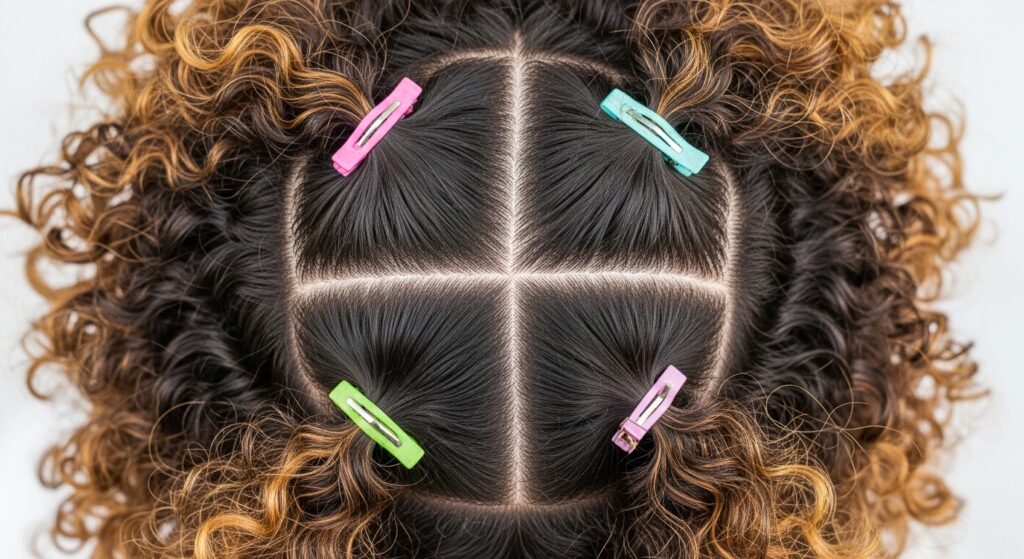
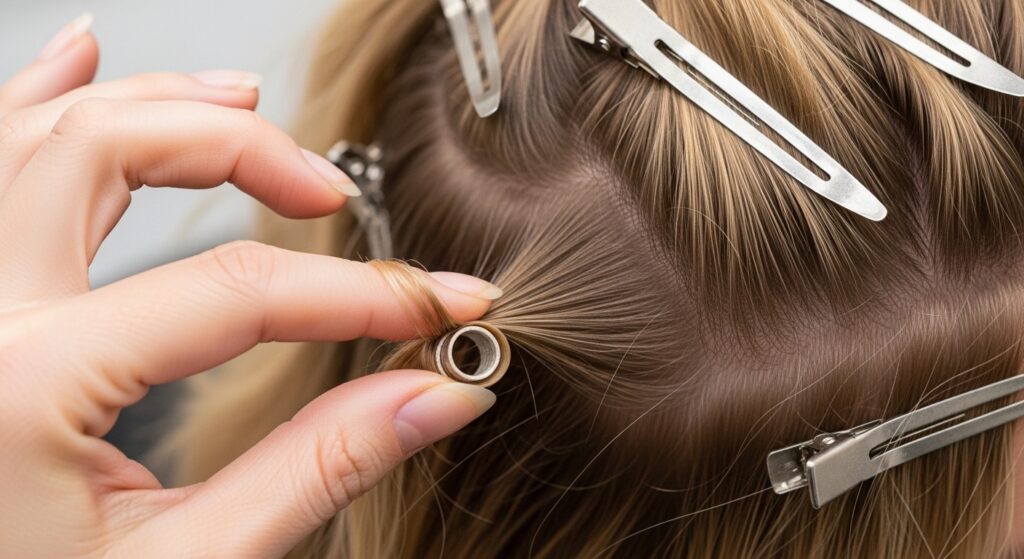
1. The Classic Four-Quadrant Method
This is the cornerstone of curly hair sectioning. Part your hair cleanly down the middle from forehead to nape, then create a second part from ear to ear over the crown. You now have four manageable sections: top-left, top-right, bottom-left, and bottom-right. Secure each with a clip. This method is perfect for ensuring you give equal attention to all areas of your head, preventing you from over-working the front and neglecting the back.
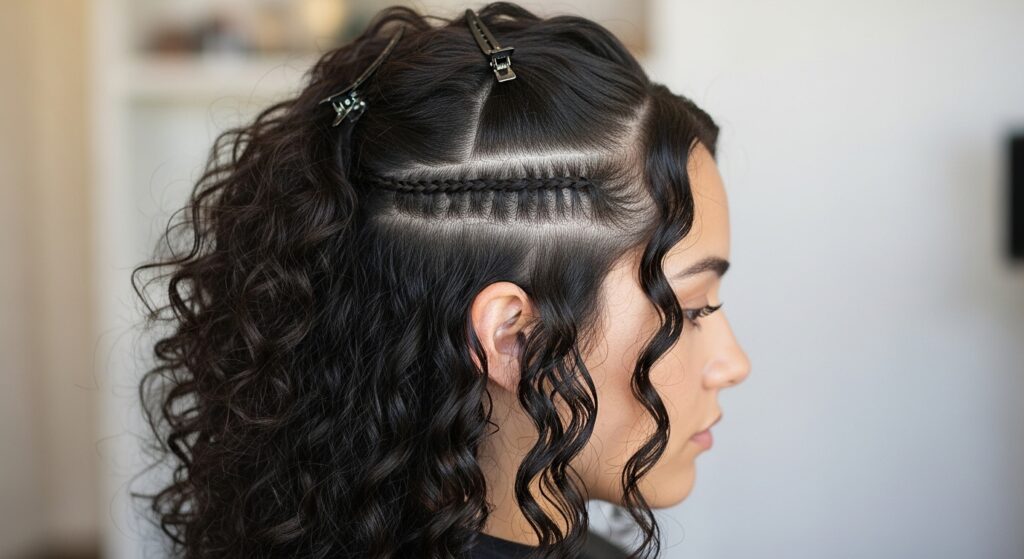
2. The Horizontal Layering Technique
Instead of vertical parts, work with horizontal layers. Start by clipping up the top half of your hair. Apply your products and style the bottom layer first, then release the next horizontal section, and so on. This is exceptionally effective for ensuring the under-layers, which often get compressed and frizzy, receive just as much love and definition as the top, canopy layer.
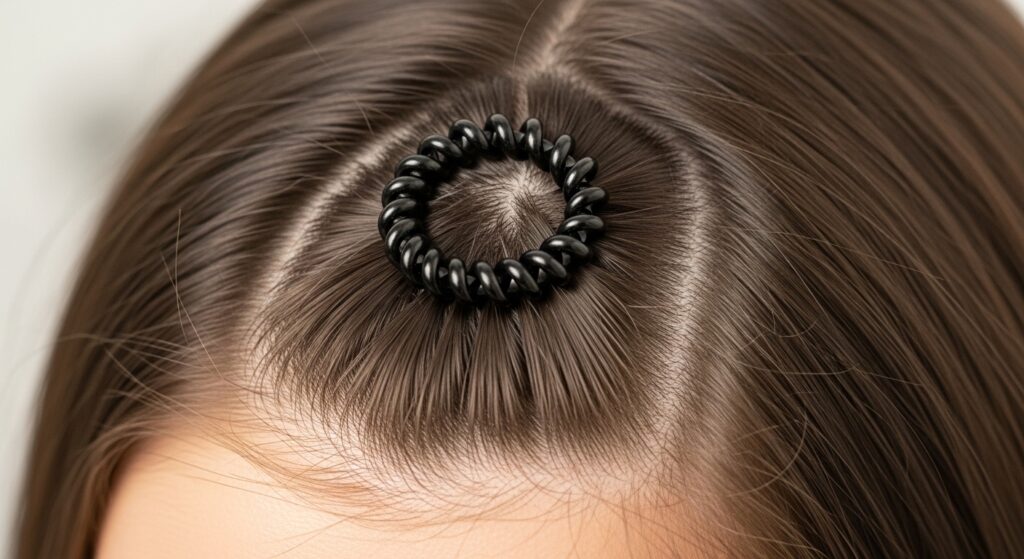
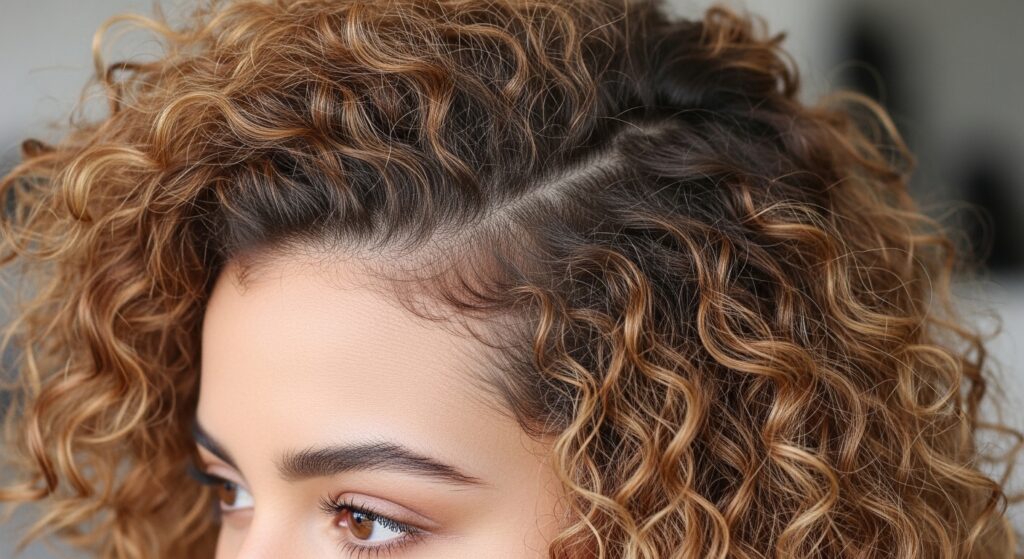
3. The “Crown-First” Priority Section
The hair around your crown often has a different texture, is more susceptible to dryness, and is the most visible. Isolate this section first—a circular area from the temples to the back of the crown. Style this section with extra care before moving to the less fragile areas. This guarantees your most prominent curls have optimal definition.
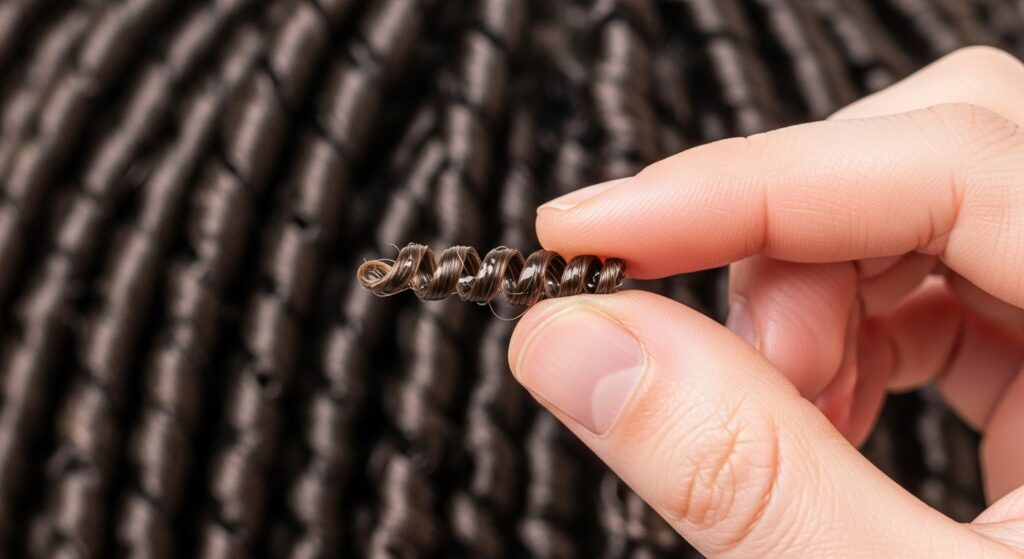
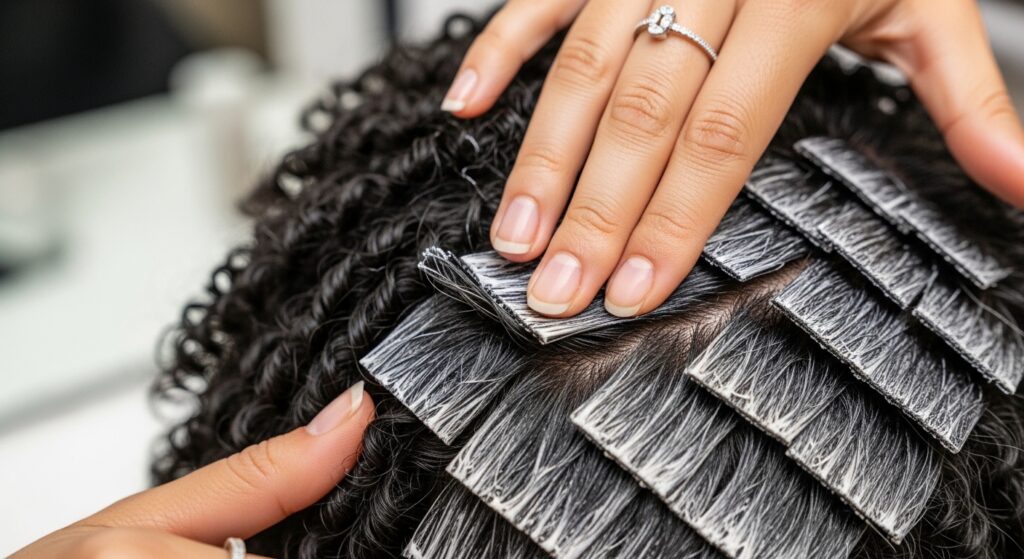
4. Tiny Twists for Tighter Textures
For Type 4 coils that benefit from maximum product saturation and strand-by-strand attention, small, random sections are key. Instead of large, geometric parts, take pea-to-nickel-sized subsections from your larger quadrants. This meticulous approach ensures the product penetrates every single coil, leading to unparalleled definition and shine.
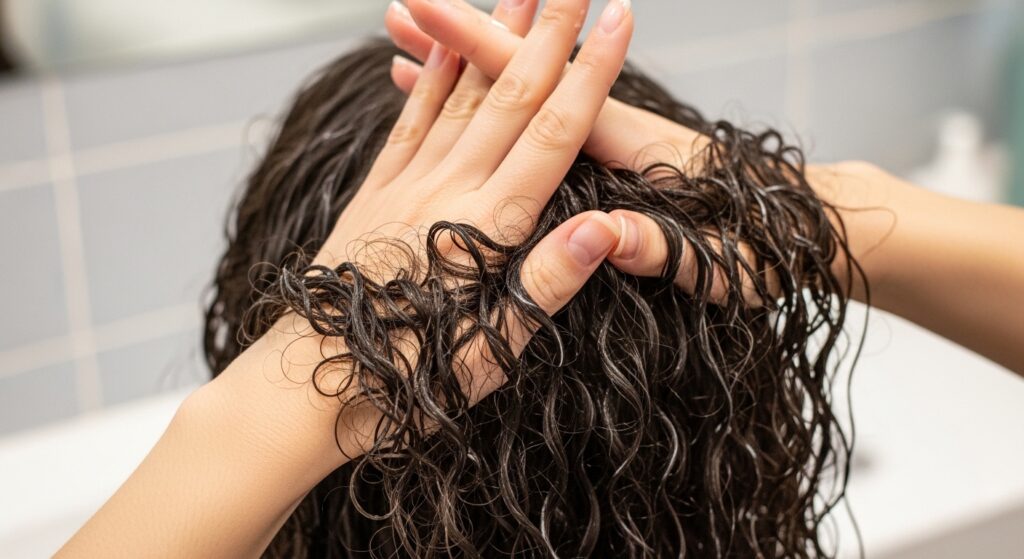
5. The “Praying Hands” Prep Section
Before you even begin styling, use the praying hands method on large sections to initially distribute your leave-in conditioner or curl cream. This pre-sectioning step creates a uniform base layer of product, making the detailed styling that follows much more effective and even.
6. Diagonal Sectioning for Volume
Create diagonal parts instead of straight ones, especially around the face and crown. This technique helps blend layers naturally and prevents the “section lines” that can sometimes show after drying. It also encourages volume at the roots as the curls dry in a less regimented pattern.
7. The Nape-First Strategy
Intentionally start your styling at the nape of your neck, the area most often missed. By tackling this tricky section first when your hands are freshest and your product supply is fullest, you ensure even coverage from the very bottom up, eliminating the “flat back head” phenomenon.
8. Banding for Stretch and Definition
After applying product in your sections, use soft hair bands (not elastics) to loosely band each section from roots to ends before drying. This gentle stretch helps elongate curls slightly for more uniform spring and can reduce shrinkage disparity, leading to a more even shape.
9. The “Finger Coil Assist” Section
If you use finger coiling to encourage definition, work on damp, product-laden hair in sections no wider than your finger length. These small, controlled sections allow you to create consistent coil patterns that will dry uniformly, especially helpful for enhancing definition in looser curl patterns or inconsistent areas.
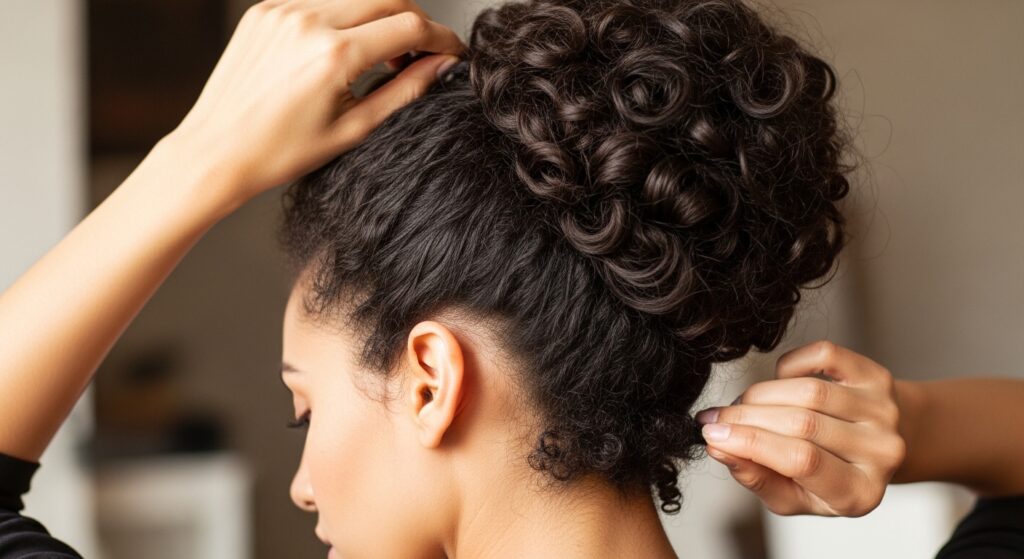
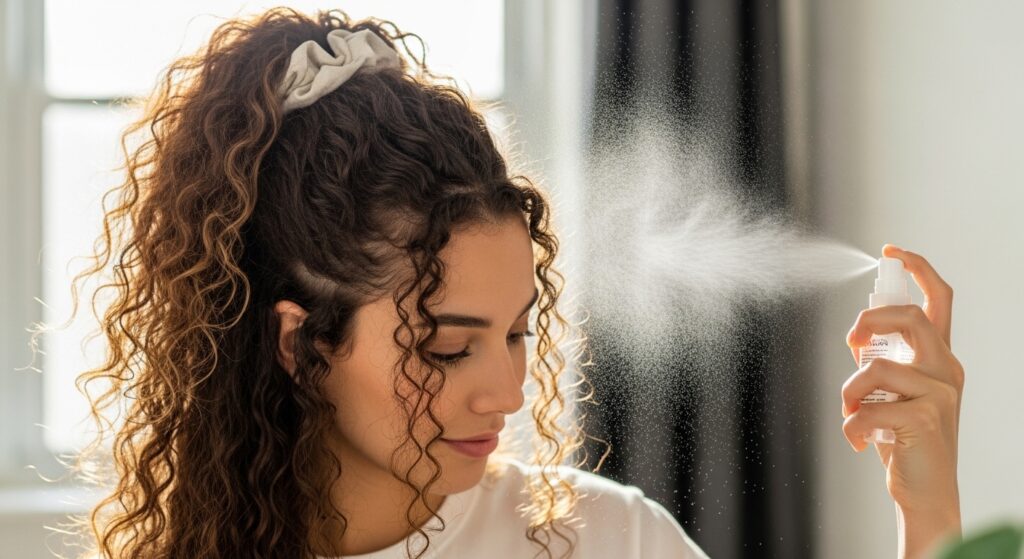
10. The Pineapple Pre-Section for Refresh Days
On refresh days, don’t just spray and scrunch wildly. Lightly dampen hair, then loosely pineapple the top half. Apply refresh spray or foam to the bottom half first, then release the pineapple and treat the top. This two-section method prevents over-wetting and maintains root volume.
11. The “Part-and-Spray” Deep Conditioning Divide
During deep conditioning treatments, section your hair into 4-6 parts before applying the mask. Use a spray bottle to lightly dampen each section, then apply the product directly to the section from root to tip. This guarantees every strand gets coated, maximizing the treatment’s efficacy for even curl health.

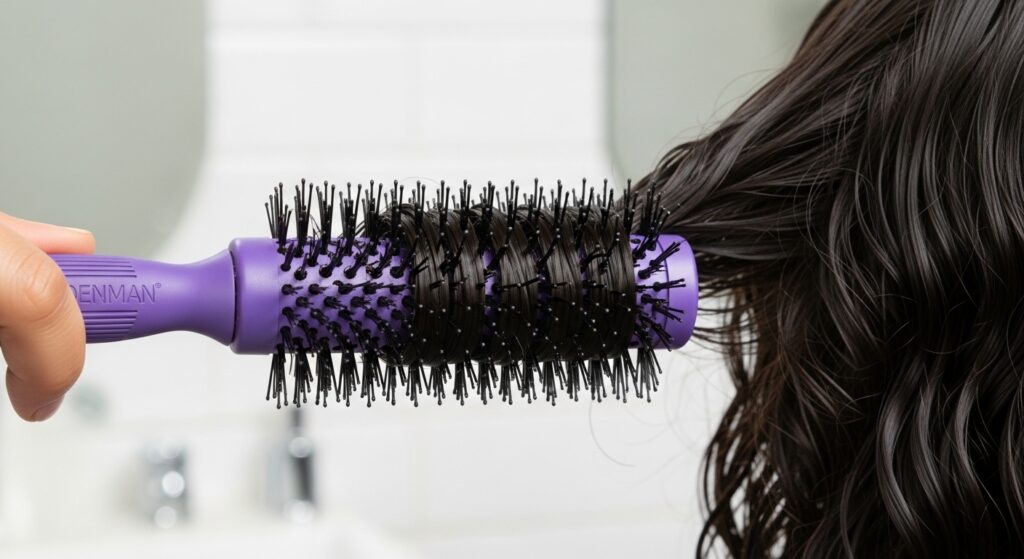
12. The Denman Brush Grid
When using a styling brush like the Denman, create smaller, horizontal subsections within your main quadrant. Brush each subsection under tension, away from the scalp, to form uniform curl clumps. This grid-like approach is a game-changer for creating consistent, defined ringlets across your entire head.
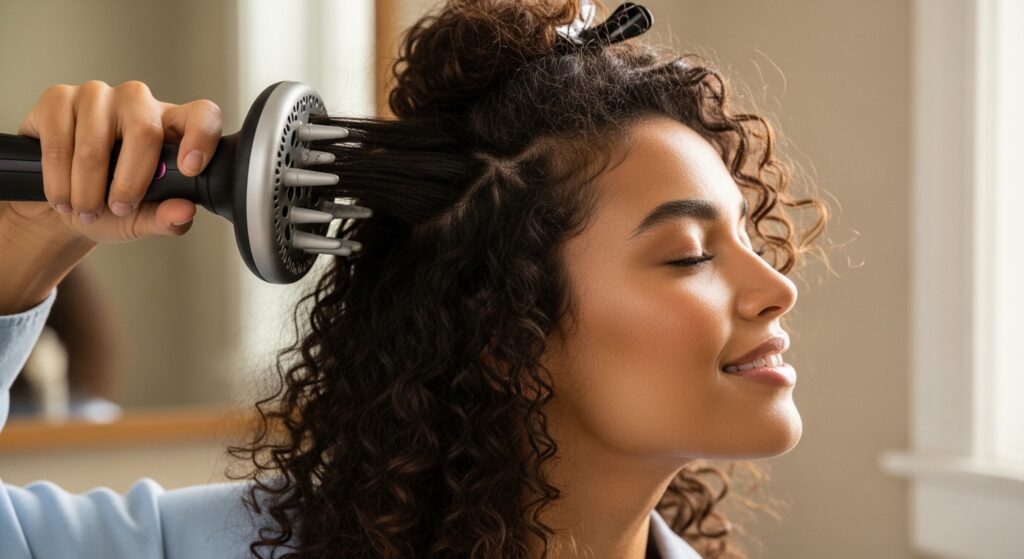
13. The “Top-Under” Diffusing Approach
When diffusing, section your hair not just for application, but for drying. After pixie-cuffing curls into the diffuser, tilt your head to the side and dry the under-layers of one quadrant first before moving to the top layers. This ensures the densest, slowest-drying areas get more heat time, promoting an even, full dry.
14. The Frame-Your-Face Isolation
Isolate the front sections that frame your face (from temple to temple) as their own special zone. These curls are often handled more and can become frizzy faster. Styling them separately with a lighter touch or a specific technique can help them blend seamlessly with the rest of your defined hair.
15. The “Shingling” Subsection Method
Popular for maximizing definition in tighter textures, shingling involves taking a small subsection, smoothing product down its length with fingers or a brush, and then gently separating and “shingling” the curls to lie flat like roof shingles. This is done subsection by subsection for intense, even definition.
16. The “Root-to-Tip” Product Application Order
Within each section, apply your products in a deliberate order: first to the roots and mids, then to the ends. This prevents the ends—which are often the driest—from grabbing all the product first and leaving the roots under-moisturized, which can cause uneven curl formation.

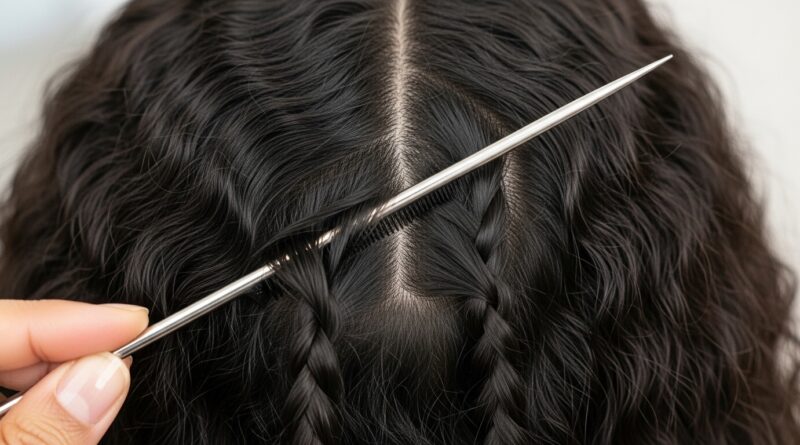
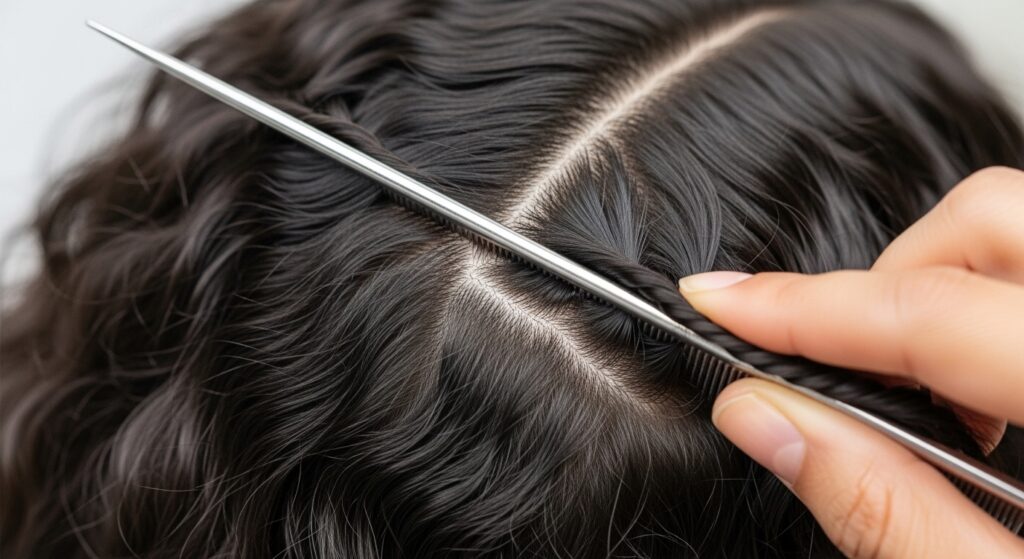
17. The “Twist-Out” Precision Parting
For a flawless twist-out or braid-out, the consistency of your sections is everything. Use a rat-tail comb to create clean, even parts for each twist. The size and shape of the section directly determine the size and definition of the resulting curl, so uniformity here is non-negotiable for an even result.
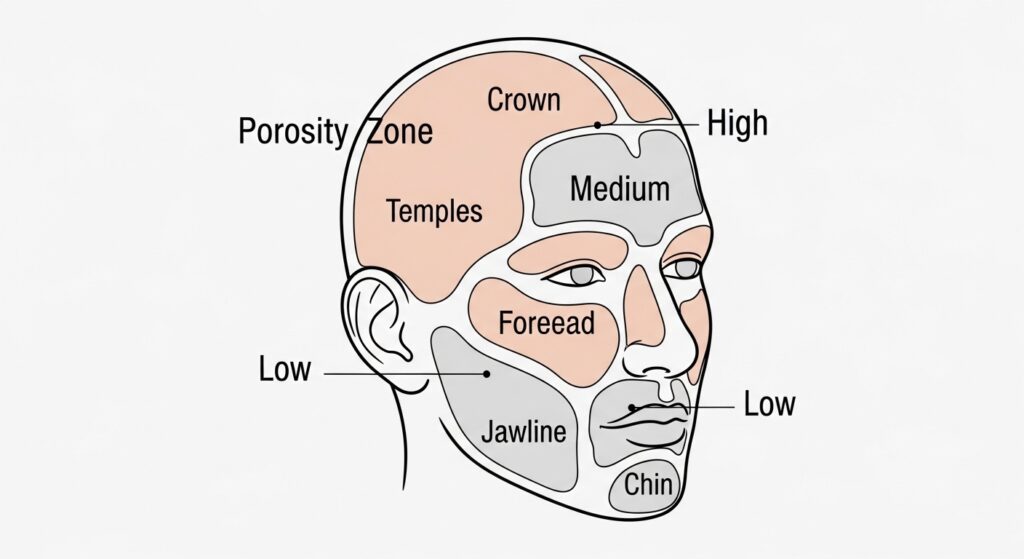
18. The “Zone of Porosity” Awareness
Understand that your hair may have different porosity zones. The crown might be higher porosity. Section these areas separately and adjust your product amount or technique—perhaps a bit more product or a longer water-soaking time for high-porosity sections—to achieve even results.
19. The “Less is More” Final Touch
After styling all sections, do a final overall assessment. Lightly glaze over the entire head with a diluted gel or foam in your praying hands, focusing on any areas that may have gotten mussed during sectioning. This final, light layer helps unify the cast and definition across all your hard-worked sections.
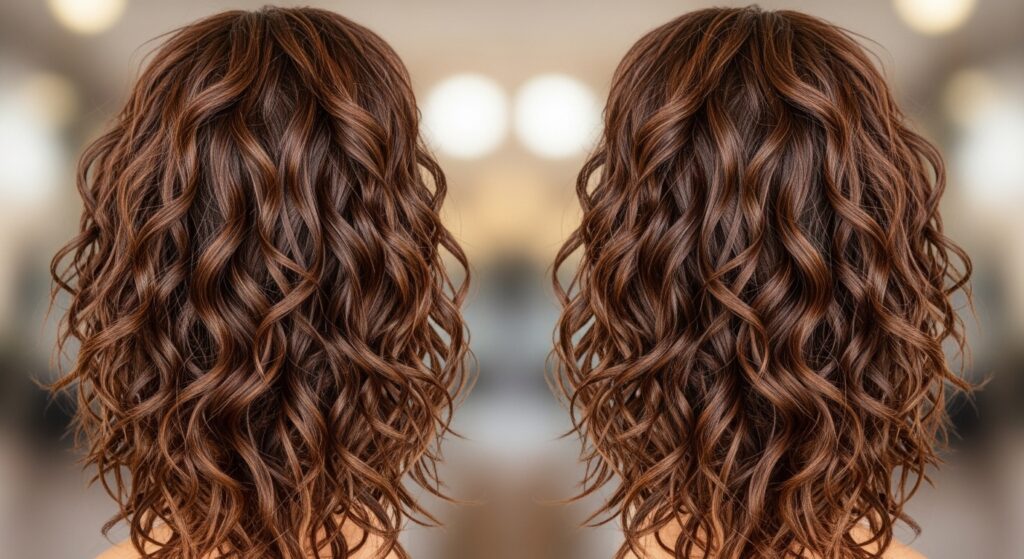
Conclusion: Your Blueprint for Balanced Curls
Sectioning is far more than just a preliminary step; it is the strategic framework that supports every other technique in your curly hair arsenal. By moving beyond a one-size-fits-all approach and experimenting with these 19 sectioning techniques, you empower yourself to address the unique topography of your scalp and the varied needs of your curl pattern. Remember, the goal isn’t perfection, but harmony. Start with one or two methods that resonate with your hair’s challenges—perhaps the Horizontal Layers for under-layer neglect or the Tiny Twists for ultimate definition. With patience and practice, you will build a sectioning routine that transforms your wash days, leading to consistently even, defined, and breathtakingly balanced curls.
What’s your go-to sectioning method? Share your experiences and favorite techniques in the comments below!