17 Dutch Braid Variations That Look Way Harder Than They Are
If you’ve ever scrolled through social media and felt a pang of hair envy looking at those intricate, crown-like braids, you’re not alone. The Dutch braid, with its 3D, raised effect, has become a hallmark of elegant and complex-looking hairstyles. But here’s the secret: most Dutch braid variations are far easier to create than they appear.
Master the Foundation: The Classic Dutch Braid
Before we dive into the variations, let’s lock down the basic move. Start with a section of hair at the top of your head, dividing it into three equal strands. Instead of crossing the left strand over the middle, cross it under. Then, cross the right strand under the new middle strand. Now, add hair from the corresponding side into the strand before you cross it under. Continue this “cross under and add hair” pattern down the length of your head, then finish with a regular three-strand braid. Practice this a few times—it’s the only knot you need to know for everything that follows.
1. The Double Dutch Pigtails
This playful yet chic style is a perfect starting point. Simply part your hair down the middle. Create a Dutch braid on each side, starting at your temple and braiding back and down. The symmetry is forgiving, and it keeps hair completely off your face. Pro tip: For a modern twist, gently pull on the outer edges of each braid to pancake them for a fuller, more bohemian look.

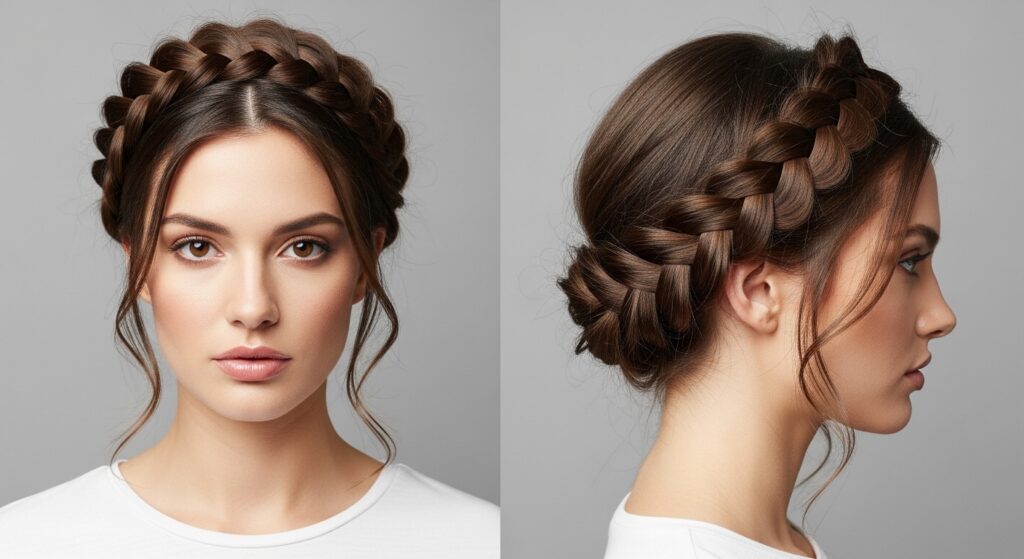
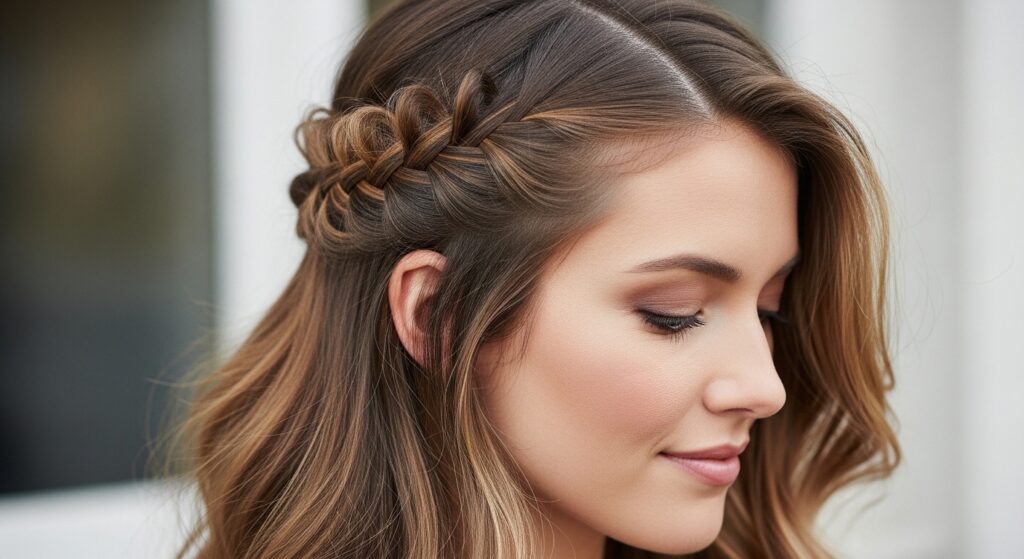
2. The Dutch Crown Braid
The epitome of romantic hairstyles. Start with a Dutch braid at one temple, braiding along your hairline, adding hair only from the top and front. Guide the braid around the back of your head to the other side, pinning it discreetly as you go. Tuck the end under and secure. It looks like you spent an hour, but it’s just one continuous braid wrapped around.
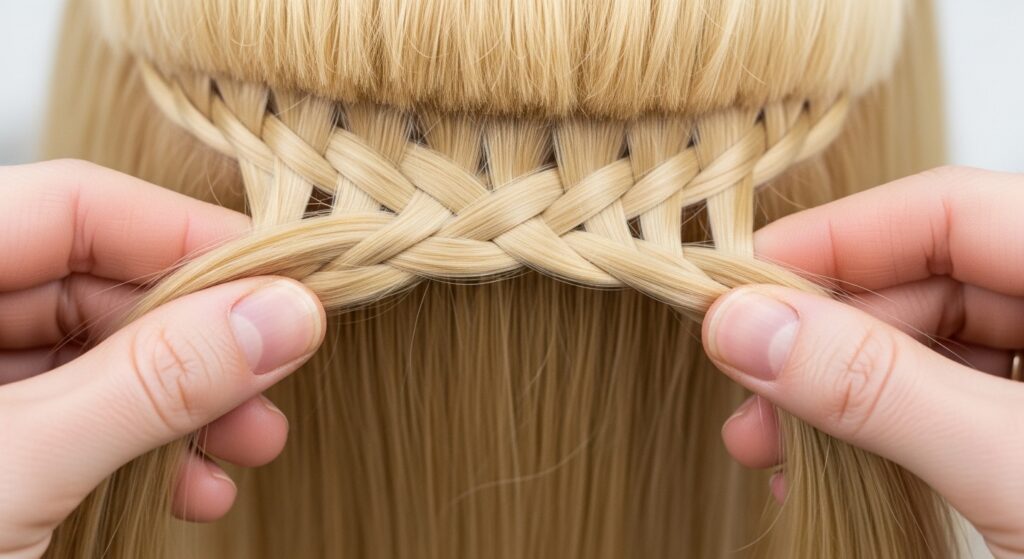
3. The Dutch Fishtail Braid
Combine the texture of a Dutch braid with the intricate look of a fishtail. Begin a standard Dutch braid. After a few underhand crosses, split each of your three main strands into two. You now have six sections. Cross the outer-left section under and into the center-left, and the outer-right section under and into the center-right. Continue adding hair as you go. The result is a breathtaking, woven masterpiece.
4. The Side-Swept Dutch Braid
An effortlessly cool look. Deeply part your hair on one side. Starting at the hairline on the heavier side, begin a Dutch braid, angling it diagonally across the back of your head toward the opposite ear. You can stop halfway for a dramatic accent braid, or continue all the way to the ends for a full side-swept style.
5. The Dutch Waterfall Braid
This ethereal style creates a cascading effect. Start a Dutch braid at the top of your head. As you cross a section under, instead of keeping it in the braid, let it drop down. Pick up a new section of hair from the top to replace it and continue. The dropped sections create the “waterfall” of loose hair beneath the braid. It’s easier than a full braid because you’re only working with hair from one area.
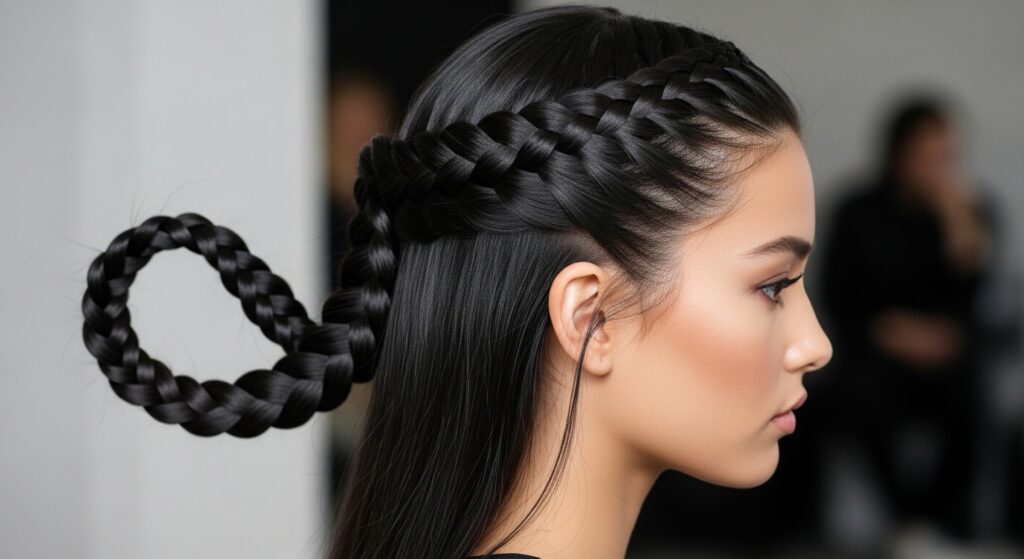
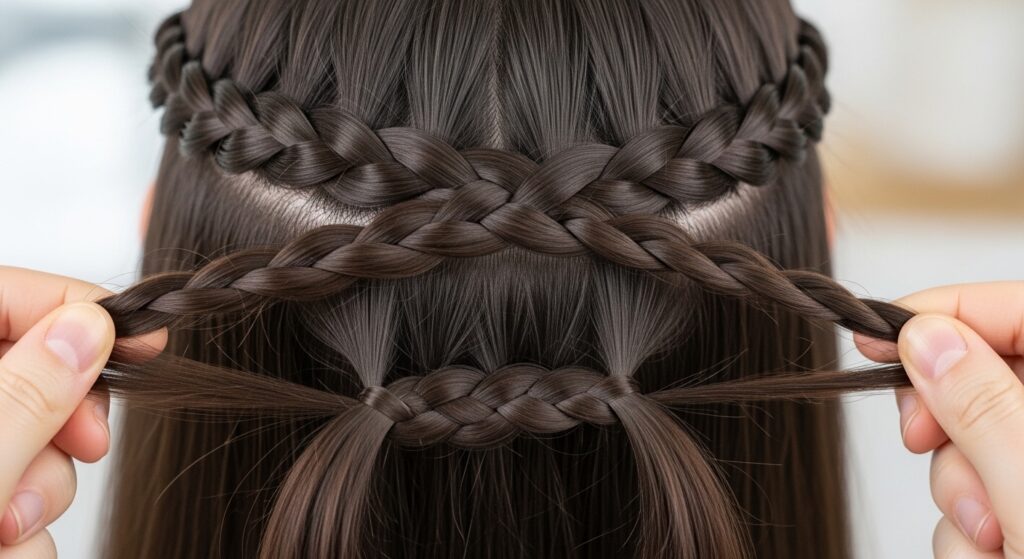
6. The Dutch Infinity Braid
This heart-stopper is all about illusion. Create two Dutch braids (or one and fold it in half). Twist and loop them around each other in a figure-eight pattern at the back of your head, securing with pins. From the front, it looks impossibly complex, but it’s just two braids being artistic friends.
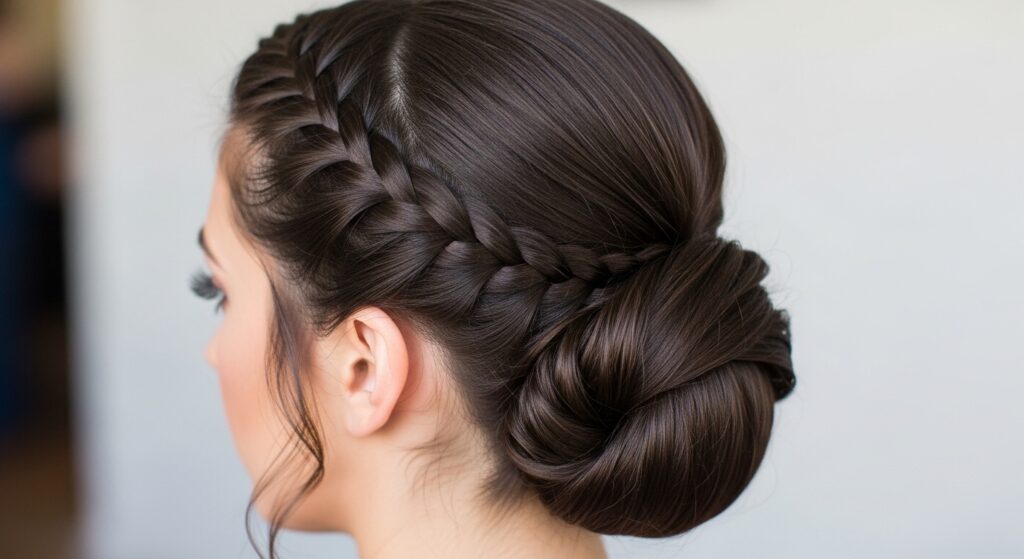
7. The Dutch Braid into a Bun
Elevate your basic bun instantly. Dutch braid the front section of your hair from one temple to the other, circling into a crown or stopping at the nape. Then, gather all your hair (including the braid and loose hair) into a low or high bun. The braid acts as a beautiful headband and adds incredible detail.
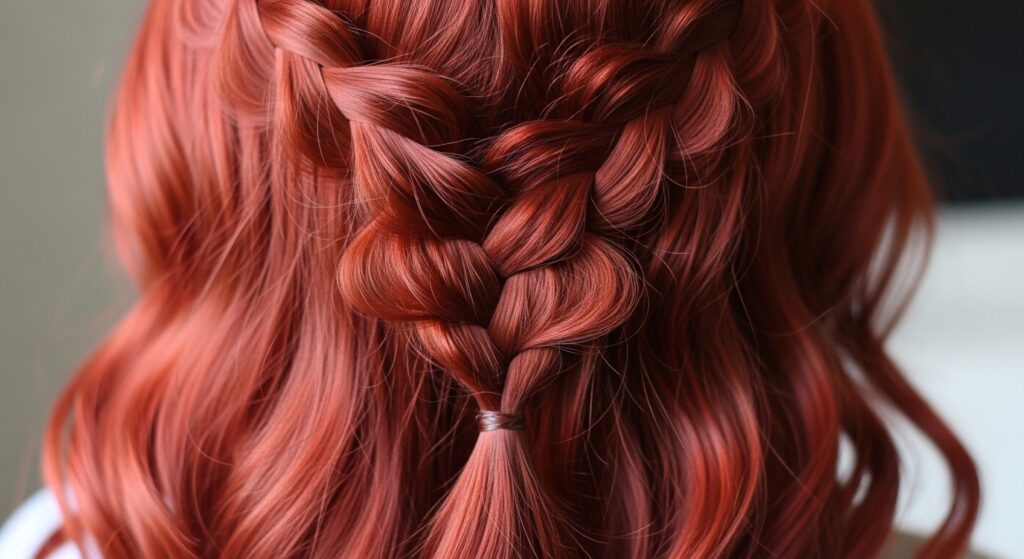
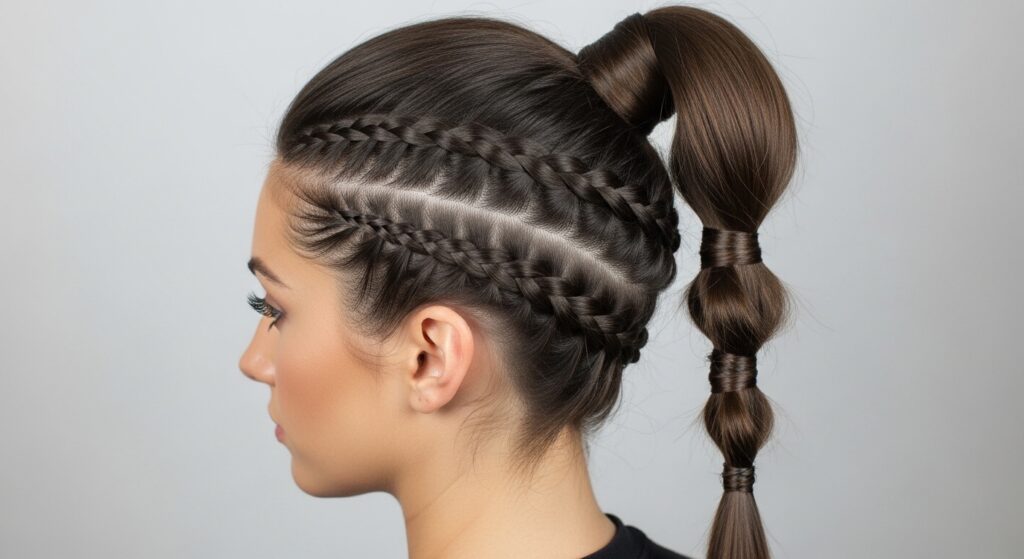
8. The Pull-Through Dutch Braid
A fantastic hack for thick hair. Create a small Dutch braid at the front. Directly behind it, gather a section of hair and secure it with a clear elastic. Split the ponytail above the elastic and “pull” the braid through the hole. Add more hair to the ponytail, secure, and pull through again. It creates a stunning 3D braided effect with minimal actual braiding.
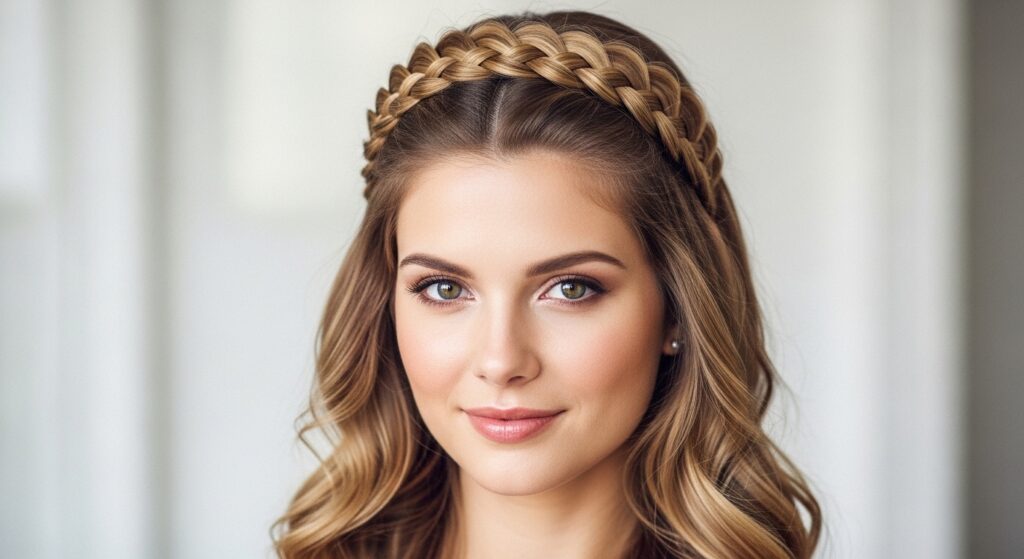
9. The Dutch Braid Headband
A quick and practical style. Start a small Dutch braid just behind your ear, braiding along your hairline to the other ear. Secure the end and tuck it behind your opposite ear, or pin it discreetly. Instantly, you have a beautiful, functional headband that keeps hair in place.
10. The Rope Twist Dutch Braid
For a smoother, more defined look. Take two sections of hair at the crown. Twist each section individually in the same direction. Then, twist those two twisted ropes together in the opposite direction, adding hair as you go down. This “twist of twists” creates a stunning, rope-like Dutch braid that’s very secure.
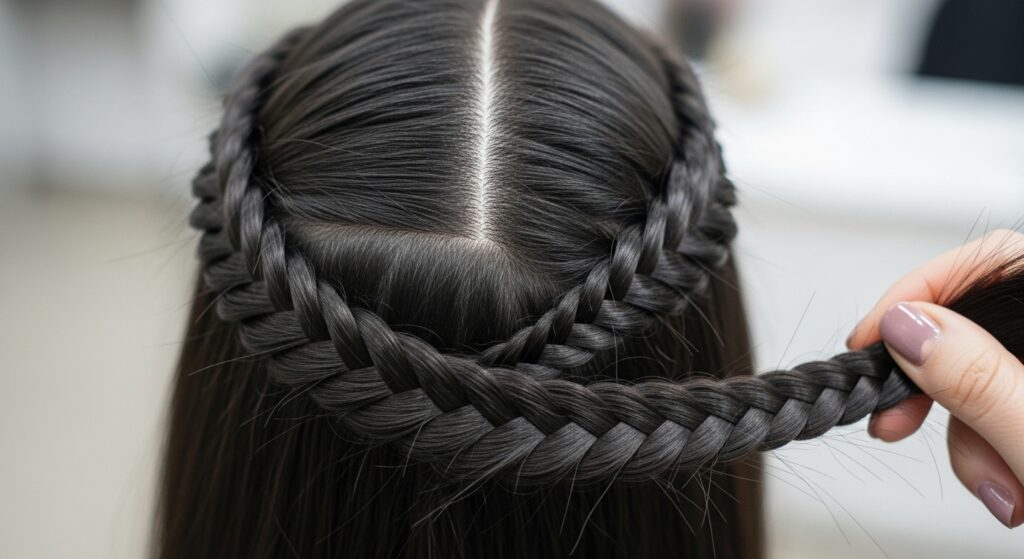
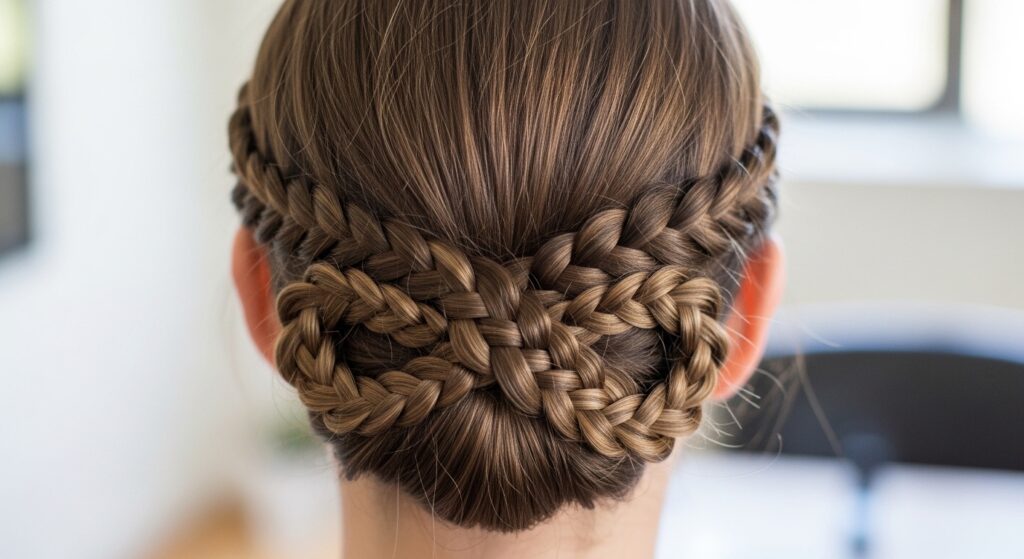
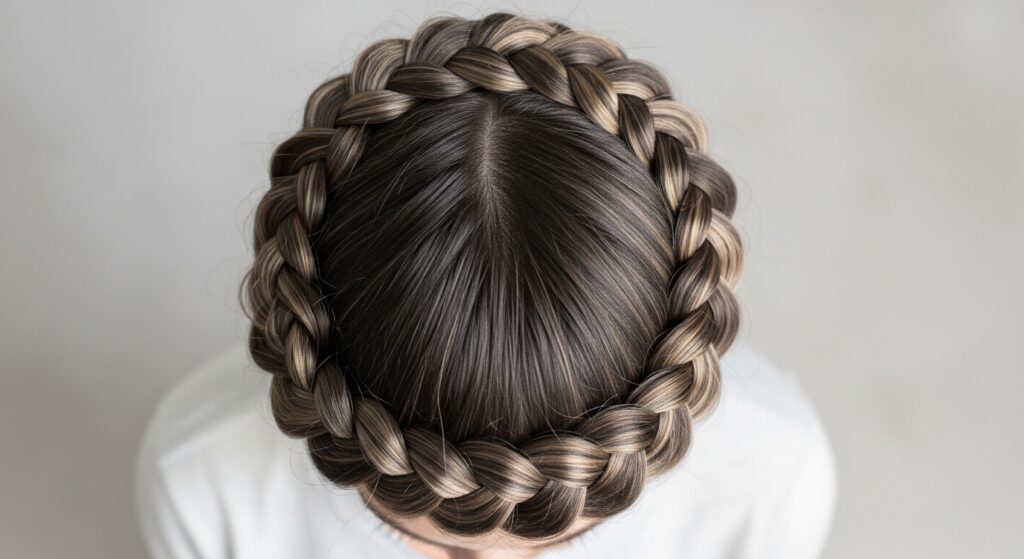
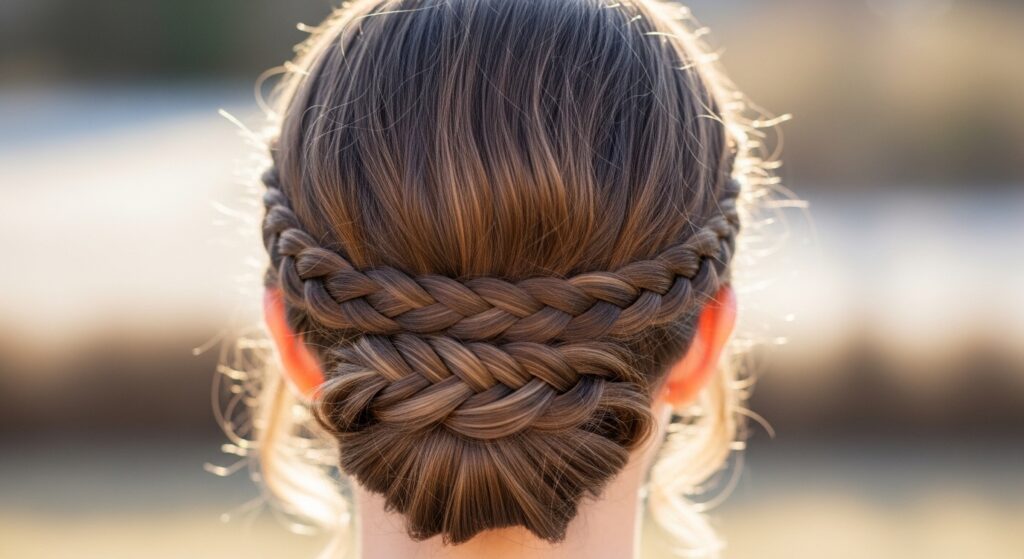
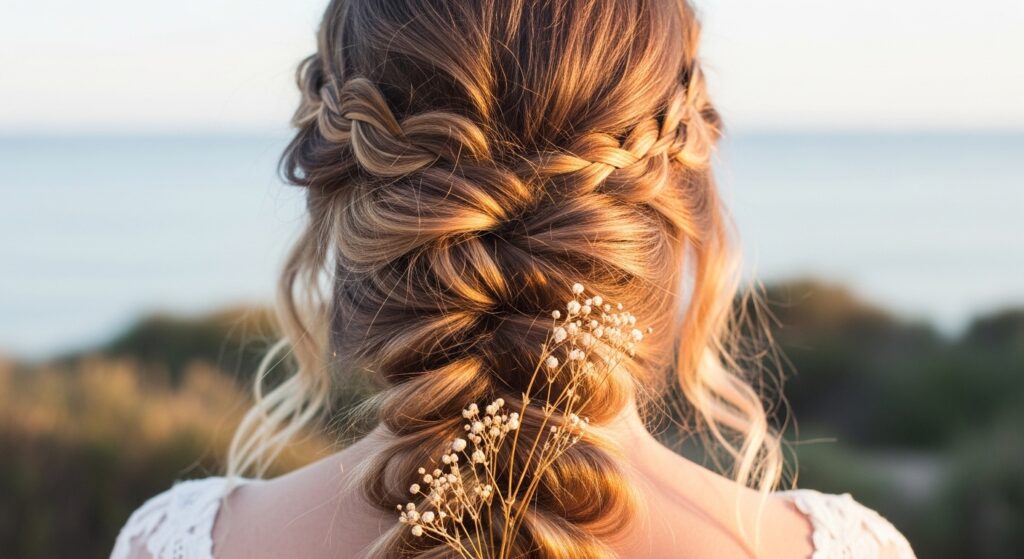
11. The Halo Braid with a Dutch Start
Similar to the crown, but fuller. Start with a Dutch braid at the nape of your neck, braiding upward along your hairline, adding hair only from the top. Circle all the way around until you meet the start. Tuck and pin the end. This creates a full, angelic halo of braids.
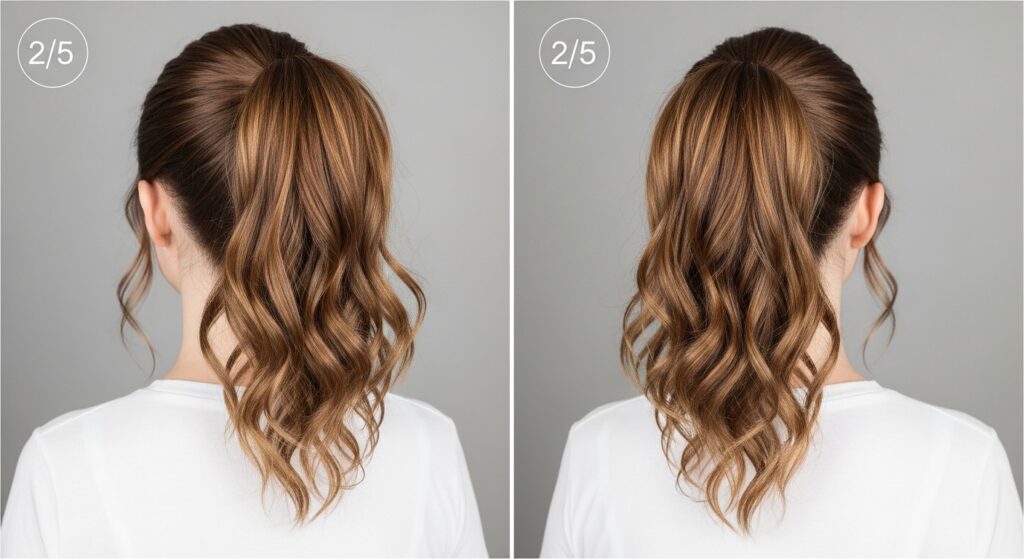
12. The Dutch Braid Ponytail
Give your ponytail an instant upgrade. Simply create a Dutch braid along your hairline (from one side to the other or from the front back), then gather all your hair, including the braid, into a ponytail. It adds polish and detail to the simplest of styles.
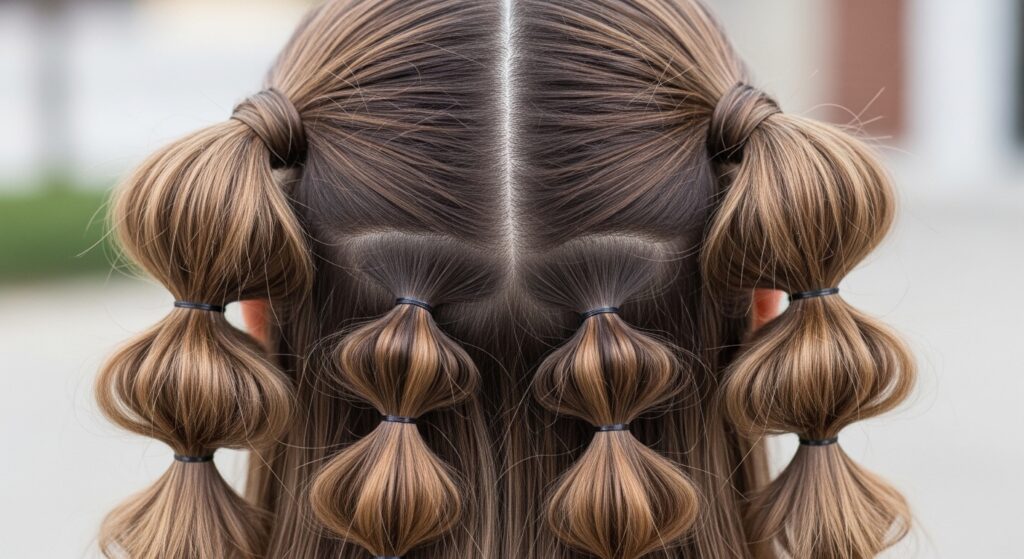
13. The Bubble Dutch Braid
Playful and trendy. Create a standard Dutch braid (a single or double) and secure the end. Then, gently pull apart sections of the braid to create “bubbles,” securing each bubble at its base with a small, hidden elastic. It’s a fun way to add volume and a modern touch.
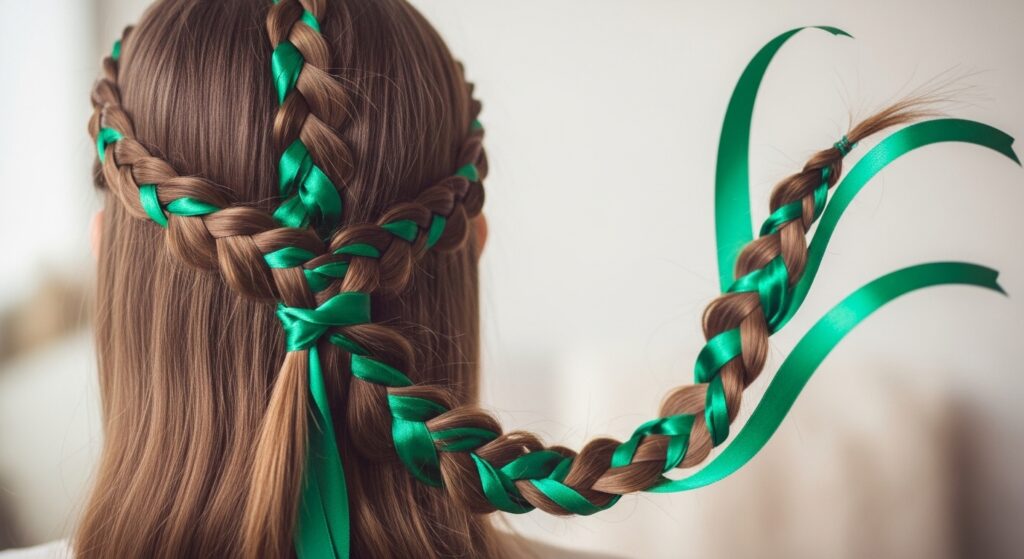
14. The Dutch Braid with Ribbon
Add a pop of color or elegance. Before you start braiding, lay a long ribbon over the starting section, making it a fourth “strand.” Braid the ribbon in by treating it as you would hair, always crossing it under with the adjacent strand. The ribbon becomes a beautiful, woven accent.
15. The Tucked Dutch Braid
A sophisticated updo that’s deceptively simple. Create a low side Dutch braid. Instead of securing it at the end, gently twist the braid and tuck it under itself at the nape of your neck, pinning it securely. It looks like an intricate, tucked updo but requires only one braid.
16. The Dutch Braid Bangs or Accent Braid
Not ready for a full head? Just braid a small section. Take a piece from your part or near your temple and create a tiny, delicate Dutch braid. Let it blend with your loose hair. It’s a subtle way to practice and add a boho-chic accent to any hairstyle.
17. The Mermaid Dutch Braid
This is all about texture. Create a loose, slightly messy Dutch braid. After securing, gently pull apart the woven sections to widen and soften the braid. Pull out a few face-framing pieces. The goal is a relaxed, beachy, “I woke up like this” version of the classic Dutch braid.
Your Braiding Toolkit: Tips for Success
Practice on Day-Old Hair: Slightly dirty hair has more grip and is easier to control than freshly washed, silky hair. Dry shampoo is your braiding best friend.
Use the Right Tools: A fine-tooth comb for sectioning, clear elastics for a seamless finish, and bobby pins that match your hair color are essential. A texturizing spray can add needed grip.
Mirror, Mirror: Use a hand mirror to check the back of your head as you braid. It helps with symmetry and ensures you’re adding even sections of hair.
Don’t Fear the Pancake: Once a braid is secured, gently tug on the outer loops to flatten and widen it. This technique adds volume, hides imperfections, and creates that coveted bohemian look.
Start Simple: Begin with pigtails or a single side braid before attempting the crown or halo. Muscle memory is real!
The beauty of the Dutch braid lies in its versatility and achievable elegance. Each of these 17 variations builds on the same foundational technique. What looks like a complex, runway-ready hairstyle is often just the same three strands crossed under, guided in a new direction. So grab your comb, embrace a few initial fumbles, and get ready to impress—even if it’s just yourself in the mirror. Your new signature braid is waiting to be discovered.