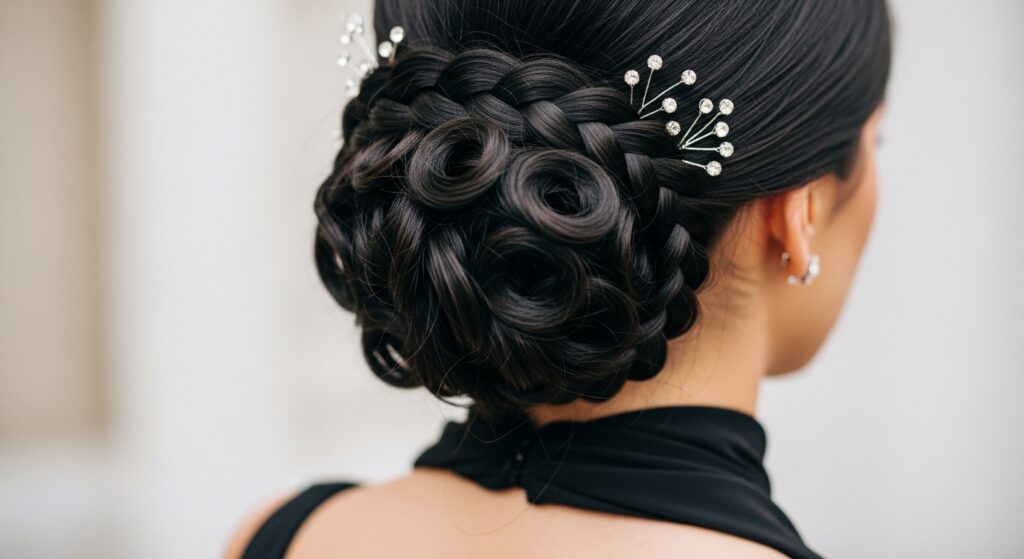
16 Pull-Through Braid Hacks That Don’t Require Real Braiding
Do you scroll through social media, mesmerized by those intricate, beautiful braids, only to feel a pang of frustration because your braiding skills just… aren’t there? You’re not alone. The good news is that some of the most stunning, complex-looking hairstyles aren’t made with traditional braiding at all. Enter the pull-through braid, the ultimate cheat code for gorgeous hair.
The Magic of the Pull-Through: Why It Works
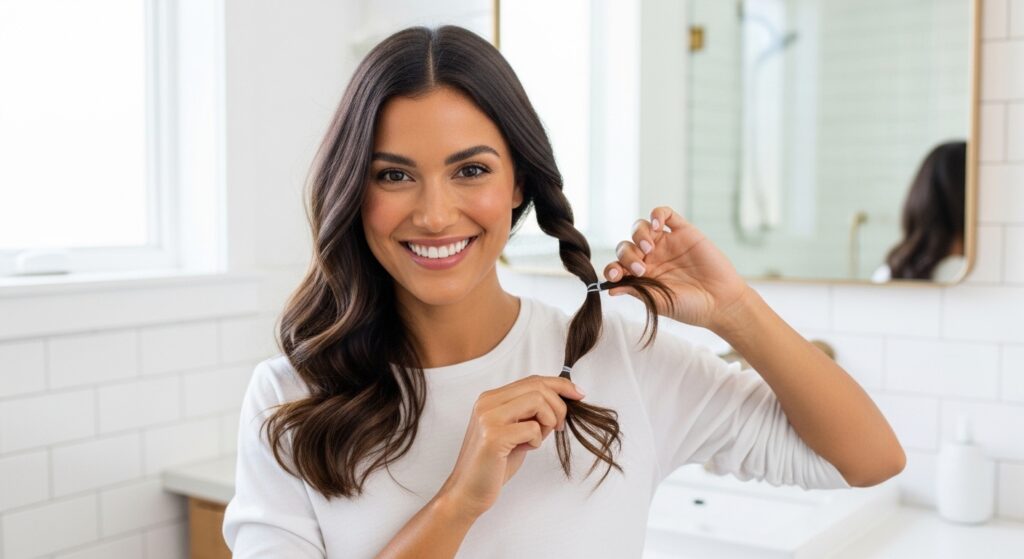
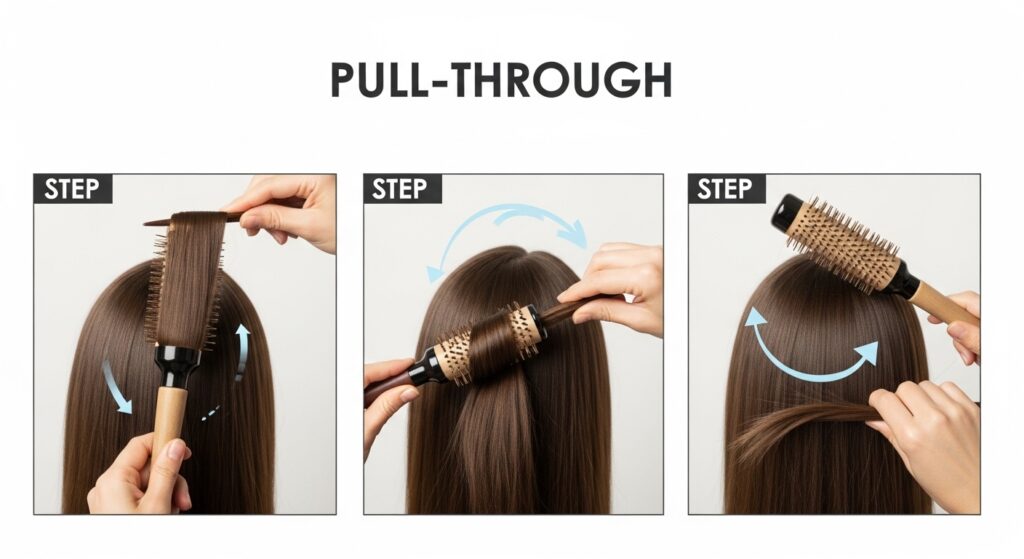
Before we dive into the styles, let’s appreciate the genius. A pull-through braid (sometimes called a pull-through ponytail or fake braid) works by creating a series of ponytails stacked on top of each other. You then split each ponytail and combine it with loose hair to form the next section. The “braid” is formed by the loops of hair between the elastics. This method adds incredible volume, hides elastics for a seamless look, and is incredibly forgiving—you can adjust as you go!
Hacks 1-4: Everyday Elegance (Quick & Simple)
1. The Classic Pull-Through Ponytail: Start with a high ponytail. Add an elastic a few inches down, but before you pull it all the way through on the final loop, leave a small section of hair out. Continue this process down the length. Gently tug each loop to add volume. It’s a polished upgrade to your basic ponytail in under two minutes.
2. The Low Relaxed Braid: Perfect for work or a dinner date. Gather hair at your nape into a low ponytail. Perform the pull-through technique all the way to the ends. Once finished, gently pull apart each loop sideways to flatten and widen the braid, creating a sophisticated, relaxed fishtail effect.
3. The Half-Up Dream: Take a crown section from each temple and secure it into a half-up ponytail. This is your first anchor. Now, pick up new hair from the sides with each step as you create the pull-through braid downward, incorporating it into the half-up style. This creates a beautiful, voluminous half-up style with braided detail.
4. The Topsy Tail Revival: A nostalgic twist! Create a high ponytail. Use a topsy tail tool or your fingers to pull the ponytail through the gap above the elastic. Add another elastic below and repeat. This creates a chic, inverted look that’s even easier than the standard method.

Hacks 5-8: Voluminous & Boho Vibes
5. The Mega-Volume Crown: Start with two pigtails high on your head, but style them as pull-through braids. Once complete, gently wrap and pin them across the crown of your head, meeting in the middle. This creates a stunning, voluminous braided crown headband that looks incredibly intricate.
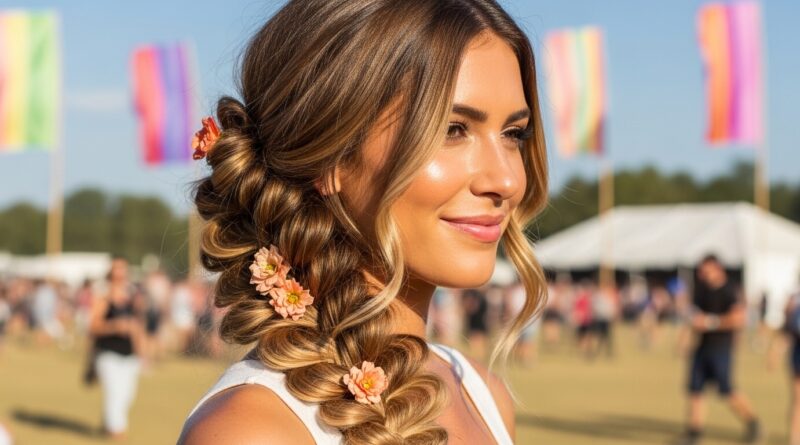
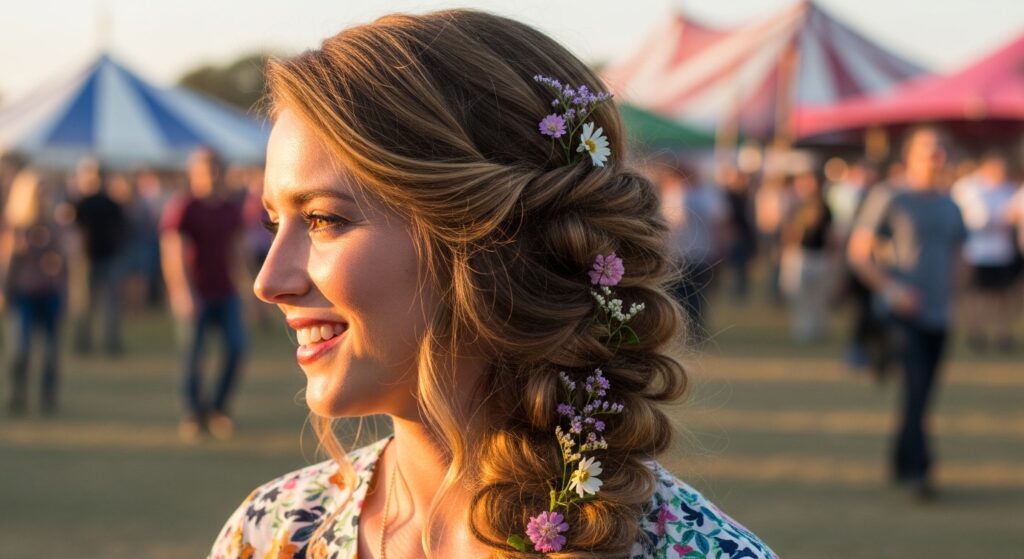
6. The Boho Side Sweep: Part your hair deeply to one side. Starting from the heavier side, begin a pull-through braid near your hairline, working diagonally across the back of your head towards the opposite side. Incorporate all your hair as you go. This leads to a gorgeous, bohemian side-swept style perfect for festivals.
7. The Pull-Through Bun: Create a pull-through braid down the length of your hair. Instead of securing the end with a final elastic, twist the remaining tail and wrap it around the base of the last loop, securing with bobby pins. You get a textured, braided bun with unbelievable fullness.
8. The Bubble Braid Hybrid: Make a classic pull-through braid. Then, between each elastic, gently tease or puff out the loop of hair to create a “bubble” effect. Combine the two hottest trends for a fun, modern look.
Hacks 9-12: Formal & Updo Glamour
9. The Elegant Updo Base: A pull-through braid is the perfect foundation for an updo. Create a low pull-through braid. Then, tuck the ends under and pin the loops artistically around your head. It’s secure, textured, and looks far more complicated than it is.
10. The Mermaid Braid: For this, use clear or matching elastics. Create a low pull-through braid. Once finished, carefully snip the elastics (with hair-cutting scissors, not near your scalp!) and have a friend gently weave a ribbon or a strand of pearls through the gaps. Re-secure the end. Pure magic.
11. The Double Pull-Through: Part your hair down the middle. Create two identical pull-through braids, one on each side. You can leave them as pigtails, join them at the back into one larger braid, or wrap them into dual buns. Symmetry always reads as polished and formal.
12. The Tucked End French Twist: Start a pull-through braid at the nape of your neck, working upwards. Once you have 3-4 loops, gather the remaining hair and the tail, twist it elegantly, and tuck it under the highest loop, securing with pins. It’s a modern take on the French twist.
Hacks 13-16: Creative & Accessorized
13. The Scarf-Integrated Braid: Take a long, thin scarf. Tie it around the base of your first ponytail, letting the ends hang. As you make each new section, split the scarf strands along with the hair and incorporate them into the next elastic. The scarf becomes woven into the braid for a pop of color and texture.
14. The Pull-Through Space Buns: Create two high pigtails and turn each into a pull-through braid. Instead of leaving them down, coil each braid into a bun around its base. You get instant, textured space buns with built-in volume and detail.
15. The Short Hair Hack: Yes, you can! Use small, clear elastics. Create a mini pull-through on a top section for a punk-rock half-up look. Or, create tiny, stacked pull-throughs along your hairline for an edgy, textured effect. Use hairspray and your fingers to fluff.
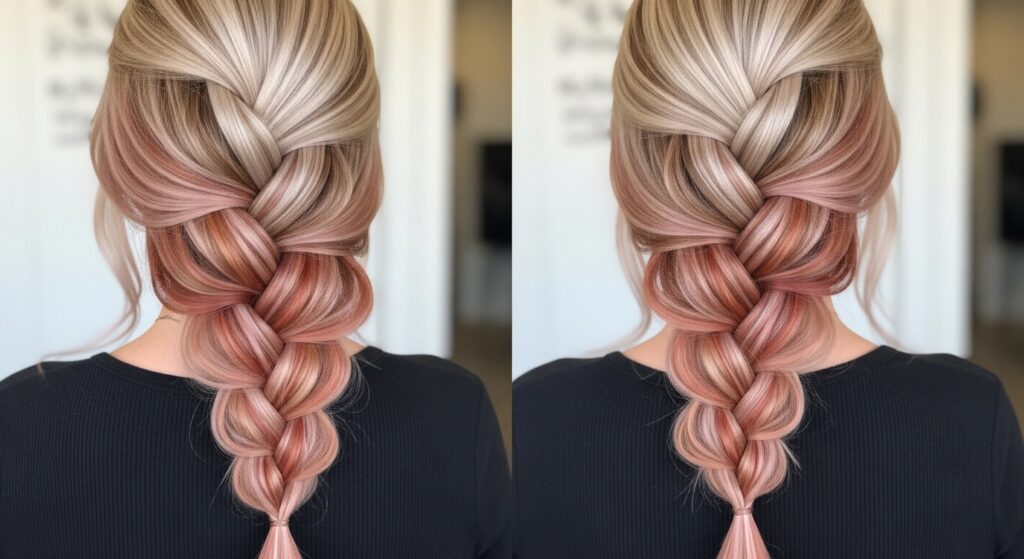
16. The Color-Play Braid: This is brilliant for ombre or highlighted hair. By pulling the hair through the elastics, you strategically place color bands. For a more dramatic effect, lightly backcomb each loop before pulling it tight to blend and accentuate the color variations.
Pro Tips for the Perfect Pull-Through Braid Every Time
Texture is Key: Slightly dirty hair or hair textured with a sea salt spray or dry shampoo holds the style better and creates more volume.
The Right Elastics: Use snag-free, coil elastics or clear ones. They are gentler and easier to hide or remove.
Pulling for Perfection: After each step, gently pull the loop apart vertically (up and down) to tighten the section, and then horizontally (side to side) to widen and flatten the braid for that coveted, full look.
Embrace Imperfection: The beauty of this style is its boho, textured feel. Don’t aim for a perfectly slick look; a few loose pieces add charm.

Unlock Your Styling Potential, No Braiding Required
The pull-through braid is more than a hairstyle; it’s a gateway to confidence in styling your own hair. It proves that you don’t need to be a professional to achieve red-carpet-worthy looks. With these 16 hacks, you have a repertoire for every occasion—from the gym to a wedding.
So, grab your elastics, embrace the simplicity, and get ready to be asked, “How did you braid your hair like that?” Your secret, the brilliant no-braid braid, is safe with us. Now, go forth and create!