20 Marley Twist Techniques for Natural-Looking Volume
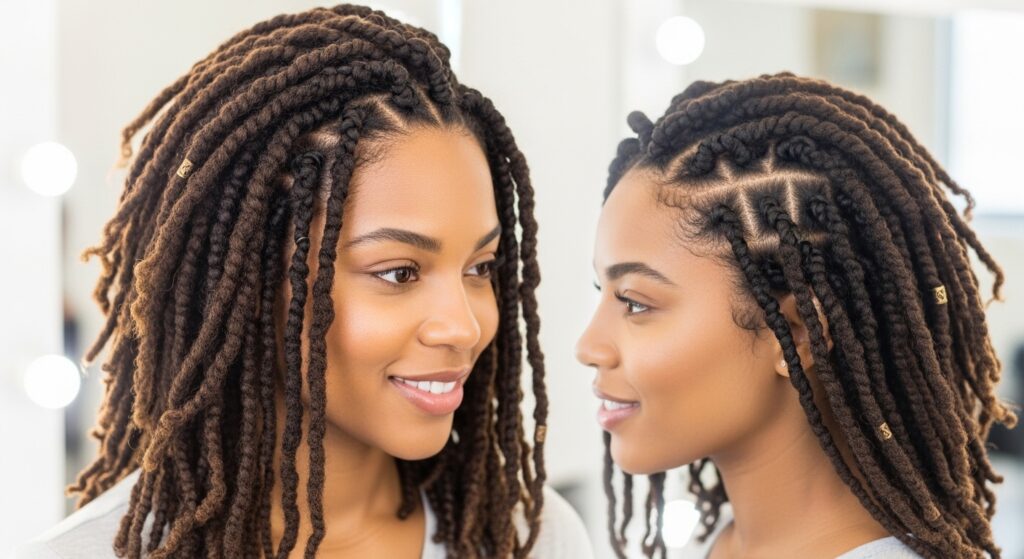
If you’re craving a protective style that offers unparalleled volume, texture, and versatility, look no further than Marley twists. Named after the iconic singer Bob Marley’s dreadlocks, these twists are crafted from a specific type of kinky, coily braiding hair that mimics natural Afro-textured hair. Unlike traditional synthetic twists, Marley hair provides a beautifully matte, realistic, and full-bodied finish. But the secret to truly breathtaking Marley twists lies in the technique.
Foundation First: Prep & Parting for Perfect Volume
Before you even pick up a pack of hair, the groundwork you lay determines your volume potential. Proper prep and parting are non-negotiable for a flawless, voluminous finish.
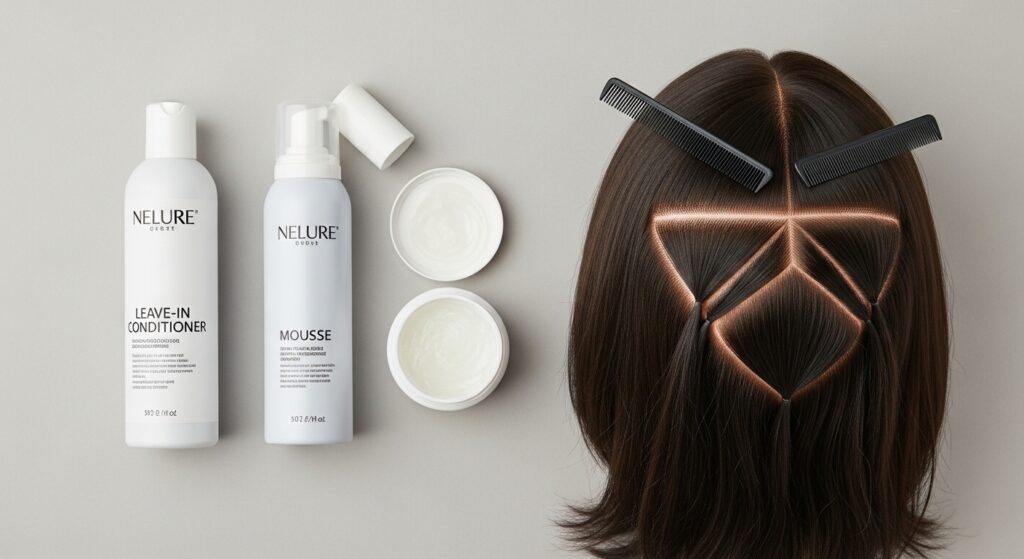
1. The Scalp Prep Technique: Start with clean, deeply conditioned hair. Apply a lightweight leave-in conditioner and a small amount of gripping gel or mousse to your natural hair. This provides slip for braiding, reduces frizz, and adds a light hold without weighing down your roots, allowing for lift and volume at the base.
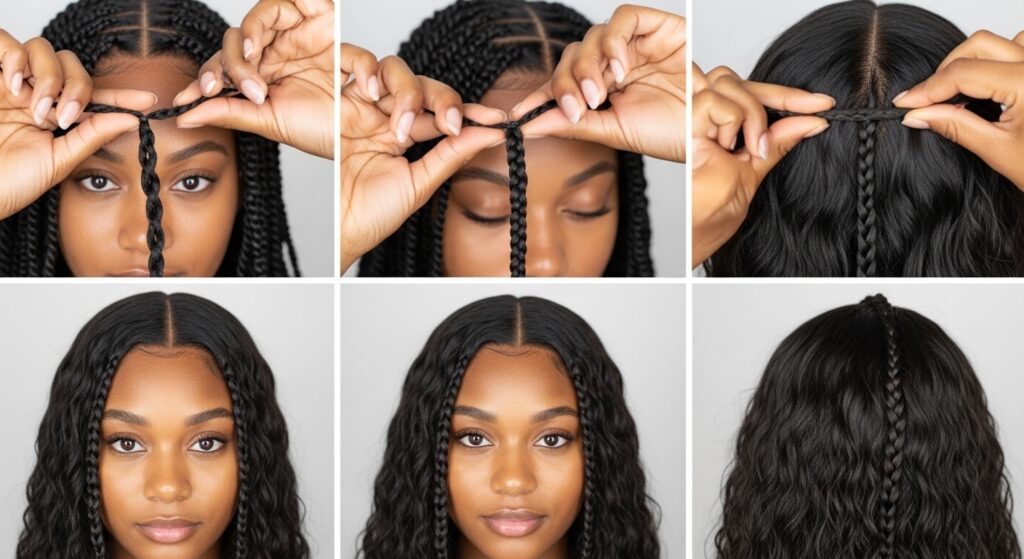
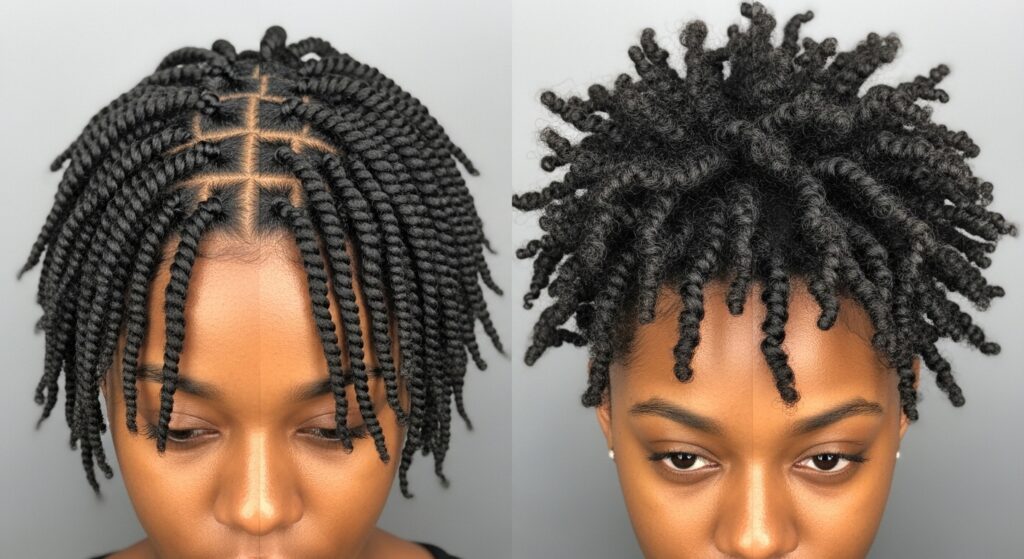
2. Strategic Sectioning for Maximum Fullness: Avoid uniform, grid-like parts. For a natural look, use horizontal, triangular, or diamond-shaped sections. Larger sections at the crown create built-in volume, while smaller sections around the hairline allow for more delicate, natural-looking baby hairs and framing.
3. The “Big to Small” Braid Base Method: When creating the foundation braid (your natural hair), start with a slightly larger section at the root before gradually incorporating smaller subsections. This technique creates a tiny, intentional bump at the base of each twist, contributing to overall root volume and a seamless blend.
Core Braiding & Twisting Techniques
This is where the magic happens. How you attach and twist the Marley hair directly impacts the thickness, texture, and longevity of your style.
4. The Classic Feed-In Technique: The gold standard for a natural, non-bulky root. Gradually feed small pieces of Marley hair into your braiding hair as you go down the plait. This method eliminates that awkward “starter knot” and creates a tapered, seamless look that enhances perceived volume by starting sleek and expanding.
5. The Two-Strand Twist vs. Three-Strand Braid: For softer, more voluminous twists, use a two-strand twist method on the added hair. For denser, more defined, and longer-lasting twists, use a three-strand braid. The two-strand method often yields a fluffier result.
6. The “Double-Up” Density Method: Want extreme fullness? For each braid base, take two pieces of Marley hair of the same color and treat them as one when feeding in. This doubles the hair density per twist, creating a luxuriously thick and voluminous look ideal for larger twists or shorter styles.
7. Varying Twist Sizes: Don’t make all your twists the same size. Mix medium, large, and even a few jumbo twists throughout your head. This variation mimics natural hair growth patterns and creates dynamic, multi-dimensional volume that looks organic, not helmet-like.
Advanced Volume-Boosting Secrets
Go beyond the basics with these pro tips that add serious oomph and a custom-fit feel to your Marley twists.
8. The Root Fluff & Pull Technique: Once a twist is complete, gently pull on the sides of the twist only at the mid-lengths to ends. Avoid pulling the root directly. Then, use a rat-tail comb or your fingers to gently fluff the root area away from the scalp. This creates instant, believable volume.
9. Strategic Undercarriage Layering: For an install, ask your stylist to braid the under-layers of your hair (the nape and behind the ears) in a slightly upward direction. When the twists are attached, they will naturally push the upper layers outward, creating a beautiful, rounded silhouette of volume.
10. The “Twist Out” on Marley Twists: Yes, you can do a twist-out on already-installed twists! Once all twists are in, lightly dampen them with a mix of water and oil. Re-twist them in smaller sections or braid them loosely. Let them air dry or sit under a dryer, then unravel. The result is incredible, wash-and-go-like volume and wave definition.
11. Teasing the Base (For Experienced Hands): Before adding the Marley hair, you can gently backcomb the very base of your braided natural hair. Be extremely careful and gentle to avoid tension. This adds a hidden cushion of volume right at the root.
Styling for Enhanced Fullness
Your twists are in—now let’s style them to maximize their voluminous potential.
12. The High Pineapple Puff: Gather all your twists into a very high ponytail on the very top of your crown, but only secure it loosely with a coil-free hair tie on the last loop. Let the ends burst outward and upward. Gently pull on the twists around your face and crown to create a majestic, voluminous puff.
13. Half-Up, Half-Down Volume Crown: Take the front and crown sections of your twists and gather them into a ponytail or bun at the top of your head. Before securing, pull the twists gently to loosen them and create height at the crown. This leaves the back hair down for a voluminous, cascading effect.
14. Side-Swept Drama: Part your twists deeply to one side. On the heavier side, gently pull the twists near your temple forward and outward to create a sweeping, face-framing volume. This style adds width and body visually.
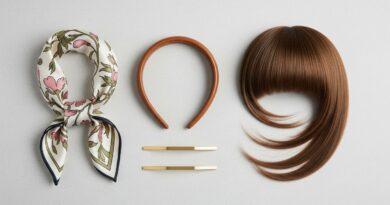
15. Accessorize for Lift: Use large, claw clips or decorative hair pins to pin up sections at the crown or sides. By pinning the hair up and away from the scalp, you create immediate lift and interesting volume points.
Color & Texture Tricks for Visual Volume
Volume isn’t just about size; it’s a visual illusion. Use color and texture to your advantage.
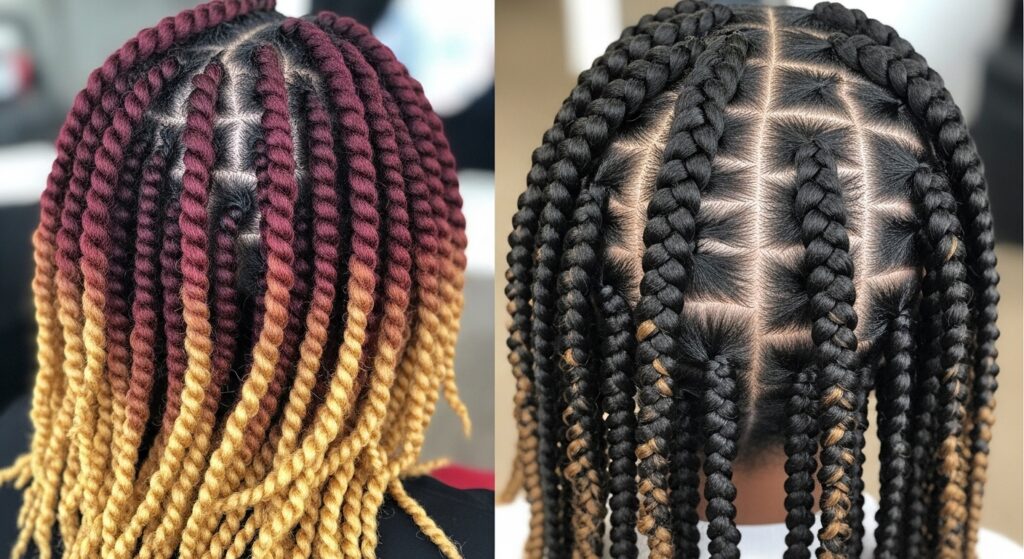
16. The Ombre/Balayage Effect: Using Marley hair with ombre or balayage coloring (darker at the roots, lighter at the ends) creates depth and dimension. The eye is drawn to the color transition, making the hair appear thicker and more dynamic.
17. Mixing Textures Within a Style: Combine standard Marley twists with Marley braids or even crochet Marley curls in the same install. The contrast in texture between twisted, braided, and curled sections creates incredible visual interest and a sense of abundant fullness.
18. Highlight Placement for Depth: If using highlighted hair, strategically place the lighter pieces around your face and at the crown. Light colors advance visually, making those areas appear fuller and drawing attention to your style’s volume
Maintenance to Preserve Your Volume
Volume can deflate without proper care. Keep your twists looking full and fresh from week one to week six.
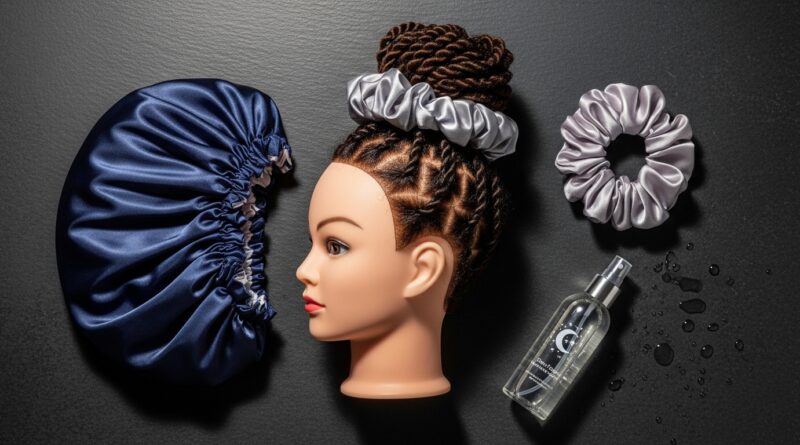
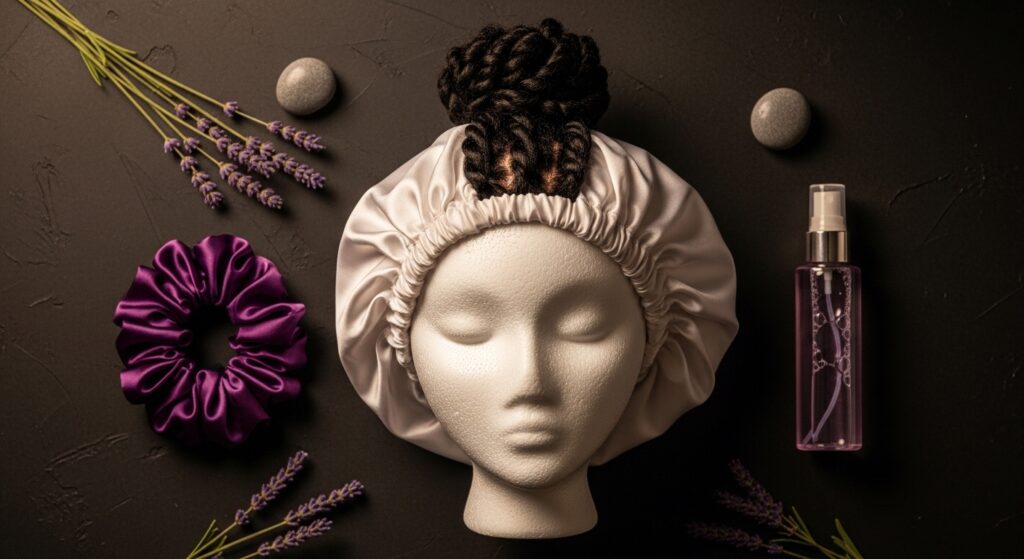
19. The Nighttime Fluff & Store Routine: Every night, gently fluff your roots with your fingers. Then, loosely gather your twists into a satin scrunchie high ponytail (a pineapple) and cover with a satin or silk bonnet. This preserves root lift and prevents flattening while you sleep.
20. The Steam Refresh: Around week 3 or 4, twists can look dry and slightly deflated. Hang your head over a bathroom sink with hot water running to create steam, or use a handheld garment steamer from a safe distance. Gently pass the steam over your twists, then shake and fluff. The moisture will revive the hair’s texture and volume almost instantly.
Embrace Your Volume Journey
Mastering Marley twists is an art, and achieving that perfect, natural-looking volume is your masterpiece. It’s a blend of meticulous technique, creative styling, and consistent care. Don’t be afraid to experiment with these 20 techniques—mix, match, and find what works best for your hair type, face shape, and personal style.
Remember, the goal is not just big hair, but hair that looks and feels authentically, beautifully yours. With these methods in your styling arsenal, you’re equipped to create Marley twist styles that are bursting with life, volume, and undeniable confidence. So, grab your Marley hair, channel your creativity, and get twisting!