18 Wrapped Braid Methods That Hide Elastic Bands
There’s a secret that separates a good braid from a great, professional-looking one: the invisible finish. Nothing disrupts the elegant flow of an intricate plait like the glaring presence of a plastic elastic band. But fear not! Mastering the art of the wrapped braid is your key to achieving flawless, salon-worthy styles that look seamlessly woven from root to tip.
The Magic of the Wrap: Why Conceal Your Elastics?
Before we dive into the methods, let’s appreciate the transformative power of a simple wrap. Concealing an elastic does more than just hide a band; it creates a polished, intentional look. It protects your hair from the constant grip of elastic, reduces breakage, and allows the braid itself to be the star. The wrap can be a subtle extension of the style or a bold decorative accent, adding texture, color, and sophistication.
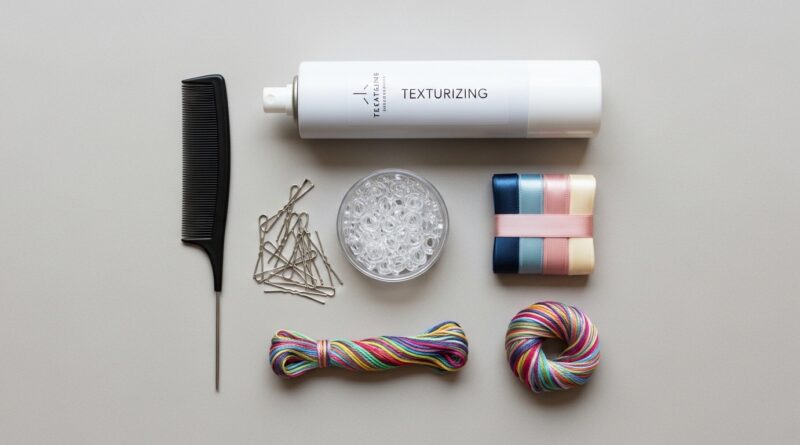
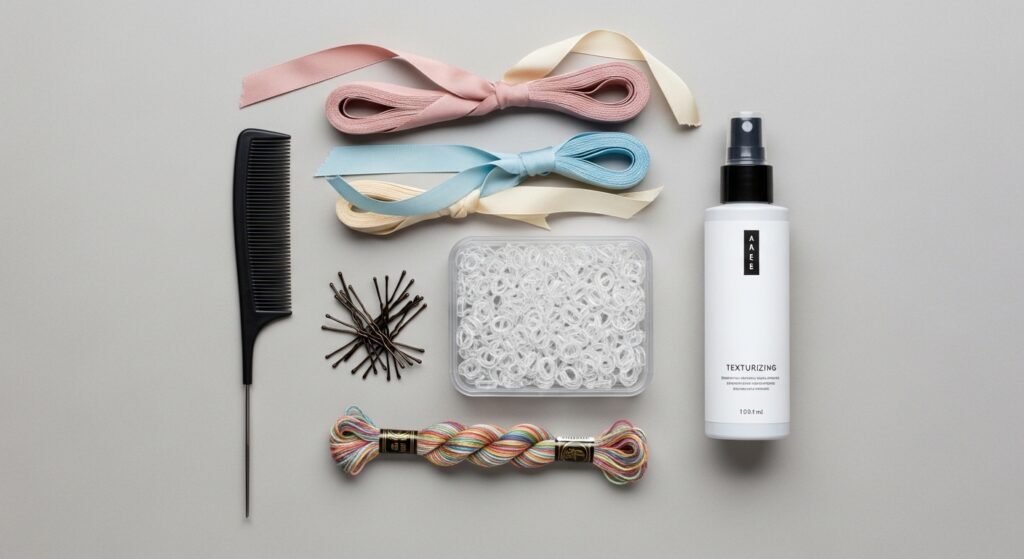
Essential Tools & Prep for Perfect Wrapped Braids
Success starts with the right foundation. You’ll need small, clear or matching elastics, a tail comb for precision, and bobby pins that match your hair color. The star of the show is your wrapping material: think thin strands of hair from the tail, coordinating embroidery floss, silk ribbons, or even decorative cord. Prep is key: slightly texturized or day-old hair holds braids better. A light-hold spray on the sections before braiding can tame flyaways and make wrapping smoother.
Method 1-6: The Classic Hair Wrap Techniques
These foundational methods use your own hair to create an invisible, seamless finish.
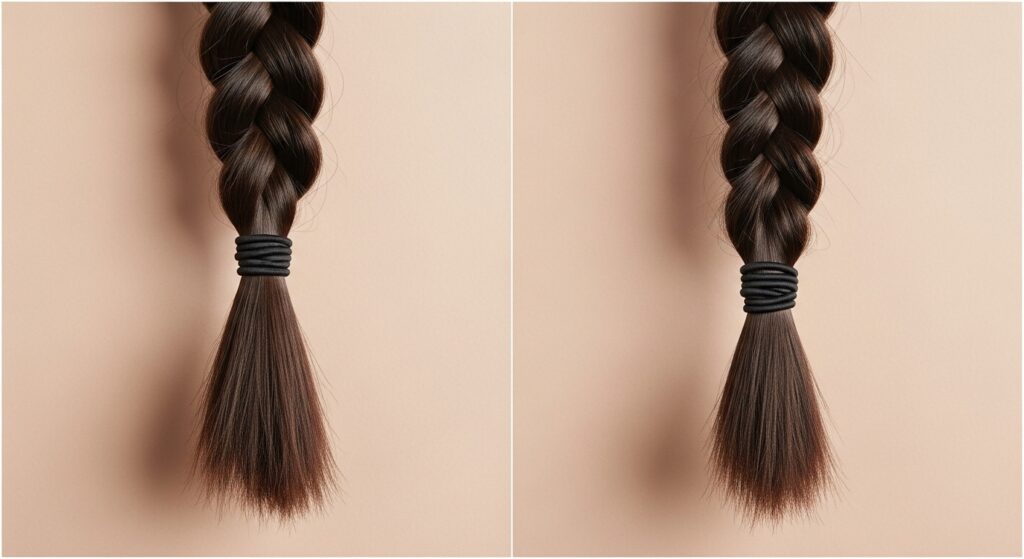
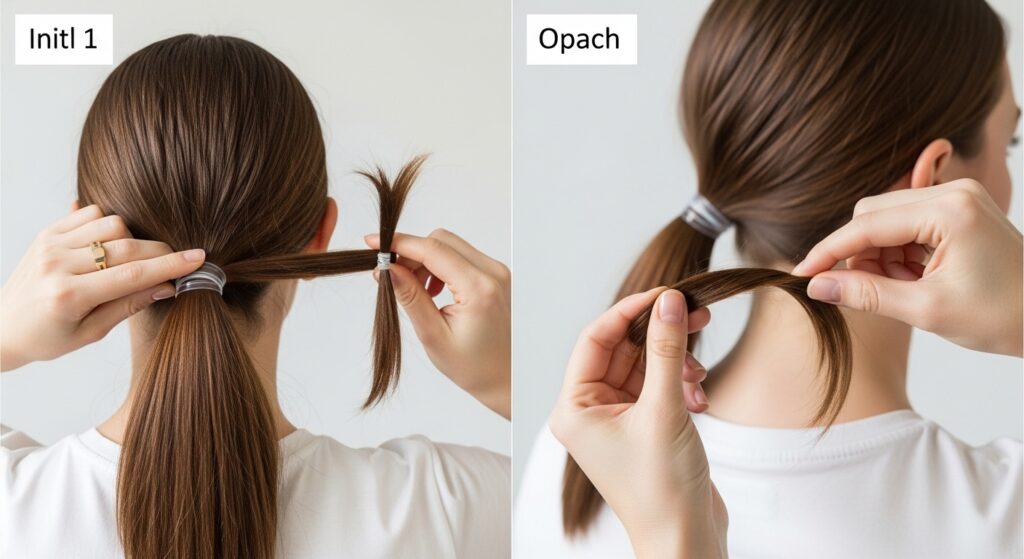
1. The Basic Tail Wrap: After securing a ponytail or braid, take a small section of hair from the tail. Wrap it tightly around the base, covering the elastic. Secure the end underneath with a bobby pin.
2. The Invisible Pony Wrap: Create a ponytail but leave a small section loose near the base. After securing with the elastic, use that reserved section to wrap around and pin.
3. The Braid Tail Wrap: Braid the small section you plan to use for wrapping before winding it around the elastic. This creates a beautiful, rope-like detail.
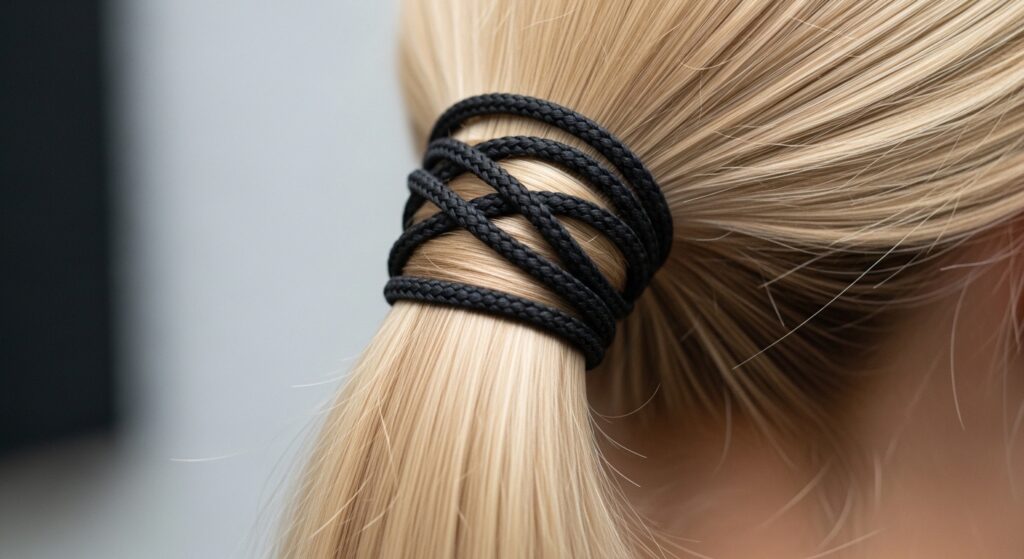
4. The Twisted Rope Wrap: Take two thin sections from the tail, twist them individually, then twist them together around the base for a fuller, textured wrap.
5. The Loop-Under Secret: After wrapping, instead of pinning, tuck the end of the wrap into the center of the ponytail base through the loop made by the elastic for a truly pinless finish.
6. The Double Wrap Security: Use two thin hair wraps, securing one from the left and one from the right, crossing them over for extra coverage and hold.
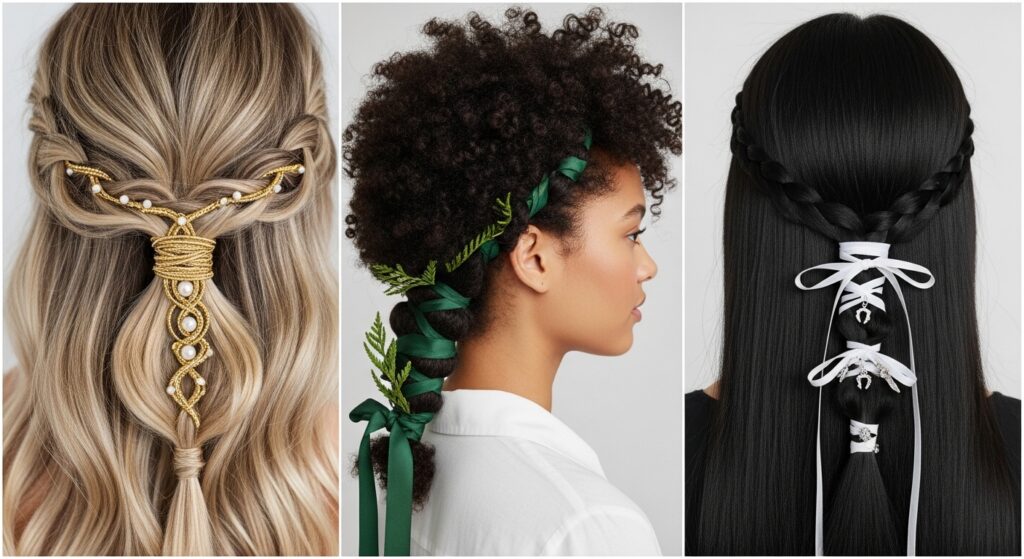
Method 7-12: Ribbon & Cord Elegance
Incorporate external materials for a pop of color, texture, or boho charm.
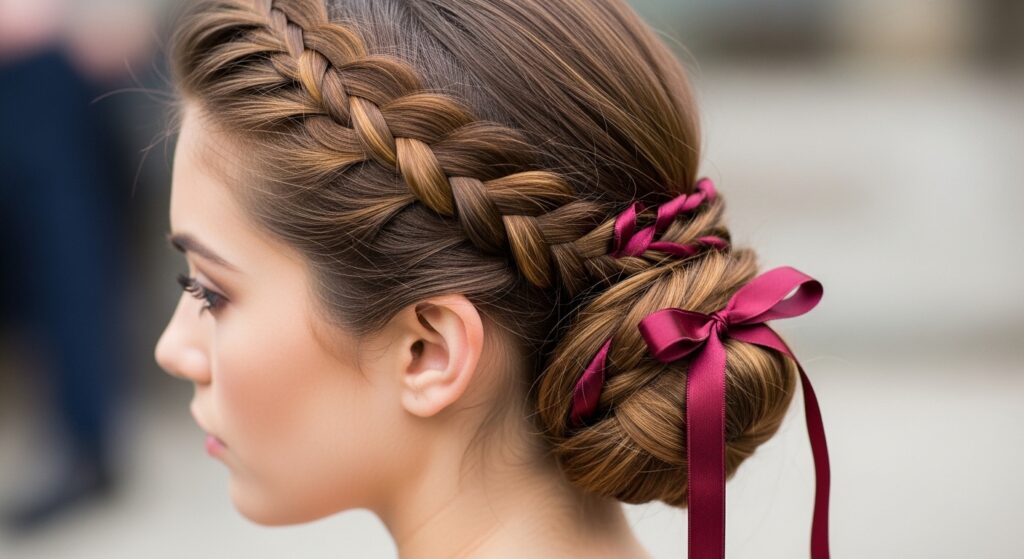
7. The Silk Ribbon Braid: Incorporate a ribbon into your braid from the start. When you reach the end, use the remaining ribbon tails to wrap and tie a delicate bow over the elastic.
8. The Embroidery Floss Wrap: Perfect for thin or fine hair. Use multiple strands of floss for a colorful, detailed wrap. Secure with tiny knots and hide the ends.
9. The Leather Cord Boho Wrap: A thin leather cord wrapped multiple times around the base of a braided bun creates a chic, modern bohemian look.
10. The Beaded Wrap: String small beads onto a strong thread or fishing line. Wrap around the elastic and secure, allowing the beads to sit elegantly against the braid.
11. The Scarf Wrap & Tie: Use a long, thin scarf. Tie it around the base of your ponytail, letting the ends flow, or continue wrapping for a solid block of color.
12. The Chain Link Detail: For evening glamour, gently wrap a delicate jewelry chain around the base of an updo, hooking the ends together discreetly.
Method 13-18: Creative & Advanced Concealment
For those ready to experiment with more advanced, statement-making techniques.
13. The Wrapped Fishtail Base: Create a low ponytail and begin a fishtail braid. After a few crosses, use one of the outer sections to wrap around the base before continuing the braid.
14. The Lace Braid Wrap Accent: Create a small lace (French) braid along the hairline that ends at your ponytail base, using the tail of the lace braid as your natural wrap.
15. The Coiled Bun Wrap: When creating a coiled or “spaghetti” bun, don’t tuck the very end in. Instead, wrap it around the base of the bun to hide the elastic holding the coil together.
16. The Infinity Wrap: Using a ribbon or cord, create a figure-eight (infinity symbol) pattern around the base of the braid, securing at the center for a modern geometric detail.
17. The Wrapped Pigtail Union: For twin braids or pigtails, after securing both, use a small section from one braid to wrap around the base of the other, and vice versa, linking them together.
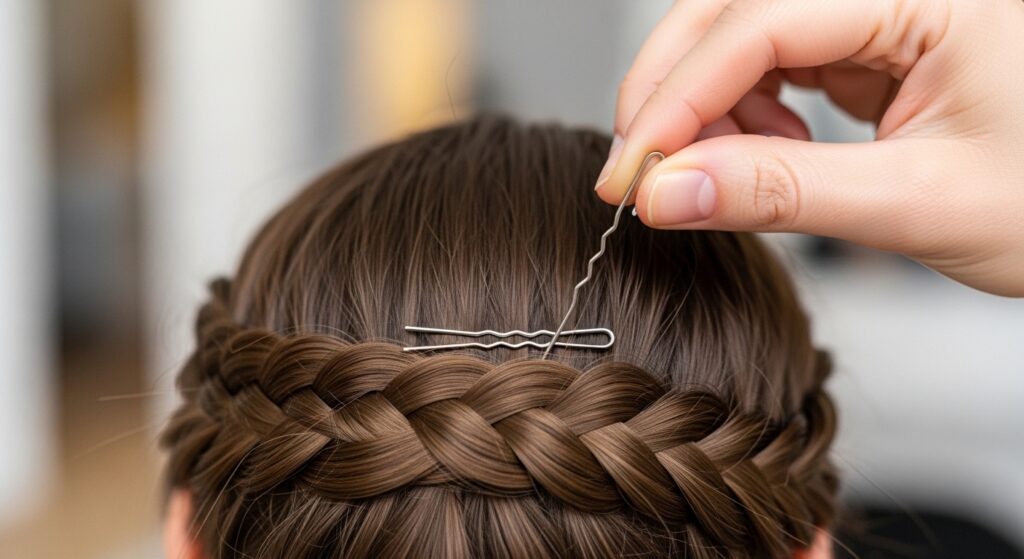
18. The Decorative Pin Camouflage: Strategically place decorative hairpins or brooches directly over the elastic band. This is a quick, elegant fix that adds major style points.
Pro Tips for a Flawless Finish Every Time
Match Your Texture: If your hair is curly, use a curly wrap piece for blendability. For sleek hair, ensure the wrap section is smoothly combed. Pin Smartly: Always insert bobby pins with the wavy side down against your scalp for maximum grip. Criss-cross them for security. Secure the Slippery: For silky ribbons or fine hair, a dot of clear hair gel or a spritz of strong-hold spray on the wrapping material can prevent slipping. Practice Makes Perfect: Start with the basic hair wrap on a simple ponytail before moving to more complex braids and materials.
Embrace the Seamless Braid
Mastering these 18 wrapped braid methods opens up a world of creative hairstyling where the only limit is your imagination. By banishing the visible elastic, you elevate your look with a touch of refined craftsmanship. It’s a small detail that makes a monumental difference, turning everyday styles into works of art.
So, gather your ribbons, cords, and elastics, and start practicing. Whether you’re preparing for a special event or simply want to add a dash of elegance to your everyday look, these techniques ensure your braids are always seamlessly stunning from start to finish.