24 Low Bun Techniques That Look Effortlessly Chic
There’s a quiet power in a low bun. It whispers elegance while shouting confidence. It’s the hairstyle that has graced red carpets, boardrooms, and weekend brunches with equal aplomb. But here’s the secret: achieving that perfectly imperfect, effortlessly chic low bun is an art form. It’s about looking like you didn’t try too hard, even if you know a few clever techniques.
The Foundation: Prep for the Perfect Low Bun
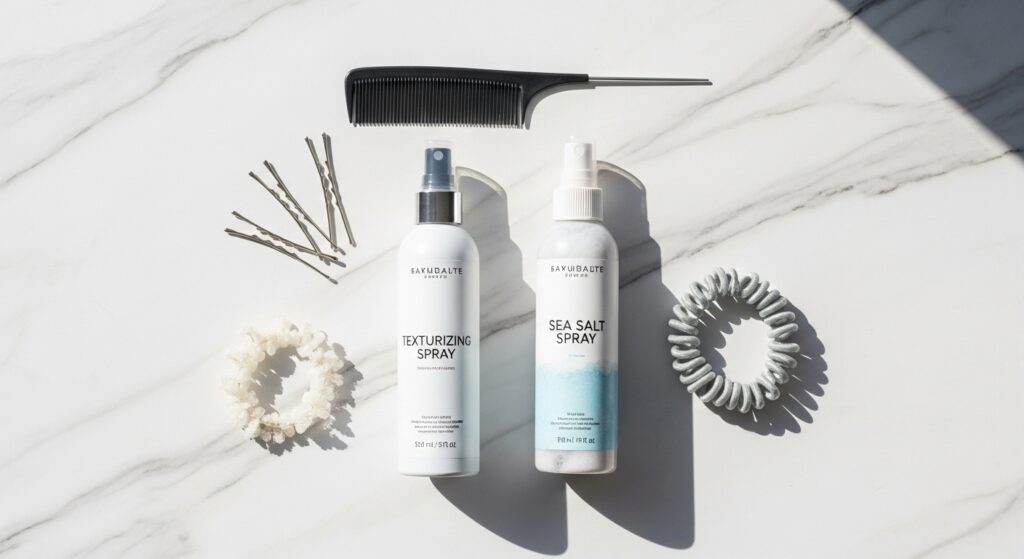
Before we dive into the techniques, let’s set the stage. The key to an “effortless” bun is texture. Pin-straight, freshly washed hair can often be too slippery. For better hold and volume, start with day-old hair or use a texturizing spray or dry shampoo at the roots. A light-hold mousse or sea salt spray can also add beautiful grit and separation. Don’t forget a few essentials: hair elastics that match your hair color, bobby pins (the crinkly ones hold better), and perhaps some hairspray for flyaways.
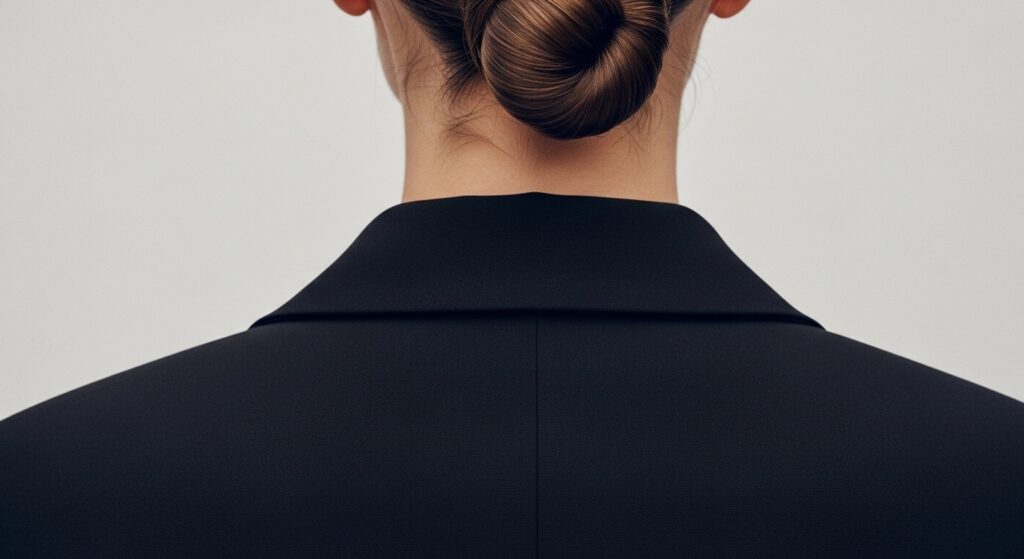
The Classic & Sleek Low Buns
These styles are the epitome of polished sophistication. They’re perfect for formal events, job interviews, or when you want to project a sharp, put-together image.
1. The Low Slick Bun: The modern take on the classic. Apply a smoothing gel or cream through damp hair, comb all hair into a low, tight ponytail at the nape of your neck, twist, and wrap into a compact bun. Secure with pins and use a toothbrush with hairspray to tame every last flyaway for a glass-like finish.
2. The Twisted Rope Bun: Create a low ponytail. Split it into two sections and twist them tightly around each other. Wrap the resulting rope around the base and pin. This adds beautiful visual detail compared to a simple twist.
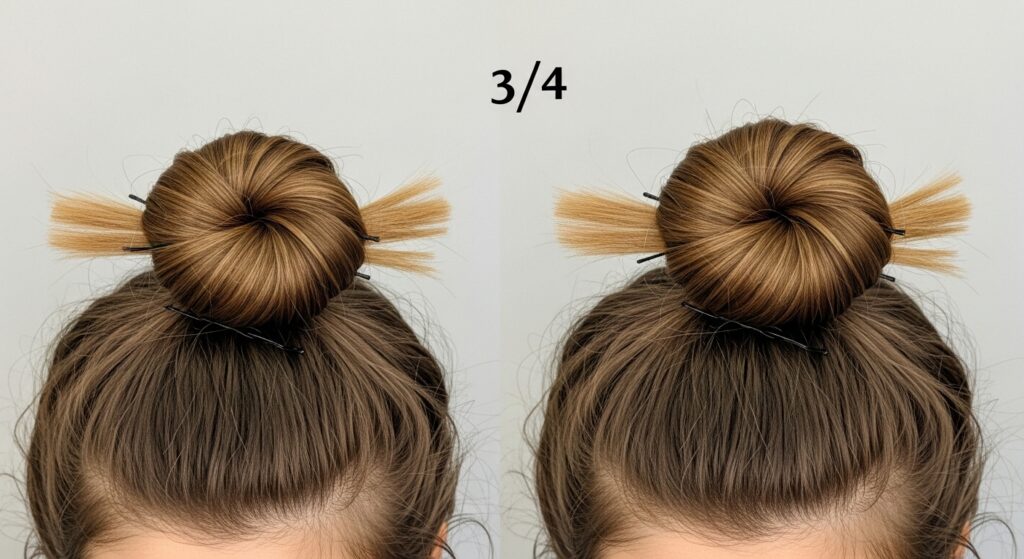
3. The Low Donut Bun: For instant fullness. Place your hair in a low ponytail and slide a donut bun maker over it. Spread your hair evenly around the donut, tucking the ends under, and secure with a second elastic or pins. It’s impeccably neat and round.
The Textured & Undone Low Buns
This is where “effortlessly chic” truly comes to life. The goal here is softness, movement, and a hint of romantic dishevelment.
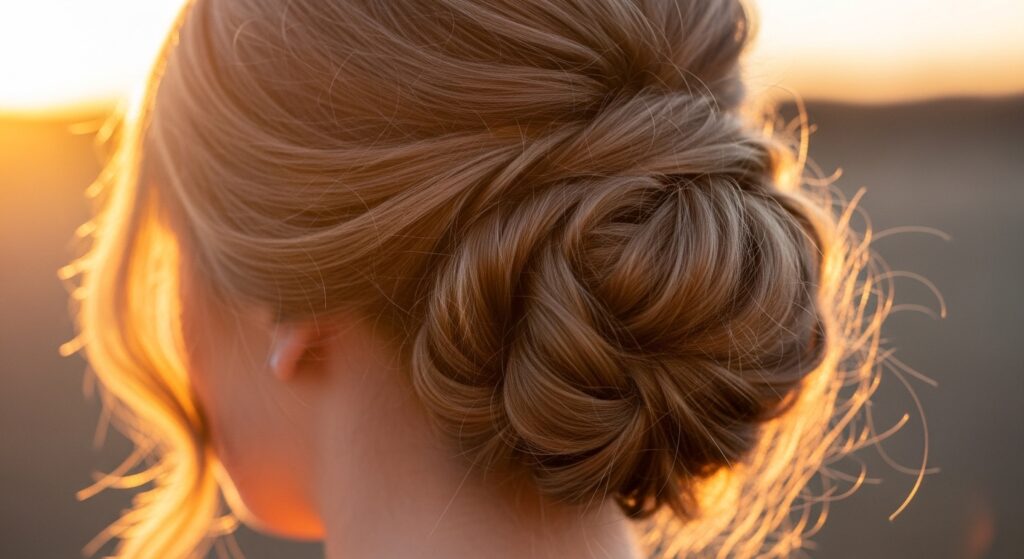
4. The Messy Low Bun: The go-to for busy days. Gather your hair at the nape, but keep it loose. Twist loosely, wrap into a bun, but instead of tucking ends neatly, let them poke out. Pull out face-framing pieces and gentle sections around the crown for volume. Secure with pins—the more haphazard, the better.
5. The Pull-Through Bun: Create a low ponytail but only pull the hair halfway through on the final loop, leaving a looped bun. Split the loop and spread it gently, then pin any loose ends. It’s a five-second bun with maximum impact.
6. The Bubble Bun: A fun, modern twist. Make a low ponytail and secure multiple elastics down the length of the tail, about an inch apart. Gently pull and puff out each section between elastics to create “bubbles,” then tuck the end under and pin.
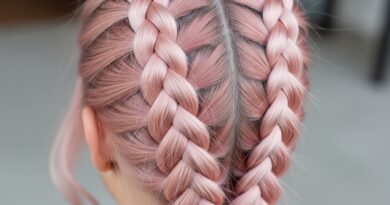
The Braided Low Buns
Incorporate braids for a touch of intricate beauty. These styles look complex but often start with simple braiding techniques.
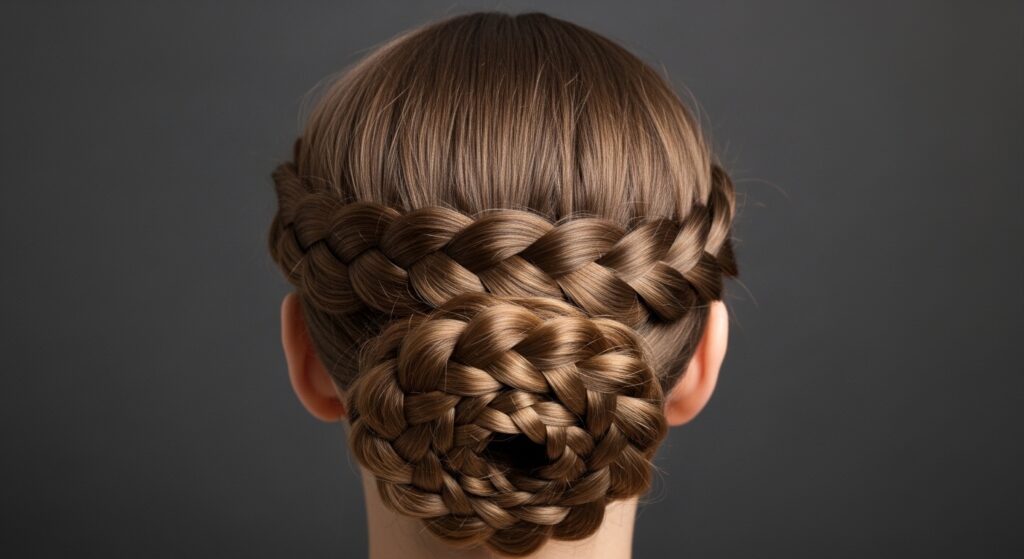
7. The Braided Bun: Simply create a low braid (French, Dutch, or regular three-strand) with all your hair, then coil the braid into a bun at the nape and pin. The braid adds stunning detail and incredible hold.
8. The Side-Swept Braided Bun: Part your hair deeply to one side. French braid from the heavier side, incorporating hair as you go diagonally towards the nape. Once you run out of hair, braid the tail and coil it into a small, elegant bun.
9. The Twin Braid Bun: Part hair down the middle. Create two low pigtails and braid each. Wrap each braid into a small bun, positioning them side-by-side for a unique, symmetrical look.
The Twisted & Wrapped Low Buns
Twists are the effortless cousin of the braid. They’re faster to do but create equally beautiful texture and detail.
10. The Twisted Crown Bun: Take two sections of hair from behind your ears. Twist each section backwards, then cross them over the back of your head, pinning as you go. Gather all remaining hair with the twisted ends into a low bun.
11. The Topsy-Tail Bun: A nostalgic technique with chic results. Make a low ponytail. Create a small hole above the elastic, flip the ponytail up and through the hole. Twist the resulting loop and remaining tail together and wrap into a bun.
12. The Four-Strand Twist Bun: For something different, divide a low ponytail into four sections. Cross the outer sections over the inner ones repeatedly (like a flat braid) down the length, then coil and pin.
The Accessorized Low Buns
Elevate your bun instantly with strategic accessories. They can transform a simple style into a statement.
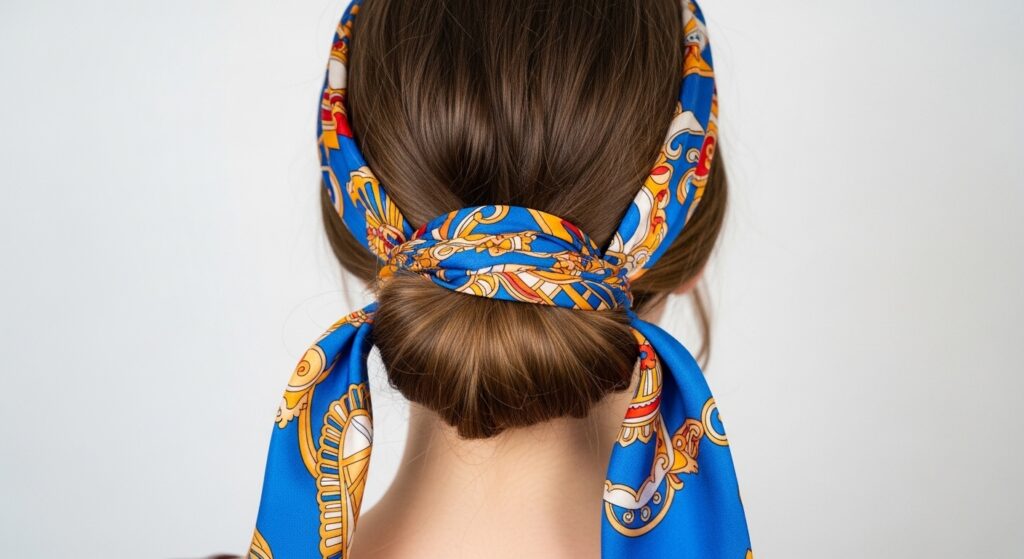
13. The Scarf-Wrapped Bun: Tie a silk scarf around a low ponytail before making your bun, letting the ends flow. Or, use the scarf as the hair tie itself, wrapping the ends around the base of the bun for a pop of color and print.
14. The Barrette-Adorned Bun: After creating a clean or messy low bun, flank it with two elegant barrettes or hair clips just below the bun. This draws the eye and adds a jewelry-like finish.
15. The Headband Bun: Place a chic headband over your hair, then gather all hair at the nape and form a bun. This is perfect for keeping hair off the face while maintaining a polished, retro-inspired look.
The Elegant & Special Occasion Low Buns
For those moments when you need a little extra drama and beauty, these styles deliver.
16. The Low Chignon: The quintessential elegant updo. Create a low, loose ponytail. Twist the length, then coil it flat against the head, tucking the end under and pinning meticulously. The goal is a smooth, coiled knot.
17. The Bow Bun: Make a low ponytail, but leave a section out to wrap later. Split the ponytail in two to form the loops of a bow, pinning them in place. Use the reserved section to wrap and create the “knot” in the center.
18. The Fishtail Braid Bun: A fishtail braid has a beautiful, intricate texture. Create a low fishtail braid and wrap it into a bun for a bohemian yet refined effect.

The Quick & Everyday Low Buns
For the days when you have literally three minutes but still want to look pulled together.
19. The Knot Bun: Split your low ponytail in two, tie them in a simple knot, then tie once more. Tuck the ends under and pin. It creates instant, beautiful texture.
20. The Clip-On Bun: Don’t underestimate a high-quality faux bun! Secure your own hair in a low ponytail or twist, then use a clip-on bun piece to cover it. Instant fullness and perfection.
21. The Pencil Bun: A classic trick. Twist your low ponytail, wrap it around the base, and while holding it, insert a pencil horizontally through the center of the bun. Twist the pencil to secure the hair, then remove and pin any loose ends.
Pro Tips for an Effortlessly Chic Bun Every Time
Mastering the bun is about more than just steps; it’s about the finishing touches. Always pull out a few tiny pieces around your hairline and nape to soften the look. If your bun feels too tight or perfect, gently pull at the sides of the bun to loosen and create volume. For fine hair, backcomb the ponytail slightly before wrapping for a fuller appearance. Finally, a light mist of texturizing or holding spray will lock in the style while maintaining that all-important movement.
Find Your Signature Bun
With these 24 low bun techniques in your styling arsenal, you’re ready for anything. The beauty of the low bun lies in its versatility and adaptability. It can be as unique as you are—sleek one day, messy the next, braided for adventure, or slicked for sophistication. The goal is never perfection, but rather expression. So play, experiment, and find the few that make you feel most confident and, of course, effortlessly chic.
Start with one technique that speaks to you. Master it, make it your own, and enjoy the countless compliments that are sure to come your way.