20 Hand-Painted Color Techniques That Look Artistic
In a world dominated by digital prints and mass-produced finishes, the soulful touch of a hand-painted surface is undeniable. It whispers of artistry, intention, and a unique human connection that flat color simply cannot replicate. Whether you’re an experienced painter, a DIY enthusiast looking to revamp a piece of furniture, or an artist seeking new textural inspiration, mastering hand-painted color techniques can unlock a new realm of creative expression.
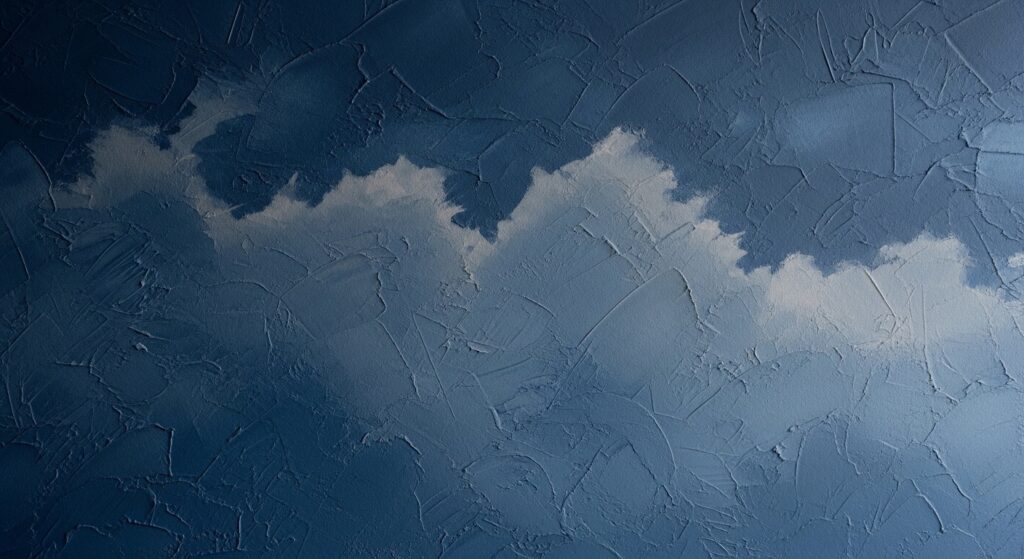
1. Color Washing
Color washing is a classic technique that involves applying a thin, translucent glaze over a base coat. Using a large, soft brush or a rag, you work the glaze in irregular, overlapping strokes, allowing the base color to peek through. The result is a soft, weathered, and timeworn look that adds instant depth and character to walls or furniture. It’s perfect for creating a relaxed, romantic, or rustic atmosphere.

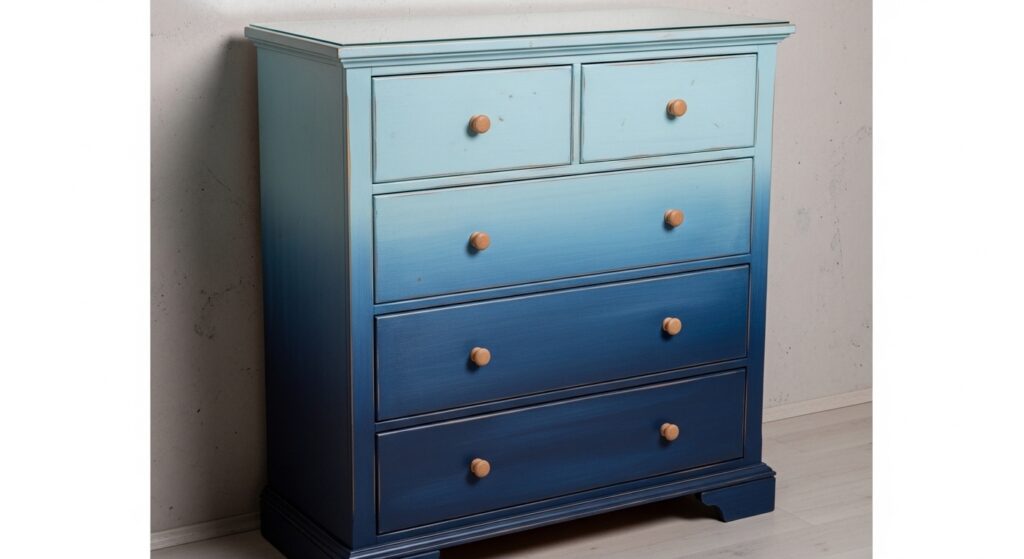
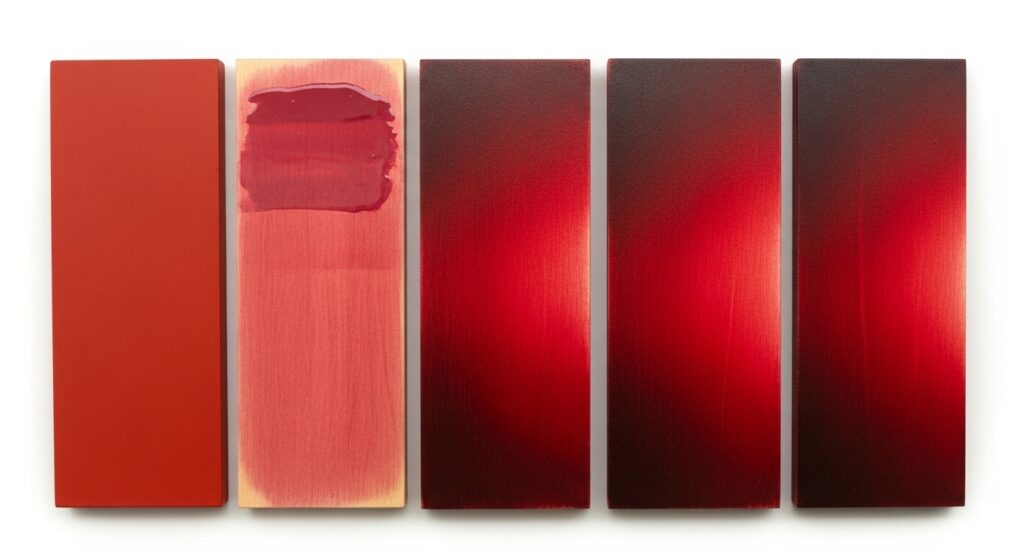
2. Ombré & Gradient Blending
Moving seamlessly from one color to another, the ombré technique is a stunning way to create a sense of flow and drama. Start with your darkest hue at one end and your lightest at the other. The magic happens in the middle, where you blend the two (or more) colors while the paint is still wet, using a dry brush or a soft sponge to feather the edges until the transition is smooth and dreamlike.
3. Stippling
Stippling is the art of creating texture and shade through a series of tiny dots. Using a stiff-bristled brush (like a stencil brush), you dab paint onto the surface in a controlled, up-and-down motion. The density of the dots determines the perceived darkness or lightness of an area. This technique is excellent for creating a pointillist effect, adding visual texture to flat areas, or building up complex color variations.
4. Dry Brushing
For highlighting raised details and creating a worn, vintage look, dry brushing is unparalleled. Dip just the very tips of a stiff, flat brush into paint, then wipe most of it off on a paper towel. Lightly drag the brush across the surface, allowing it to catch only on the high points. This technique is fantastic for accentuating carvings on furniture, creating a sun-bleached effect, or adding a hint of metallic shimmer to edges.
5. Ragging & Rag Rolling
This technique uses cloth to create a soft, textured pattern. For ragging, crumple a rag (like cheesecloth or a cotton t-shirt) and press it into a glaze, then onto your surface, creating a cloudy, mottled effect. Rag rolling involves rolling a twisted rag in glaze up and down the surface for a more linear, linen-like texture. Both methods are forgiving and produce beautifully organic results.
6. Sponging
A simple yet effective way to add depth and complexity. Using a natural sea sponge, dab it lightly into paint, offload excess on paper, and then press it randomly over your base coat. You can use one color or layer multiple colors for a rich, dimensional stone-like finish. It’s a quick way to break up large, flat areas of color with visual interest.
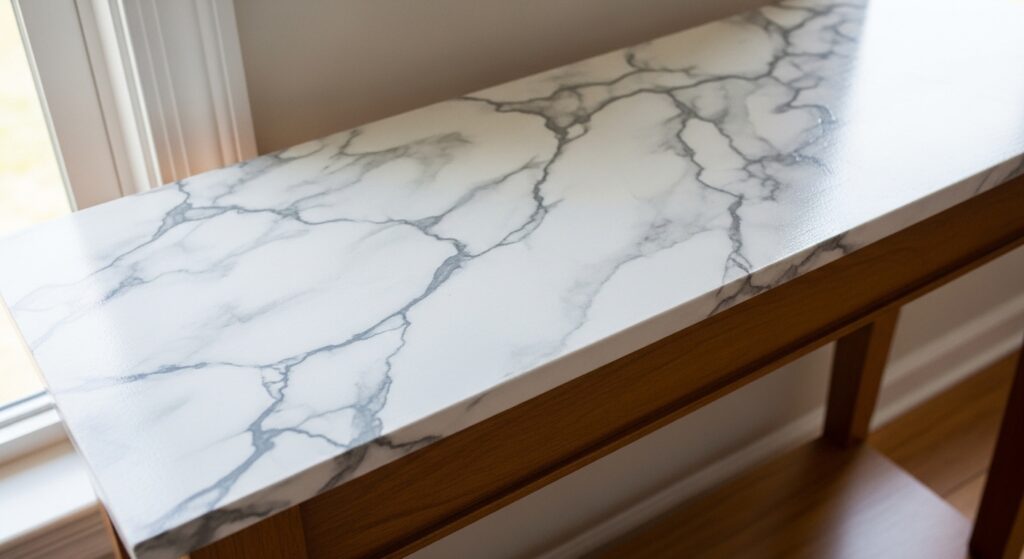
7. Marbling
The art of mimicking luxurious stone. Marbling involves layering and manipulating glazes to imitate the veins and swirls of marble. Using feathers, fine brushes, or even a feather comb, you drag and blend colors while wet to create those characteristic organic flows. It requires practice and a light touch but results in a breathtakingly elegant finish for tabletops, pillars, or decorative objects.
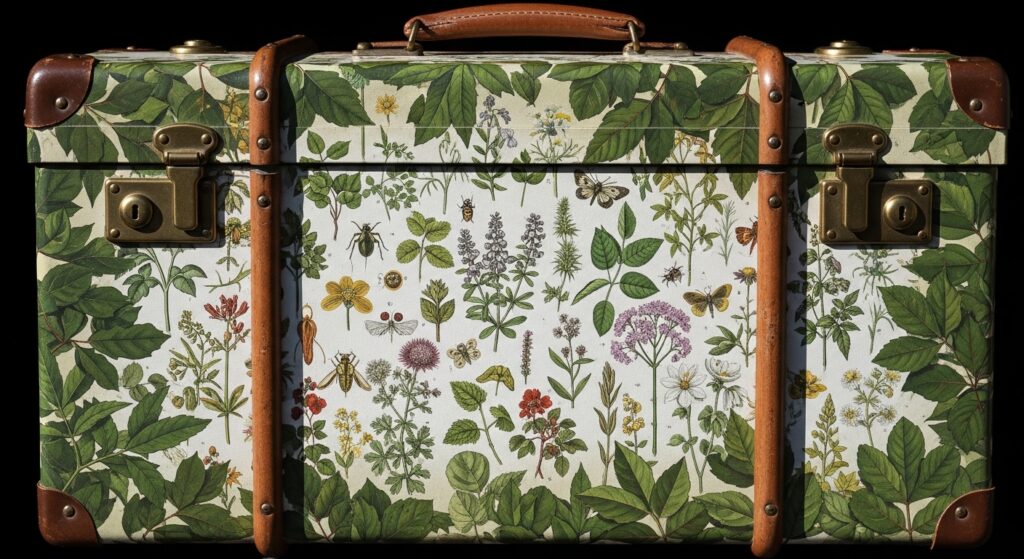
8. Decoupage with Paint Integration
Elevate traditional decoupage by seamlessly blending painted elements with your paper cutouts. Paint a background, adhere your chosen images, and then use hand-painted details, shadows, and highlights to make the decoupaged elements look like they are part of the original painting, not just pasted on top.
9. Sgraffito
An Italian technique meaning “scratched.” Apply a top coat of paint over a dried base coat of a contrasting color. Then, using a tool like a stylus, knitting needle, or even the back of a brush, scratch through the wet top layer to reveal the color beneath. This is perfect for creating fine lines, intricate patterns, textured drawings, or written script.

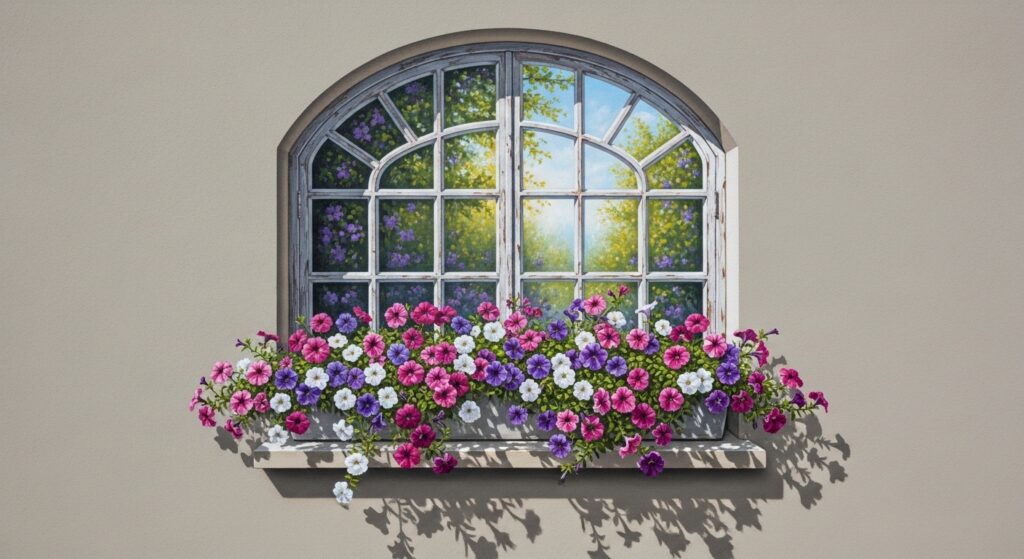
10. Trompe L’oeil
The ultimate illusion. Trompe l’oeil (French for “deceive the eye”) uses realistic painting techniques to create the impression of three-dimensional objects, depth, or architectural features that aren’t there. This advanced technique relies on masterful shading, perspective, and color blending to trick the viewer into seeing a window, a shelf of books, or cracked plaster on a flat wall.
11. Glazing & Layering
Glazing is the foundational skill for many artistic finishes. It involves applying thin, transparent layers of color (glazes) over a base. Each layer modifies the one beneath it, allowing you to build up incredible depth and richness. By adjusting the colors in your glaze layers, you can create warmth, cool shadows, or complex undertones that make a surface glow from within.
12. Resist Techniques (using wax or tape)
Create patterns by protecting areas of your surface from paint. Apply melted wax (like a crayon) or specialized masking tape in your desired pattern. Paint over the entire surface, and once dry, remove the tape or scrape away the wax to reveal the untouched color below. This is great for crisp geometric lines with tape or more organic, batik-like patterns with wax.
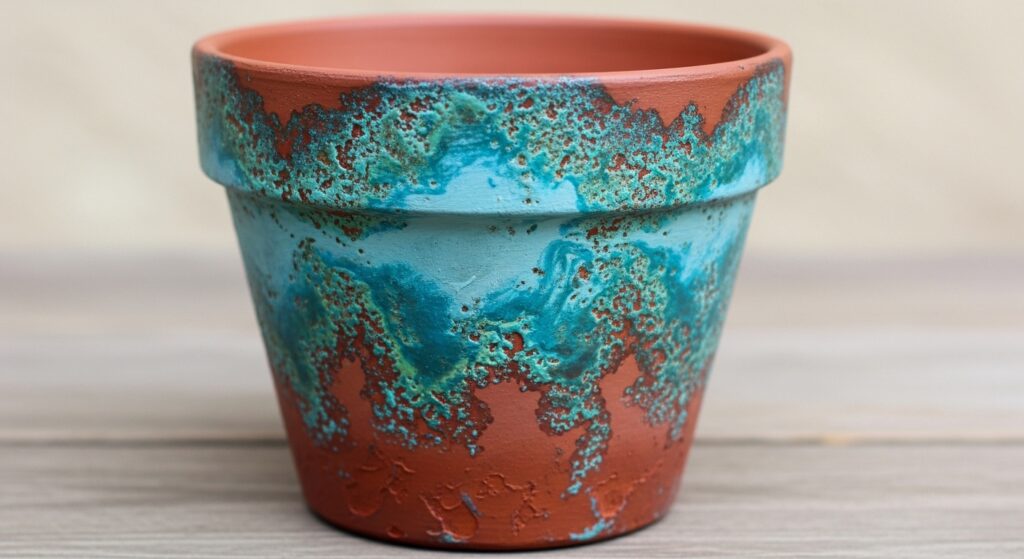
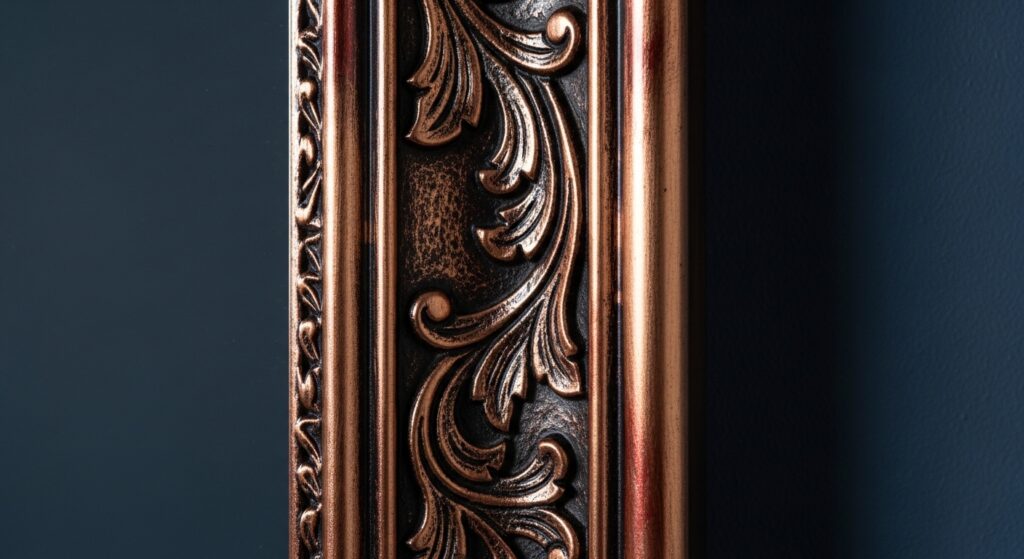
13. Verdigris
Capture the beautiful blue-green patina of aged copper or bronze. This technique typically involves layering blues, greens, and turquoises over a brown or black base. Using a sponge or dry brush, you apply the colors unevenly, often adding hints of white or yellow to mimic corrosion. The result is a stately, antique finish perfect for garden ornaments, frames, or light fixtures.
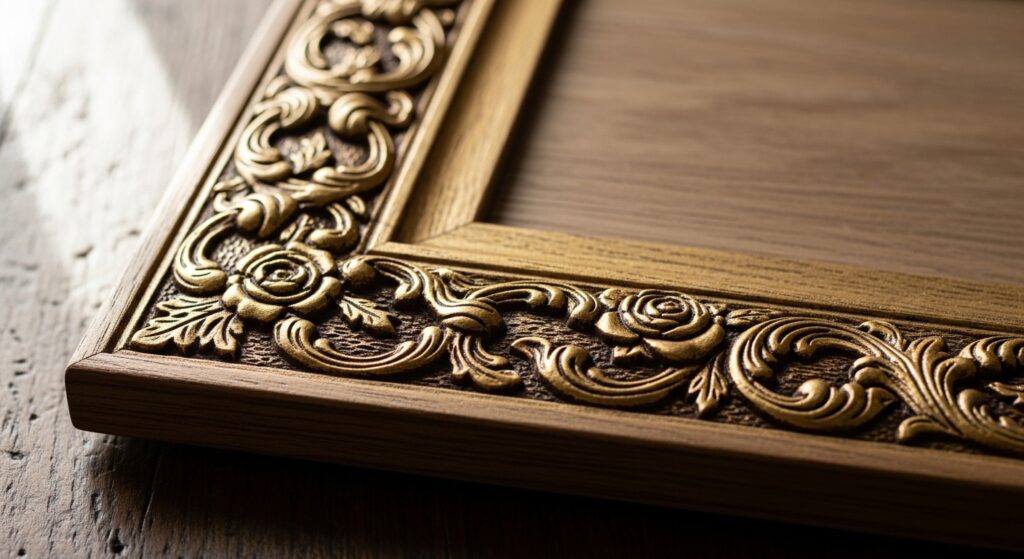
14. Gilding & Metallics
Incorporate the luxury of metal leaf or metallic paints. True gilding involves applying delicate sheets of gold, silver, or copper leaf with an adhesive size. For a more accessible approach, use high-quality metallic paints with a soft brush or a detailing tool to highlight edges, create patterns, or add shimmering accents. Pair metallics with matte finishes for a stunning contrast.
15. Faux Bois (Wood Graining)
The art of painting fake wood grain. With specialized graining tools, combs, or even a feather, you drag and wiggle darker glazes over a lighter base coat to mimic the look of oak, walnut, or burled wood. It’s a fantastic way to transform a mundane material like MDF or metal into something that looks like fine, weathered timber.

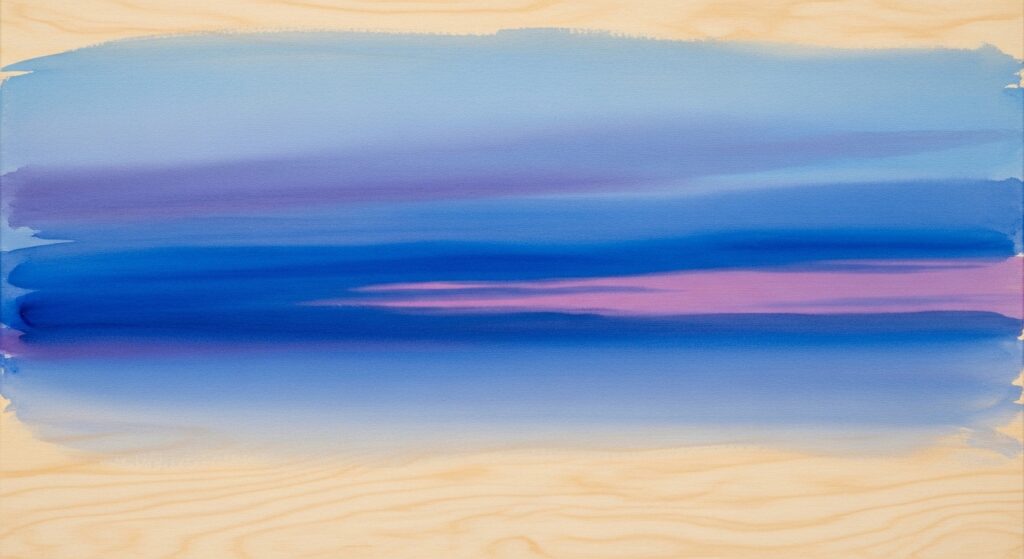
16. Watercolor Washes on Primed Surfaces
Bring the fluid, ethereal quality of watercolor to larger surfaces. By priming wood or canvas with a watercolor ground or gesso, you can use watered-down acrylics or inks to create soft, bleeding washes of color. Layer them while wet for beautiful blends, or let them dry between layers for more control. This technique is ideal for creating dreamy, atmospheric backgrounds.
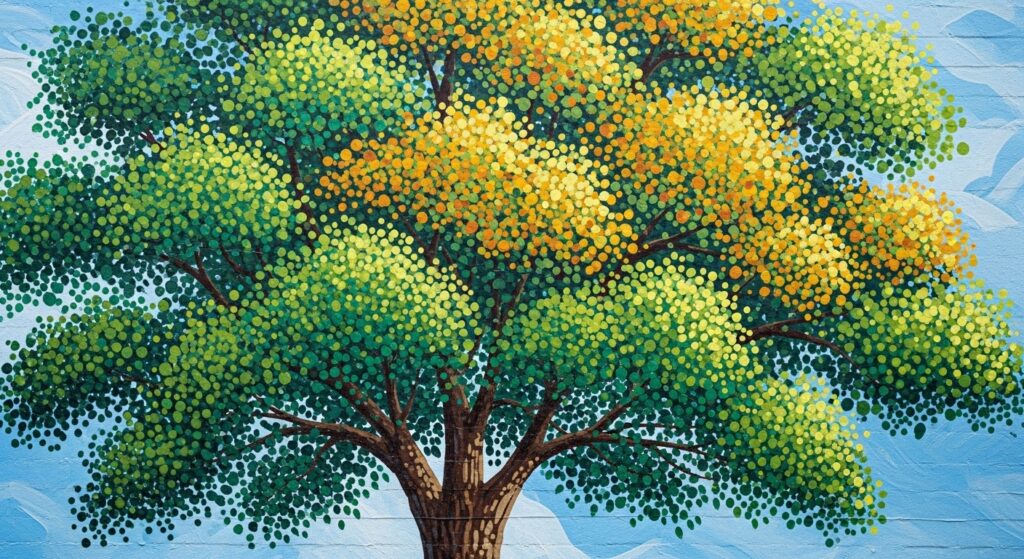
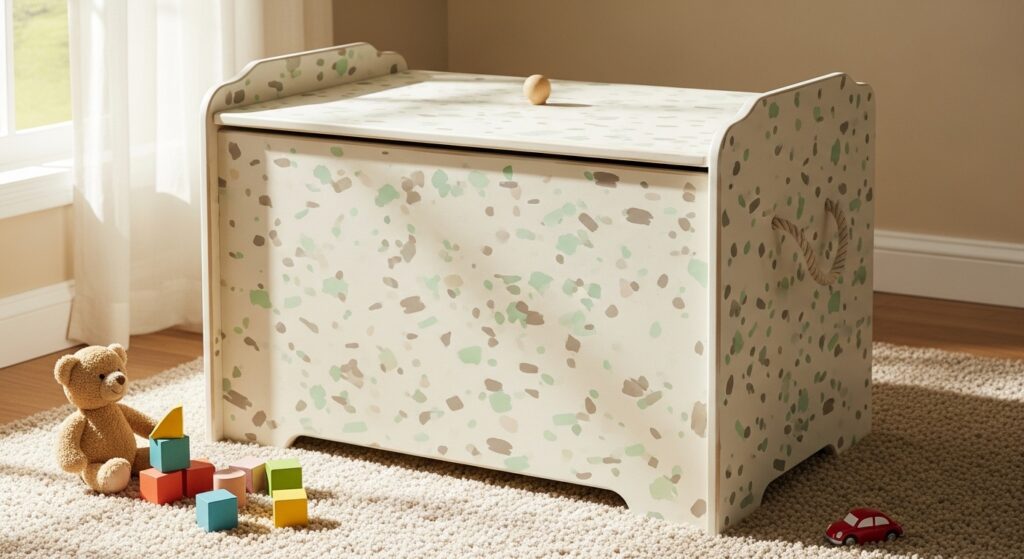
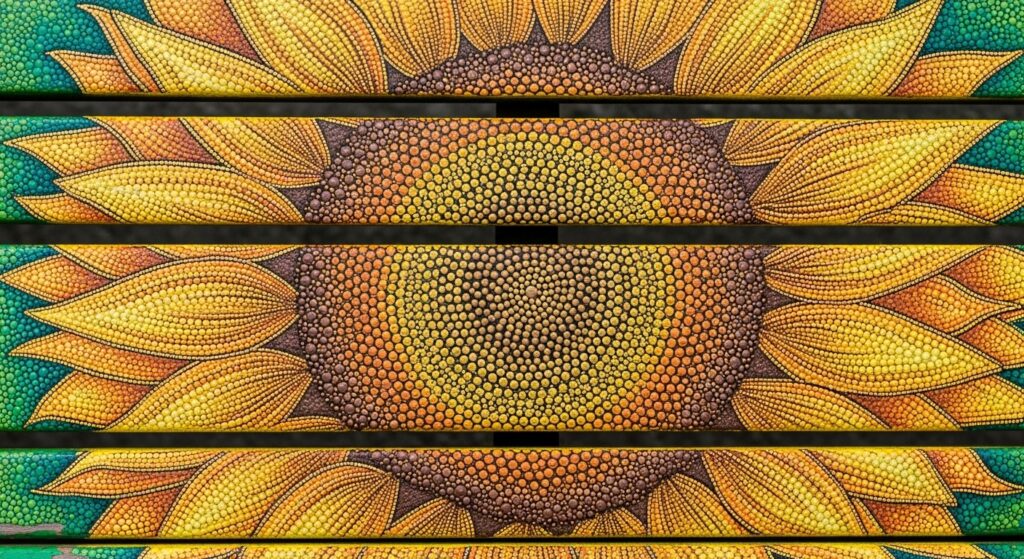
17. Pointillism with Paint
Inspired by Georges Seurat, this technique uses small, distinct dots of pure color that blend in the viewer’s eye from a distance. Using the end of a brush handle, a dotting tool, or a fine brush, you build up an image entirely from dots. It’s a meditative process that results in a vibrant, shimmering surface full of optical energy.
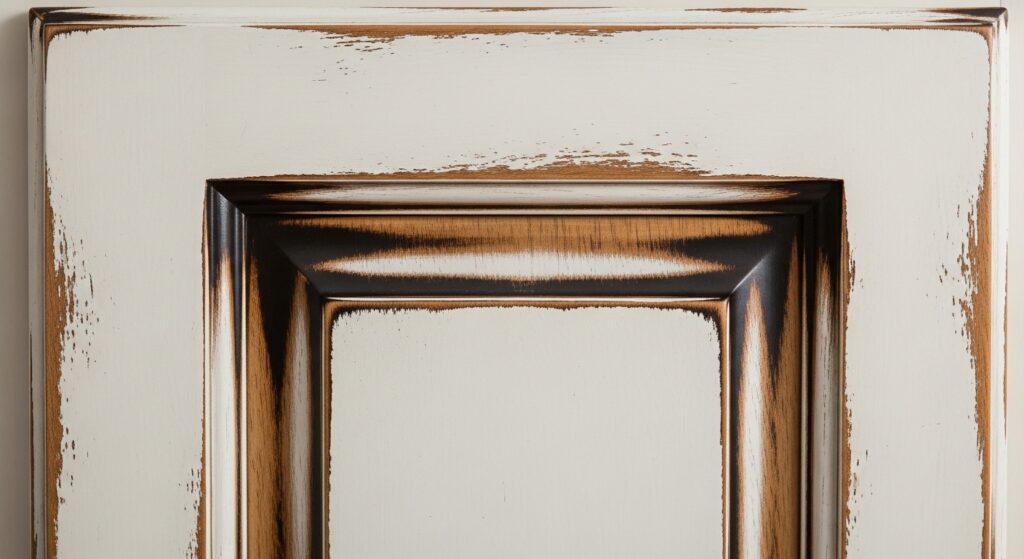
18. Distressing & Antiquing
Create the charm of age through strategic wear. After painting, use sandpaper to gently rub away paint on edges, corners, and raised areas where natural wear would occur. Follow this with an antiquing glaze—a thin, dark brown or black wash—wiped over the surface and into crevices. The glaze settles in the sanded areas and details, accentuating the “history” of the piece.
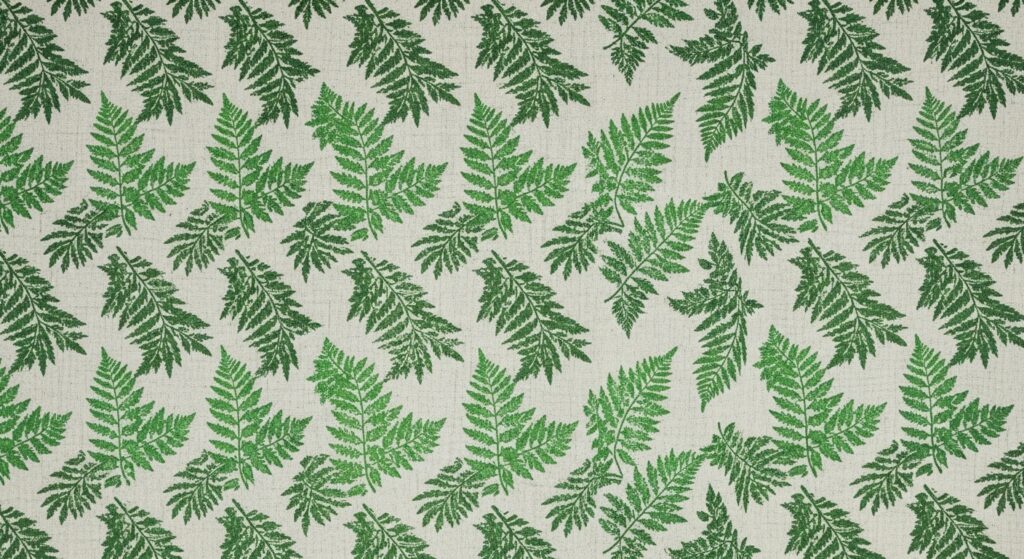
19. Block Printing with Paint
Combine painting with printmaking. Carve a simple design into a soft block (like linoleum or foam), roll paint onto the raised surface, and stamp it onto your project. You can hand-paint the block itself with multiple colors for a multi-hued print. This is perfect for creating repeating patterns on fabric, wallpaper, or furniture with a handmade, artisanal feel.
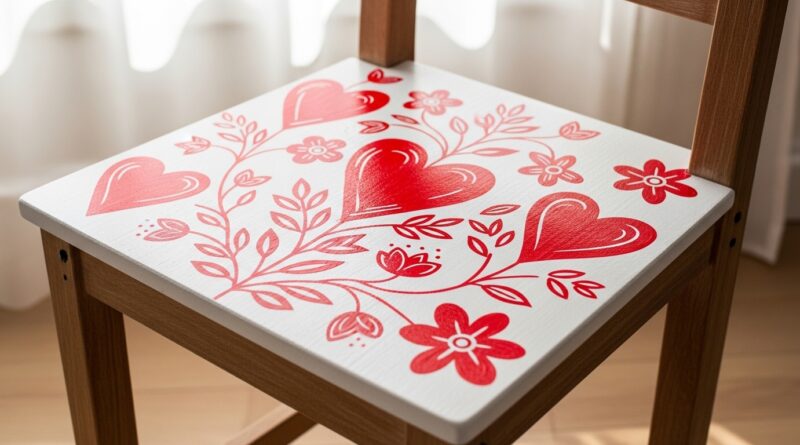
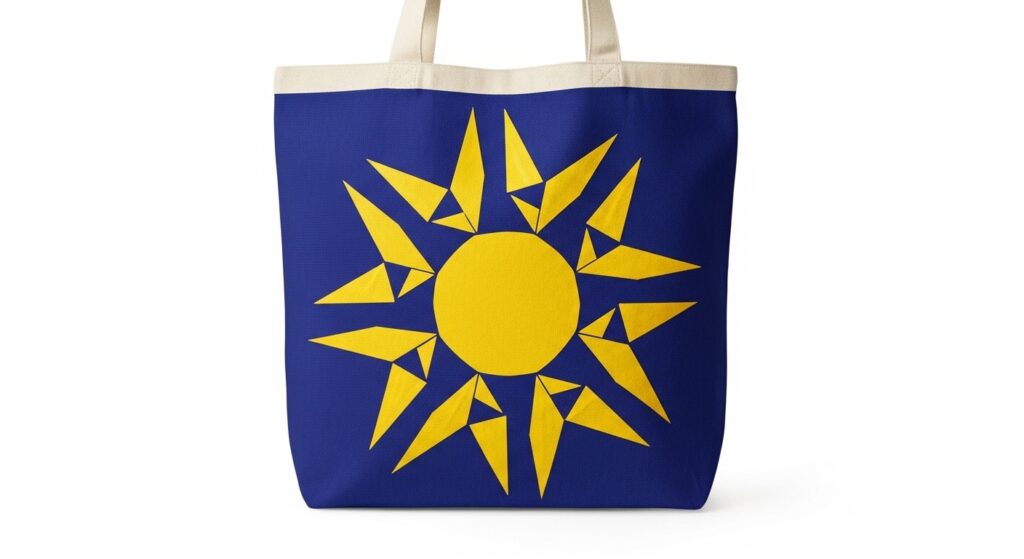
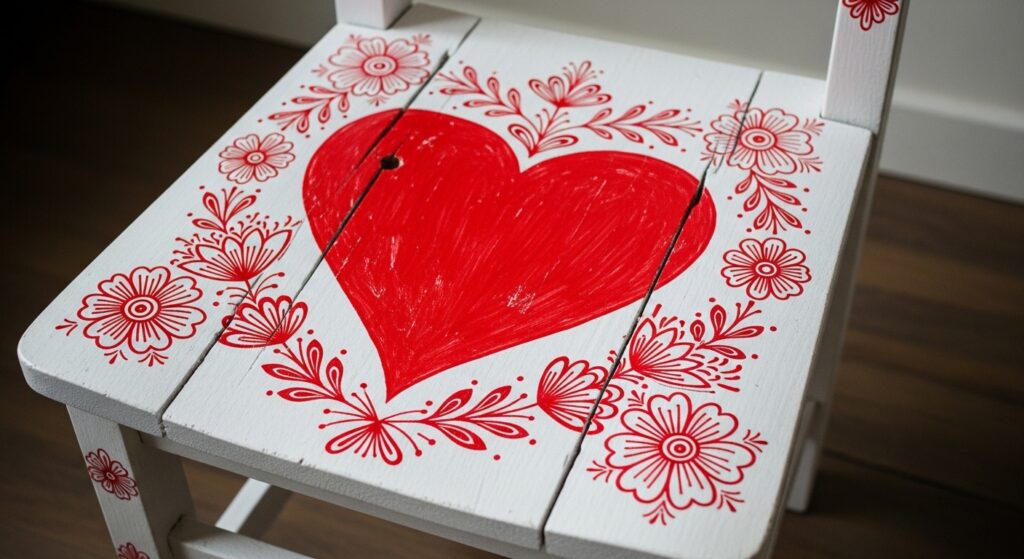
20. Freehand Motifs & Folk Art
Embrace the joy of unplanned, brush-in-hand creativity. Using reference or pure imagination, paint simple folk art motifs like flowers, stars, animals, or geometric patterns directly onto your surface. The charm lies in the slightly uneven, human quality of the lines. This technique personalizes any object, from a plain mug to an entire kitchen wall, with unpretentious artistry.
Bringing It All Together
The true magic of these 20 hand-painted color techniques often lies in combination. Imagine a piece with a color-washed background, subtle sponging for texture, dry-brushed highlights, and a freehand motif in the center. The possibilities are as limitless as your creativity.
The key to success with any of these methods is practice and a willingness to experiment. Start on sample boards or the inside of a drawer. Observe how colors interact, how tools leave their mark, and how layers build depth. Remember, in hand-painted finishes, what might be considered an “imperfection” often becomes the most captivating detail—the proof of the artist’s hand at work.
So, choose a technique that calls to you, gather your brushes, and begin. Transform the ordinary into the artistic, one brushstroke at a time.