23 Pastel Root Techniques for Dreamy, Faded Looks
Imagine hair color that whispers rather than shouts—a soft, ethereal blend where your natural roots melt seamlessly into a cloud of lavender, rose quartz, or mint. This is the magic of the pastel root, a trend that champions softness, dimension, and a beautifully lived-in feel. Gone are the days of harsh regrowth lines and high-maintenance touch-ups. The pastel root technique is a celebration of graceful fading and artistic blending, offering a dreamy, low-commitment path to stunning hair color.

The Foundation: Prepping for Pastel Perfection
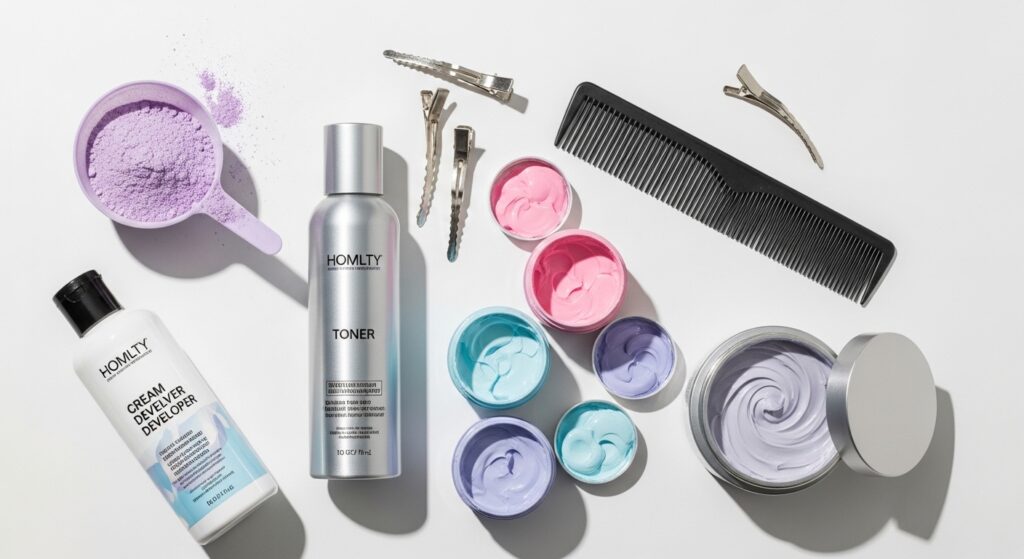
Before you dive into the rainbow, a solid foundation is non-negotiable. Pastels are notoriously translucent, which means the canvas they’re applied to will dramatically affect the final result. Lightening is almost always the first crucial step. For those with dark hair, achieving a pale blonde (often a level 9 or 10) is essential for true pastel vibrancy. This process should be done carefully, potentially over multiple sessions, to maintain hair integrity.
Equally important is the health of your hair. Pastel dyes are typically direct dyes (semi-permanent) that coat the hair shaft. They adhere best to well-moisturized, porous hair. A deep conditioning treatment a week before coloring can make a world of difference. Furthermore, consider your natural root color as part of the design. Is it warm or cool? This will influence which pastel shades will create the most harmonious blend. A warm brown root will interact differently with peach than a cool ash brown root will.
Seamless Blending & Melt Techniques
This category is all about creating that iconic, no-line-of-demarcation flow. The goal is to make it look like the color simply evolved from your root to your ends.
1. The Classic Shadow Root: Apply a darker, often more saturated version of your pastel (or a neutral taupe/grey) directly at the root, then blend it downward as you dilute it with conditioner or a lighter dye, melting into your chosen pastel.
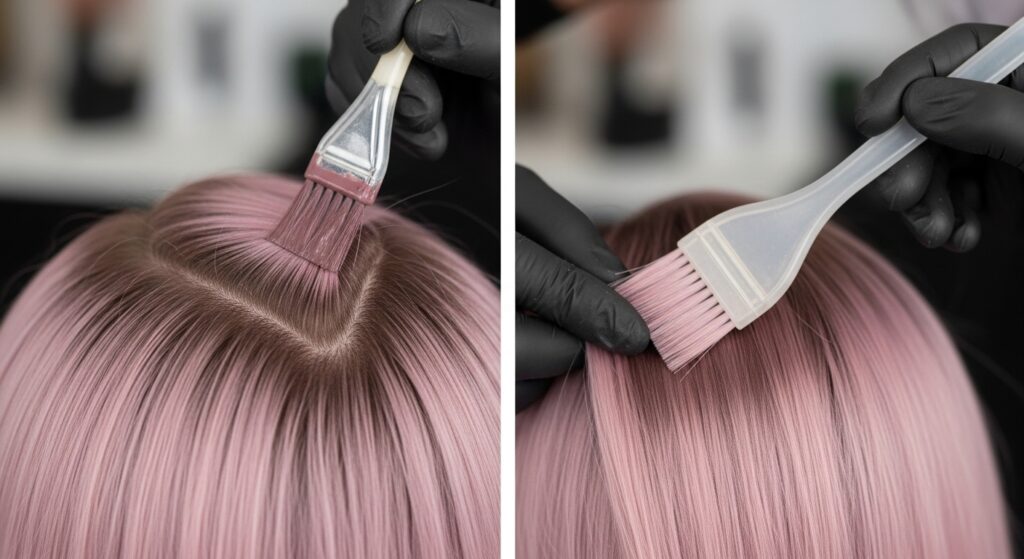
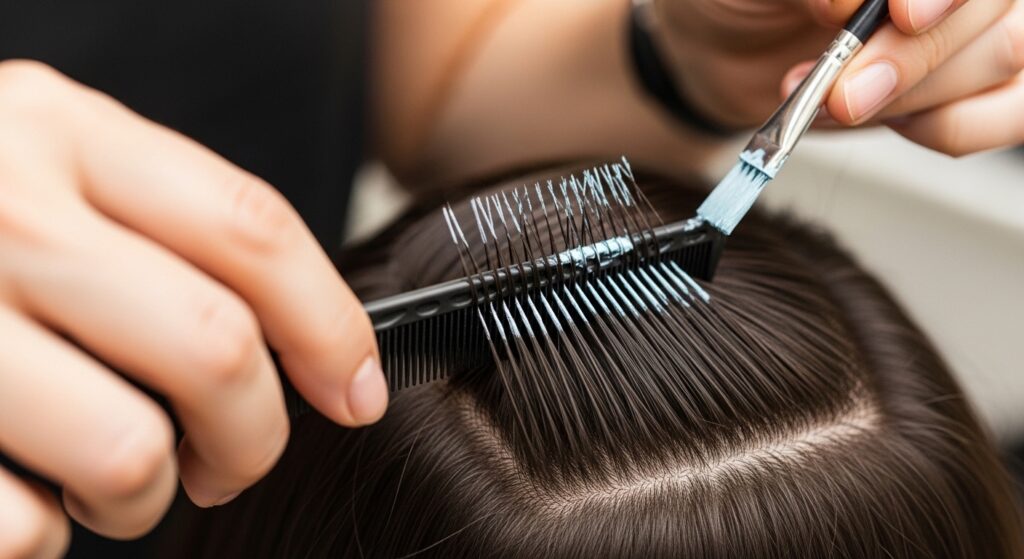
2. The Pastel Smudge: On freshly lightened roots, apply your pastel color and, while it’s still wet, use a tint brush or your fingers to literally smudge the color downward an inch or two, creating a soft, diffused edge.
3. Balayage Base with Pastel Glaze: First, create a traditional balayage (free-hand painting) lightening pattern. Then, glaze the entire head with a pastel semi-permanent color. The roots where no lightener was applied will remain darker, creating a natural, sun-kissed pastel melt.
4. The “Dipped-in-Cream” Melt: Start with a rich color at the root (like a deep violet) and gradually mix it with more and more pastel lavender and white conditioner as you work down the hair shaft, ending in an almost-white lavender tip.
5. Horizontal Section Melting: Work in horizontal sections, applying a gradient of color directly on the section itself—darkest at the root area of the section, lightest at the ends—before folding it into foils or plastic wrap.
Bold & Graphic Pastel Root Approaches
For those who want to make a statement, these techniques play with contrast and defined shapes, turning the root into a focal point.
6. The Color Block Root: Apply a stark, opaque pastel (like a solid mint green or baby blue) only to the root area (1-2 inches), with a clear demarcation line to a contrasting pastel or blonde on the lengths.
7. Pastel Money Piece Roots: Frame the face by applying a bold pastel to the front sections’ roots, blending it back into the rest of the hair’s color pattern. This brightens the face dramatically.
8. Geometric Roots: Use tape or precise sectioning to create sharp lines, color blocks, or shapes (like triangles or arcs) at the root before diffusing into softer color.
9. Dual-Pastel Roots: Split the root area into two colors (e.g., pink on the left, blue on the right) and blend them together as they travel down into a unified purple or silver.
10. The “Root Stretch”: Apply a vivid, non-pastel color at the root (like a deep emerald or cobalt) and stretch it down several inches, gradually pastel-izing it by blending with a lighter dye or conditioner.
Low-Maintenance & Grow-Out Friendly Methods
The beauty of pastel roots is that they can be designed to look better as they grow. These techniques are perfect for extending time between salon visits.
11. The Grown-Out Balayage: Intentionally design your balayage to be heavier a few inches away from the root. When a pastel is glazed over, the untouched root grows out seamlessly, while the pastel gracefully fades from the lightened mids to ends.
12. Pastel Underlights: Apply pastel color only to the bottom layers or interior of the hair. When hair moves, flashes of color appear, and the natural top layers camouflage root growth.
13. Root Dusting: Using a makeup brush or color applicator, lightly “dust” a powdered color or very diluted dye directly onto the dry root area to refresh color and blend new growth without a full re-application.
14. The Ombré Reverse: Instead of dark to light, create a light (blonde) to darker (pastel) effect. The roots are the lightest point, blending into a deeper pastel at the ends. As it grows, the light root just looks like part of the design.
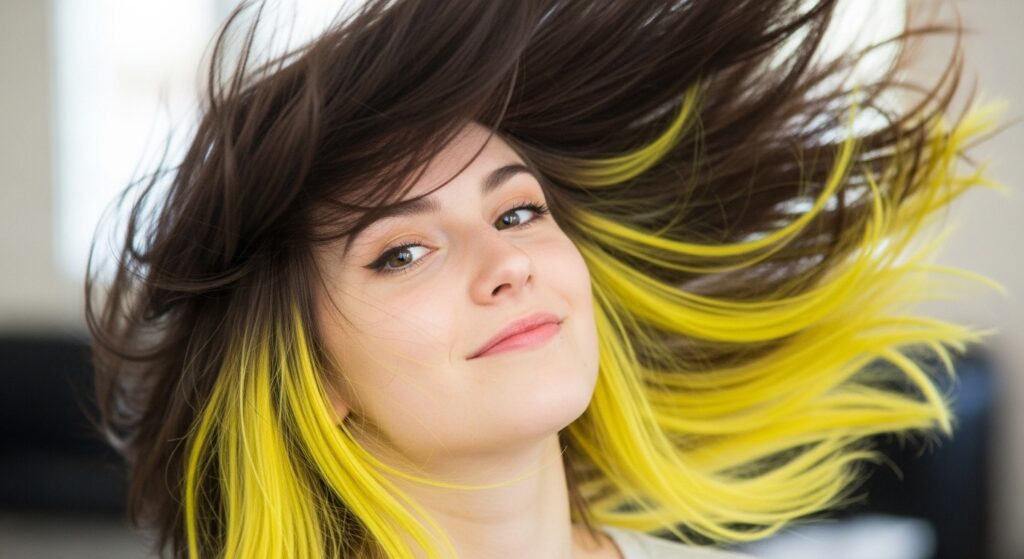
15. Pastel Tips with a Dark Root: Embrace your natural dark root fully. Only apply the pastel to the mid-lengths and ends, creating a bold contrast that looks intentional and requires no root touch-ups.
Creative Application & Textural Effects
Think outside the bowl! These methods use unique application styles to create dimension and movement.
16. Foilyage for Pastels: Combine balayage painting with foils. Paint on lightener in a balayage pattern, then wrap the sections in foils. The result is a more controlled, lifted base perfect for holding delicate pastels.
17. Color Weaving: Using a tail comb, weave out tiny, alternating sections at the root. Apply pastel to these woven-out strands only. This creates a speckled, dimensional effect that blends effortlessly.
18. Dry Hair Application: Apply semi-permanent pastel dye to dry, unwashed hair. The dye tends to grab more subtly and unevenly on dry hair, creating a beautifully varied, textured fade from the start.
19. The Sponge Blend: For a truly soft, airbrushed root, apply dye with a makeup sponge, dabbing and stippling the color onto the root area for a feather-soft edge.
20. Twist & Paint: Take small sections, twist them tightly, and apply the pastel color primarily to the raised ridges of the twist. This creates a beautiful, linear, ribbon-like effect from root to tip.
Advanced & Color Theory-Driven Techniques
For the color connoisseur, these methods involve a deeper understanding of how colors interact to create stunning, custom results.
21. Tonal Root Shading: Use a demi-permanent dye in a neutral or cool tone (like a level 6 ash brown) to shade the root before applying a pastel. This cancels out warmth and creates a sophisticated, tonal base for the pastel to overlay.
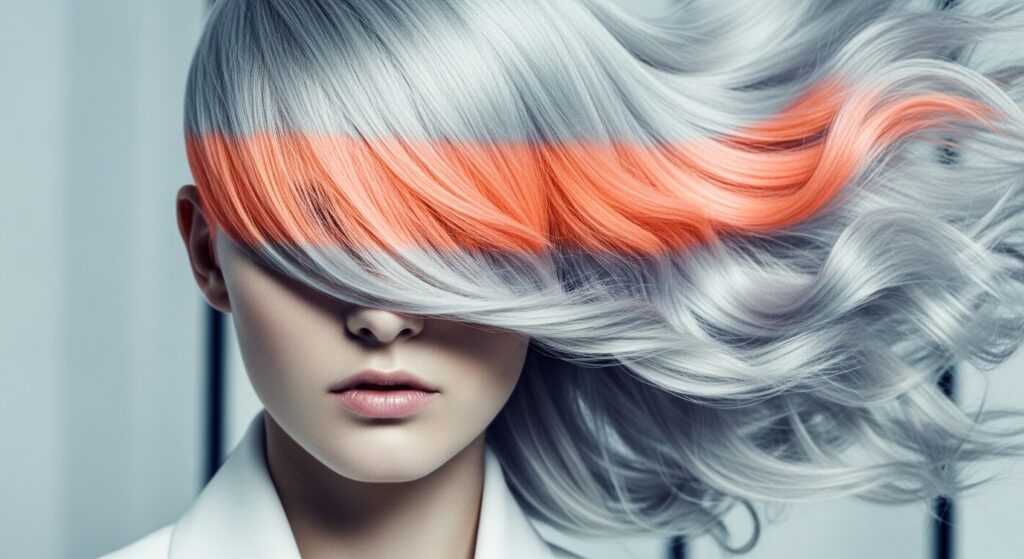
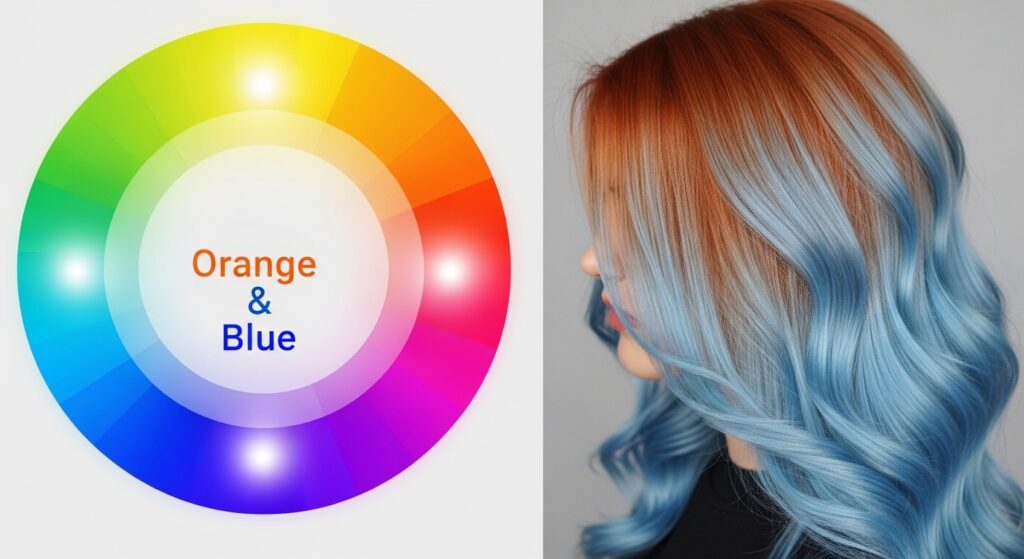
22. Complementary Color Melt: Use the color wheel to choose your root shade. For example, a soft orange or copper root will dramatically melt into a pastel blue or aqua length, creating a stunning sunset effect.
23. The “Blank Canvas” Root Stretch with Pastel Overlay: Lighten the root area to a pale, neutral blonde (the “blank canvas”). Then, apply two different pastels—one on the root canvas and one on the ends—and blend them where they meet in the middle for a custom, multidimensional fade.
Caring for Your Dreamy Pastel Masterpiece
Your work isn’t done once the dye is rinsed. Pastels are fleeting by nature, but you can extend their dreamy life with smart care. Wash less frequently and with cold water. Invest in a sulfate-free, color-safe shampoo and a dedicated color-depositing conditioner or mask in a matching pastel shade to refresh color weekly. Protect your hair from heat styling and, most importantly, from the sun, which fades pastels rapidly. A UV-protectant hair spray is a must for summer.
Embrace the fade! Part of the charm of pastel roots is their evolving nature. They will shift tones and soften, often revealing new, beautiful nuances along the way. With these 23 techniques in your arsenal, you’re equipped to create not just a color, but a living, breathing work of art that grows and changes with you. So, choose your technique, pick your palette, and get ready to create the dreamy, faded look of your fantasies.