22 Oil Slick Color Methods That Shift in the Light
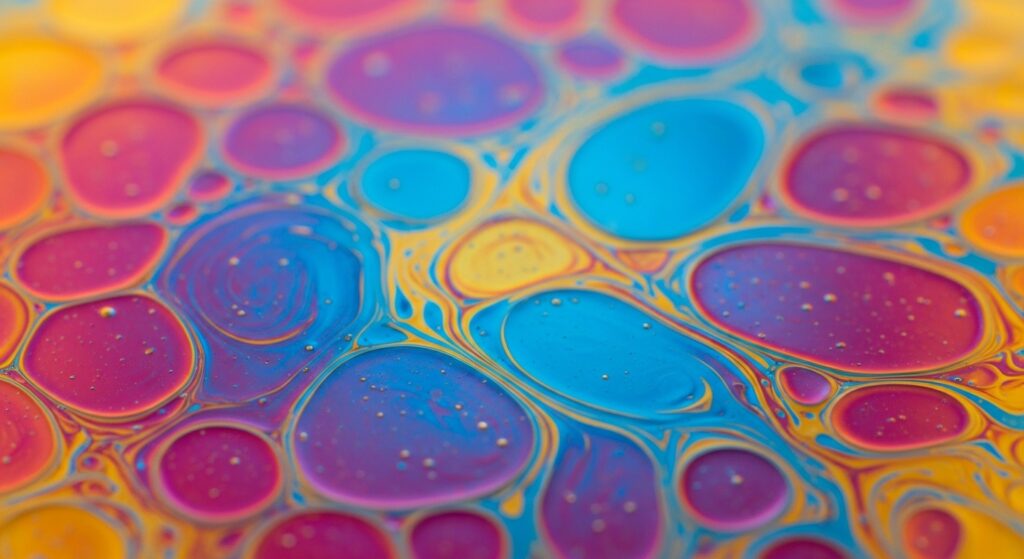
Have you ever been captivated by a puddle in a parking lot? Not for its water, but for that mysterious, rainbow sheen swirling on its surface—the hypnotic dance of an oil slick. This natural phenomenon, where color becomes a living, shifting entity dependent on light and perspective, has fascinated artists, designers, and makers for centuries. Today, this iridescent magic isn’t confined to pavement puddles. It’s a sought-after aesthetic, from high-fashion nails to futuristic car paints and cutting-edge digital interfaces.
The Science of the Shift: How Iridescence Works
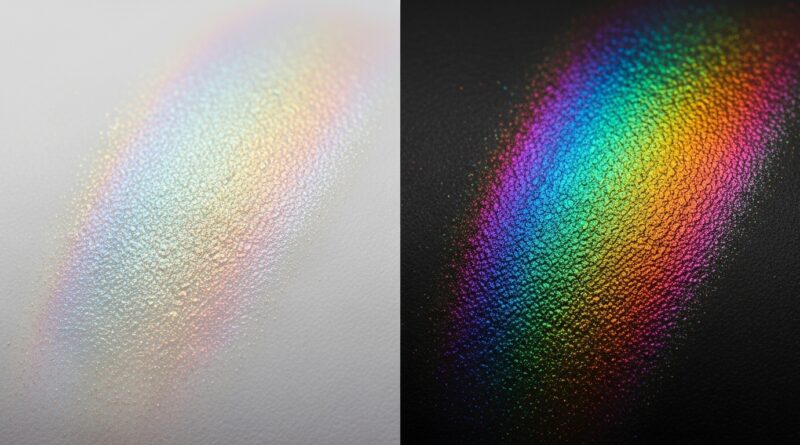
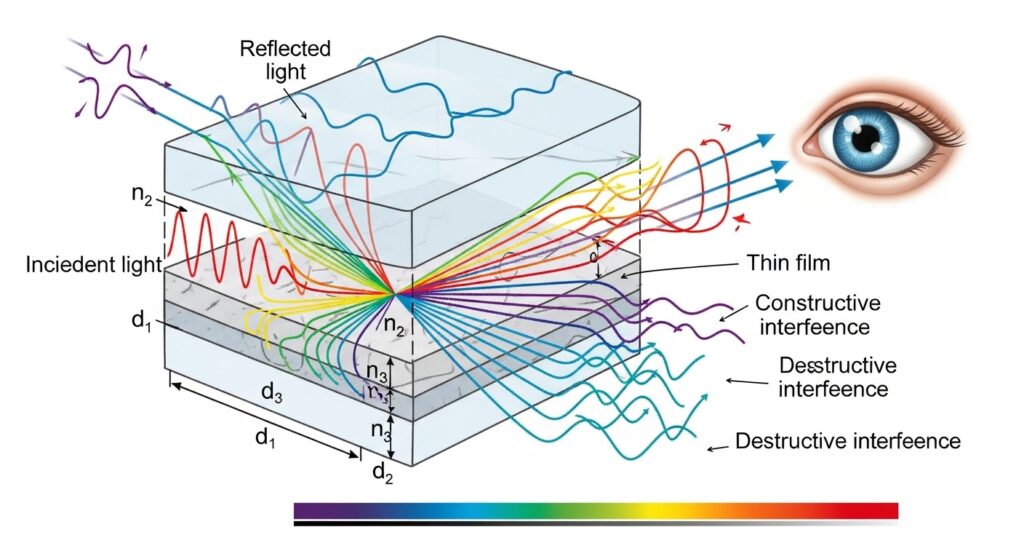
Before we jump into the methods, let’s quickly understand the why behind the wow. Unlike standard pigments that absorb and reflect specific light wavelengths to give us a static color, iridescent effects rely on structural color. This means the physical structure of the material—like microscopic layers, flakes, or patterns—interferes with light waves.
Think of it like the surface of a CD or a soap bubble. Light bounces off these micro-structures, and waves either reinforce or cancel each other out, depending on the viewing angle. This creates the illusion of changing colors. Our 22 methods all manipulate materials to create this light-bending magic, whether with powders, pigments, films, or digital tools.
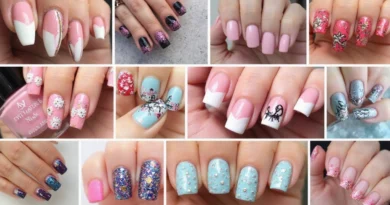
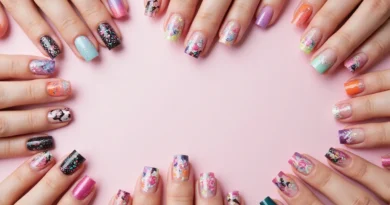
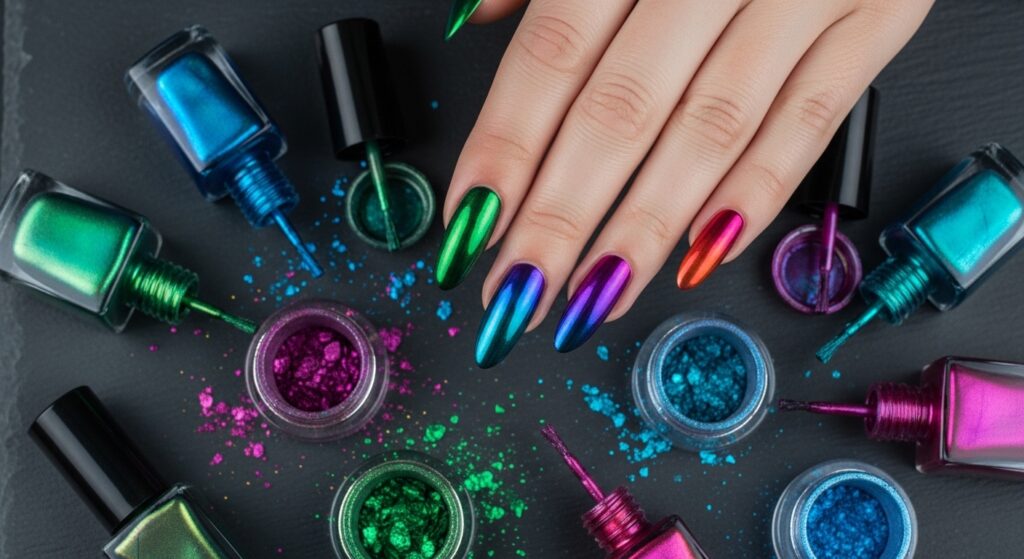
Category 1: Nail Art & Cosmetics
The beauty world has fully embraced the oil slick trend, offering some of the most accessible ways to wear shifting colors.
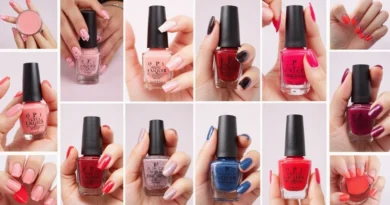
1. Duochrome & Multichrome Nail Polishes: The simplest entry point. These polishes contain fine mica flakes or other interference pigments that shift between two (duo) or multiple (multi) colors based on the light.
2. Iridescent Flake Toppers: Clear polishes packed with larger, translucent color-shifting flakes. Apply over a black or dark base for maximum dramatic effect.
3. Chromatic Nail Powder/Buffing Gels: Apply a no-wipe top coat, then gently buff a color-shifting pigment powder onto the sticky surface. This creates an intense, metallic-like shift that’s smooth to the touch.
4. “Oil Slick” Water Marbling: A classic technique revived. Drop specks of iridescent and dark nail polishes into water, create a marbled pattern, and dip your nail to capture a unique, swirling design.
5. Iridescent Loose Eyeshadows/Pigments: Not just for eyes! These highly concentrated powders, often used with a mixing medium, can be applied to nails, face, or body for a bold, shifty sparkle.
6. Interference Acrylic Paint for Nail Art: Fine-art acrylic paints labeled “interference” (e.g., interference blue, interference violet) work beautifully for detailed nail art brushwork over a dark base.
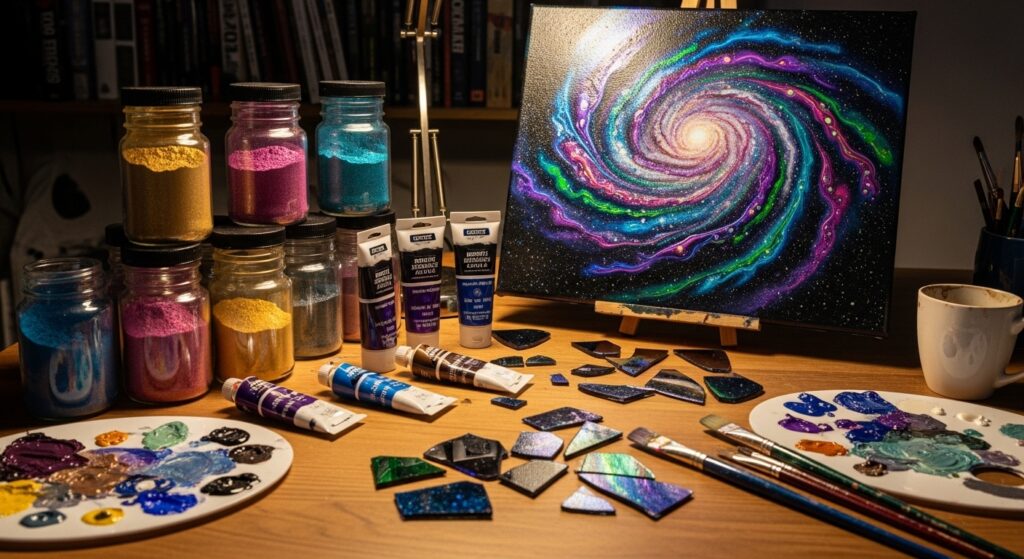
Category 2: Fine Art & Physical Crafts
Bring depth and movement to your canvas, resin, or textile projects with these hands-on techniques.
7. Interference & Iridescent Acrylic Paints: Professional artist-grade paints contain coated mica flakes. Painting in thin glazes over a black or dark underpainting yields the most powerful shift.
8. Dichroic Glass Art: The king of color-shift. Dichroic glass has a microscopic metallic coating that transmits one color and reflects another, creating an intense, seemingly impossible shift. Used in fused glass jewelry, sculptures, and windows.
9. Color-Shift Resin Dyes & Mica Powders: Specialized pigments for epoxy and UV resin. Stir in a small amount to tint clear resin, or layer different colors for deep, dimensional pieces like coasters, geodes, and jewelry.
10. Iridescent Mediums & Gels: Mix these clear additives with your standard acrylic paints to transform them. Iridescent medium gives a subtle pearl-like shift, while interference gels offer stronger color changes.
11. Heat-Activated Color-Shift Pigments: Also known as thermochromic pigments, these change color with temperature. Imagine a mural or craft project that reveals an oil slick pattern when warmed by the sun or touch.
12. Holographic & Iridescent Vinyls/Films: Perfect for decoupage, laptop skins, or glass etching projects. These self-adhesive films come in endless shift patterns, from subtle pearl to radical rainbow.
13. Iridescent Fabric Sprays & Paints: Transform textiles for costumes, sneakers, or fashion projects. Spray paints offer a broad, even coat, while paints allow for detailed designs on dark fabric.
Category 3: Automotive & Industrial Finishes
Where oil slick effects get serious—and spectacularly shiny. These methods are for creating jaw-dropping finishes on hard surfaces.
14. Chameleon / Color-Shift Wrap Films: A popular way to achieve a full car transformation without permanent paint. These high-quality vinyl wraps have multilayer pigments that create a dramatic, sweeping color change from different angles.
15. Custom “Kameleon” Automotive Paints: The professional, permanent solution. These paints use advanced interference pigments suspended in basecoat. They are often applied over a black base and require a clear coat, resulting in a deep, liquid shift.
16. Hydrographic Printing with Iridescent Films: Also known as water transfer printing. A PVA film with a printed oil slick pattern dissolves in water, allowing you to dip an object (like a bike helmet, gun stock, or controller) to coat it with the design.
17. Pearlescent & Interference Top Coats: An easier alternative to full color-shift paint. Adding a pearlescent or interference clear coat over a solid base color (especially dark blues, purples, or greens) can introduce a subtle, elegant shift.
18. Anodizing Titanium with Heat: A metalworking technique. By carefully applying heat to titanium, you can create a permanent, hard-wearing oxide layer that displays vibrant, shifting iridescent colors—common on high-end knives, jewelry, and bicycles.

Category 4: Digital & Graphic Design
Create virtual iridescence for screens, prints, and animations with these software-driven techniques.
19. Duotone/Gradient Mesh with Animated Color Cycles: In Adobe Illustrator or similar, create a complex mesh object. Use a script or keyframe animation to slowly cycle the gradient colors, creating a smooth, flowing shift for digital displays.
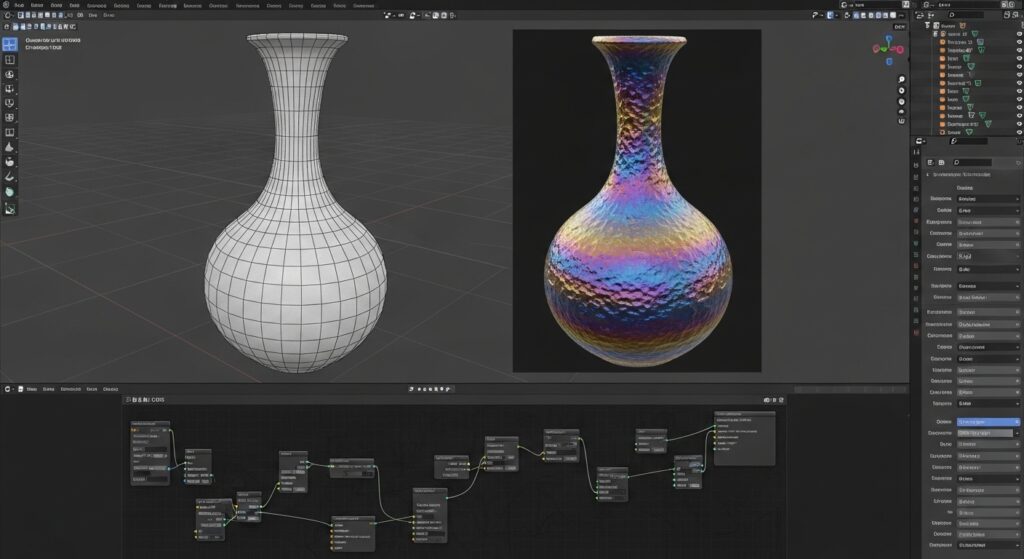
20. Iridescent Shader Creation in 3D Software: Tools like Blender, Cinema 4D, or Keyshot allow you to build custom material shaders. By layering noise maps, gradient ramps, and thin-film interference nodes, you can simulate hyper-realistic oil slick surfaces on 3D models.
21. Photo Manipulation with Gradient Maps & Overlays: In Photoshop, apply a colorful gradient map set to a blending mode like “Overlay” or “Color” over a textured image (like metal, liquid, or skin). Adjust opacity for a convincing digital oil slick effect.
22. Generative Art with Color-Shifting Algorithms: For the coders. Using platforms like Processing or p5.js, write algorithms where color values are tied to variables like noise, time, or mouse position, creating endless, organic color shifts.
Mastering the Method: Tips for Success
No matter which of the 22 methods you try, a few universal principles will elevate your oil slick creations.
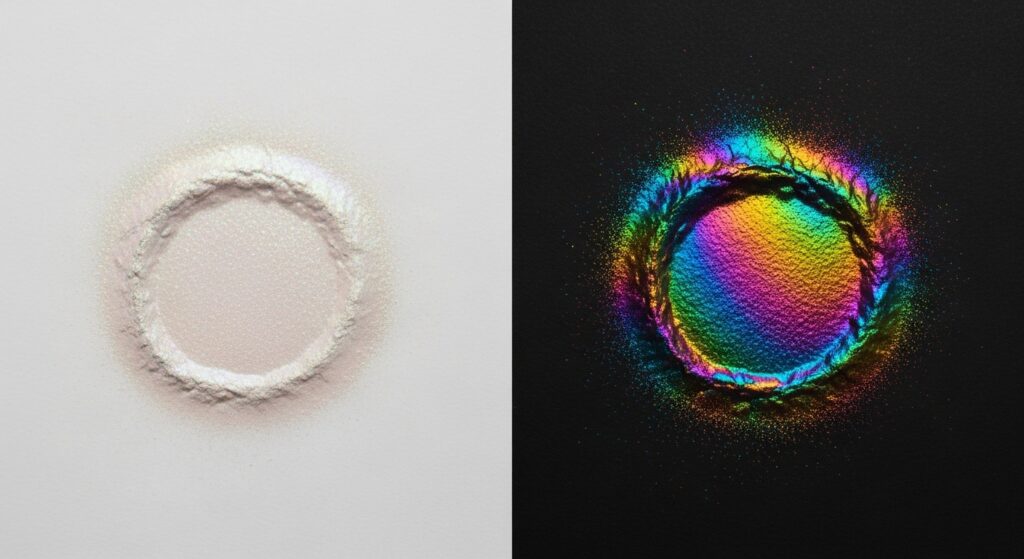
Start with a Dark Base: Almost all physical iridescent effects gain their drama and saturation from a black or very dark base coat. It provides the contrast needed for the shifting colors to pop.
Light is Your Co-Creator: Remember, the effect is entirely dependent on light. Test your work under different light sources—direct sun, soft window light, LED strips—to see its full personality.
Layer Thinly and Evenly: Whether it’s paint, powder, or film, thin, even applications prevent a muddy look and allow light to penetrate and reflect properly for a clean shift.
Experiment with Texture: A smooth surface gives a mirror-like shift, while a textured surface (like hammered metal or stippled paint) will scatter the light, creating a more diffuse, sparkly effect.
Conclusion: The Endless Allure of the Shift
The human fascination with shifting, iridescent color is primal—it speaks to our love for mystery, luxury, and the natural world’s hidden magic. From a simple bottle of nail polish to a full car wrap or a complex digital shader, the methods to achieve this oil slick alchemy are now at our fingertips.
This list of 22 methods is just a starting point. The true creativity begins when you mix these techniques, layer mediums, and find your own unique expression of light and color. So, choose a method that sparks your curiosity, embrace the play of light, and start creating something that refuses to be just one color. The world is always more beautiful when it shifts in the light.