24 Clip Sectioning Techniques for Professional Results
In the world of professional hairstyling, the difference between a good haircut and a great, precision haircut often lies in the foundational steps long before the scissors ever touch the hair. That foundation is sectioning. Proper clip sectioning is the unsung hero of the salon, the blueprint that guides every snip, layer, and texture. It controls bulk, ensures even distribution of color, and creates the roadmap for flawless blending.
The Fundamentals: Why Sectioning is Everything
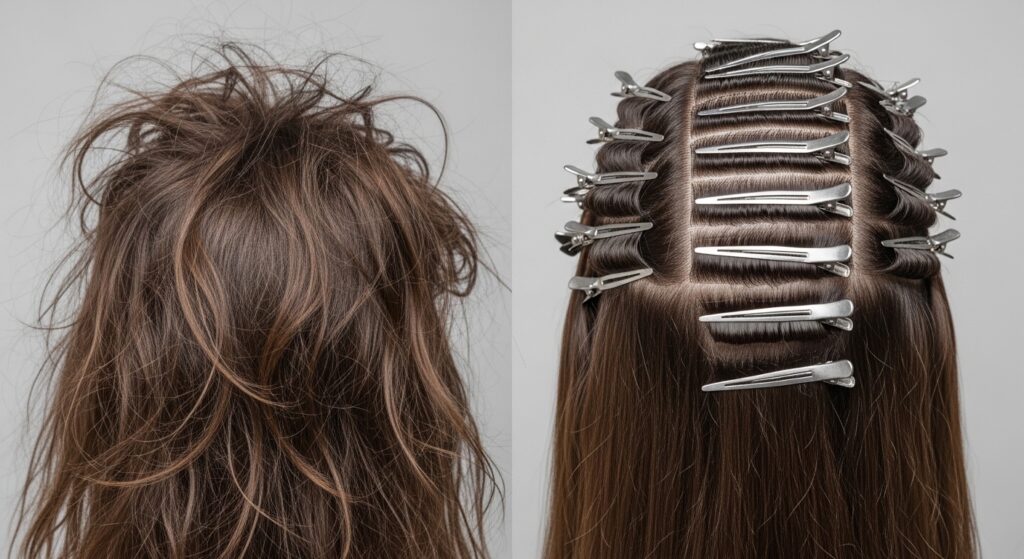
Before diving into the techniques, it’s crucial to understand the why. Sectioning with clips isn’t just about keeping hair out of the way; it’s a strategic process. It allows you to work methodically, ensuring no strand is missed. It provides tension, which is vital for clean cutting lines. It helps you visualize the haircut’s geometry and manage different hair densities. Ultimately, consistent, clean sections lead to consistent, clean results, reducing mistakes and saving time during both cutting and coloring services.
Essential Tools for Perfect Sectioning
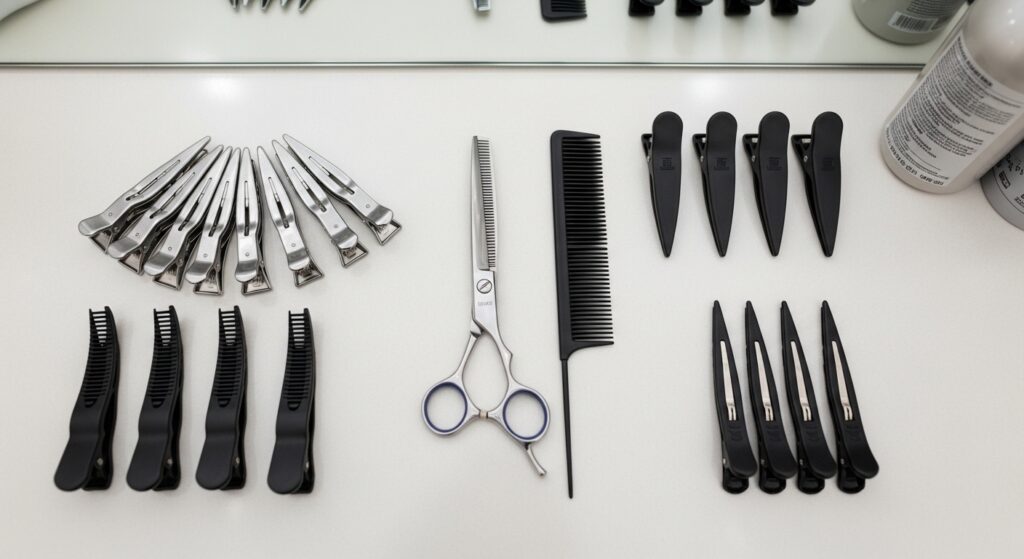
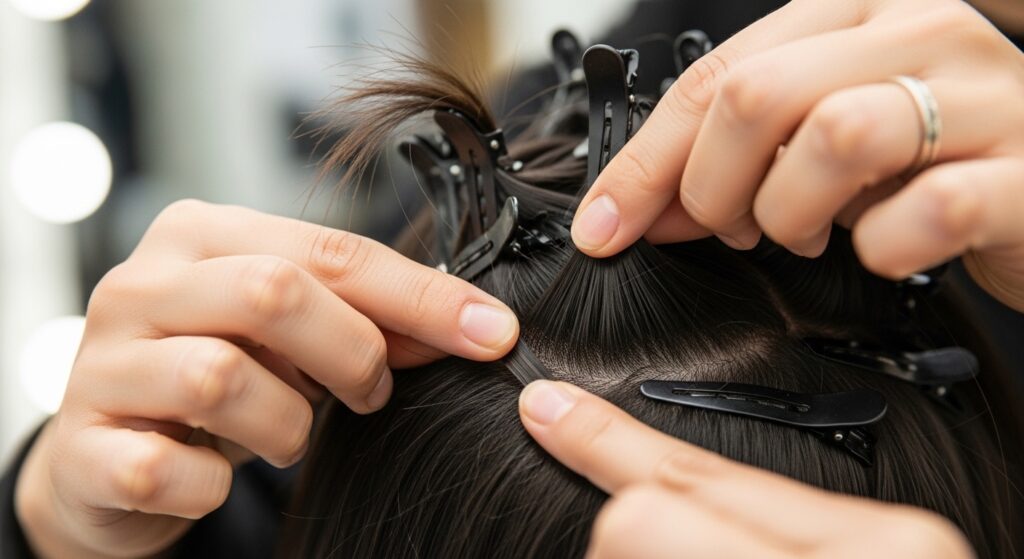
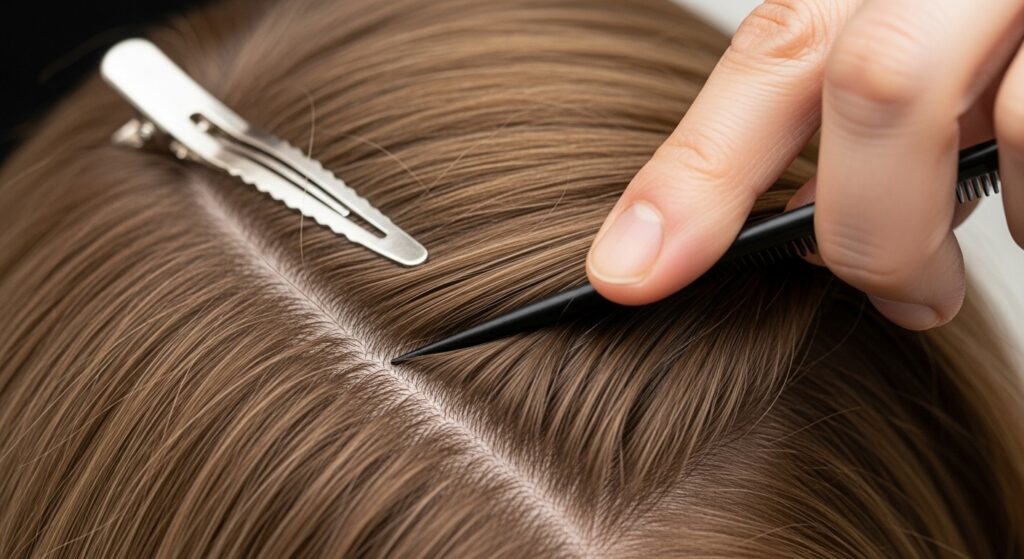
Your technique is only as good as your tools. For professional sectioning, you need two key items: duckbill clips (also called sectioning clips) and a fine-tooth tail comb. Duckbill clips lie flat against the head, holding large sections securely without slipping. The tail comb is for creating sharp, clean partings. Invest in quality clips with a strong grip—they are the workhorses of your station.

Core Sectioning Patterns for Cutting
These foundational patterns are the starting point for most haircuts. They define how you subdivide the head to approach the cut systematically.
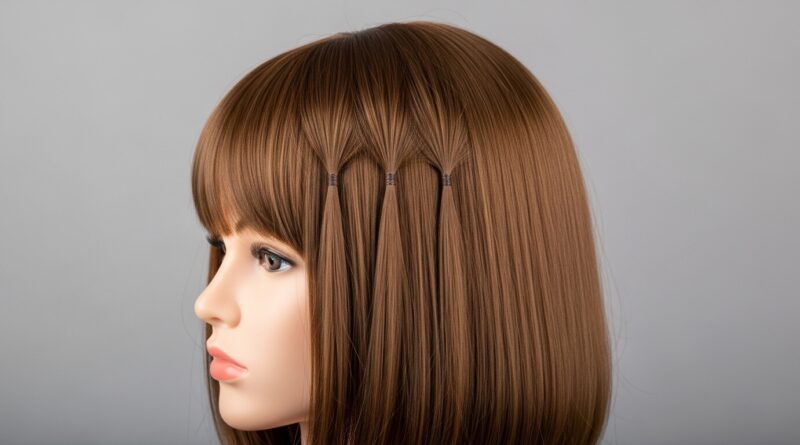
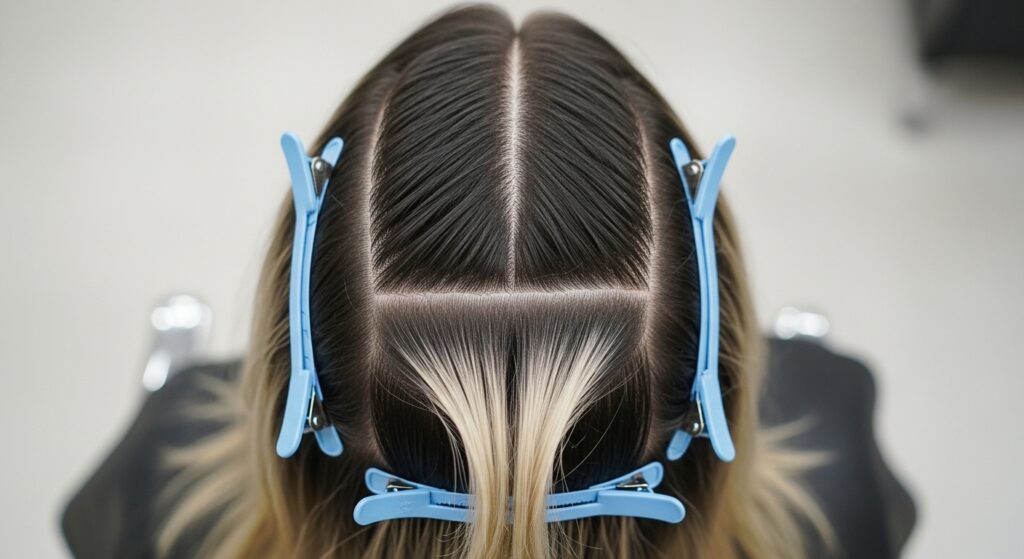
1. The Four-Quadrant Section: The most basic starting point. Create a center part from forehead to nape, then a second part from ear to ear over the crown. Clip each of the four resulting sections. This is perfect for basic one-length cuts or as a starting point for more complex sectioning.
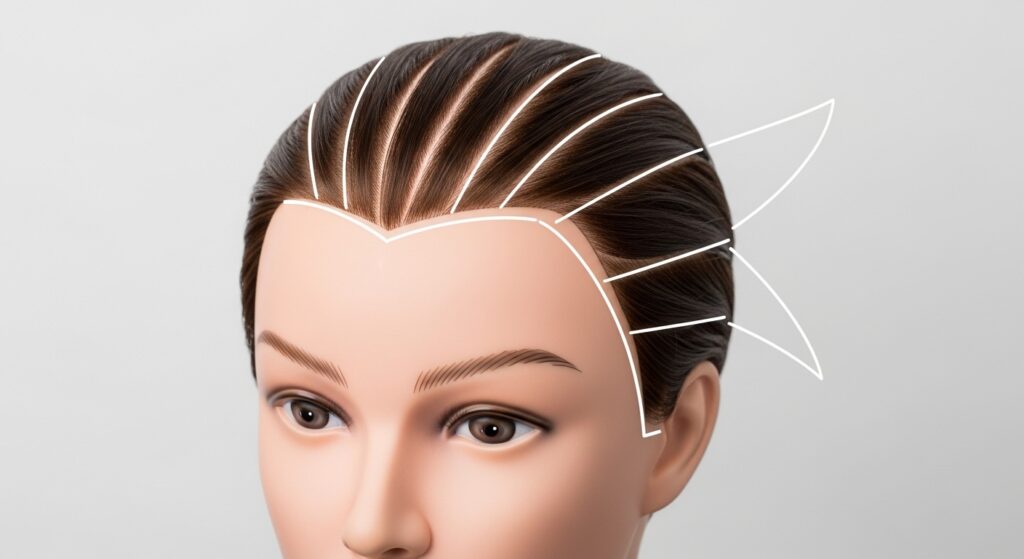
2. The Seven-Section Part: A stylist favorite for precision. It involves the four quadrants, plus two side sections in front of the ears (for the fringe/front area), and a separate horseshoe section at the parietal ridge for layering. This offers exceptional control.
3. Horseshoe Section: Part hair from temple to temple across the crown. This isolates the top/fringe area from the back and sides, crucial for many short cuts and layered styles.
4. Perimeter Sectioning: Isolate the outer perimeter of the hair (the guideline area) from the interior. This is key for blunt bobs or maintaining strong shape lines while working on interior layers.
5. Diagonal Forward Sections: Parting sections diagonally from back to front. Essential for creating forward-moving layers and face-framing that blends seamlessly into the length.
6. Diagonal Back Sections: The opposite—parting diagonally from front to back. Used for building weight in a specific area or for certain graduated shapes.
7. Horizontal Sectioning: Creating parts parallel to the floor. Fundamental for building uniform layers, cutting one-length bobs, and applying color in foils.
8. Vertical Sectioning: Creating parts perpendicular to the floor. Ideal for removing weight, creating strong graduation (like in a stacked bob), and checking the balance of a haircut.
Advanced Sectioning for Layering & Texture
Moving beyond basics, these techniques help you sculpt movement and remove bulk with intention.
9. Pivoting Sectioning: Sections are taken radially from a single point (often the crown). This creates uniform layers that fall naturally from a central point.
10. Brick-Lay Sectioning: Staggering part lines like bricks in a wall. This prevents harsh lines of demarcation, especially important in blunt cuts or when using texturizing shears, ensuring a soft, blended result.
11. Channel Sectioning: Creating narrow, vertical “channels” from the hairline to the crown. This allows for meticulous weight removal and is a cornerstone of many advanced cutting systems like slicing.
12. Freehand Sectioning: Using the clips to follow the natural fall of the hair or the desired design line, rather than strict geometric patterns. Requires a keen eye but allows for highly personalized, organic results.
13. Interior/Exterior Isolation: Clipping away the entire outer layer of hair to work exclusively on the interior layers (or vice-versa). This is a game-changer for creating dynamic volume and separation.
Sectioning for Color Application
Precision in color is impossible without precise sectioning. These methods ensure even saturation and predictable patterns.
14. Foil Sectioning (Weaves & Slices): For highlights, the classic fine, horizontal subsections are key. The size and angle of these subsections determine the blend and contrast of the final look.
15. Balayage Mapping: Sectioning for balayage is about creating zones. Typical mapping involves a center part, then sectioning the hair into four quadrants, often with a triangular section at the crown to focus lightening where light naturally hits.
16. Block Coloring: Using clips to isolate large, specific blocks of hair for solid color application, like a bold fashion color on the underlayer.
17. Part-By-Part Sectioning: For all-over color, working in systematic, ¼-inch partings from nape to front ensures every single root is covered without overlap or missage.
Techniques for Specific Haircuts & Styles
Tailor your sectioning to the haircut at hand for efficiency and accuracy.
18. Pixie Cut Sectioning: Often starts with isolating the fringe, then the top crown area in a square or circle, leaving the sides and back free. This allows for disconnected texture and precise scissor-over-comb work on the sides.
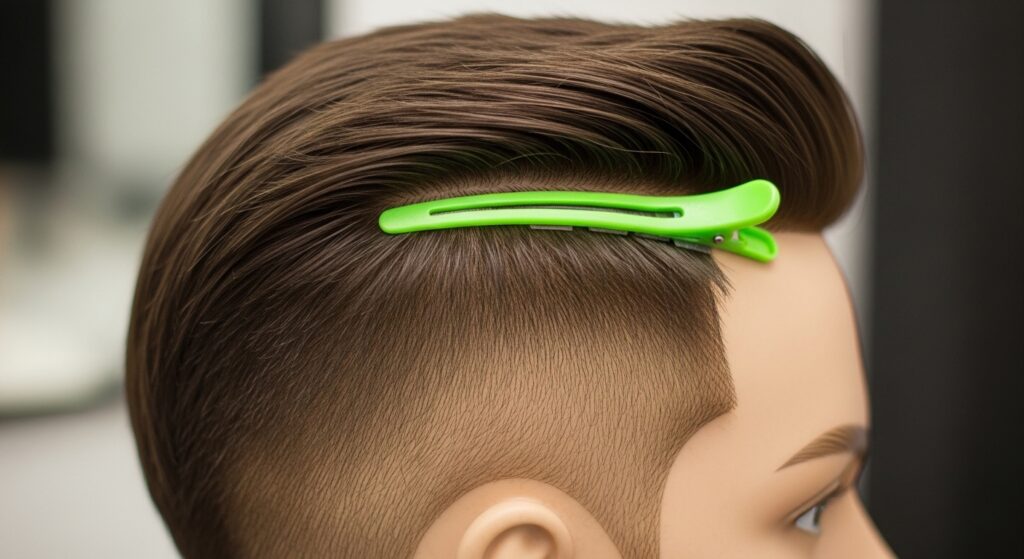
19. Men’s Fade Sectioning: Clips are used to isolate the “weight line” or guideline at the top of the fade. The hair below this clip is then faded out with clippers, while the hair above is preserved for cutting with shears.
20. Bang/Fringe Sectioning: Create a triangular section from the crown to the outer corners of the eyes. The apex of the triangle determines the thickness of the fringe. Always check this section with the client’s natural part.
21. Shag/Mullet Sectioning: Relies heavily on radial sectioning from the crown and isolating the front “curtain” areas separately from the back length. This facilitates the signature layered, textured effect.
22. Asymmetrical Cut Sectioning: The sectioning itself must be asymmetrical. You may create a deep diagonal part first and then section each side independently according to its own length and weight requirements.
Pro Tips for Flawless Execution
23. The Tension Trick: When creating a parting, use the teeth of your tail comb to press down along the part line before placing the clip. This secures the hair from the root and creates a cleaner line.
24. Subsection as You Go: Don’t try to clip the entire head at once for a complex cut. Master the art of taking a main section, then releasing and sub-sectioning it with clips as you work through it. This keeps hair manageable and maintains your place in the formula.
Bonus: Check and Re-Check: Before you make a major cutting line, double-check that your sections are even and symmetrical from side to side. A moment of verification can prevent a major correction.
Conclusion: Sectioning is Your Superpower
Mastering these 24 clip sectioning techniques will fundamentally elevate your work behind the chair. It brings a level of predictability, speed, and precision to your services that clients can both see and feel. Remember, sectioning is not a mundane pre-step; it is the first and most critical creative decision in any hairstyle. Practice these patterns until they become second nature. Incorporate them into your daily routine, and watch as your confidence grows and your results consistently reach that coveted professional tier. Now, grab your clips and comb, and start sectioning your way to better haircuts.