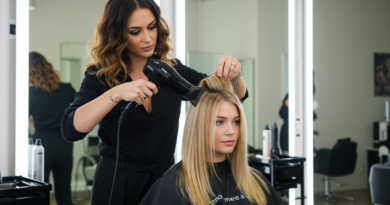
16 Edge Brush Techniques for Perfectly Laid Edges
In the world of hair styling, edges are more than just hair—they are a frame for the face, a statement of style, and a testament to meticulous craftsmanship. Whether you’re a styling novice or a seasoned pro, achieving those sleek, defined, and perfectly laid edges can feel like the final, crucial step in any hairstyle. But without the right technique, it can quickly become a frustrating battle with flyaways and uneven lines.
The Foundation: Prep Work for Impeccable Edges
Before your edge brush even touches your hair, the stage must be set. Perfect edges are built on a foundation of proper preparation. Skipping this step is like painting on a dirty canvas; the result will never be smooth or long-lasting.
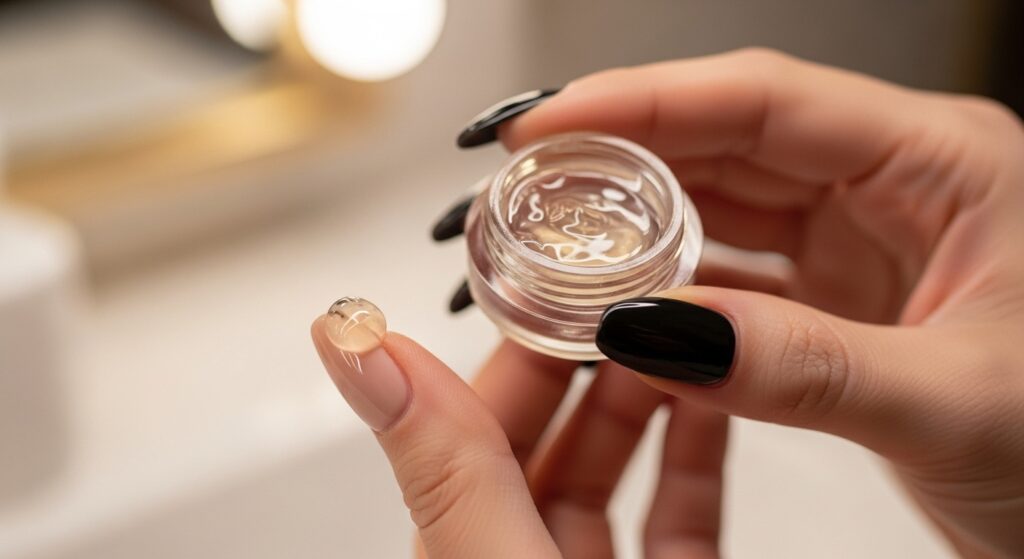
Start with clean, damp, or moisturized hair. If your edges are dry, they will be brittle and more prone to breakage and frizz. Use a light leave-in conditioner or edge control gel of your choice. The key is to apply a small amount—a pea-sized portion is often enough. Too much product can lead to flaking or a heavy, greasy look. Work the product through your edges using your fingers to ensure even distribution from root to tip. This prep phase ensures your hair is manageable and receptive to styling.
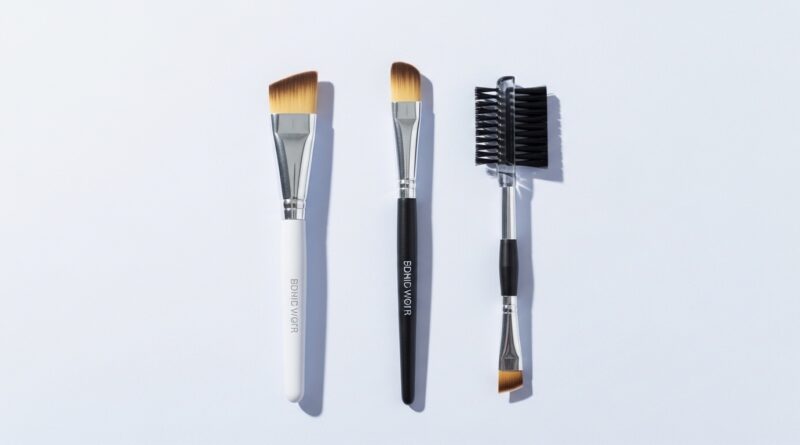
The Tool Kit: Choosing Your Edge Brush
Not all edge brushes are created equal. The right brush can make the technique effortless. There are three primary types: the classic tapered brush with firm, densely packed bristles ideal for maximum tension and sleekness; the soft-bristle brush, perfect for delicate or sensitive hairlines and creating softer, more natural waves; and the dual-ended brush, which often features a comb on one end for detangling and a brush on the other for laying. For most sleek styles, a firm, tapered brush with a comfortable handle offers the best control and precision.
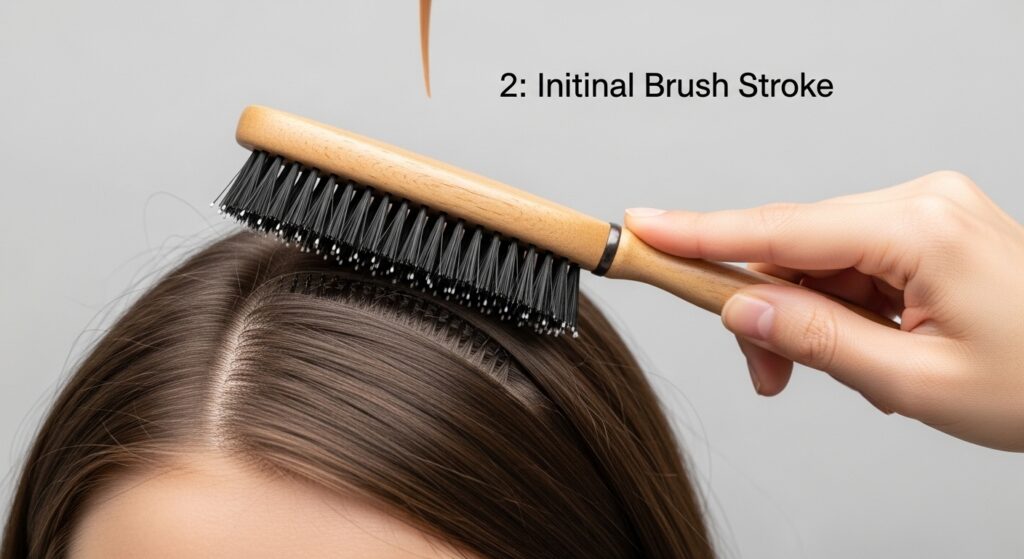
Technique 1: The Classic Smooth Down
This is the bread and butter of edge control. Using your chosen edge brush, start at the hairline and brush your edges downward in the direction you want them to lay. Apply firm, even pressure. Use your opposite hand to hold the surrounding hair out of the way and to stretch the skin slightly for a smoother application. This technique works best for straightforward, sleek looks.
Technique 2: The Swipe and Curve
For rounded edges or baby hairs with a curved design, the swipe and curve is essential. Load your brush with a tiny bit more product if needed. Instead of brushing straight down, use a swiping, curved motion. Flick your wrist gently as you follow the desired arc shape. This creates a seamless, rounded line rather than a harsh angle.
Technique 3: The Tension Method
When dealing with thick or resistant edges, tension is your best friend. Hold a section of your hair taut with one hand, pulling it gently in the direction you want it to go. With your other hand, use the edge brush to smooth the hair firmly against the scalp, following the line of tension. This method provides extra sleekness and is excellent for creating sharp parts.
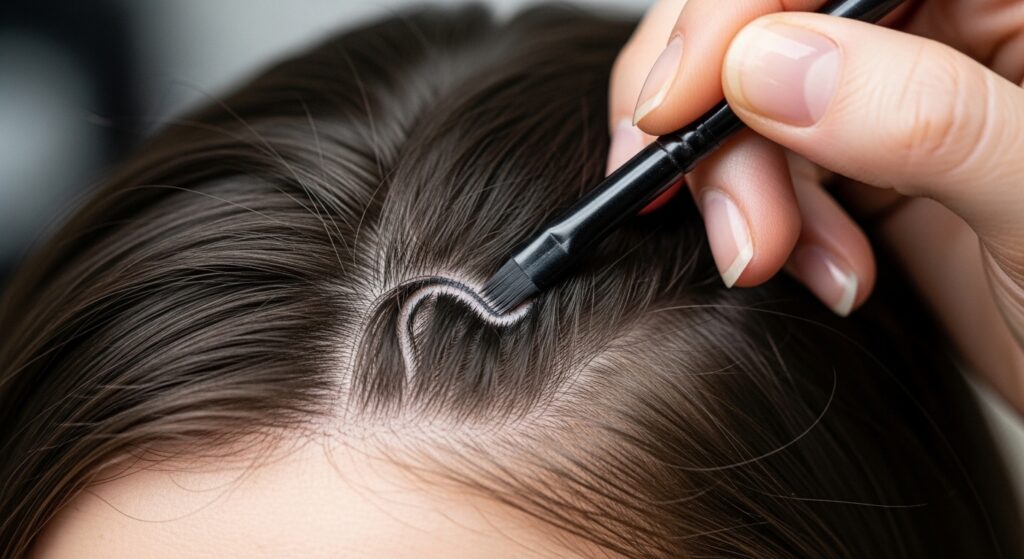
Technique 4: The “C” Shape Sculpt
This technique is perfect for creating those iconic, swirling baby hair designs. Using the tip of your edge brush, start with a small section of hair. Gently guide the hair into a “C” shape by rotating your brush in a semicircular motion. You can connect multiple “C” shapes for a more intricate design. Patience and a light touch are key here.
Technique 5: The Press and Hold
Sometimes, your edges need a little extra persuasion. After brushing your edges into place, use the flat back of your edge brush or a clean, fine-tooth comb to press the hair firmly against your scalp. Hold for 10-15 seconds. The combination of pressure and the cooling effect of the tool helps to set the product and smooth the hair cuticle for a glass-like finish.
Technique 6: The Warm Brush Technique
Caution: Use this method carefully and avoid direct heat on the scalp. Lightly warm the bristles of your edge brush with a blow dryer for 2-3 seconds. Test the temperature on your wrist first. The gentle heat helps to melt the edge control product slightly, allowing for an ultra-smooth application and a longer-lasting hold as it cools and sets.
Technique 7: The Brush and Tuck
For updos or ponytails, you want edges that blend seamlessly. Brush your edges smoothly toward the point where your hair is gathered. Then, use the brush to gently tuck the very ends of your edges under the base of the ponytail or bun. This creates a polished, finished look with no loose ends.
Technique 8: The Dual-Direction Lay
This advanced technique adds volume and dimension. Brush the front section of your edges forward toward your forehead, and the side sections downward toward your ears. The meeting point creates a subtle, flattering lift at the front. This works wonderfully for heart-shaped or square face frames.

Technique 9: The Water Spritz Refresh
If your edges are dry mid-style or you’ve applied too much product, a light spritz can save the day. Lightly mist your edge brush with water (not your hair directly) and then re-brush the area. The water will re-activate the product, allowing you to re-smooth and re-sculpt without adding more product, which can cause buildup.
Technique 10: The Toothbrush for Micro-Edges
For extremely short, new-growth baby hairs or hyper-detailed work, a clean, soft-bristled toothbrush is a secret weapon. It offers pinpoint control for the tiniest hairs that a regular edge brush might miss. Use it with a tiny dab of gel to sculpt micro-details.
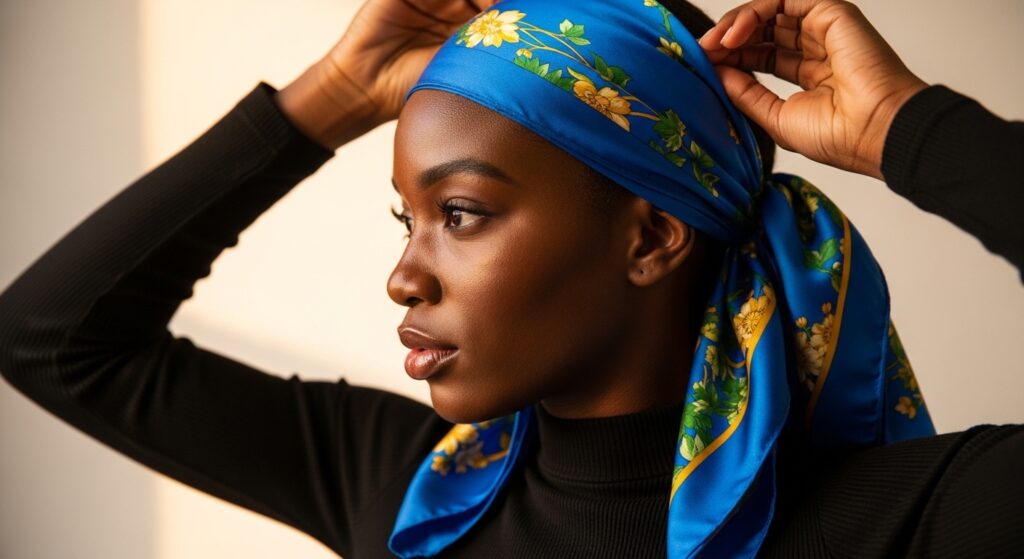
Technique 11: The Silk Scarf Set
This isn’t a brushing technique per se, but it’s the crucial final step for many. After laying your edges perfectly, immediately tie a silk or satin scarf around your hairline. The scarf holds the hair in place as it dries and sets, preventing friction and frizz. Leave it on for at least 15-20 minutes for best results.
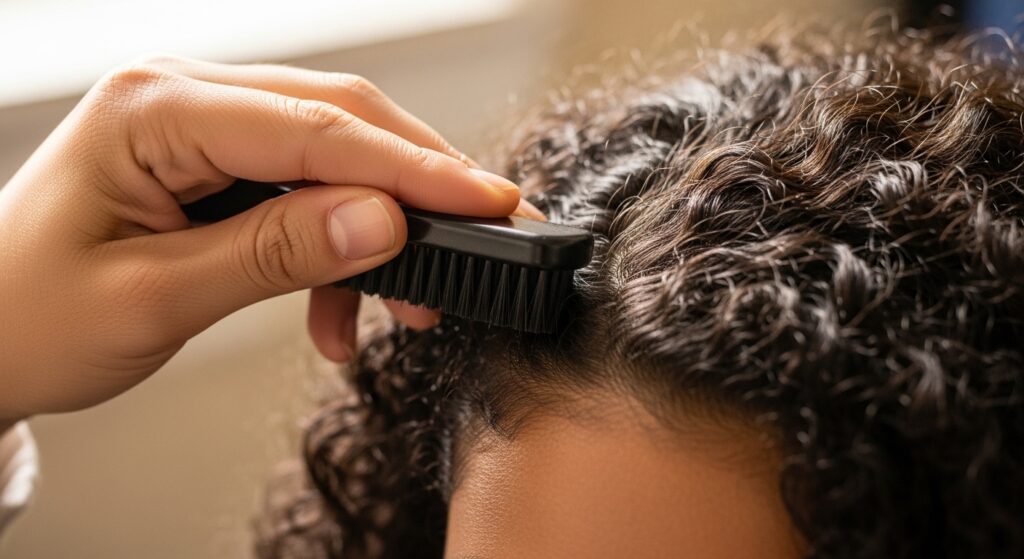
Technique 12: The Finger Coil for Curly Edges
Not all edges need to be bone straight. To enhance your natural curl pattern at the hairline, apply a curl-defining cream. Then, instead of brushing, use your fingers to twist or coil small sections of hair. This defines curls and creates a beautiful, textured frame that celebrates your natural hair.
Technique 13: The Layered Application
For stubborn edges, sometimes one layer of product isn’t enough. Apply a thin layer of gel, brush smooth, and let it dry for a minute. Then, apply a second, even thinner layer and brush again. This layered approach often provides a stronger, flake-free hold than one heavy application.
Technique 14: The Side-Swept Illusion
Create a soft, side-swept look by brushing all your edges in one consistent, diagonal direction. This is a flattering technique that can soften angular features. Use the tension method on the side you’re brushing toward for a sleek, dramatic sweep.
Technique 15: The “Baby Hair” Design Mix
Get creative by combining techniques. Use the “C” Shape Sculpt at the temples, a simple swipe in the middle, and a small curl at the ends. Mixing designs makes your style unique. Remember to work in small sections and clean your brush between different designs to avoid smudging.
Technique 16: The Minimalist Pat-Down
For a more natural, “your-edges-but-better” look, sometimes less is more. Apply a very small amount of a light-hold product. Instead of vigorous brushing, use the edge brush to gently pat and press the hairs into place. This reduces frizz without creating a hard, shiny look, perfect for casual days.
Pro Tips for Long-Lasting Perfection
Mastering these techniques is only part of the equation. To ensure your perfectly laid edges last all day, follow these pro tips. First, always start with a clean hairline, free of heavy oils or old product residue. Second, invest in a high-quality edge control that matches your hair’s needs—some are formulated for maximum hold, others for flexibility. Third, avoid touching your edges throughout the day! The oils from your fingers can break down the product. Finally, protect your edges at night with a silk or satin pillowcase or bonnet to maintain your hard work for days.
Conclusion: Your Edge Mastery Awaits
Perfectly laid edges are an art form that elevates any hairstyle from good to exceptional. With these 16 edge brush techniques in your styling arsenal, you have a solution for every texture, style, and occasion. Remember, practice is paramount. Don’t be discouraged if your first attempt isn’t perfect. Experiment with different brushes, products, and these methods to discover what works best for your unique hair. Embrace the process, and soon, you’ll be laying your edges with the speed and confidence of a true professional. Now, pick up that brush and create your masterpiece.