20 Blow Dryer Brush Techniques for DIY Blowouts
Dreaming of that bouncy, shiny, salon-fresh blowout but dread the time and cost of weekly appointments? You’re not alone. The rise of the blow dryer brush—a miraculous hybrid tool that combines the power of a hairdryer with the styling prowess of a round brush—has revolutionized at-home hair care. But owning the tool is only half the battle; mastering the technique is the true game-changer.

Foundation & Prep: The Non-Negotiables
Before you even turn on the heat, perfect prep is crucial. These foundational techniques set the stage for a blowout that lasts for days.
1. The Towel-Blot, Never Rub: After washing, gently squeeze out excess water with a microfiber towel. Avoid rough rubbing, which causes frizz and damages the hair cuticle. Your hair should be damp, not dripping wet.
2. Strategic Product Application: Apply a heat protectant spray from mid-lengths to ends, then a root-lifting spray or mousse at the crown. For fine hair, a volumizing spray all over; for thick or frizz-prone hair, a smoothing blow-dry cream is your best friend.
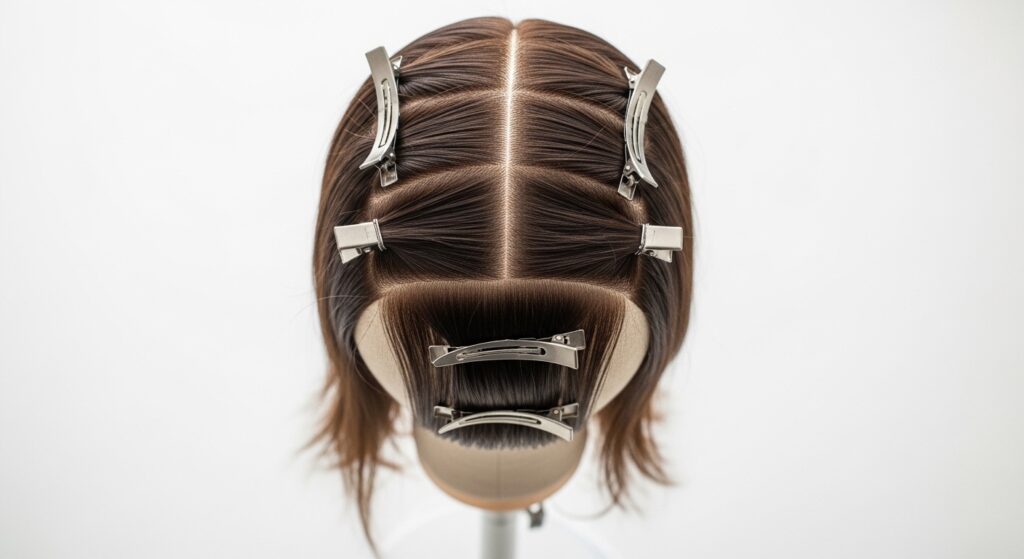
3. Section Like a Pro: Divide your hair into four quadrants: two in the front (from ear to ear) and two in the back. Clip up the top sections. Working on small, manageable sections (1-2 inches wide) is the secret to thorough drying and smooth results.
Core Smoothing & Straightening Techniques
These are the essential moves for achieving that iconic, sleek blowout. Master these, and you’ve got the basics down.
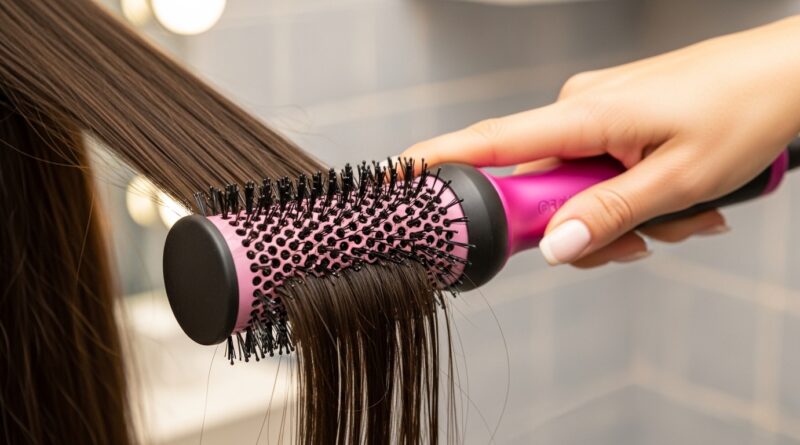
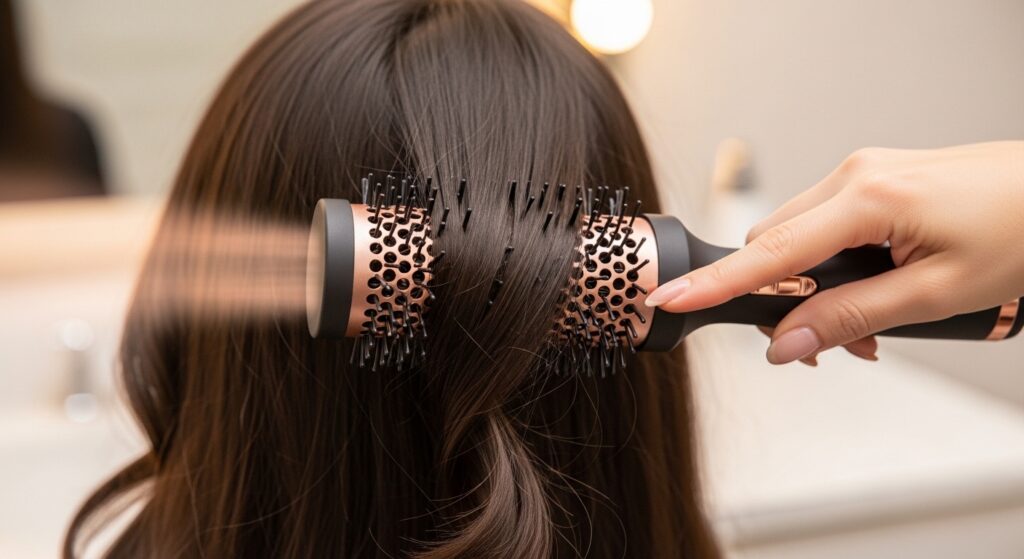
4. The Classic Smooth-Over: For the bottom sections, place the brush under the hair near the roots. Slowly rotate the brush inward (toward your face) as you glide it down the length of the hair, following with the dryer nozzle. This creates a smooth, bent-under finish.
5. The Tension Method: For pin-straight hair, hold the hair section taut with one hand while guiding the blow dryer brush down from root to tip with the other. The tension helps smooth the cuticle for extreme shine.
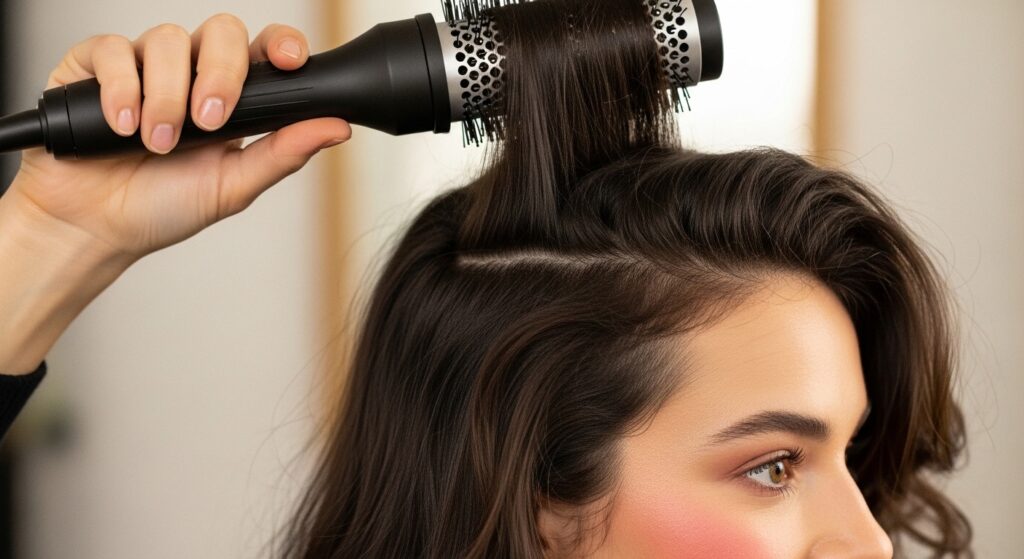
6. The Root-Lift Flip: When drying the top sections, place the brush at the roots and gently lift the hair up and away from your scalp as you dry, then proceed down the length. This builds instant volume at the crown.
7. The “C” Shape Curve: To avoid a flat look, as you approach the ends of your hair, curve the brush inward to create a soft “C” shape. This gives a rounded, polished finish rather than a harsh, flipped end.
Volumizing & Root-Lifting Tricks
If volume is your goal, these techniques will become your holy grail. It’s all about direction and root work.
8. Back-Combing with Heat: For mega volume, take a vertical section at the crown, place the brush underneath near the roots, and gently push the hair up while applying heat for 5-10 seconds. Release carefully.
9. Opposite Direction Drying: Dry all sections of your hair in the direction opposite to how they naturally fall. For example, if you part your hair on the left, dry the right side sections brushing to the right, and vice versa. Once cool, flip back to your natural part for incredible lift.
10. The Vertical Section Lift: Instead of horizontal sections, work with vertical sections around your face and crown. Roll the brush under and upward, holding for a few seconds. This creates lift closer to the hairline.
11. Cool Shot Lock: After heating each section with the brush, hit the cool shot button for 5 seconds while the hair is still wrapped. The rapid cooling sets the shape and volume in place.
Curling & Wave Creation Methods
Your blow dryer brush isn’t just for straight hair! It can create beautiful, soft curls and waves with more volume than a curling iron.
12. The Basic Barrel Curl: Wrap a 2-inch section of hair around the barrel of the brush, holding it vertically. Apply heat for 10-15 seconds, then hit with the cool shot before unwinding for a bouncy, loose curl.
13. Beach Wave Twist: For undone waves, twist a section of hair loosely before wrapping it around the brush barrel. Dry and cool, then release for a textured, effortless wave pattern.
14. Face-Framing Curls: Take the front sections and wrap them around the brush barrel away from your face for a retro look, or toward your face for a softer, romantic frame. This technique highlights your features beautifully.
15. The “Wrap and Hold” for Spiral Effect: On smaller sections, wrap the hair neatly and tightly around the barrel from root to tip. Hold the heat for a longer duration (15-20 secs), cool, then gently slide the brush out for a more defined spiral.

Frizz Control & Finishing Touches
The final steps are what separate a good blowout from a great one. These techniques seal the deal.
16. The Smoothing Pass: Once your hair is 100% dry and cool, do one final pass over the top layer. Use the brush on a lower heat or cool setting, gliding it slowly over the surface to tame any flyaways and boost shine.
17. Part Perfection: Use the pointed tip or tail of your brush (if it has one) to redefine your part. Drag it precisely where you want your part for a clean, polished look.
18. Fringe & Bangs Mastery: For bangs, use the brush in a downward, rolling motion, directing the air flow downward to set the shape. Use a smaller round brush attachment if available for more control.
19. Oil Glossing: After styling, rub one drop of hair serum or oil between your palms and lightly skim over the surface of your hair, focusing on the ends. Avoid the roots to maintain volume.
20. The Final Cool Blast: Flip your head upside down and give your roots a final blast of cool air from a traditional dryer or your brush’s cool setting. This adds one last hit of volume and helps set the style for longevity.
Pro Tips & Troubleshooting
Brush Type Matters: Smaller barrels create more curl and volume; larger barrels deliver a straighter, smoother finish. Ceramic or tourmaline barrels help reduce frizz.
Heat Settings are Key: Use high heat for rough drying, medium for styling, and low/cool for setting. Fine hair needs lower heat; thick, coarse hair can tolerate higher settings.
Don’t Overload the Brush: If your hair isn’t getting smooth, your section might be too thick. Go smaller for better heat distribution and tension.
Patience is a Virtue: A great blowout takes time. Rushing leads to damp roots and a style that falls flat quickly.
With these 20 blow dryer brush techniques in your arsenal, you are fully equipped to conquer the DIY blowout. Remember, practice makes perfect. Each hair type is unique, so experiment to find which combinations—whether it’s the Root-Lift Flip followed by the Basic Barrel Curl—work best for you. Say goodbye to expensive salon trips and hello to gorgeous, confident hair days on your own terms. Your tool is powerful, but your newfound skill is even more so. Now, go turn up the heat and unleash your inner stylist!