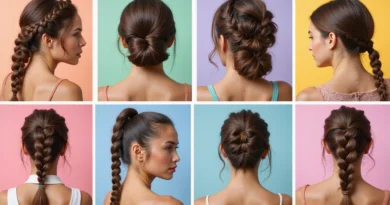
Discover 15 Effortless Hairstyles Perfect for Busy Moms Everywhere
Hey friend. Let’s be real for a second. When you’re a mom, “me time” is a myth, and spending an hour on your hair feels like a luxury from a past life. You need styles that look like you tried, without actually trying that hard.
I get it. That’s why I’ve rounded up the absolute best effortless hairstyles for the woman who is constantly on the move. These are looks you can do in minutes, often with yesterday’s waves or while half-asleep.
This list mixes timeless classics with some of the coolest 2026 hairstyles trends that are surprisingly low-maintenance. Think of it as your quick-reference guide to looking pulled-together, even when you feel anything but.
From the chic “quiet luxury bob” to a romantic updo that hides day-three hair, these are my go-tos. Let’s find your new signature look.
The 5-Minute Messy Bun
This is the ultimate savior. The goal isn’t perfection; it’s effortless texture. Start with second-day hair for the best grip and volume. A light texturizing spray is your best friend here.
Pull your hair into a high ponytail, but don’t pull the last bit through the hair tie. Instead, twist the loop and wrap it around the base. Secure with another tie or pins. The key is to pull out a few face-framing pieces and some at the nape of your neck.
- Use a coiled hair tie for better hold and less breakage.
- Tease the crown slightly before gathering for instant volume.
- A light mist of dry shampoo at the roots adds grip and freshness.
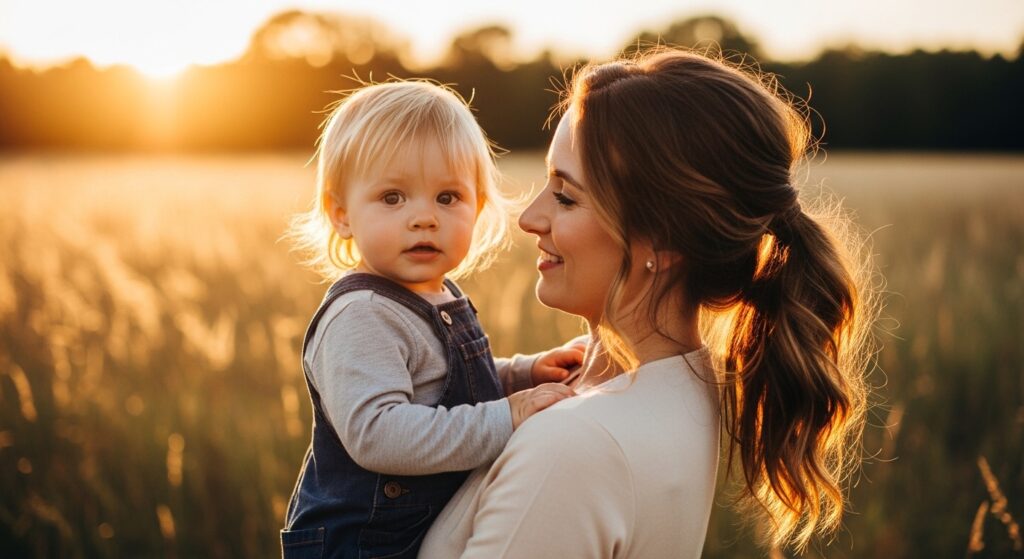
The Effortless Ponytail
Forget the slick, tight pony of your school days. The modern effortless ponytail is lower, looser, and full of movement. It should look like you just casually gathered your hair while running out the door.
Flip your head over and gather your hair at the nape of your neck. Secure it with a tie, but not too tightly. Gently pull the hair at the crown upward to create a subtle lift. This small step makes all the difference.
- Wrap a small section of hair around the elastic to hide it.
- Use a boar bristle brush to smooth the top, but leave the ends free.
- Curve the ends under with a quick pass of a flat iron for a polished finish.
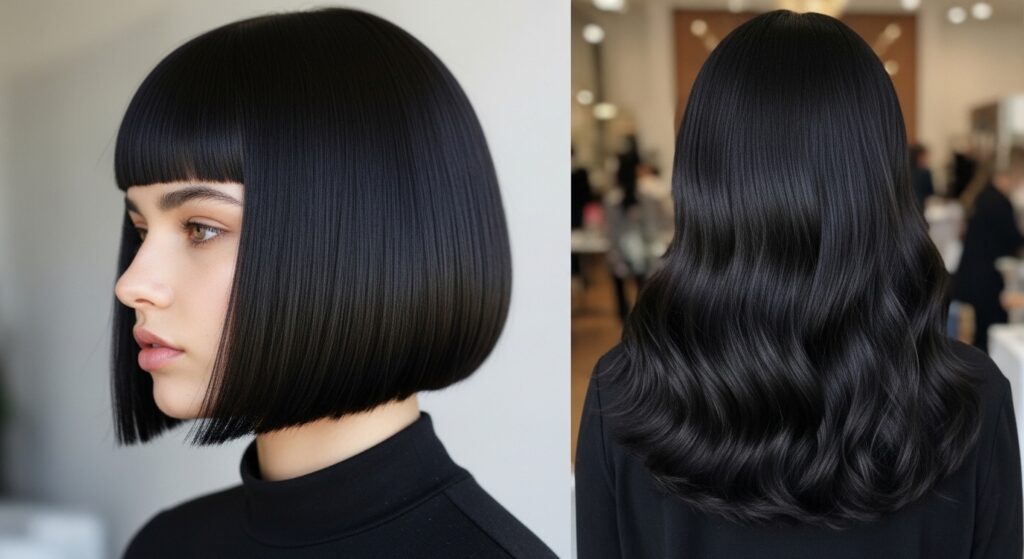
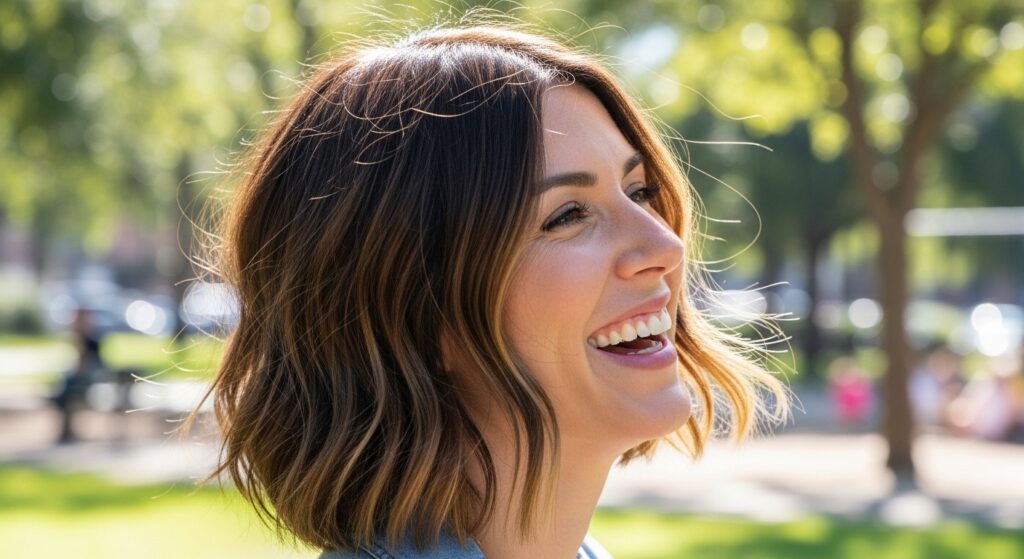
The Quiet Luxury Bob
This cut is everywhere for a reason. The “quiet luxury bob” is all about impeccable, healthy-looking hair with a simple, jaw-length line. It’s a cornerstone of that timeless old money hair aesthetic—understated but deeply chic.
It works best on straight or slightly wavy hair and air-dries beautifully. Ask your stylist for a blunt cut with maybe the softest possible internal layers for movement. The color should be rich and natural-looking.
- Invest in a good shine serum to amplify the luxe look.
- A round brush and blow dryer can create a slight inward curve.
- Trims every 8-10 weeks are non-negotiable to keep the shape sharp.

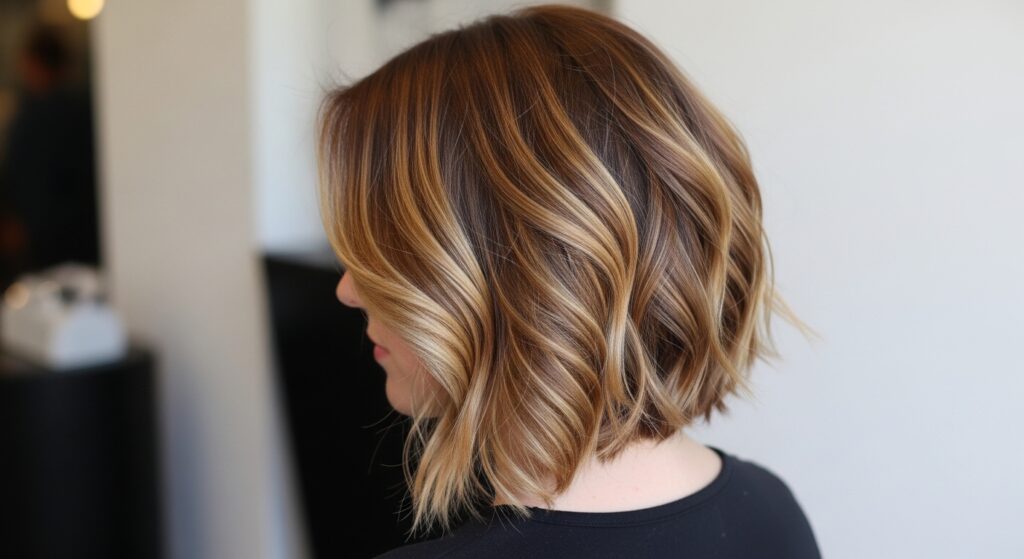
The Asymmetrical Lob
If a standard bob feels too safe, the asymmetrical lob is your playful upgrade. “Lob” stands for long bob, and the asymmetry adds instant edge without being high-maintenance. It’s a perfect 2026 hairstyles trend with staying power.
One side grazes the collarbone, while the other is slightly shorter. This shape creates natural movement and frames the face beautifully. It looks fantastic both straight and with messy waves.
- Style with a large-barrel curling wand, curling away from your face.
- The longer side can be tucked behind your ear for a cute look.
- This cut grows out gracefully, so you can extend time between cuts.
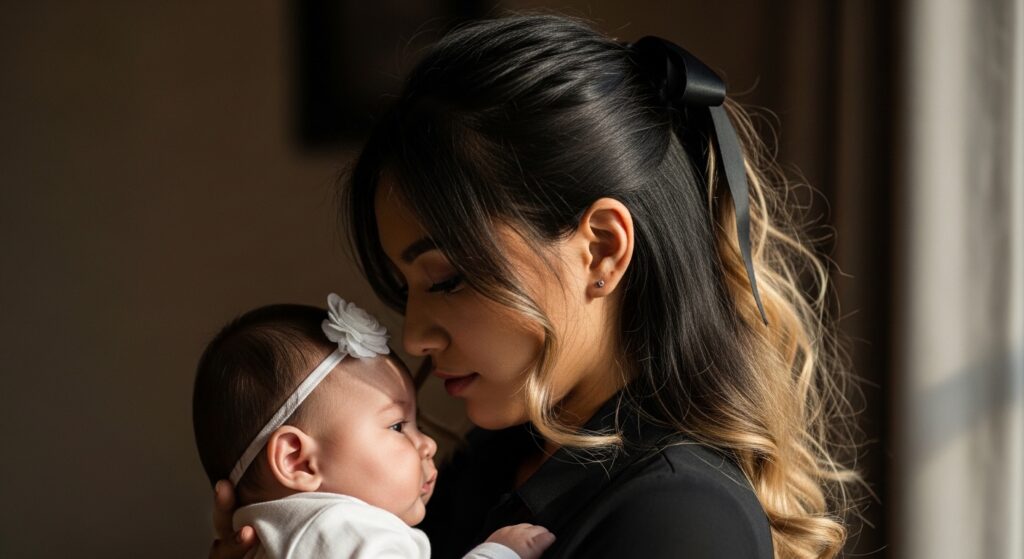
The Romantic Goth Half-Up
Love the drama of romantic goth hairstyles but need it mom-friendly? This half-up style is the answer. It’s soft, pretty, and has just a touch of dark romance. It works beautifully on dark hair but is stunning on any color.
Take two small sections from the front, twist them lightly, and join them at the back of your crown. Secure with a simple clip or a small, elegant black ribbon. Leave the rest of your hair down in waves or curls.
- Pull out a few tiny pieces around your face for a soft, undone feel.
- Use a texturizing spray on the lengths before styling for grip.
- A velvet or satin hair ribbon elevates it instantly.
The Glitchy Glam Pony
Glitchy glam hair is all about intentional imperfection—think a few strategic, face-framing pieces that look like they escaped your style. It’s a cool, modern take on a simple pony or bun.
After putting your hair up, select 3-4 very small sections near your hairline. Gently twist them and use a flat iron to create random bends and flicks, not uniform curls. The effect should be artistic and effortless.
- Focus the pieces around your temples and cheekbones.
- Use a light-hold hairspray on your fingers to shape each piece.
- This works best on day-old hair with some natural texture.
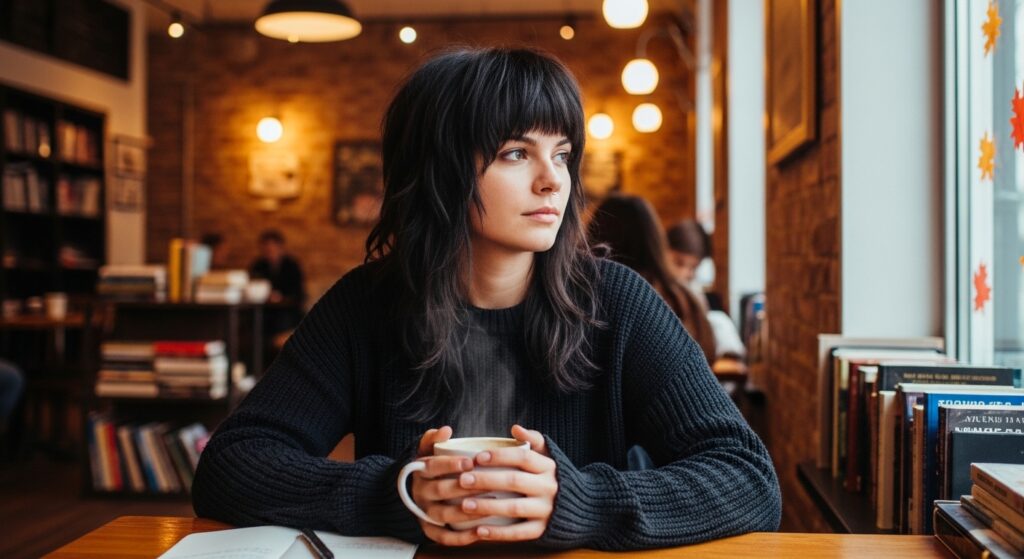
The Vampire Haircut Shag
The vampire haircut is a specific type of shag—all about choppy, layered texture and a strong, heavy fringe. It’s effortlessly cool and looks better the less you style it, making it perfect for busy schedules.
This cut adds incredible volume and movement. The key is the fringe, which can be worn full or parted. It air-dries into a perfectly messy, rock-and-roll shape. It’s a commitment to texture over polish.
- Scrunch in a mousse or sea salt spray on wet hair and let it air dry.
- Use a diffuser to enhance the wave and curl pattern if you have it.
- Embrace the mess! This cut is designed to look lived-in.
The Hime Cut Modernized
The traditional hime cut is a striking Japanese style with straight, blunt-cut front strands and shorter face-framing layers. For a busy mom, we can soften it. Ask for those distinctive blunt front pieces, but with longer, blended layers in the back.
This creates a dramatic, beautiful frame for your face without being overly high-maintenance. You can wear it straight for maximum impact or add loose waves for a softer feel. It’s a truly standout look.
- A flat iron is essential for keeping the front pieces sleek and blunt.
- You can pin the front sections back for a more subtle day look.
- Keep the ends very healthy with regular masks to maintain the blunt line.
The Braided Headband
This is a genius way to look like you mastered a complex braid in seconds. It keeps hair off your face and adds a boho-chic touch to any simple down-do or updo. It also works wonders on unwashed hair.
Take a section of hair from one temple, braid it loosely (a simple three-strand braid is fine), and pull it across your forehead like a headband. Pin it securely behind the opposite ear. Let the rest of your hair flow freely.
- Pull gently on the sides of the braid to make it look fuller and looser.
- You can use two small braids and join them at the back for more detail.
- This style pairs perfectly with a low messy bun for a full look.
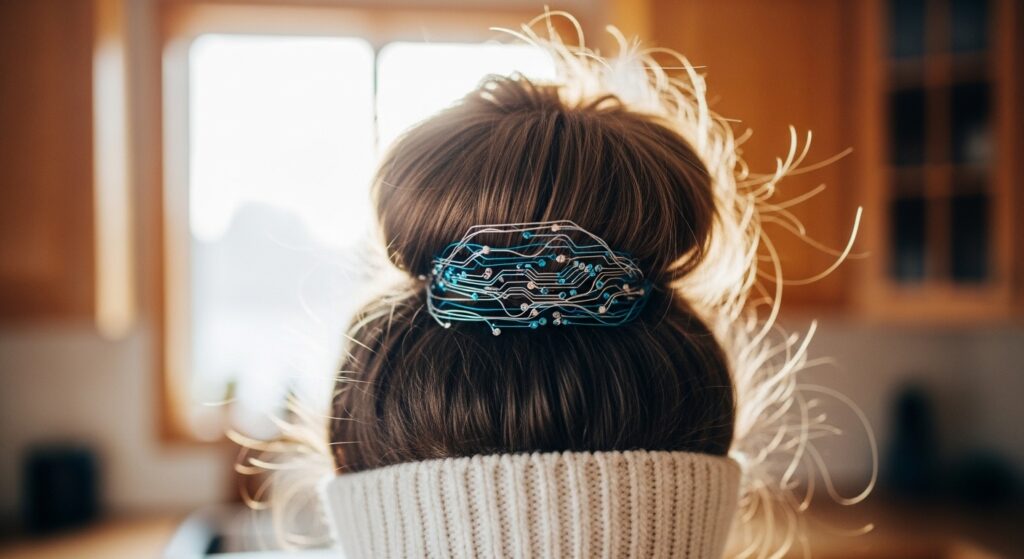
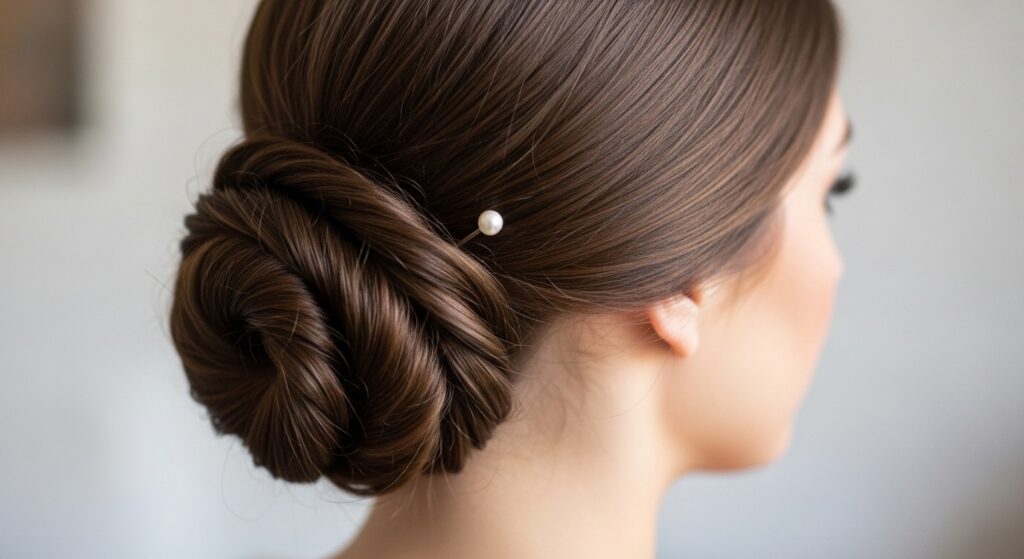
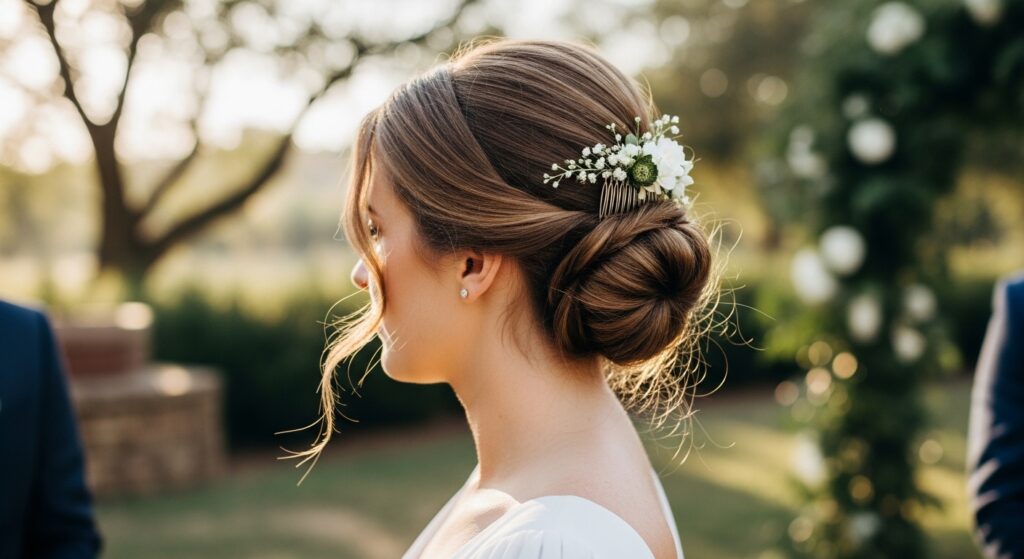
The Twisted Low Bun
Elegant enough for a dinner out, easy enough for school drop-off. This bun sits at the nape of your neck and looks far more intricate than it is. It’s a great way to showcase a pretty hair clip or pin.
Pull your hair into a low ponytail. Twist the length tightly until it begins to coil on itself. Wrap the twist around the base of the ponytail and secure with pins. Tuck the end under and pin it neatly.
- Start with a low ponytail using a clear elastic.
- Twist the length clockwise until it coils.
- Wrap the coil around the base and pin in place with 4-5 bobby pins.
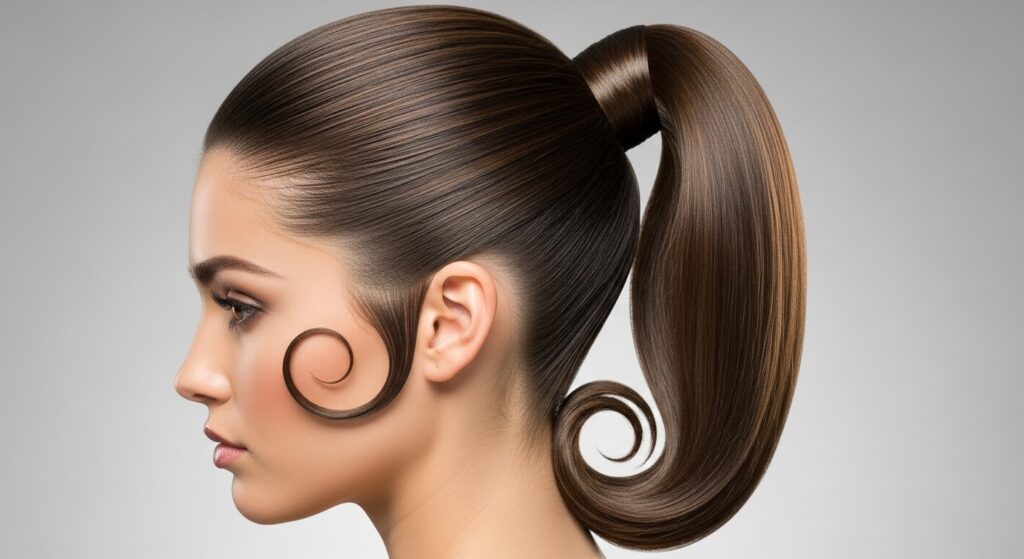
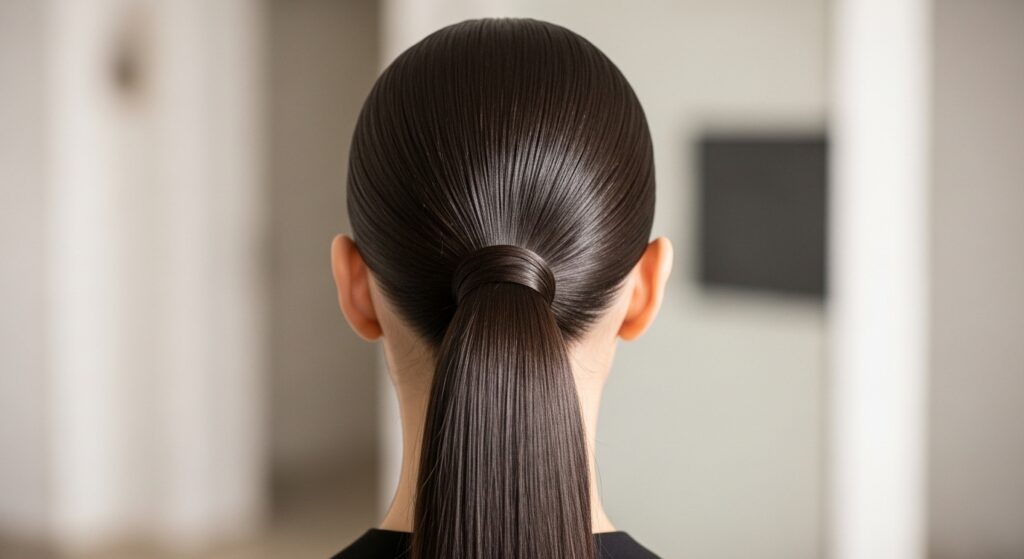
The Sleek Low Pony
Sometimes, sleek is the ultimate effortless look. It says you have it together. The key is to avoid it looking too severe. A center part and a perfectly smooth crown paired with a low pony is pure old money hair vibes.
Use a bristle brush and a light styling cream or gel to smooth all your hair back. Secure it low with a snag-free hair tie. Take a small section of hair from underneath the pony, wrap it around the elastic, and pin it.
- Apply a shine serum to your palms and smooth over the surface.
- Use a tiny amount of edge control on baby hairs for a polished finish.
- A silk scrunchie is a softer, gentler alternative for this look.
The Textured Mom Bob
This is the cool-girl cousin of the quiet luxury bob. It’s shorter, has more layers, and is all about piece-y, textured ends. It’s made for rough-drying with your fingers and a bit of product. Zero blow-drying skill required.
Ask your stylist for a chin-length bob with lots of internal layers and textured ends. The result should be a cut that naturally falls into place. Use a texturizing paste on dry ends to separate and define those pieces.
- Shampoo, condition, then scrunch in a texturizing spray. Air dry.
- Run a flat iron randomly on pieces for added “lived-in” texture.
- This cut looks amazing with grown-out roots or subtle highlights.
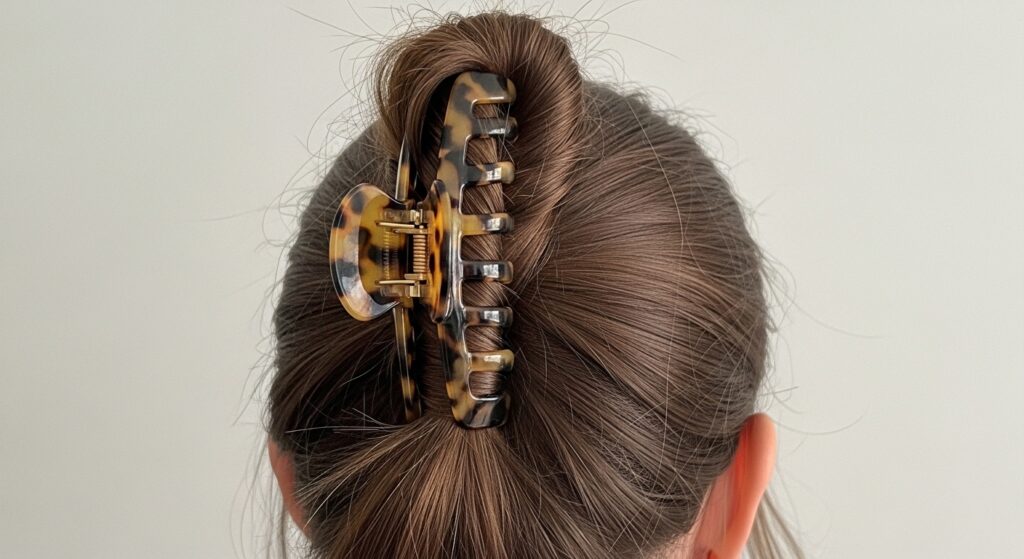
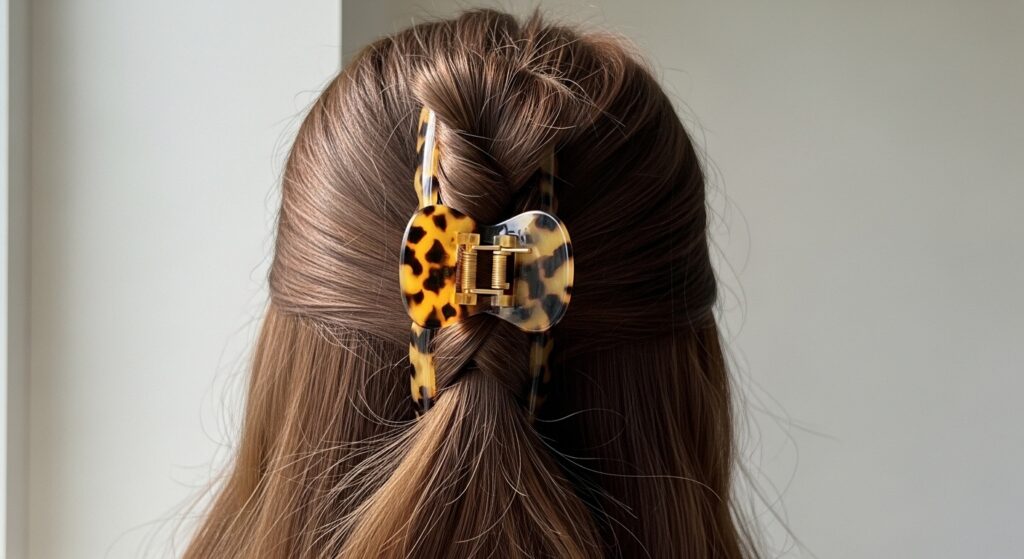
The Accessorized Claw Clip
The claw clip is back and better than ever. It’s the fastest updo in history. The trick is to make it look intentional, not like you just threw your hair up. A beautiful, large clip is the star of the show.
Gather your hair as if for a low ponytail, twist it once, and fold it upward toward your crown. Secure it with a large, sturdy claw clip. Gently pull out face-framing pieces and loosen the sides for a fuller, softer look.
- Invest in a few high-quality, stylish clips—tortoiseshell, gold-toned, or ceramic.
- This works best on second or third-day hair for maximum grip.
- For thicker hair, make two twists before clipping for better hold.
The Simple French Twist
It sounds fancy, but a simple version is totally doable. It’s incredibly elegant and keeps every hair in place. It’s perfect for those days when you need to feel a bit more dressed up.
Brush all your hair to one side at the nape of your neck. Twist it upward toward the opposite side of your head, tucking as you go. Once you reach the top, secure the twist with 3-4 crosswise bobby pins.
- Brush hair to one side at the nape.
- Twist upward diagonally, tucking in loose strands.
- Secure at the top with pins, and gently pull at the twist to loosen.
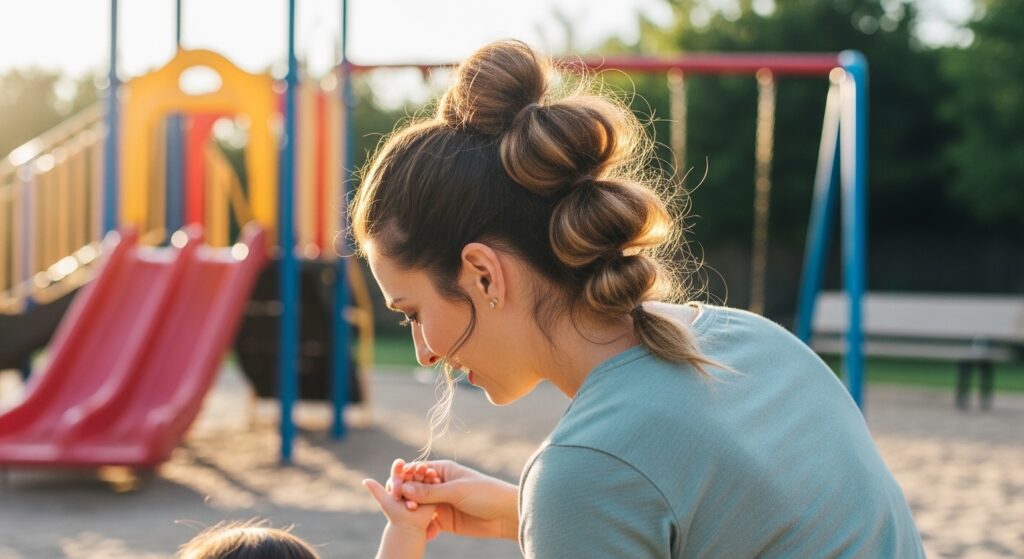
The Bubble Ponytail
This is a fun, playful style that kids love and takes two minutes. It adds instant interest to a basic ponytail and works on any hair length that can fit into a ponytail. It’s a great weekend or park-day look.
Create a high ponytail and secure it tightly with an elastic. Move down a few inches and add another elastic. Continue this down the length. Gently pull on each “bubble” section between elastics to puff it out and create the bubble effect.
- Use small, matching elastics that are gentle on hair.
- For a fuller look, gently tease each bubble section with a comb.
- You can leave the ends curly or straight.
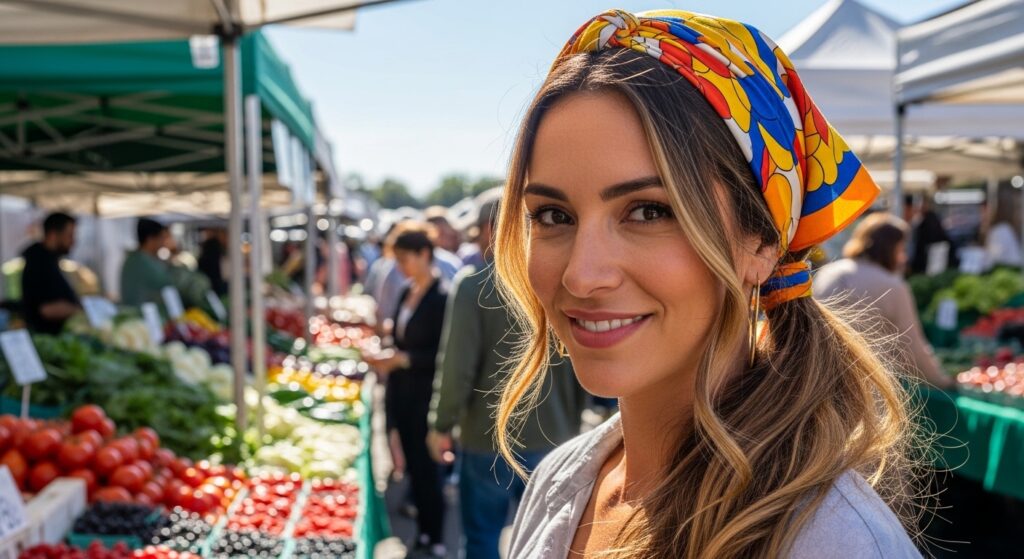
The Bandana Wrap
A bandana or silk scarf is the ultimate quick-fix accessory. It instantly makes a simple style look thoughtful and chic. It’s also fantastic for hiding roots or lack of wash day.
Fold a square scarf into a triangle and then into a long band. Tie it around your head like a headband, with the knot at the nape of your neck. You can leave your hair down, in a ponytail, or in a low bun underneath.
- Choose a scarf with a fun print or a solid color that complements your outfit.
- Let the ends of the scarf drape down or tuck them in for a neater look.
- This works beautifully with a low pony poking out the bottom.
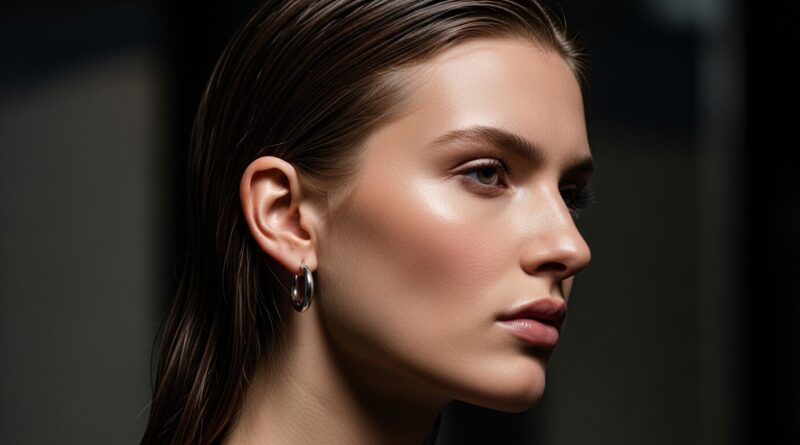
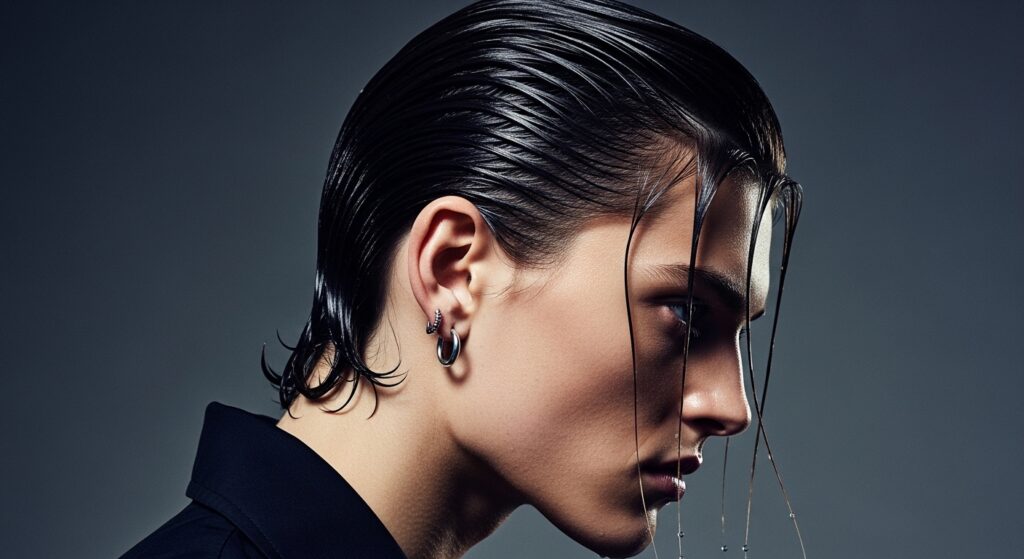
The Slicked-Back Wet Look
Inspired by runway trends and that cool-girl vibe, this look is surprisingly simple. It uses product to create a sleek, controlled style that looks modern and artistic. It’s a great way to show off your features.
On damp or dry hair, apply a strong-hold gel or styling cream from roots to ends. Use a fine-tooth comb to slick hair straight back away from your face. You can gather it into a low bun or pony, or leave it down.
- A toothbrush is perfect for slicking down baby hairs and edges.
- Let it air dry for a natural set, or use a diffuser on low heat.
- This look pairs perfectly with bold earrings.
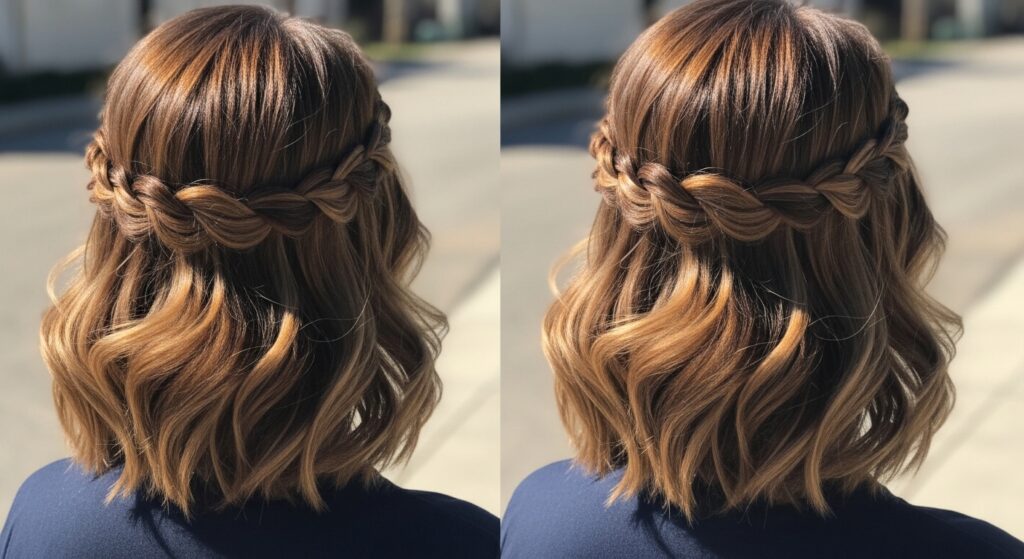
The Half-Up Twisted Crown
This feels like a fairytale style but is built for real life. It keeps hair off your face and looks beautiful from every angle. It’s perfect for when you want to feel a little special.
Take two sections of hair from the front, one from each side. Twist each section back toward your crown. Secure them together with a small clear elastic or bobby pins. Gently pull on the twists to loosen and create a fuller look.
- Part hair down the middle.
- Take a front section from each side and twist it backward.
- Join the twists at the back of your crown and secure.
The Tousled Waves
The holy grail of looking done without effort. Tousled waves work on almost every hair length and type. The secret is in the technique, not the tools. You can achieve this with a flat iron, curling wand, or even braids.
If using an iron, take large, random sections and curl them in alternating directions. Don’t curl all the way to the roots. Immediately run your fingers through the curls to break them up, then finish with a texturizing spray.
- Start with day-old hair for better texture and hold.
- Alternate the direction of your curls for a natural look.
- Shake your head upside down after styling to loosen everything up.