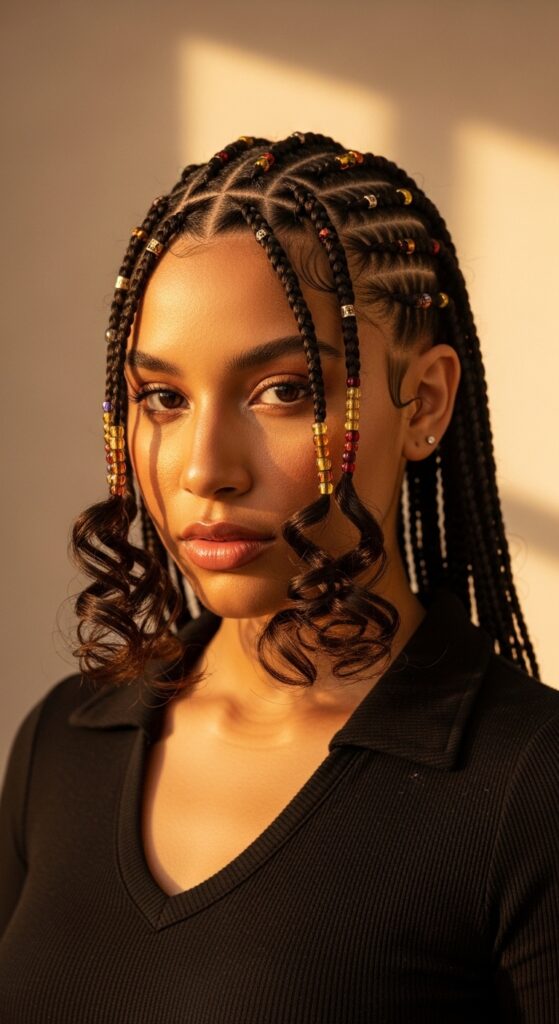
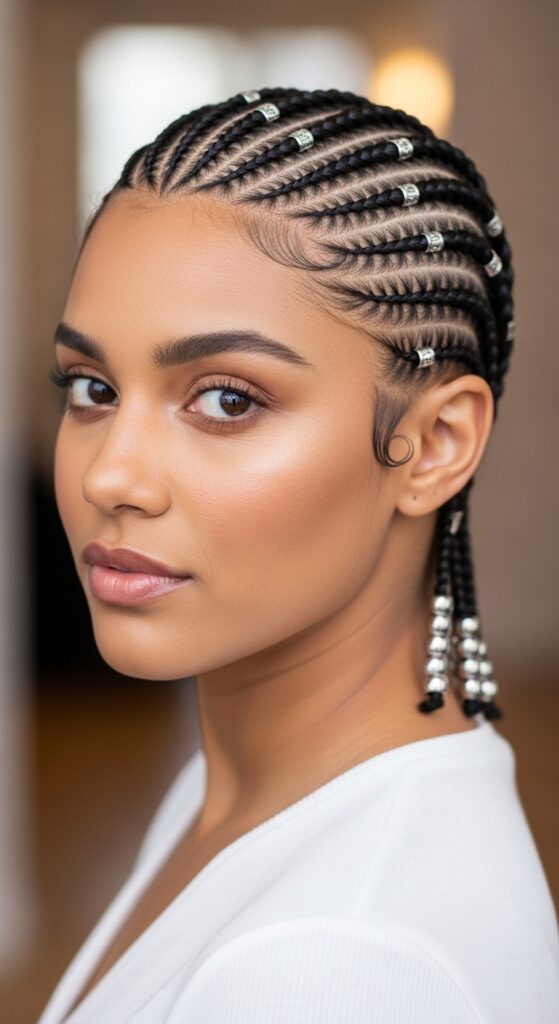
Bead 26 Cornrows with Stylish Ends for Bold Looks
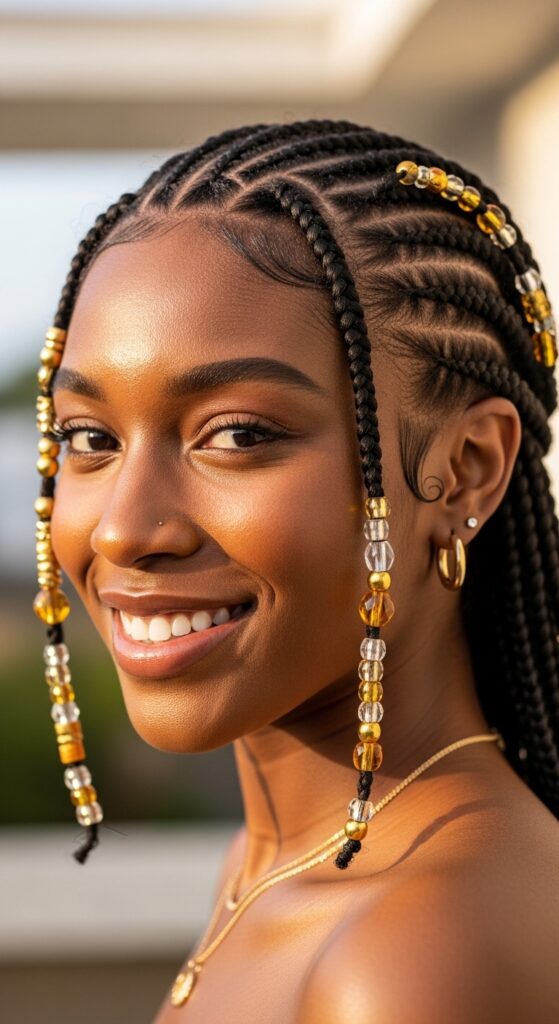
Okay, let’s be real. Sometimes you see a hairstyle and you just know it’s a statement. It’s not just hair; it’s a whole mood. That’s exactly how I feel about beaded cornrows. They’re powerful, they’re artistic, and they let you play with color and texture in a way few styles can.
But if you’re thinking, “That looks amazing but way too complicated for me,” I get it. I used to think the same thing. The secret? It’s all about breaking it down into simple, manageable steps.
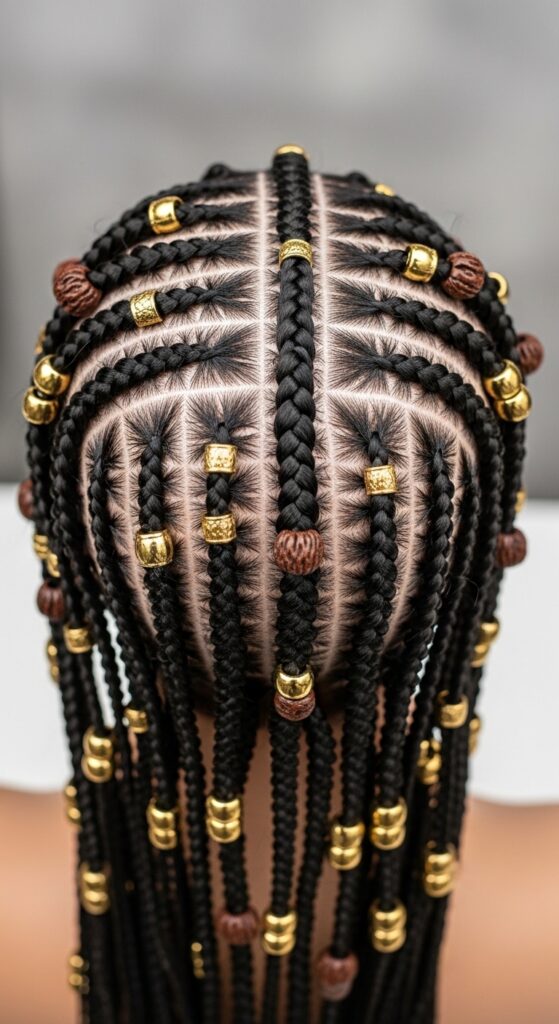
This guide is for anyone ready to try a bold look that turns heads. We’re talking about 26 neat cornrows, styled with those gorgeous, stylish ends that make the whole look pop. It’s a style that fits right in with the energy of 2026 hairstyles—creative, personal, and full of life.
Whether you’re a braiding pro or a determined beginner, I’ve got you. Grab your favorite hair beads, and let’s create something beautiful together.
Why Beaded Cornrows Are Your Next Go-To Style
Beaded cornrows are more than just a protective style. They’re a canvas for your personality. You can go subtle with clear beads for an old money hair vibe—think timeless elegance—or go bold with vibrant colors that scream confidence.
The best part? Once they’re in, your styling time is practically zero. You get days, even weeks, of a stunning, put-together look with minimal morning effort. It’s the ultimate in high-impact, low-maintenance hair.
Gathering Your Tools: The Essential Kit
You can’t build a masterpiece without the right tools. Don’t worry, you don’t need a salon full of equipment. Just a few key items will set you up for success and make the whole process smoother.
- Rat-tail comb: For creating clean, precise parts.
- Small hair clips: To section off hair you’re not working on.
- Good holding gel or edge control: This keeps your parts sleek and your braids neat.
- Beading thread or clear elastic bands: For securing the ends before adding beads.
- Your bead collection: Mix sizes and materials for visual interest.

Prepping Your Hair for Success
Starting with well-prepped hair is the number one rule for long-lasting, healthy braids. This step protects your natural hair and gives the stylist (you or a friend) the best base to work with.
Begin with freshly washed and deeply conditioned hair. While your hair is damp, apply a lightweight leave-in conditioner. Then, detangle thoroughly from ends to roots. Blow-dry or stretch your hair so it’s completely dry before braiding to prevent mildew.
Mastering the Perfect Cornrow Foundation
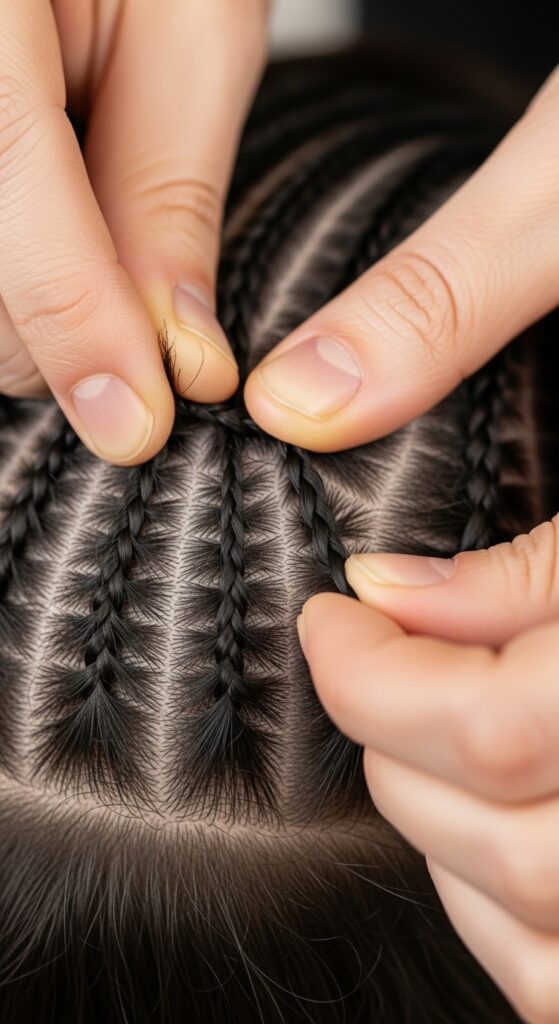
The foundation of every great beaded cornrow is the braid itself. Neat, even tension is what you’re aiming for. Braid too tight, and it’s uncomfortable. Too loose, and it unravels quickly.
Practice the three-strand underhand braid on a small section first. Keep your hands close to the scalp for control. Add small amounts of gel as you go to catch flyaways. Remember, consistency is more important than speed.
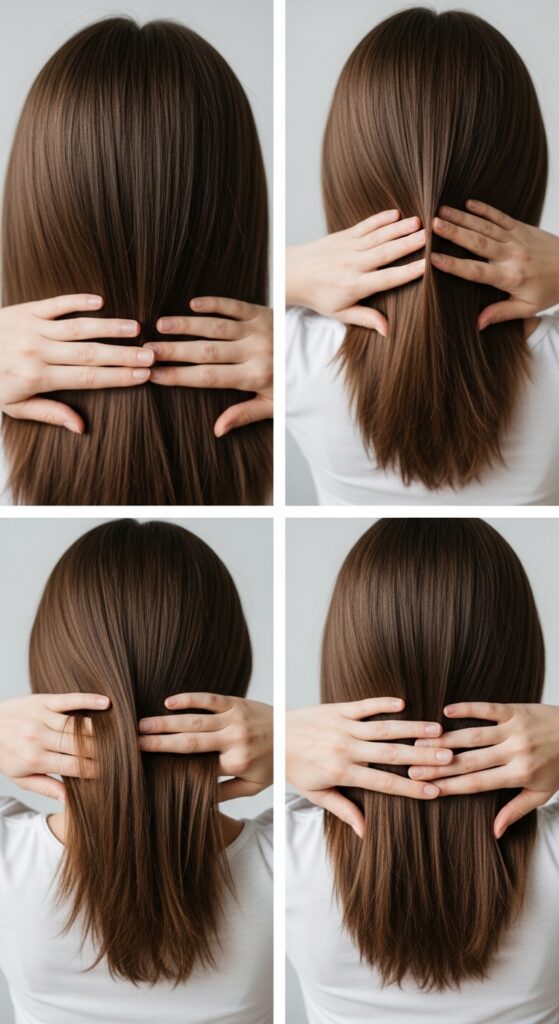
Planning Your 26 Cornrow Pattern
Twenty-six cornrows is a classic, full look. Planning your parts is like drawing the map before a road trip. It prevents mistakes and ensures everything is even. You can go for straight-back rows, curved patterns, or even geometric designs.
I recommend starting with a center part from forehead to nape. Then, section off the sides. Use the tail of your comb to map out where each of the 26 braids will go before you clip any hair up. Symmetry is your friend here.

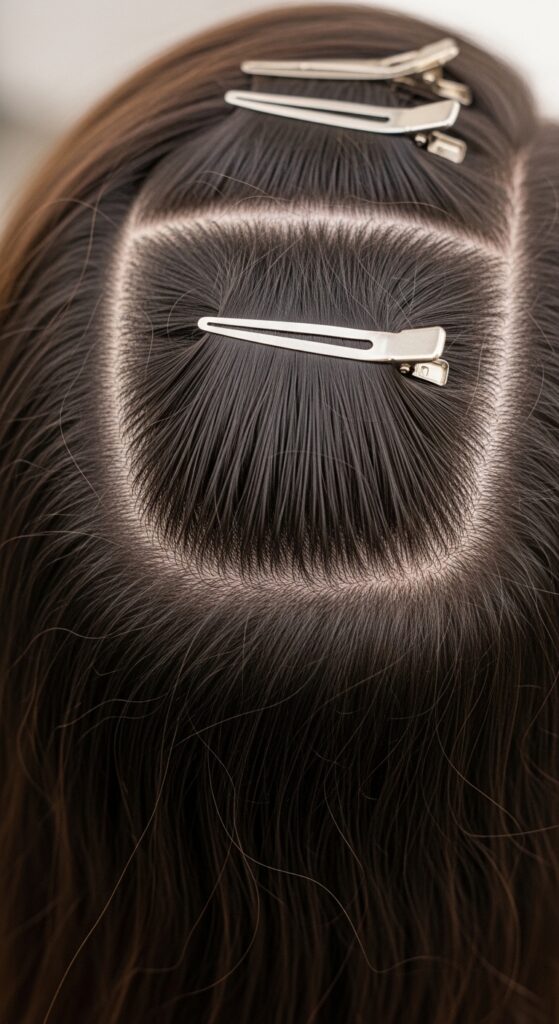
Sectioning Like a Professional
Clean sections are the hallmark of a professional-looking style. They make the braiding process easier and the final result incredibly sharp. Take your time with this step—it pays off.
Work in small, manageable sections. Clip away the hair you’re not using. Your parts should be clean and visible. If you’re doing straight backs, use the previous braid as a guide for the width of your next section.
The Step-by-Step Braiding Technique
- Apply a tiny dab of gel to your section and part.
- Divide the section into three equal strands.
- Begin your underhand braid, adding a small amount of hair from the scalp to each outer strand as you go.
- Continue braiding down the entire length of the hair.
- Once you reach the ends, secure them tightly with beading thread or a small elastic.
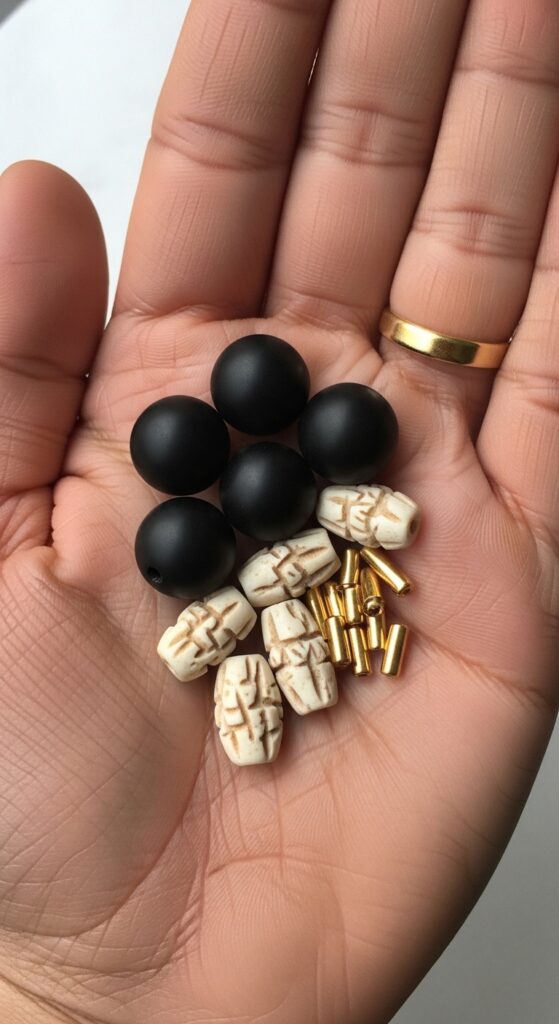
Choosing Beads That Tell Your Story
The beads are where your personality shines. Think about the overall look you want. For a quiet luxury bob effect, use matte ceramic or stone beads in neutral tones. Want a touch of romantic goth hairstyles? Opt for dark red, black, or silver beads with intricate designs.
You can mix and match! Try combining small gold beads with larger wooden ones. Just make sure the hole in the bead is large enough to slide over your secured hair ends.
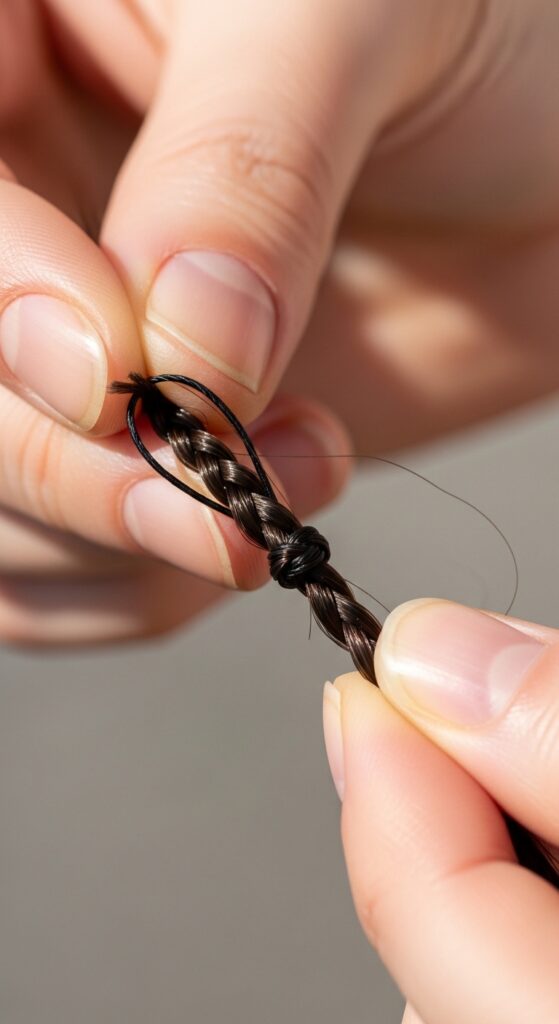
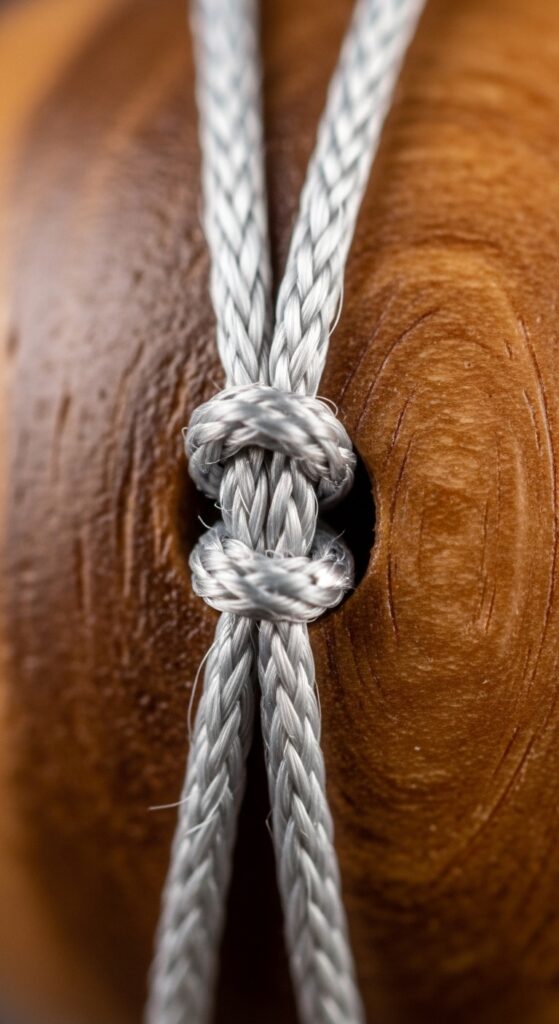
Securing the Ends for Bead Application
Before you can add any beads, you need a secure “tail” to thread them onto. A floppy end won’t hold beads properly and will lead to frustration. This simple securing method is a game-changer.
After braiding to the very end, wrap a strong, thin beading thread or dental floss around the tip 10-15 times. Tie it off in a double knot. You can also use a tiny, clear elastic band. This creates a firm, thread-like end perfect for beading.
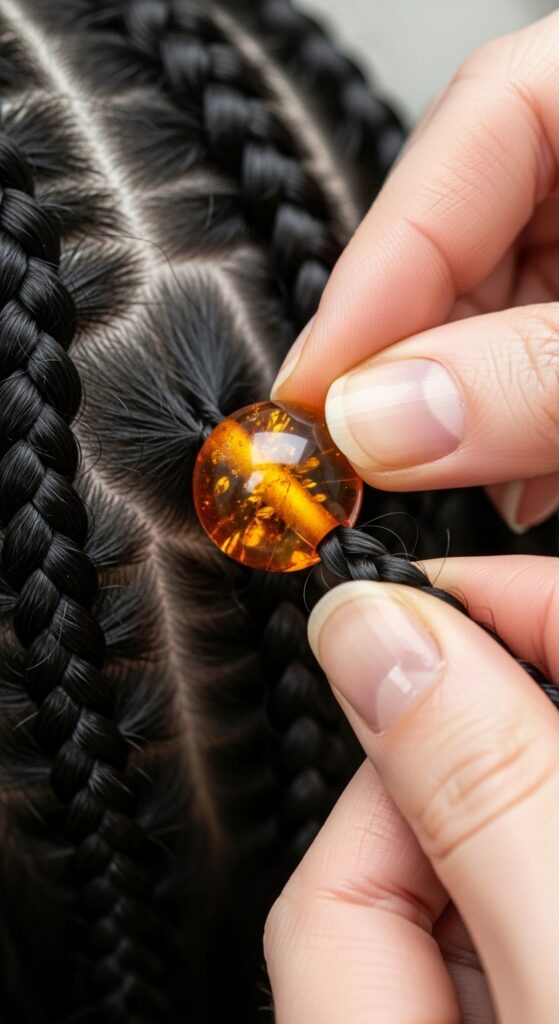
Threading Beads Onto Your Cornrows
This is the fun part! Threading the beads is simple but requires a little patience. Have all your beads sorted and within reach. You can pre-plan your bead patterns or choose as you go for a more eclectic feel.
Simply slide your chosen bead over the secured thread-end of the braid. You can add one statement bead or a cluster of several smaller ones. To keep them in place, you’ll finish with a final knot, which we’ll cover next.
Locking Beads in Place: The Final Knot
To prevent your beautiful beads from sliding right off, you need a solid stopping knot. This tiny knot sits right at the top of the last bead, locking everything securely in place. It’s easier than it sounds.
Once your beads are on, take the remaining thread from your secured end and tie a firm double knot right above the top bead. You can add a drop of clear nail polish or strong hair spray to the knot for extra security. Then, trim the excess thread.
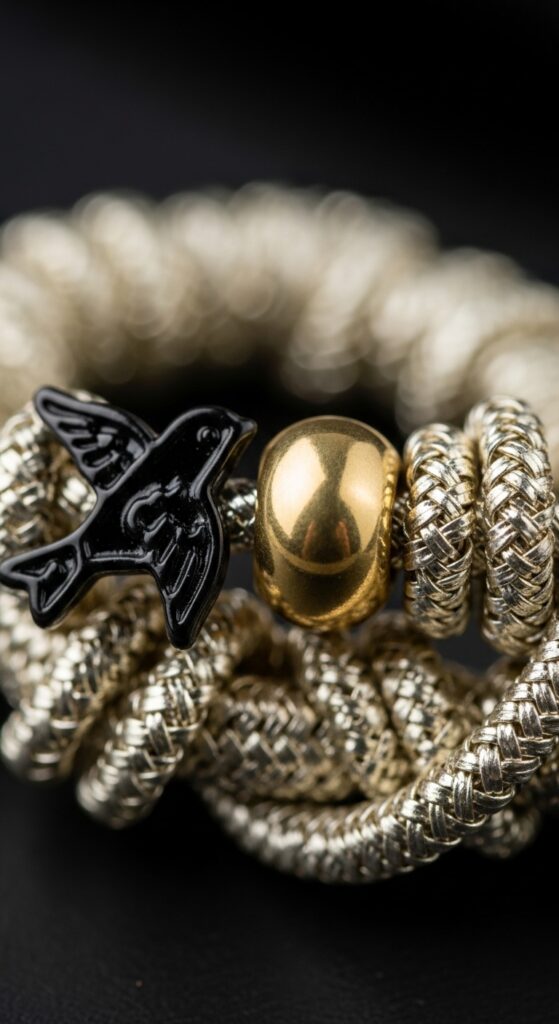
Styling the Ends: Beyond the Basic Bead
Stylish ends are what take this look from cute to incredible. Don’t just stop at a single bead. Think of the ends as the exclamation point of your hairstyle. This is where you can really play with the glitchy glam hair trend—mixing unexpected textures.
- Bead Clusters: Group 3-5 small beads together.
- Charm Ends: Add a small metal charm after the last bead.
- Thread Tassels: Use colorful threads to create a tassel effect below the bead.
- Wrapped Ends: Use thin wire or metallic thread to wrap the base of the beads.
Incorporating 2026 Hair Trends
Beaded cornrows are incredibly versatile and can easily nod to the biggest trends. Want an asymmetrical lob feel? Make your cornrows longer on one side. The vampire haircut inspiration is all in the color—think deep red beads and dark, rich braids.
You can even play with the hime cut silhouette by leaving two front sections out of the braids to frame your face, then blending them back. It’s all about using the trend as inspiration, not a strict rule.
Accessorizing Your Beaded Braids
Your beads are already an accessory, but you can layer on more. The key is balance. If your beads are bold, keep other jewelry minimal. If your beads are simple, you can add more statement pieces elsewhere.
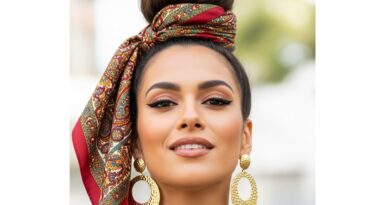
Consider delicate gold hoop earrings or cuff earrings that won’t get tangled. Layered necklaces can complement the vertical lines of the braids. A bold lip color can also act as the perfect accessory to your new hairstyle.
Daily Maintenance & Care Routine
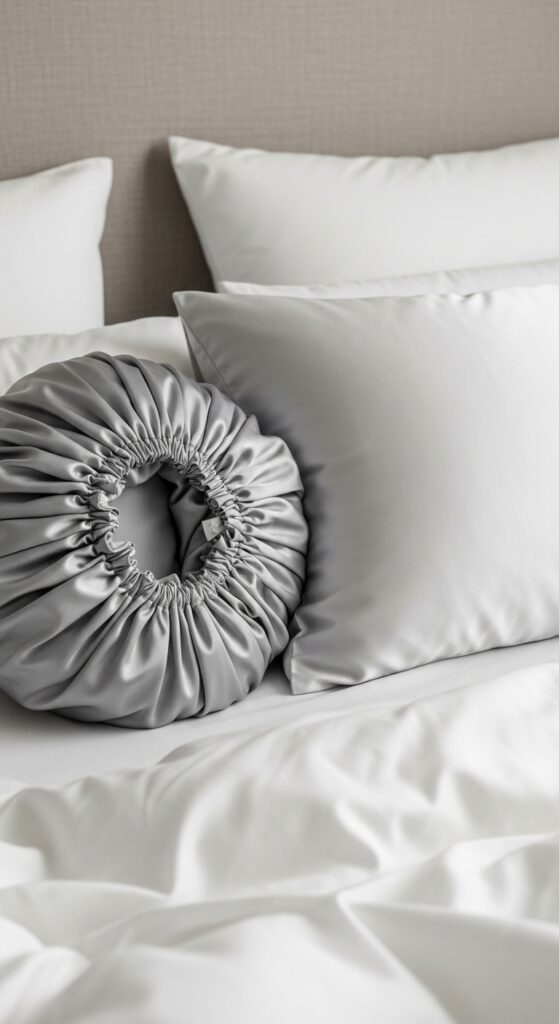
To keep your beaded cornrows looking fresh for weeks, a simple routine is essential. It’s mostly about protecting your style while you sleep and keeping your scalp healthy.
Every night, wrap your hair in a silk or satin scarf or sleep on a satin pillowcase. This prevents frizz and friction. Use a light oil (like jojoba or tea tree) on your scalp every few days to moisturize and soothe. Avoid heavy products that cause buildup.
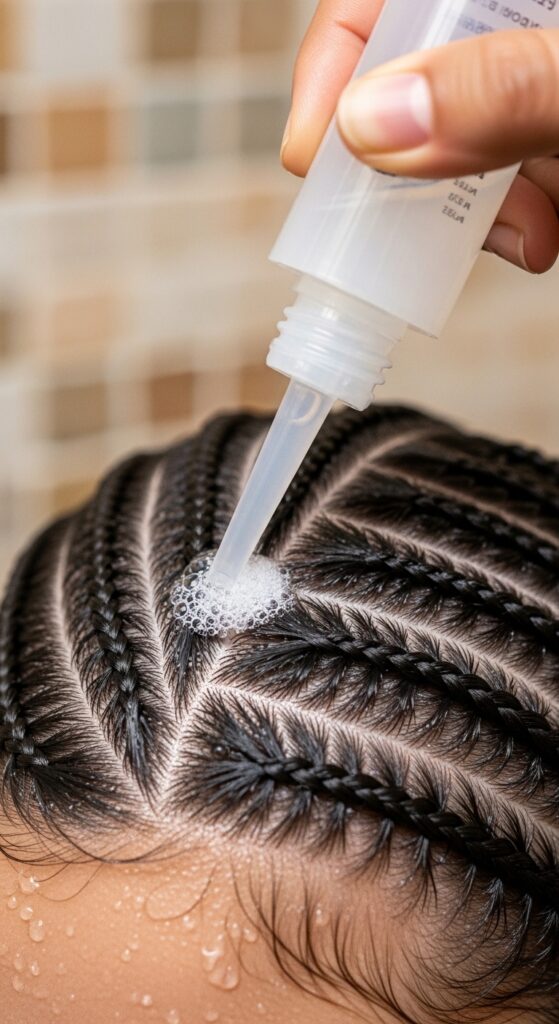
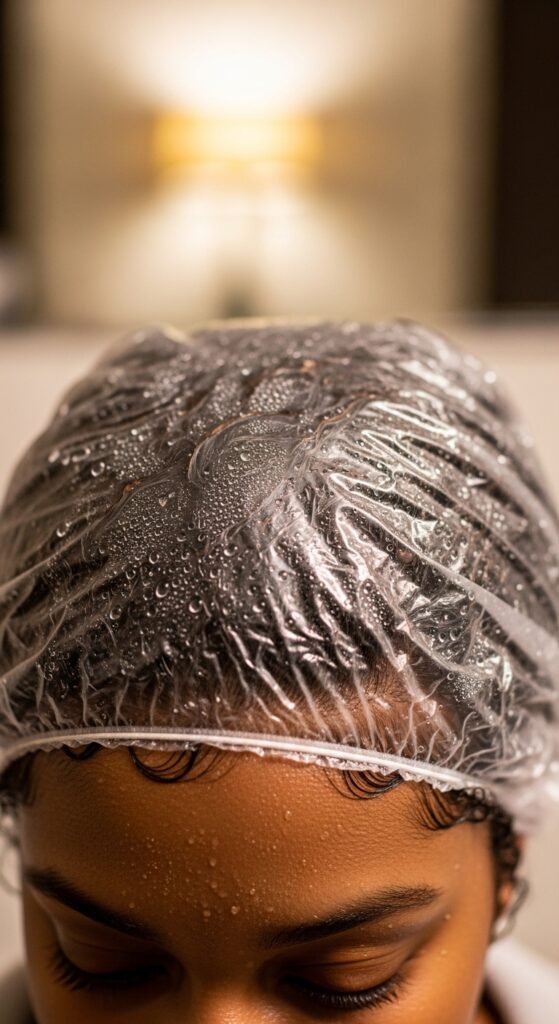
Washing Your Hair with Braids & Beads
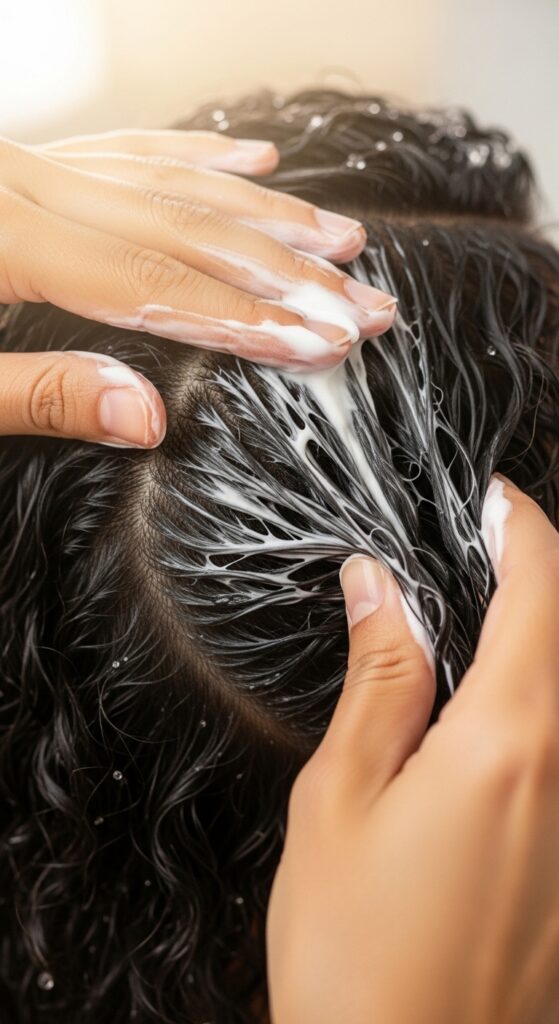
Yes, you can and should wash your scalp while wearing this style! It’s crucial for hair health. The goal is to cleanse the scalp without soaking the braids themselves, which can lead to looseness and mildew.
- Dilute a gentle shampoo with water in an applicator bottle.
- Part your braids and apply the mixture directly to your scalp.
- Gently massage with your fingertips (not nails).
- Rinse thoroughly with a gentle stream of water, tilting your head back.
- Pat dry with a microfiber towel and let air dry completely.
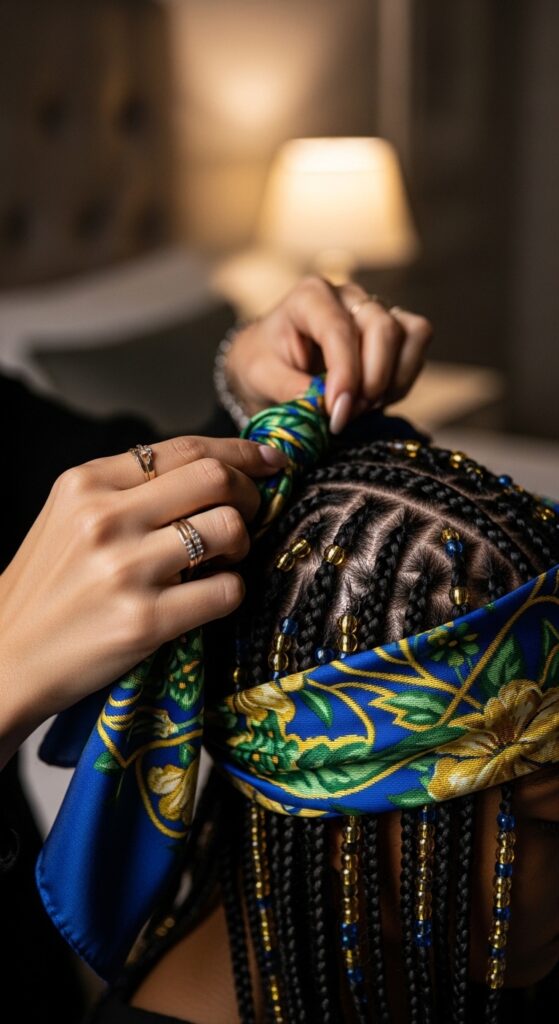
Protecting Your Style at Night
Nighttime protection is non-negotiable. Cotton pillowcases create friction that causes frizz, weakens braids, and can even pull beads loose. Switching to a smooth surface makes all the difference in the longevity of your style.
Before bed, gather your braids at the crown of your head and wrap them securely with a large silk or satin scarf. You can also use a satin bonnet. This keeps everything contained, neat, and reduces tangling and breakage.
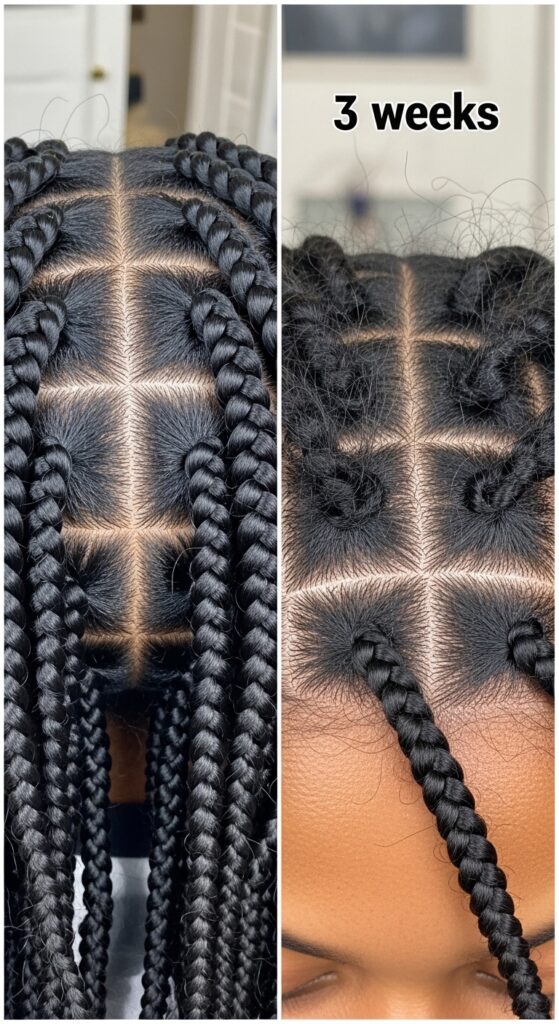
How Long Will This Style Last?
With proper care and installation, beaded cornrows can last anywhere from 2 to 6 weeks. Listen to your hair and scalp. If you notice significant new growth (making braids look puffy), itching, or discomfort, it’s time to take them out.
The duration also depends on your hair type and how active you are. If you swim or sweat heavily, they may not last as long. Always prioritize the health of your natural hair over keeping a style in.
Safe & Healthy Take-Down Process
When it’s time to remove your style, patience is key. Rushing can lead to breakage and damage. Set aside a good hour or two for a gentle take-down. Have your favorite detangling conditioner and a wide-tooth comb ready.
Start by carefully cutting off the beads and thread. Then, working one braid at a time, use the pointed end of your rat-tail comb or your fingers to gently loosen the end of the braid. Slowly unravel it, applying conditioner to any knots you encounter.

Post-Style Hair Care & Recovery
Your hair has been in a protective style, but it still needs some TLC after take-down. This is a critical step to ensure your natural hair remains strong and healthy for your next style adventure.
After removing all braids, give your hair a thorough yet gentle wash with a clarifying shampoo to remove any product buildup. Follow with a deep conditioning treatment for at least 30 minutes. Let your hair air dry and give it a few days of rest in low-manipulation styles before any new tension.
Adapting the Look for Different Hair Lengths
Shorter hair? No problem! You can absolutely rock this style. The technique is the same; you’ll just have shorter braids and can use smaller beads. The stylish ends become even more important to add length and flair.
For mid-length to long hair, you have more options for bead placement and end styling. You can even create an illusion of an asymmetrical lob by braiding the back shorter and leaving the front sections longer before beading.
Final Touches for a Polished Look
Once all 26 braids are beaded and done, do a final walk-through. Check for any loose beads or uneven tension. Use a tiny bit of edge control on your hairline for a super sleek finish.
Look in the mirror from all angles. Adjust any braids that may have shifted during the process. This final quality check is what separates a good style from a great one. Now, you’re ready to shine.
And there you have it—your complete guide to creating stunning, beaded cornrows. This style is a true testament to how creative and powerful hair can be. It’s a look that requires some effort, but the payoff is a week’s worth of confidence and compliments.
Remember, the first time might feel tricky, but like any skill, it gets easier with practice. The most important thing is to make the style your own. Choose beads that make you happy, and don’t be afraid to experiment with those stylish ends.
I’d love to see what you create! Did you go for a quiet luxury look with neutral beads, or something bold and vibrant? Tag me in your photos or leave a comment below telling me about your beading journey.
Save this post to Pinterest so you always have this guide handy for your next braiding day. Happy styling!