Illusion 19 Headband-Free Headbands Looking Effortlessly Chic
Okay, let’s be real. We’ve all tried to fake that perfect, effortless hairstyle. You know the one. It looks like you just woke up like this, but secretly you spent an hour wrestling with a curling iron and a can of hairspray.
What if I told you there’s a better way? A way to look polished, chic, and totally put-together without a single headband in sight.
I’m talking about illusion hairstyles. These are the looks that give you the shape, the polish, and the vibe of a headband, using only your own hair. It’s all about clever twists, strategic braids, and simple techniques.
This is your ultimate guide to 19 headband-free styles. From old money hair to romantic goth hairstyles, get ready to look effortlessly chic in minutes. Let’s dive in.
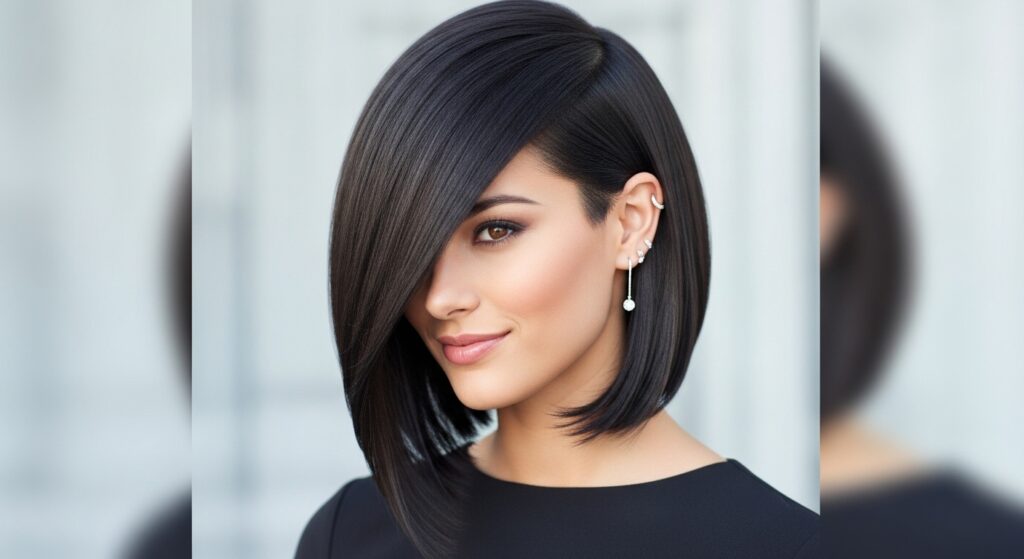
1. The Twisted Front Frame
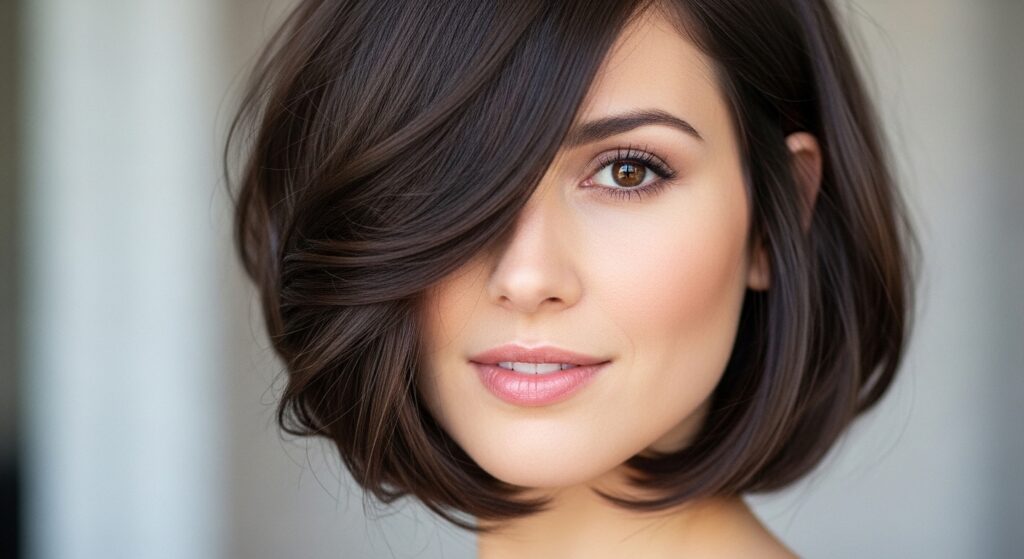
This is the easiest place to start. It works on almost any hair length and instantly adds a polished feel. It creates that “headband” effect right where you need it.
Simply take a one-inch section of hair at your temple. Twist it gently back towards your ear, and secure it with a bobby pin tucked underneath. Repeat on the other side for a symmetrical look, or just do one side for an asymmetrical vibe.
- Perfect for: Short hair, bobs, and asymmetrical lob cuts.
- Pro Tip: Gently pull on the twist to make it a little fuller and softer.
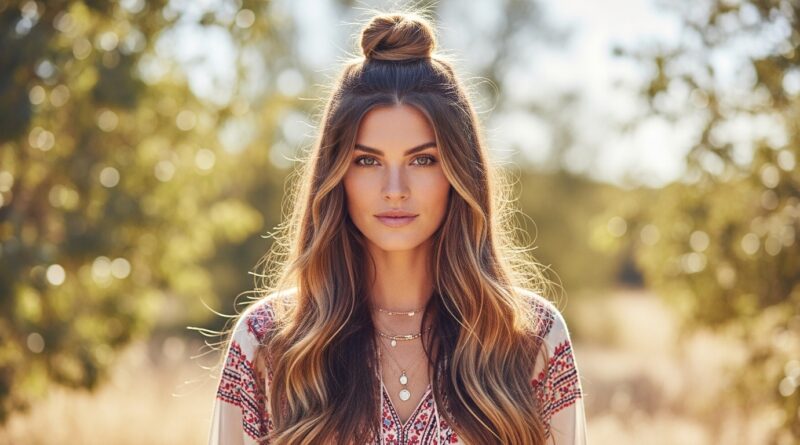
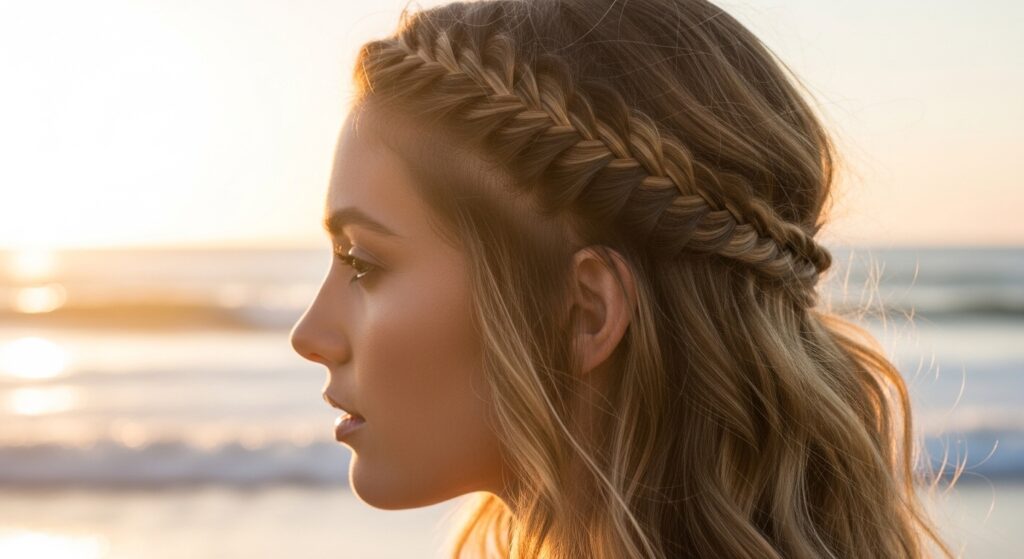
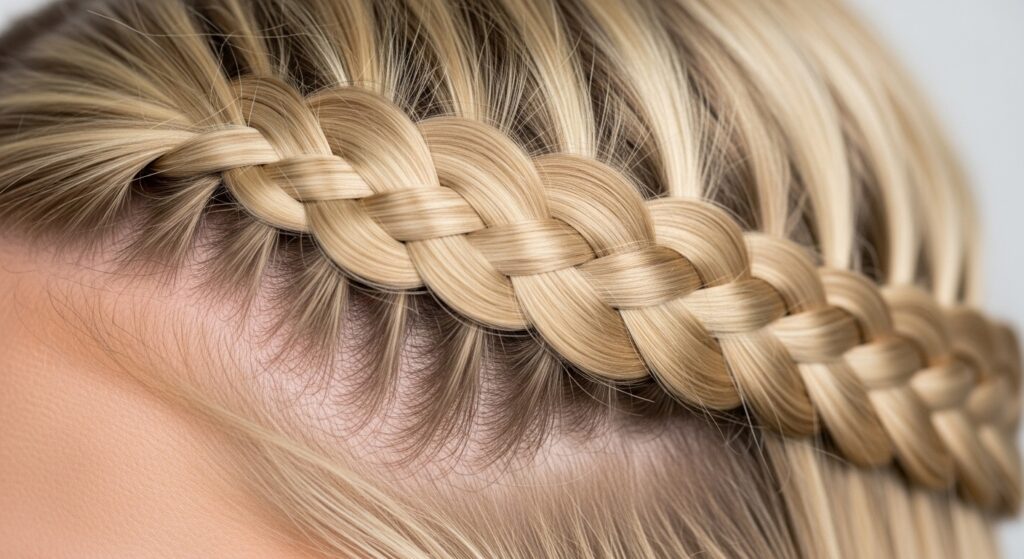
2. The Boho Rope Crown Braid
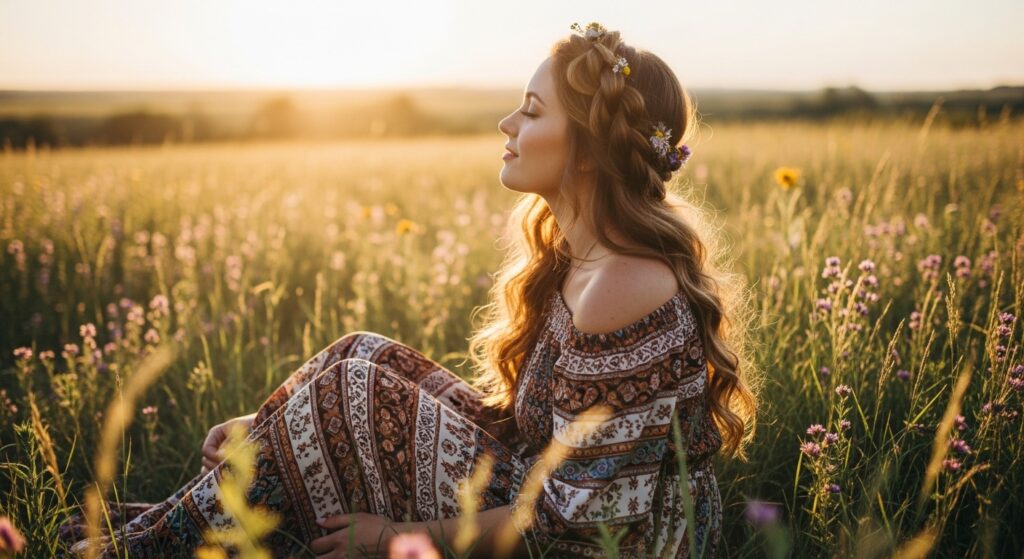
This isn’t your grandma’s tight crown braid. We’re going for soft, lived-in, and effortless. A rope braid (or twist) is much easier to master than a Dutch or French braid.
Create two rope braids, one on each side. Simply twist two sections of hair around each other. Then, drape them across the top of your head like a headband, pinning the ends underneath.
- Leaves face-framing pieces loose.
- Looks amazing on second or third-day hair.
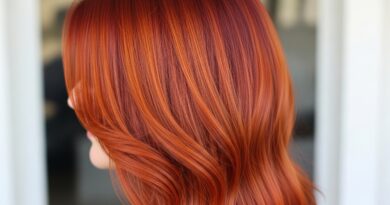
3. The “Old Money” Pull-Through
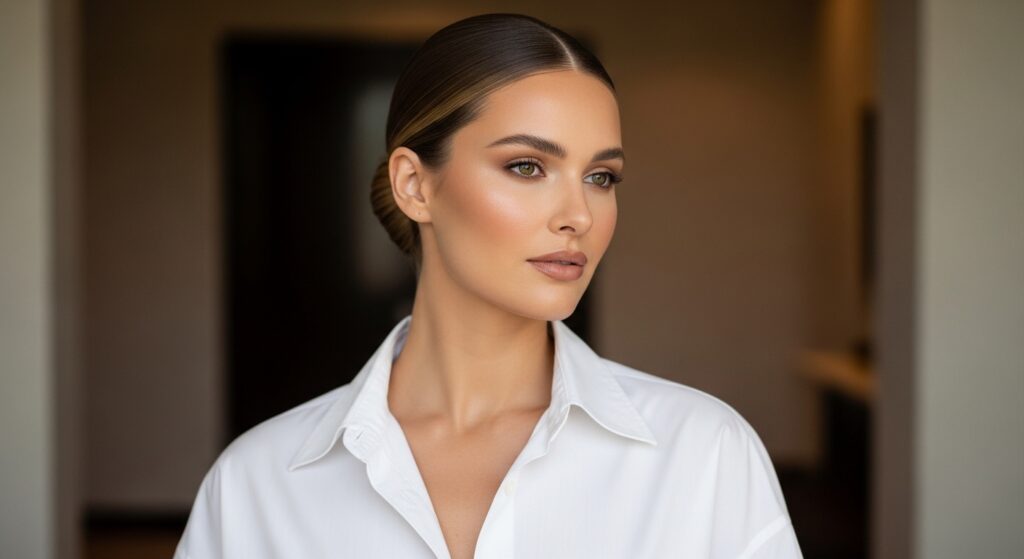
Old money hair is all about pristine, healthy-looking hair and sleek shapes. This style gives you that clean, headband-like line without any accessory.
Start with deeply side-parted hair. Take a small section from the heavier side, just behind your hairline. Pull it across your forehead and secure it behind your opposite ear, under the bulk of your hair. It tames flyaways and looks incredibly chic.
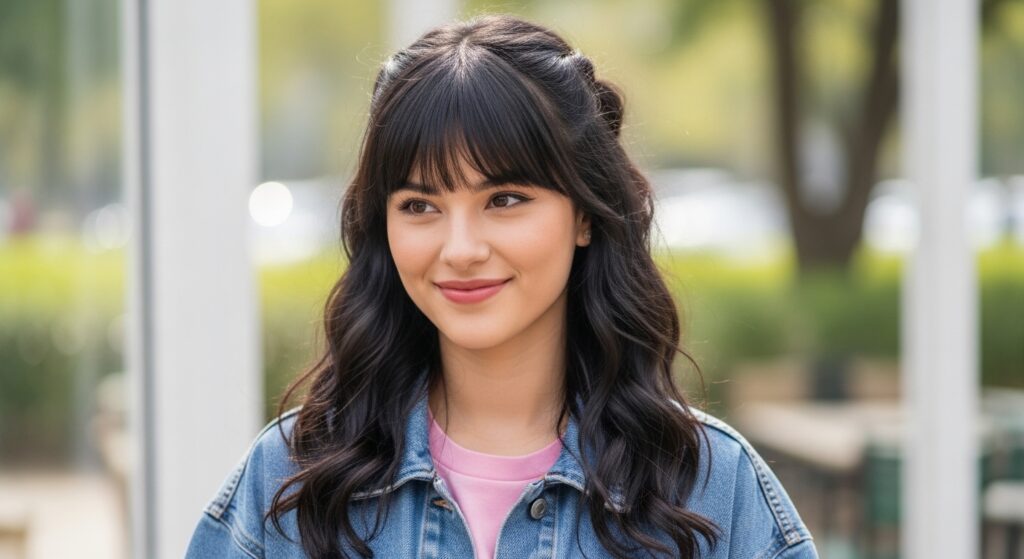
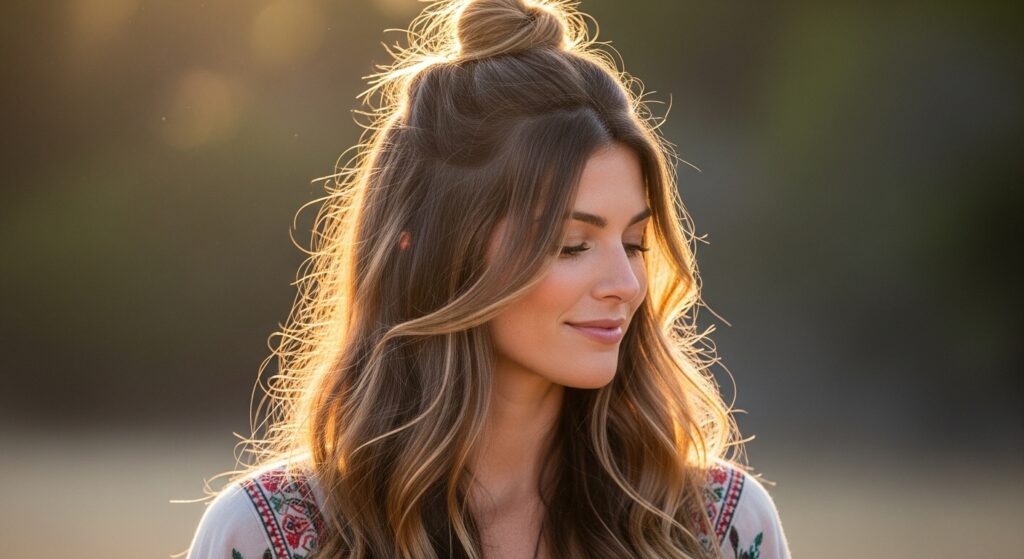
4. The Romantic Goth Half-Up
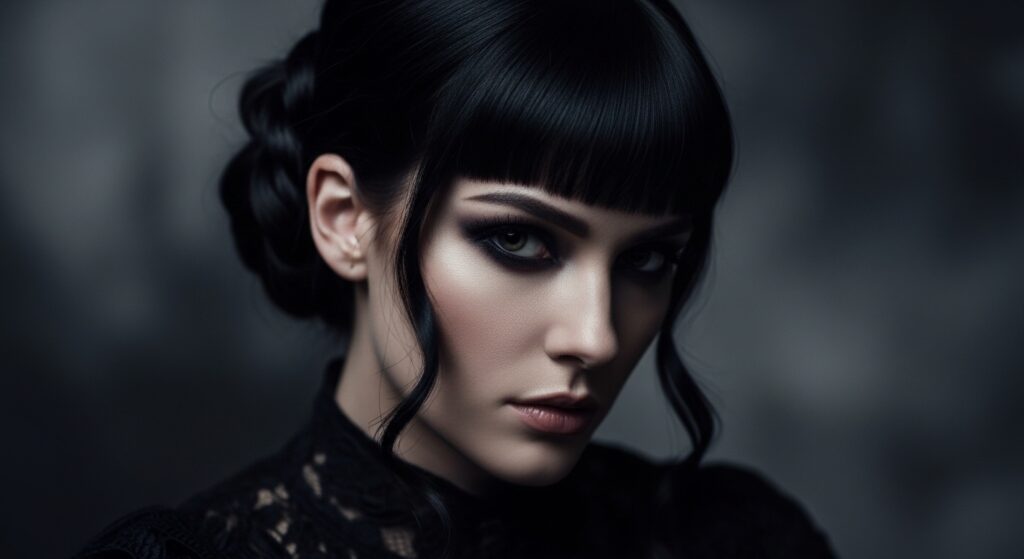
Think less scary, more poetic. This style mixes softness with structure. It’s perfect for those who love the vampire haircut aesthetic but want a daytime look.
Pull the top front sections of your hair back, but leave your bangs or face-framing layers loose. Before securing it into a small ponytail or bun, add a gentle twist to each section for that intricate, illusion headband detail.
5. The Glitchy Glam Mini-Braid
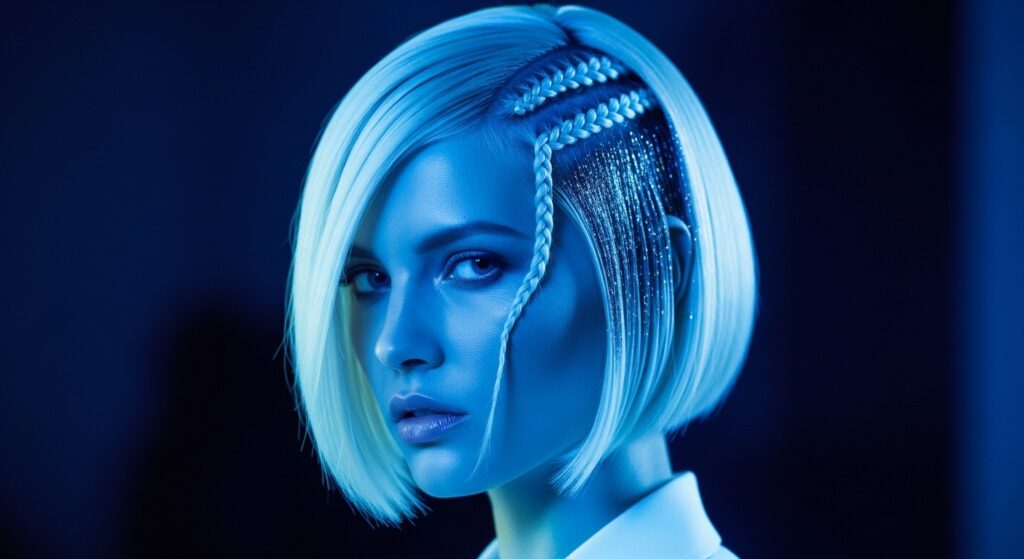
Glitchy glam hair is about unexpected, cool-girl details. A single, perfect little braid acts like a piece of digital jewelry.
Create a very thin, tight braid (a Dutch braid works great) along your hairline from temple to just above your ear. Secure it. Let the rest of your hair be messy or sleek. This contrast is key.
- Works on straight, curly, or textured hair.
- Pairs perfectly with a quiet luxury bob for contrast.
6. The Hime-Cut Inspired Barrette
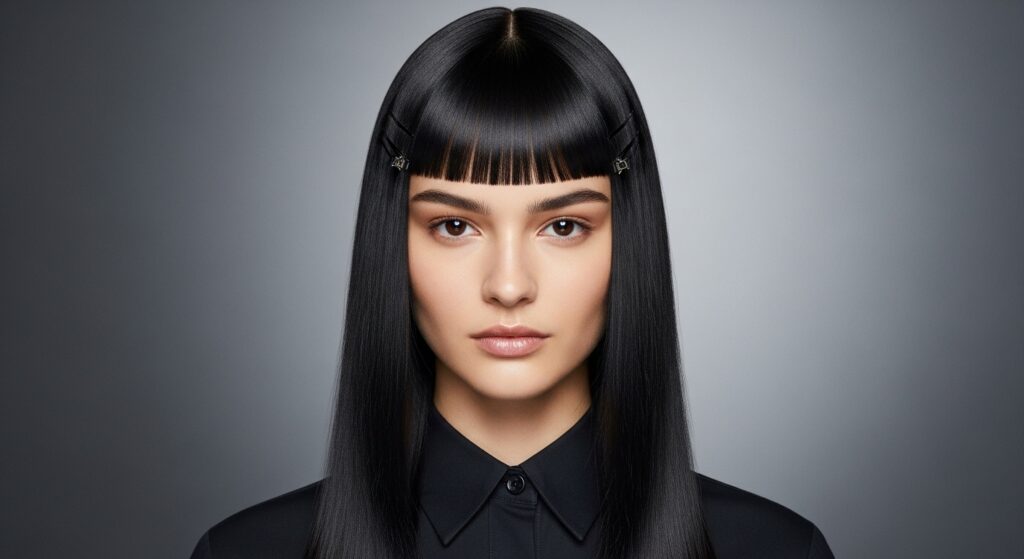
The traditional hime cut is striking. We’re adapting it. This uses your hair to create the strong, straight-across shape that a headband would.
With straight-across bangs, take two small front sections from behind them. Pull them back and cross them over each other, pinning them flat. This creates a clean, geometric frame. It’s a major look for 2026 hairstyles.
7. The Effortless Wrap-Around Ponytail
This classic trick always looks expensive. It gives the ponytail a seamless, “grown-up” finish that mimics a thin headband at the crown.
After securing your ponytail, take a small section from underneath it. Wrap it around the elastic band, completely covering it. Tuck the end under and secure with a bobby pin. It takes 10 seconds and elevates everything.
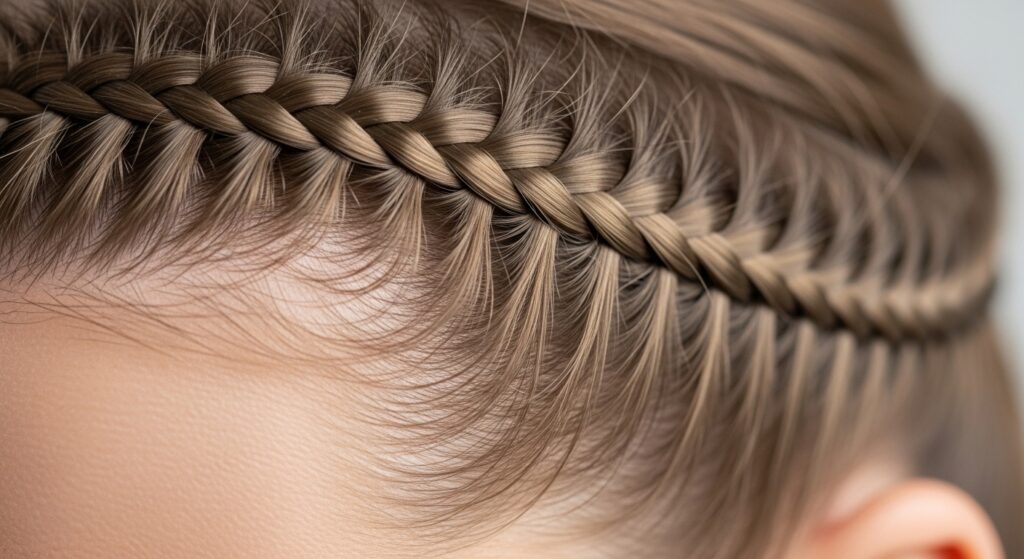
8. The Face-Framing Fishtail
A skinny fishtail braid along your hairline is delicate and beautiful. It looks complicated but is surprisingly simple with a little practice.
Take a front section of hair and split it into two. Cross small pieces from the outside of each section into the opposite one. Continue down the side of your face, then secure it behind your ear.
9. The Slicked-Back Wet Look
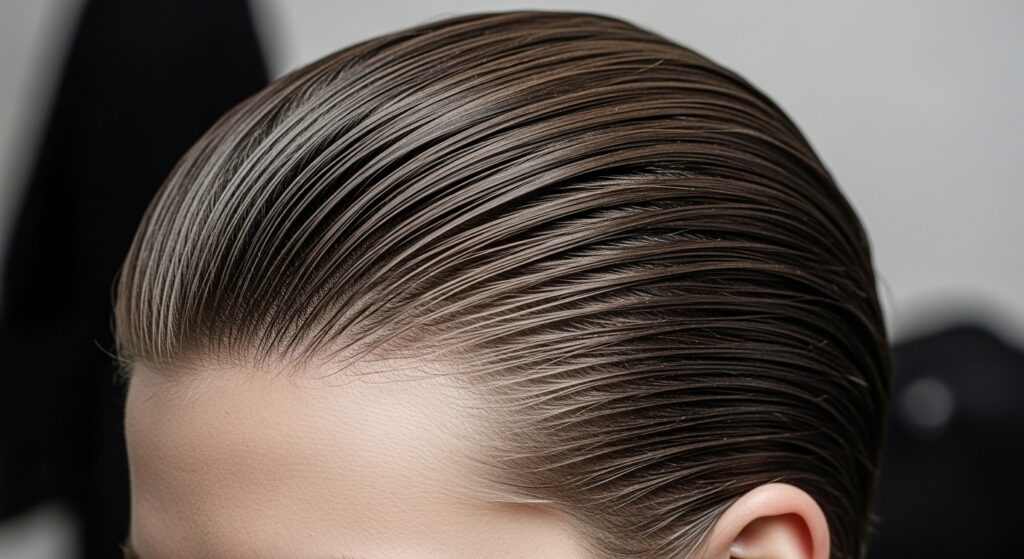
This is the ultimate in sleek, headband-free polish. It’s a staple of the quiet luxury bob trend. You’ll need a strong-hold gel or cream.
Comb your hair straight back from your hairline. Apply your product evenly from roots to ends. Use a fine-tooth comb to ensure it’s perfectly smooth. Tuck behind ears or into a low bun.
10. The Double-Twist Bangs Management
Growing out bangs or just want them out of your face? This is your go-to. It creates a sweet, headband-like effect that keeps hair tidy.
Take two small sections where your bangs meet the longer hair. Twist each one away from your face and pin them back, either separately or letting them meet in the middle.
11. The Asymmetrical Tuck
Sometimes the simplest illusion is the best. This plays directly into the asymmetrical lob trend. It creates a strong, graphic line.
With a deep side part, simply tuck the hair from the heavier side completely behind your ear. You can pin it for security. Leave the other side loose and flowing. The contrast is the style.
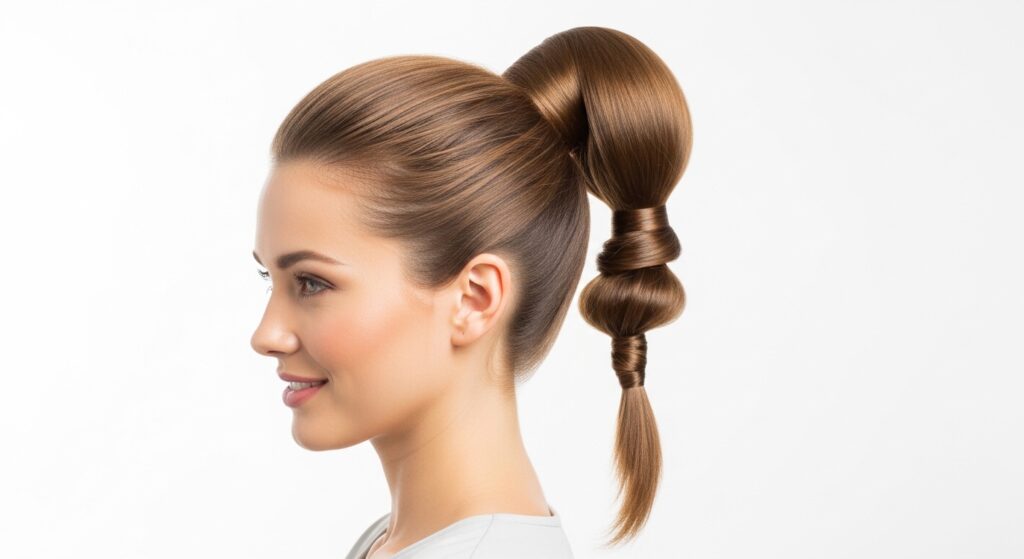
12. The Bubble Braid Accent
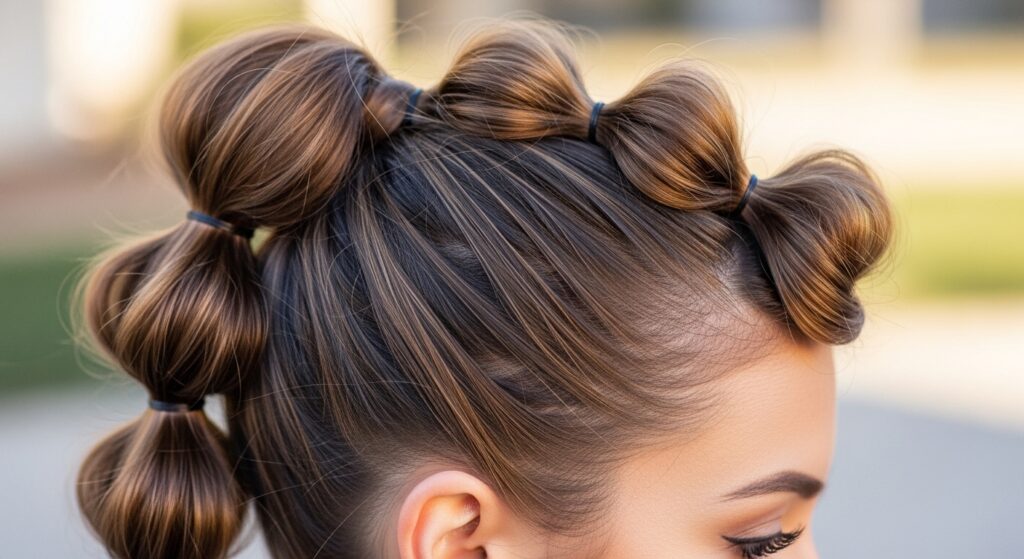
Bubble braids are fun and modern. Using just a piece of one as an “accent headband” is a fresh take.
Create a small, regular three-strand braid at your temple. Then, gently pull apart the sections of the braid to create the “bubbles.” Pin it back so it sits like a piece of hair jewelry.
13. The Victorian-Inspired Bump
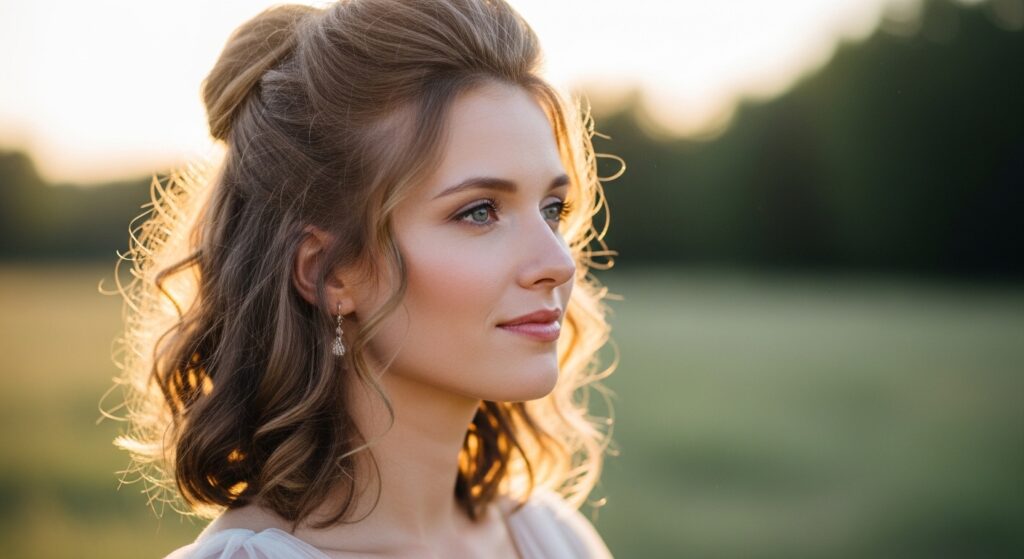
This subtle volume at the crown mimics the shape a wide headband would create. It’s soft, romantic, and very flattering.
Take the top front section of your hair. Lightly backcomb at the roots for light volume. Smooth the top layer over it, then pull the sides back slightly and pin. It adds instant vintage glamour.
14. The Knotted Headband
Literally using your hair as the band. This is so easy and looks like you tried harder than you did.
Take a front section from each side (about an inch thick). Tie them together in a single knot on top of your head. Adjust tightness, then tie a second knot. Tuck the ends under and pin.
15. The Dutch Braid Headband
A Dutch braid (where the strands are crossed under) pops out from your head. Doing just the front section creates a perfect, built-in headband.
Start braiding at one temple, adding in hair as you go along your hairline. Stop when you reach the other temple, then secure. Leave the rest of your hair down.
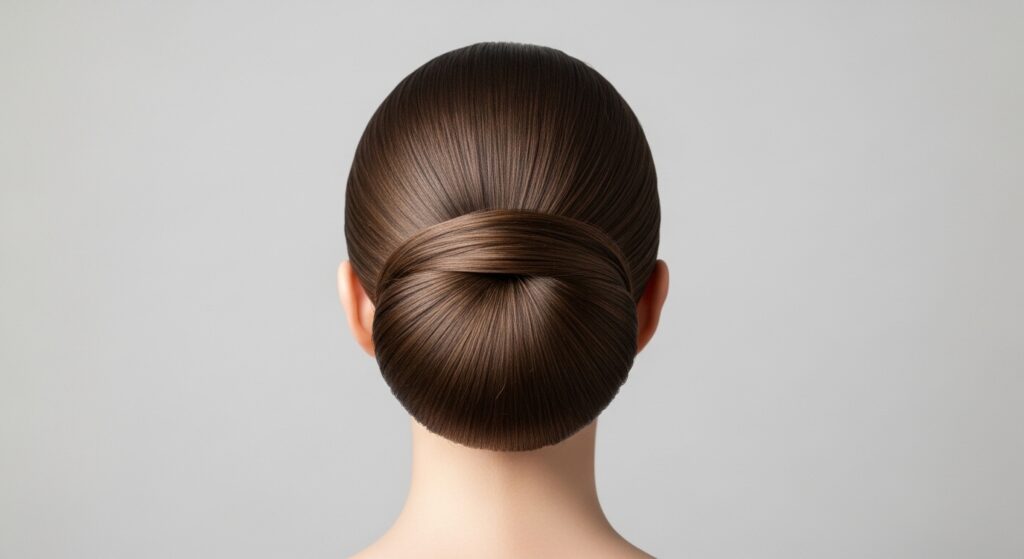
16. The Peek-a-Boo Twist
This is a fun back-view detail. It looks like a headband is holding your updo, but it’s just a clever use of your own hair.
Create a high ponytail or bun. From the hair left down below the elastic, take a section, twist it, and pull it up to wrap around the base of the bun, pinning it in place.
17. The Scarf-Braid Hybrid Illusion

Okay, this one uses a scarf, but it’s *woven in*, so it looks like it’s part of your hair. It creates the boldest color and texture of a headband.
Fold a skinny silk scarf into a long strip. Place it along your hairline and treat it as a third strand in a simple braid with your front hair. Braid it in and secure at the end.
18. The Micro-French Braid
Similar to the glitchy glam braid but even finer. This is for when you want a detail that people only notice up close. It’s ultra-feminine and delicate.
Using a tiny section of hair at the very front of your hairline, begin a French braid, adding in minuscule pieces. Continue for just an inch or two, then secure and hide the end.
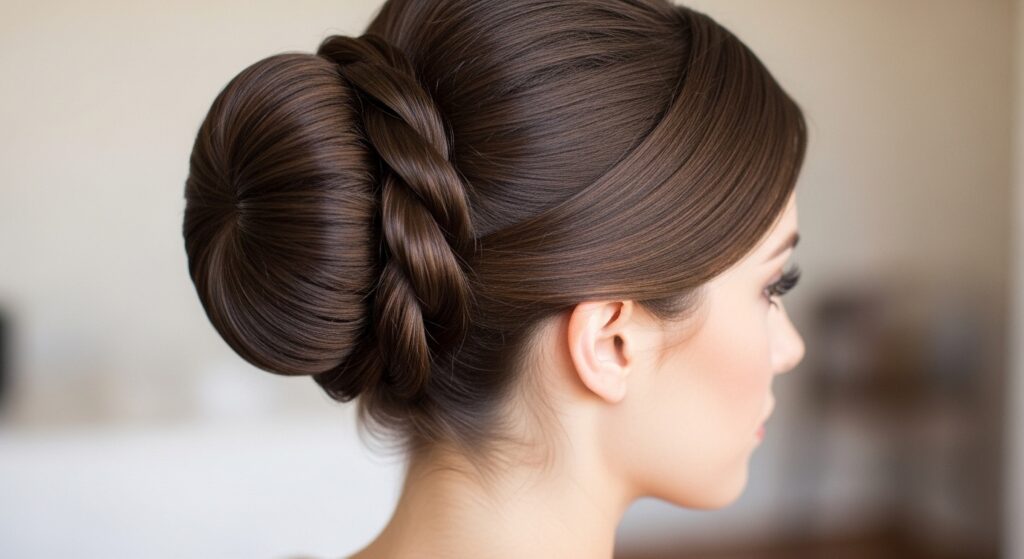
19. The Low Bun with Wrapped Sides
This creates a 360-degree headband effect. It’s the perfect quiet luxury updo for meetings or dinners.
Brush all hair back into a low ponytail. Before making the bun, take two small sections from the front on either side. Cross them over the ponytail base, then incorporate everything into a neat bun.
Your Quick-Start Guide
Feeling inspired? Don’t overcomplicate it. Start with one style that matches your hair length and today’s mood.
My biggest tip is to practice on second-day hair. A little texture from dry shampoo gives hair grip and makes these styles easier to create and longer-lasting. Have fun with it!
And there you have it—19 ways to get that chic, pulled-together look without ever reaching for a headband. The best part? These styles use what you already have: your own beautiful hair and a few bobby pins.
They prove that the best accessories are often the simplest tricks. Whether you’re channeling old money hair or testing out a glitchy glam detail, it’s all about playing with shape and texture.
I’d love to hear which one you try first! Did you master the twisted front frame or go all-in on the rope crown? Tell me in the comments below!
Save this post to Pinterest so you always have this guide handy for your next “I need to look polished in five minutes” moment. You’ve got this!