Wave Beach Style Step-by-Step Using Curling Wand Easily
Okay, let’s be real. We’ve all spent hours scrolling through pictures of perfect beach waves, feeling a mix of envy and frustration. It looks so effortless, right? Like you just woke up like that after a day by the ocean. But for most of us, getting that texture requires a little know-how.
That’s where this guide comes in. I’m breaking down the exact, easy steps I use to get those soft, undone waves with a simple curling wand. No fancy skills needed. This method is my secret weapon for a look that’s both polished and perfectly relaxed.
It’s the ultimate versatile style. It works for a casual day out, dresses up for a date night, and honestly, it’s the foundation for so many of the trending looks we’re seeing, from old money hair to that romantic goth vibe. Let’s get into it.
Why a Curling Wand is Your Best Friend for Waves
You might be wondering why I’m not talking about a traditional curling iron with a clamp. For beach waves, the wand is king. The lack of a clamp means you avoid those harsh, uniform creases at the ends of your hair.
Instead, you get a seamless, soft bend that starts mid-shaft and blends beautifully. It gives you that lived-in, natural texture instantly. It’s the tool that creates the base for everything from an asymmetrical lob to the softness of quiet luxury bob styles.
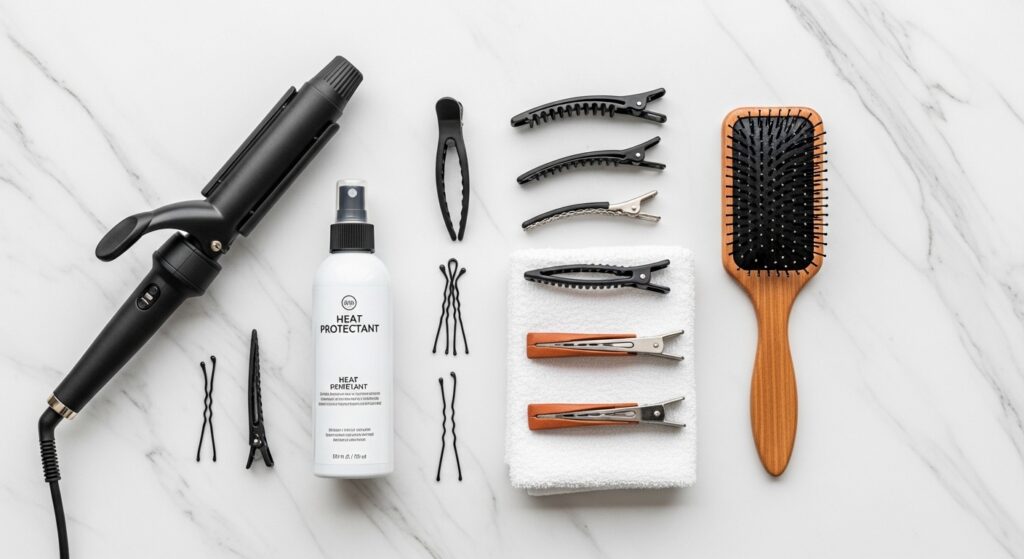
What You’ll Need to Get Started
Gathering your tools first makes the whole process smoother. You don’t need a salon’s worth of products, just a few key items. Having everything within arm’s reach is a game-changer.
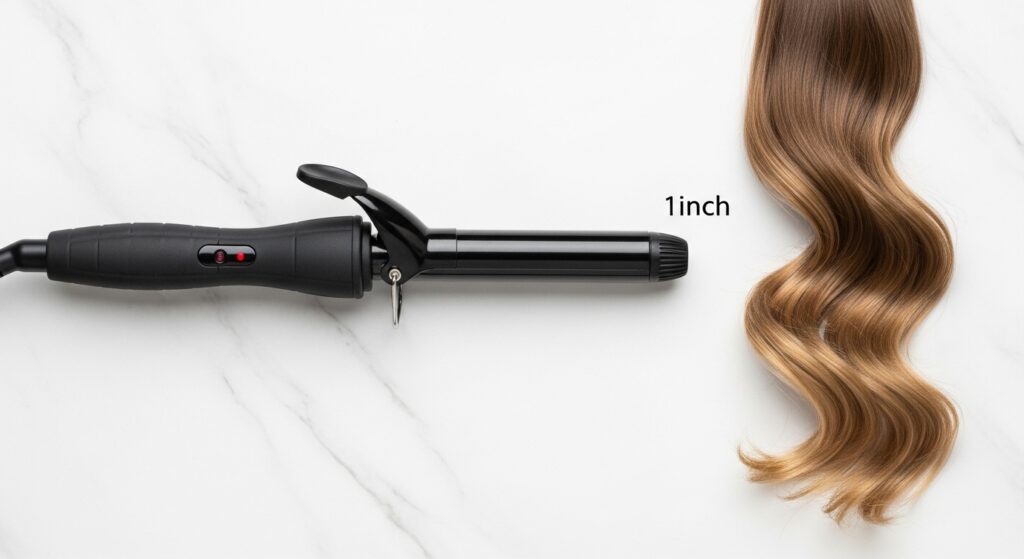
- A 1-inch to 1.25-inch curling wand (barrel size is key!)
- Heat protectant spray (non-negotiable for hair health)
- Light-hold hairspray or texturizing spray
- Sectioning clips
- A comb or brush for detangling
Step 1: Start with Day-Old Hair (Seriously!)
This is the best pro-tip I can give you. Freshly washed hair can be too slippery and soft, making curls fall out faster. Day-old hair has natural texture and oils that help the waves grip and last much longer.
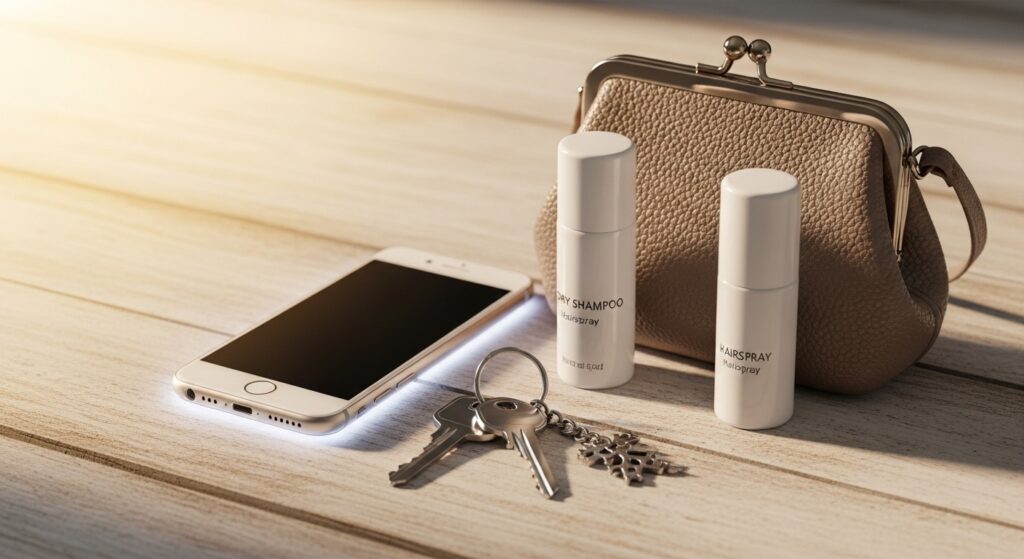
If you must style on wash day, just make sure your hair is completely dry. I sometimes use a dry shampoo at my roots for extra grip and volume before I even start with the heat tools.
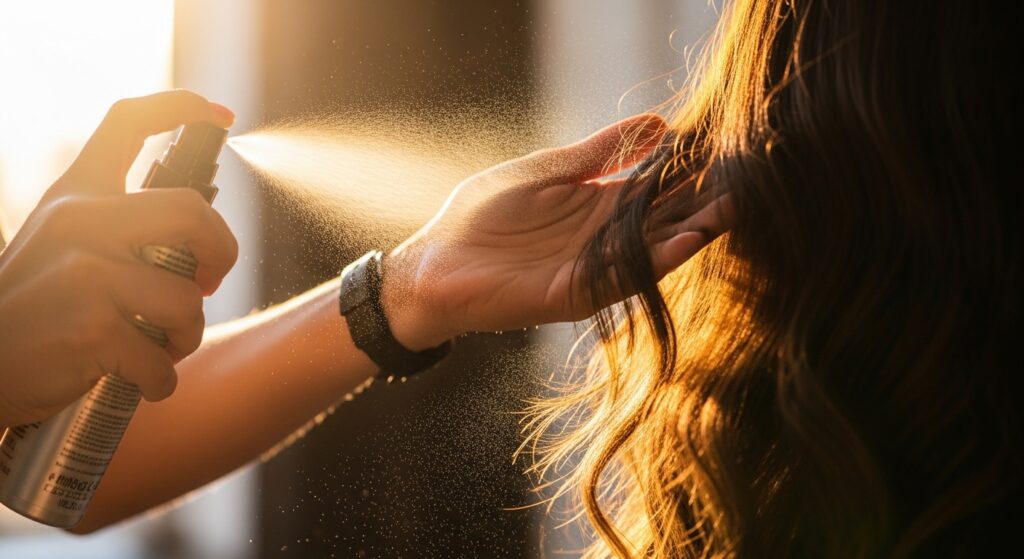
Step 2: Apply Heat Protectant Thoroughly
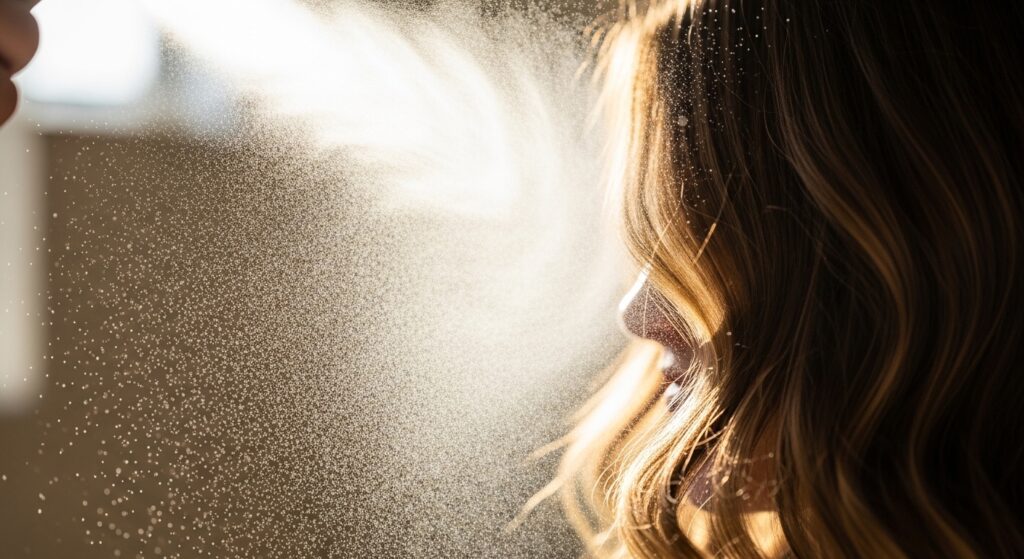
Never, ever skip this step. Think of heat protectant as sunscreen for your hair. It creates a barrier between your strands and the high heat of the wand, preventing damage and keeping your hair shiny and healthy.
Spray it evenly from mid-lengths to ends, and don’t forget the front pieces that frame your face. Give it a minute to settle in before you turn on your wand.
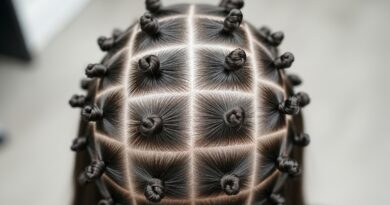
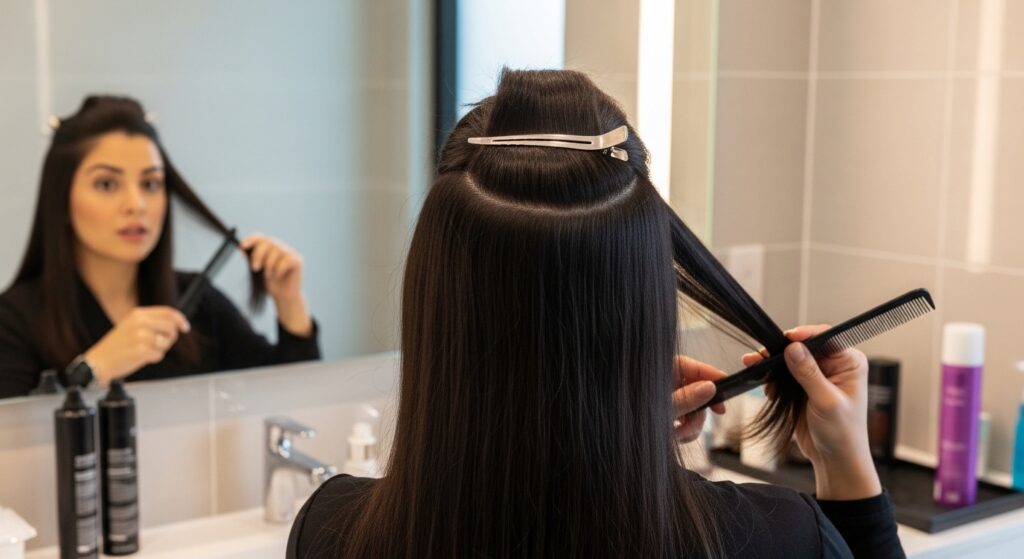
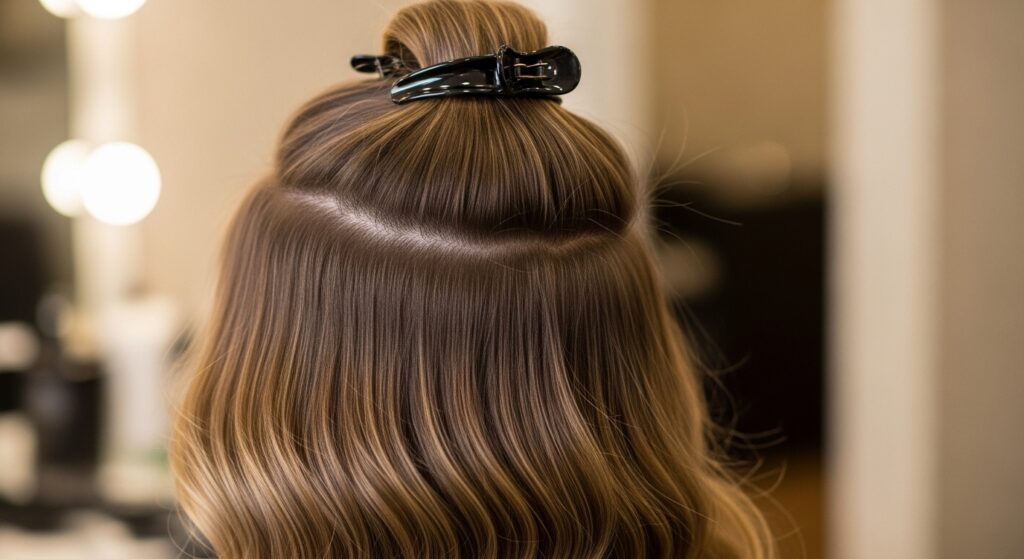
Step 3: Section Your Hair Like a Pro
Working in sections is what makes this easy and ensures you get every layer. I start by parting my hair down the middle. Then, clip the top half of your hair up and out of the way.
You’ll work from the bottom layers up. This keeps things organized and prevents you from re-curling the same pieces. Smaller sections mean more defined waves; larger sections give a looser look.
Step 4: The Perfect Barrel Size for Beach Waves
Barrel size determines your wave pattern. For the classic, soft beach wave I love, a 1-inch to 1.25-inch barrel is perfect. It gives a defined bend without being too tight or spiral-like.
If your hair is very long, you can go slightly larger. Remember, we’re not aiming for perfect curls. This size barrel is also ideal for adding bend to styles like the hime cut or a blunt vampire haircut.
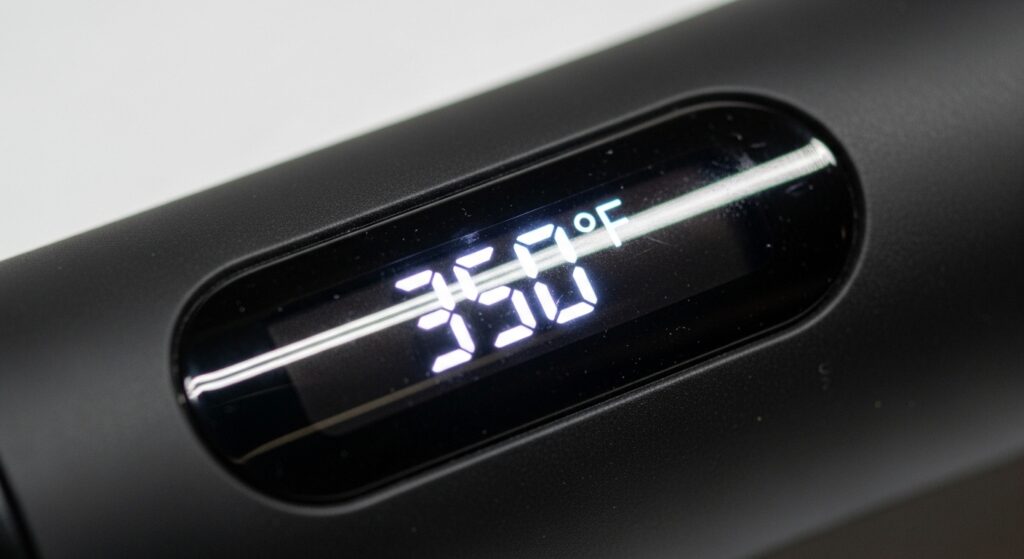
Step 5: Setting the Right Temperature
More heat isn’t always better. Fine or color-treated hair should use a lower setting (around 300-350°F). Thicker, coarser hair can handle higher heat (up to 380°F).
The goal is to find the lowest temperature that still gives you a lasting wave. Start lower—you can always go hotter if needed. This protects your hair’s integrity in the long run.
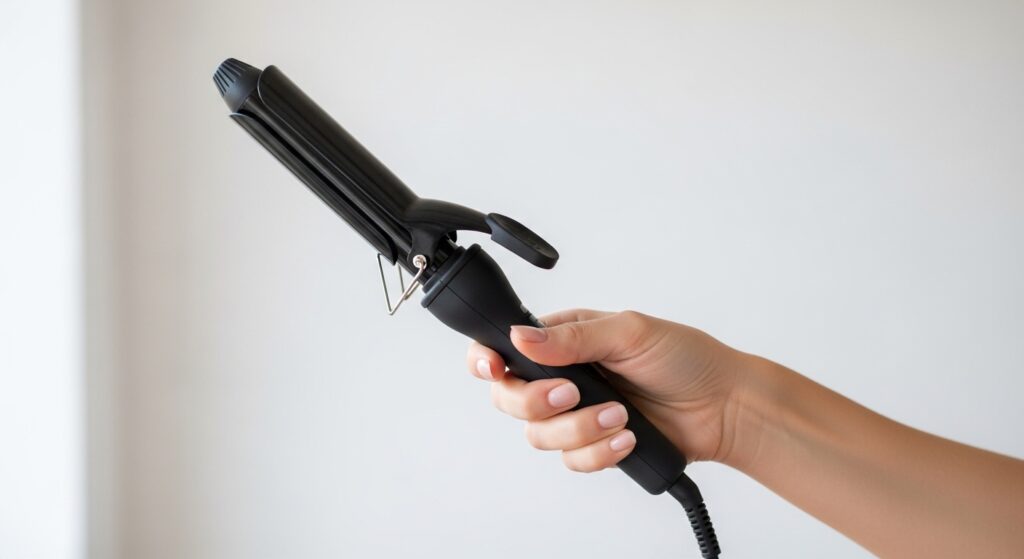
Step 6: How to Hold the Curling Wand
Hold the wand vertically, with the tip pointing down toward the floor. This gives you the most control and makes it easier to wrap the hair around the barrel smoothly.
Your other hand is used to guide the hair section. Keep a firm but gentle grip on the wand handle. I like to wear the included heat-resistant glove on my wrapping hand for safety, especially when I’m rushing.
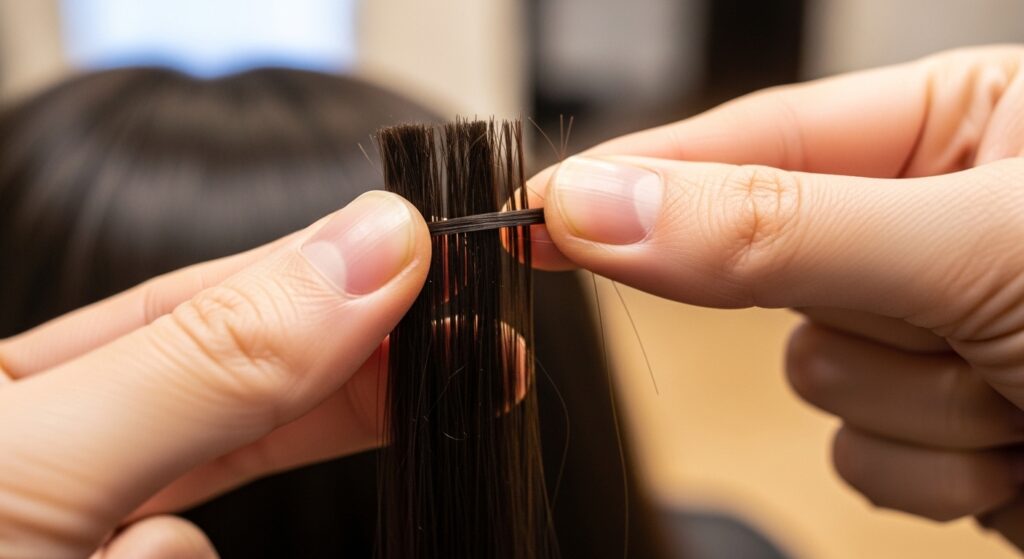
Step 7: Taking Your First Section
From your bottom layer, take a horizontal section about 1-2 inches wide. This isn’t an exact science, but don’t grab too much hair at once. The section should be no wider than the barrel length.
Comb through it quickly to smooth any tangles. This first section is your practice round. Don’t worry if it’s not perfect—the magic happens when all the waves are combined.
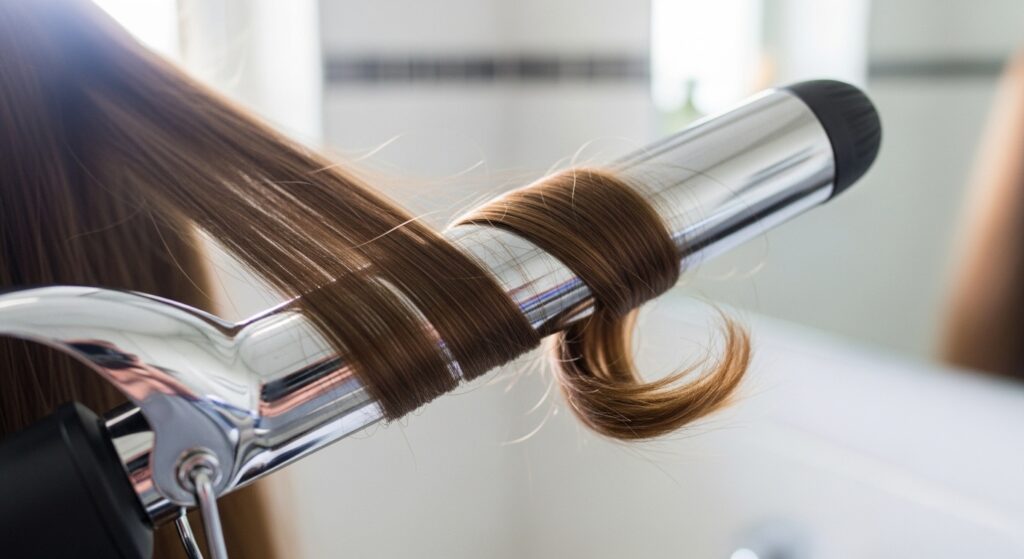
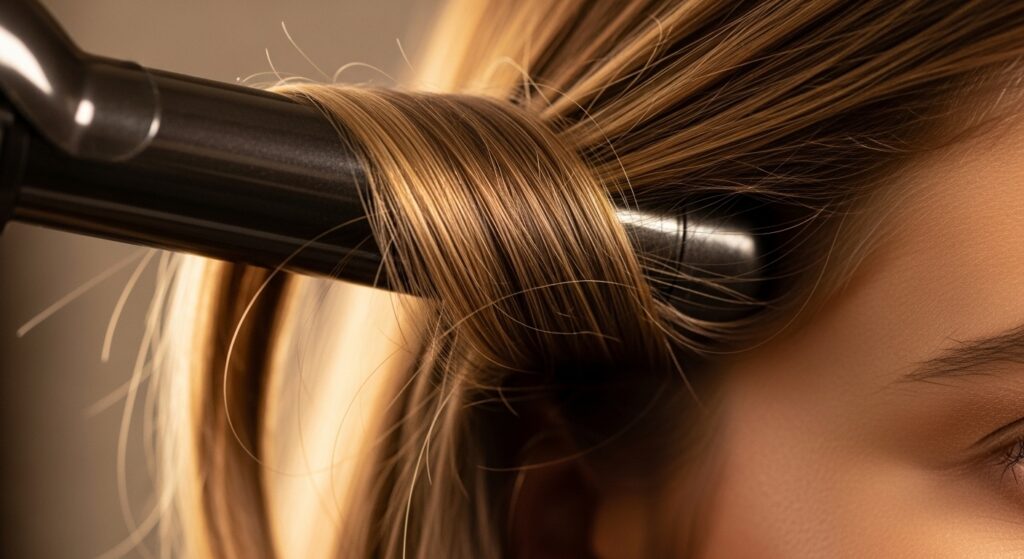
Step 8: The Simple Wrap Technique
Place the middle of your hair section against the barrel, not the end. Wrap the hair around and away from your face. Hold the end of the section with your fingers, don’t tuck it into the clamp (because there isn’t one!).
Hold for 5-8 seconds. You’ll see the hair change shape and set. The key is to wrap smoothly but not too tightly. We want softness, not a tight curl.

Step 9: The Release and Don’t Touch Rule
After holding, gently slide the hair off the barrel. Do NOT pull or unravel it. Let the curl fall into your hand and then gently place it down. This is crucial.
Do not brush it, finger-comb it, or touch it while it’s hot. The wave needs a minute to cool and set into its shape. Touching it now will make it frizzy and loose.
Step 10: Working Through the Bottom Layer
Continue taking horizontal sections all around your head, working through the entire bottom half you left down. Alternate the direction of your wraps for a more natural look.
Wrap some sections away from your face and some toward your face. This variation is what creates that perfectly imperfect, beachy texture. Consistency is good, but a little randomness is better.
Step 11: Releasing the Top Sections
Once the bottom layer is done, unclip the top half of your hair. Split this top section horizontally again, clipping the very top crown portion up. You’ll now work on this middle layer.
Use the same technique. These sections around your face are important—they frame your features. Take a little extra care here to get a flattering wave pattern.

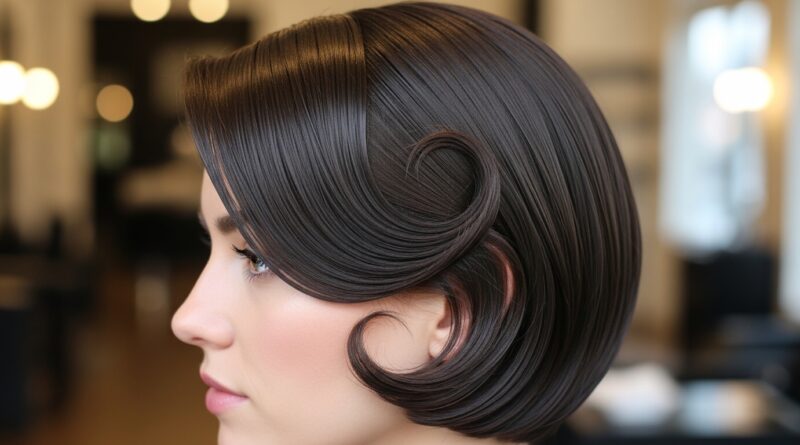
Step 12: Styling Your Face-Framing Pieces
For the pieces right around your face, I often use a slightly different technique. I might wrap them all away from my face for a unified, swept-back look, or I do a reverse curl (wrapping toward my face) for more volume at the roots.
This is where you can personalize it. These pieces are key for adapting this wave to edgier trends like glitchy glam hair or romantic goth hairstyles with a deeper side part.
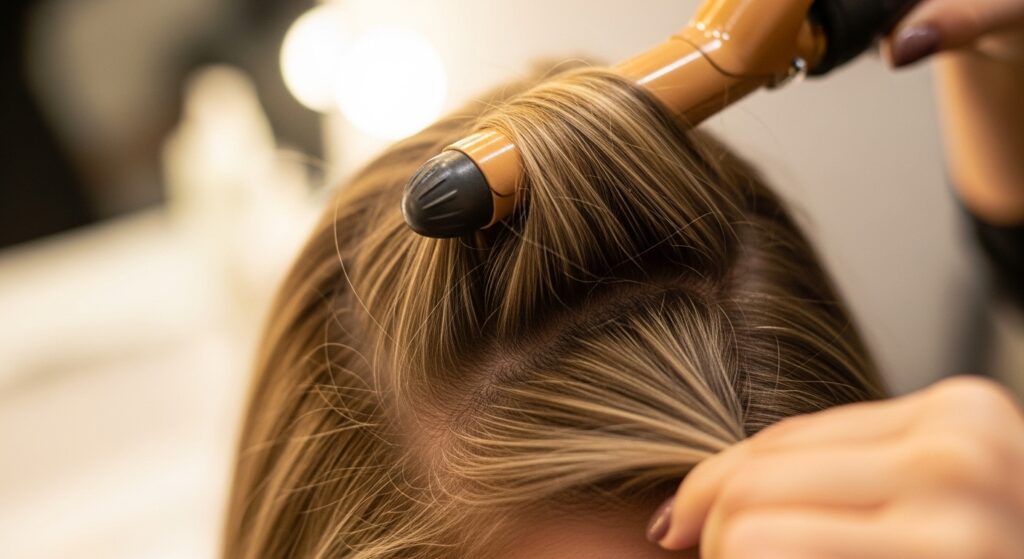
Step 13: Tackling the Crown for Volume
The last section you do is the hair at the very crown of your head. This is your volume secret. For these top-most sections, try wrapping them vertically or holding the root slightly away from your scalp as you curl.
This creates lift right where you want it. When you drop these curls, they’ll sit on top of the others, giving your whole style beautiful body and that “lived-in” feel.
Step 14: Let All Waves Cool Completely
Patience! Once every single section is curled, do not touch your hair. Walk away for 5-10 minutes and let everything cool down completely. This is the setting process.
I usually do my makeup during this cool-down period. Letting the hair cool in its curled shape locks the wave in place for all-day wear. It makes a huge difference in longevity.
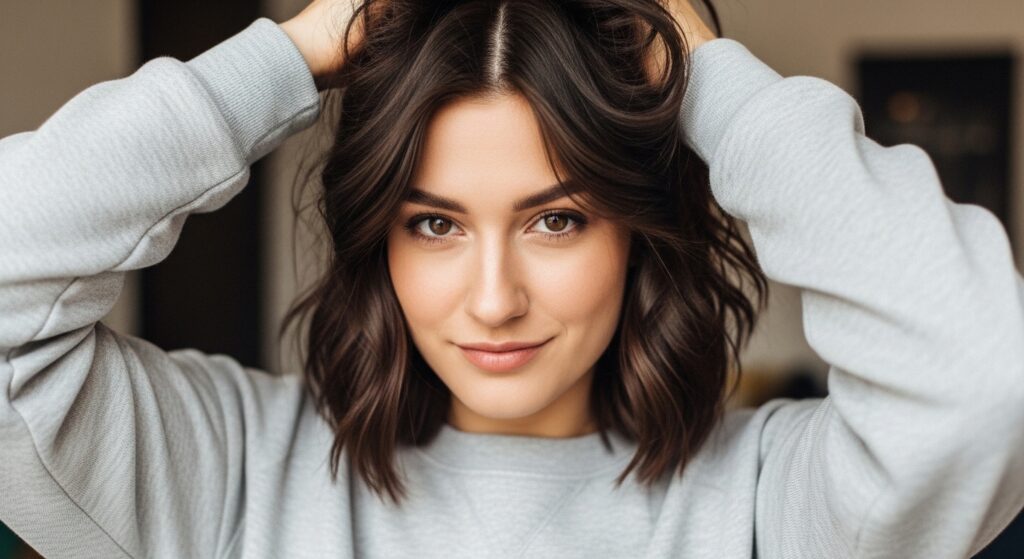
Step 15: The Secret to Breaking the Curls
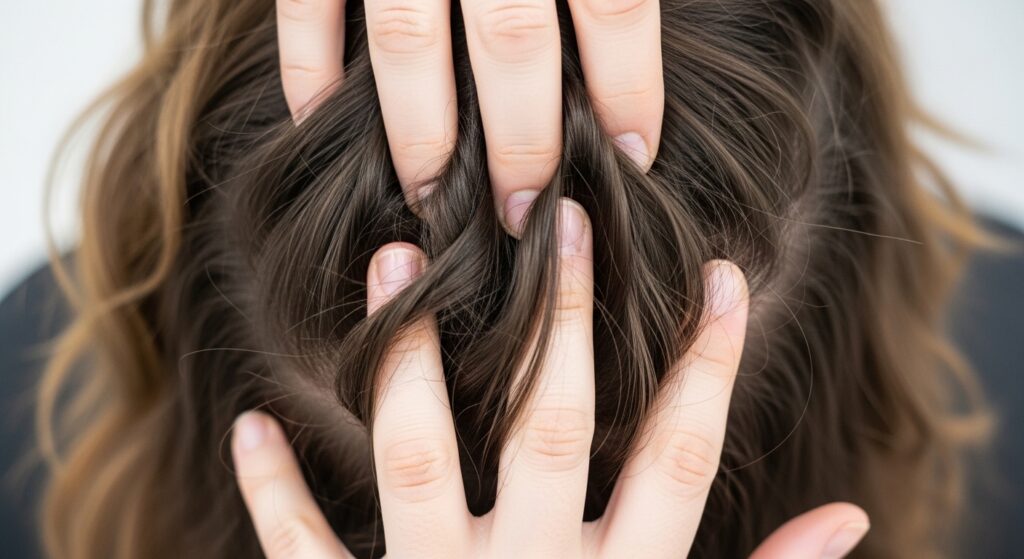
Now for the fun part. Once your hair is completely cool, it’s time to break the curls. Flip your head over and gently run your fingers through your hair from the nape of your neck upward.
Do not use a brush. Your fingers are the best tool. You’re separating the wound-up curls into soft, touchable waves. Shake your head from side to side as you do this.
Step 16: Adding Texture and Hold
After breaking the waves, I like to finish with a light-hold hairspray or a texturizing spray. Hold the can about 10 inches away and mist it over your hair, focusing on the mid-lengths.
This kills any remaining frizz and helps the style hold its shape without being crunchy or stiff. For a more piece-y look, you can rub a tiny bit of pomade between your palms and scrunch the ends.
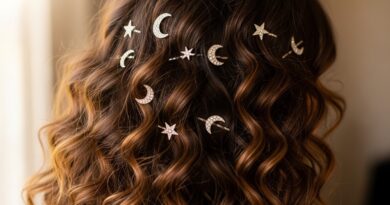
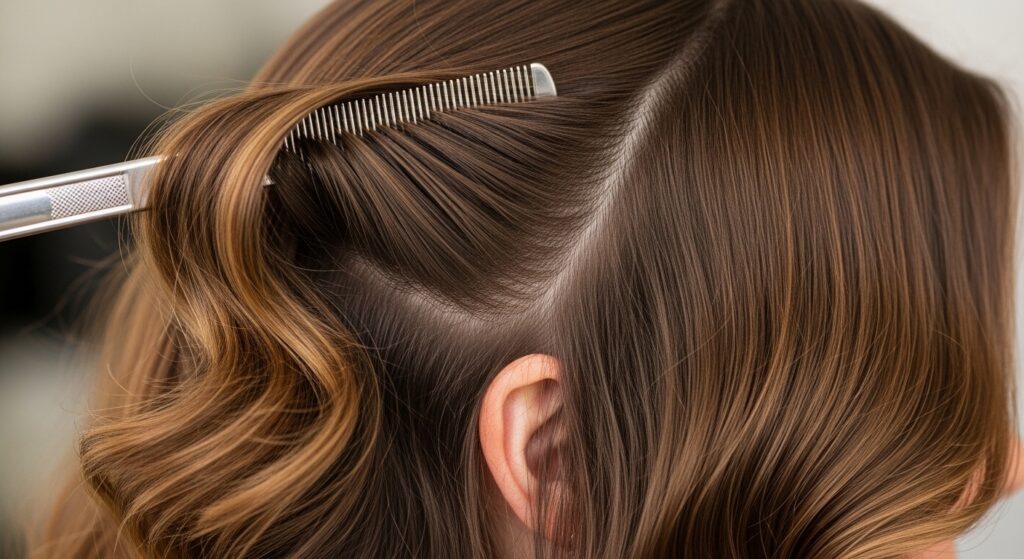
Step 17: Creating a Side Part for a New Vibe
Try switching your part! After breaking the waves, use a comb to create a deep side part. This instantly changes the look, adds drama, and gives major old money hair or vintage glamour energy.
Push the waves from the heavier side over your shoulder. This simple change makes the style feel brand new and is perfect for an evening out.
Step 18: Half-Up Styles with Your Waves
Your beach waves are the perfect base for a half-up hairstyle. Simply gather the top section of your waves, twist it slightly, and secure it with a clip or elastic at the back of your crown.
Pull out a few face-framing pieces. This looks effortlessly chic and keeps hair out of your face while showing off the beautiful texture you worked so hard to create.

Step 19> Making Your Waves Last All Day
To extend the life of your style, carry a travel-sized texturizing spray or dry shampoo with you. A quick spritz at the roots mid-day can soak up oil and refresh the volume.
If a few waves fall, you can quickly re-curl just those sections without having to redo your whole head. Sleep on your waves loosely tied in a silk scrunchie for second-day waves that are even better.
Step 20: Adapting This for Any Haircut
This technique isn’t just for long hair. It works wonders on shorter cuts to add movement and shape. For an asymmetrical lob, focus the waves to enhance the angled line.
On a quiet luxury bob, just wave the ends for a soft bend. Even a sharp hime cut can use a slight wave on the longer front sections. It’s all about creating that soft, touchable texture.
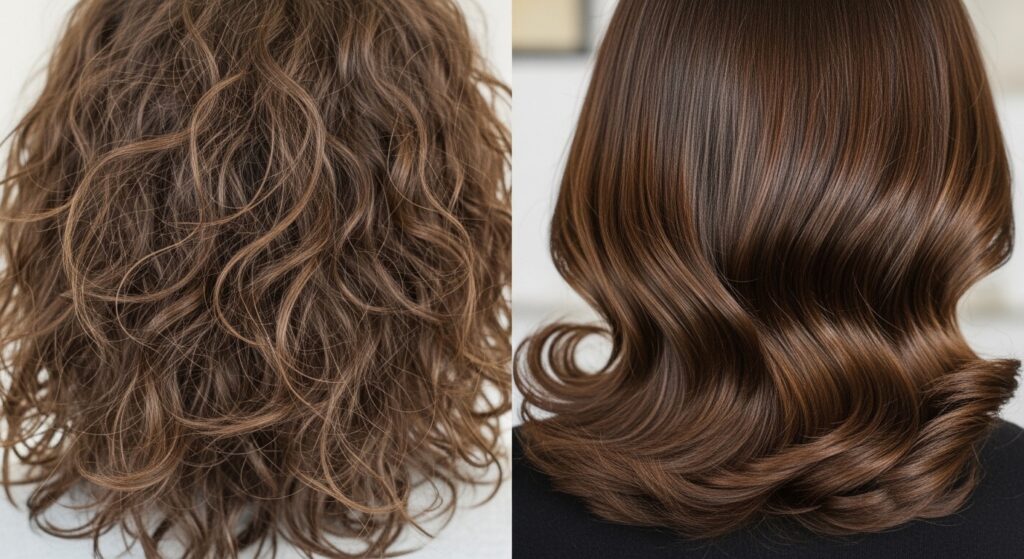
Common Mistakes and How to Fix Them
If your waves look too tight or “curly,” you wrapped too small of sections or held too long. Next time, take bigger sections and shorten the hold time. If waves are limp, your temperature might be too low or your hair wasn’t fully dry.
Frizz means you touched the curls before they cooled or didn’t use heat protectant. Don’t worry—most mistakes can be fixed by gently re-curling the problem section with a lighter hand.
Your Final Wave Checklist
Let’s do a quick recap to make sure you’ve got it. This is your go-to list whenever you want to recreate this look quickly. It becomes muscle memory, I promise.
- Day-old hair + heat protectant
- 1-inch barrel, vertical hold
- Wrap mid-shaft, alternate directions
- Cool completely before touching
- Break with fingers, finish with spray
And there you have it! My complete, no-stress guide to getting beach-perfect waves at home. It might seem like a lot of steps the first time, but once you do it twice, it’ll take you less than 20 minutes start to finish.
This style is such a fantastic base. It gives you that healthy, textured look that feels put-together but never overdone. Whether you’re channeling 2026 hairstyles with a modern twist or just want an easy, go-to look, this method has your back.
I want to see your results! Did you try alternating directions? Are you a convert to the cool-down wait? Leave a comment below and tell me how it went for you. And if you found this guide helpful, save this post to Pinterest so you can always find it when you need a quick style refresh. Happy waving!