Protective Styling Guide Tailored Perfectly for Beginners Everywhere
Hey friend! So you’ve heard the term “protective styling” buzzing around, and you’re ready to dive in, but it feels a bit… overwhelming? I totally get it. My first attempt was a mess of tangled braids and confusion. Let’s change that for you.
This guide is your gentle, no-jargon starting line. We’re skipping the overwhelm and going straight to the practical, easy-to-follow steps that actually work. Think of this as your personal handbook.
By the end, you’ll not only know what protective styling is, but you’ll know exactly how to choose, install, and care for your first style with confidence. No more guessing games. Let’s get your hair the healthy break it deserves.
What Is Protective Styling, Really?
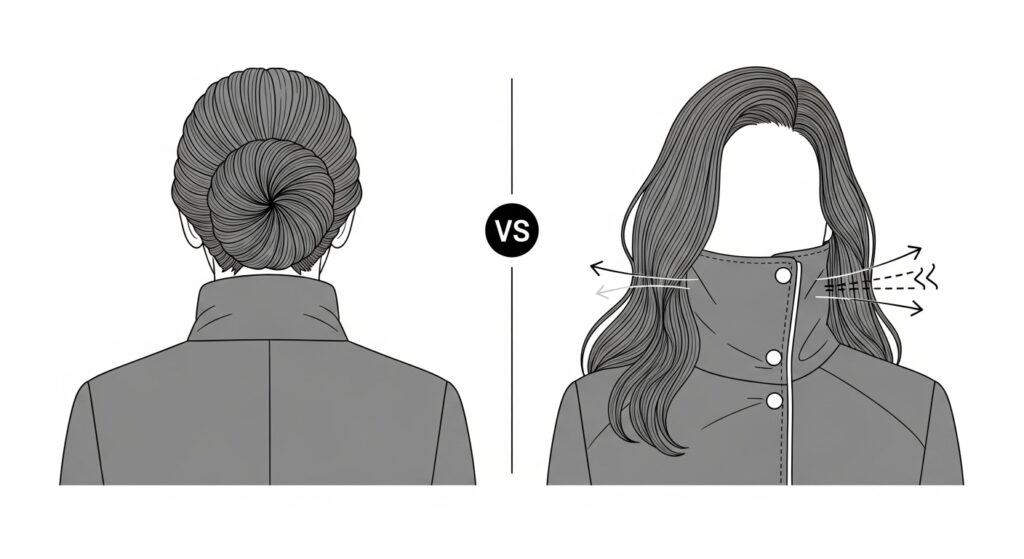
At its heart, protective styling is simply giving your hair a vacation. It means tucking your ends away so they aren’t exposed to daily damage from things like brushing, the weather, and your cotton pillowcase.
The goal is to minimize breakage and retain length by letting your hair just “be.” It’s not about complicated, super-tight styles. It’s about smart, gentle styles that promote growth. Think of it as putting your hair in a safe, cozy bubble.
This practice is a game-changer for anyone wanting healthier, longer hair. It works for all hair types and textures. The key is doing it correctly, which is exactly what we’ll cover next.
The #1 Rule Every Beginner Must Know

Listen closely, because this is the most important part: Protective styling should never, ever hurt. If your braids are too tight, your scalp is throbbing, or your edges are screaming, it’s not protective—it’s damaging.
Your style should feel comfortable and secure, not like a constant headache. Pain is a sign that hair is being pulled from the root, which can lead to traction alopecia. We want growth, not loss.
Always speak up to your stylist, or loosen a DIY style yourself. Comfort is non-negotiable. A good protective style lets you forget it’s even there for a little while.
Your Pre-Style Hair Care Checklist
You can’t protect dirty or dry hair. The prep work is what makes the style successful. Always start with a clean, well-moisturized base to prevent breakage and itchiness.
Here’s your simple three-step routine before any style:
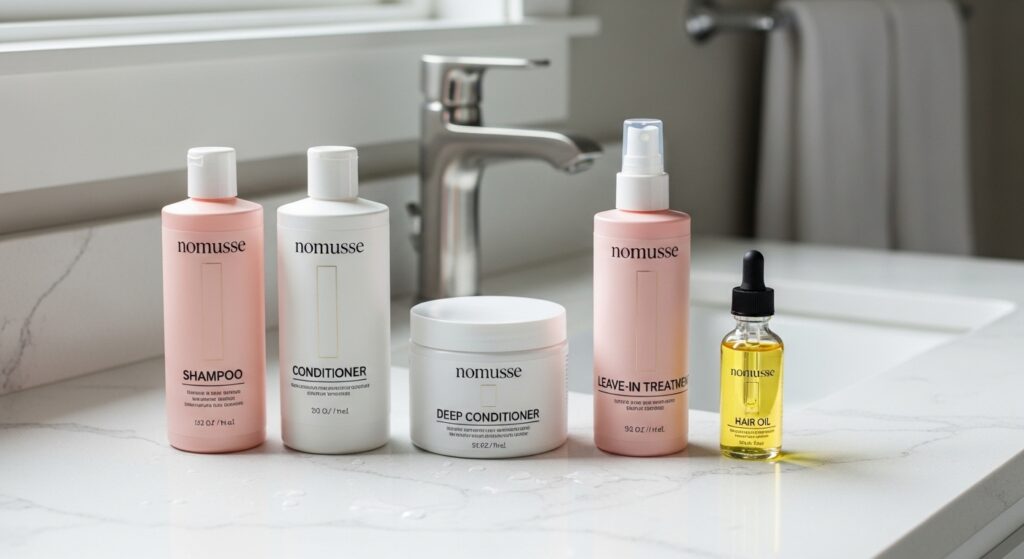
- Cleanse: Use a gentle shampoo to remove buildup.
- Deep Condition: This is your moisture insurance policy. Don’t skip it.
- Moisturize & Seal: Apply a leave-in conditioner, then a light oil or butter to your ends to lock in that hydration.
This routine ensures your hair has everything it needs to thrive while it’s tucked away.
Choosing Your First Style: Start Simple
For your first try, avoid super complex, multi-hour styles. The goal is to build confidence! Simple styles are often the most effective and give you less room for error.
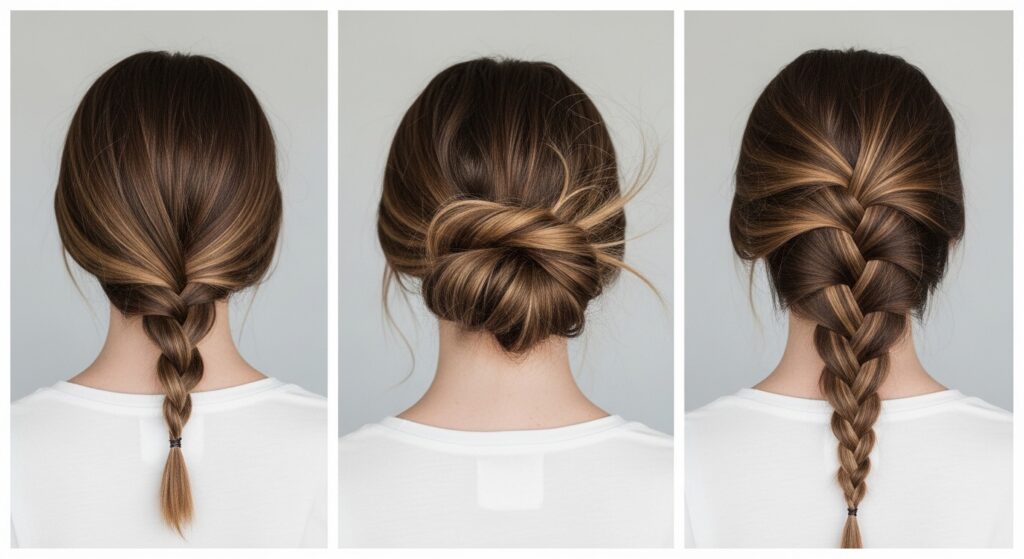
Great beginner-friendly options include loose braids or twists, a low ponytail or bun (with a silk scrunchie!), or flat twists. These are easy to do, easy to take down, and easy on your hair.
Master the basics first. Once you’re comfortable with the care routine, you can explore more intricate looks. There’s plenty of time for that later.
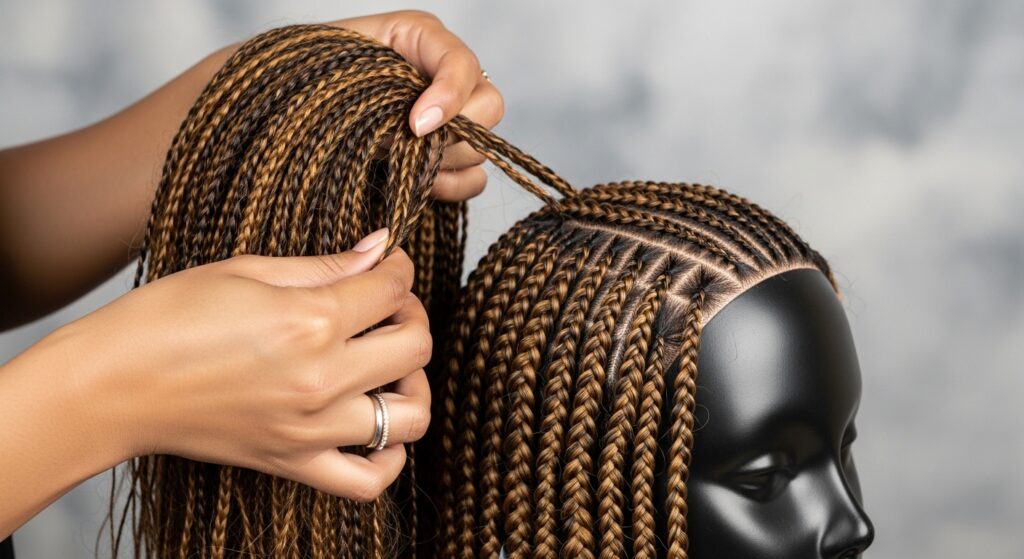
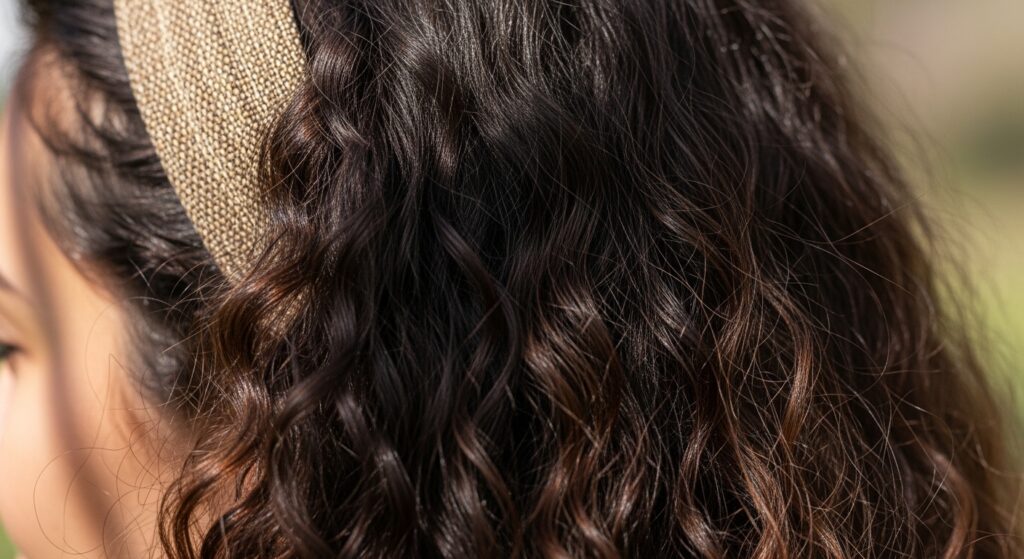
Classic Braids & Twists: The Go-To’s

Braids and twists are the foundation of protective styling. They’re versatile, low-manipulation, and perfect for beginners. You can do them on stretched or blown-out hair for a different look.
For braids, stick to larger sizes. Smaller braids mean more tension and a longer install time. Simple three-strand or two-strand twists are fantastic. You can wear them as is, or pin them up into cute styles.
The key is to keep the tension light and the parts neat but not overly tight. These styles can last 1-2 weeks with proper care, giving you a great break from daily styling.
The Power of The Low Manipulation Bun
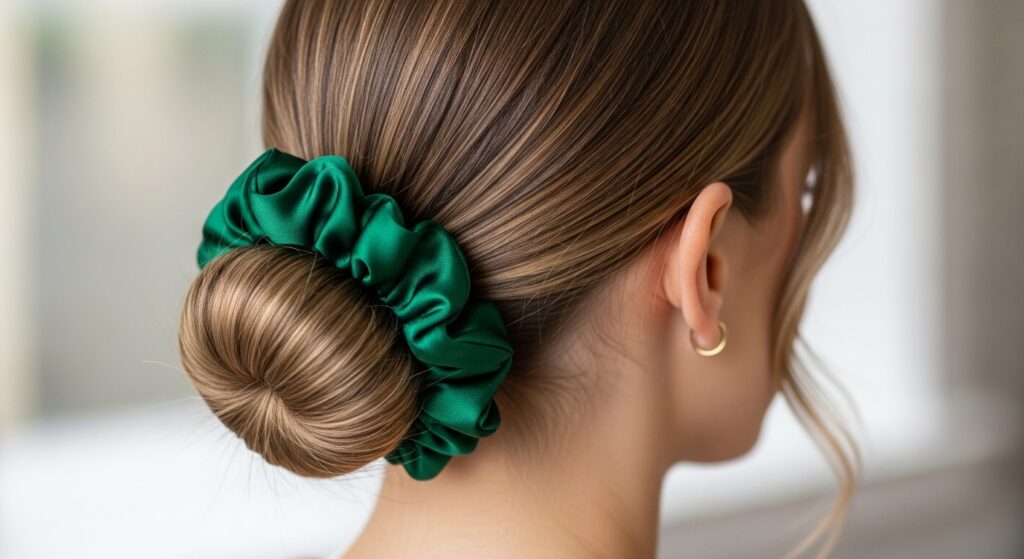
Don’t underestimate a simple bun! When done right, it’s a perfect protective style. The “low manipulation” part is crucial—you put it up once and leave it alone for a few days.
Use a silk scrunchie or a satin-covered coil hair tie. Never use regular elastic bands that can snag and break hair. Create a loose ponytail and twist or wrap the hair into a bun, securing it gently.
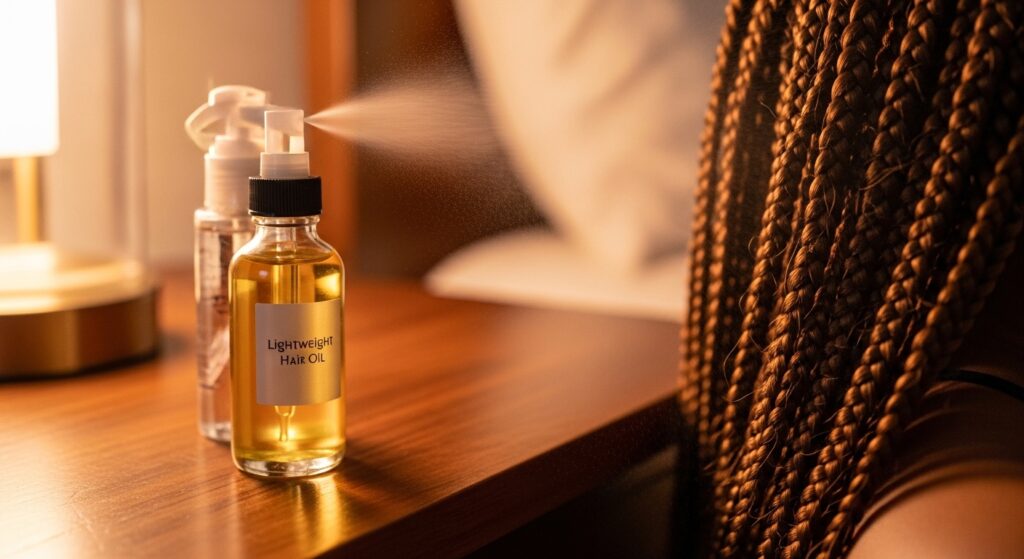
You can lightly mist your hair with water and oil every few days to maintain moisture. This is one of the easiest ways to protect your ends daily without any fuss.
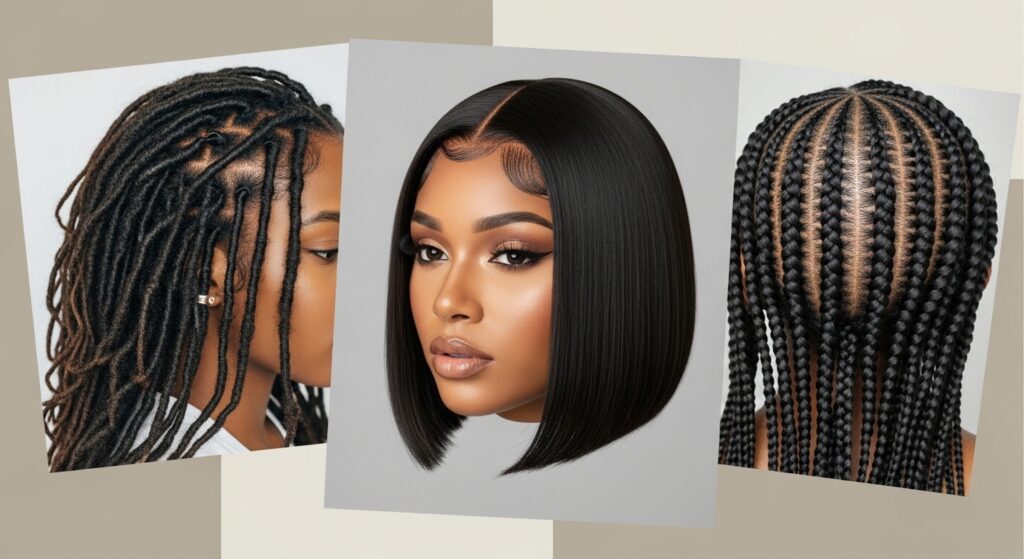
Wigs & Weaves: The Ultimate Protection?
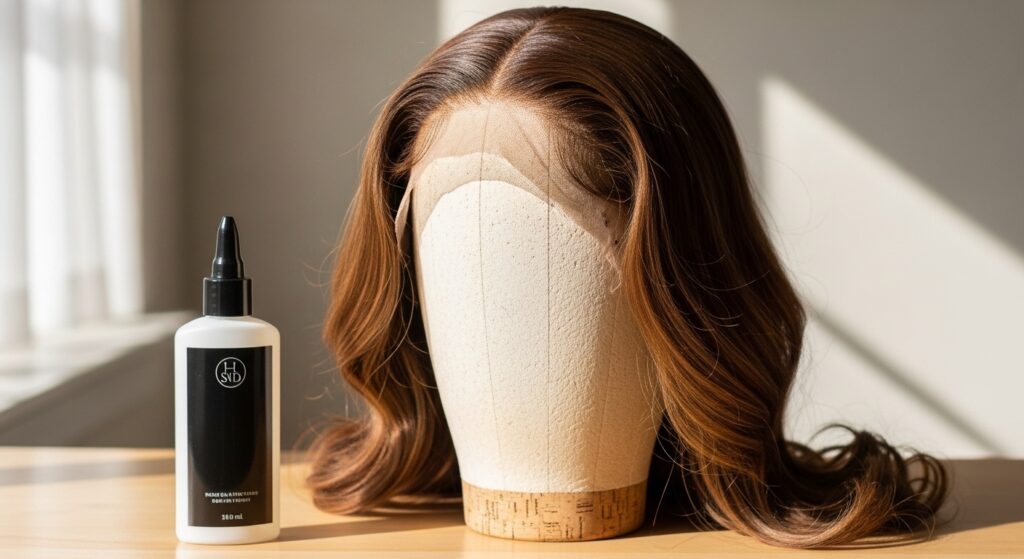
Wigs and weaves offer complete coverage and endless style versatility, from an old money hair look to 2026 hairstyles trends. They allow your natural hair to be completely untouched for extended periods.
However, the installation and maintenance are key. Your hair must still be cleansed, moisturized, and braided flat underneath. Never install a weave on dirty hair or leave a wig on for weeks without checking your scalp.
For beginners, I recommend starting with a wig you can take off nightly. It’s less commitment and lets you master your own hair care routine underneath first.
Crochet Braids & Faux Locs: The Friendly Middle Ground
These styles are fantastic because they’re installed on your own cornrowed base, but the adding of the hair is less time-consuming than traditional braiding. They’re also generally lighter on your head.
Crochet braids offer huge variety—you can achieve curls, locs, or straight styles. Faux locs give the beautiful, bold look of dreadlocks without the permanent commitment. Both are great for lasting 4-6 weeks.
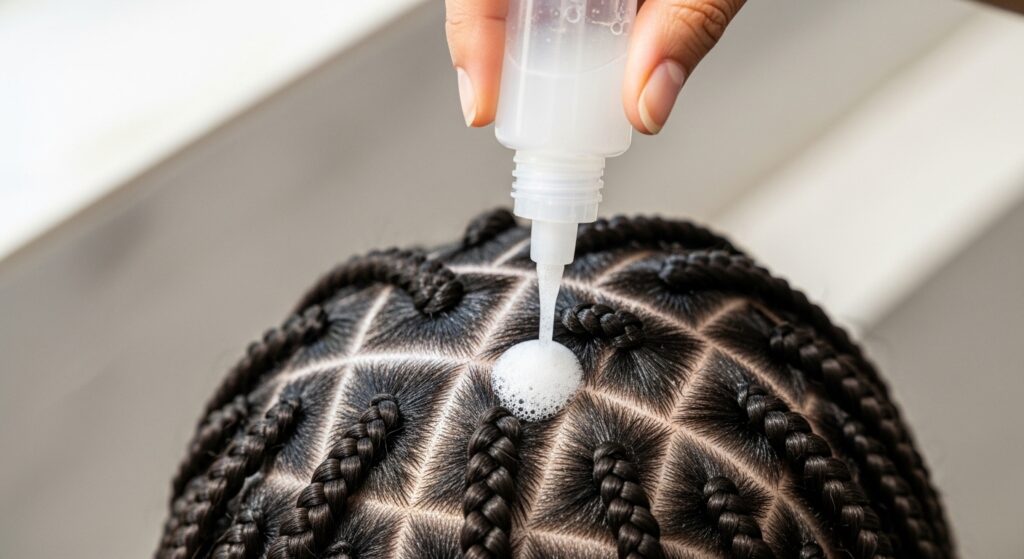
Just ensure your cornrow base isn’t too tight, and remember to care for your scalp by cleansing with a nozzle bottle and applying light oils.
How Long Should You Keep a Style In?
More time is not always better. Leaving a style in for too long can lead to matting, tangling, and breakage upon take-down. It also makes proper scalp care very difficult.
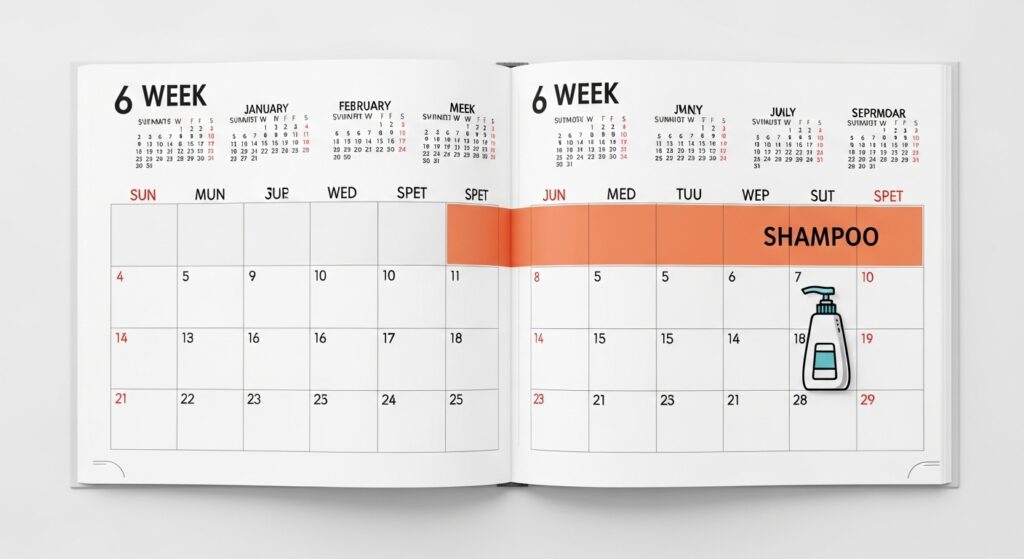
A good general rule is 4-8 weeks maximum, depending on the style and your hair’s needs. Simpler styles like twists might need refreshing at 2 weeks. Listen to your scalp and hair.
If your scalp is constantly itchy, you have significant buildup, or your new growth is causing too much tension, it’s time to take the style down. Don’t push it.
Your In-Style Maintenance Routine
Your hair isn’t on vacation from care! A simple maintenance routine is essential to keep your scalp healthy and your hair moisturized under the style.
Every 2-3 days, do this quick routine:
- Gently moisturize your scalp with a light oil (like jojoba or tea tree oil diluted).
- Spritz your braids or twists with a water-based leave-in conditioner mix.
- Lightly seal the ends with a tiny bit of butter or oil.
This prevents dryness and itchiness without disturbing the style.
Cleansing Your Scalp While in Braids
Yes, you must wash your scalp even with styles in! Product buildup and natural oils can cause flaking and itchiness. The trick is to do it without soaking the extension hair (which can cause mildew).
Use an applicator bottle or a nozzle bottle to apply a diluted shampoo directly to your scalp along the part lines. Gently massage with the pads of your fingers, then rinse with the same bottle or a light shower stream.
Follow with a light, water-based conditioner on your scalp if needed, and always dry thoroughly. A blow dryer on cool/low is your best friend here.
The All-Important Take-Down Process
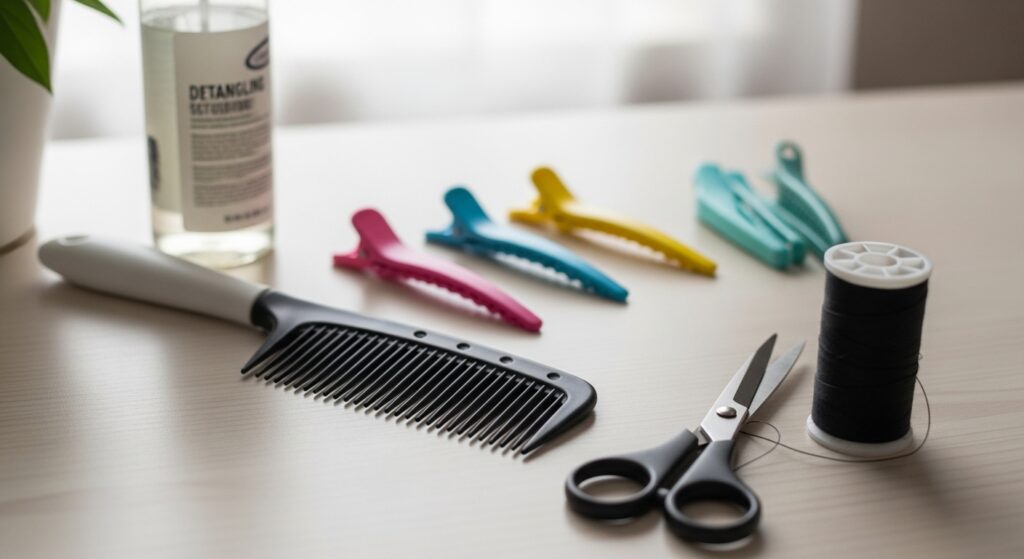
Rushing the take-down is where most people cause breakage. Set aside ample, unhurried time. Have your detangling products ready: a good slip spray, oil, and a wide-tooth comb.
Start by carefully cutting any threads or bands. Then, slowly unravel each braid or twist. Apply your detangler to each section as you go. Work from the ends up to the roots.
Be patient. If you hit a snag, apply more product and use your fingers to gently separate before using the comb. This process is about preservation, not speed.
Post-Style Care & The Detangling Must-Do
Once your hair is down, it’s tempting to just wash and go. Resist! Your hair has shed naturally for weeks, and that shed hair is trapped. You must detangle first to avoid a nightmare matted mess.
In 4-6 sections, apply a generous amount of a creamy conditioner or dedicated detangler. Using your fingers or a wide-tooth comb, start from the very ends and work upward in small subsections.
Only after all sections are tangle-free should you proceed to your normal wash day routine. This step is the ultimate secret to retaining all the length you just protected.
Giving Your Hair a Breather Between Styles
Your hair needs time to breathe and be pampered in its natural state between protective styles. This “break period” is when you can assess its health, give it intense treatments, and just let it be free.
Aim for at least 1-2 weeks between long-term styles. During this time, focus on deep conditioning, gentle styling, and keeping your hair moisturized and strong.
This cycle of protect and rest is what leads to real, noticeable growth and health. Constant back-to-back styling without a break can lead to hidden damage.
Common Beginner Mistakes to Avoid
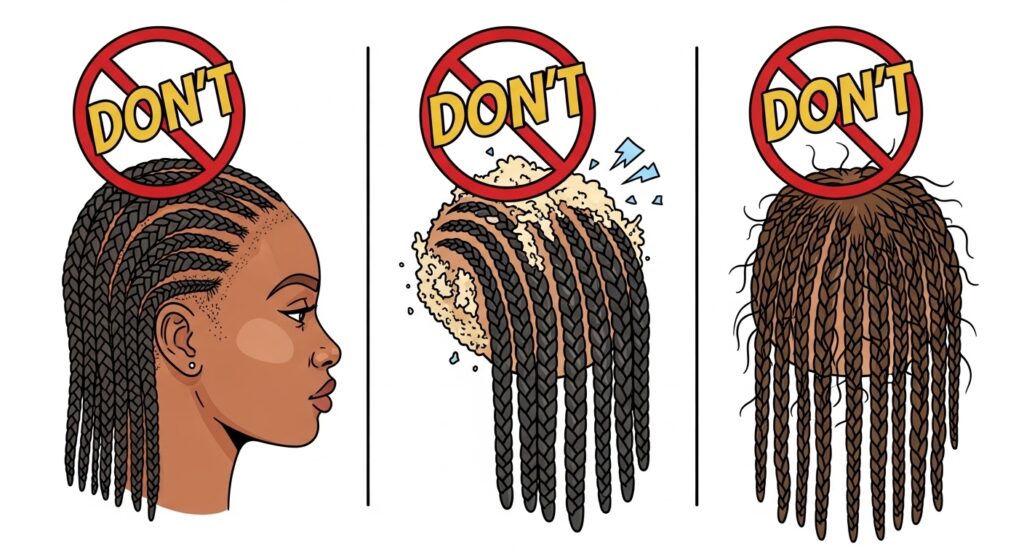
We all make mistakes, but you can learn from mine! Here are the big ones to sidestep:
- Too-tight installation: Again, pain equals damage.
- Using heavy products: This causes gunky buildup fast.
- Neglecting the edges: Be extra gentle around your hairline.
- Skipping the prep or take-down: Both are non-negotiable.
- Choosing a style that’s too complex: Start simple, remember?
Avoiding these will set you up for a 10/10 experience.
Protective Styling for Short Hair
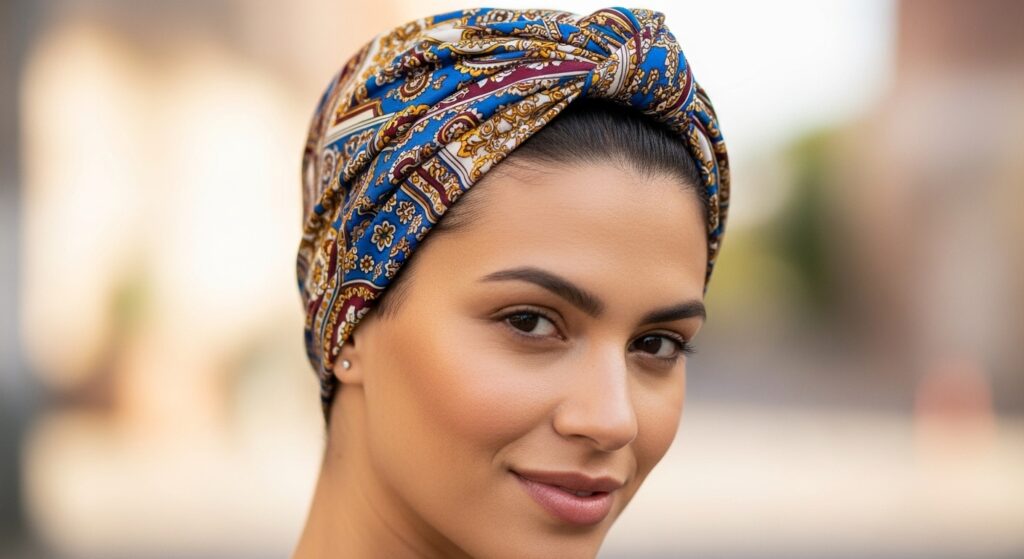
Short hair needs protection too! The principles are the same: protect your ends and minimize daily manipulation. Your toolset just looks a little different.
Great options include silk/satin scarves or bonnets at night, cute headwraps during the day, and wigs. Even a short asymmetrical lob or quiet luxury bob can be protected with a silk pillowcase and gentle styling.
The goal is to prevent breakage as your hair grows out. Keeping those ends moisturized and tucked away under a scarf is a perfect start.
Trendy Protective Styles to Inspire You
Protective styling isn’t just basic braids! It intersects with all the hottest trends. You can explore so many looks while keeping your hair safe.
Love the vampire haircut or romantic goth hairstyles? A jet-black wig with long layers is perfect. Into glitchy glam hair? Try crochet braids with metallic streaks. The elegant hime cut is easily achieved with a straight lace front wig.
Your protective style journey can be full of creativity and fun. Let these 2026 hairstyles trends inspire your next look!
Essential Tools & Products You Actually Need
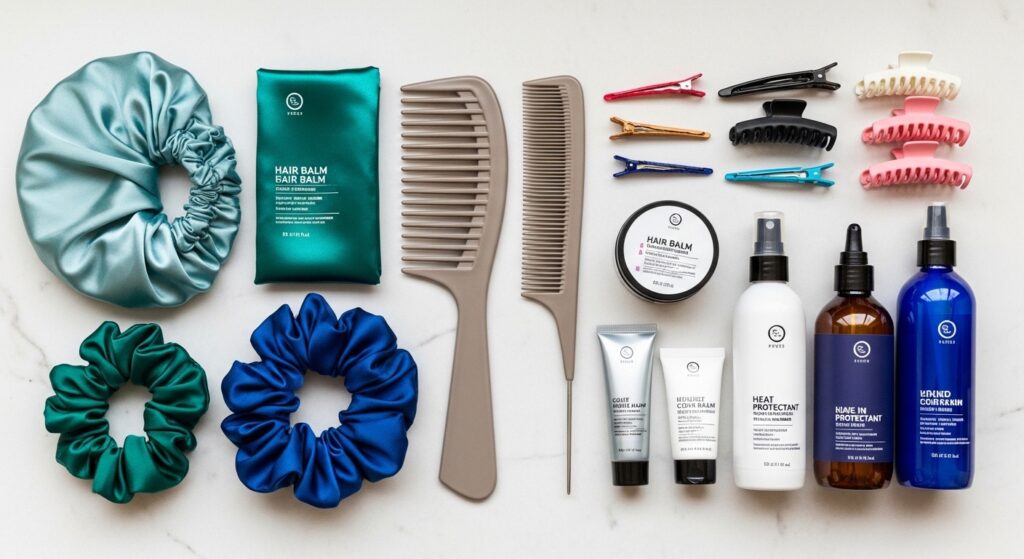
You don’t need a salon full of products. Start with these essentials:
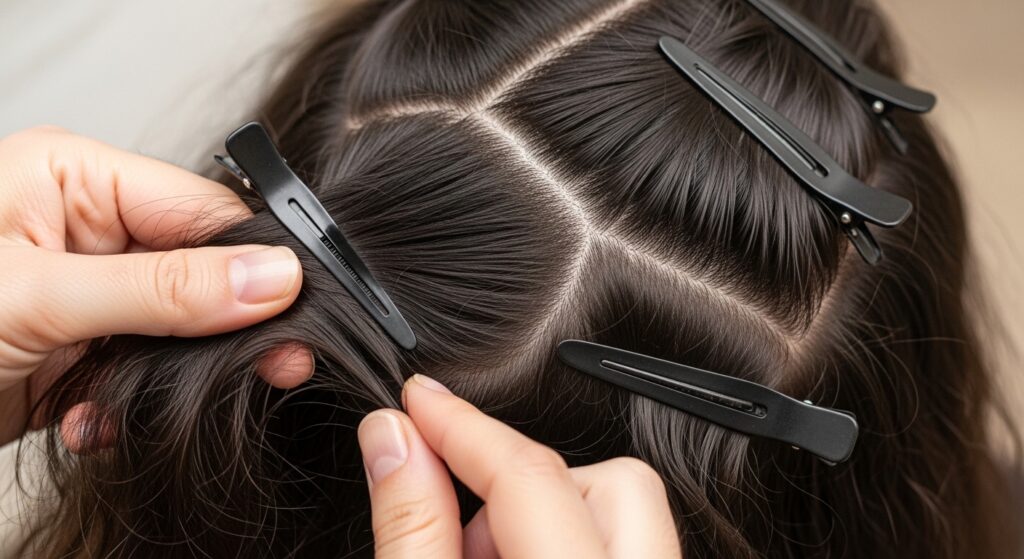
- Tools: Wide-tooth comb, rat-tail comb for parting, hair clips, nozzle bottles, silk/satin bonnet & scrunchie.
- Core Products: A gentle shampoo, a rich deep conditioner, a light leave-in, and one natural oil (like jojoba or almond).
Invest in quality basics rather than a shelf full of gadgets. The silk/satin items are the most important purchase—they reduce friction 24/7.
Listening to Your Hair’s Signals

This is the most advanced skill, and it starts now: becoming a detective for your own hair. Pay attention to what it’s telling you.
Is it brittle? It needs moisture. Is it mushy when wet? It needs protein. Is your scalp constantly itchy? You might need a cleanse or a lighter product. Does a style feel wrong? Take it out.
Protective styling is not a set-it-and-forget-it deal. It’s an active partnership with your hair. The better you listen, the better your results will be.
Your First 30-Day Protective Styling Plan
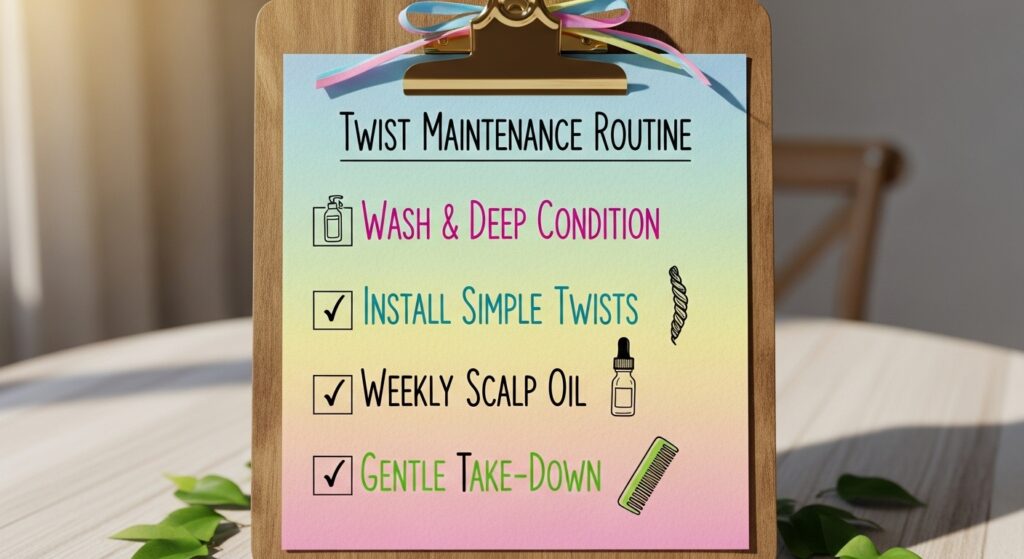
Let’s make it concrete. Here’s a sample plan for your first successful month:
Week 1: Wash, deep condition, and install simple two-strand twists. Week 2 & 3: Maintain with weekly scalp cleansing and light moisturizing. Wear your twists in different updos. Week 4: Schedule a take-down day. Detangle meticulously, then give your hair a week of deep conditioning and loose styles.
This plan is manageable, effective, and teaches you the entire cycle. You’ve got this!
Answering Your Biggest “But What If…” Questions
Let’s tackle those last-minute worries.
“What if it gets frizzy?” A little frizz is normal! Use a tiny bit of gel or edge control on your hands and smooth it over when styling. Or, embrace the fuzzy, lived-in look.
“What if my scalp itches?” This usually means buildup or dryness. Do a diluted shampoo rinse on your scalp and follow with a light oil. If it’s persistent, you may need to take the style down.
“What if I get bored?” Accessorize! Use cute clips, headbands, or scarves. You can also pin twists or braids into different shapes—a half-up style, a bun, etc. Get creative.
And just like that, you’re no longer a beginner. You have the map, the tools, and the confidence to start your protective styling journey on the absolute right foot. Remember, this is about making your hair care life easier and healthier, not harder.
The real magic happens