Blowout Salon-Quality Achieved Easily at Home Anytime
Okay, let’s be real. How many times have you left the salon feeling like a million bucks, only to wake up the next day and wonder where that magic went? That perfect, bouncy, shiny blowout feels like a special occasion treat. But what if you could have it on a random Tuesday?
I used to think a salon-quality blowout at home was a myth, right up there with unicorns and laundry that folds itself. I’d end up with a frizzy, half-dry mess, arm cramps, and zero patience.
But after years of trial and error (and some serious chats with my stylist), I cracked the code. It’s not about fancy tools or secret skills. It’s about a few simple shifts in your routine.
This is your no-nonsense guide to getting that flawless, smooth hair anytime you want. Let’s ditch the salon dependency and get that confidence-boosting hair at home.
Your At-Home Blowout Toolkit: Keep It Simple
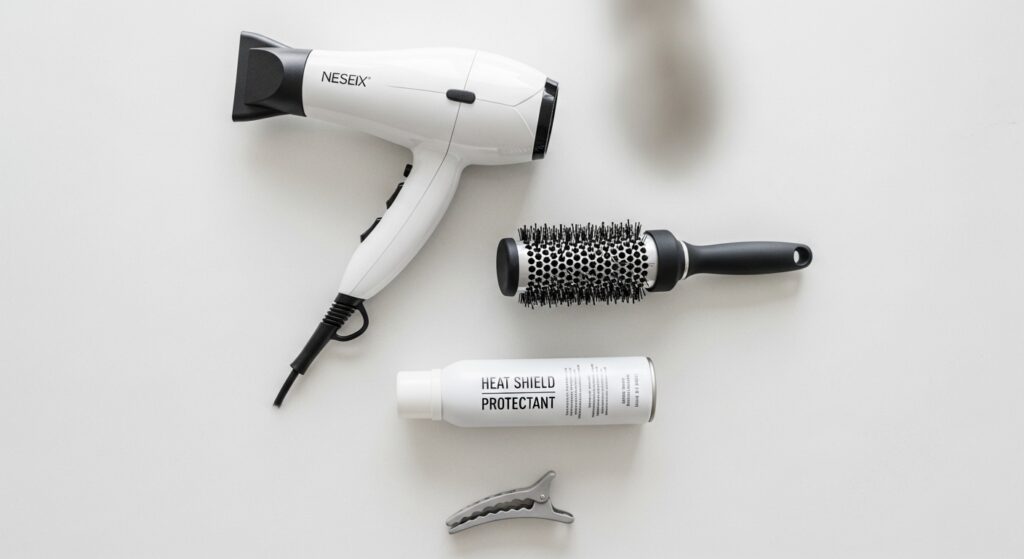
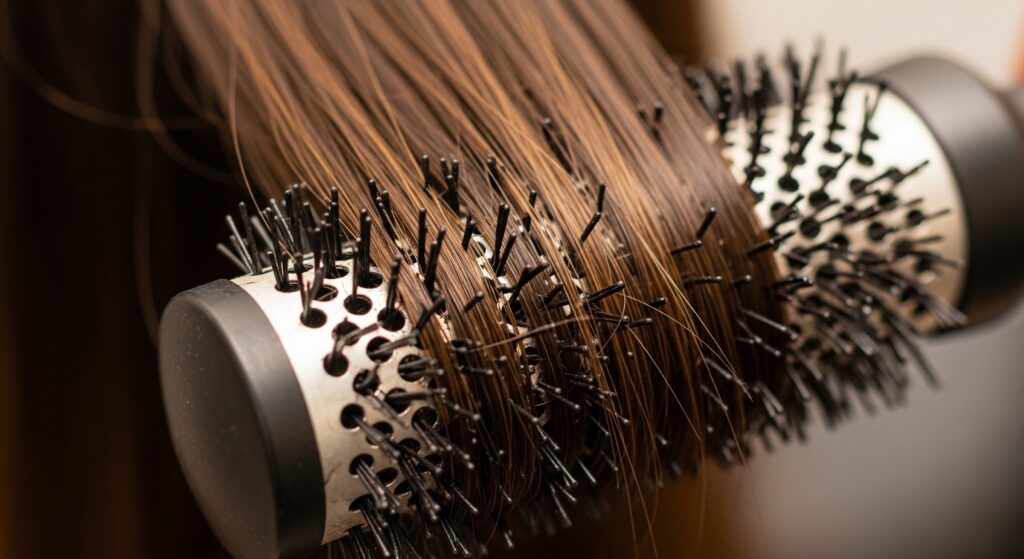
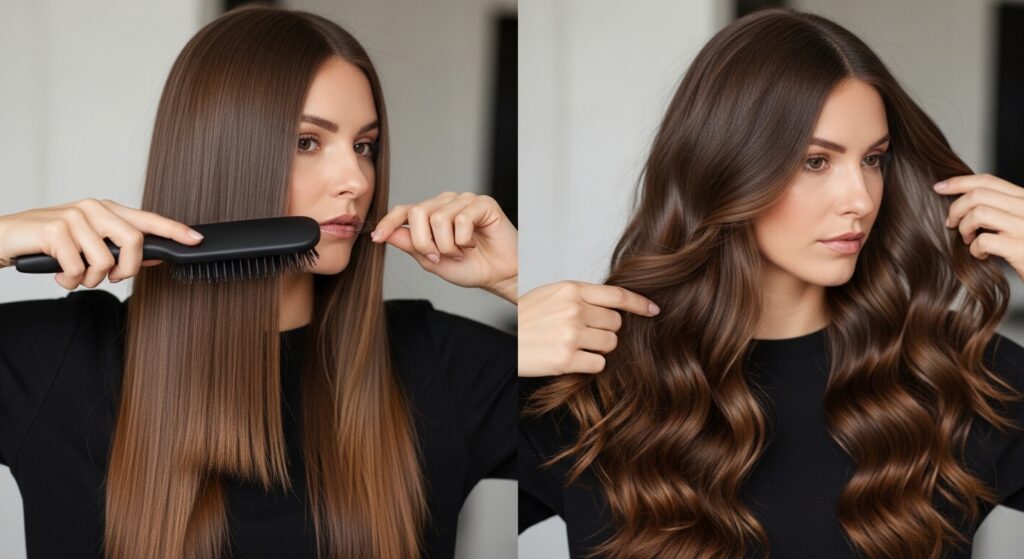
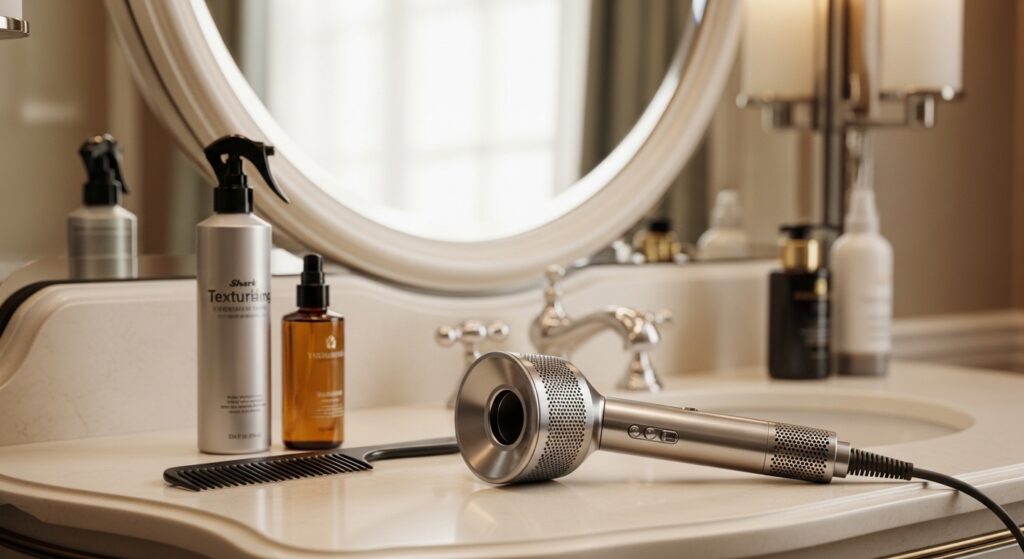
You don’t need a salon full of products. You just need the right few. A powerful hair dryer with a concentrator nozzle is non-negotiable. It directs the airflow for smoothness.
Pair it with a large, vented round brush. The size gives you volume, and the vents help the air flow through. Finally, a good heat protectant spray is your shield. It prevents damage and adds slip so the brush glides.
- Hair dryer with concentrator nozzle
- Large, vented round brush (ceramic is great)
- Heat protectant spray
- Sectioning clips
The Golden Rule: Start With Damp, Not Soaking Wet, Hair
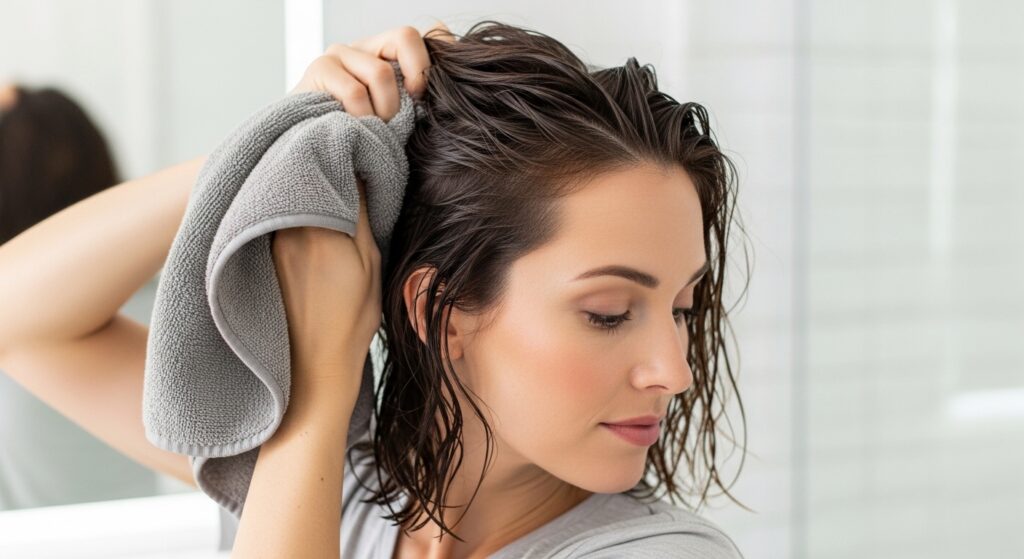
This is the biggest game-changer. Your hair should be about 80% dry before you even pick up the brush. Use a microfiber towel or an old t-shirt to gently squeeze out water.
Rough drying with your hands gets you there fast. Starting with sopping wet hair takes forever, causes more heat exposure, and leads to frizz. Damp hair allows the brush to smooth the cuticle effectively from the start.
Product Prep Is Everything
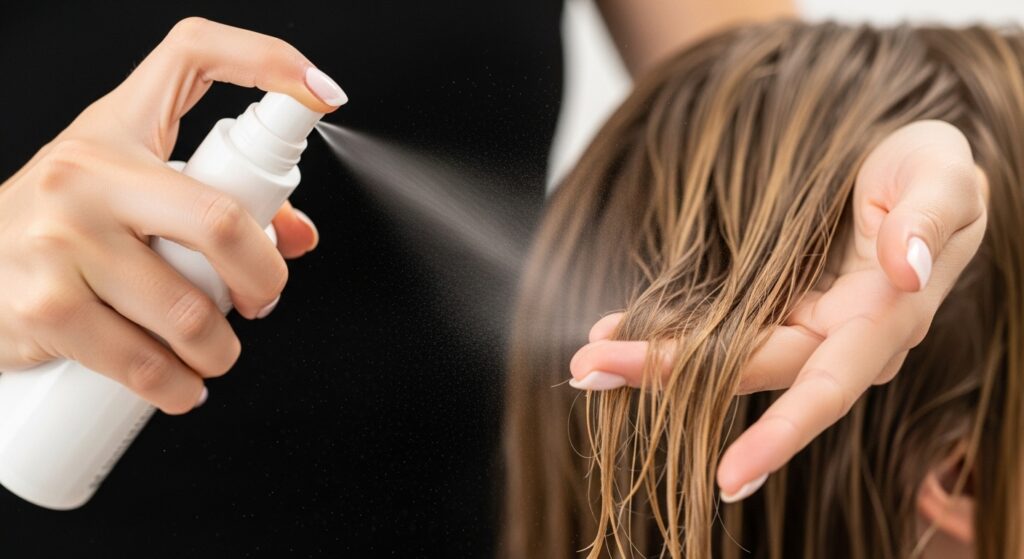
Before you turn on the dryer, prep your hair. Apply your heat protectant from mid-lengths to ends. This is your foundation. If you have fine hair, a light volumizing mousse at the roots adds lift.
For thicker or frizz-prone hair, a smoothing cream or a pea-sized amount of serum on the ends works wonders. The key is even distribution. Comb it through with a wide-tooth comb to ensure every strand is coated.
Section, Section, Section!
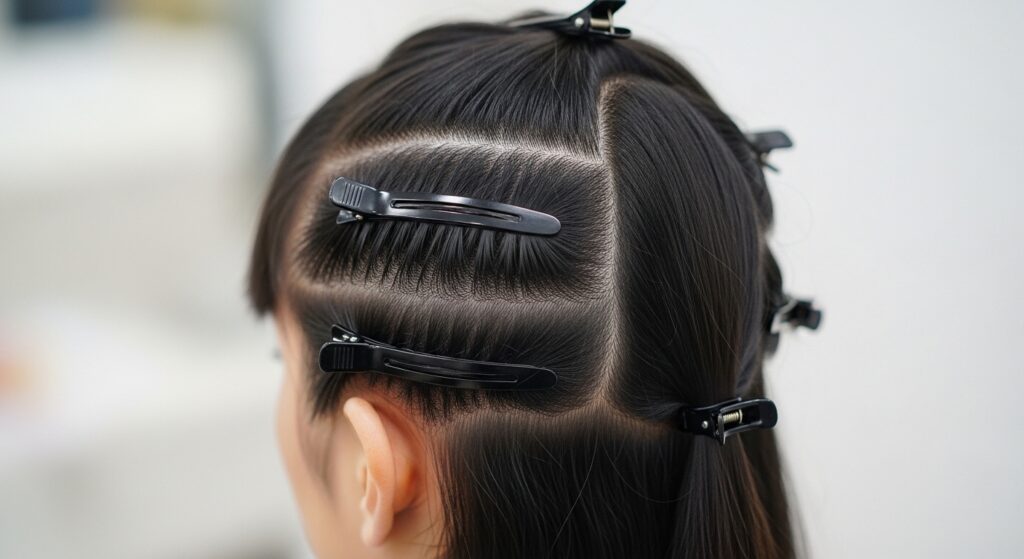
Salons don’t style all your hair at once, and neither should you. Part your hair down the middle. Then, clip the top half of your hair up and out of the way.
Work on the bottom sections first. Within those, take horizontal sections about 1-2 inches thick. This gives you control and ensures every layer gets the direct heat and tension it needs to smooth out perfectly.
Mastering the Brush & Dryer Motion
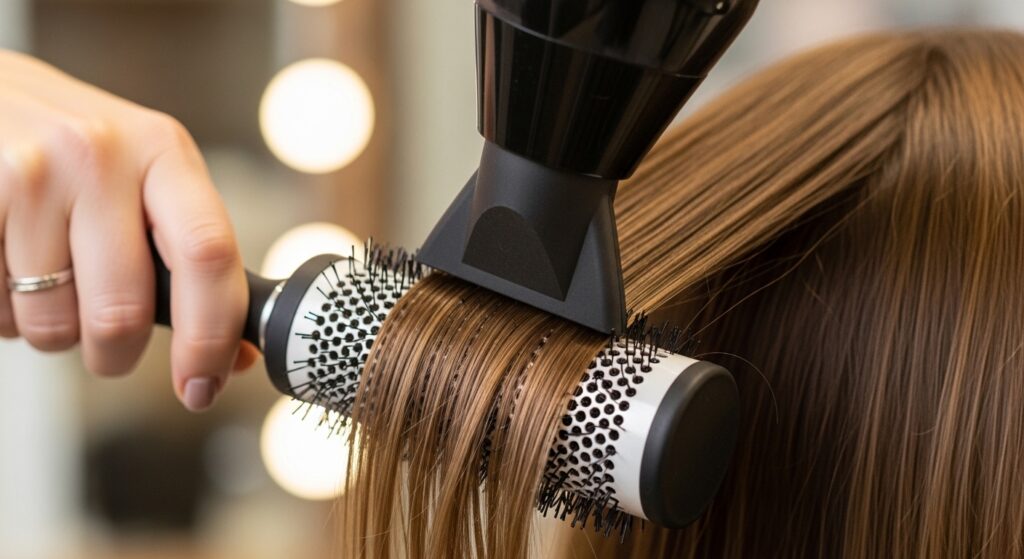
Hold the brush under your section, close to the roots. Place the dryer nozzle right above the brush, pointing down the hair shaft. This seals the cuticle for shine.
As you slowly pull the brush down, follow it with the dryer. Keep tension on the hair with the brush. The heat should hit the hair where the brush is. Roll the brush under at the ends to create a soft bend.
Cool Shot Is Your Secret Weapon
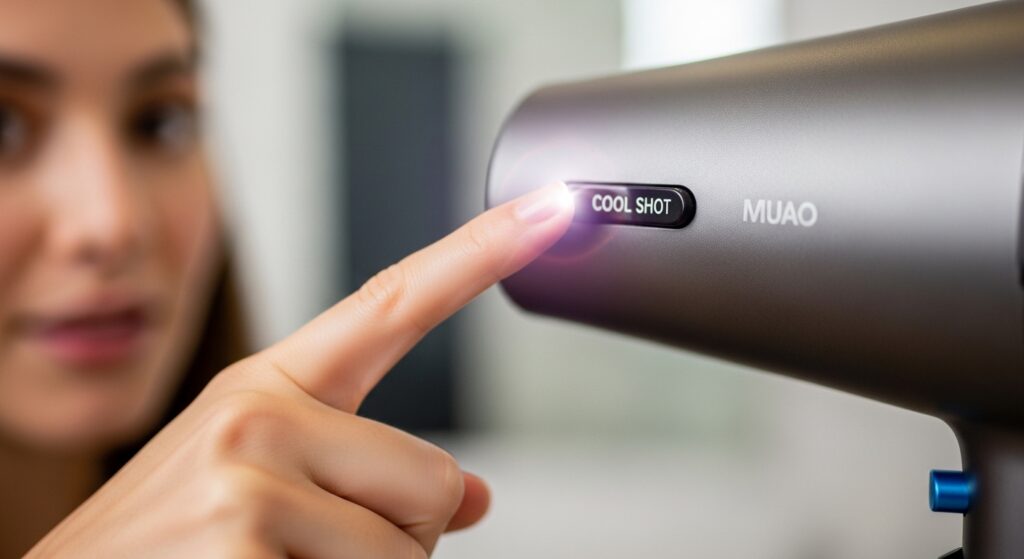
That little blue “cool” button on your dryer isn’t just for the end. Use it to set each section as you go. After you’ve blown a section smooth with heat, hit it with the cool air for 5-10 seconds while the hair is still wrapped on the brush.
This cools the hair, locking in the shape and smoothness. It makes your blowout last so much longer. It’s the step we always skip at home, but it’s what stylists do religiously.
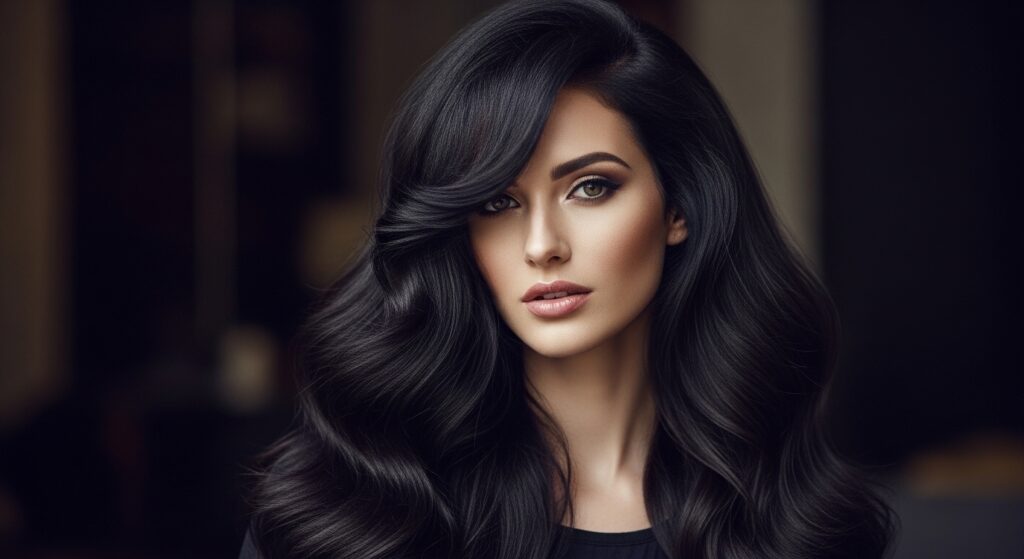
Root Volume for Days
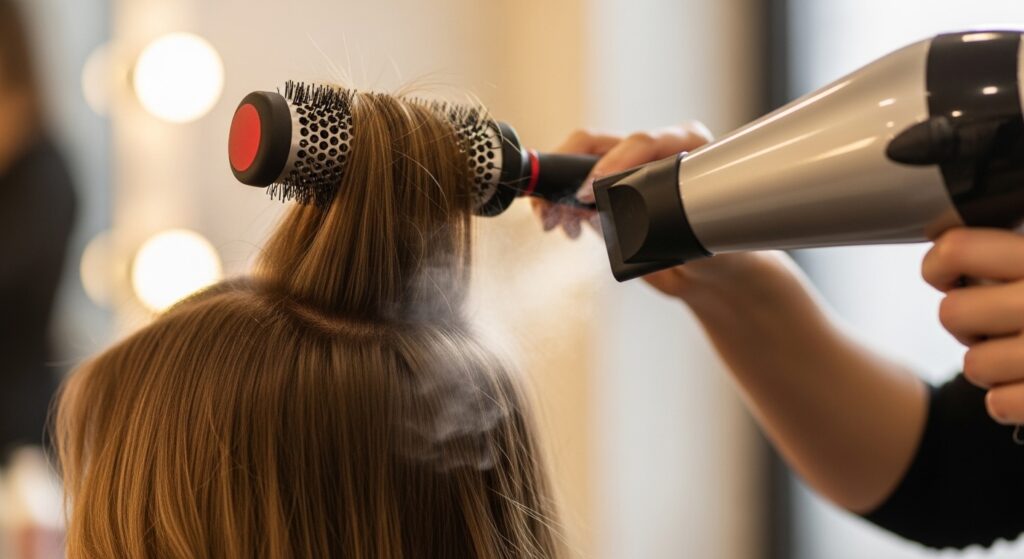
For that lifted, bouncy root, focus when you start each section. As you begin to brush and dry, really get the brush under the hair at the scalp. Point the dryer nozzle right at the base.
Lift the hair slightly away from your head as you dry the first few inches. This gives instant volume. It’s the trick behind many 2026 hairstyles and that coveted old money hair look—effortless lift.
Finishing the Ends Smoothly
Frizzy ends ruin the illusion. To get them sleek, make sure your final pass with the brush is slow and deliberate. Roll the ends all the way onto the brush.
Hold the hair wrapped for a few seconds with the heat, then hit it with the cool shot. For a pin-straight look, pull the brush straight down. For a turned-under look like a quiet luxury bob, roll the brush under.
Working With Your Natural Texture
If you have waves or curls, you might need a smaller brush for stubborn areas. Always blow-dry in the direction you want the hair to lie to fight your natural pattern.
A boar bristle brush can help pull curly hair straighter with tension. Don’t fight it too hard—a little body is beautiful. The goal is smooth, not necessarily stick-straight.
The Final Polish & Shine
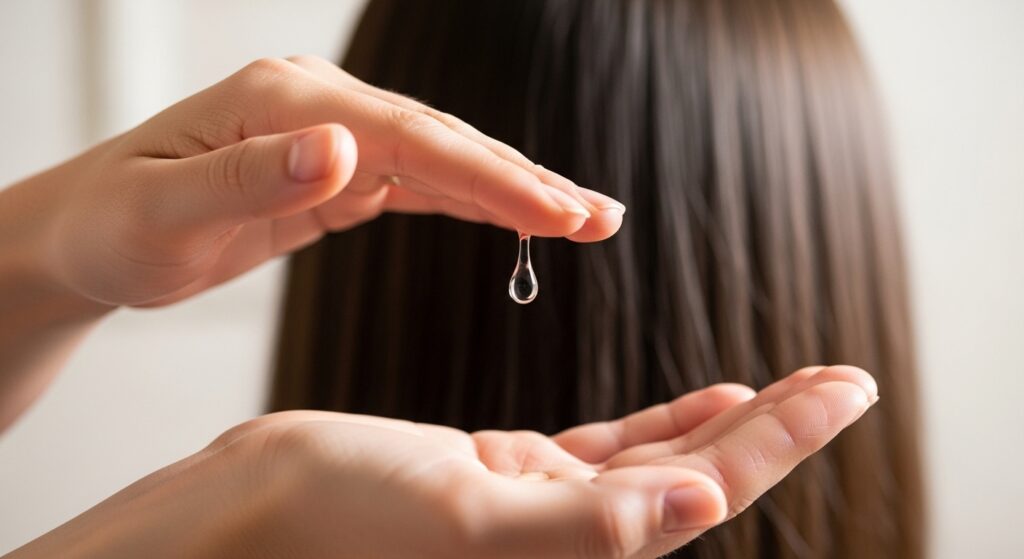
Once your hair is completely cool, do a final polish. Take one drop of a lightweight serum or oil. Rub it between your palms and gently smooth it over the surface of your hair, focusing on the ends.
Avoid the roots! This step tames any last flyaways and gives an incredible glass-like shine. It’s the final touch that screams salon-fresh.
Making It Last: The Overnight Trick
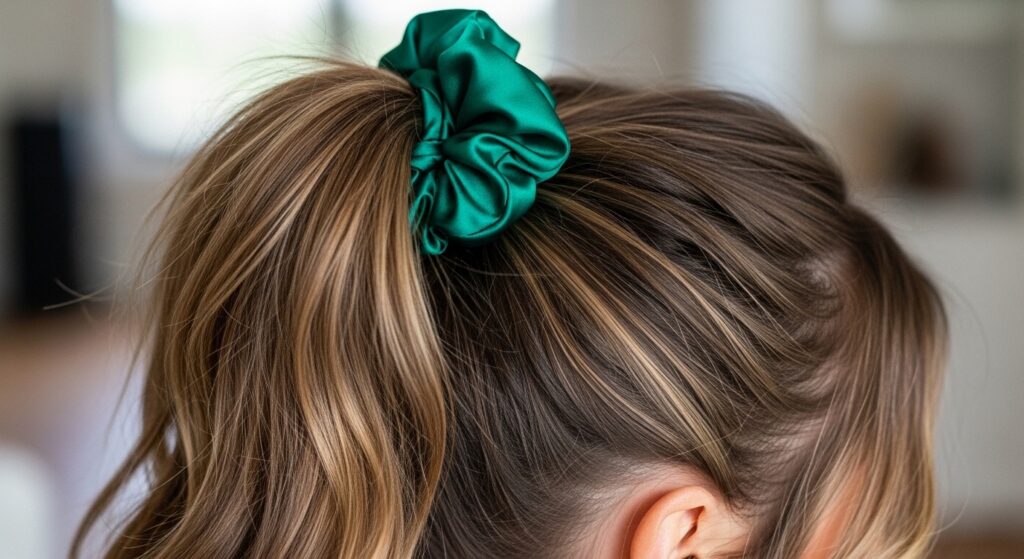
To wake up with your blowout intact, don’t sleep with it down. Gently gather your hair into a very loose, high ponytail on the very top of your head using a silk scrunchie.
This is called a “pineapple.” It keeps the roots lifted and prevents you from crushing the waves and volume as you sleep. In the morning, just take it down, flip your head over, and shake it out.
Quick Refresh for Day Two & Three
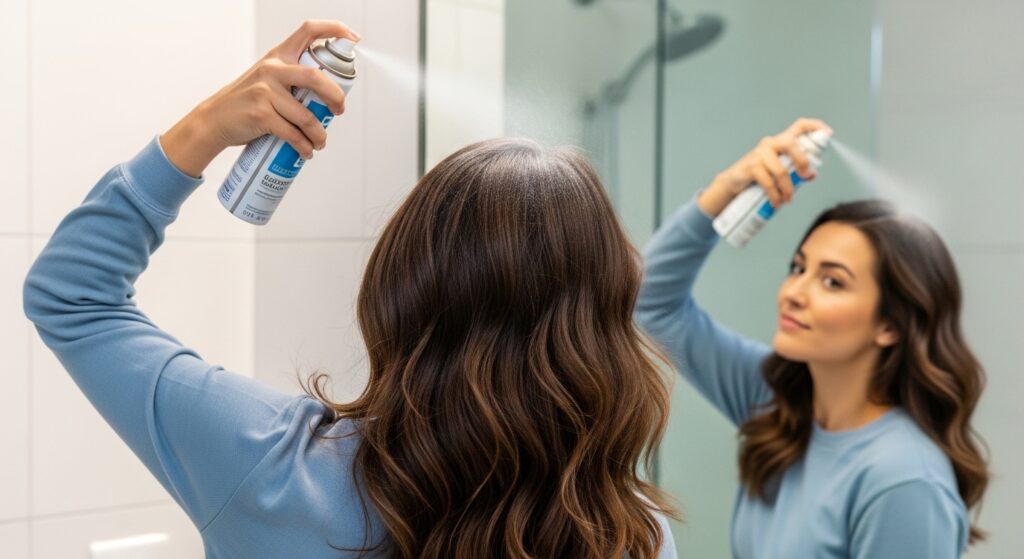
Day two hair is often the best! To revive it, start with a dry shampoo at the roots to absorb oil and add texture. Flip your head over and massage it in.
Then, use a large-barrel curling iron to touch up any sections that have fallen. Just wrap 1-inch sections around the barrel away from your face for five seconds. This restores bounce in minutes.
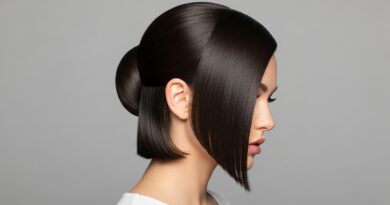
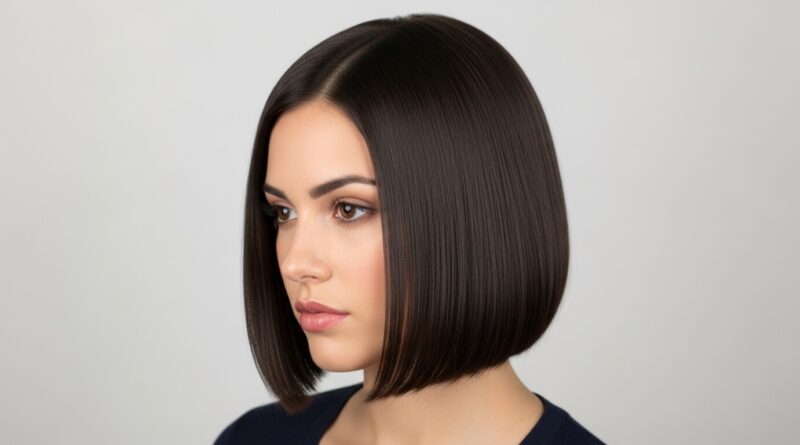
Adapting Your Blowout for a Soft Bob
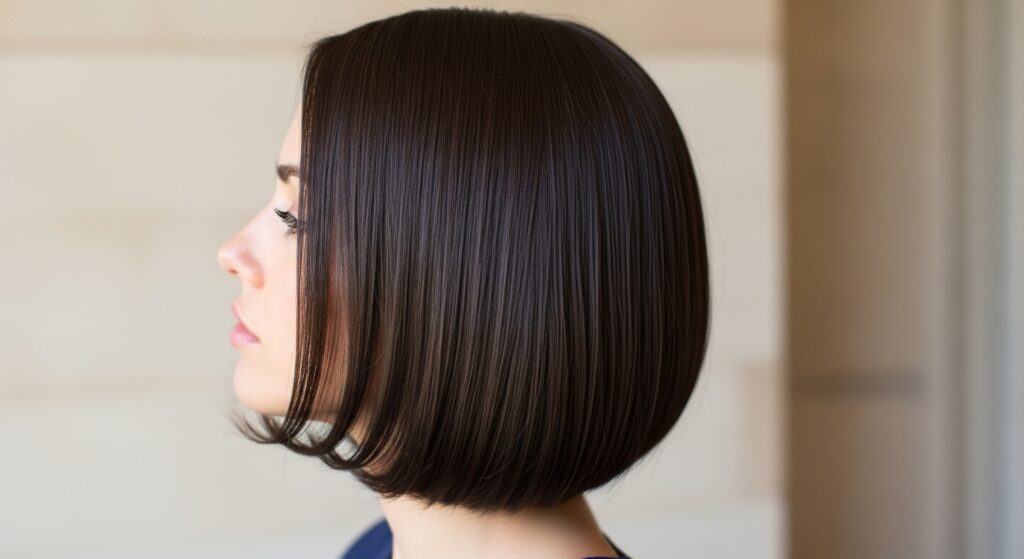
For a blunt quiet luxury bob or an asymmetrical lob, the technique is key. Use a smaller round brush for more control on shorter lengths.
Focus on directing all the ends under or over consistently. For asymmetry, blow-dry the longer side first to establish the direction, then blend the shorter side into it.
Creating Romantic, Goth-Inspired Volume
Want that dramatic, romantic goth hairstyles volume? It starts at the roots. Use a volumizing spray at your damp roots before blowing out.
When drying, spend extra time lifting each section at the root with the brush. Tease lightly at the crown after for added height. Keep the ends smooth or slightly curled under for contrast.
Getting the “Glitchy Glam” Piecey Look

Glitchy glam hair is all about imperfect, piece-y texture. After your blowout, rub a tiny bit of wax or pomble between your fingers.
Pinch and separate random sections, especially around your face and at the ends. Don’t be neat! The goal is to break up the perfection for an edgy, lived-in finish.
Mastering the Vampire Haircut Texture
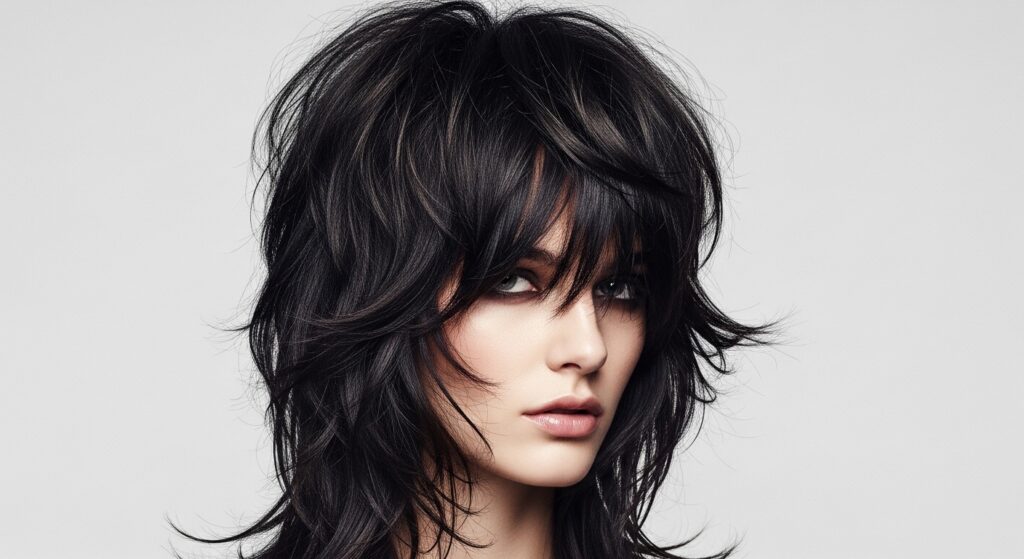
The vampire haircut is a textured shag. To style it, blow-dry for smoothness but not volume. Once dry, go in with a flat iron to create piece-y bends, not curls.
Crimp random vertical sections lightly for that undone, historic texture. Finish with a texturizing spray, scrunching it in to enhance the layers.
Styling a Sharp, Geometric Hime Cut
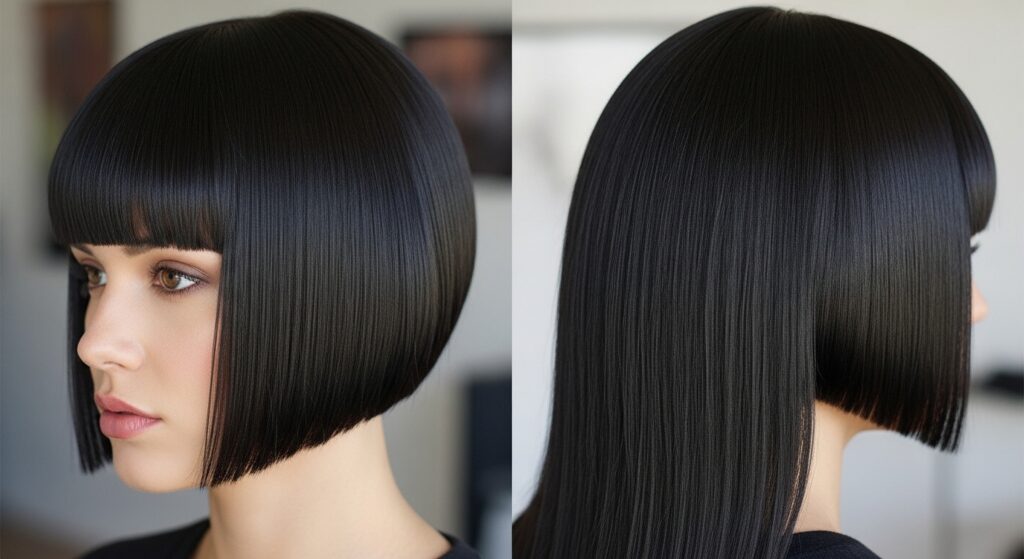
The hime cut relies on stark, straight lines. Use a flat, paddle brush instead of a round one for the front dramatic sections.
Blow-dry these pieces pin-straight, pulling them forward. For the rest of the hair, a standard smooth blowout works. The contrast between the straight front and voluminous back is the statement.
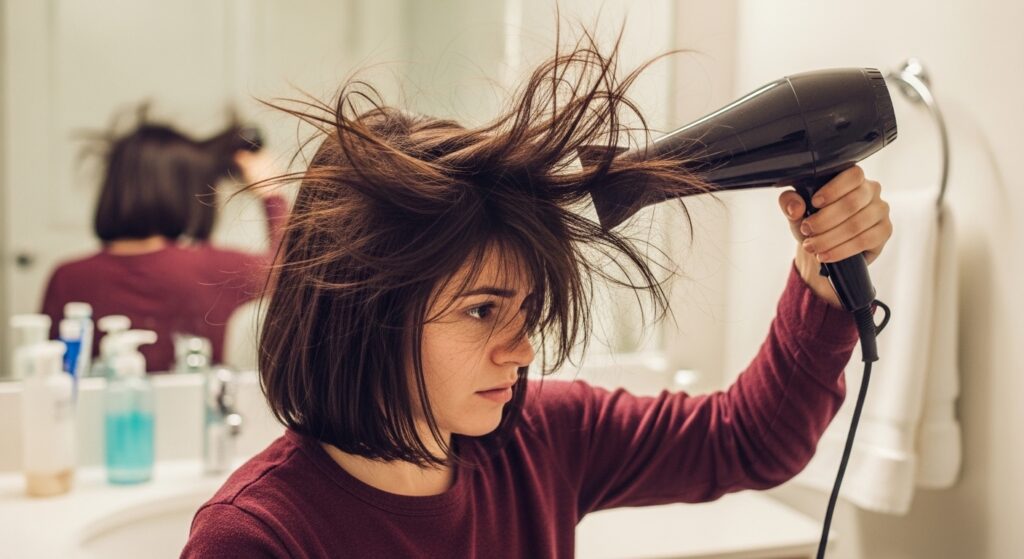
What to Do When Your Arms Get Tired
It happens to everyone! If your arms are burning, take a break. Set the dryer down. Shake out your arms.
Sometimes, I’ll blow-dry the bottom sections, then take a 2-minute break before tackling the top. Working in smaller sections can also be less strenuous than fighting large, thick ones.
Common Blowout Mistakes to Avoid
First, never use the dryer without the concentrator nozzle. It’s what smooths the hair. Don’t use a brush that’s too small for your hair length—it creates kinks.
Avoid going over bone-dry hair with more heat; it causes damage and frizz. If a section isn’t smooth, mist it lightly with water or heat protectant and re-dry it properly.
My Favorite Budget-Friendly Products
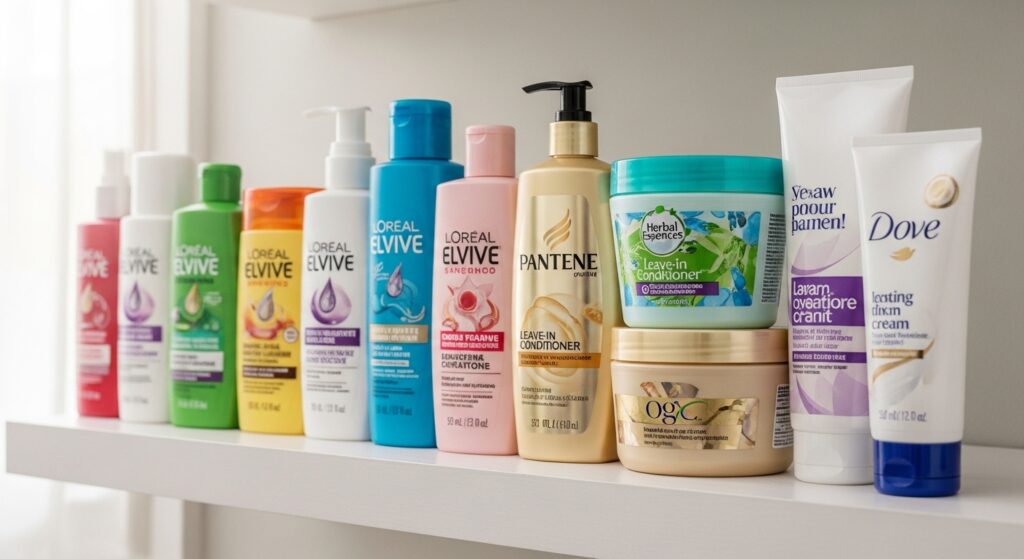
You don’t need to spend a fortune. My favorite budget dryer is the Revlon One-Step Volumizer for a quicker option. Any large, vented round brush from the drugstore works.
For heat protectant, the Tresemme Thermal Creations spray is a classic. And the Not Your Mother’s dry shampoo is my go-to for refresh days. Great hair is totally achievable on a budget.
When to Splurge on a Professional Tool
If you blow-dry your hair more than twice a week, a professional-grade dryer is worth the investment. They are more powerful, which actually means less heat exposure time.
They dry hair faster and often have smarter heat settings to prevent damage. I saved up for mine and it changed the game—my hair is healthier and the process is 10 minutes shorter.
Your Blowout Confidence Checklist
Let’s keep it simple. Before you start, run through this list: Is my hair 80% dry? Are my products applied? Is my hair sectioned? Do I have my clips, brush, and dryer ready?
As you finish, check: Did I use the cool shot on each section? Is my hair completely cool? Did I add a drop of serum? If you tick these boxes, you’re guaranteed a great result.
And just like that, you’ve got the keys to the kingdom. That feeling of running your fingers through smooth, voluminous hair doesn’t have to be reserved for special events or splurges. It can be your everyday normal.
The best part? Once you get the routine down, it gets faster and easier. It becomes a little act of self-care that sets the tone for your whole day. You deserve to feel that put-together and confident anytime you want.
Save this post to Pinterest to keep this guide handy for your next wash day! And tell me in the comments—what’s the one blowout struggle you’re finally going to conquer?