Goddess Braids Step-by-Step Guide for Absolute Newbies
Okay, let’s be real. You’ve seen those stunning, intricate goddess braids all over your feed and thought, “I could never do that.” I get it. They look like they require a professional stylist and three free hours. But what if I told you that with a little patience and the right steps, you absolutely can create this look at home?
This isn’t about achieving salon-perfect, red-carpet-ready braids on your first try. This is about learning a fun, beautiful new skill. Think of this as your cozy, pressure-free guide to getting started.
By the end of this post, you’ll have a clear, simple path to creating your own goddess braids. We’re breaking it down into the easiest steps possible, with zero fancy terminology. Grab your comb, some hair ties, and let’s turn that hair inspiration into reality.
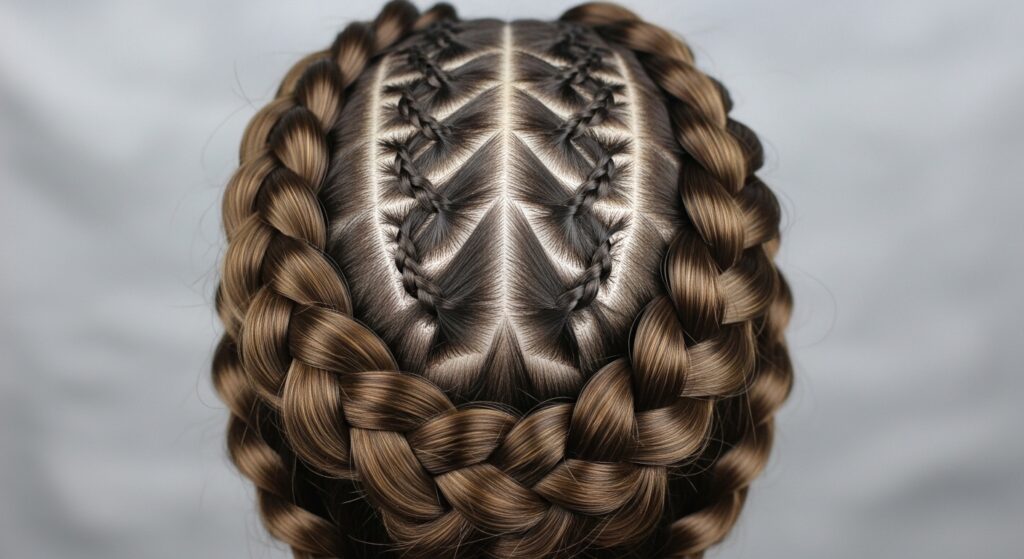
What Are Goddess Braids, Really?
Before we dive in, let’s clarify what we’re making. Goddess braids are essentially cornrows that are larger, raised, and often incorporate a feed-in technique with added hair for length and volume. They’re bolder than simple cornrows and have a beautiful, regal texture.
Unlike some of the more edgy 2026 hairstyles like the glitchy glam hair or asymmetrical lob, goddess braids are timeless. They offer a blend of protective styling and major style impact. They’re perfect if you love the idea of old money hair—that effortless, put-together look—but with a powerful, intricate twist.
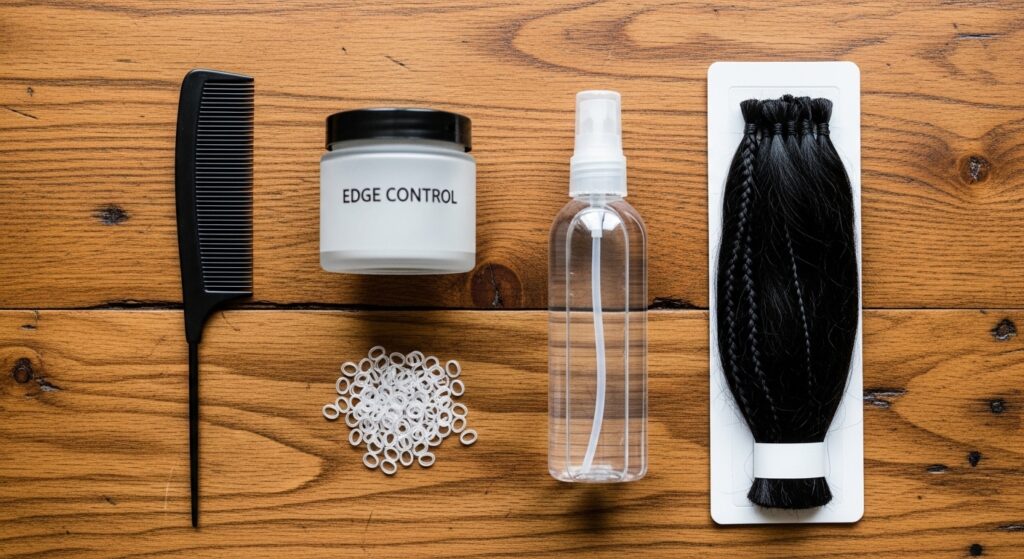
Gathering Your Tools (You Don’t Need Much!)
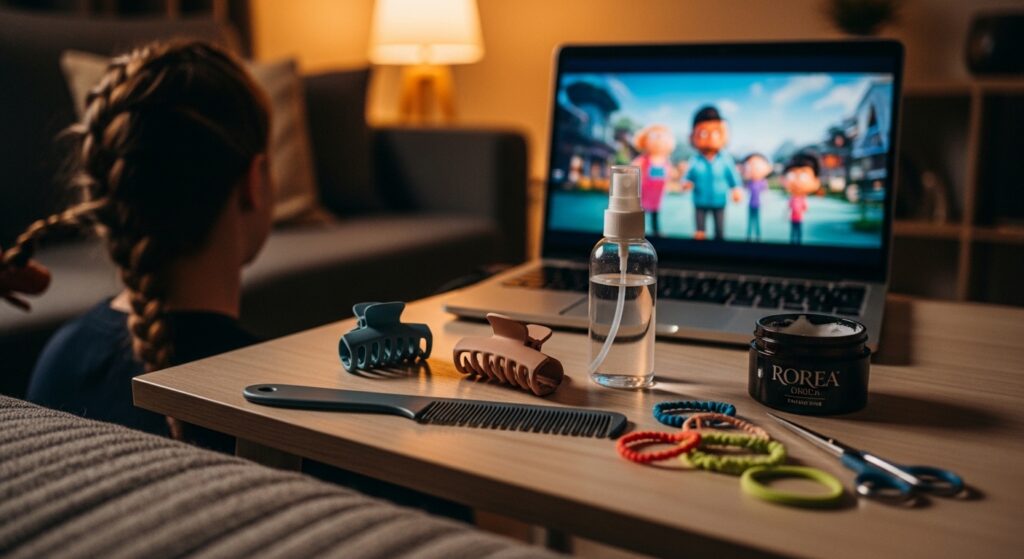
You don’t need a salon’s worth of equipment. Keeping it simple is key for your first attempt. Here’s your basic starter kit:
- A rat-tail comb for clean parts
- Strong-hold edge control or styling gel
- Small, clear elastic bands
- A spray bottle with water
- Hair clips to section off hair
- Braiding hair (if you want added length)
That’s really it! Having everything within arm’s reach before you start is the secret to a less stressful braiding session. A comfortable chair and good lighting are your best friends here.
Choosing the Right Braiding Hair
If you’re adding hair for length, choosing the right type matters. For goddess braids, kanekalon or toyokalon braiding hair is the standard. It’s lightweight, easy to work with, and comes in a million colors.
Match the texture to your own hair for a seamless blend, or go for a contrasting color for a bold look. A single pack is often enough for a full head of large braids. Remember, the goal is practice, not perfection, so don’t stress over finding the “perfect” shade.
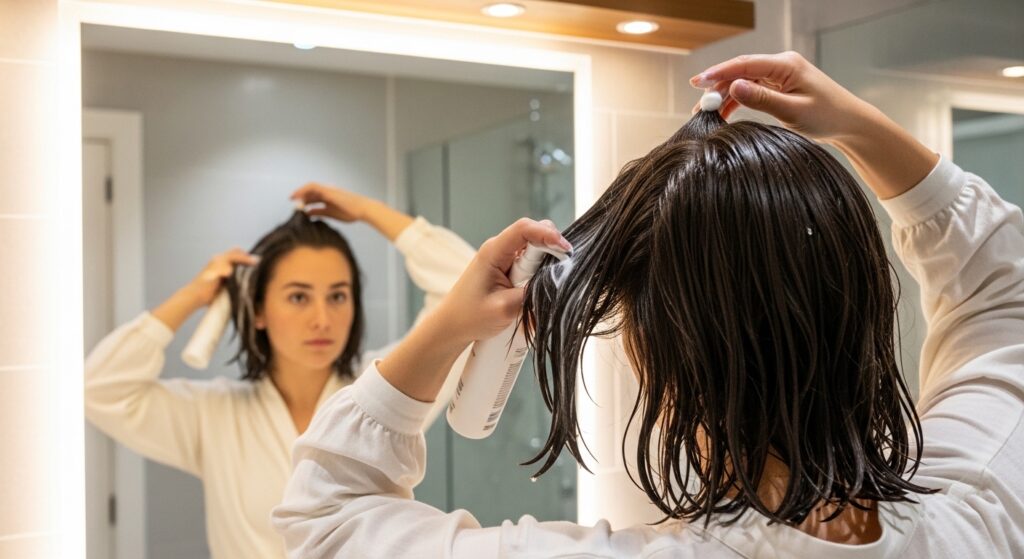
Prepping Your Natural Hair
This step is non-negotiable. Starting with clean, detangled, and moisturized hair makes everything easier. Wash and condition your hair as you normally would. While it’s damp, apply a leave-in conditioner.
Then, blow-dry or stretch your hair so it’s completely dry before you begin braiding. Braiding damp hair can lead to mildew and unpleasant smells. Taking time here saves you a headache later and gives you smoother, neater braids.
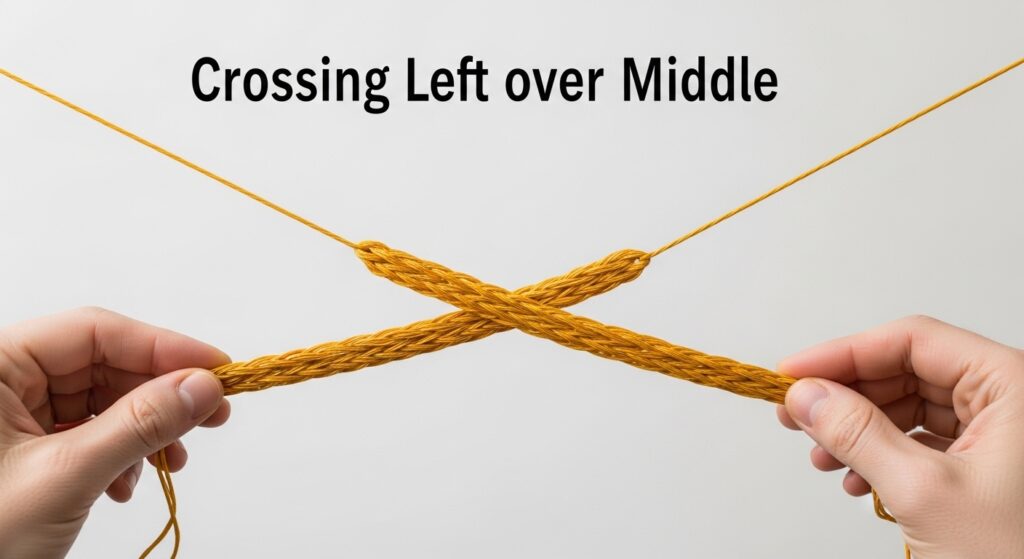
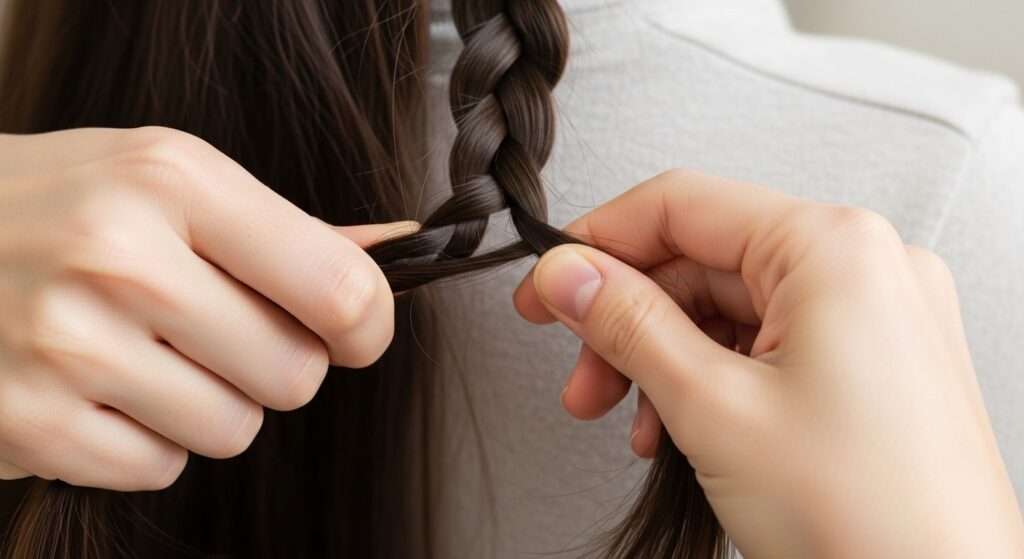
Mastering the Basic Cornrow First
Goddess braids are built on the cornrow technique. If you’re new to braiding, practice a simple three-strand cornrow on a mannequin or a friend before tackling your own head. The motion is: left strand under middle, right strand under new middle.
Keep your tension even—not too tight to avoid pain, not too loose so it unravels. This foundational skill is more important than any fancy pattern. Once this feels comfortable, adding hair and creating the goddess style becomes much simpler.
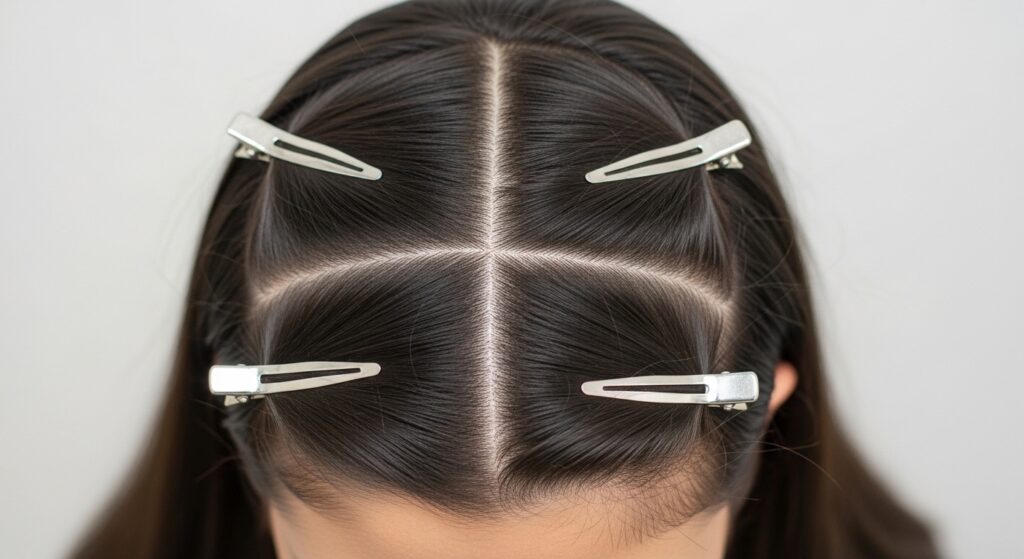
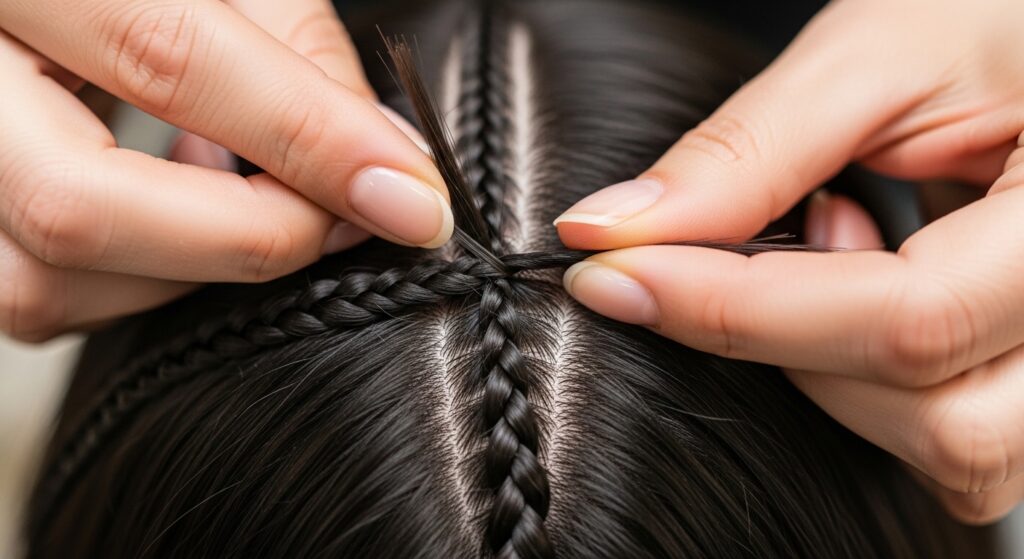
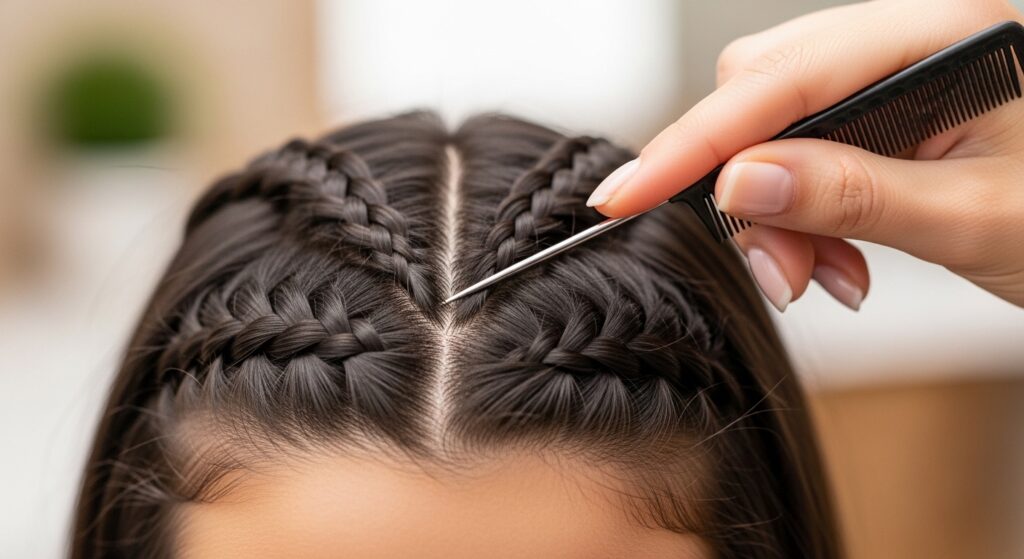
Sectioning Your Hair Like a Pro
Now for the real deal. Use your rat-tail comb to create a clean part for your first braid. For beginners, start with a simple straight-back pattern from your hairline to your nape. Clip the rest of your hair out of the way.
Clean sections are what give goddess braids their polished, intentional look. It’s the difference between a messy braid and one that looks like the quiet luxury bob of the braiding world—elegant and precise. Take your time with this.
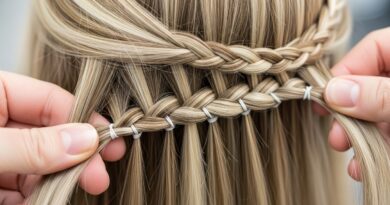
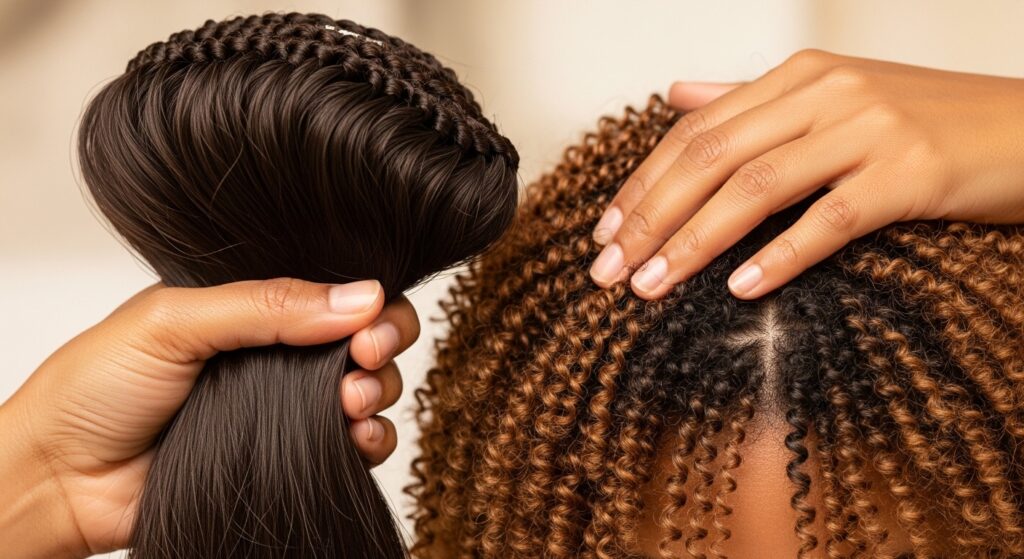
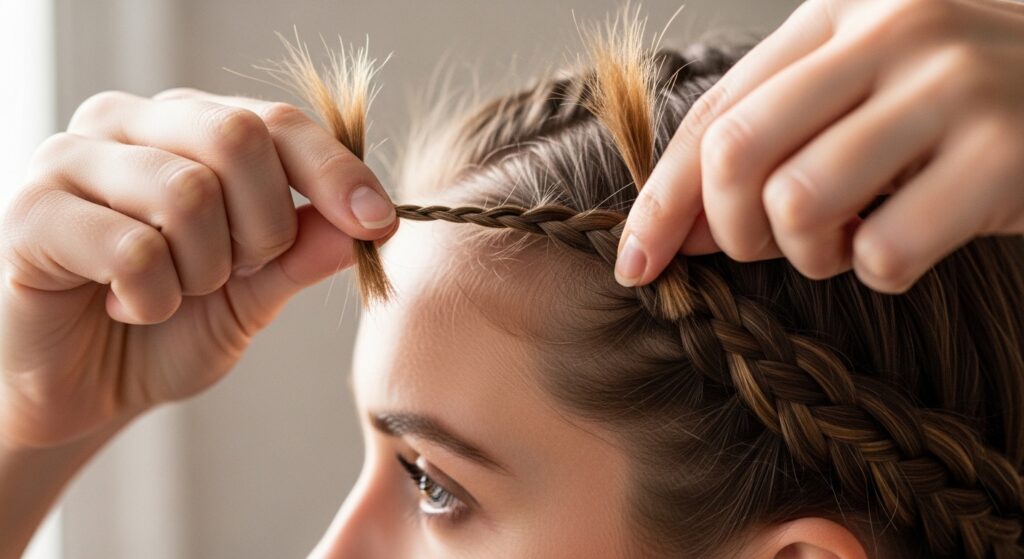
The Feed-In Technique Explained Simply
This is the magic that adds hair and creates that tapered, natural look at the roots. Take a small piece of your natural hair and a small piece of braiding hair. Cross them as you begin your basic three-strand braid.
As you braid down, you’ll gradually add more small pieces of the braiding hair into each strand. This “feeds” the hair into the braid, making it thicker and longer as you go. It sounds tricky, but after a few tries, the rhythm clicks.
Starting Your First Goddess Braid
Apply a small amount of edge control to your sectioned hair for hold. Combine your small starting piece of natural hair with your first piece of braiding hair. Begin your basic cornrow, using the feed-in technique.
Add tiny amounts of braiding hair to each strand as you cross it under. Keep the braid close to your scalp, pulling upward slightly to create that raised effect. The first inch is the hardest—once you’re past that, you’ll find your flow.
Keeping Tension Consistent
Inconsistent tension is the main cause of braids that look messy or unravel. Aim to pull each strand with the same amount of gentle pressure. A good trick is to hold the braid firmly with your non-dominant hand as you add hair with your dominant hand.
If you feel your braid getting too tight on your scalp, loosen your grip. It should feel secure, not painful. Consistent tension is what makes your braids look uniform and last longer, much like the precise lines of a hime cut.
How to Add Hair Smoothly
The key to a smooth, seamless braid is adding very small amounts of braiding hair at a time. Pinch off a thin weft from your synthetic hair. Add it to your natural hair strand just before you cross it under the middle.
Keep the additions even on both sides. If your braid starts to look lumpy or uneven, you’re probably adding too much hair at once. It’s a gradual build-up, not a big chunk all at once.
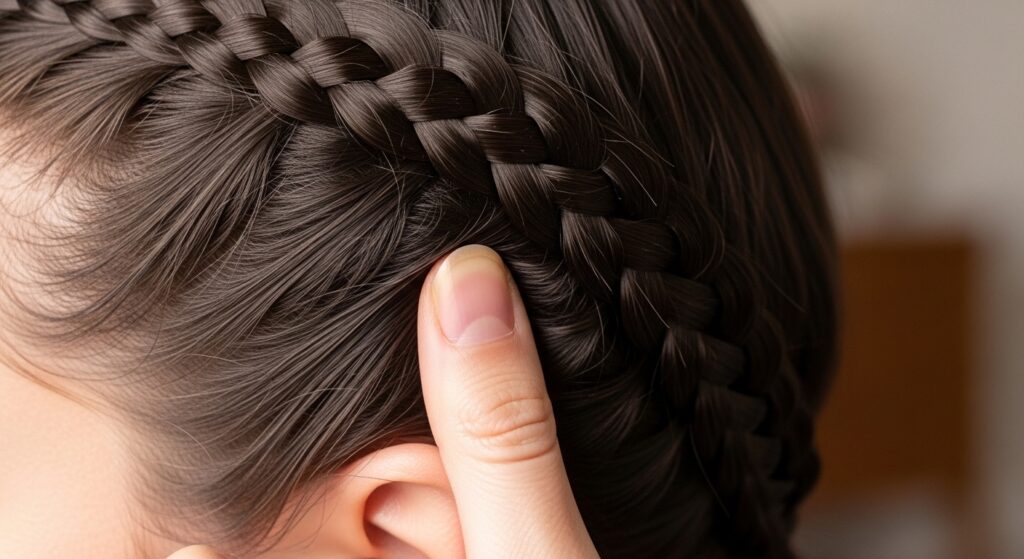
Creating the Raised, “Goddess” Effect
That beautiful, raised look doesn’t happen by accident. As you braid, use your thumb to gently push the braid upward away from your scalp after each stitch. This creates height and dimension.
Think of it as lifting the braid from the bottom. This technique is what transforms a flat cornrow into a bold, statement goddess braid. It’s the detail that gives it that powerful, eye-catching texture.
Dealing with Slippery or Short Hair
If your hair is very silky or you have shorter layers, don’t panic. Use a bit more edge control or a light styling mousse on your roots for extra grip. You can also make your initial sections a tiny bit smaller for more hold.
For shorter hair, the feed-in technique is your best friend. It helps anchor the braiding hair to even the shortest pieces. Be patient, and use smaller pieces of added hair to help everything stay together.
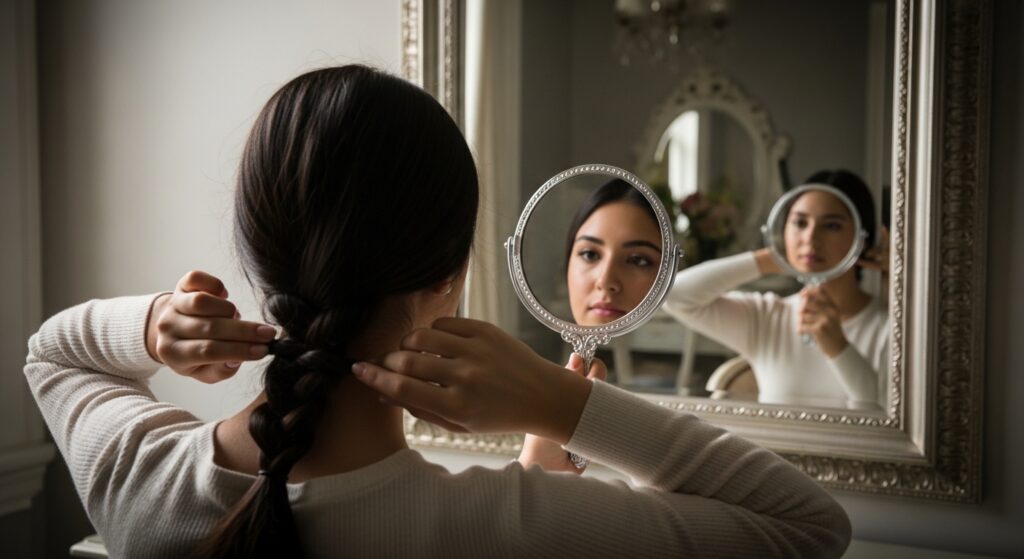
Braiding the Sides and Back
This is the challenging part. For the sides, turn your head to the side or use a mirror to see what you’re doing. For the very back, you’ll be braiding mostly by feel. It’s okay if these braids aren’t perfect.
Practice improves this more than anything. Consider starting your braids at the top and working down, so the trickiest parts are done last when you’re more in the groove. It’s like mastering the asymmetrical lob—the uneven parts require a bit of trust in the process.
Knowing When to Stop Adding Hair
You’ll typically add braiding hair for about two-thirds to three-quarters of the braid’s length. Then, you’ll finish the braid with just your natural hair (and the hair you’ve already incorporated) for the last few inches.
This creates a natural, tapered end. A good visual cue is to stop adding hair once the braid reaches the area around your ears if you were pulling it straight down. This leaves enough length to create a beautiful, blended finish.
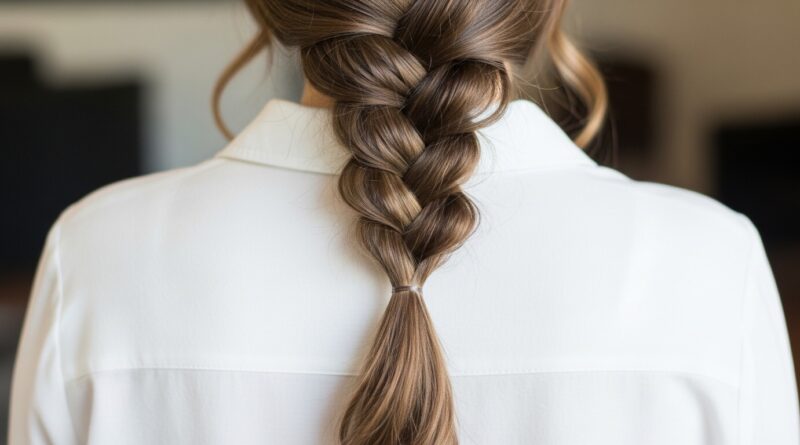
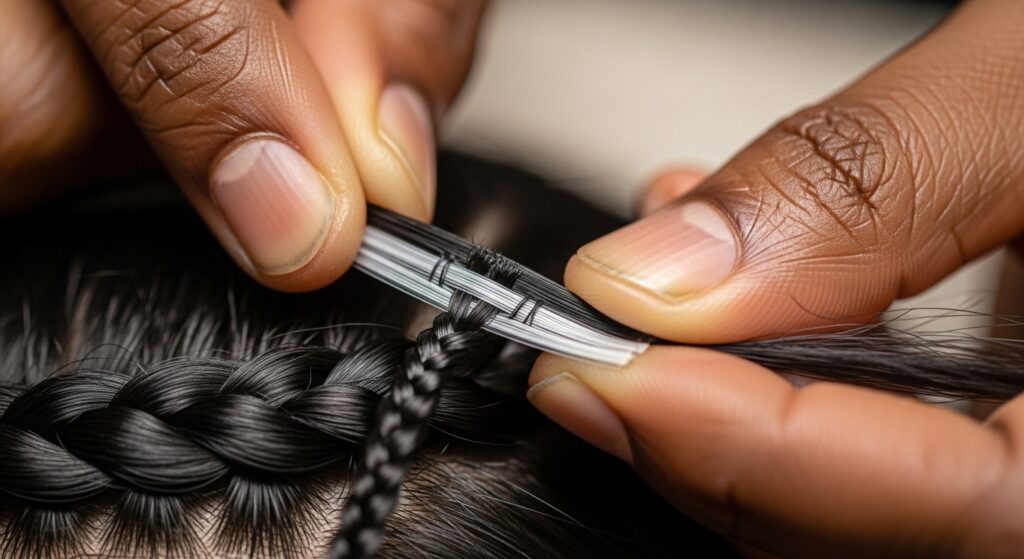
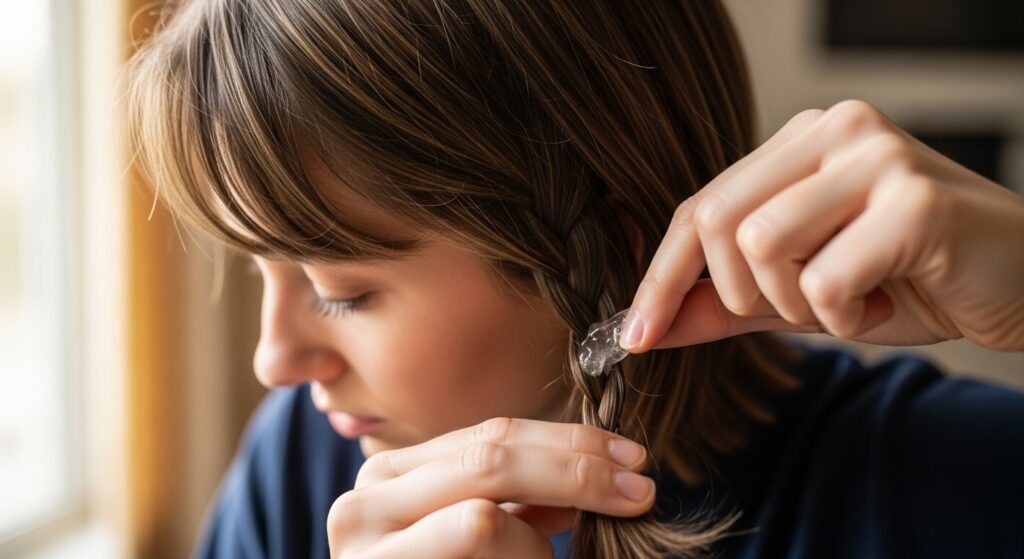
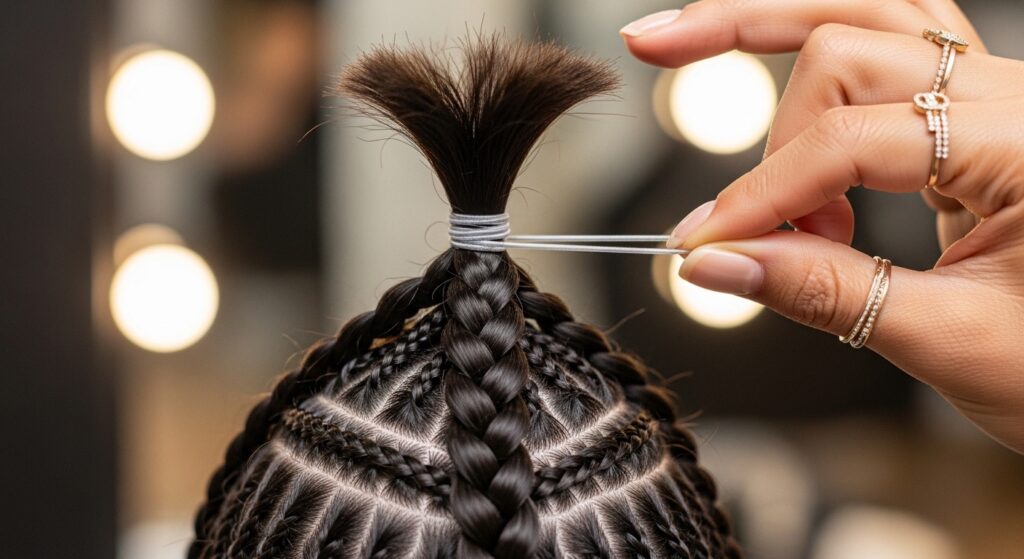
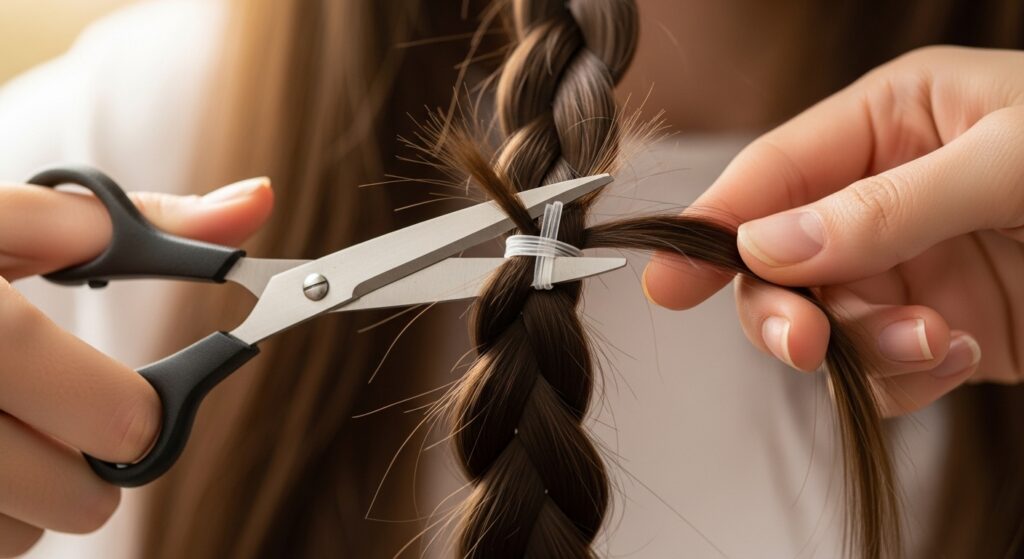
Finishing and Securing the Ends
Once you’ve stopped adding hair, continue the basic three-strand braid to the very ends of all the hair. Make sure it’s tight and secure. Then, wrap a small, clear elastic band around the end multiple times.
For a cleaner look, you can dip the very tip of the end in hot water (if using kanekalon hair) to seal it, or simply fold the end under and secure it with the elastic. This keeps your hard work from unraveling while you sleep or style it.
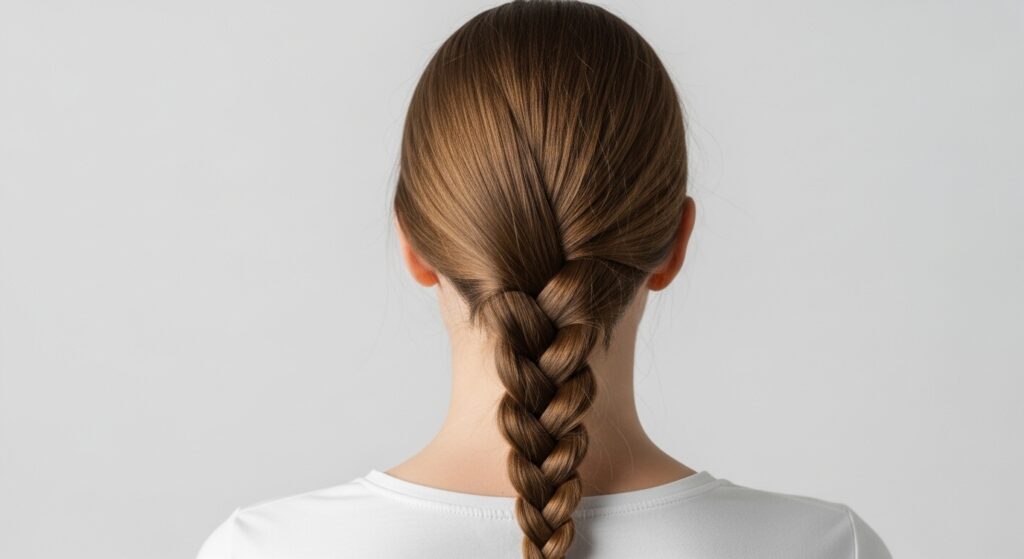
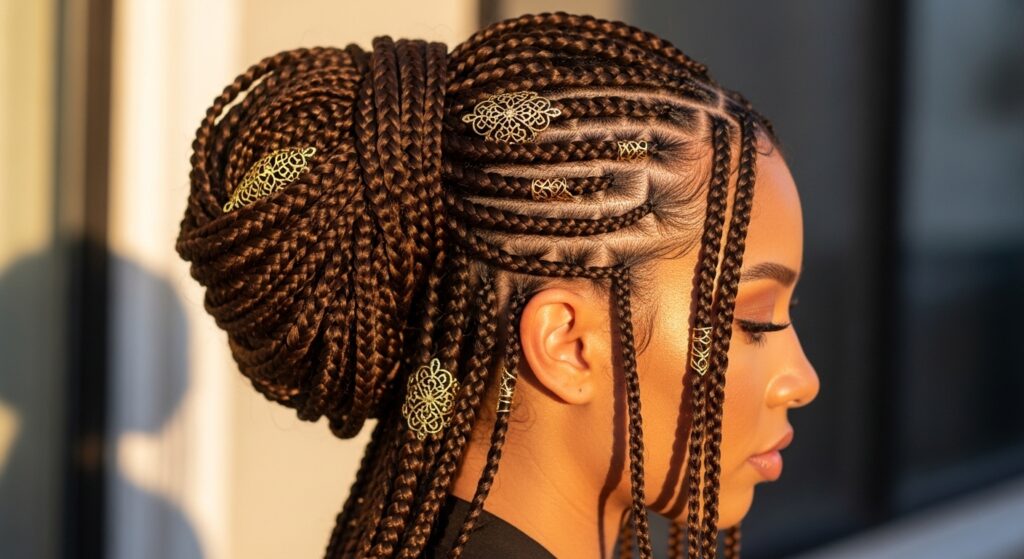
Styling Your Finished Goddess Braids
Now for the fun part! You can wear them straight back in a powerful, sleek look. Or, try a half-up, half-down style by gathering the top few braids. You can also accessorize with gold cuffs, rings, or silk scarves.
For a different vibe, try a side-swept look, pulling all your braids over one shoulder. This style has the versatility of romantic goth hairstyles—it can be elegant, edgy, or casual depending on how you dress it up.
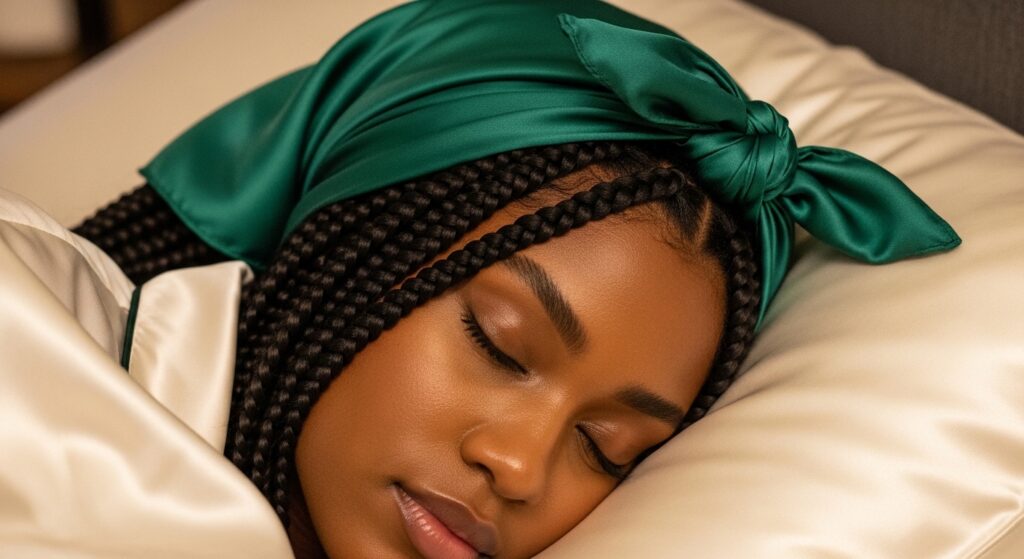
Nighttime Care to Make Them Last
Protect your braids (and your edges!) while you sleep. The best method is to wrap your head in a silk or satin scarf. You can also use a satin bonnet or sleep on a satin pillowcase.
This reduces friction, prevents frizz, and keeps your braids looking fresh for weeks. In the morning, a quick spritz of water and edge control can smooth down any flyaways at your hairline.
Fixing Common Beginner Mistakes
Too tight? Gently tug on the sides of the braid to loosen it slightly. A braid unraveling? Secure the end with another elastic and consider using a tiny bit of hair gel on the problem area before re-braiding it.
Parts not straight? Don’t take it all out. Use the tail of your comb to adjust the part after the fact, and use gel to lay down any stray hairs. Remember, perfection isn’t the goal—learning is.
How Long Do They Take & How Long Do They Last?
For a first-timer, plan for a few hours. Don’t rush. Put on a movie or podcast and enjoy the process. With practice, your time will cut down significantly. Well-cared-for goddess braids can last 4 to 6 weeks.
Listen to your scalp and hair. If you notice significant buildup, itching, or your hair needs a wash, it’s time to take them out. Never leave braids in so long that they cause damage or matting.
Taking Your Braids Out Safely
When it’s time, be patient. Carefully snip the elastic off the end of each braid. Then, slowly unravel the braid from the bottom up, using your fingers or a wide-tooth comb to detangle as you go.
Once all braiding hair is out, wash and deep condition your natural hair. Give your hair and scalp a break before your next protective style. This care is crucial for maintaining healthy hair underneath.
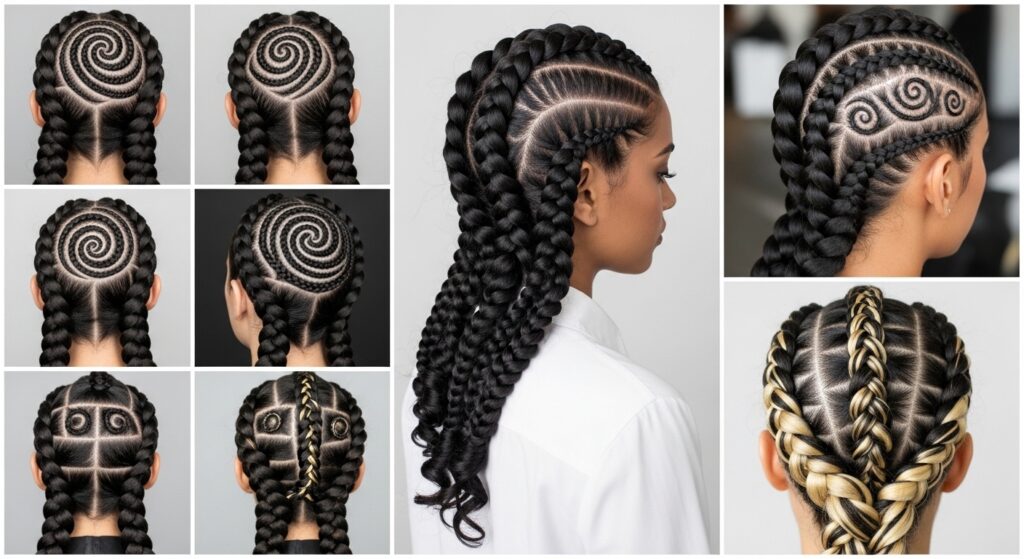
Next-Level Inspiration: Patterns & Styles
Once you’ve mastered the straight-back style, get creative! Try a center part with braids going back. Experiment with a curved pattern or a side-swept design. Add colored braiding hair for a pop.
Look to styles like the vampire haircut or glitchy glam hair for inspiration on bold parts and unexpected textures. Your goddess braids are a canvas for your personal style expression.
You Did It! Celebrate Your New Skill
Seriously, take a moment. Learning to braid your own hair is a huge accomplishment. Whether your first attempt was Instagram-perfect or a humble “practice run,” you’ve gained a valuable skill.
Each time you try, you’ll get faster and neater. Embrace the journey. Share your results with a friend, or just admire your own work in the mirror. You created this!And just like that, you’ve got the complete blueprint. From gathering your simple tools to styling your final look, you now know that goddess braids are totally within your reach. It’s all about breaking that big, intimidating project into small, manageable steps.
Remember, every expert was once a beginner who decided to try. Your braids don’t have to be flawless to be beautiful and to count as a win. The confidence that comes from doing it yourself is the best accessory of all.
I’d love to hear how your braiding journey goes! Did you find a trick that worked perfectly for you? Run into a snag and figure out a fix? Share your experience in the comments below—let’s learn from each other.
Save this post to Pinterest so you can easily come back to these steps whenever you’re ready for your next braiding session. Happy braiding, friend!