Blend Weave Seamlessly with Natural Roots Perfectly Now
Hey friend. Let’s talk about that tiny moment of panic when you catch your reflection and your weave looks… obvious. That harsh line where your real hair ends and the extensions begin. We’ve all been there, staring in the mirror, wondering how some people make it look so perfectly natural.
I promise you, it’s not magic. It’s a few simple, game-changing techniques. Blending a weave seamlessly with your natural roots is the secret to any hairstyle looking expensive and real, whether you’re rocking an asymmetrical lob or trying out the vampire haircut trend.
This guide is your no-stress roadmap. We’re going to cover everything from color matching to styling tricks that hide tracks in plain sight. Get ready for hair that looks 100% you, only with more volume and length.
Why Root Blending Is Your #1 Priority
Think of your roots as the foundation of a house. If the foundation is off, the whole structure looks unstable. A poorly blended weave can make even the most expensive hair look cheap. But when it’s done right? It looks like you woke up like that.
Seamless blending is the key to that “is it her real hair?” illusion. It allows you to play with any trend, from old money hair to romantic goth hairstyles, with total confidence. It’s not just about color—it’s about texture, density, and how the hair moves.
The Golden Rule: Color Match Is Everything
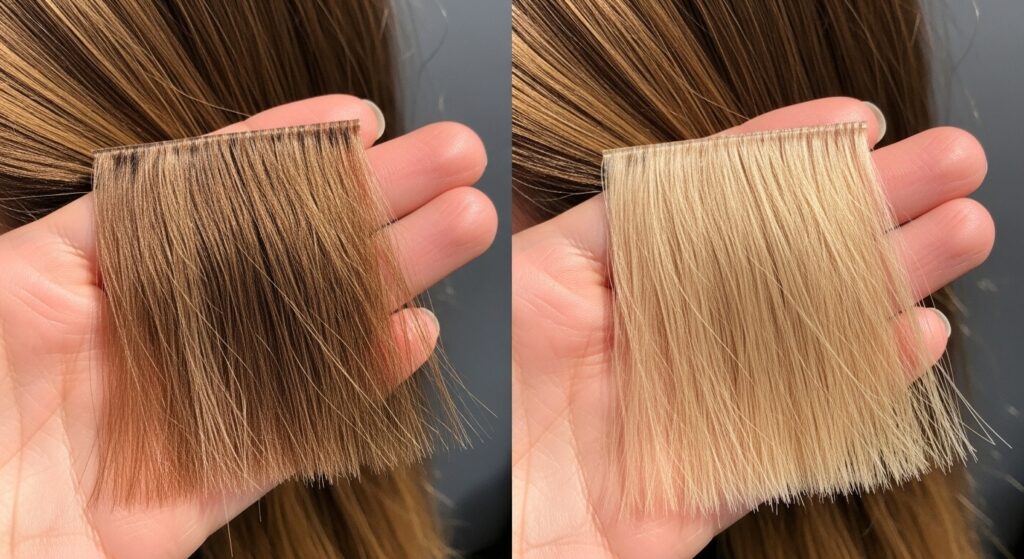
This is the most critical step. Ordering hair online? Always get a color ring. Swatch the wefts against your hair in direct sunlight, not just bathroom light. The goal isn’t always a perfect match, but a harmonious blend.
If your natural color has multiple tones, look for a “blonde” or “brown” that is also multi-dimensional. A single flat color will look fake. For 2026 hairstyles, think lived-in, natural color melts, not stark blocks.
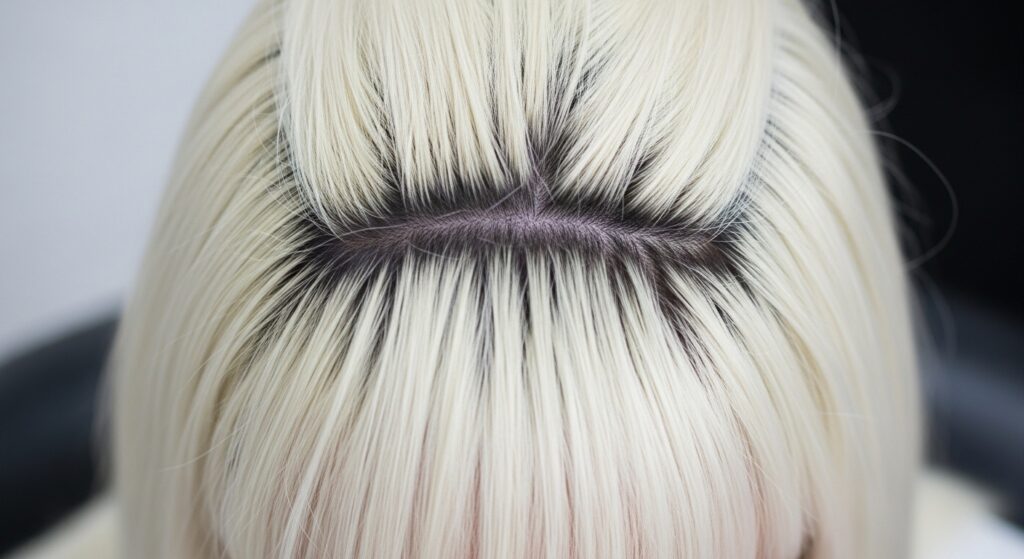
Master the Shadow Root Technique
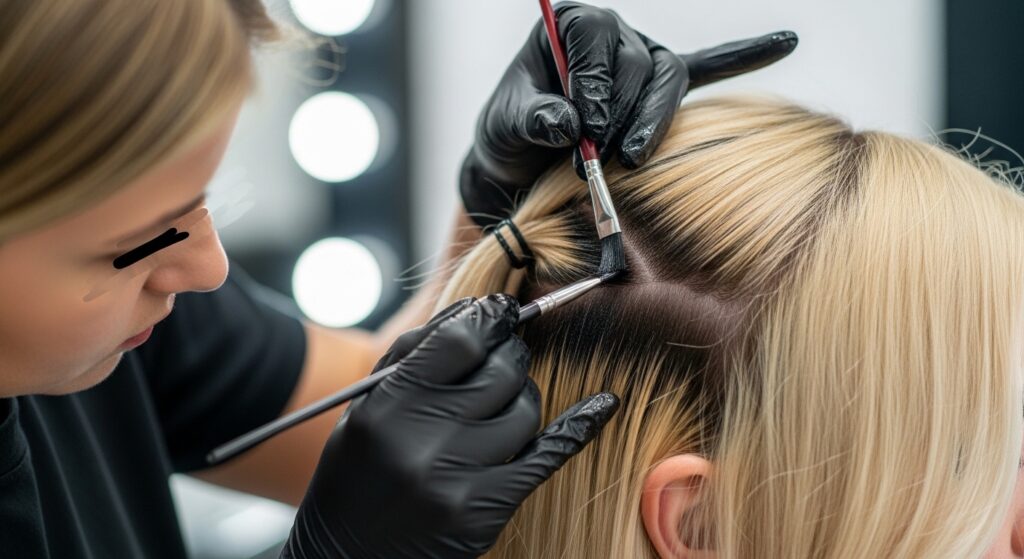
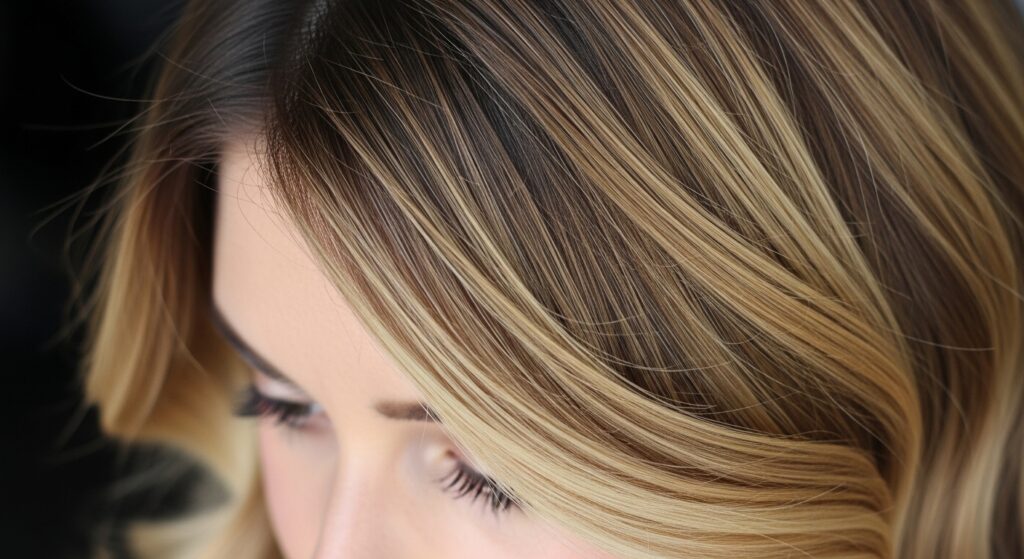
Even with a great color match, a sharp line can appear. A shadow root is your best friend. It’s a soft, slightly darker color applied at the very top of the weft or to your natural regrowth. This mimics how real hair grows out.
You can do this with:
- Root Spray or Powder: A temporary fix for quick touch-ups.
- Colored Dry Shampoo: Adds texture and color in one.
- Professional Toning: For a longer-lasting, seamless fade.
Texture Matching for the Win
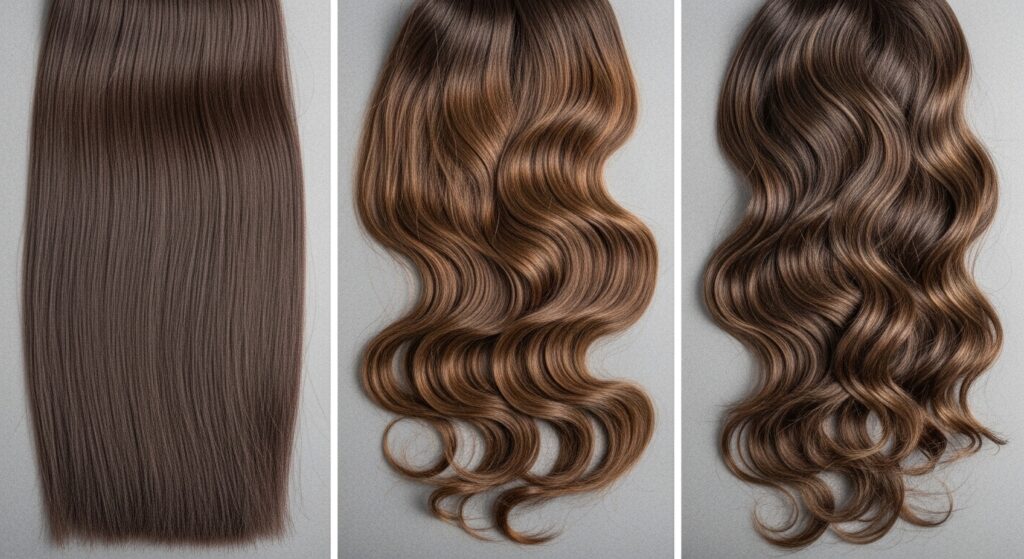
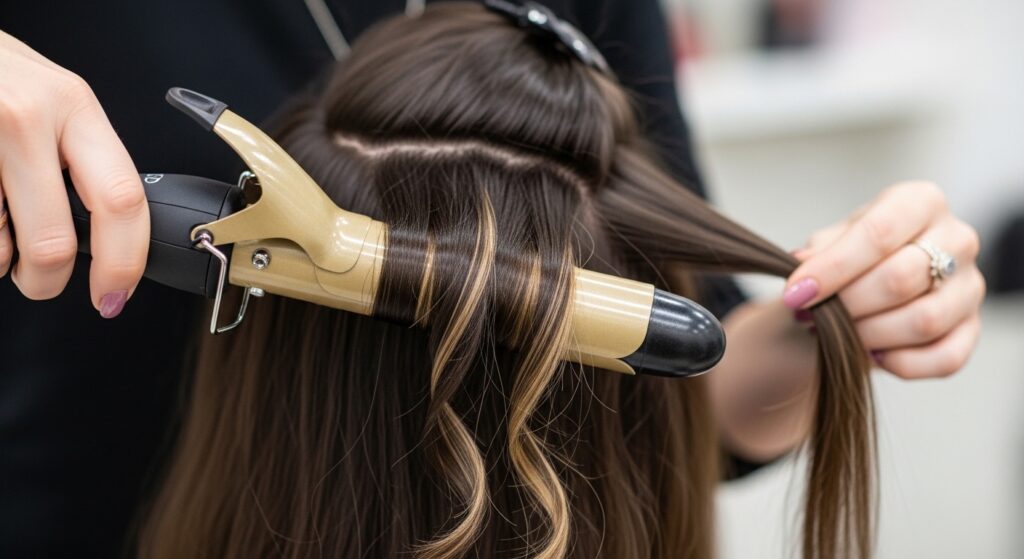
Color is half the battle; texture is the other. Bone-straight extensions on naturally curly hair will be a dead giveaway. Always match the texture of your natural hair as closely as possible—silky straight, body wave, deep curl.
If there’s a slight mismatch, you can style them together. Use a curling iron or flat iron on both your natural hair and the extensions to create a uniform wave or curl pattern. This bonds the look together.
Cutting and Layering for Movement
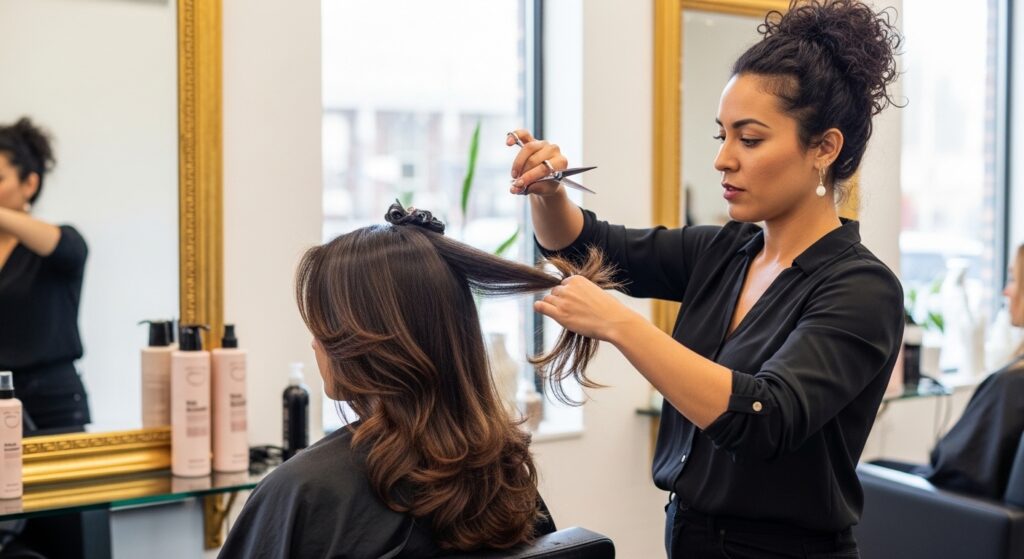
Never, ever leave your weave uncut. Extensions come in a blunt, dense block. Your stylist must cut and layer them to blend with your natural hair’s shape. This is especially crucial for styles like the asymmetrical lob or hime cut, which rely on precise shape.
Layers remove weight, allow the hair to move naturally, and help conceal any track or braid lines. It makes the hair look like it’s growing from your scalp, not sitting on top of it.
Baby Hairs and Edges Are Your Secret Weapon
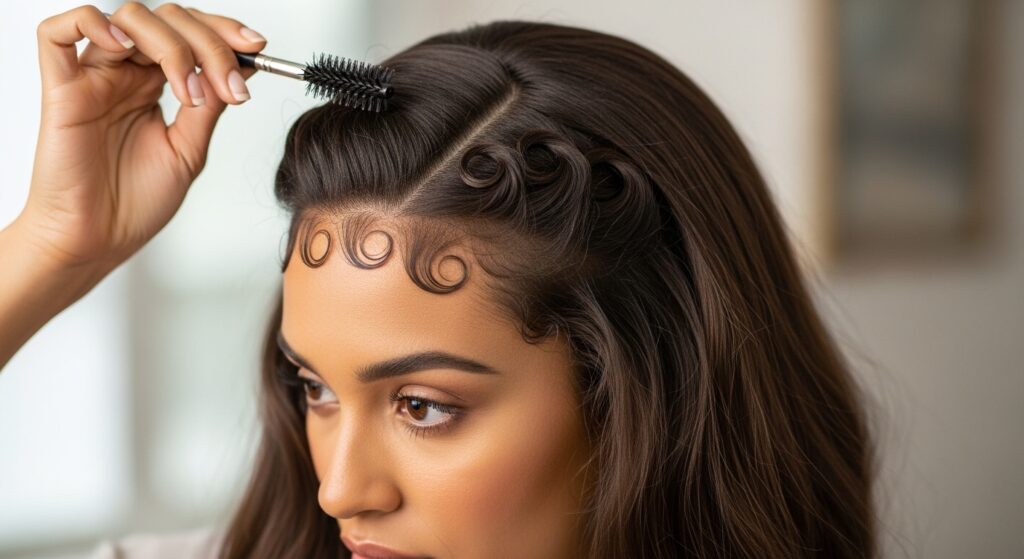
Your natural baby hairs and edges are the ultimate blending tool. Never glue or braid them down tightly. Instead, leave them out and style them softly to frame your face.
Use a bit of edge control or gel and a soft-bristle brush to swoop them. This creates a soft, natural transition from your skin to your hairline, effectively masking where the weave begins.
Volumize Your Natural Hair at the Roots
Flat natural hair under voluminous extensions creates a shelf effect. You need to build volume at your own roots. After installing your weave, gently backcomb the root area of your natural hair at the crown.
You can also use:
- A light-hold root lifter spray.
- Velcro rollers for five minutes while you get ready.
- Teasing gently at the base for instant height.
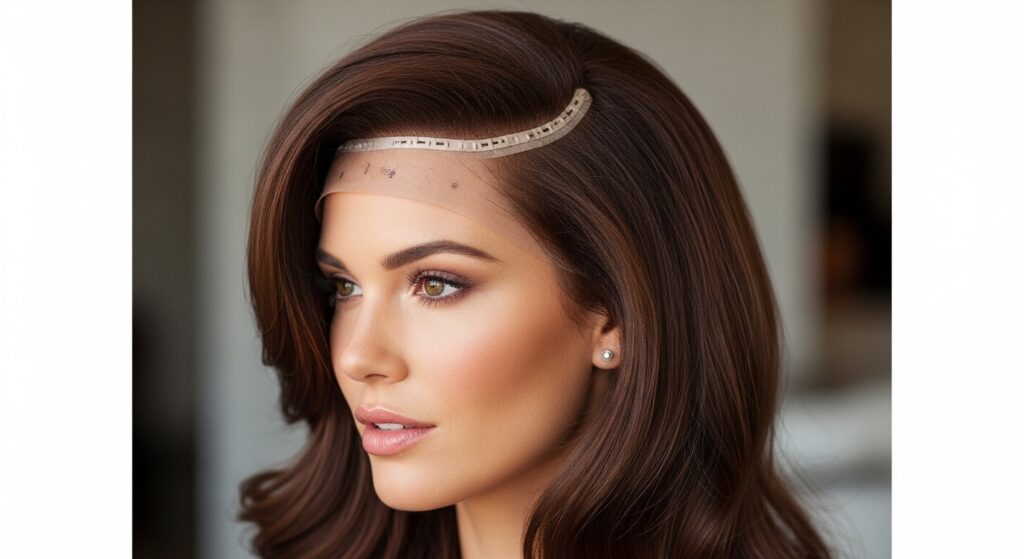
Choose the Right Installation Method
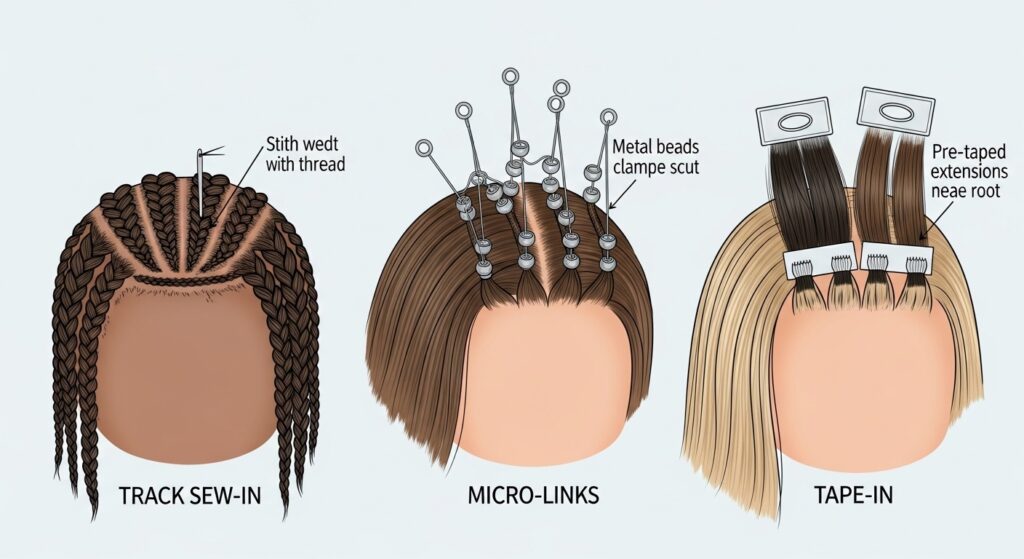
How your weave is installed dramatically affects blending. Sew-ins with tracks can be harder to blend if placed too high. Methods like micro-links or tape-ins can be placed closer to the part for a more natural look.
Discuss your lifestyle and desired look with your stylist. If you want to wear your hair up often, a more discreet installation like a V-part or invisible part sew-in is key for that quiet luxury bob aesthetic.
Parting Strategies That Look Natural
A stiff, straight, center part can look unnatural. Opt for soft, slightly zigzagged parts or deep side parts. This allows your natural hair to fall over the tracks or attachment points.
Change your part slightly each day. This not only protects your natural hair from tension but also prevents a permanent “part line” from forming in the extensions, which can look artificial.
Dry Shampoo: The Blending Miracle Worker
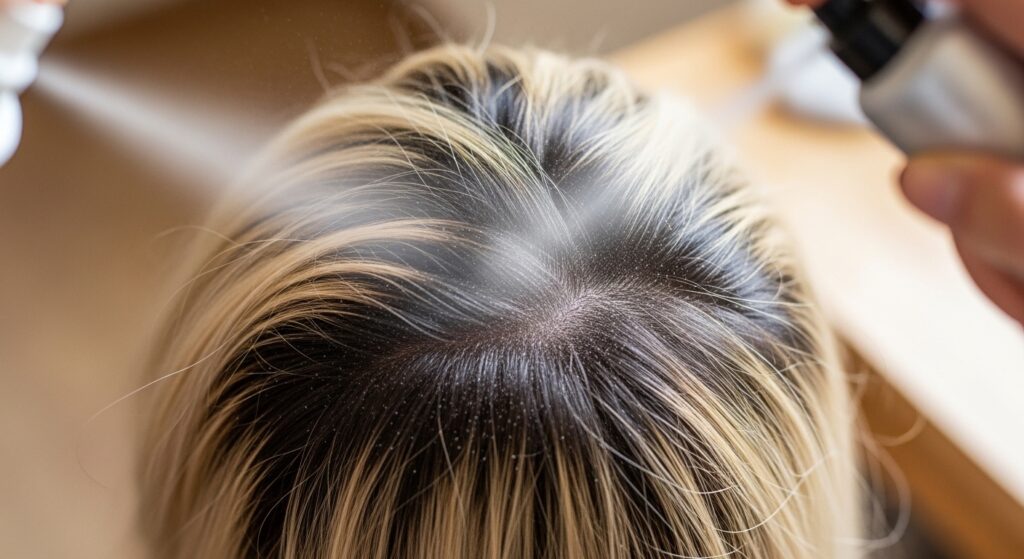
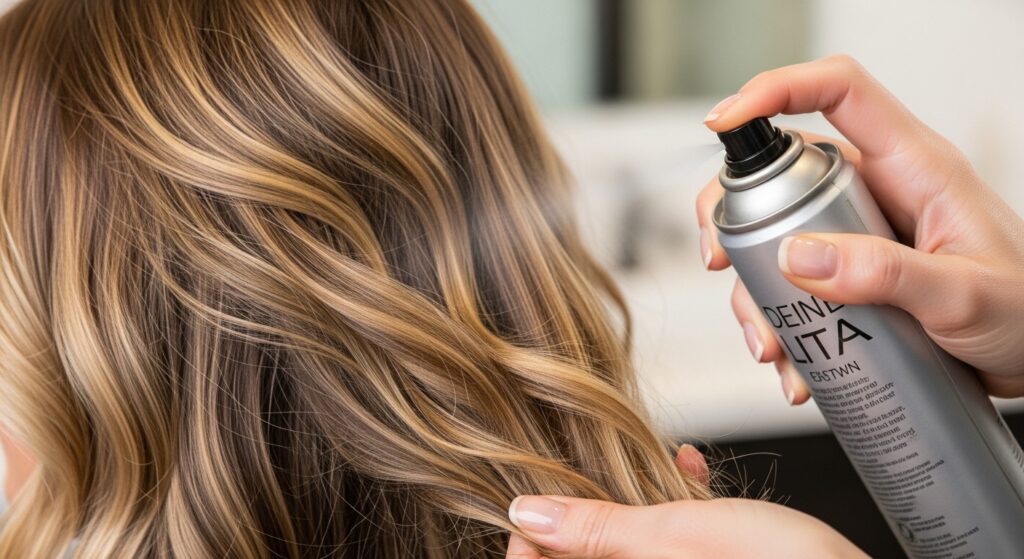
Dry shampoo is a triple threat. It absorbs oil, adds volume, and—crucially—helps blend colors. A tinted dry shampoo that matches your root color can soften any visible lines in seconds.
Focus the spray right at the demarcation line. The powdery residue helps to diffuse and blur the boundary between your hair and the weave, creating a perfect, lived-in melt.
Heat Styling to Unify the Look
This is the ultimate blending trick. Always style your natural hair and the extension hair together as one section. Wrap them around the same curling iron barrel. Flat iron them together in the same pass.
This process literally bonds the textures and colors through heat, making them fall and reflect light the same way. It’s essential for achieving that glitchy glam hair texture, which is all about intentional, unified texture.
Concealing Tracks with Strategic Styling
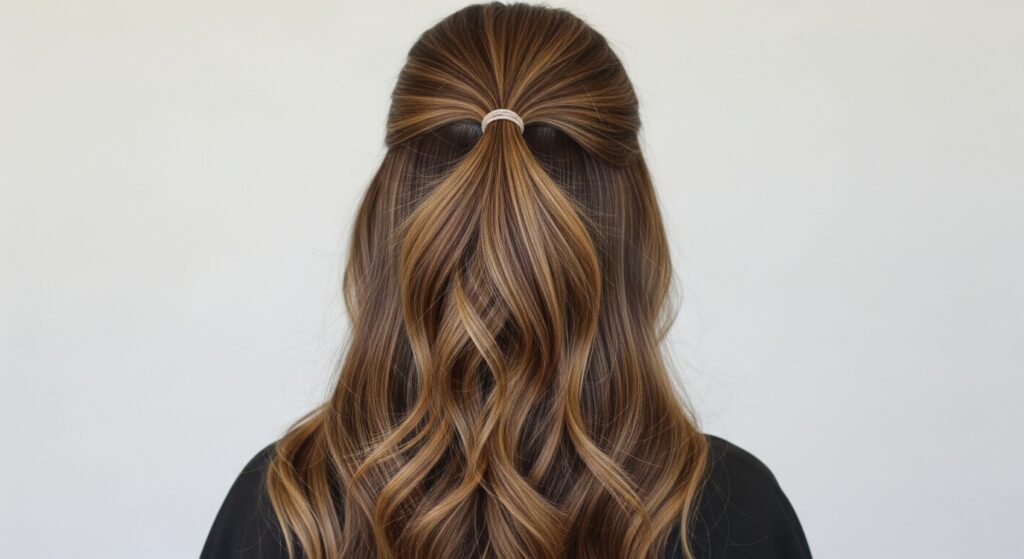
Some styles are genius at hiding tracks. A loose half-updo, where the top section is casually pulled back, naturally covers the crown area. A deep side-sweep does the same.
For updos, pull out face-framing pieces and some baby hairs. Don’t make it too slick or tight. A little strategic messiness is your best ally for a natural look.
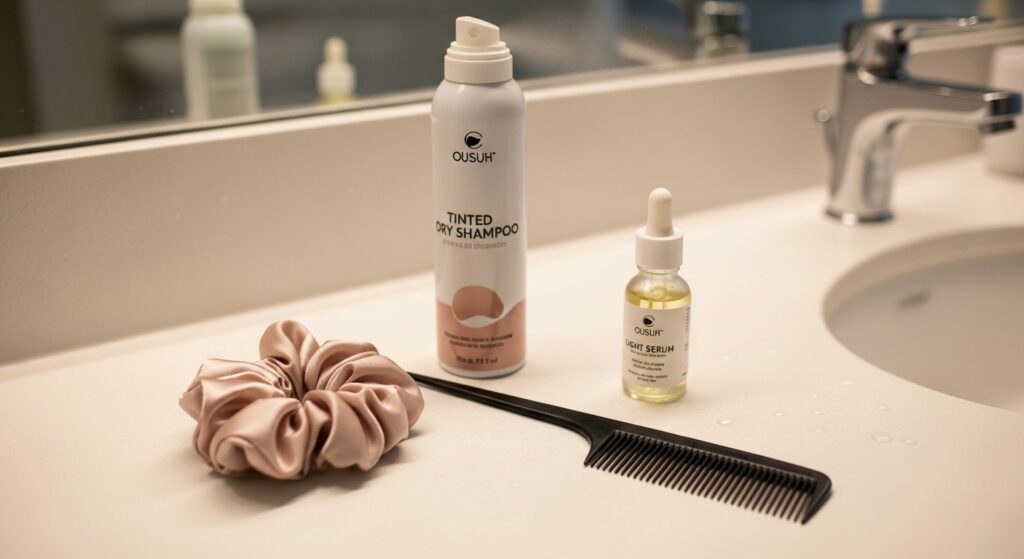
Product Cocktails for Seamless Texture
The right products create a unified feel. After styling, run a light texturizing spray or a smoothing serum through both your natural hair and extensions. This gives them the same finish—whether it’s sleek, piecey, or touchably soft.
Avoid heavy, waxy products just at the roots of the weave, as they can build up. Focus on mid-lengths to ends to ensure both hair types move and feel the same.
Maintenance Between Salon Visits
Blending needs upkeep. As your natural hair grows, the root contrast becomes more obvious. Use root cover-up sticks or sprays for quick touch-ups on your new growth.
Gently brush your hair daily to prevent tangling, which can separate your hair from the extensions. Always sleep with your hair in a loose braid or pineapple with a silk scarf to reduce friction.
When to See Your Stylist for a Touch-Up
No matter how good your at-game is, professional maintenance is non-negotiable. Plan to see your stylist every 6-8 weeks for a tightening and adjustment.
This is when they can re-blend the color on your new growth, reposition any shifting tracks, and give your weave a fresh cut to maintain the shape of that perfect asymmetrical lob or quiet luxury bob.
Adapting Trends: The Romantic Goth Example
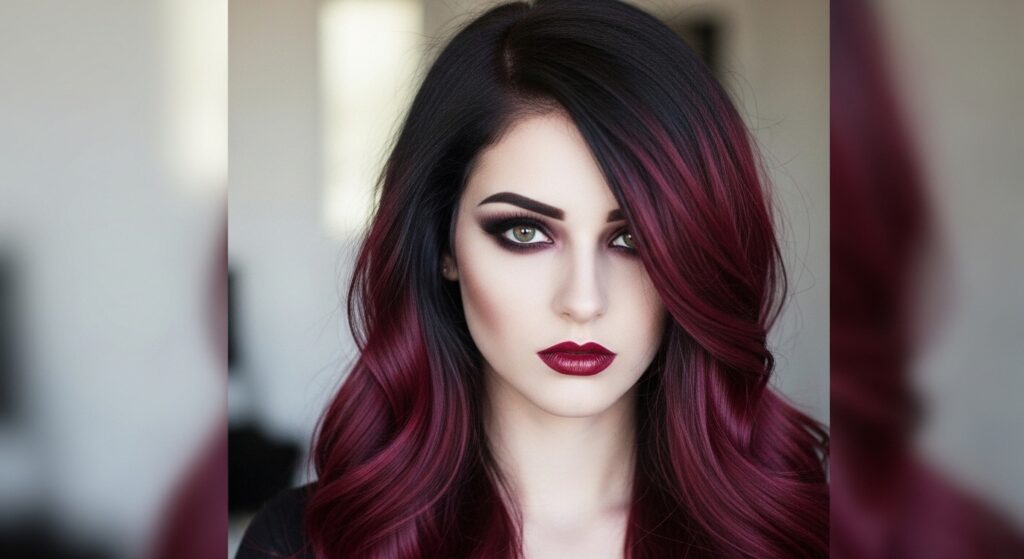
Let’s apply this to a trend like romantic goth hairstyles. The key is the dark, blended root melting into a deep color. The extensions must match the deep, rich tone, and the texture should be soft and wavey, not harsh.
The root shadow here is everything. It creates that mysterious, grown-out vibe that’s essential to the look, proving that perfect blending works for every aesthetic, from light and airy to dark and dramatic.
Adapting Trends: The Old Money Hair Aesthetic
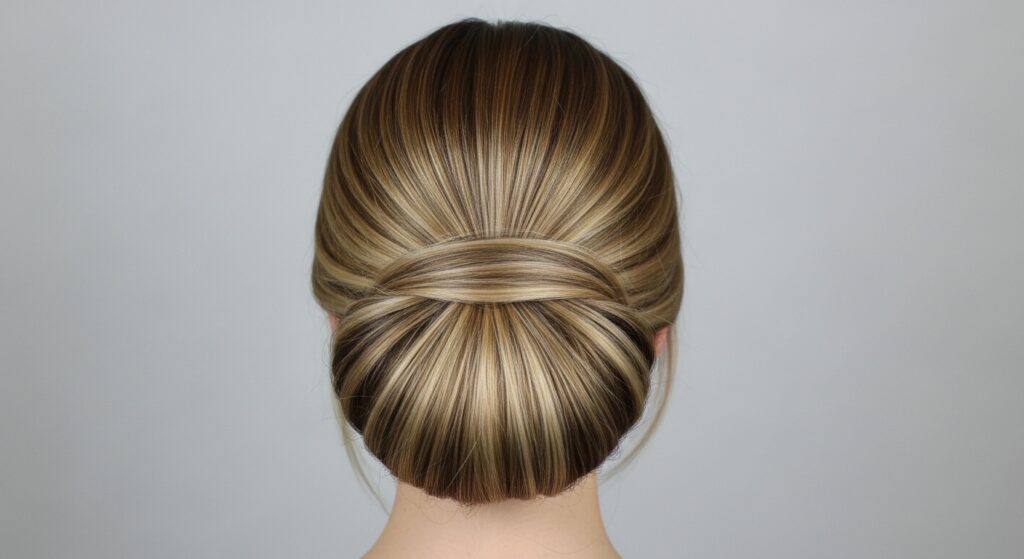
For that old money hair vibe—think clean, healthy, and “naturally” perfect—blending is subtle. The color should look sun-kissed, not dyed. Extensions add thickness and length without a hint of drama.
Styling is polished but soft. A low bun or simple ponytail where every hair is seamlessly blended screams quiet luxury. There are no visible lines or tracks, just impeccable, believable hair.
Common Blending Mistakes to Avoid
Let’s quickly review pitfalls. Choosing the wrong color or texture is the biggest one. Installing hair that’s too dense for your natural thickness is another—it creates a “helmet” effect.
Also, avoid:
- Over-plucking or bleaching your baby hairs.
- Using black thread on blonde tracks.
- Neglecting to cut and layer the extensions.
Your Quick-Start Blending Checklist

Before your next install or styling session, run through this list. Did you color match in sunlight? Did you choose the right texture? Have you planned for a shadow root? Are you booking time for a cut and layers?
Do you have your blending toolkit ready? Tinted dry shampoo, root powder, a good brush, and a heat tool. Walking through these steps ensures you’re set up for a flawless, seamless finish every single time.
Embrace the Confidence of Flawless Hair
When your hair is seamlessly blended, you forget it’s even there. That’s the goal. It’s not about hiding a secret; it’s about enhancing what you have so you feel unstoppable. You can try the vampire haircut or a hime cut without a second thought.
This confidence translates into everything. You stop fussing and just live. You know your hair looks good from every angle, in every light. That peace of mind is the real value of mastering these blending techniques.
And just like that, you’ve got the playbook. Seamless blending isn’t a stylist’s secret magic anymore—it’s a series of smart, practical steps that you can master or confidently ask for. It turns any hairstyle from “just okay” to “absolutely stunning.”
Remember, the best hair looks and feels like it’s truly yours. It moves with you, grows with you (or looks like it does), and makes you feel like the most put-together version of yourself. Whether you’re leaning into 2026 hairstyles or perfecting your signature look, it all starts with a flawless blend.
Save this post to Pinterest so you always have these tips handy for your next salon visit or styling session. And tell me in the comments—which blending trick are you most excited to try first? I love hearing from you!