Victory Roll Done in Minutes for Retro Glam
Okay, let’s be real. We’ve all seen those gorgeous vintage photos and thought, “I could never do that with my hair.” Victory rolls look like they require a time machine, a professional stylist, and maybe a physics degree. I felt the same way for years.
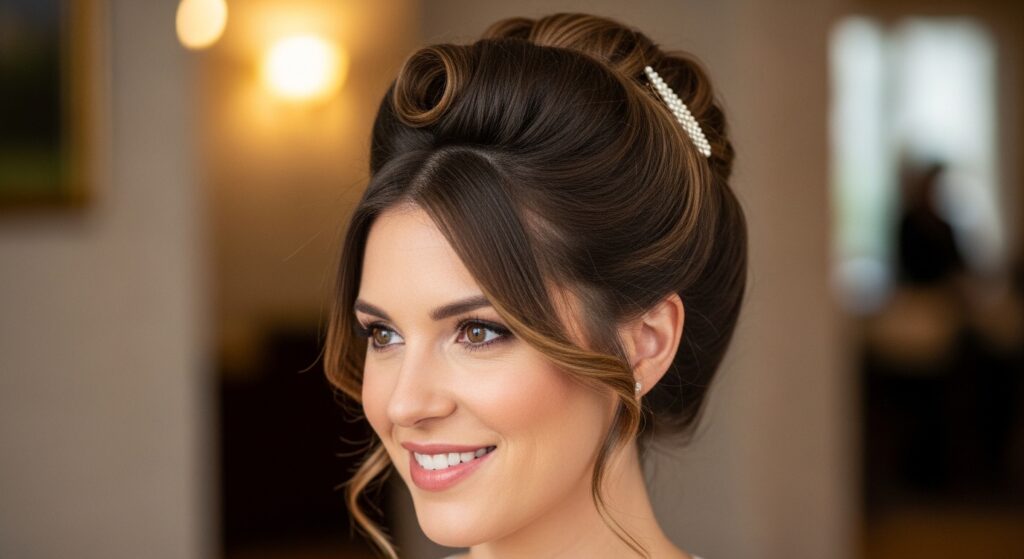
But what if I told you that iconic 1940s glam is actually one of the quickest retro styles to master? It’s true. Once you know the simple steps, you can create that perfect, polished roll in just a few minutes.
This isn’t about historical reenactment. It’s about grabbing a piece of that classic confidence for your modern life. Whether you’re heading to a wedding, a date, or just want to feel fabulous on a Tuesday, this is your shortcut to major glam. Let’s break it down into the easiest routine ever.
What Exactly Is a Victory Roll?
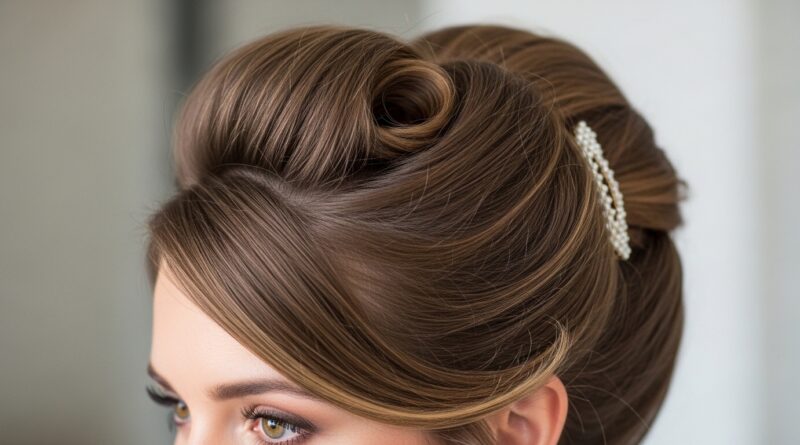
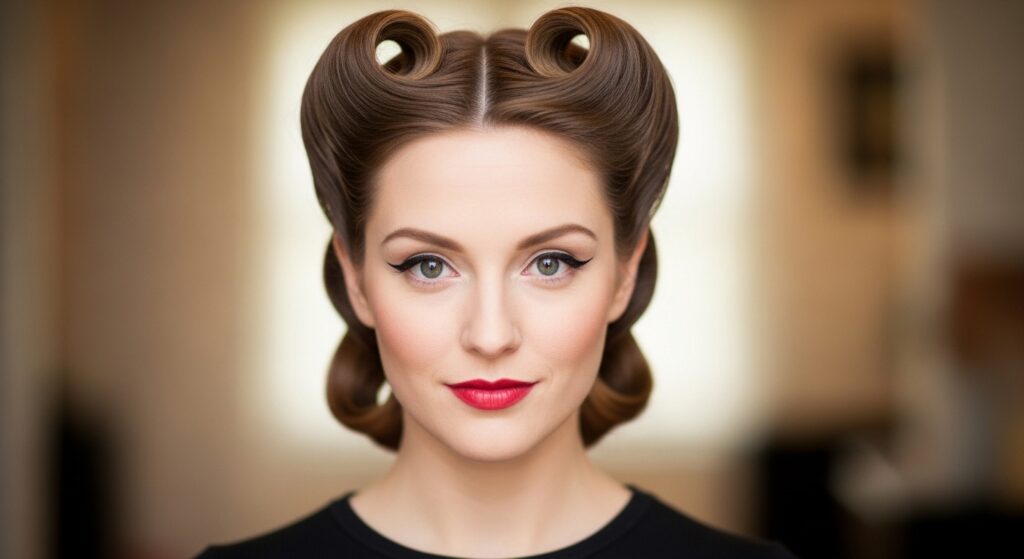
Think of a victory roll as a soft, rounded roll of hair that stands away from the head. It got its name during World War II, symbolizing victory. Women would wear them as a symbol of hope and resilience.
Today, it’s the ultimate retro glam statement. It works on almost all hair types and lengths (with a few tricks!). You’ll often see one on each side, framing the face, but a single roll is just as stunning.
Why This Hairstyle is Having a Moment (Again)
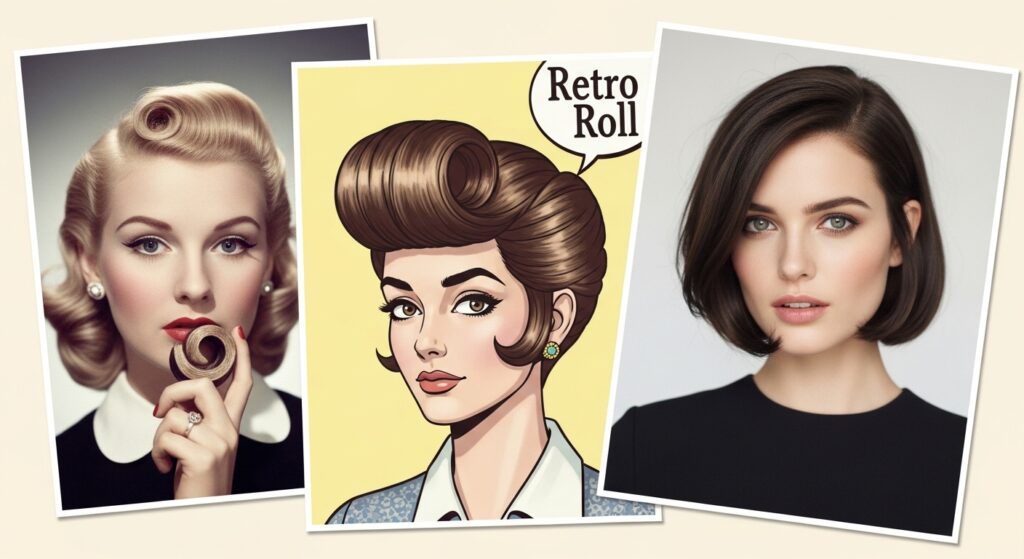
Retro styles are cycling back in a huge way, but with a modern twist. We’re seeing it in the rise of old money hair aesthetics and even in the polished feel of a quiet luxury bob. There’s a desire for looks that feel intentional and crafted.
The victory roll fits right in. It’s a deliberate style that says you put in a little effort. It bridges the gap between vintage inspiration and today’s love for statement looks, like romantic goth hairstyles or glitchy glam hair.
The Absolute Essential Tools You Need
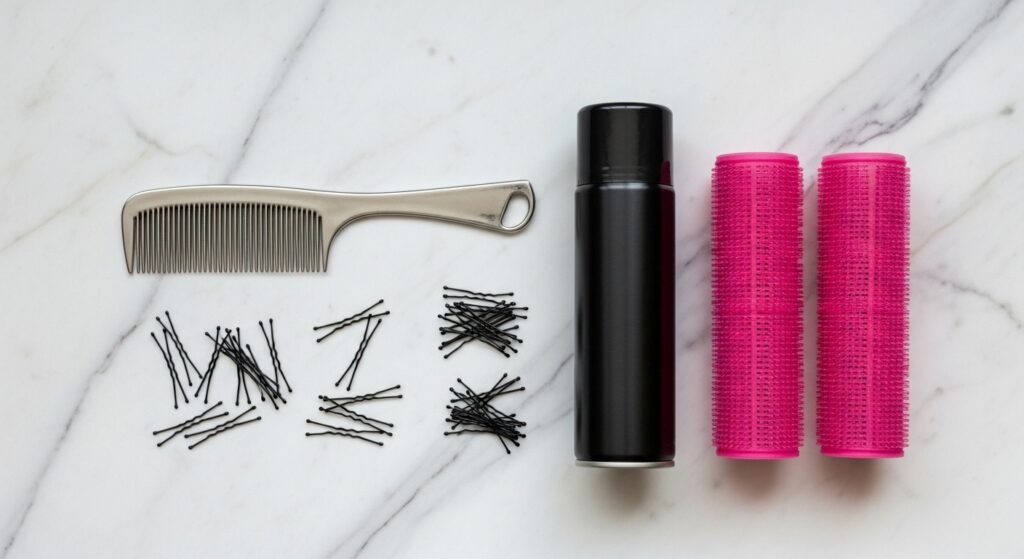
You don’t need a salon’s worth of equipment. Here’s your minimalist toolkit:
- Fine-tooth comb: For precise sectioning and smoothing.
- Strong-hold hairspray: This is non-negotiable. Aerosol works best.
- Bobby pins (matte black or blonde): Get the good, sturdy ones.
- 1-2 large hair rollers or socks: For volume at the roots (optional but helpful).
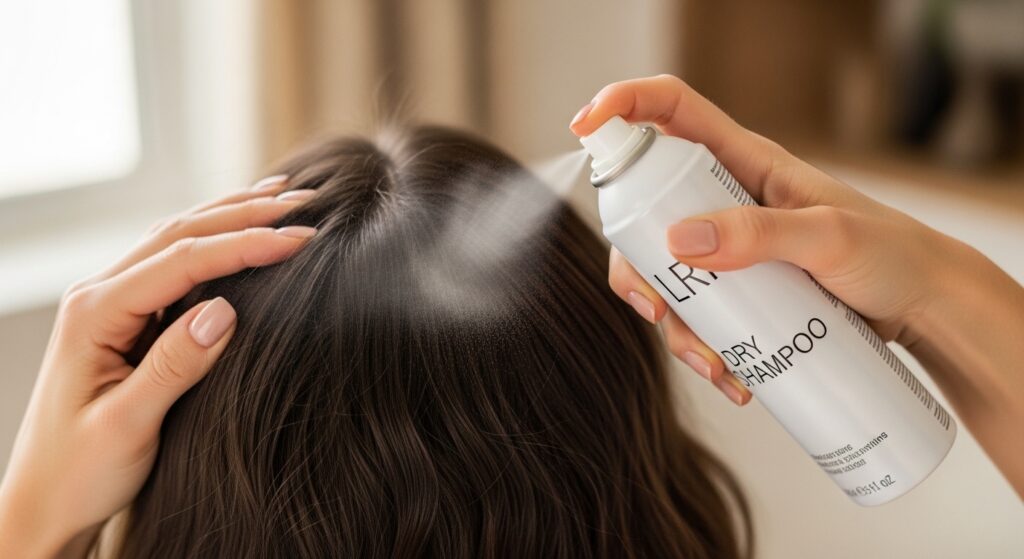
Start with Day-Old Hair (Trust Me)
Freshly washed, slippery hair is your enemy here. Style your hair the day after washing, or use a little dry shampoo at the roots. This gives your hair the necessary texture and grit to hold the shape.
If you must style on clean hair, mist a light-hold texturizing spray throughout. The goal is to have hair that isn’t silky-smooth. A little resistance helps the roll stay put.
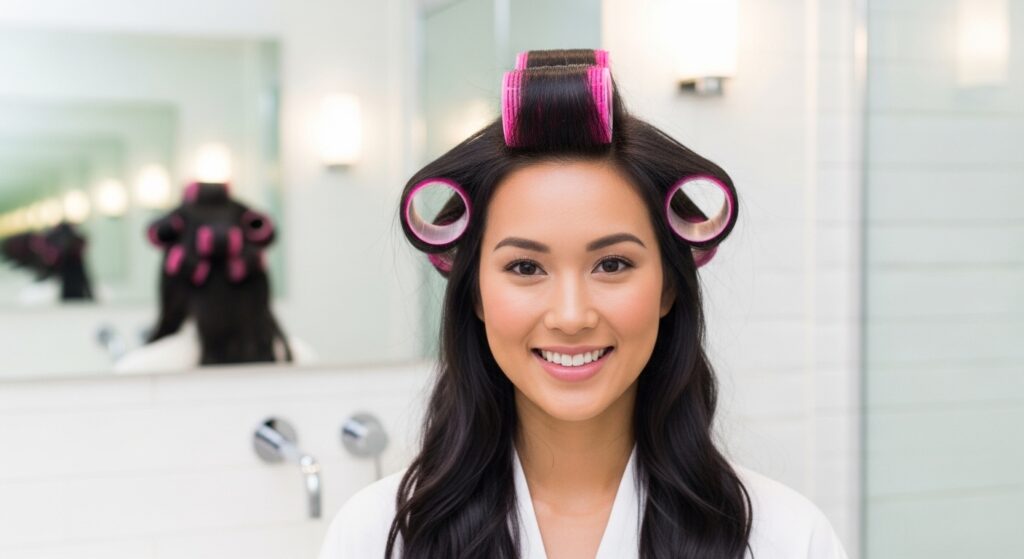
Creating the Perfect Base Volume
Volume is the secret. For hair that’s flat at the roots, create a little lift before you start rolling. Take the front section of hair you’ll be using and backcomb gently at the roots.
Alternatively, set the front sections on large rollers for 10 minutes while you do your makeup. This gives you that soft, rounded base that makes rolling so much easier and more dramatic.
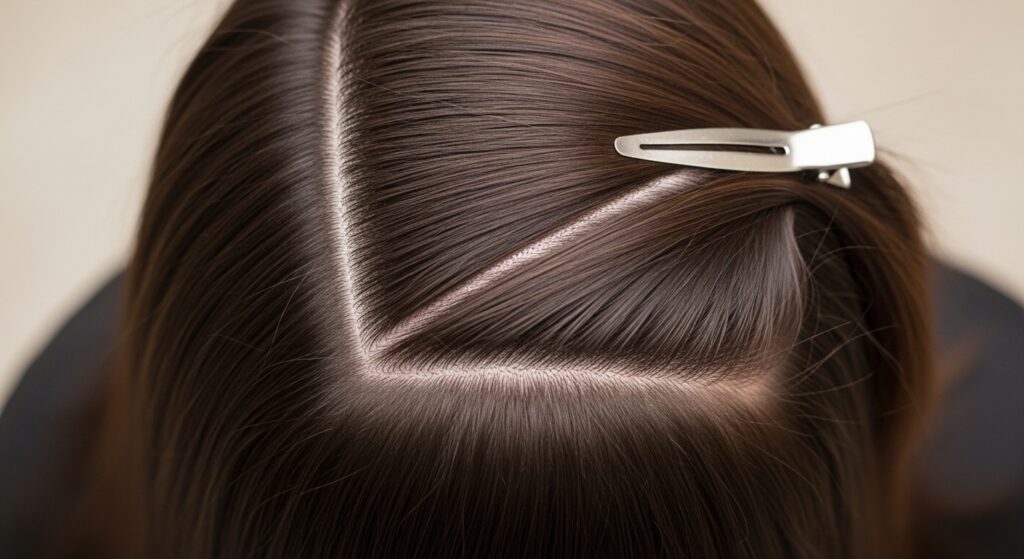
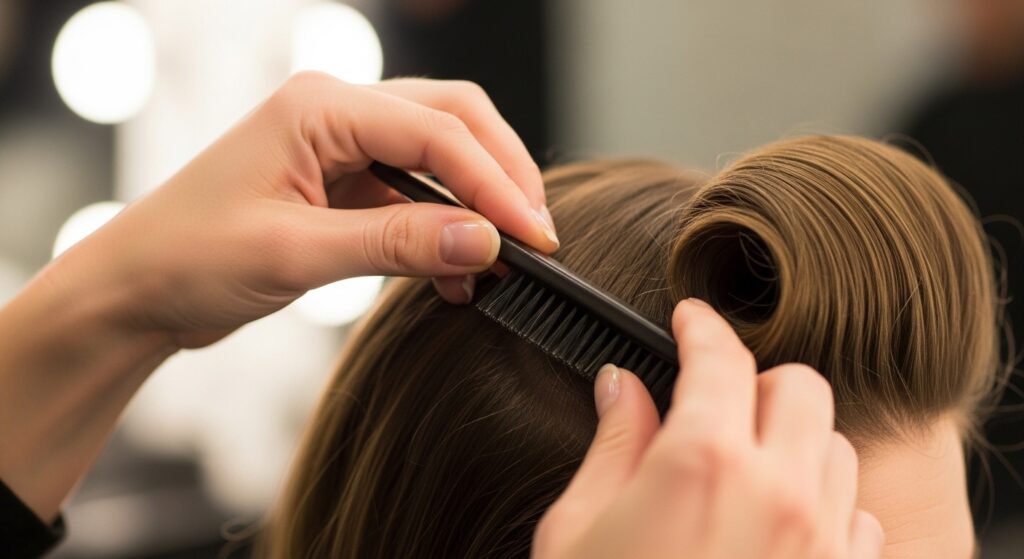
Sectioning Your Hair Correctly
This is the most important step for a neat roll. Use the end of your comb to create a clean, diagonal part from the top of your eyebrow back towards your crown.
Clip the rest of your hair out of the way. The section you’re working with should be a generous triangle—about the width from your eyebrow to your temple. Too little hair and the roll will be skinny; too much and it’s hard to control.
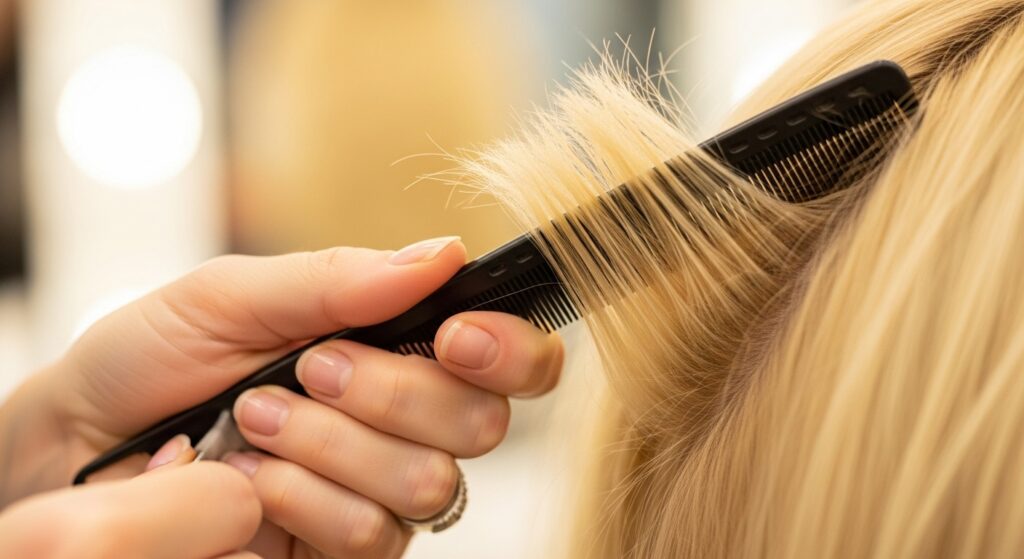
The Magic of Backcombing (Teasing)
Don’t be scared! Take your fine-tooth comb and, starting a few inches from the scalp, comb downwards toward your ends in short, gentle strokes. Do this 2-3 times throughout the length of the section.
This creates a mesh of texture that holds the roll’s shape. Then, gently smooth just the very top layer of hair over this teased base. This gives you a polished outside with a strong, holding interior.
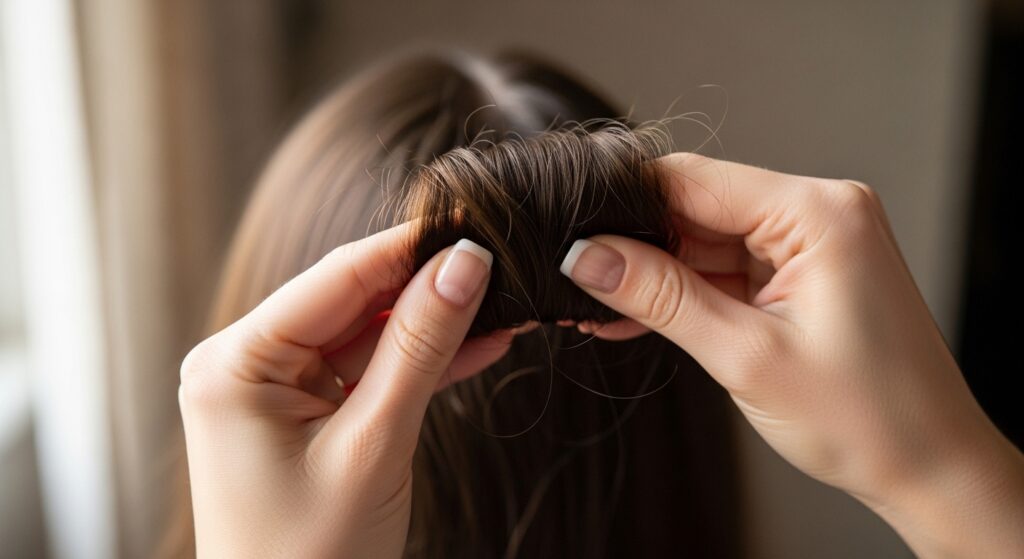
Forming the Roll: Step One
Hold the end of your section between your fingers. Start to roll the hair forward, toward your face. Keep it relatively loose as you start—you can tighten it later. Think of rolling a soft scroll of paper.
The key is to roll under, not over. The hair should wrap under itself, creating that distinctive rounded shape that stands away from your head. Guide it into a horizontal position.
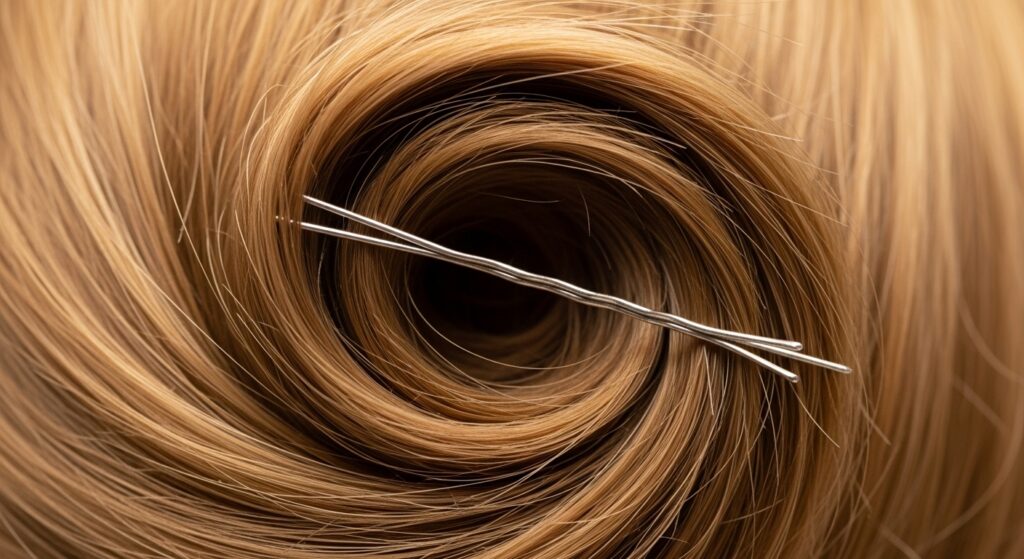
Anchoring It With Bobby Pins
Once the roll is in place where you want it, it’s pin time. Slide a bobby pin into the base of the roll, going through the roll and into the teased hair at your roots. Always pin *against* the direction of the roll to lock it.
Use 2-3 pins, criss-crossing them for security. Don’t just pin the outside; get those pins deep into the base. Give the roll a gentle press to feel if it’s secure.
Smoothing the Outer Layer
After pinning, you might have some flyaways. Spritz a tiny bit of hairspray on your tail comb or a toothbrush and gently glide it over the surface of the roll.
This tames any wispy pieces and gives you that iconic, sleek shell. Don’t press too hard—you don’t want to flatten the volume you just created.
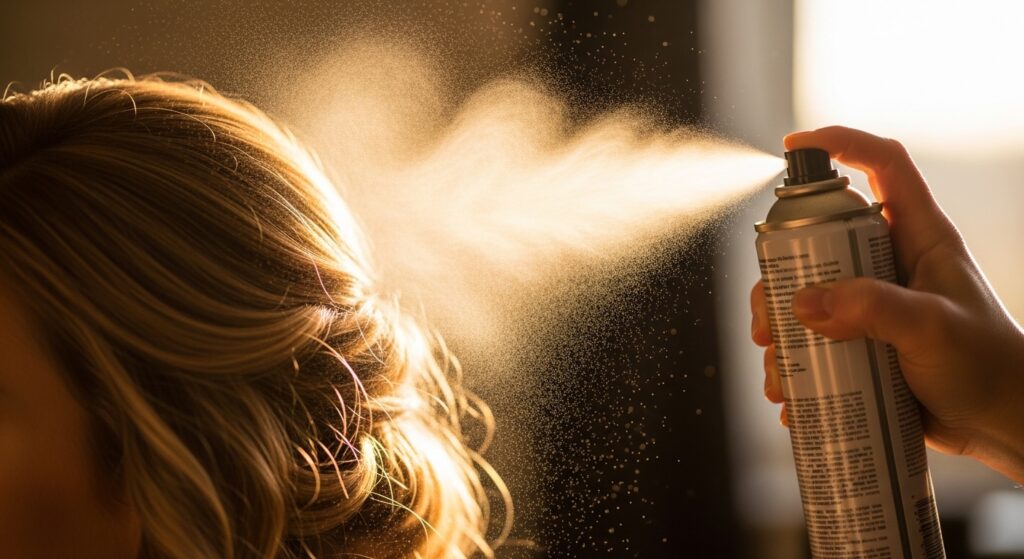
The Final Hairspray Lock
Hold your can of hairspray about 10 inches away. Give the roll a light, all-over mist. Let it dry for a few seconds.
Then, for extra hold in humidity or for a long night, do a second, more targeted spray at the base where the pins are. This double-layer technique is what makes it last for hours.
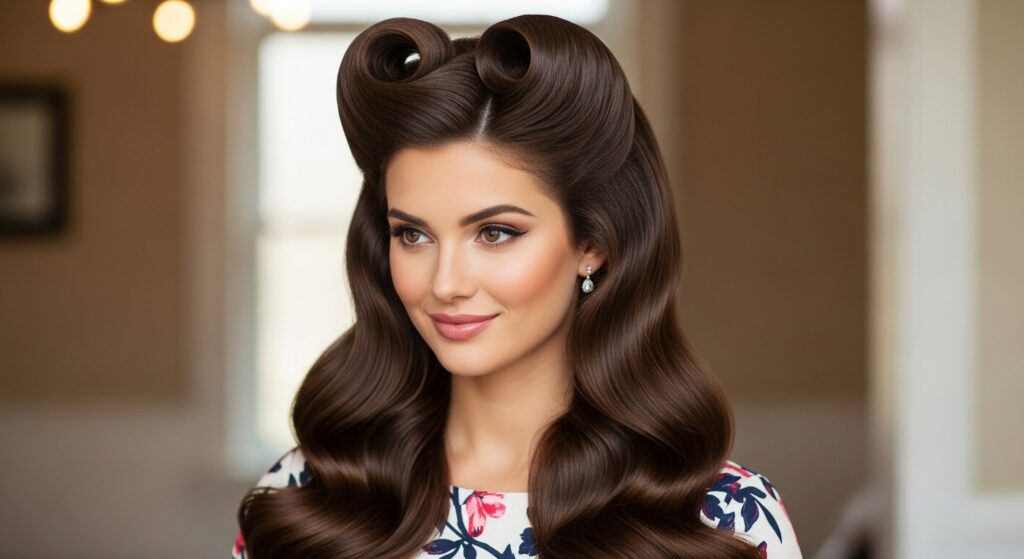
Creating a Symmetrical Pair
For the classic look, repeat all steps on the other side. Use your first roll as a guide for size and placement. Try to make the diagonal parts mirror images.
It doesn’t have to be *perfectly* symmetrical—a little variation adds charm. The goal is for them to feel balanced when you look at your whole face.
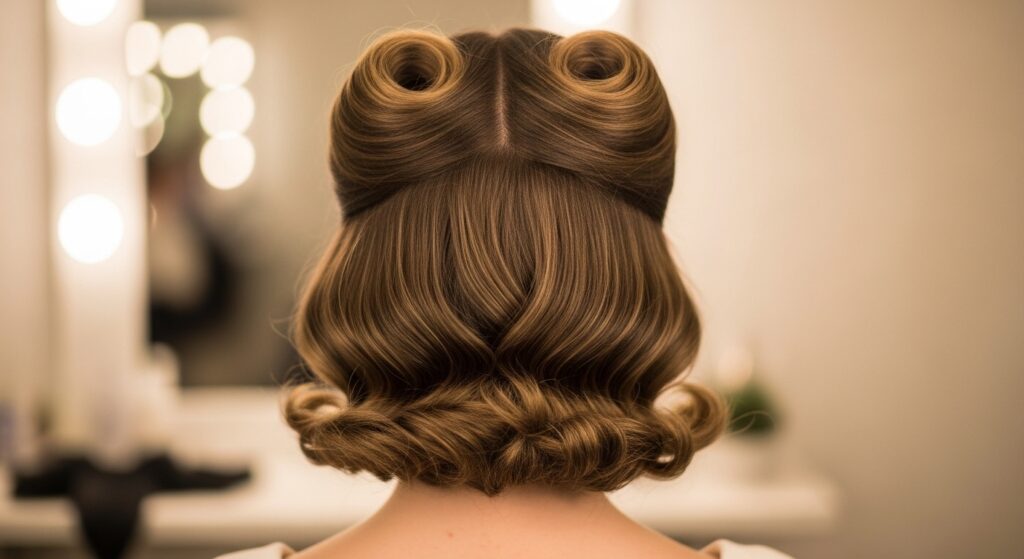
Styling the Rest of Your Hair
With your rolls set, you can style the back. For a true vintage look, curl the remaining hair into loose waves or pin it into a chic updo.
For a modern take, leave it down in loose waves or even sleek and straight. This contrast is very now—think of it like pairing an asymmetrical lob with a bold accessory.
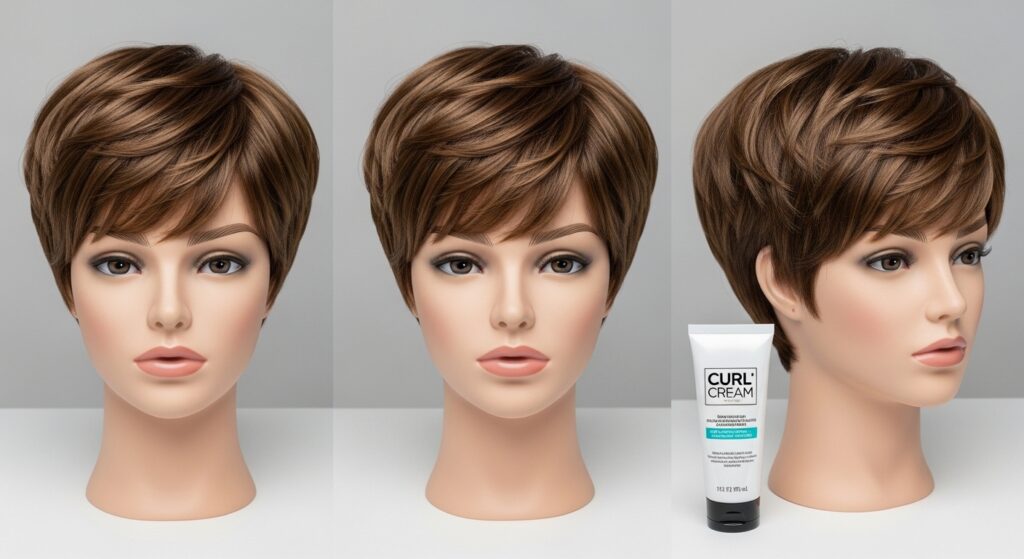
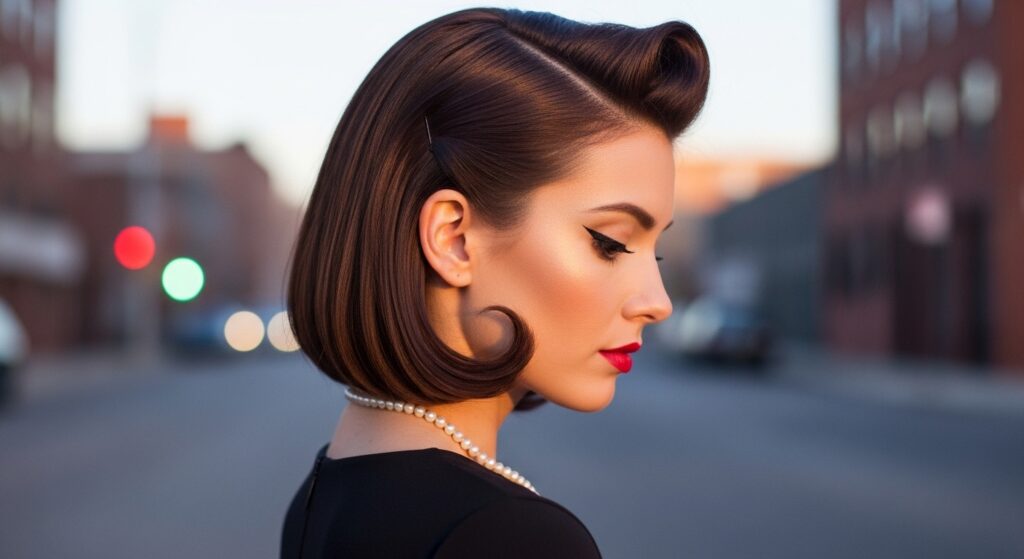
What If Your Hair is Short?
If you have a bob or lob, you can still do this! Create smaller, tighter rolls. Or, do a single, statement roll on one side and tuck the other side behind your ear.
Short hair often has more natural body, which can help. This is a gorgeous way to add drama to a hime cut or a sharp vampire haircut.
What If Your Hair is Very Long or Heavy?
Heavy hair needs more support. Make sure you backcomb thoroughly for internal structure. You might also need more—and stronger—bobby pins.
Consider creating two smaller rolls stacked vertically instead of one large one. This distributes the weight and is easier to secure.
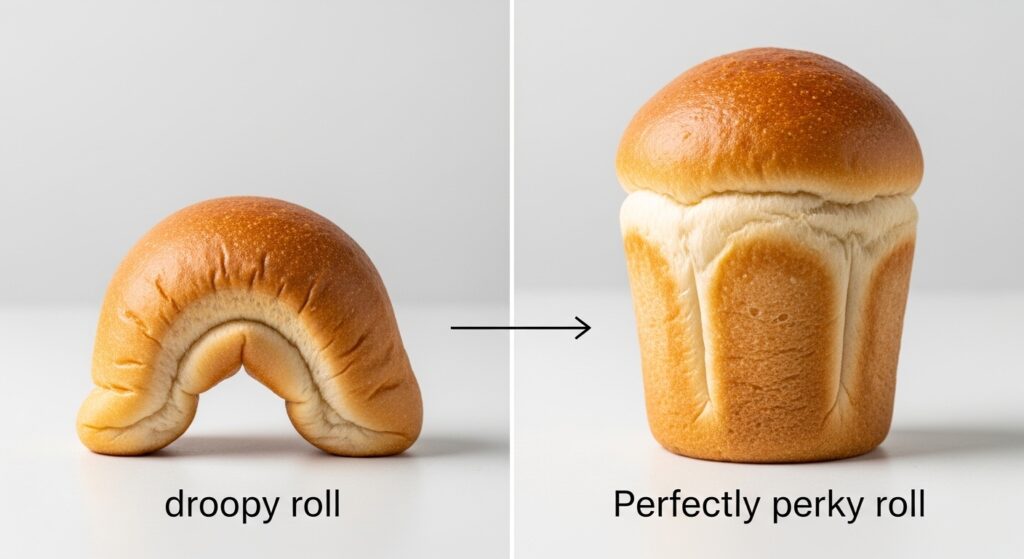
Troubleshooting a Saggy Roll
If your roll droops, it’s usually a base issue. Take it down. Re-tease the roots more firmly. When you re-roll, pin the *first* bobby pin in *very* tightly at the base.
Sometimes, the section was just too heavy. Try splitting it into two smaller sections for a double roll. More pins are always better than fewer.
Making It Last All Night Long
Carry a few extra bobby pins and a travel hairspray. If you feel it loosening, find a bathroom, give the base a quick respray, and slide in another pin.
Try not to constantly touch it. The oils from your fingers can break down the hairspray. It’s surprisingly resilient once set!
Modern Twists on the Classic Roll
Don’t be afraid to play! Try a messy, textured version with loose pieces for a glitchy glam hair vibe. Or, pair a super-sleek roll with a quiet luxury bob in the back.
Add a delicate scarf woven through the base, or a sparkly clip. This style is a fantastic base for accessories, blending retro and modern 2026 hairstyles trends.
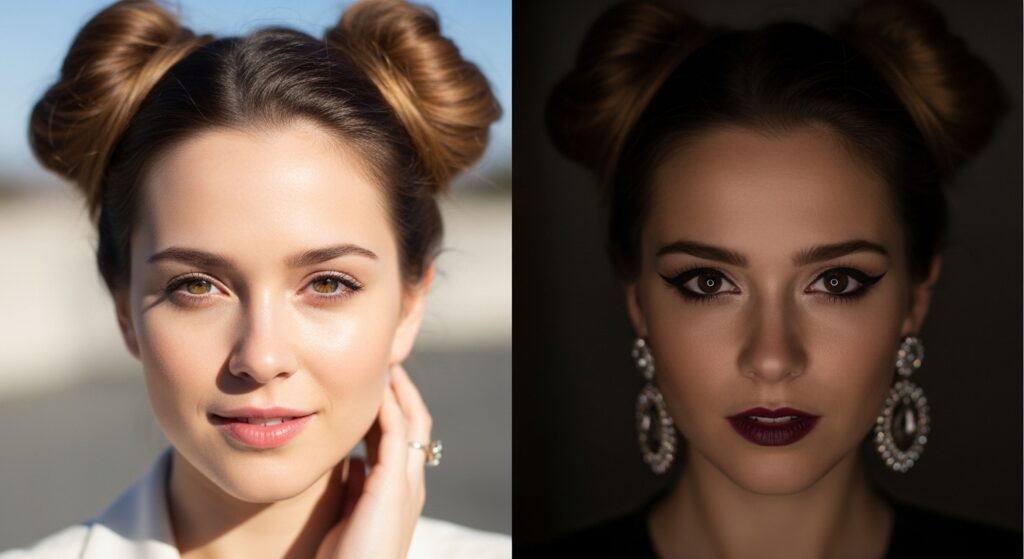
From Day to Night in Seconds
You did your rolls for work or daytime? Amazing. To transition to evening, pull out the back section of your hair and add more defined curls or waves.
Add a bold red lip or some dramatic eyeliner. You can also gently pull out a few more face-framing pieces for a softer, more romantic goth hairstyles inspired look.
Confidence is the Best Accessory
Walk out the door like you own the place. This hairstyle has a history of strength and optimism. That energy is part of the look.
It might feel bold at first, but I promise you’ll get compliments. It shows you care about the details, which is always in style.
Your Quick 5-Minute Victory Roll Checklist
- Start with day-old or dry-shampooed hair.
- Section diagonally from eyebrow to crown.
- Backcomb (tease) the section for hold.
- Roll the hair forward and under itself.
- Pin securely at the base against the roll.
- Smooth the top layer and spray to lock.
See? I told you it was possible. That whole “retro glam is too hard” idea is officially busted. With a little practice, those rolls will become your secret weapon for instant polish.
The beauty of this style is how it makes you feel—powerful, put-together, and playful all at once. It’s a reminder that a little vintage inspiration can fit perfectly into our modern, fast-paced lives.
Now I’d love to hear from you! Have you tried victory rolls before? What’s your go-to quick glam hairstyle? Tell me in the comments below!
Save this post to Pinterest so you can always find these steps when you need a dose of instant glam!