Textured Pixie Maintenance Mastered for Effortless Cool Look
Okay, let’s be real. You got the textured pixie because you wanted that perfect mix of low-maintenance and high-impact style. You craved that effortless cool look that says, “I woke up like this,” even if it took a little work. But maybe now you’re staring in the mirror, wondering how to keep it from looking flat, spiky, or just… off.
I’ve been there. The first few weeks after my big chop were a learning curve. But I figured it out, and now my pixie is my easiest, most confident look.
This isn’t about complicated routines. It’s about mastering a few simple steps to make your textured pixie work for you every single day. Think of this as your quick-start guide to maintenance, so you can spend less time styling and more time rocking that incredible cut.
Let’s get into the details and make your life easier.
Why a Textured Pixie is the Ultimate Cool-Girl Cut
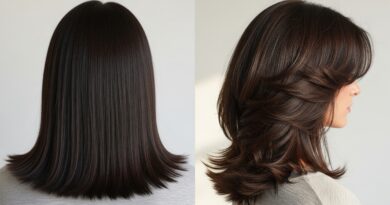
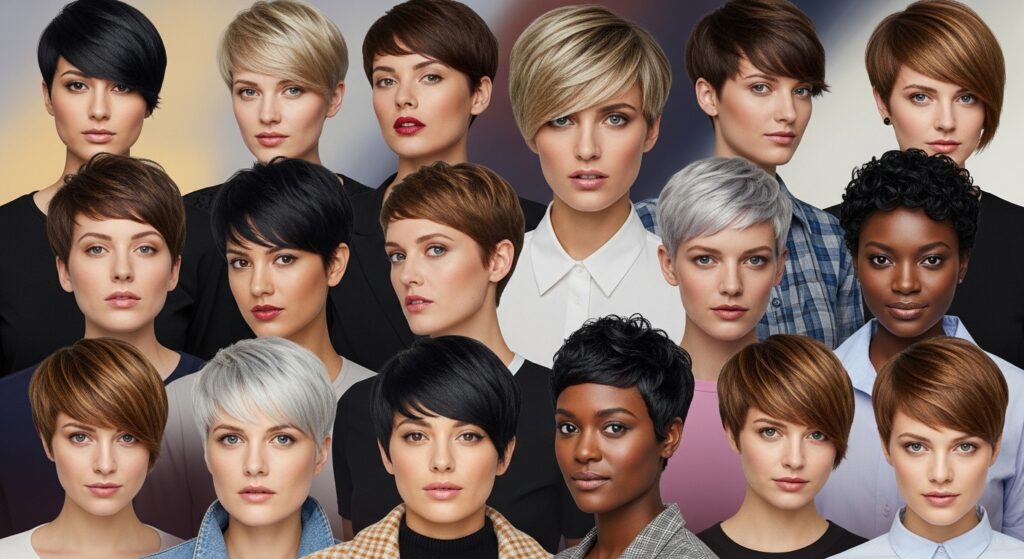
A textured pixie is more than just short hair. It’s a statement. The layers and piece-y ends create movement and dimension that longer hair just can’t match. It frames your face in the most flattering way and highlights your best features.
It’s the foundation for so many vibes—from an old money hair look with a sleek finish to something more edgy and modern. It’s incredibly versatile, which we’ll prove in a bit. The key is in the maintenance, which is simpler than you think.

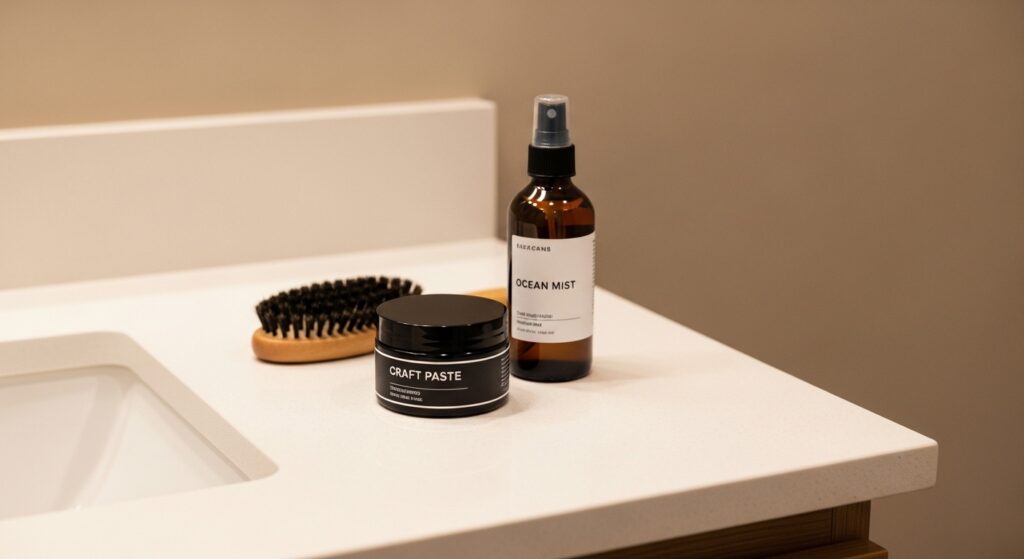
The Non-Negotiable Products You Actually Need
You don’t need a shelf full of products. You need three heroes. A good texturizing paste or cream is your best friend for defining those pieces. A light-hold sea salt spray adds grit and volume at the roots.
Finally, a small round brush for your blow-dryer is a game-changer for directing your hair. That’s truly the core toolkit. Anything else is just bonus.
Your 5-Minute Daily Styling Routine
- Start with damp, towel-dried hair. Apply a pea-sized amount of your texturizing product from roots to ends.
- Use your fingers to rough-dry your hair, lifting at the roots for volume. Aim the dryer downward to smooth any cowlicks.
- For the front pieces, use the small round brush to direct hair where you want it—side-swept or up and back.
- Finish with a quick blast of cool air to set the style. Done!
How to Wash Your Hair for Maximum Texture
Washing is where texture begins. Use a volumizing shampoo and conditioner, but only apply conditioner to the very ends of your hair. Avoid the roots at all costs—we need that natural lift.
Rinse with cool water to help seal the hair cuticle and boost shine. When you towel dry, don’t rub. Instead, scrunch your hair gently with the towel to encourage your natural wave and texture.

Conquering the Dreaded “Morning Flattening”
We all wake up with a flat side. Don’t panic. Dampen your hands slightly and run them through your hair to reactivate yesterday’s product. If it’s really flat, spritz just the roots with a water-and-sea-salt-spray mix.
Use your fingers to lift and tousle. Often, you don’t need to fully wet or re-wash. A little strategic dampness and fluffing brings the life right back.

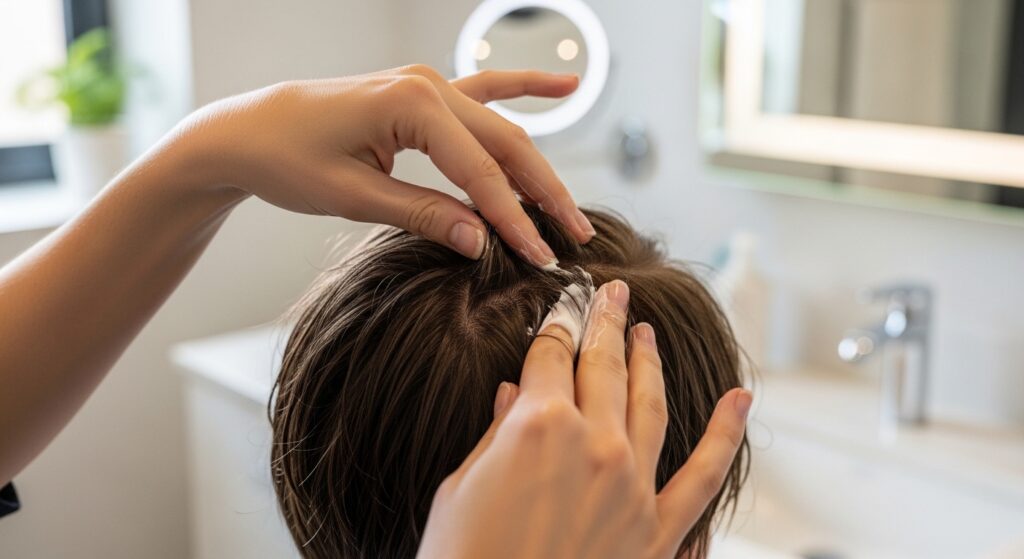
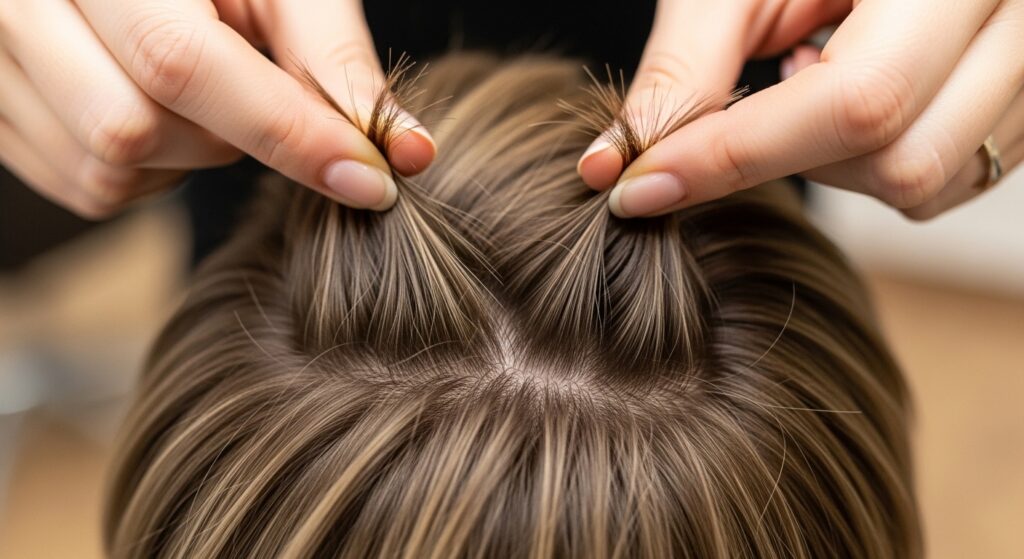
Getting the Perfect Piece-Y Ends
This is the signature of the cut. After applying your paste, don’t just smooth it on. Pinch the very ends of random sections between your thumb and forefinger.
Twist slightly and push upwards. This separates the ends and creates that “lived-in,” piece-y effect that looks intentional, not messy. Focus on the front and crown areas.
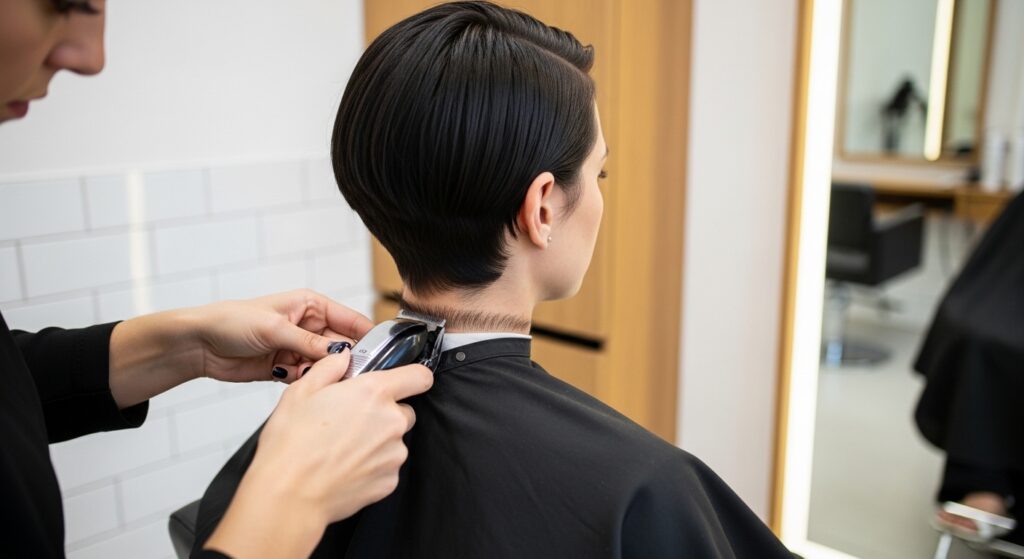
Trims & Shape-Ups: How Often is Enough?
To keep that effortless shape, you need regular trims. I see my stylist every 4-6 weeks. It sounds frequent, but it’s just a quick cleanup of the neckline and around the ears.
It maintains the architecture of the cut so it always looks fresh. Letting it go too long means losing the shape and starting over, which is more work.
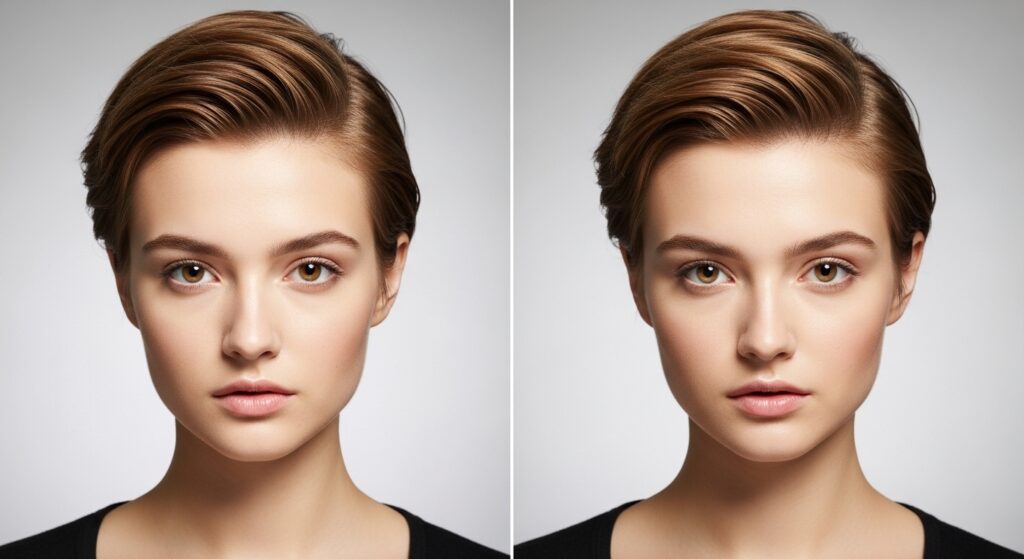
Switching Up Your Part for Instant Volume
The easiest trick for new volume? Change your part. If you normally part on the left, try switching it to the right while your hair is damp and styling.
Even a subtle center part can make your pixie look completely different. It trains the hair to lift from a new direction, giving you major body without any extra product.
From Day to Night: A 60-Second Upgrade
Got a date or dinner plans? Amp up your daytime pixie in under a minute. Add a tiny bit more paste just to the front sections for extra definition.
Slick down any baby hairs with a clear brow gel for a polished edge. Or, add a touch of shine serum to the ends for a more glamorous, glitchy glam hair finish.

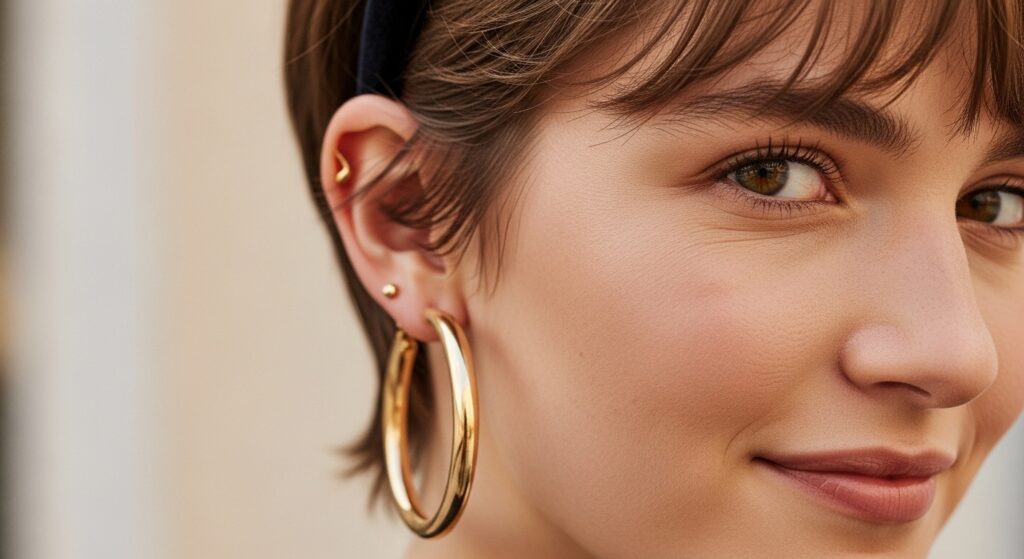
Accessorizing Your Pixie Like a Pro
Short hair loves accessories. A simple pair of statement earrings becomes the star. Try a delicate headband pushed back just from the hairline for a chic touch.
For a bolder look, use two small, decorative clips to sweep one side back. It’s an easy way to play with the romantic goth hairstyles or vampire haircut aesthetic without the commitment.
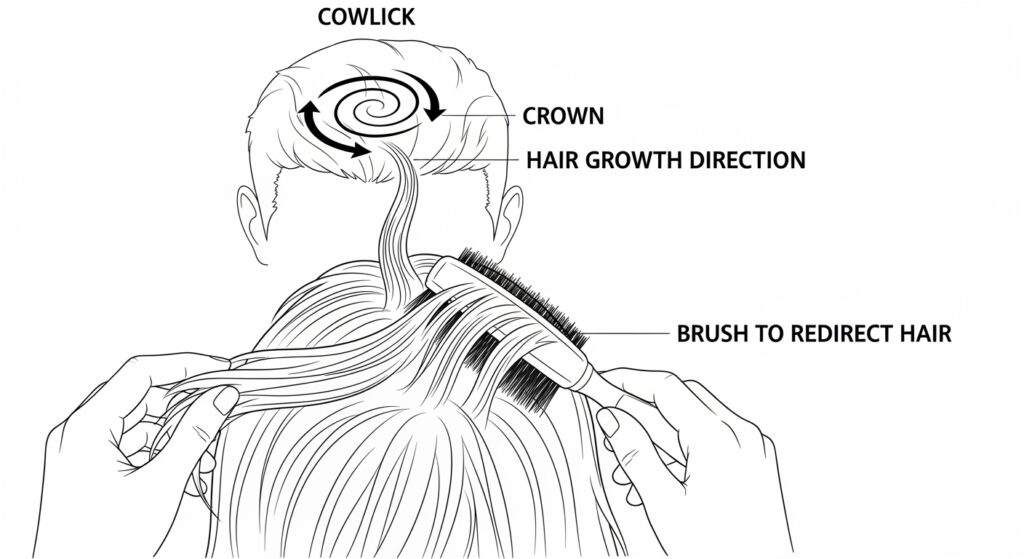
Managing Cowlicks and Stubborn Hair
Cowlicks are not the enemy. Work with them, not against them. Identify the direction your cowlick grows. When blow-drying, direct the hair in that same direction first to smooth it.
Then, use the round brush to lift the hair opposite the cowlick to create balance. A little strong-hold spray at the base can help train it over time.
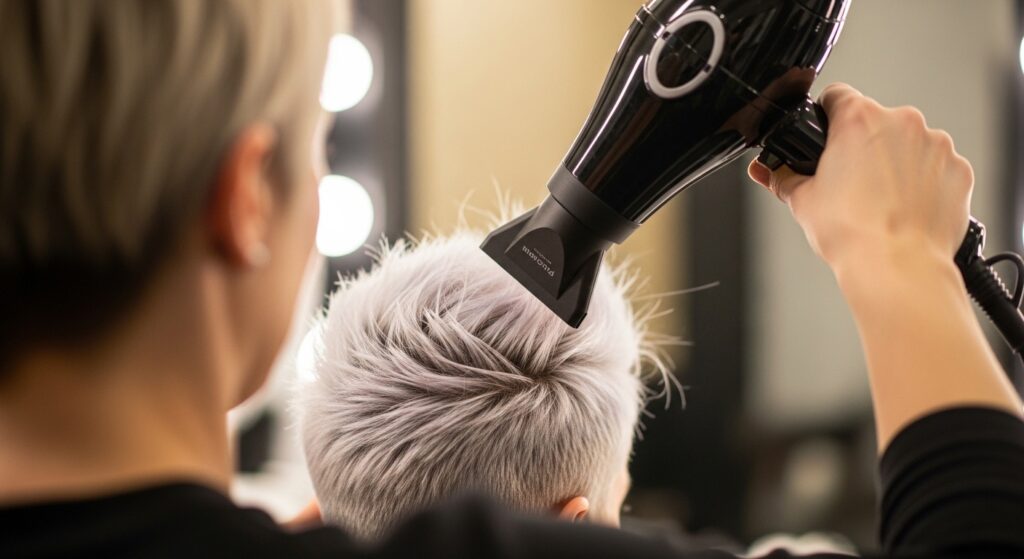
The Blow-Drying Technique That Changes Everything
Direction is everything. Always point the nozzle of your dryer downward along the hair shaft. This smooths the cuticle and adds shine, preventing frizz.
For volume, once hair is 90% dry, flip your head upside down and blast the roots for 30 seconds. Flip back and gently arrange with your fingers.
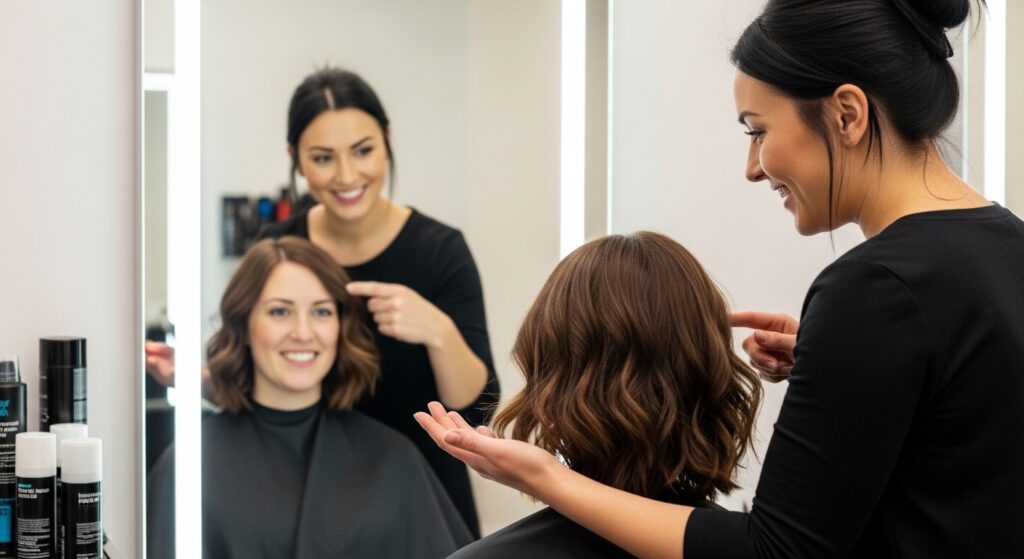
What to Ask Your Stylist at Your Next Appointment
- “Please focus on texturizing the ends—I want it piece-y, not blunt.”
- “Can we keep the back and sides tight but soft, not too sharp?”
- “I’d like enough length on top to play with texture and movement.”
- “Show me how to style this specific cut with my hands, not just tools.”
Summer & Humidity Hacks for Your Pixie
Humidity can make a pixie frizz or go limp. Fight back with an anti-humidity spray as your first product layer. Embrace the wave with a curl-defining cream instead of a paste.
If it’s a really sticky day, go for a sleek look: use a stronger pomade to slick hair back, channeling that quiet luxury bob energy but in pixie form.

Winter Care: Avoiding Static and Dryness
Cold air and hats are drying. Use a hydrating mask on your ends once a week. To combat hat hair, choose looser beanies instead of tight knits.
If static is a problem, run a dryer sheet over your hair quickly. A tiny drop of argan oil on your palms, rubbed then scrunched into ends, adds moisture and fights flyaways.

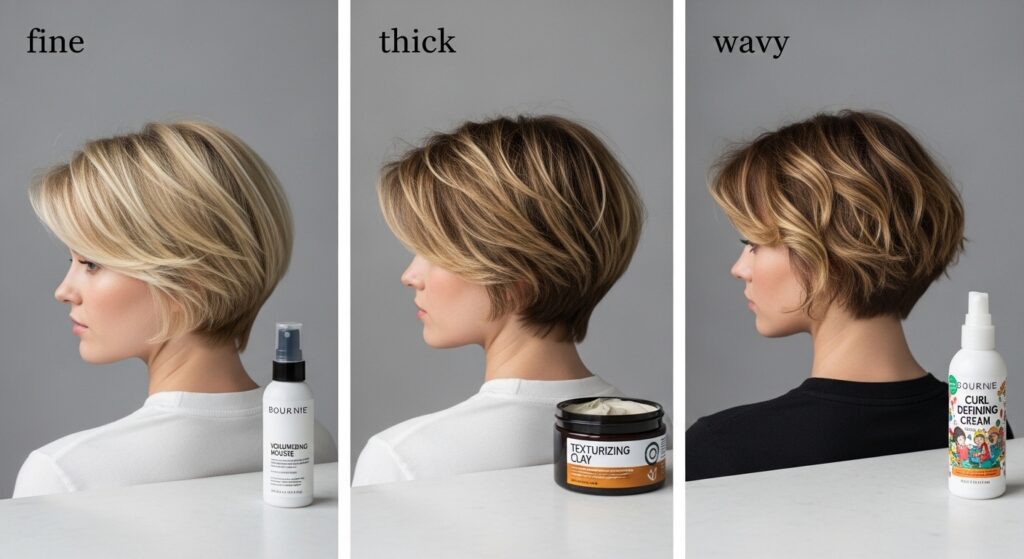
Finding Your Texture “Sweet Spot”
Not all texture is the same. Fine hair needs lighter products like mousses or sprays. Thick hair can handle pastes and waxes. Wavy hair should enhance its pattern with creams.
Play around. The goal is hair that moves and feels like hair, not a helmet. Your sweet spot is when it looks styled but you can still run your fingers through it.
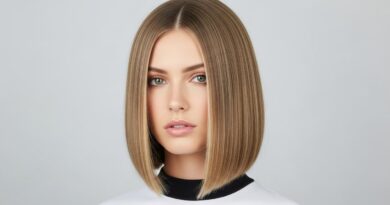
Pixie Inspiration: The Textured Asymmetrical Lob Cousin
Love the pixie but thinking of growing it out? Aim for a textured asymmetrical lob. It keeps that piece-y, cool-girl texture but with a bit more length to play with.
The maintenance principles are the same: focus on ends, use texture products, and embrace air-drying. It’s a natural next step that still feels very “you.”

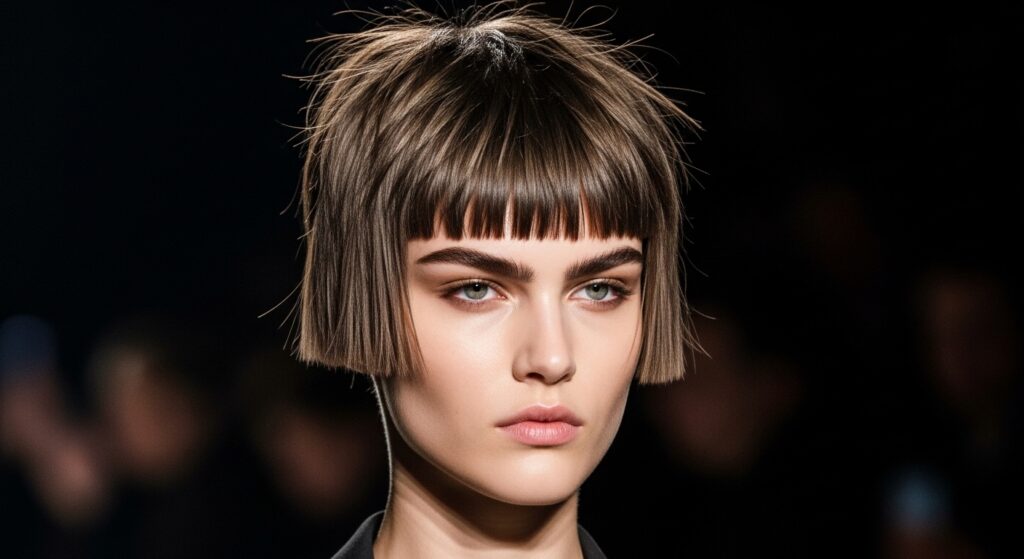
Merging Trends: Pixie Meets Hime Cut Bangs
Want to tap into a major trend? Ask your stylist for blunt, straight-across bangs with your textured pixie. It’s a fierce mix of the edgy pixie and the iconic hime cut.
The contrast between the heavy bangs and the tousled back is stunning. It’s a bold look that’s still surprisingly low-maintenance.
Why This Cut is a Forever 2026 Hairstyle
Trends come and go, but a perfectly textured pixie is timeless. It’s the ultimate shortcut to looking put-together. It embodies confidence and ease.
As we look at 2026 hairstyles predictions, the focus is on individuality and low-fuss wearability. A mastered textured pixie fits that perfectly. It’s not just a cut; it’s an attitude.
My Biggest Pixie Mistake (And How to Avoid It)
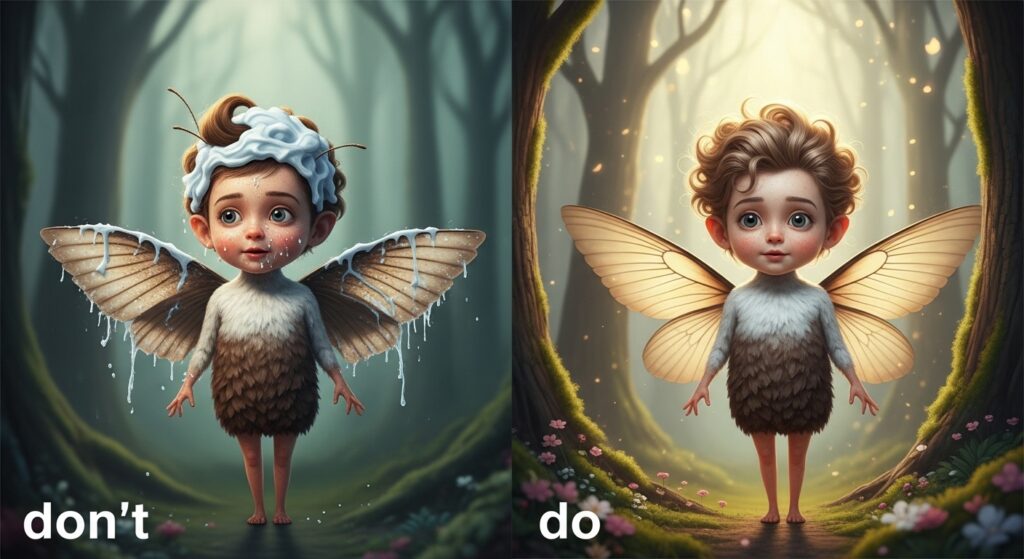
I used to over-product. I’d glob on paste thinking “more hold, better style.” Wrong. It made my hair look greasy and crunchy.
Start with less than you think you need. You can always add more. Remember, we’re going for effortless, not engineered. Less is almost always more with texture products.
Your Confidence is the Best Product
Finally, the most important part of rocking this cut is owning it. Stand up straight. Wear the earrings. Smile. This cut is bold, and it requires a bit of boldness from you, too.
The coolest look comes from how you carry yourself. When you feel good in your hair, it shows. That’s the real secret to an effortless cool look.
And there you have it—your complete roadmap to a pixie that works for you, not the other way around. It really comes down to a few key habits and the right mindset. Once you lock these in, your morning routine becomes a breeze.
Remember, hair is meant to be fun. It’s okay to have a bad hair day. Just dampen it, scrunch it, and roll with it. The texture is forgiving, and so should you be.
I hope this helps you love your short hair journey even more. Now, I’d love to hear from you! What’s your number one pixie struggle or your best tip? Spill it in the comments below!
Save this post to Pinterest to keep these tips handy for your next styling session or trim appointment!