Braiding on Wet Hair Guide for Sleek Results
Okay, let’s talk about a little secret that changed my hair game. Braiding wet hair. It sounds simple, but doing it right is the difference between a frizzy mess and the sleekest, smoothest waves or braids you’ve ever had. I used to be so impatient and just braid my dry hair, wondering why it never looked as polished as I wanted.
Then I learned the method. It’s not just about grabbing damp sections and twisting. There’s a whole process to it that locks in moisture, reduces frizz, and gives you that incredible, defined texture. Whether you’re going for a classic look or something more trendy, starting on wet hair is your foundation.
This guide is your quick, no-fuss walkthrough to getting it perfect every single time. I’m breaking down everything from prep to product to the actual braiding techniques. You’ll be a pro in no time, I promise.
Why Wet Hair Braiding Works (The Science!)
Braiding wet hair works because you’re styling your hair as it dries. The water weight helps stretch the hair shaft slightly, and as it evaporates, your hair sets into the shape of the braid. This process smooths the cuticle down, which is what gives you that glossy, frizz-free finish.
Think of it like setting a memory into your strands. Dry hair has a mind of its own, but wet hair is more pliable. By guiding it into a braid as it dries, you’re training it to hold that smooth, defined pattern for days. It’s the ultimate heat-free, damage-free styling trick.
The Absolute Must-Have Prep Steps
Don’t skip prep! It’s what makes the magic happen. Start with hair that’s towel-dried, not dripping wet. Gently squeeze out excess water with a microfiber towel or an old cotton t-shirt—this prevents breakage.
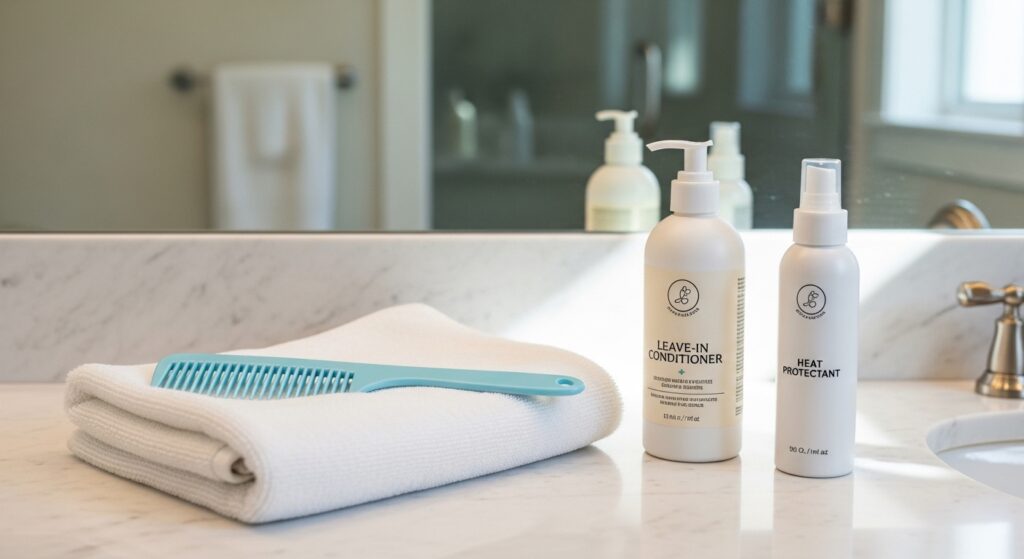
Next, detangle with a wide-tooth comb, starting from the ends. This is the perfect time to apply your styling products. A good routine looks like this:
- A leave-in conditioner for moisture.
- A heat protectant (even if you’re air-drying!).
- A defining cream or light-hold mousse for control.
Choosing Your Perfect Product Cocktail
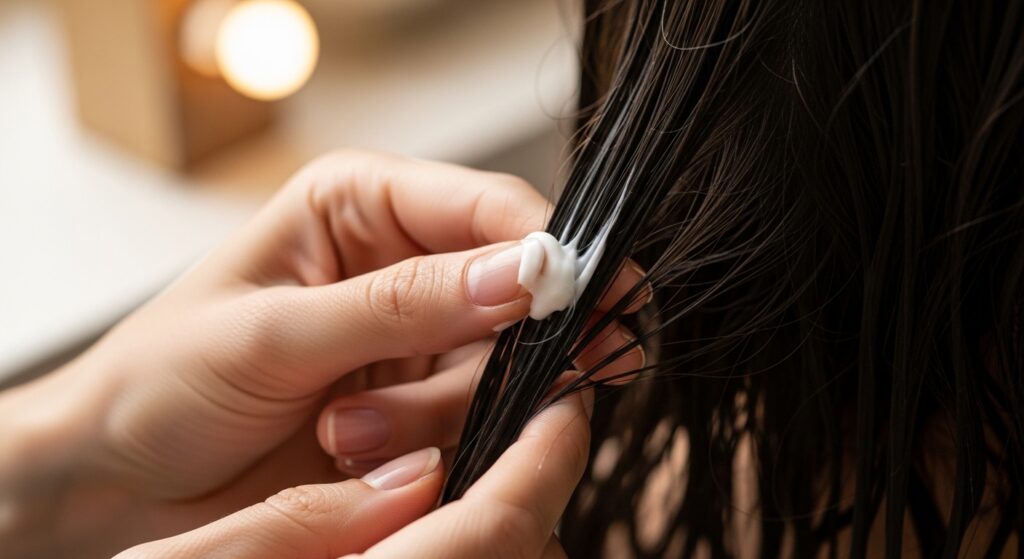
The right products make all the difference. For fine hair, use lightweight formulas like a milky leave-in and a texturizing mist. You want hold without heaviness. For thick or curly hair, you’ll need more moisture and control.
I love a smoothing cream for most hair types—it tames frizz without being crunchy. If you’re after serious sleekness, a light gel or a strong-hold mousse applied to soaking wet hair before you braid will give you that perfect, polished look, perfect for a quiet luxury bob vibe.
How Wet Should Your Hair Actually Be?
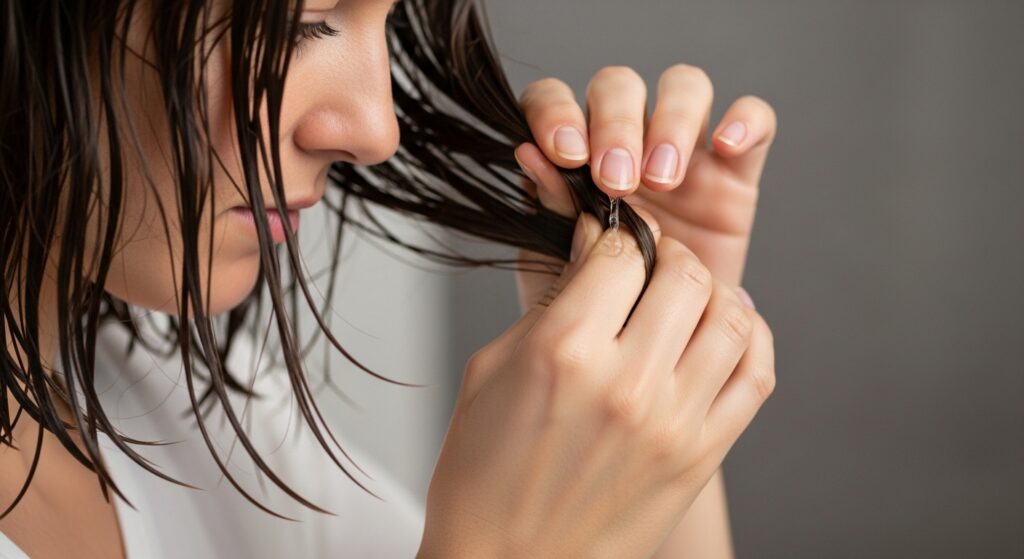
This is the most common question. The sweet spot is “damp.” Your hair should feel cool to the touch and clump together slightly, but you shouldn’t be able to wring water out of it. If it’s too wet, it will take forever to dry and might even mildew inside the braid (yuck!).
If it’s too dry, you lose the smoothing, frizz-fighting benefits. A good test: after applying your products, your hair should feel supple and coated, not soggy or sticky. This is the ideal canvas for any braid, from simple three-strand to more intricate styles.
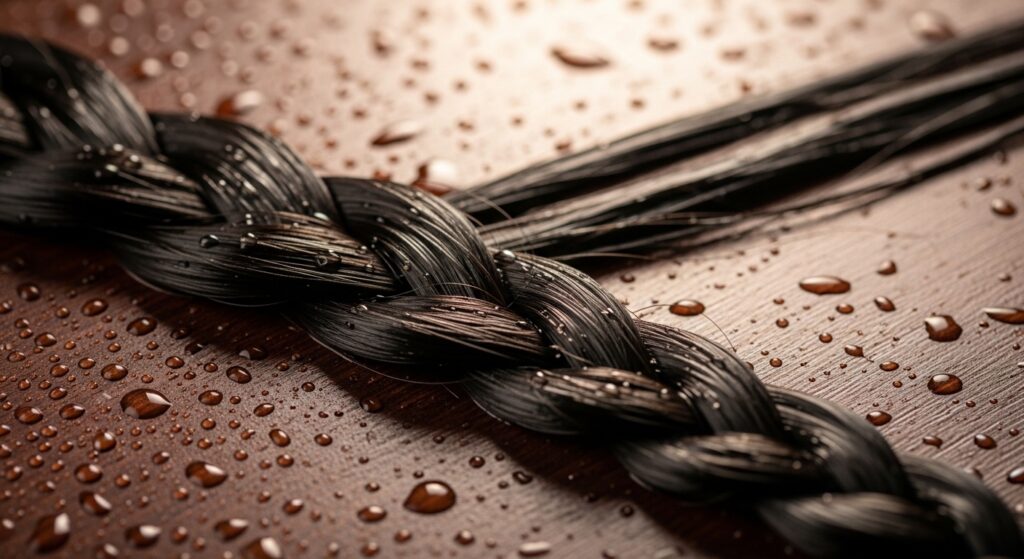
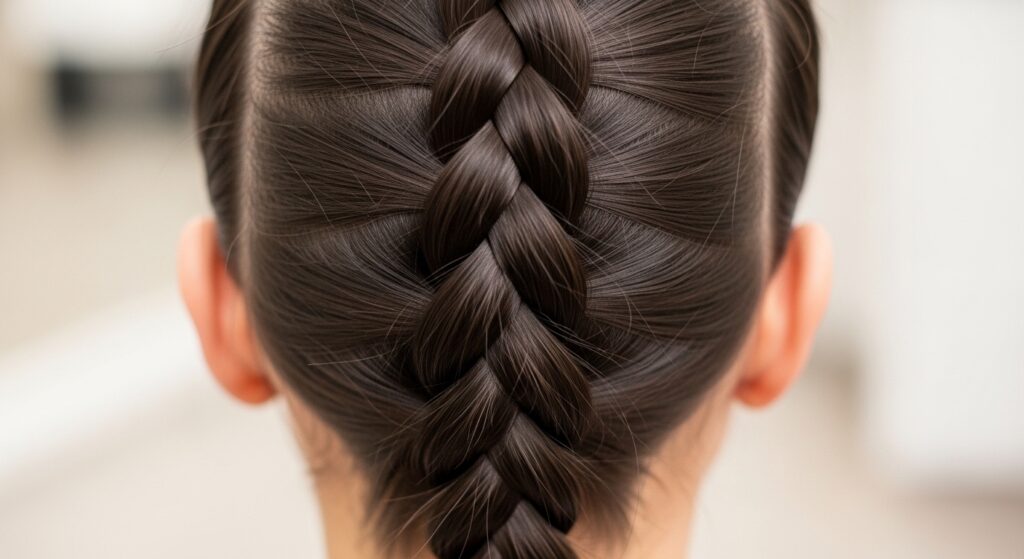
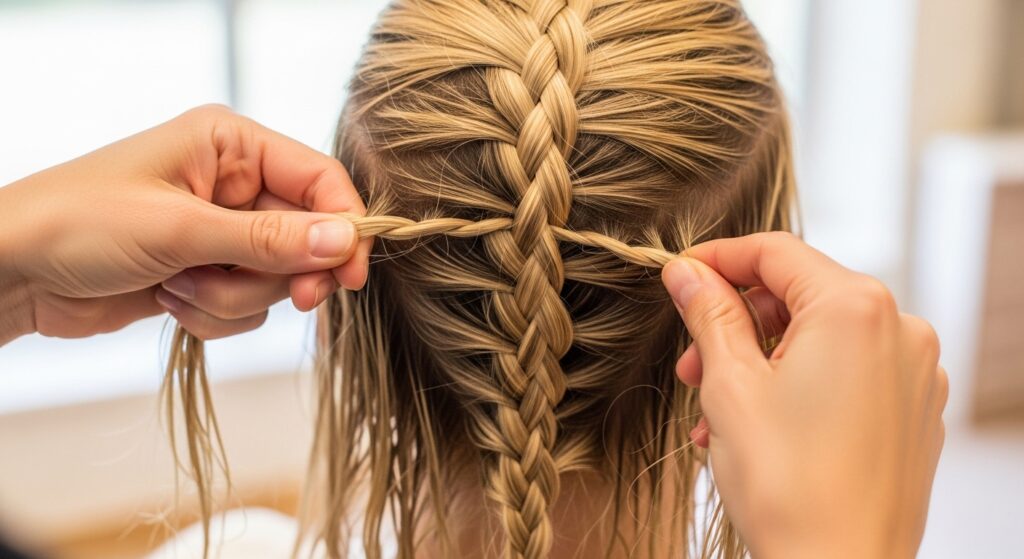
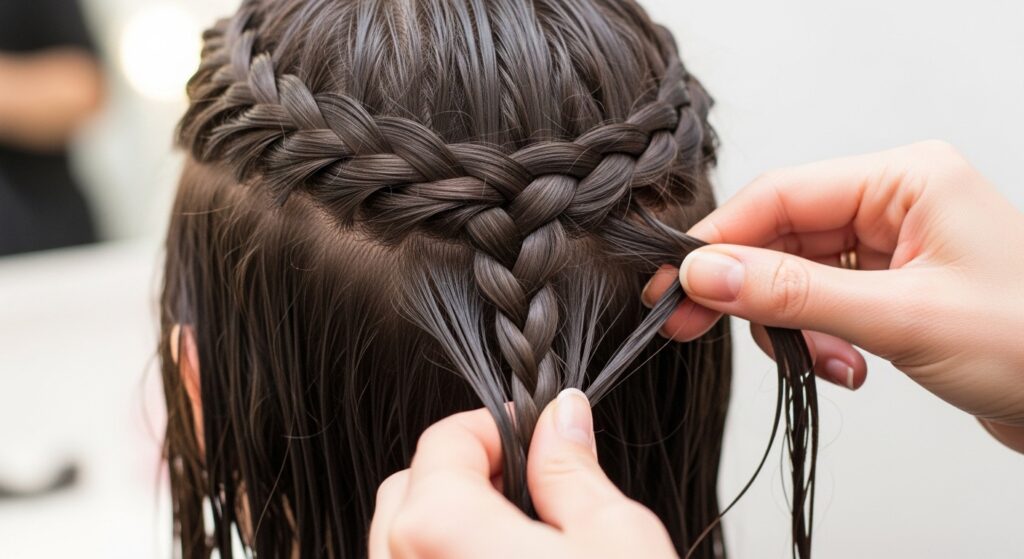
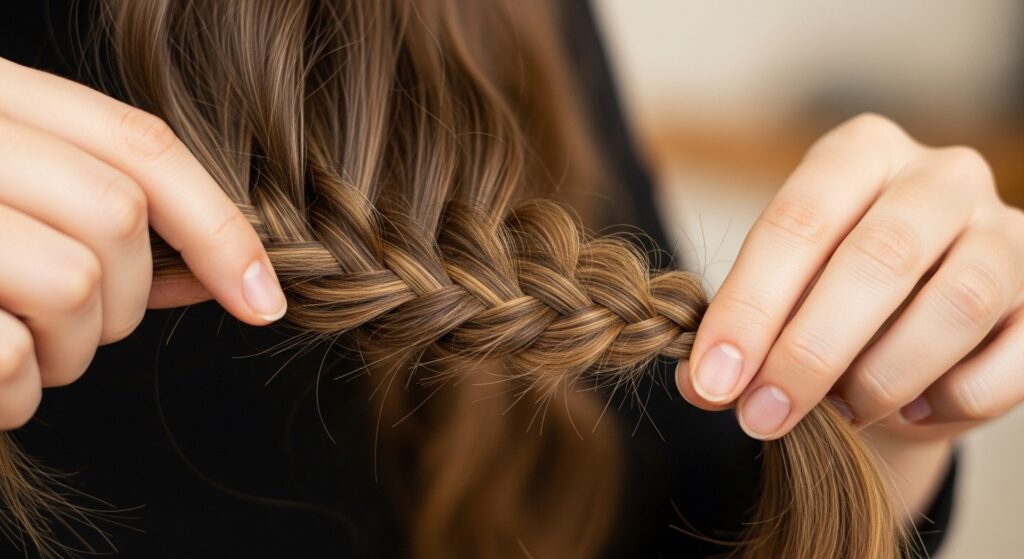
Basic Three-Strand Braid on Wet Hair
Let’s start with the classic. On damp, product-treated hair, part your hair where you want it. Take a section at the top and divide it into three even pieces. The key here is tension—keep it consistent and snug, but don’t pull too tight.
As you braid down, make sure you’re incorporating all the hair smoothly. Secure the end with a soft hair tie, like a coil or silk scrunchie, to prevent dents. This is your foundation for beautiful waves or a neat, polished braid you can wear out.
Dutch or Inside-Out Braids for Volume
Dutch braids are my go-to for a sporty-chic look that lasts. Instead of crossing strands over, you cross them under. This makes the braid sit on top of your head, giving the illusion of more volume at the roots when you take it out.
On wet hair, this technique gives an incredibly clean, defined look. It’s perfect for creating a regal, hime cut inspired half-up style or just keeping hair totally off your face while it dries into beautiful, textured waves.
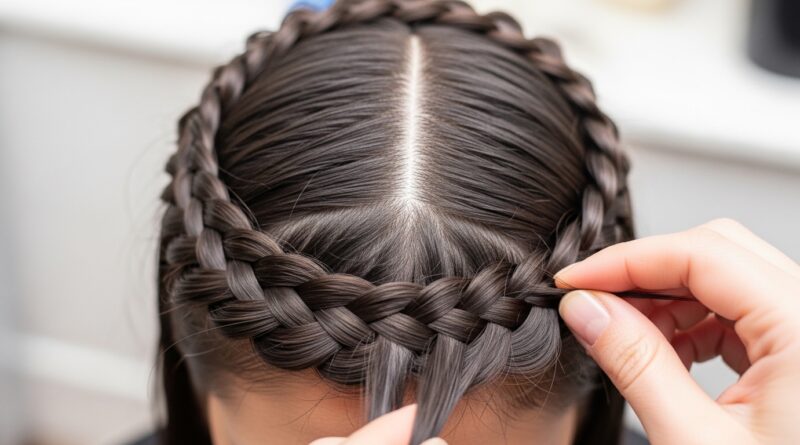
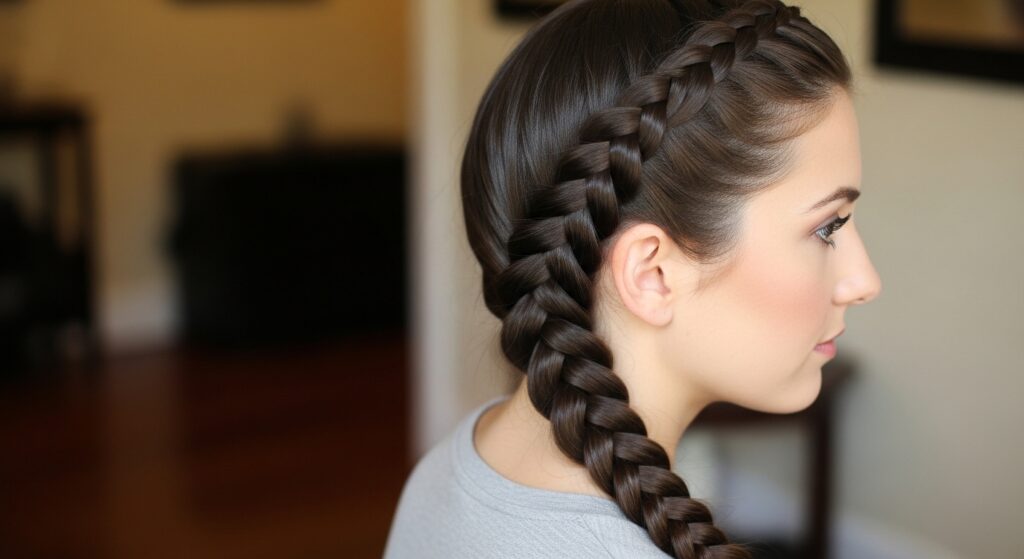
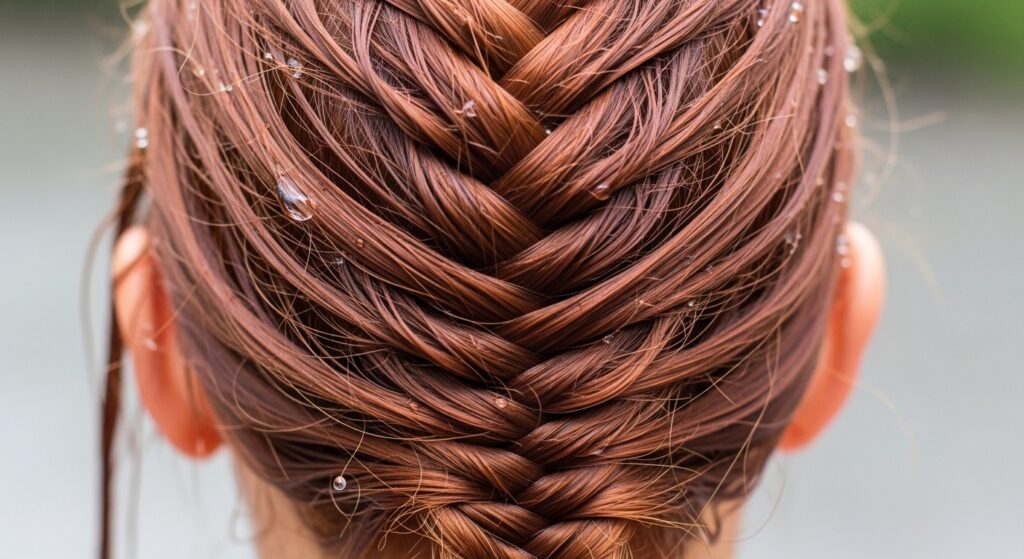
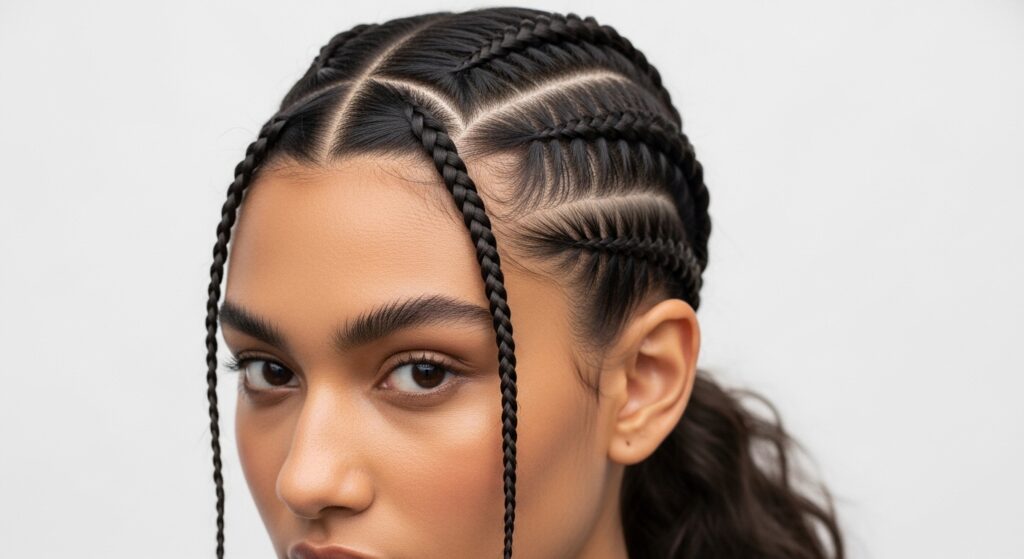
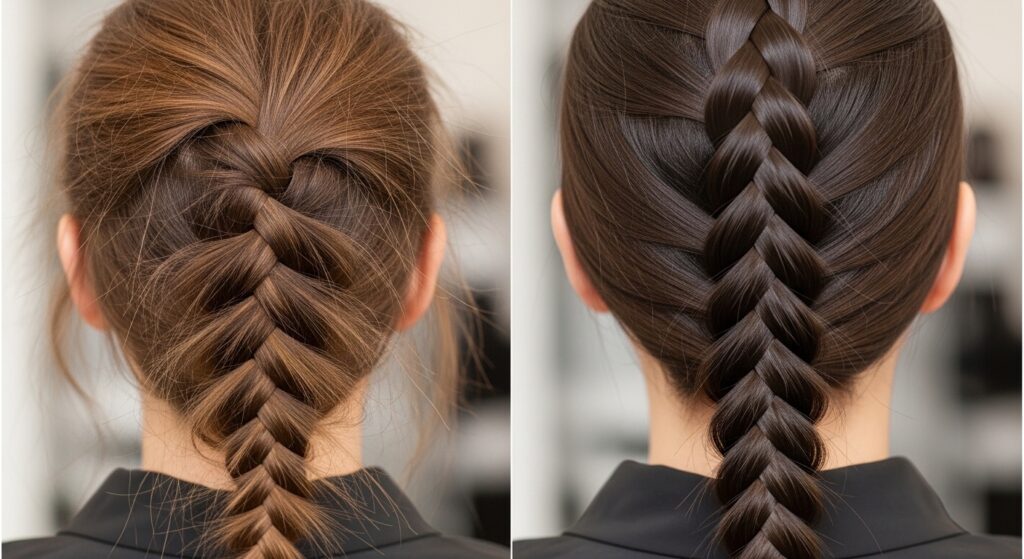
French Braiding from Damp to Dry
The French braid is the ultimate sleek style. Start at the crown of your damp hair, taking small, even sections as you go. The wet hair helps everything stick together, making it easier to keep the braid tight and neat against your scalp.
This is a fantastic protective style. Once it’s completely dry, you can take it out for gorgeous, uniform waves with a romantic, almost old money hair feel—effortless and perfectly put together.
Fishtail Braids for That Boho Texture
Fishtails look complicated but are so easy once you get the rhythm. On damp hair, they come out incredibly crisp. Divide your hair into two main sections. Take a tiny piece from the outside of the left section, cross it over, and add it to the inside of the right. Repeat from the other side.
The dampness holds these small pieces together, so the braid doesn’t get loose or fuzzy. When you unravel it, you get a beautiful, piecey wave that’s perfect for 2026 hairstyles leaning into detailed, artisanal texture.
Creating Sleek Ponytail Braids
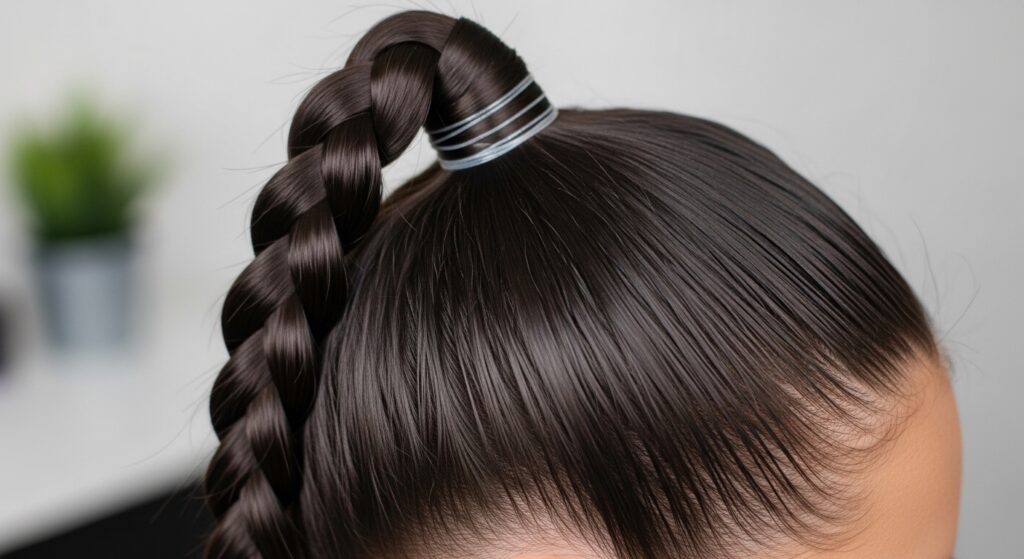
For the gym or just a super-polished look, a braided ponytail on wet hair is unbeatable. First, make a sleek ponytail on your damp hair. Use a brush and a bit of gel around your hairline to get every flyaway smooth.
Then, simply braid the ponytail itself. Because the base is so smooth and the hair is damp, the entire style will dry unified and sleek. It’s a simple way to feel put-together with zero effort the next day.
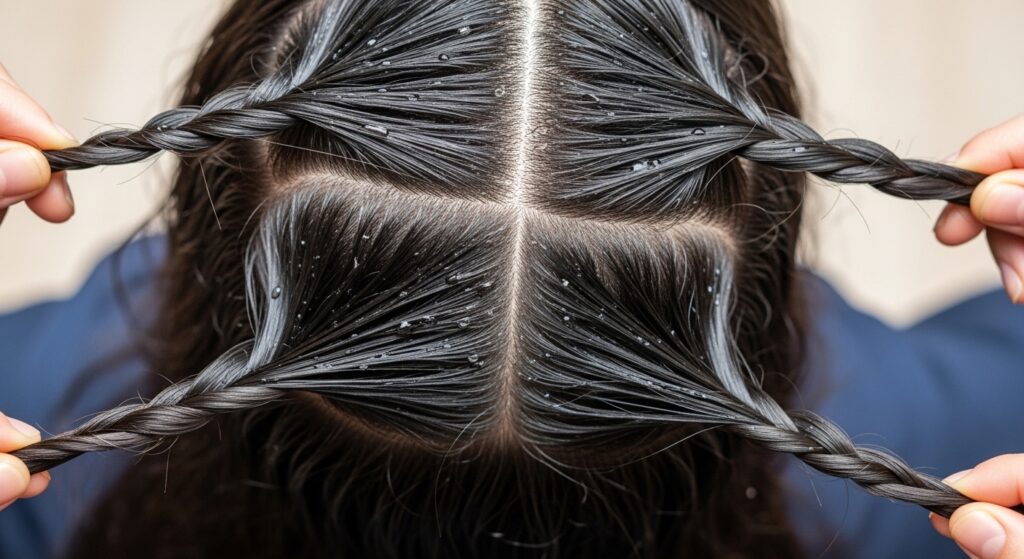
Double Braids & Space Buns
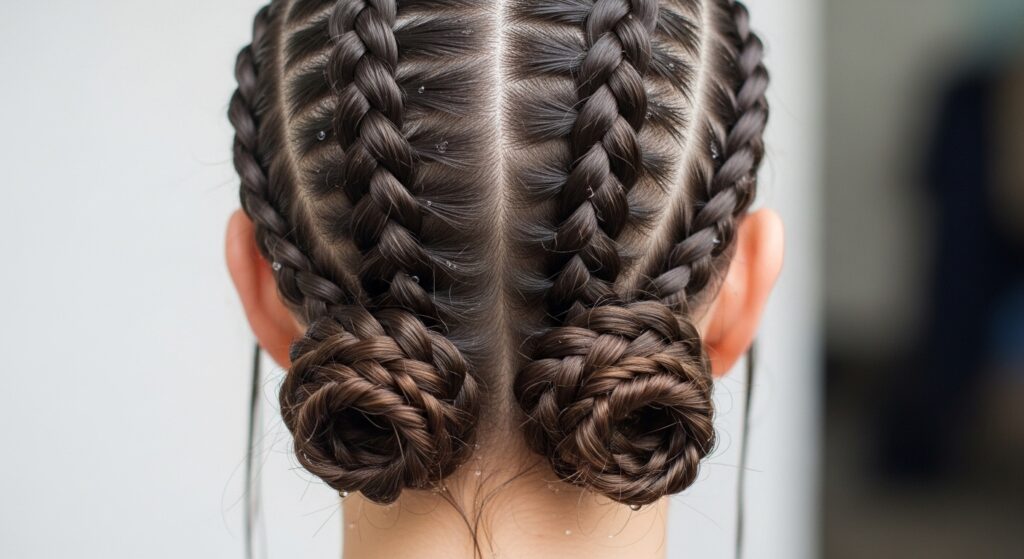
Double braids aren’t just for kids! Done on damp hair, they give you an amazing, symmetrical wave pattern. Part your damp hair down the middle and create two identical braids—French, Dutch, or basic. The key is making them the same tightness.
For a fun twist, coil the ends into space buns while they’re still damp. Let them dry completely. When you take them down, you’ll have incredible, uniform texture perfect for that playful yet edgy glitchy glam hair aesthetic.
Braiding for an Asymmetrical Lob
If you have a gorgeous asymmetrical lob, wet braiding can add style while it dries. Try a single, small Dutch braid along the side with more hair, starting at your temple and braiding back toward your ear. This keeps hair off your face and creates a beautiful wave pattern on that one striking side.
It accentuates the cut’s sharp lines and gives you a styled look while you’re just air-drying. It’s practical and fashion-forward, giving that “I woke up like this” vibe with intention.
Accentuating a Vampire Haircut
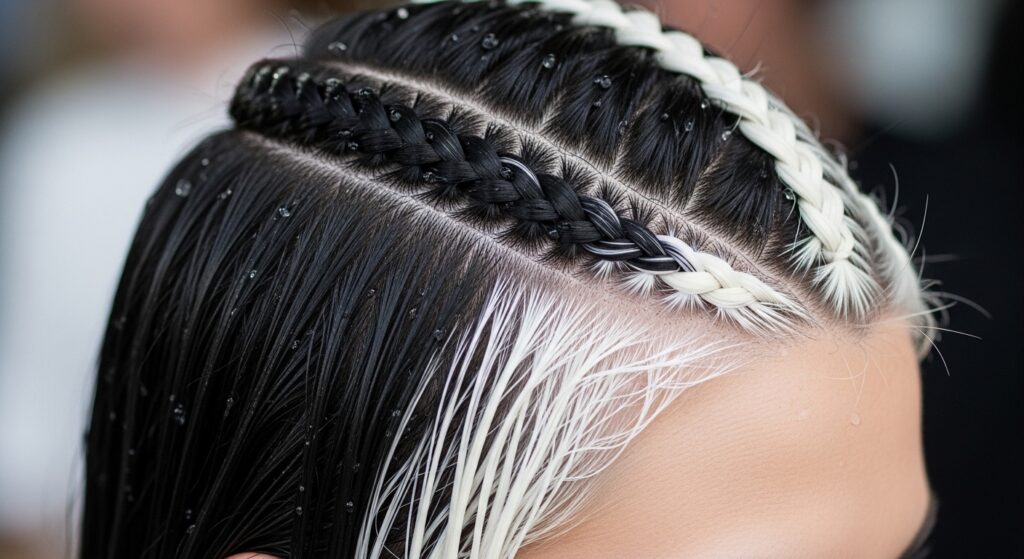
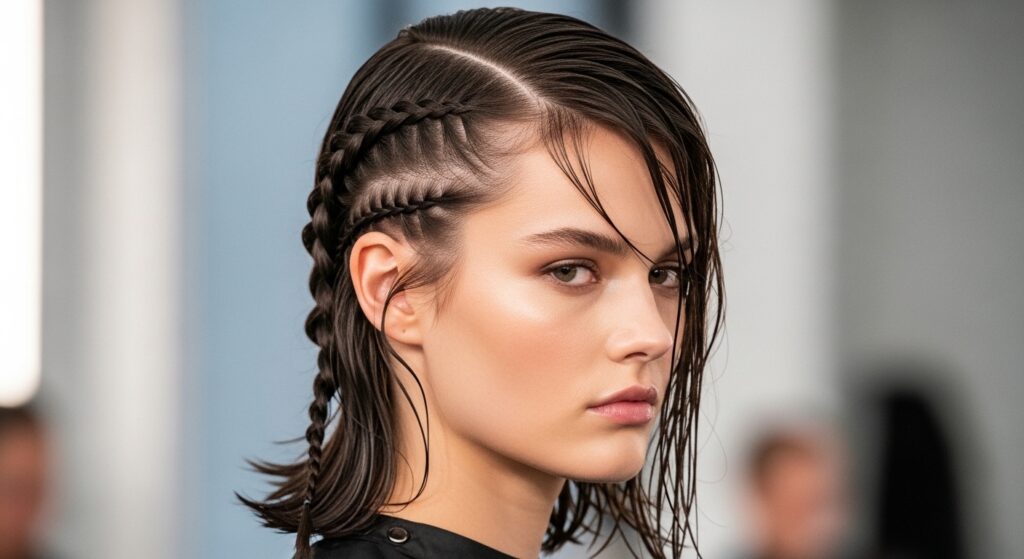
The vampire haircut is all about dramatic layers and often bold color. Braiding damp hair is perfect for this style. Try a few small, tight cornrows or flat braids along the front sections.
As it dries, it will sharpen the look of your layers and color blocks. When you take the braids out, you’ll have a deeply textured, piecey finish that totally fits the romantic goth hairstyles mood—undone but deliberate.
Heat-Free Waves for Long Hair
This is the classic reason we all braid wet hair! For long hair, try splitting it into 2-4 sections. Braid each section loosely. The more braids you do, the tighter and more defined your waves will be. For beachier waves, stick to two loose braids.
Sleep on them or let them dry during the day. When you unravel, gently separate the waves with your fingers and a light oil. You’ll have gorgeous, heat-free body that lasts.
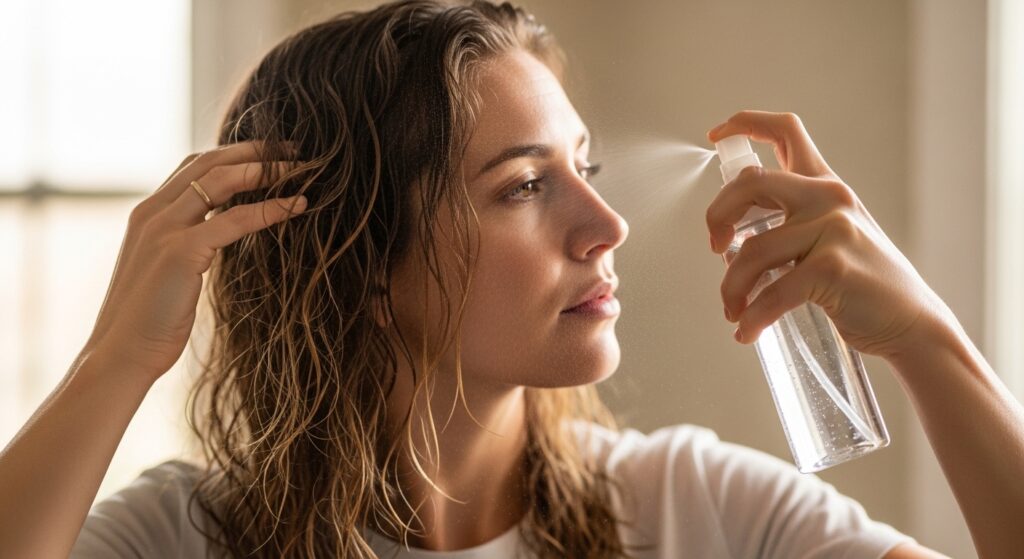
Heat-Free Waves for Short & Medium Hair
Short hair can be trickier, but it works! Focus on braiding just the top layers or the sections that frame your face. Create a few small, flat braids where you want the most wave. For a quiet luxury bob, a single, hidden braid along your part can give just a hint of bend.
Since your hair dries faster, you might need to mist it with water to keep it damp enough while braiding. The result is a natural, piecey texture that gives life to shorter cuts.
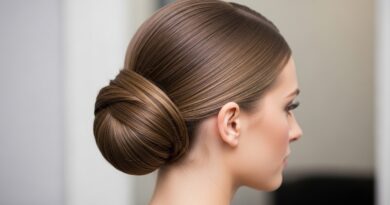
The Crown Braid Hack
A crown braid on damp hair is a secret weapon for second or third-day hair. Start with damp, product-treated hair. Do a loose Dutch or French braid along your hairline, circling your head. Pin it in place as you go.
Because the hair is damp, it will be easier to manipulate and will set into place without flyaways. Once dry, you have an elegant, lasting updo. It’s a timeless look that feels both romantic and regal.
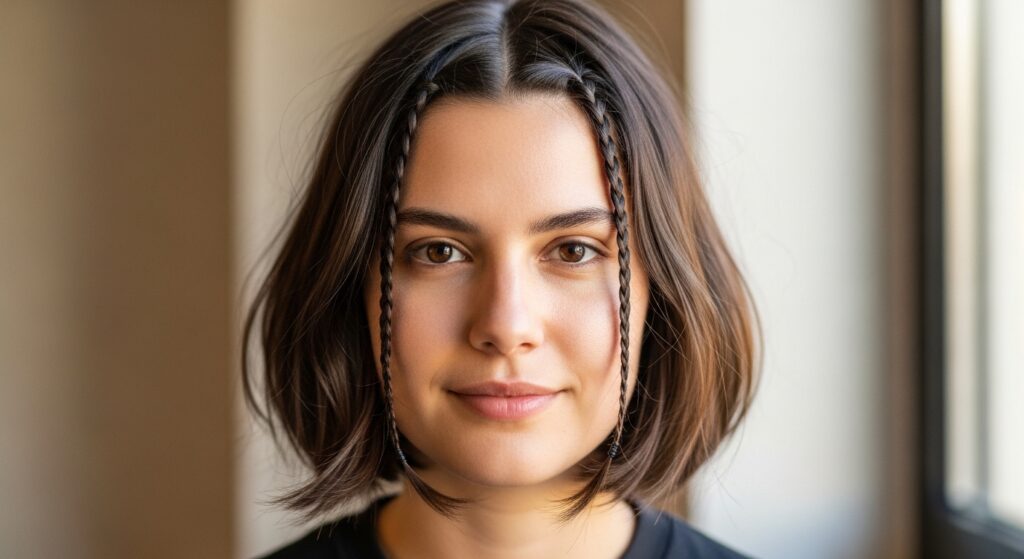
Braiding Just the Front Sections
You don’t have to braid all of it! Sometimes just taming the front does the trick. On damp hair, create two small braids starting at your temples, pulling them back like a headband. Or do a single braid along your part.
This keeps those pesky shorter layers in check while the rest of your hair dries freely. It gives a boho, styled feel without the commitment of a full-head braid, and it’s a great intro to the technique if you’re new to it.
Overnight Braiding: Do’s and Don’ts
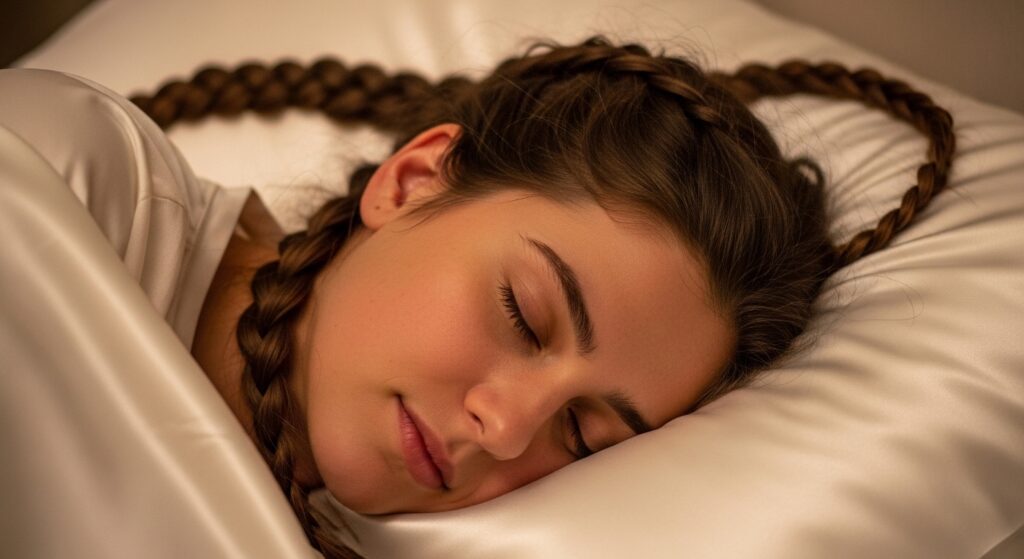
Overnight braiding is genius, but follow these rules. Do: Make sure your hair is damp, not wet, to prevent mildew. Do: Use a silk or satin pillowcase to prevent frizz. Do: Braid loosely to avoid stress on your roots.
Don’t: Use tight, elastic hair ties that can cause breakage. Use a scrunchie or coil tie. Don’t: Braid sopping wet hair—it won’t dry by morning. This method gives you the most defined, long-lasting waves.
How to Dry Your Braids Properly
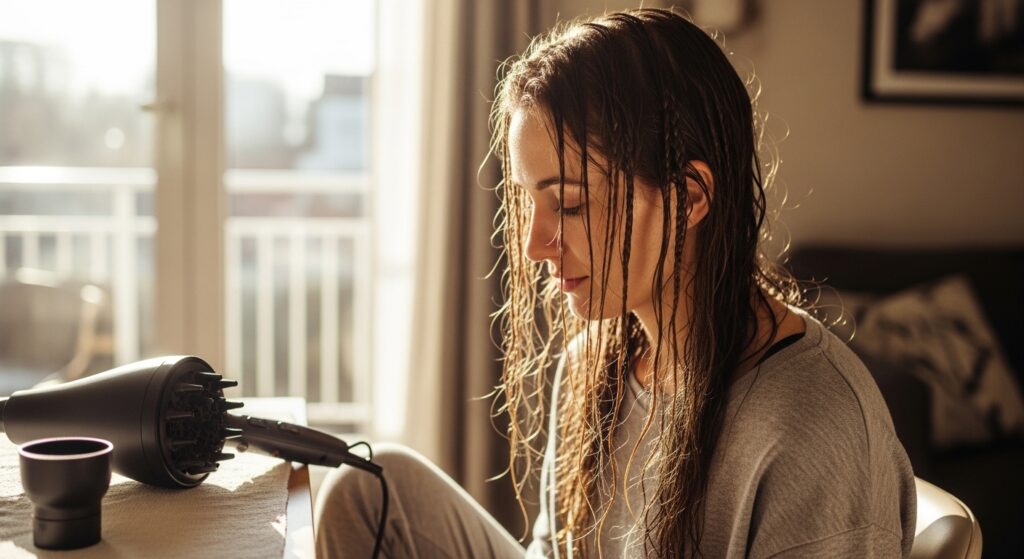
Patience is key, but you can speed it up. Air-drying is best for health, but it takes time. If you’re in a hurry, use a blow dryer with a diffuser on a low, cool setting. Gently dry the braids, moving the dryer around—don’t concentrate heat in one spot.
You can also sit in a sunny, warm spot in your house. Never go to bed with sopping wet braids. Making sure they are completely dry before taking them out is what gives you that smooth, frizz-free result.
Taking Out Your Braids for Perfect Waves
The big reveal! Be gentle. First, carefully remove the hair tie. Then, slowly unravel the braid from the bottom up, using your fingers to separate the sections. Don’t rush or pull—this can cause tangles and frizz.
Once it’s all out, don’t brush it. Simply flip your head over, shake your roots gently for volume, and use your fingers to separate the waves. Spritz with a light-hold texture spray if you need to set the style.
Fighting the Frizz: Post-Braid Tips
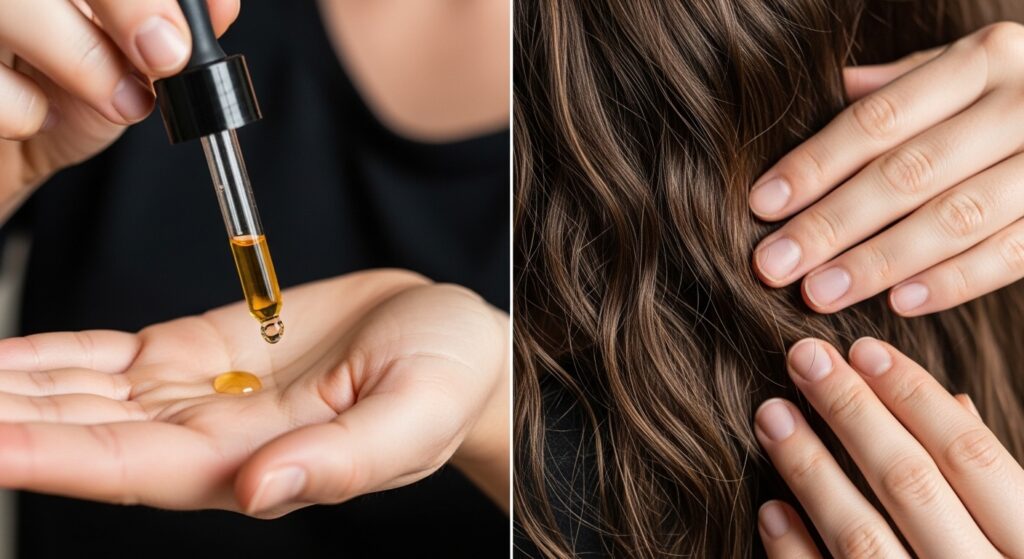
Even with perfect wet braiding, you might get a little frizz. This is easily fixed. Rub a tiny drop of hair oil or smoothing serum between your palms and gently glaze it over the surface of your hair, focusing on the ends and any flyaway areas.
You can also use a tiny bit of edge control on a toothbrush to tame baby hairs around your face. The goal is to enhance the sleekness, not weigh down the beautiful waves you just created.
Making Your Braid Waves Last Days
To extend the life of your braid waves, sleep with your hair in a loose ponytail or braid on a silk pillowcase. In the morning, revive them by spritzing a mix of water and a little conditioner in a spray bottle onto the mid-lengths and ends.
Scrunch your hair gently to reactivate the wave pattern. You can also re-braid small sections that have fallen out. This style gets better on day two and three, making it the ultimate low-maintenance, high-style look.
Common Wet Braiding Mistakes to Avoid
Let’s troubleshoot. Mistake 1: Braiding dripping wet hair. It won’t dry properly. Mistake 2: Skipping product. You need that slip and hold. Mistake 3: Braiding too tightly, which causes breakage and scalp stress.
Mistake 4: Using the wrong hair tie, which creates dents and damage. Mistake 5: Taking the braids out before they’re 100% dry. This is the biggest frizz culprit. Avoid these, and you’re golden.
Mixing Techniques: Braids & Twists
Don’t be afraid to mix it up! On the same head of damp hair, try doing a French braid on one side and a two-strand twist on the other. Or braid the top layer and twist the underlayer. This creates a more complex, artistic texture when dry.
It’s a great way to experiment with the glitchy glam hair trend, which is all about intentional, mixed textures. It looks complicated, but it’s just playing with two simple techniques.
And there you have it—your complete roadmap to braiding wet hair like a total pro. It’s one of those skills that feels like a superpower once you get the hang of it. You can create so many different looks, from sleek and polished to textured and boho, all without touching a hot tool.</p