Mermaid Braids Unleashed Boldly for Festival Season Fun
Okay, festival season is basically here, and I know the feeling. You want a hairstyle that looks incredible, lasts all day (and night), and feels like pure magic. You want to stand out in the best way possible. That’s where mermaid braids come in.
Forget the simple three-strand braid. We’re talking bold, intricate, and totally unleashed. This is your year to wear a piece of art on your head. It’s the perfect mix of bohemian spirit and modern edge.
And the best part? You don’t need to be a pro to pull them off. I’ve broken down everything, from prep to finish, with simple steps and all my favorite tips. Let’s get you ready to turn heads and dance all weekend with the most epic hair of your life.
Why Mermaid Braids Are Your Festival MVP
Let’s be real. Festival hair needs to be tough. It has to survive heat, crowds, and hours of dancing. A messy bun just won’t cut it for that bold look you’re after. Mermaid braids are secretly practical warriors.
They keep your hair completely secured and off your neck. No more sticky, tangled strands. Once they’re in, they’re in for the long haul. You get to look ethereal and put-together without any fuss after the initial styling.
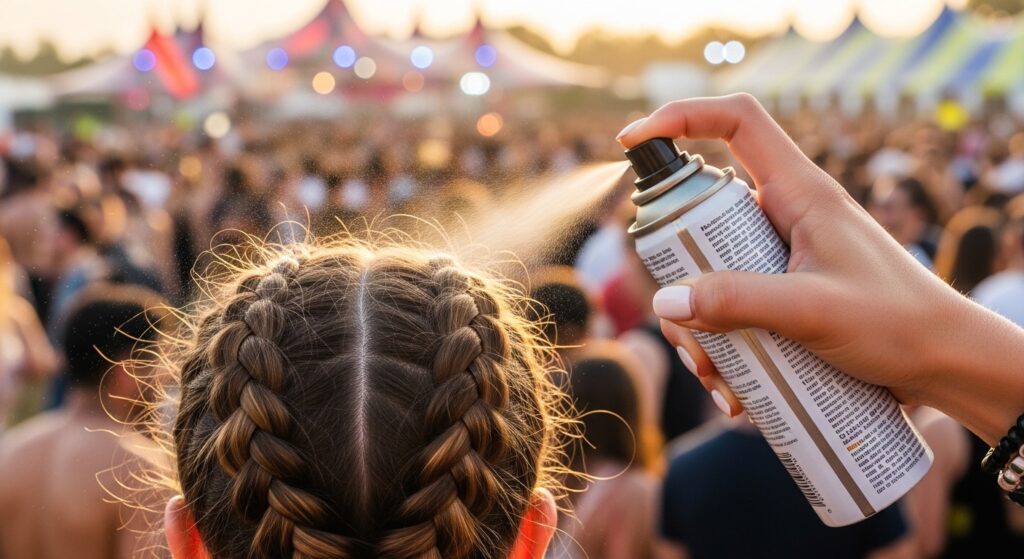
The Essential Pre-Braid Hair Prep
Great braids start with great hair prep. This step is non-negotiable if you want your style to last and look healthy. Start with hair that’s slightly dirty—day-two or day-three hair has the perfect texture and natural oils to hold braids beautifully.
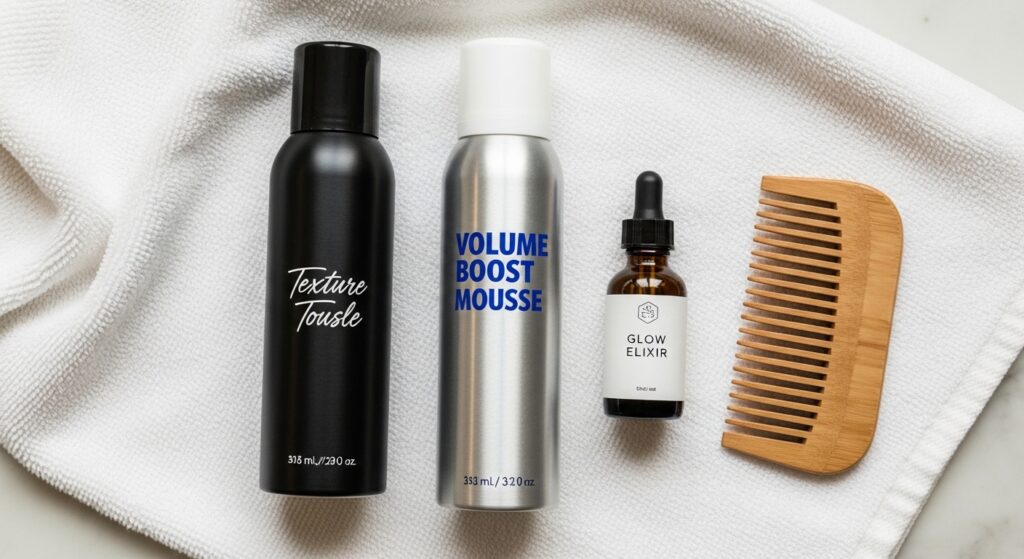
Before you even think about braiding, follow this quick routine:
- Spritz a texturizing or sea salt spray all over for grit and hold.
- Apply a light-hold mousse to the roots for volume.
- Run a small amount of smoothing cream or serum through the mids to ends to fight frizz.
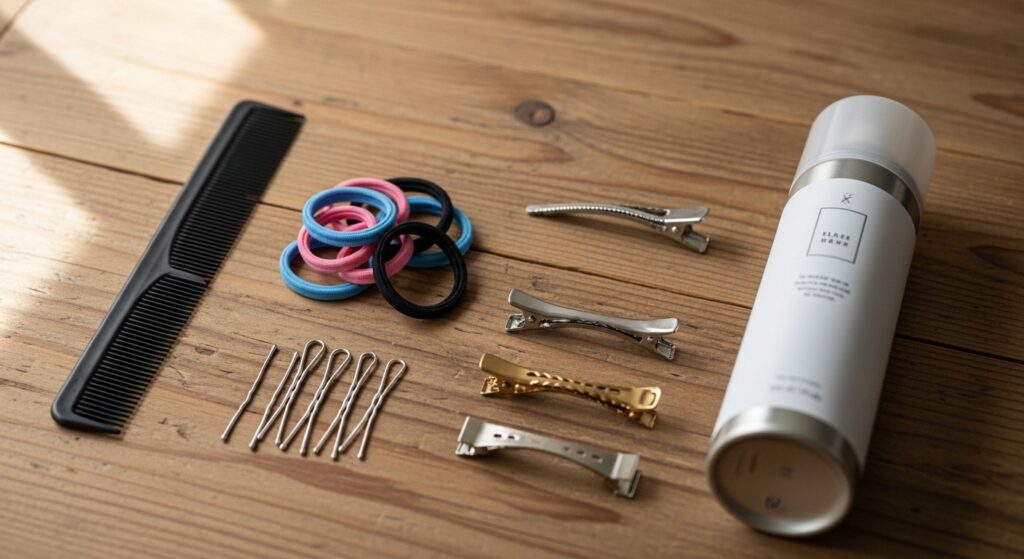
Gathering Your Braiding Toolkit
You don’t need a salon full of tools, but a few key items will make your life so much easier. Having everything within arm’s reach before you start is a game-changer. It keeps the process smooth and stress-free.
Here’s what you need on your styling station:
- A fine-tooth comb for clean parts.
- Strong, clear elastic bands that match your hair color.
- Bobby pins (also in your hair color).
- Hair clips to section hair as you work.
- A strong-hold hairspray for the final lock.
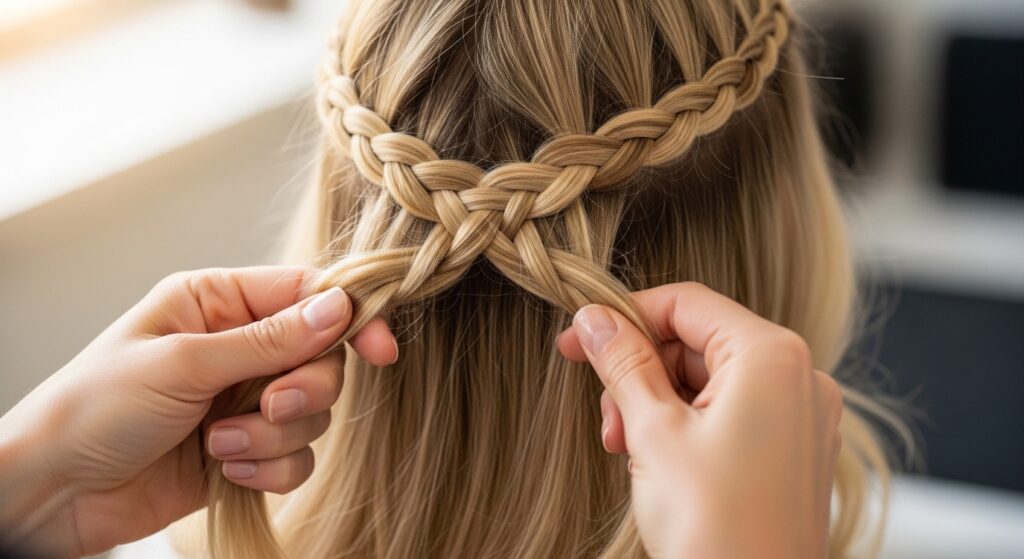
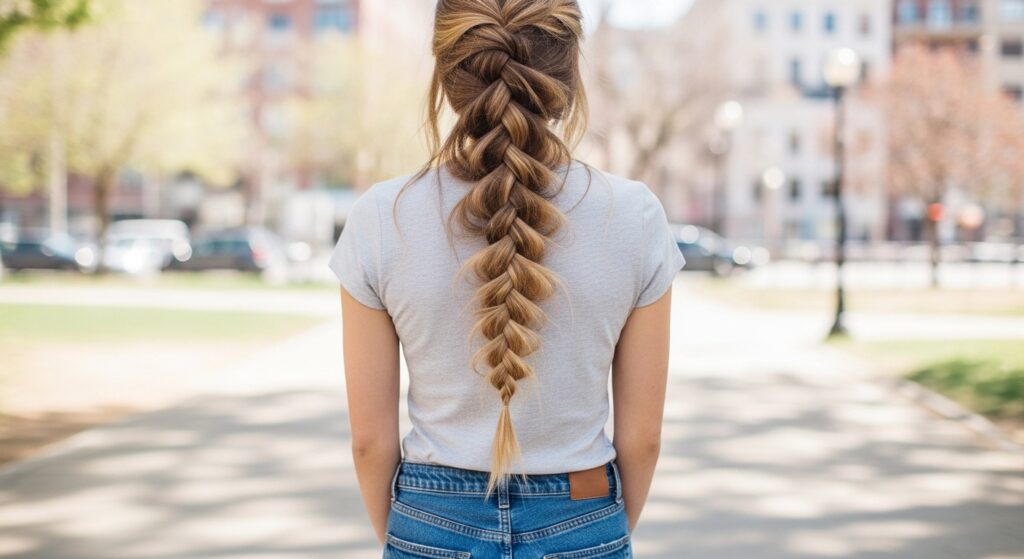
Mastering the Basic Mermaid Braid Technique
The classic mermaid braid is a Dutch braid (an inside-out French braid) that starts at the crown and incorporates all your hair. It sounds fancy, but it’s just a small twist on what you might already know. The key is to keep the sections thick and even.
Start with a deep side or middle part. Take a large section at the front and divide it into three. Begin braiding under, not over, adding in equal amounts of hair from each side as you go down your head. Keep the braid tight against your scalp.
Adding Extensions for Epic Length & Volume
If your hair is fine or shorter, don’t worry—you can still get that dramatic mermaid look. Clip-in extensions are your best friend. They add instant length, thickness, and a pop of color if you want. The braid will hide the clips perfectly.
Choose extensions that closely match your hair texture. Braid them in as you go, securing the wefts tightly within the braid sections. This trick is a total secret weapon for that fantasy hair vibe.

The Side-Swept Mermaid Cascade
This is my go-to for a romantic, effortless look. It feels soft but makes a huge statement. Instead of braiding straight back, you’ll braid along your hairline, sweeping everything to one side. It’s incredibly flattering.
Start the Dutch braid at your temple on one side. Braid along your hairline, gathering hair only from the top and front, letting the rest flow free. Secure it at the end and gently pull the braid apart to make it fuller
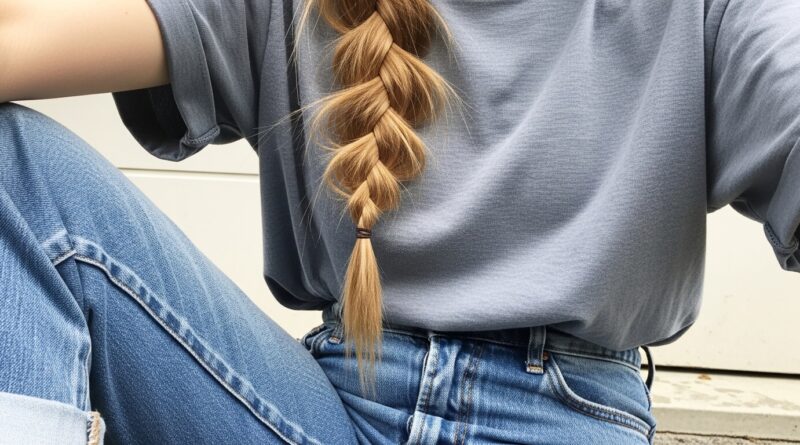
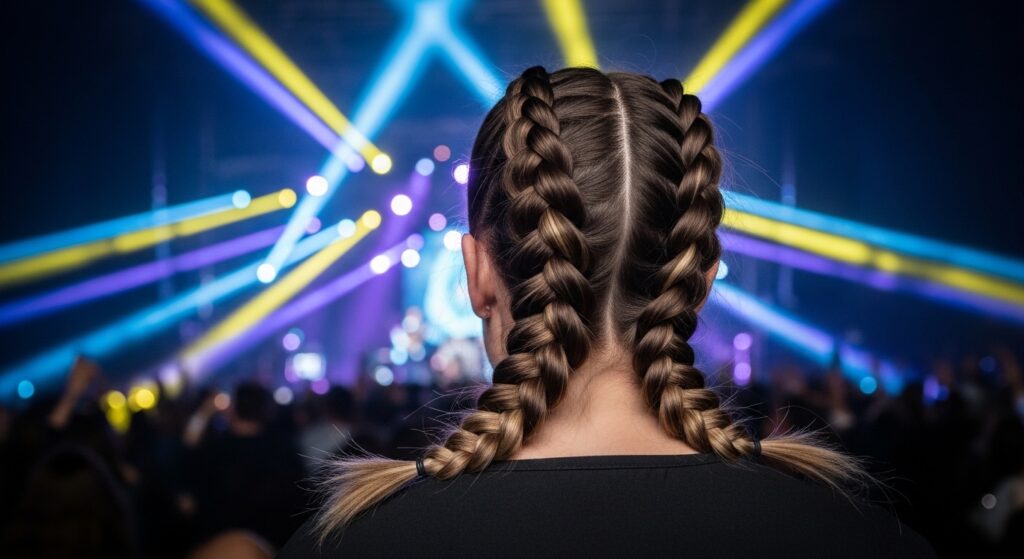
Double Trouble: Twin Mermaid Braids
For a fun, symmetrical look that channels a cool 2026 hairstyles vibe, try two mermaid braids. This style is perfect for keeping all your hair perfectly managed and adds a touch of playful edge. It’s practical and super cute.
Create a clean middle part. Braid each side using the same Dutch braid technique, keeping them even in size and tightness. You can leave them as classic braids or twist them into buns or loops later.
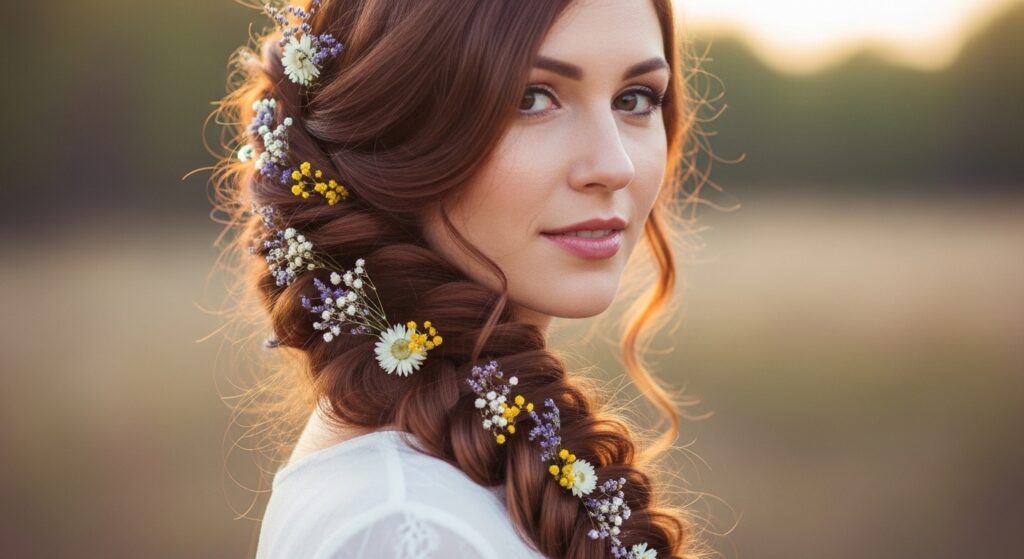
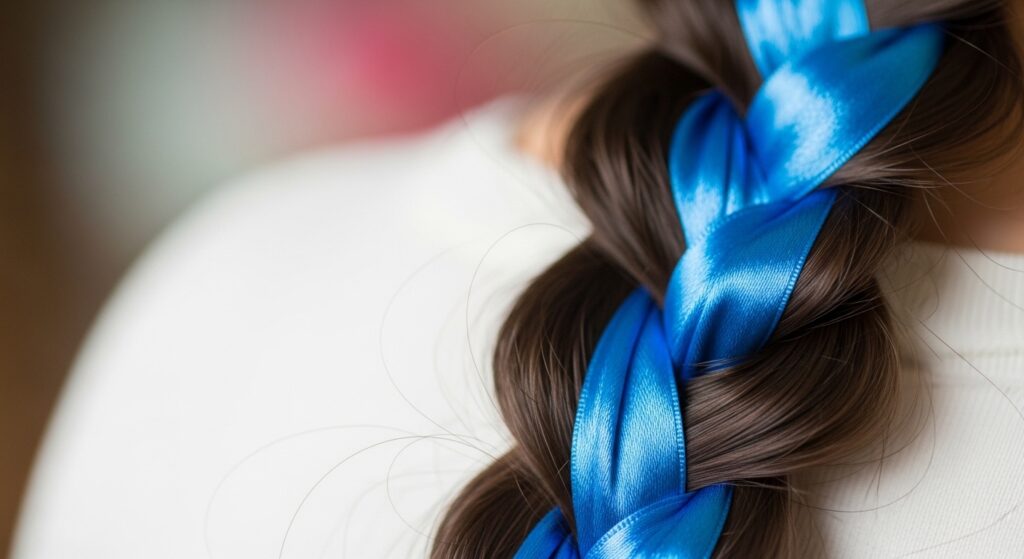
Incorporating Ribbons & Threads
This is where your braid becomes truly unique. Adding ribbons, threads, or even thin scarves gives a major festival flair. Choose colors that complement your outfit or go for a bold contrast. It’s an easy way to level up.
Take a long ribbon and fold it in half. At the start of your braid, place the loop at the top. Treat the two ribbon tails as one section of hair, braiding them in all the way down. Tie the ends with the hair elastic.
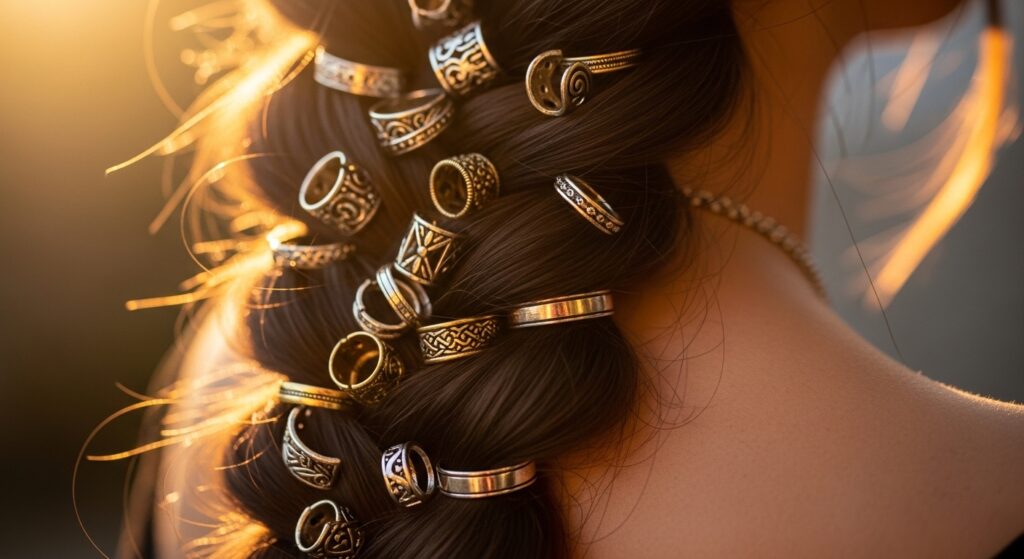
Accessorizing with Cuffs & Rings
Hair jewelry is a must. Metallic cuffs and rings can transform a simple braid into something mystical and bold. They’re also a great nod to the glitchy glam hair trend—a little futuristic, a little edgy.
After braiding, simply slide the cuffs onto the braid at different points. Mix and match metals for a cool effect. Small rings can be attached to smaller sections within the braid for detailed sparkle.
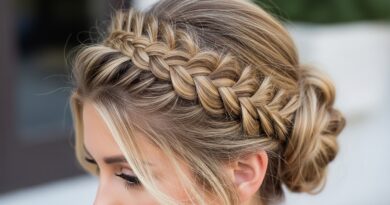
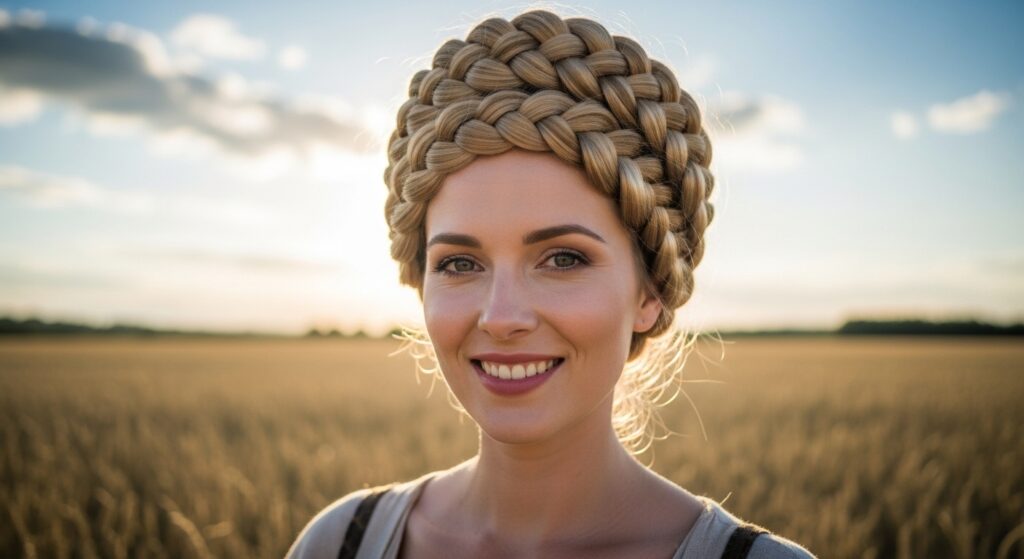
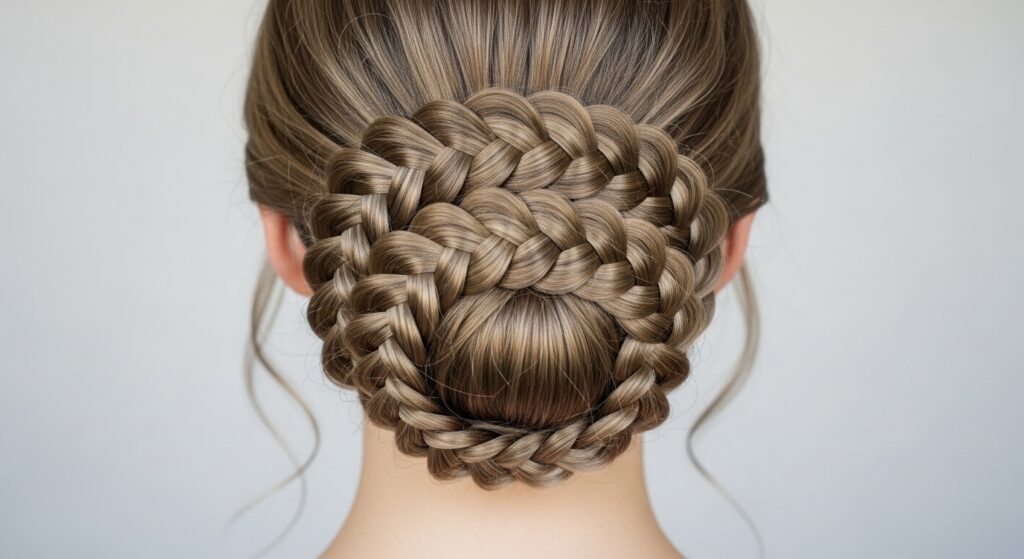
The Mermaid Crown: A Regal Twist
Feel like festival royalty with a braided crown. This style keeps your hair completely off your face and looks incredibly elegant. It combines the intricacy of mermaid braids with the timeless feel of a crown braid.
Create two side Dutch braids, starting at your temples and braiding back. Once both are secured, bring them around the back of your head and pin them in place, tucking the ends under for a seamless finish.
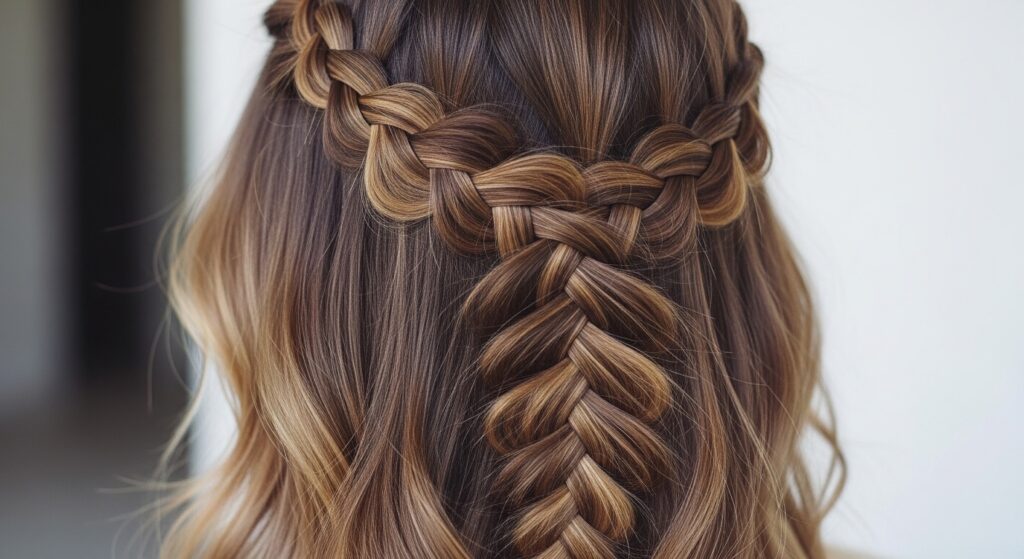
Mixing Textures: Curls & Braids
For a seriously romantic look, leave the bottom half of your hair loose in curls. The contrast between the structured braid and soft, flowing curls is stunning. It’s a perfect blend of romantic goth hairstyles and boho chic.
Braid the top section of your hair into a mermaid braid, stopping at the crown or mid-head. Secure it. Then, curl the remaining loose hair with a wand. Gently backcomb the base of the braid for extra volume.
The Low Mermaid Bun: Elegant & Secure
When you want your hair completely up and out of the way, this is the move. It gathers all the drama of the braid into a sophisticated, secure knot. It gives off major old money hair energy—polished but interesting.
Create a low mermaid braid at your nape. Instead of securing it with an elastic, twist the braid into a loose bun and pin it securely. Leave a few face-framing pieces loose for a soft effect.
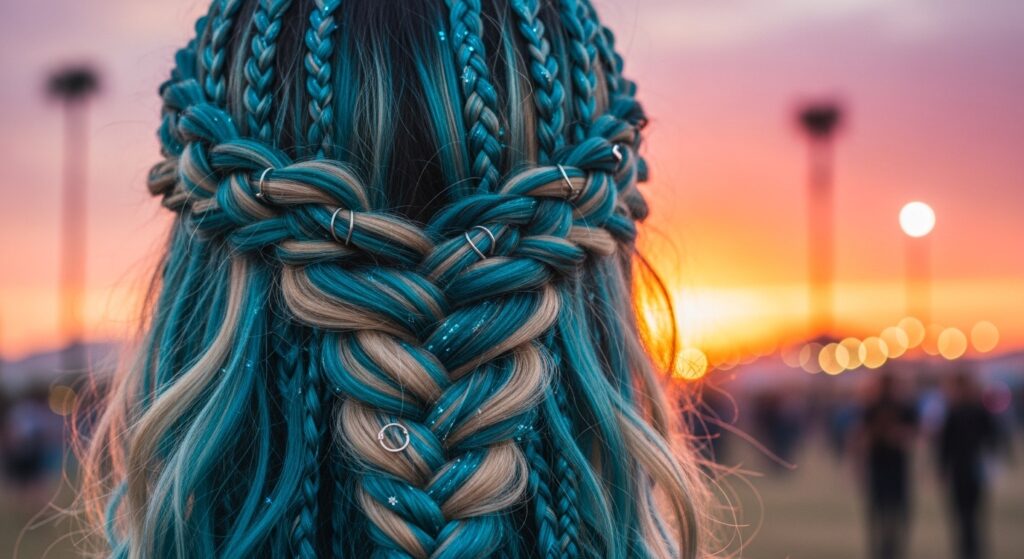
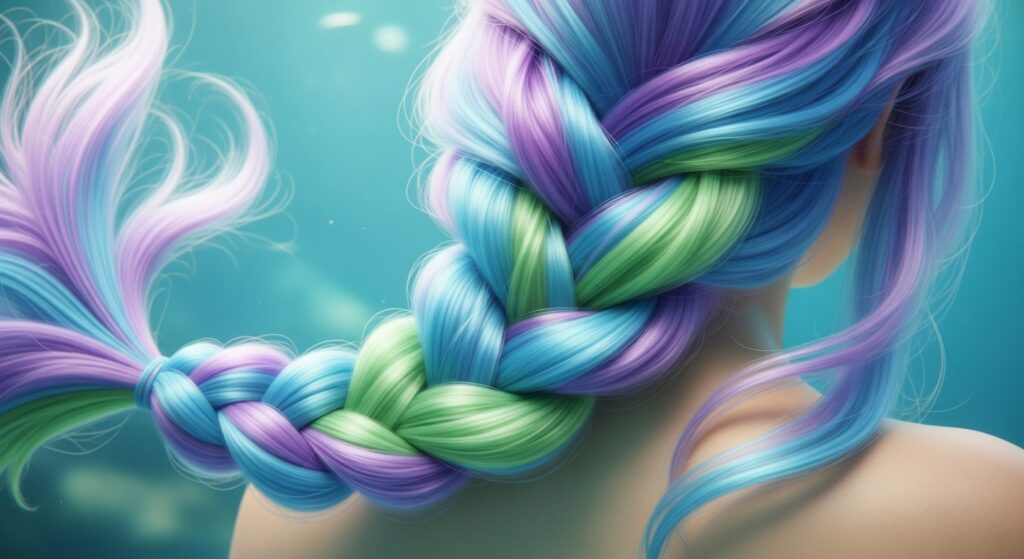
Color Play: Pastels & Brights for Mermaid Vibes
Festival season is the time for color! If you’re not ready to commit to dye, use temporary hair mascara, chalk, or colored extensions. Weave in streaks of pastel pink, sea foam green, or electric blue for true mermaid magic.
Apply color to small sections before you braid, or add in pre-colored extension strands. The braiding pattern will blend the colors beautifully, creating a mesmerizing, multi-dimensional look.
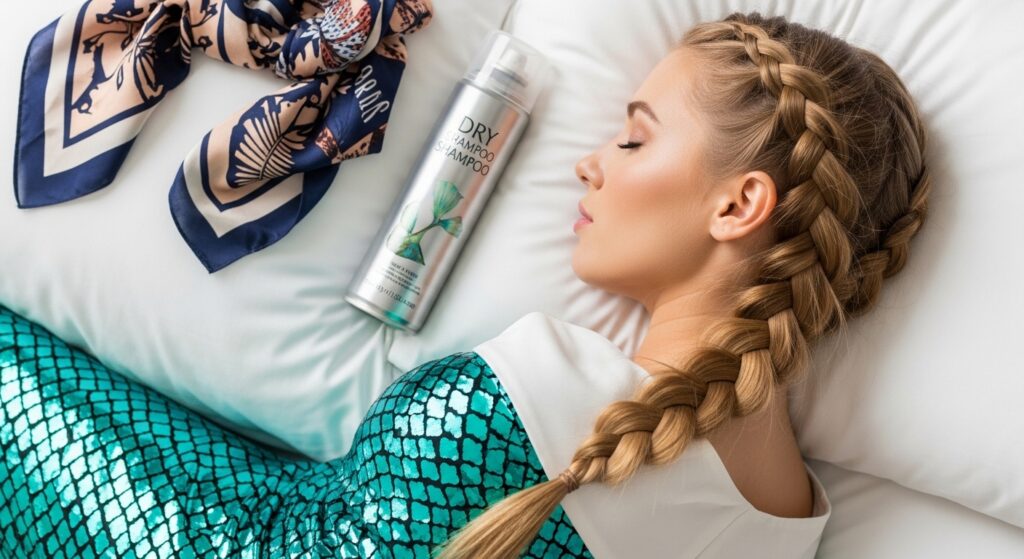
Keeping Your Braids Fresh All Weekend
You put in the work, so let’s make it last. A good dry shampoo is your overnight savior. Before bed, lightly spray your roots, flip your head over, and loosely tie your braids up in a silk scarf. This absorbs oil and prevents frizz.
In the morning, just shake it out, maybe add a little more dry shampoo, and touch up any flyaways with a bit of hairspray on a toothbrush. Your style will look day-one fresh.
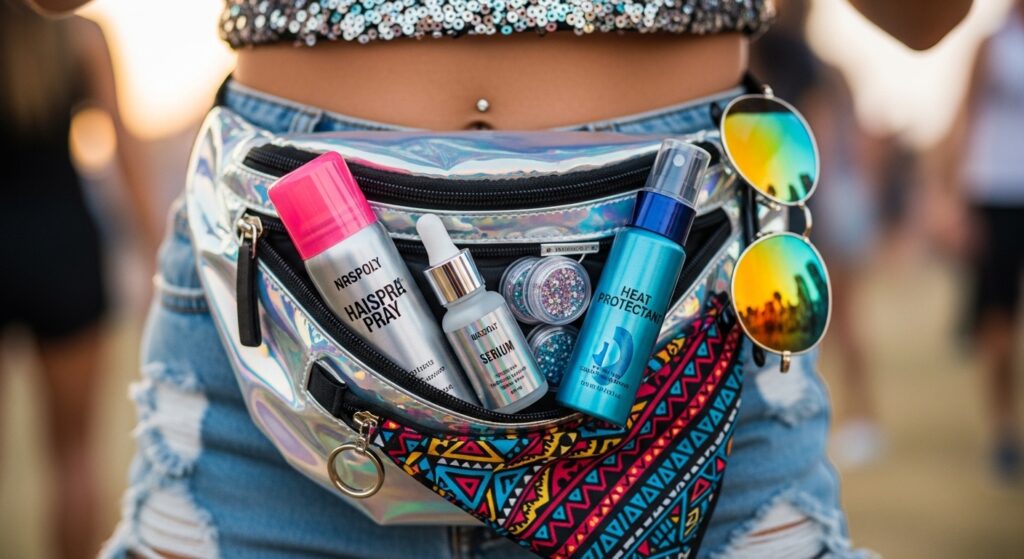
Festival-Proofing with the Right Products
Heat, dust, and humidity are the enemies. Your product choice matters. Always start with a heat protectant if you use hot tools. Finish with a flexible-hold hairspray—it won’t make your hair crunchy but will fight frizz.
A tiny dab of anti-frizz serum or even a clear brow gel can be used to slick down those stubborn baby hairs and flyaways around your face for a polished finish that lasts.
Quick Fixes for Mid-Festival Frizz
Don’t panic if your braids get a little wild. Carry a mini hairspray and a few extra bobby pins in your bag. For minor frizz, spray a bit of water mixed with a drop of conditioner in a mini spray bottle to tame things.
If a piece comes completely loose, don’t try to re-braid it. Twist it neatly, pin it back into the main braid, and decorate the pin with a small accessory. Turn a fix into a feature!
From Festival to Street: Styling Versatility
The best part? This style isn’t just for the festival grounds. For a brunch or casual day out, loosen the braid significantly by gently pulling it apart for a wider, softer look. It instantly goes from bold to breezy.
You can also pair a single mermaid braid with a sleek asymmetrical lob on the other side for a cool, modern contrast. It’s all about adapting the vibe to your day.
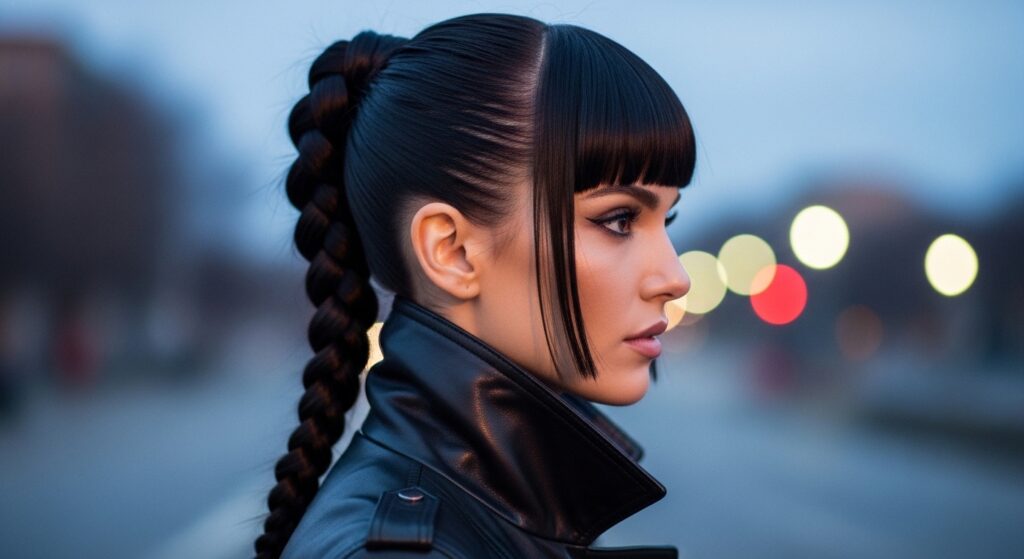
Mermaid Braids Meet Other Big Trends
Your mermaid braid can easily channel other huge trends. Add a few face-framing blunt pieces for a hint of hime cut. Keep it sleek, dark, and paired with a leather jacket for a vampire haircut feel.
Or, go for a perfectly smooth, polished braid with zero flyaways for a quiet luxury bob alternative—it’s that effortless, expensive-looking detail that speaks volumes.
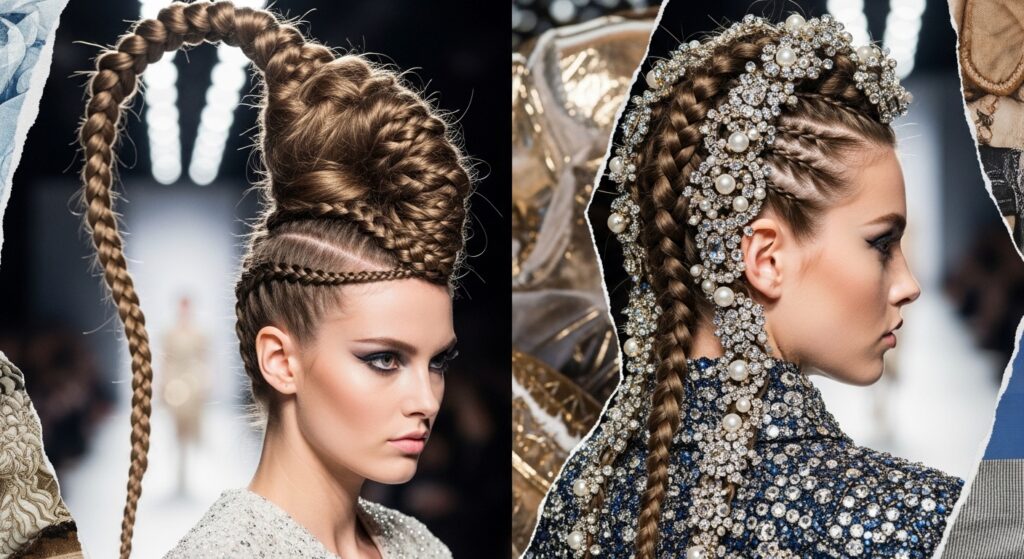
Inspiration from the Runway & Red Carpet
This look is everywhere. Designers are sending models with exaggerated, ultra-voluminous braids down the runway. Celebrities are wearing intricate, accessorized versions to premieres. You’re in very good style company.
Look at styles from designers who love romance and edge. Notice how they mix textures and accessories. It’s proof that this braid is both a festival staple and a high-fashion statement.
Your FAQs on Mermaid Braids, Answered
I get DMs with the same questions, so let’s tackle them. “Does it work on short hair?” Yes, with extensions or by braiding just the top section. “Is it hard to do on yourself?” The first time takes patience, but the tutorial above breaks it down.
“Will it give me a headache?” Not if you don’t braid too tightly. Keep tension firm but comfortable. “Can I sleep in it?” Absolutely—it’s the best way to make it last a second day!
My Final Pep Talk & Encouragement
Listen, your first attempt might not be perfect, and that’s more than okay. Hair is meant to be fun. Each time you try, you’ll get faster and better. The goal is to express yourself and feel amazing.
So put on some music, grab a friend to practice with, and enjoy the process. You’re creating something beautiful. I can’t wait to see what you come up with and how you make these braids your own.
And there you have it—your complete guide to owning festival season with mermaid braids. This isn’t just about a hairstyle; it’s about stepping into a more confident, playful version of yourself. It’s about creating a look that feels as wild and free as the music.
Remember, the best part of any trend is making it work for you. Whether you go for full mermaid glory or just a subtle braided detail, you’re winning. Now you’re equipped with all the know-how.
Save this post to Pinterest so you can find these tips anytime you need a hair inspiration boost! And tell me in the comments—which style are you trying first? Is it the side-swept cascade or the double braids? I love hearing from you!