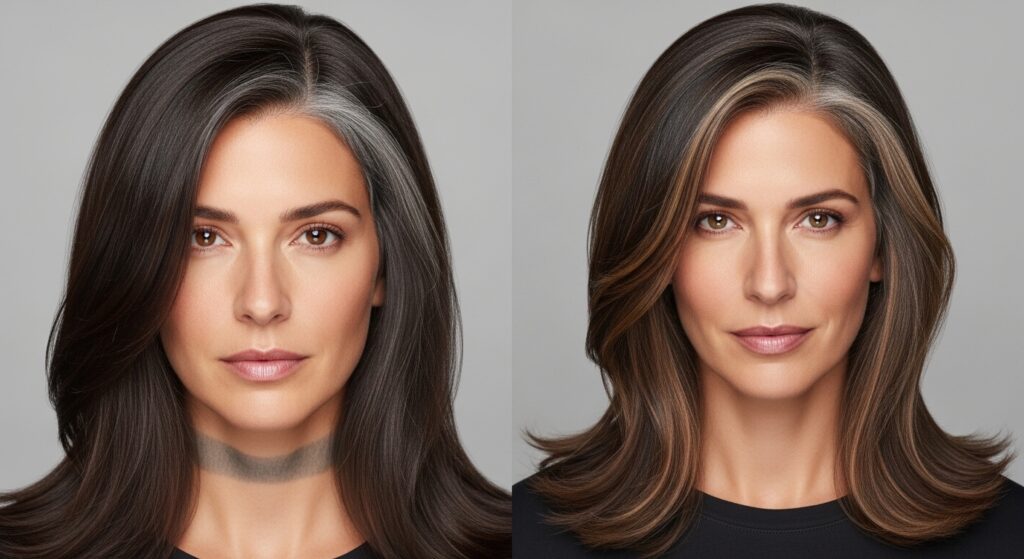
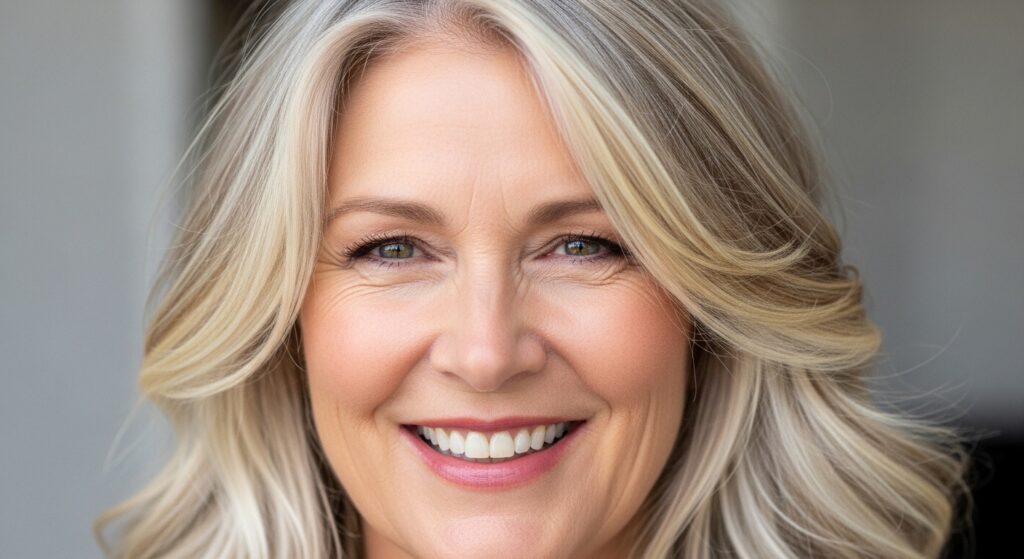
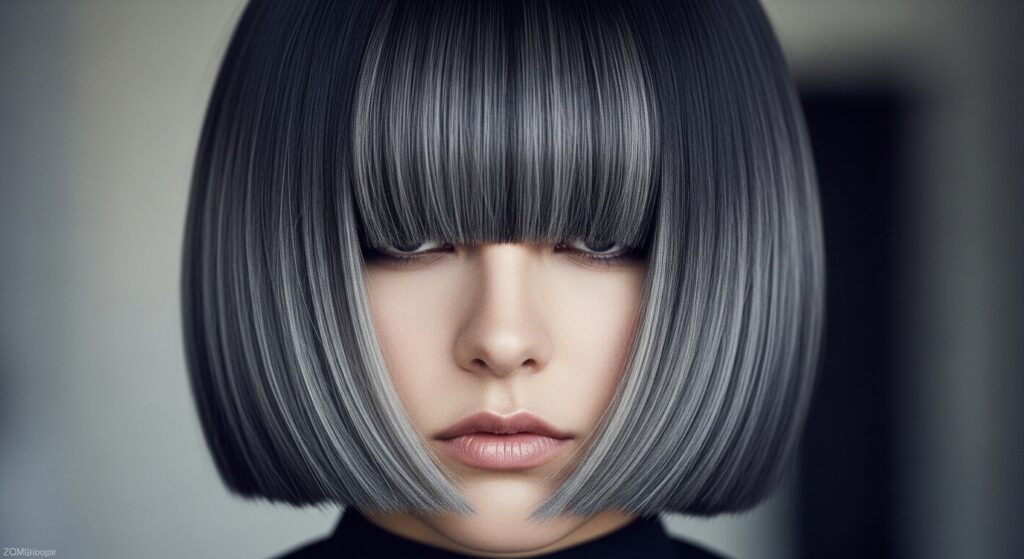
Gray Blending Hacks with Highlights for Seamless Transition
Okay, let’s be real. That first gray hair can feel like a plot twist you didn’t see coming. But what if I told you it’s not an ending, but the start of a seriously chic new chapter? Trying to cover every single one can be a full-time job, and let’s be honest, that solid color can look a little… helmet-y.
That’s where gray blending comes in. It’s the secret weapon for a soft, natural, and honestly, low-maintenance transition. We’re not fighting the gray; we’re welcoming it with style.
And the best tool for the job? Strategic highlights. This post is your down-to-earth guide to all the hacks, from talking to your colorist to nailing the at-home care, so you can love your reflection again. Let’s get into it.
What is Gray Blending, Really?
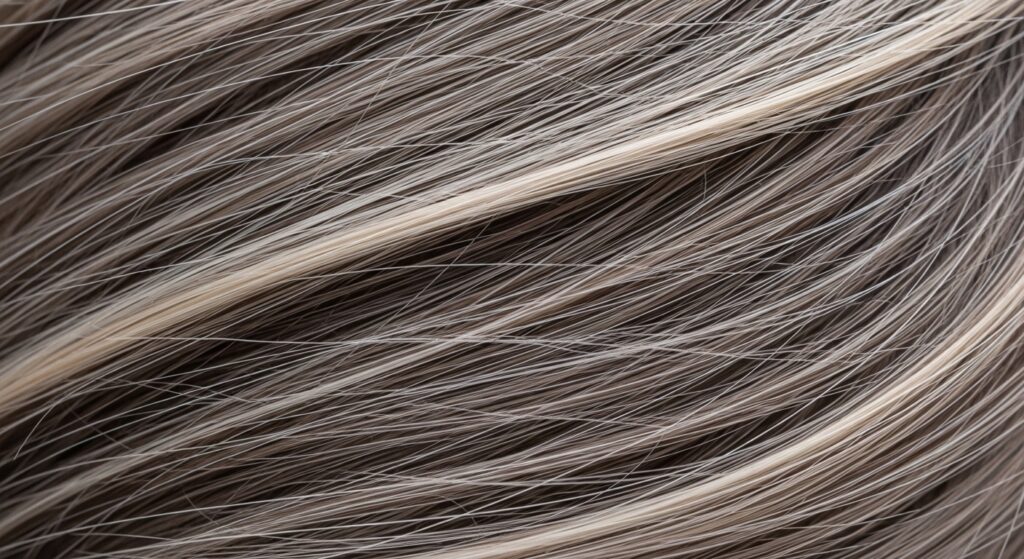
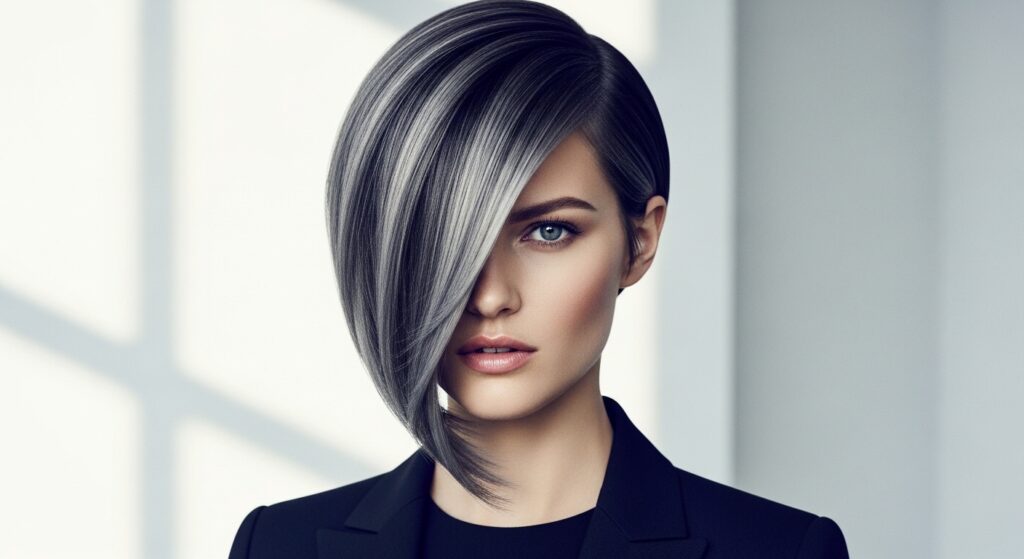
Think of gray blending as a soft-focus filter for your hair. Instead of one uniform color, your stylist uses techniques like highlights, lowlights, and babylights to weave your natural grays with your chosen color. The goal is a dimensional, sun-kissed effect where the grays look like intentional, pretty highlights themselves.
It creates movement and depth that a single process color just can’t. This means less obvious regrowth, longer times between salon visits, and a look that grows out gracefully. It’s the ultimate in practical, modern hair.
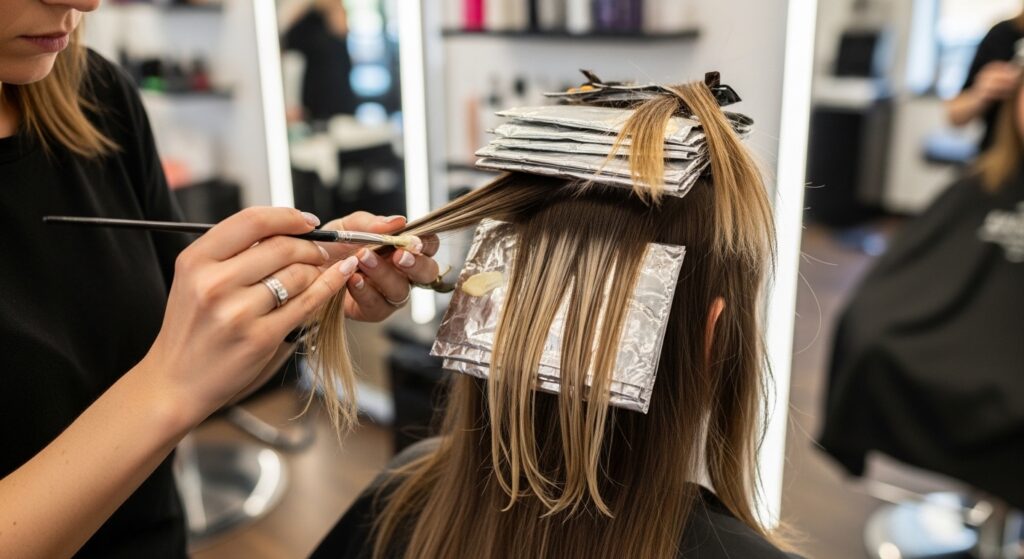
Why Highlights Are the Perfect Partner
Highlights are the MVP of gray blending. By placing lighter pieces around your face and throughout your hair, they act as a buffer zone between your natural pigment and your new grays. This softens the line of demarcation, so there’s no harsh root line.
It’s a trick that works whether you’re 30% gray or 70%. The highlights mimic the way light naturally hits your hair, making the grays look like they belong. It’s less about coverage and more about creating a harmonious, overall brightness.
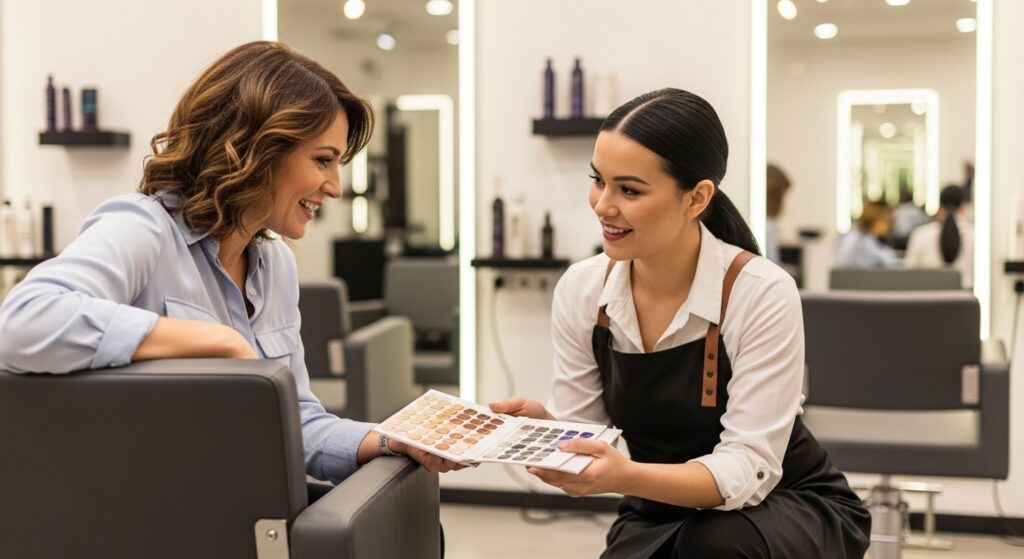
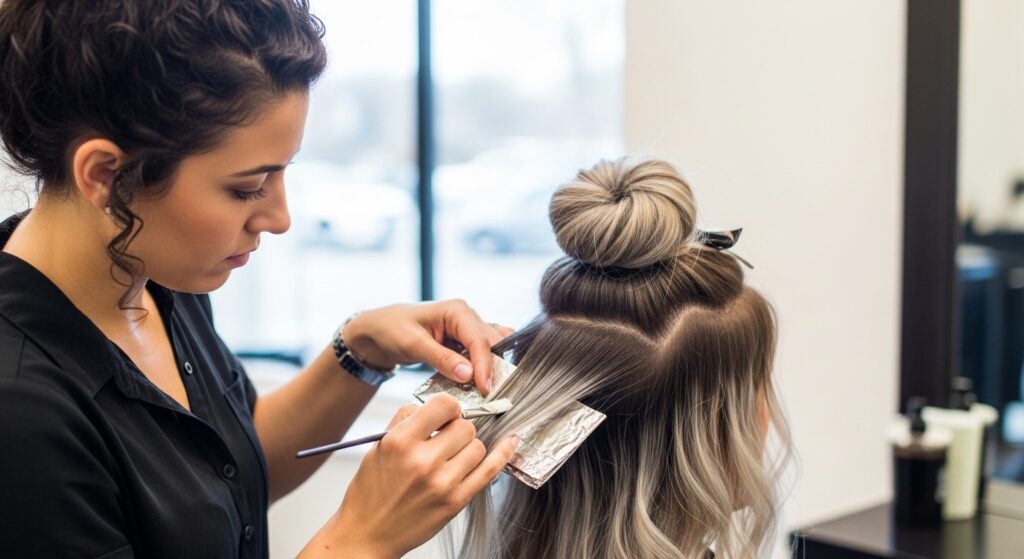
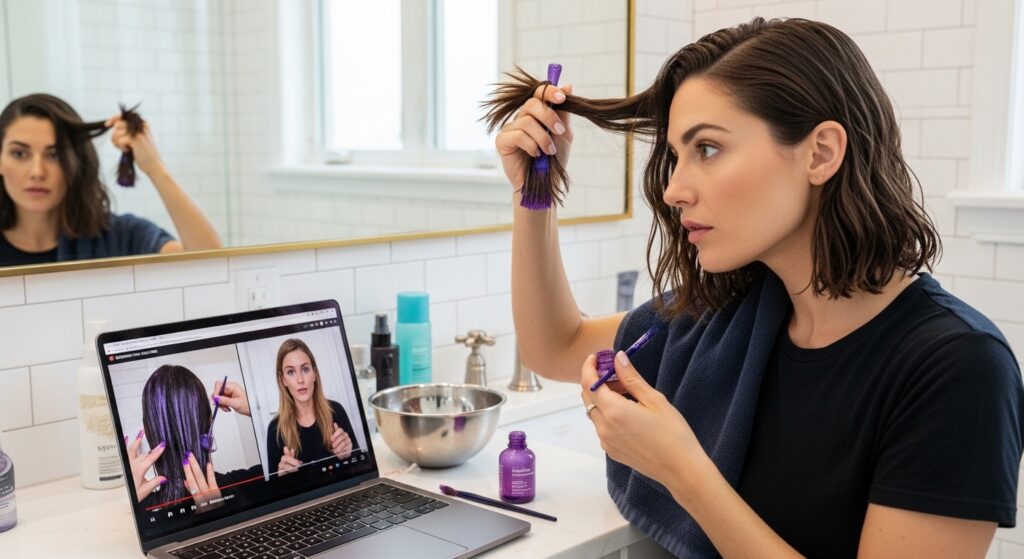
The Consultation: What to Ask Your Stylist
Walking into the salon knowing what to ask is half the battle. Be clear that you want a low-maintenance, blending approach, not full coverage. Bring photos of looks you like—even if they’re on someone with a different base color, your stylist can adapt the technique.
Key questions to ask:
- “What highlight placement will work best with my gray pattern?”
- “Can we aim for a grow-out that won’t look awkward?”
- “What level of contrast should we start with for a natural look?”
This conversation sets the stage for a result you’ll love.
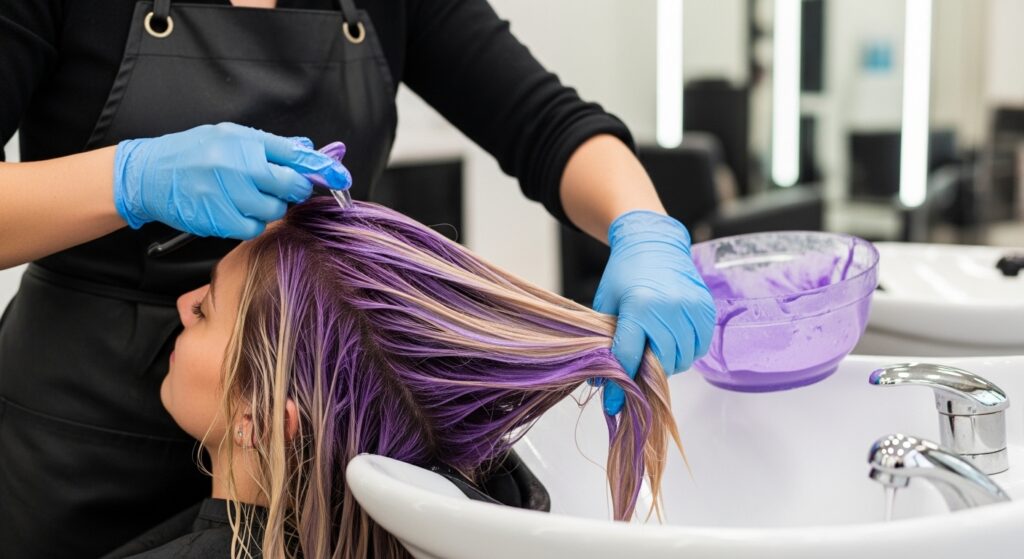
Balayage for a Sun-Kissed Effect
If you want the most natural, grow-out-friendly option, ask for balayage. This hand-painted technique places highlights where the sun would naturally lighten your hair. It gives you that “I just spent the summer in Italy” vibe, which is perfect for blending.
Because the highlights are softer at the root, your grays will merge seamlessly as they come in. It’s a top request for that effortless, old money hair aesthetic—think timeless and understatedly rich.
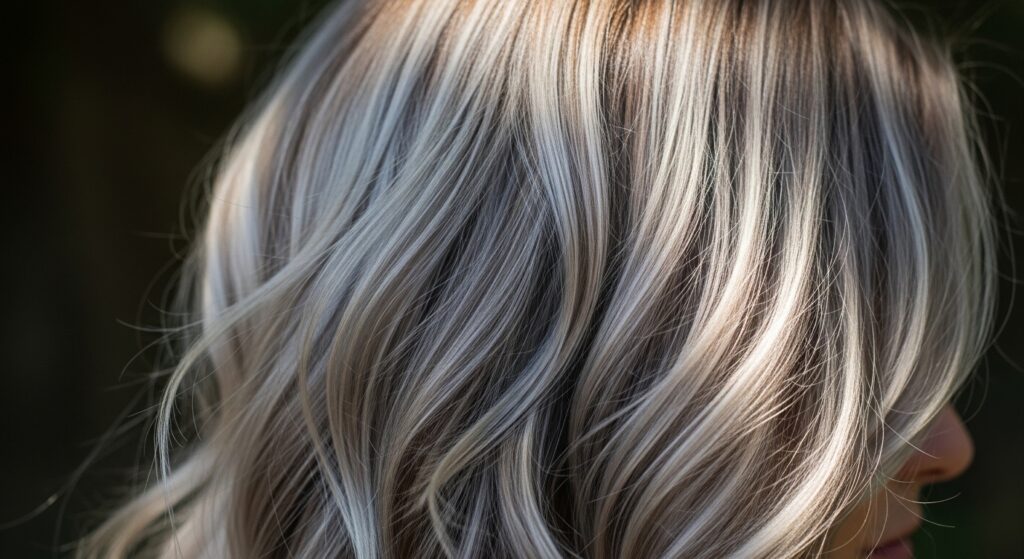
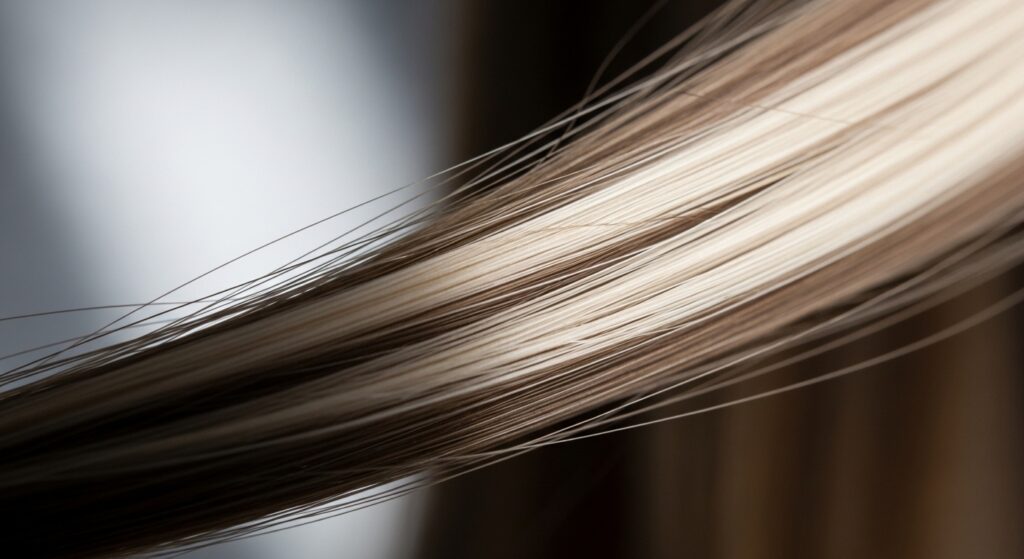
Babylights for Ultra-Fine Blending
For those with finer, more scattered grays or who want an incredibly subtle result, babylights are your best friend. These are super fine, delicate highlights woven throughout. They add a ton of dimension without looking stripey.
This technique is amazing for creating an all-over brightening effect that makes gray hairs disappear into a tapestry of light. It’s one of the most popular requests for a reason—it just looks so naturally luminous.
Lowlights: The Unsung Hero
Don’t forget about lowlights! While highlights add brightness, lowlights—slightly darker pieces woven in—add depth and richness back into your hair. This contrast is what makes the blend look multi-dimensional and real.
If your hair is feeling a bit flat or washed out from gray, a few strategic lowlights can restore that youthful, healthy-looking depth. It’s the perfect balance to the lightening effect of highlights.
Face-Framing Highlights: Instant Brightening
This is a non-negotiable hack. Asking your colorist to concentrate lighter, brighter highlights around your face does wonders. It instantly brightens your complexion, draws attention to your eyes, and makes the overall blend look intentional and fresh.
It’s a trick that works with any cut, from a quiet luxury bob to long layers. This focal point of light makes the rest of the blend feel cohesive and puts the focus on your best features.
Toner is Your Secret Weapon
After highlighting, toner is what makes everything look expensive and seamless. It cancels out any unwanted brassy or yellow tones in your highlights or even in your natural gray, which can sometimes have a yellowish cast.
A good toner will leave your highlights a soft, creamy blonde or a cool, silvery hue that pairs beautifully with gray. This step is crucial for that polished, salon-perfect finish every time.
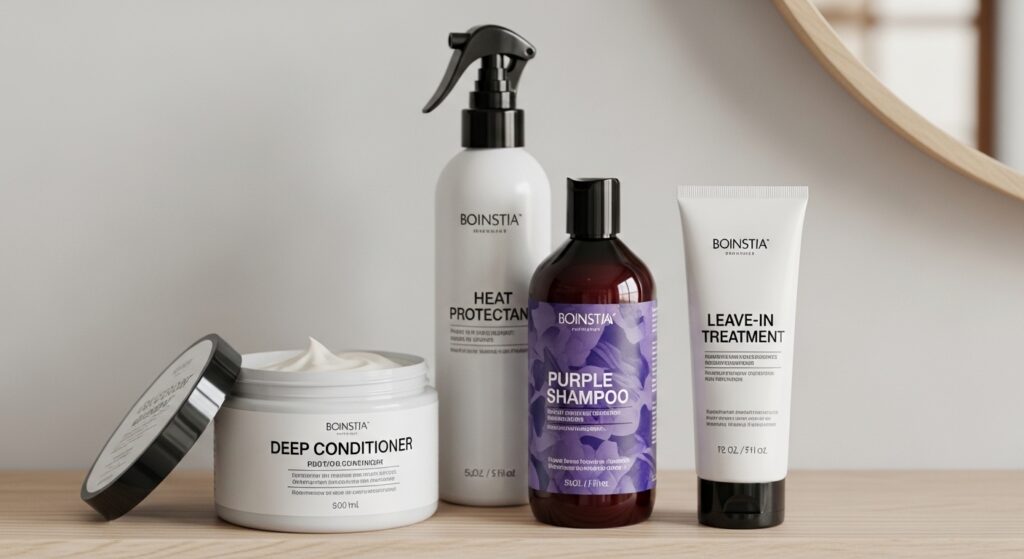
At-Home Maintenance: The Right Products
Protecting your investment is key. Swap out your regular shampoo for a purple or blue shampoo once or twice a week to keep brassiness at bay. Always use a heat protectant before styling, and don’t skip the deep conditioner.
My must-haves:
- A sulfate-free, color-safe shampoo.
- A purple shampoo (like Fanola No Yellow).
- A weekly hydrating hair mask.
- A leave-in conditioner with UV protection.
These keep your blend bright and healthy.
Embracing the Grow-Out Phase
The beauty of a good blend is that it grows out gracefully. You won’t have a harsh line, just a gradual shift. To extend time between appointments, use a root touch-up powder or spray for special occasions if you need a quick fix.
Embrace the lived-in, slightly grungy vibe of grown-out highlights—it can actually look very cool and modern, fitting right in with trends like glitchy glam hair that plays with texture and dimension.
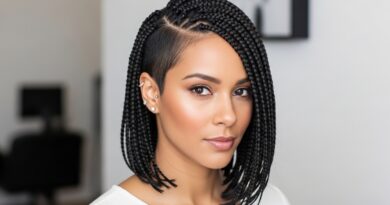
Gray Blending on Short Hair: Bobs & Lobs
Short hair is a fantastic canvas for gray blending! On a sharp bob or an asymmetrical lob, highlights add incredible movement and prevent the color from looking flat. The placement can be bold and graphic or soft and blended.
It makes a classic cut feel modern and fresh. This look is a cornerstone of sophisticated, 2026 hairstyles—clean, intelligent, and effortlessly stylish.
Gray Blending on Long Hair
For long hair, the goal is to avoid a heavy, solid blanket of color. Weaving highlights and lowlights throughout creates a cascading, ribbon-like effect. This adds so much life and prevents the length from weighing down your look.
It gives you that romantic, lived-in color with incredible depth. Think less fairy-tale princess, more modern heroine with a touch of romantic goth hairstyles mystery in the depth of the color.

The “Smudged Root” Technique
This is a pro-colorist trick for the ultimate soft grow-out. After applying highlights, they’ll often “smudge” or diffuse the color at the root area. This creates a shadowy, blurred effect right at your part and hairline.
It eliminates any harsh lines from the start, making your natural regrowth virtually invisible for months. It’s the pinnacle of low-maintenance color.
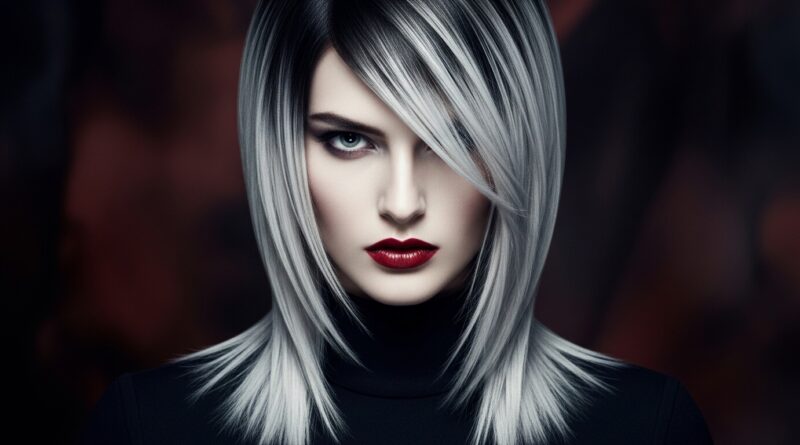
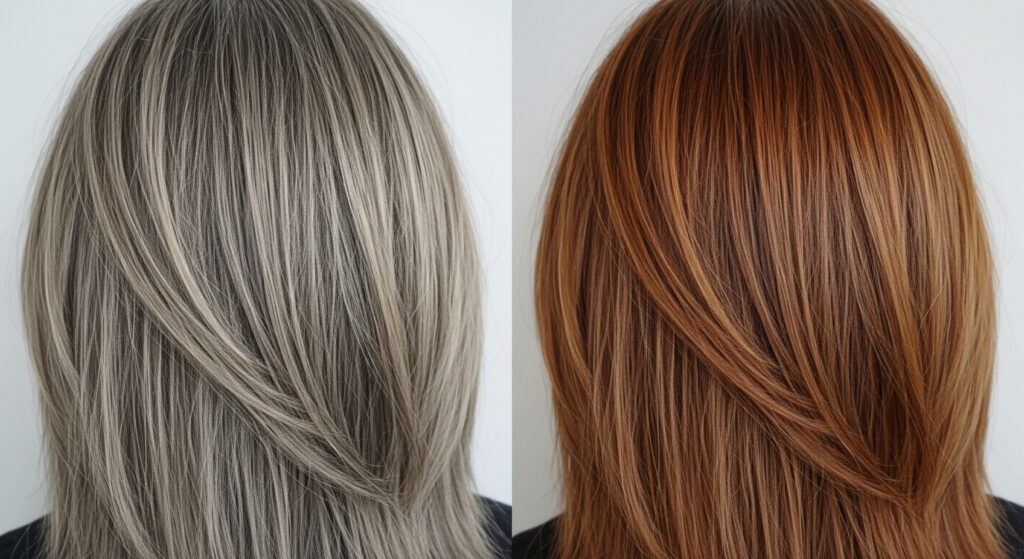
Going Cool vs. Going Warm
This is a personal choice that affects your overall look. Cool tones (ashy, beige, silver) blend directly with most grays for a seamless, modern, and chic effect. Warm tones (honey, caramel, gold) create a beautiful contrast against silver strands for a sunnier look.
Your skin’s undertone can help decide. Cool often feels more “of the moment,” while warm is eternally flattering and radiant.
When to Consider a Bigger Change
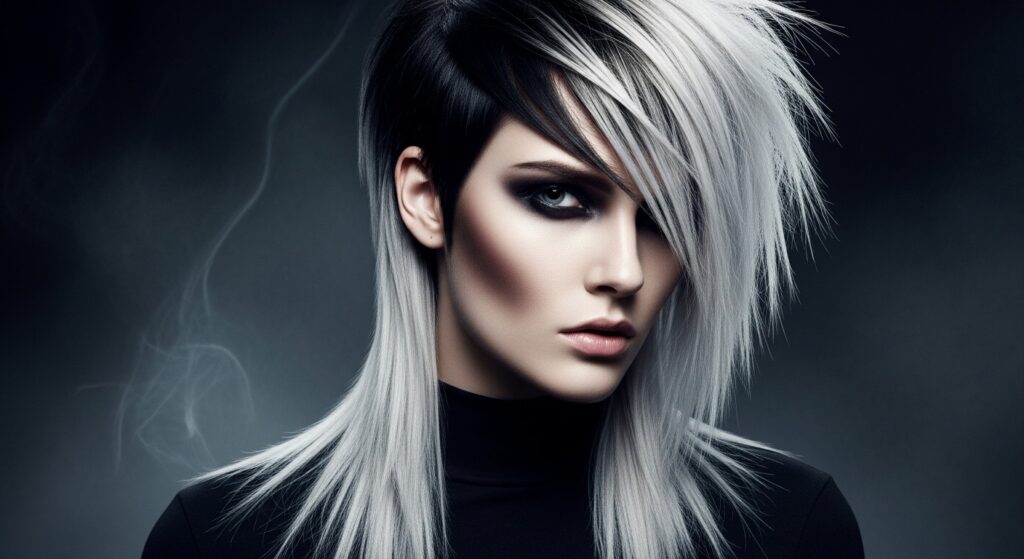
If you have a lot of gray, sometimes blending can evolve into something more dramatic and equally stunning. Think of a full, sleek silver pixie or a stark, high-contrast vampire haircut with dark roots and platinum ends.
These looks fully lean into the graphic power of gray and white. It’s a bold, confident move that screams personality and aligns with more avant-garde trends.
Inspiration from “Hime” and Other Cuts
Don’t be afraid to look at bold cuts for color inspiration. A hime cut (that iconic Japanese princess cut with straight across bangs and long sides) looks incredible with face-framing highlights that make the bold shape pop.
It shows how gray blending isn’t just for “safe” styles. It can be adapted to the most artistic and statement-making haircuts to add a new layer of interest.
How Often You’ll Need Touch-Ups
The best part? You can stretch your appointments. With a good blend, you can easily go 12-16 weeks between salon visits. The grow-out is soft, so you’re not panicking about a root line.
This saves you so much time and money in the long run. You might just need a gloss or toner refresh around the 8-week mark to maintain brightness, which is a quick and affordable service.

At-Home Glosses for Between Appointments
To revive color and tone at home, consider a semi-permanent gloss or conditioner. Brands like Christophe Robin or dpHue make fantastic options. They deposit a sheer wash of color and tone that lasts a few weeks.
It’s perfect for boosting shine, neutralizing brass, and making your blend look freshly done without a trip to the salon. Follow the instructions carefully for the best result.
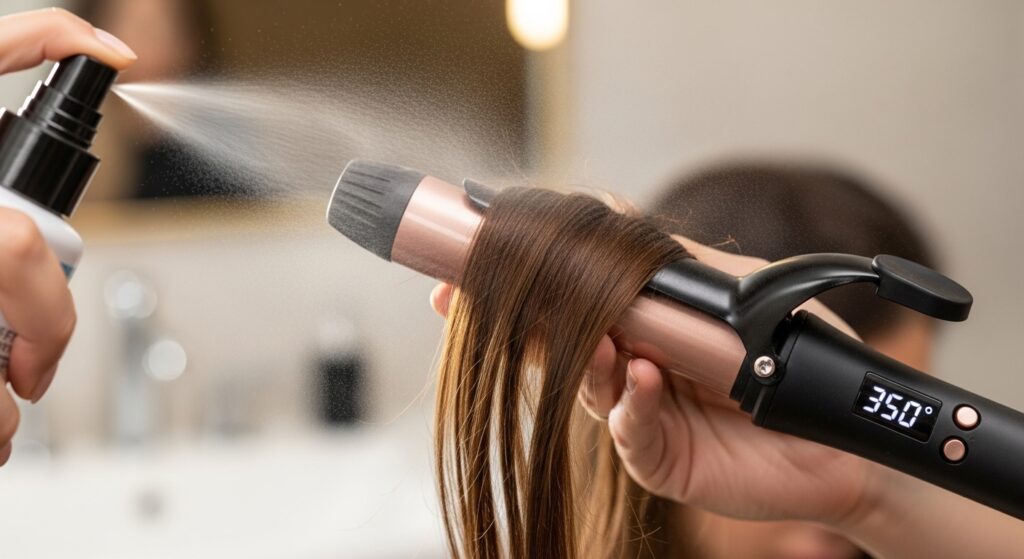
Protecting Your Hair from Heat
Highlighted and gray hair can be more prone to dryness. Always, always use a heat protectant spray before using any hot tools. Try to lower the temperature on your iron or dryer—you often don’t need as much heat as you think.
Embrace air-drying when you can to give your hair a break. This maintains the integrity of your hair, keeping your blend looking shiny and healthy, not frazzled.
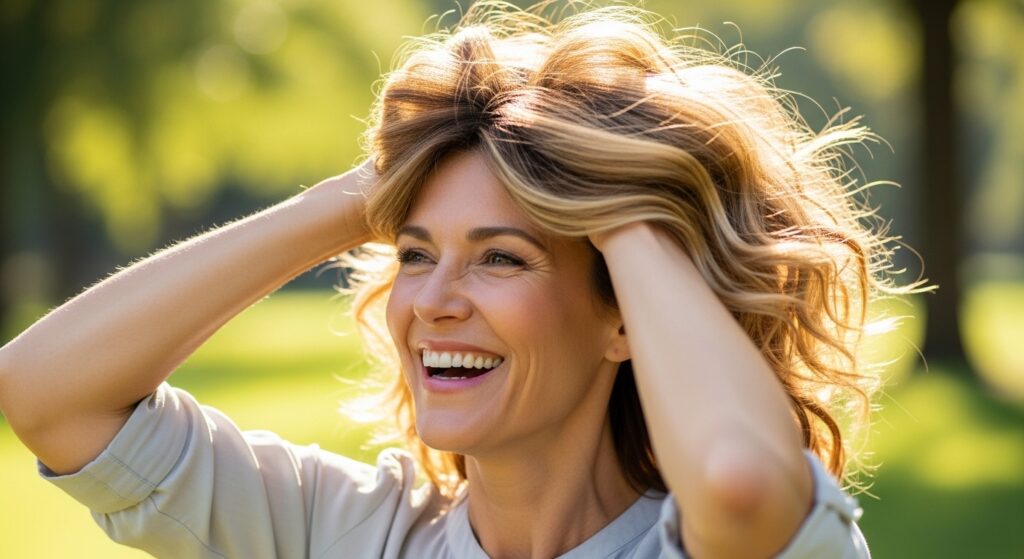
The Confidence Mindset Shift
Ultimately, gray blending is about taking control and choosing how you present yourself to the world. It’s not about hiding, but about enhancing and feeling like the best version of you.
When your hair looks good, you feel good. It’s that simple. This process allows you to meet this natural change with creativity and style, on your own terms.
Your Next Step: Book That Appointment
Feeling inspired? The best thing you can do is take action. Find a stylist in your area who specializes in dimensional color and gray blending. Look at their portfolio online to make sure their style aligns with yours.
Book a consultation first. It’s a no-pressure chat to see if you click and get on the same page. Walking in with the knowledge from this post will make you an empowered client ready for an amazing change.
So there you have it—your complete, no-BS guide to navigating the gray with highlights. It’s not about turning back time, but about moving forward with a look that feels authentic, stylish, and totally manageable.
Remember, your hair is your accessory. Make it work for you. This transition can be one of the most liberating and fun style chapters yet.
Save this post to Pinterest to keep these hacks handy for your next salon visit! And I’d love to hear from you—are you thinking of trying gray blending? Or do you have a success story already? Spill your thoughts in the comments below!