Revamp Short Hair with Extensions for Long Glam
Okay, let’s be real. We’ve all had that moment staring at our fresh short haircut, loving the freedom, then suddenly missing the drama of long, flowing locks. I’ve been there. You want to switch it up without the two-year grow-out phase, right?
That’s where hair extensions become your secret weapon. They’re not just for adding length; they’re for instantly transforming your entire vibe. Think of them as the ultimate hair accessory.
This guide is your practical, no-BS playbook. We’re going from chic short styles to long, head-turning glam in one sitting. I’ll walk you through every step, from choosing the right type to styling them so they look like they grew from your own scalp.
Get ready to unlock a whole new you. Your short hair is about to become the most versatile canvas you own.
Why Extensions Are a Short Hair Game-Changer
If you think extensions are only for already-long hair, think again. They are the fastest way to experiment with 2026 hairstyles without any permanent commitment. You get to play with length, volume, and color on a Tuesday and go back to your chic bob by Wednesday.
It’s all about options. Having a bad hair day? Clip in some length. Want to feel extra for a date night? Add some volume. This flexibility is why every stylist I know loves them for short-haired clients. It’s instant gratification.
Finding Your Perfect Match: The Extension Types
Not all extensions are created equal, especially for shorter hair. The key is matching the method to your lifestyle and how often you want the length. Here’s a quick breakdown of the top contenders.
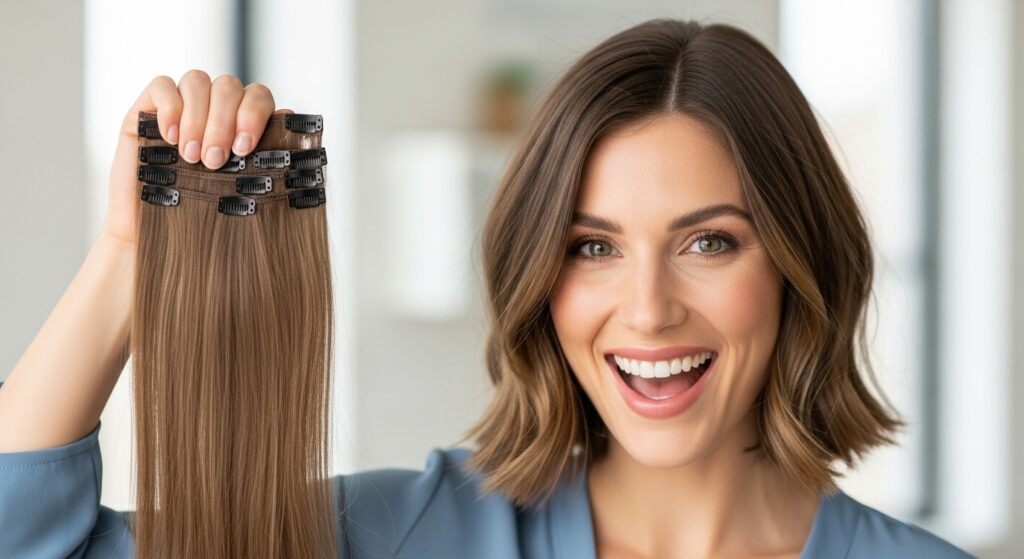
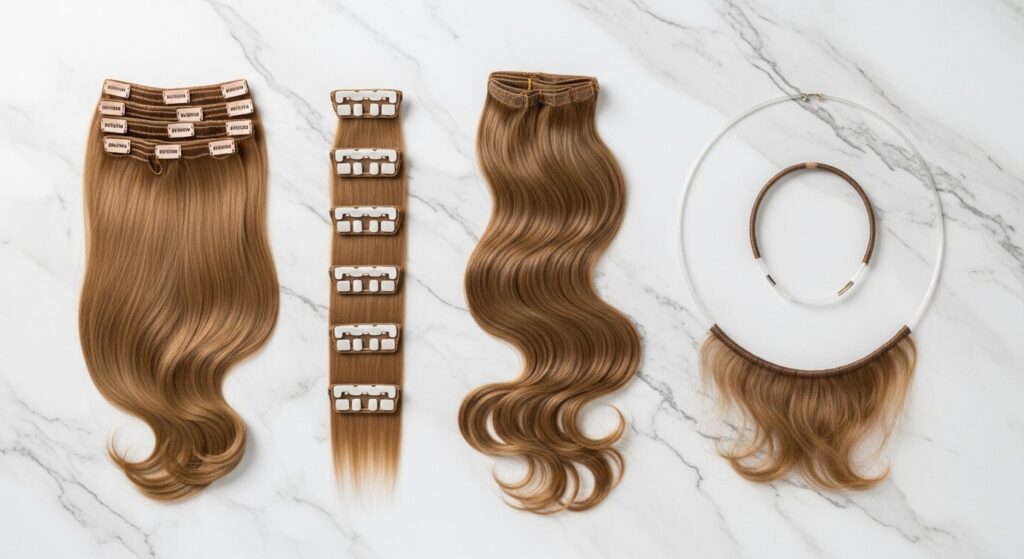
- Clip-Ins: Your starter kit. Perfect for beginners and occasional wear. You control the placement and can add them in minutes.
- Tape-Ins: Semi-permanent. They lie flat against your head, making them great for shorter lengths. They last 6-8 weeks with professional application.
- Halo Extensions: Genius invention. One wire sits hidden under your top hair. Zero clips, zero damage, and incredibly easy to put on and take off.
The Color Blend: Making It Look Seamless
This is the most important step for a natural look. Even a slight color mismatch will scream “extensions.” The goal is for the added hair to disappear into your own. Taking a swatch of your hair to match is non-negotiable.
For multi-dimensional color (like balayage), consider extensions that are pre-blended. Better yet, have a professional colorist customize them. It’s an investment that pays off in flawless, undetectable results every single time you wear them.
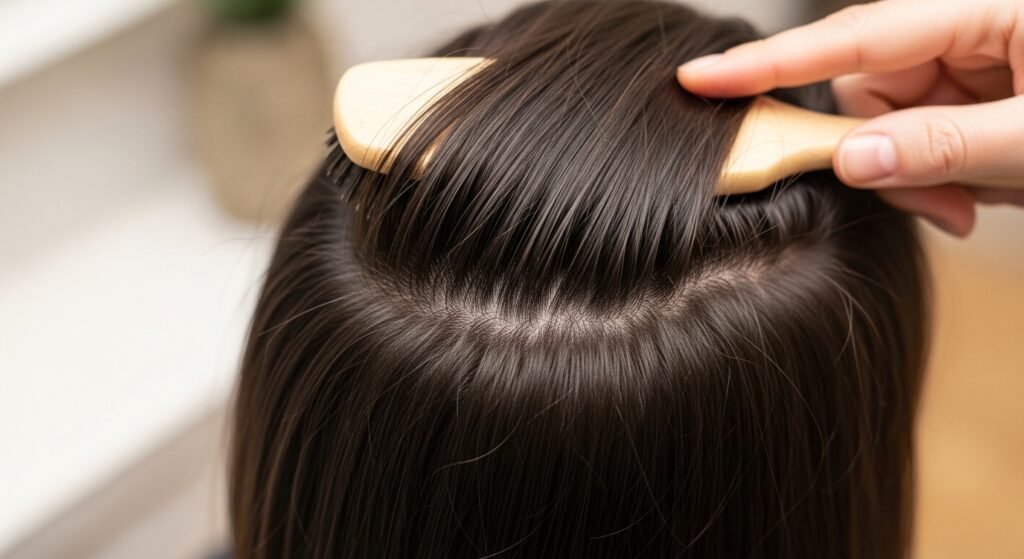
Mastering the Base: Preparing Your Short Hair

Preparation is everything. Your natural hair needs to be a stable, smooth base for the extensions to attach to and blend with. Start with day-old hair or use a texture spray; grips better than slippery clean hair.
Create a solid foundation. For bobs or lobs, a low ponytail or braid pinned flat works wonders. For pixies, you’ll rely more on layering the extensions over your top layers. The key is securing any loose ends so they don’t poke through.
Step-by-Step: Applying Clip-Ins to Short Hair
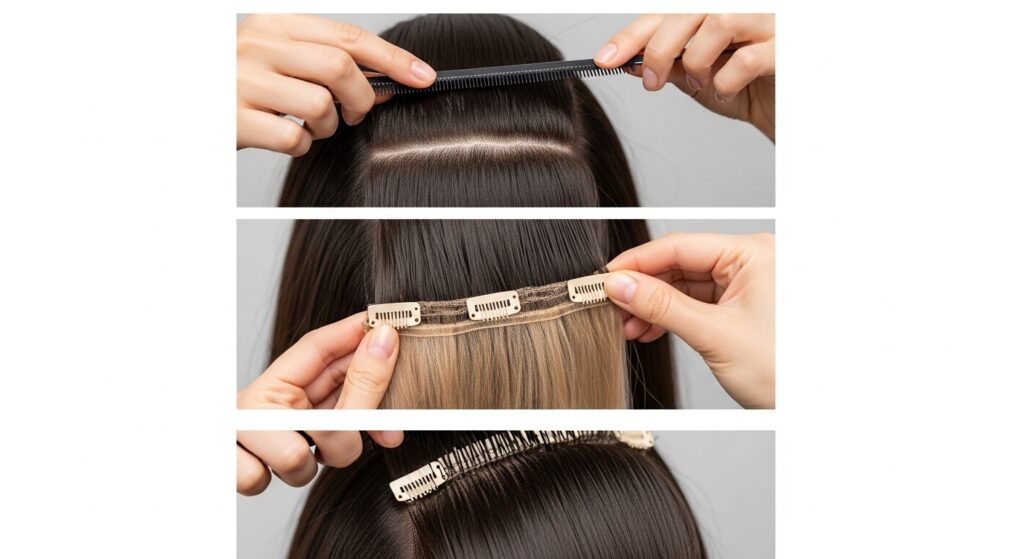
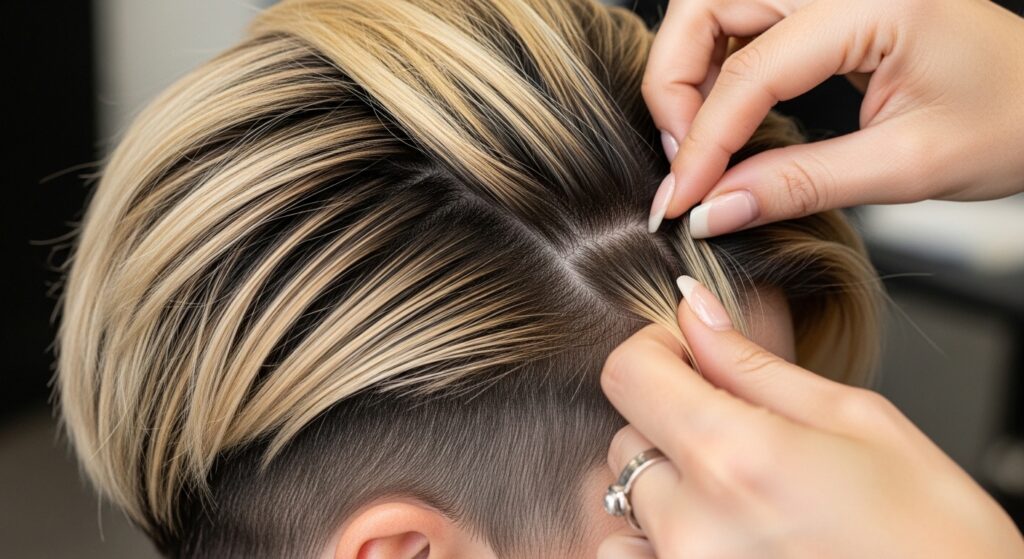
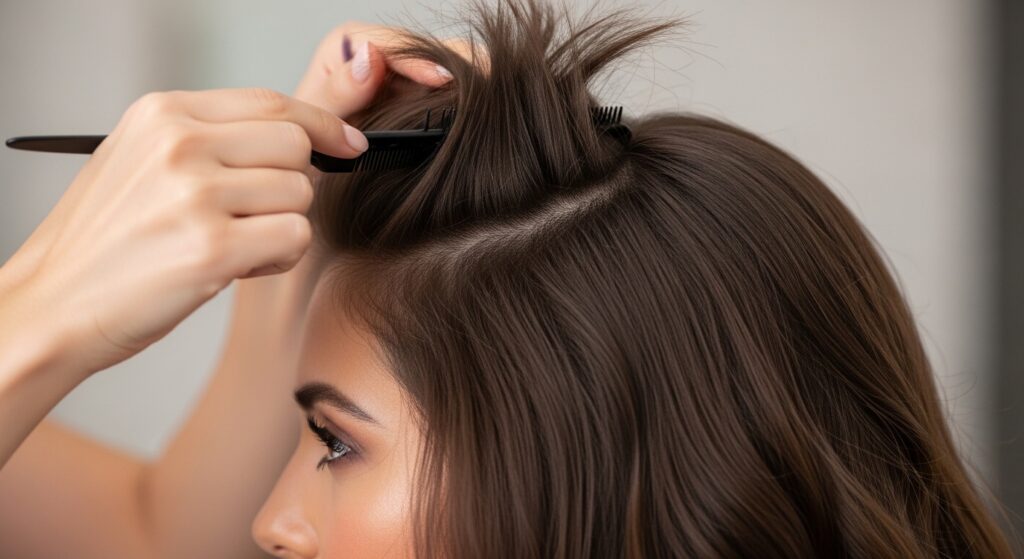
- Section Your Hair: Start with a horizontal part about an inch above your nape. Clip the top section up and out of the way.
- Place the First Weft: Take your widest clip-in weft. Open the clips, position it directly on the part line, and snap it closed firmly onto your root hair.
- Release More Hair: Let down another horizontal section of your natural hair to cover the weft. This is your blending layer.
- Repeat Upwards: Continue this process, working up towards the crown. Use smaller wefts for the sides and around your face.
Blending Magic: The Stylist’s Secret
Once all clips are in, the real magic happens. Gently backcomb the root area where the extension attaches to your hair. This helps lift your natural hair to meet the extension hair, erasing any obvious lines.
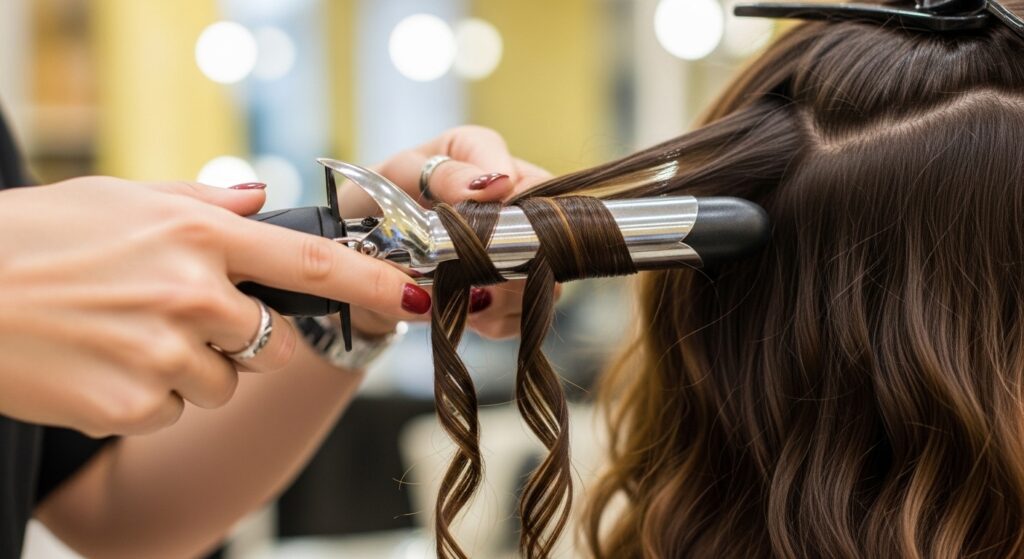
Then, style everything together. Curl or wave large sections that include both your hair and the extensions. This is what fuses them into one cohesive look. A light hairspray over the brushed-out curls will set your masterpiece.
From Bob to Mermaid Waves
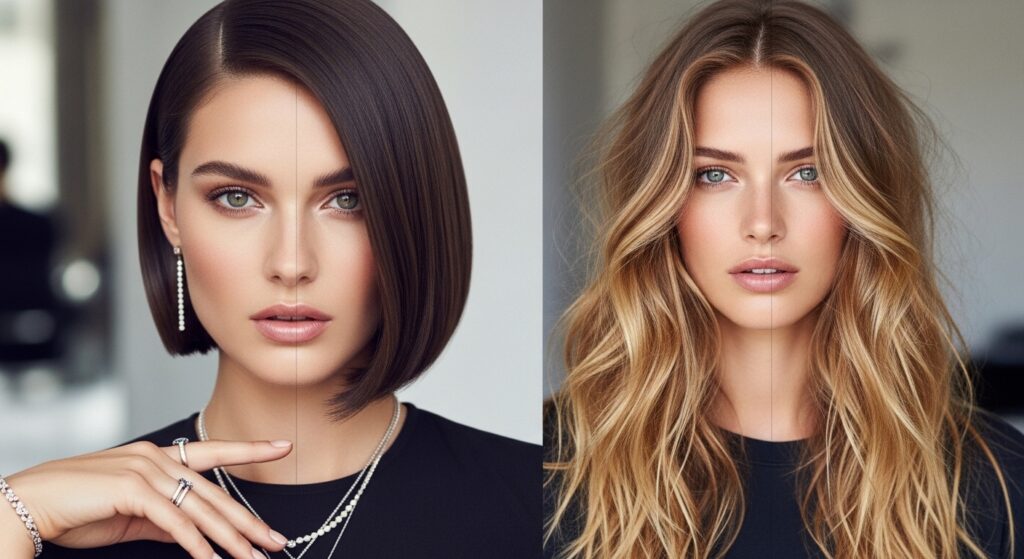
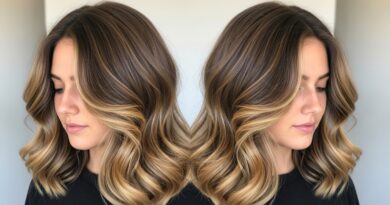
This is the classic transformation. That sophisticated, chin-length bob is a perfect base. When you add length, you can create stunning, romantic waves that feel both glamorous and effortless.
Use a large-barrel curling wand and wrap big sections away from your face. Don’t curl the very ends for a softer finish. Brush out the curls with your fingers for that undone, “I woke up like this” wave. It’s pure old money hair energy with a modern twist.
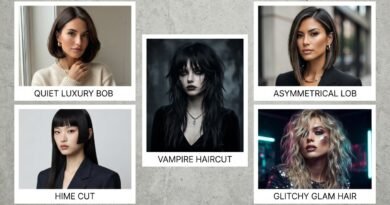
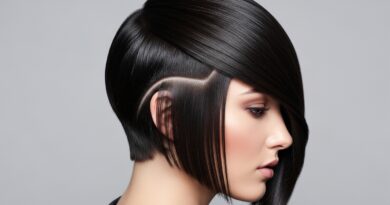
Edgy Transformation: The Asymmetrical Lob to Glitchy Glam
Got an asymmetrical lob? You’re already halfway to an edgy masterpiece. Extensions can amplify the dramatic angle or add surprising length to just the longer side for a severe, fashion-forward look.
Play with contrasting textures. Keep your natural bob piece sleek and sharp, while the extension length is wildly curled or crimped. This clash of textures is the heart of glitchy glam hair—perfectly imperfect and intentionally messy.
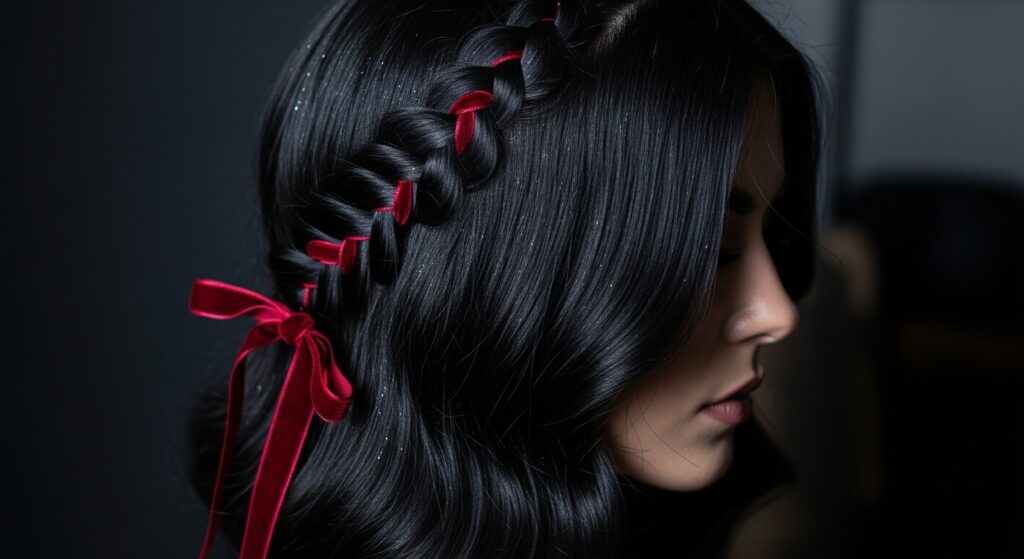
Channeling Romantic Goth & Vampire Vibes

Short hair can feel limiting for dark academia or romantic goth hairstyles. Extensions unlock that dramatic length. Think deep colors, velvet ribbons woven into braids, and soft, ethereal waves.
The vampire haircut—with its sharp layers and long lengths—is easily achieved. Add long, piecey layers around the face. The key is texture: use a matte pomade to separate ends and create a slightly undone, timelessly cool look.
Experimenting with the Hime Cut
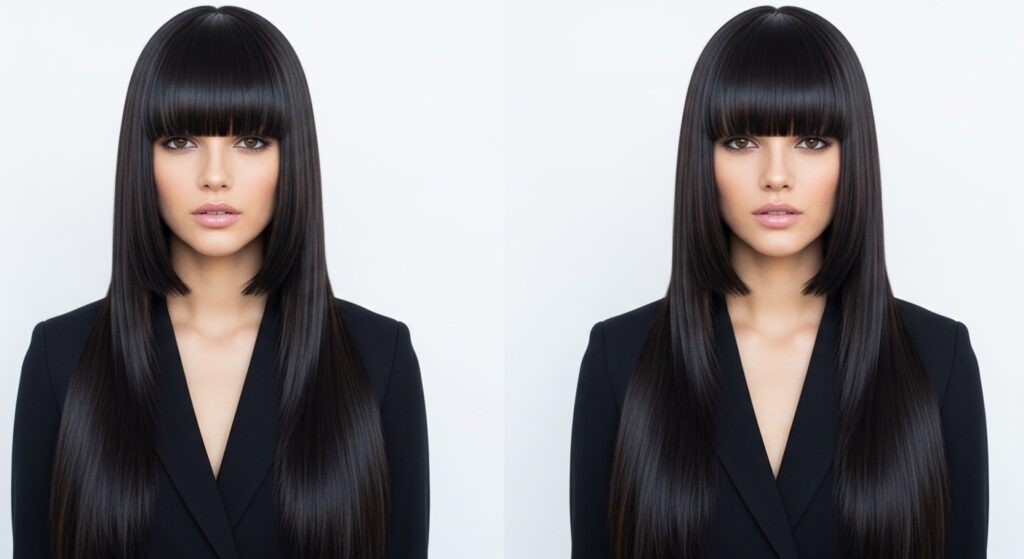
The hime cut, with its iconic straight-across bangs and long, straight side locks, is a bold statement. With a short base, you use extensions to create only those long, dramatic side panels.
It requires precise, blunt-cut extensions. The look is graphic and stunning. Style your bangs perfectly straight and let the added length fall in a sharp, clean line. It’s a look that commands attention and feels incredibly modern.
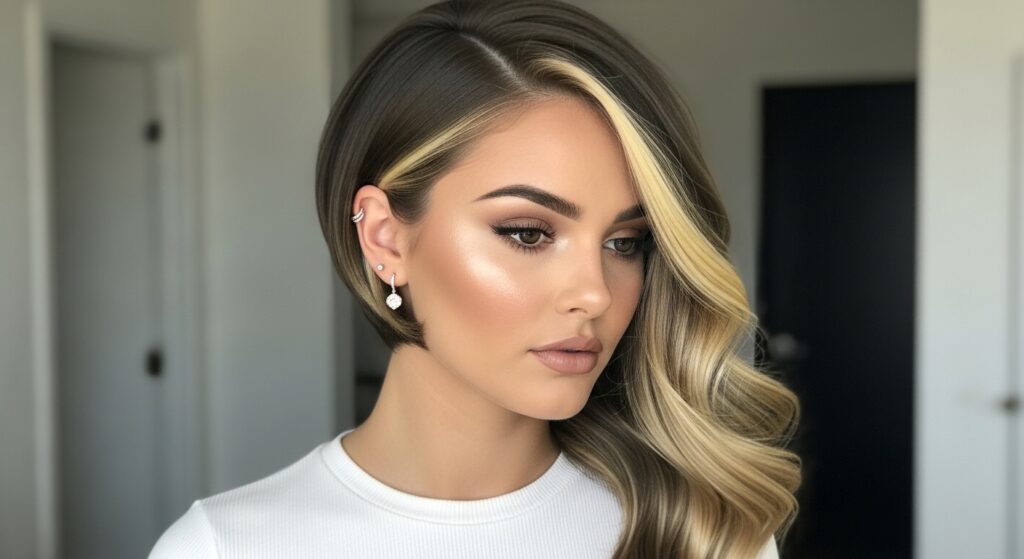
Creating Volume at the Crown
Sometimes, you don’t even want length—you want lift. This is where short wefts or volume extensions are genius. Place small clip-ins right at the crown under your top layers of hair.
This technique gives you that coveted, bouncy volume that lasts all day. It elevates even the simplest short style, making it look fuller and more luxurious. It’s the secret behind many red carpet pixie looks.
Quick Updos for “Long” Hair
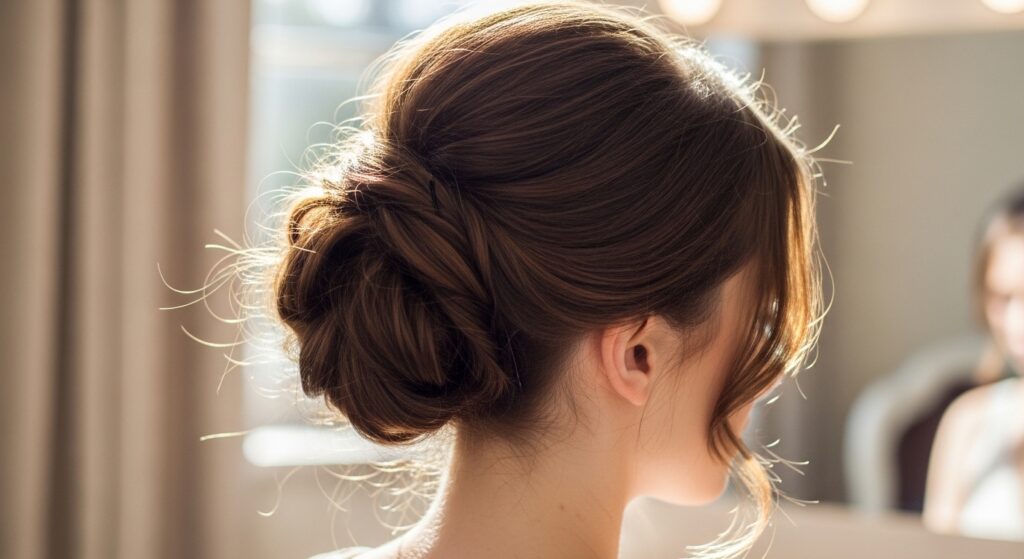
Yes, you can put your extension-enhanced hair up! A low, messy bun or a chic ponytail is totally possible. The trick is to be gentle and use coated elastics that won’t snag the extension clips or tapes.
Leave some of your shorter, natural pieces out around your face and nape. This not only looks beautiful but also helps hide any updo base, making the entire style look believably yours.
Heat Styling Do’s and Don’ts
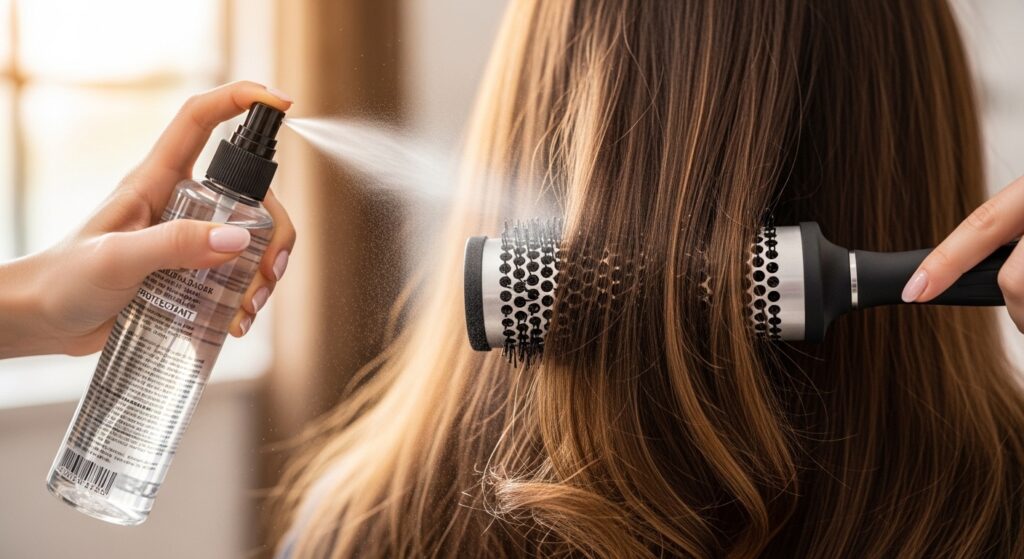
Human hair extensions can be heat-styled, but they need extra care. They don’t receive natural oils from your scalp, so they dry out faster. A heat protectant spray is your mandatory first step, every single time.
Keep the heat setting on your tools moderate. High heat can singe or fry the hair. When curling, try to avoid clamping down on the hair with the iron; use a wand to wrap the hair instead for less direct damage.
Washing and Caring for Your Extensions
Less is more. You only need to wash clip-ins or halo extensions every 10-15 wears. For permanent methods like tape-ins, your stylist will advise. Always use sulfate-free, moisturizing formulas.
Wash them gently in a sink with cool water. Never sleep in clip-ins or rub them vigorously. Let them air dry on a towel. This routine will dramatically extend their lifespan and keep them looking silky.
Nighttime Routine: Keeping It Tidy
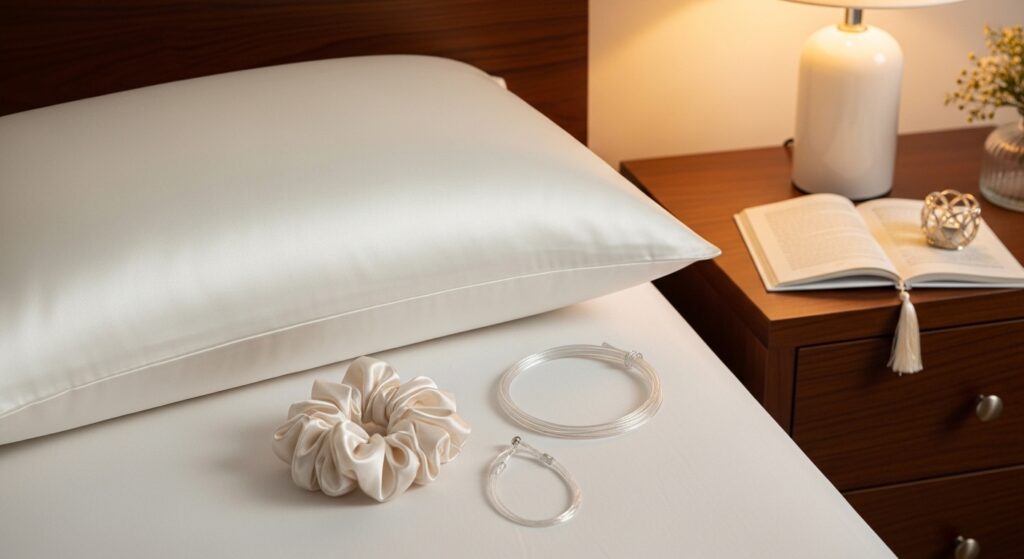
If you’re wearing semi-permanent extensions, always braid or put your hair in a loose, low ponytail before bed. This prevents tangling. For clip-ins, of course, you take them out and store them.
Invest in a silk or satin pillowcase. This simple switch reduces friction for both your natural hair and any extensions you’re wearing, preventing breakage and keeping styles smoother for longer.
Storage Solutions That Prevent Tangles
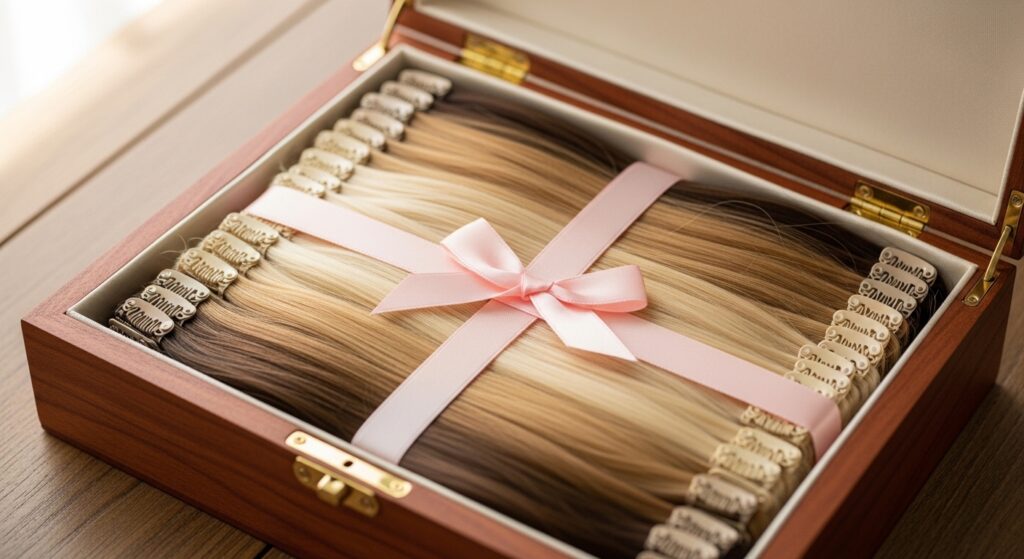
Never just toss your extensions in a drawer. The number one rule for storage is to keep them straight and untangled. After washing and drying, gently brush them through.
Lay them flat in their original packaging or a dedicated box. You can also hang them on a special hanger. The goal is to avoid any pressure or bending that could create permanent kinks in the hair fibers.
When to See a Professional
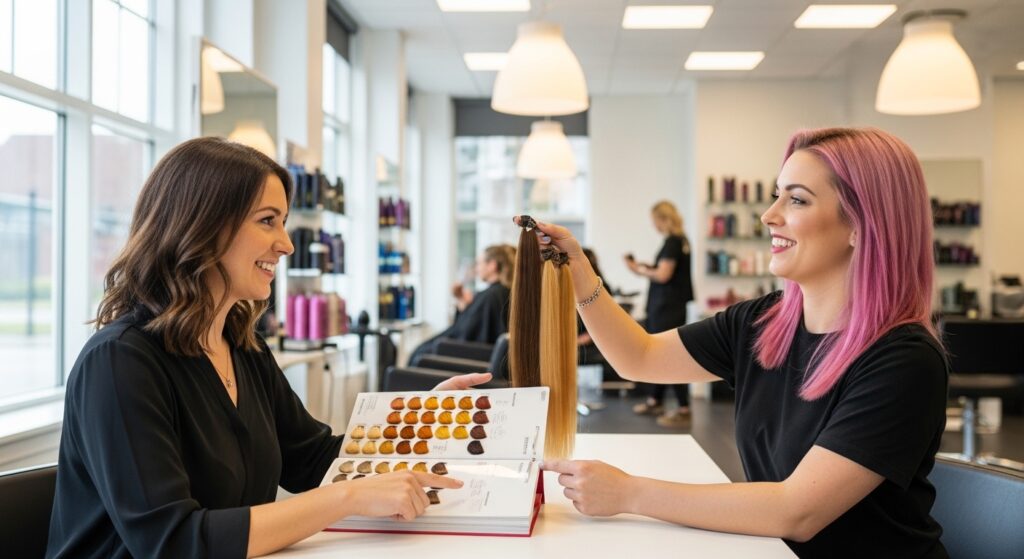
While clip-ins are DIY-friendly, I always recommend a professional consultation for your first set. They can perfectly color match, customize the cut, and teach you application. For tape-ins or other semi-permanent methods, a pro is mandatory.
A good stylist will ensure the weight is distributed correctly for your hair density and that the method won’t damage your beautiful short cut. It’s worth the investment for the health of your hair and the quality of the look.
Budget-Friendly Tips & Dupes
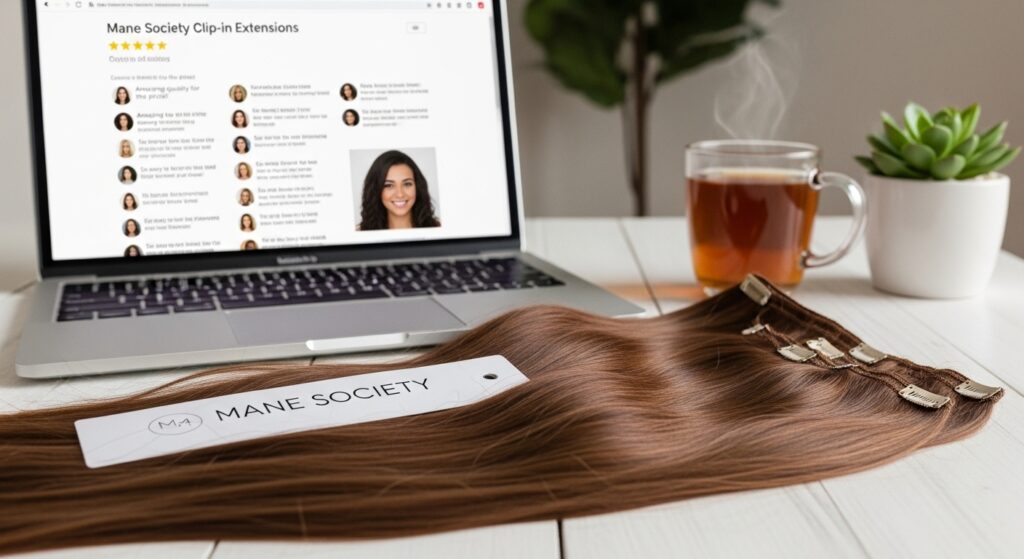
Great extensions don’t have to cost a fortune. Start with a high-quality synthetic or blended fiber for clip-ins to practice. Many online brands offer “virgin hair” at reasonable prices—just read the reviews meticulously.
Focus your budget on the hair that will frame your face. You can buy a smaller, more affordable set and just use the pieces around your face and crown, skipping the full head for everyday.
Myth Busting: Damage and Your Natural Hair
The biggest fear is damage. The truth? When applied, removed, and cared for correctly, extensions will not ruin your short hair. The damage comes from improper installation, too-heavy wefts, or neglecting your natural hair’s health underneath.
Give your hair breaks between wearing extensions. Nourish your scalp and roots with oils and treatments. Your short hair is the foundation—keep it healthy, and your extensions will always look better.
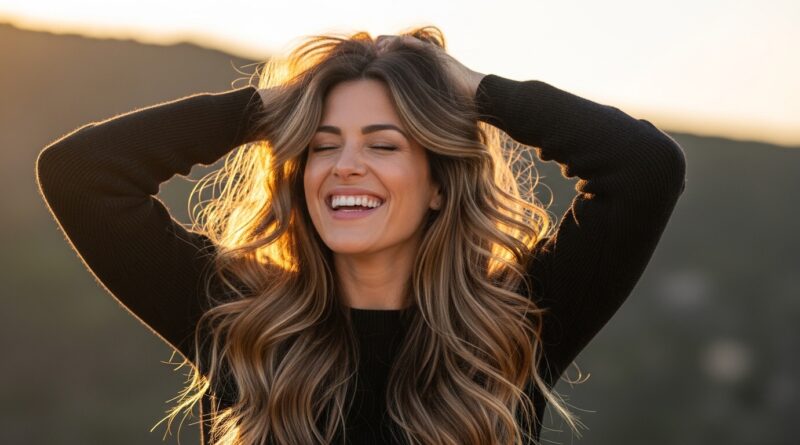
Confidence Is the Best Accessory
At the end of the day, this is about how you feel. Stepping out with a new, longer look can give you a surge of confidence. It’s a fun, temporary alter-ego. Own it. Walk a little taller, flip your hair a little more.
Your style is yours to play with. Whether you’re channeling quiet luxury or full romantic goth drama, the power to change it up is in your hands. That feeling is the real magic of extensions.
Your Next Steps & My Final Thought
Ready to dive in? Start by measuring your hair and researching your desired length. Book that salon consultation or order a color-match sample. The journey is part of the fun.
My final piece of advice? Start simple. A basic clip-in set is the perfect gateway. Master that, and a world of hairstyling possibilities opens up for you and your fabulous short hair.
And just like that, you’ve got the complete blueprint. No more feeling stuck with one length or one style. Your short hair is officially your most versatile feature.
Think of this as your personal hair toolkit. Bookmark it, come back to it, and most importantly, have fun with it. Style should be playful, not stressful.
Save this post to Pinterest to keep this guide handy for your next hair transformation adventure! And tell me in the comments—what’s the first long-glam look you’re going to try? I read every single one.