Perfect Messy Buns Looking Polished in Seconds Flat
Okay, let’s be real for a second. How many times have you scrolled through pictures of those perfect, effortless-looking messy buns and thought, “I could never”? I’ve been there too. It always looks so easy on someone else, but when I try, it either looks like a sad, deflated donut or a weird, overly tight ballerina knot.
Well, I’m here to tell you that the secret isn’t in having magic hair. It’s in knowing a few simple, almost-cheating techniques. The kind you can do in seconds, with a hair tie and maybe one extra tool.
This is your ultimate guide to getting that “I woke up like this, but chic” bun. Whether your hair is fine, thick, curly, or straight, we’ve got a method for you. Let’s ditch the hair stress and get that perfectly polished messy bun, fast.
Why The Messy Bun Is Your Secret Weapon

Beyond just being a quick fix for a bad hair day, a great messy bun is a style powerhouse. It can take you from the gym to running errands to a last-minute dinner date without missing a beat. It’s the ultimate in quiet luxury hair—understated but clearly intentional.
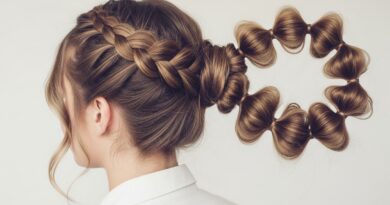
It works with virtually every hair trend, too. Growing out an asymmetrical lob? A bun shows off the shape. Playing with romantic goth hairstyles? A dark, textured bun adds drama. It’s a timeless base you can always return to.
The Non-Negotiable Prep Work
Skip this, and you’re fighting an uphill battle. The goal is to add grip and texture, not weight or stiffness. If your hair is freshly washed and slippery, you need a little help.
- Day-Old Hair is Best: Don’t wash it! That natural oil gives it the perfect amount of grip.
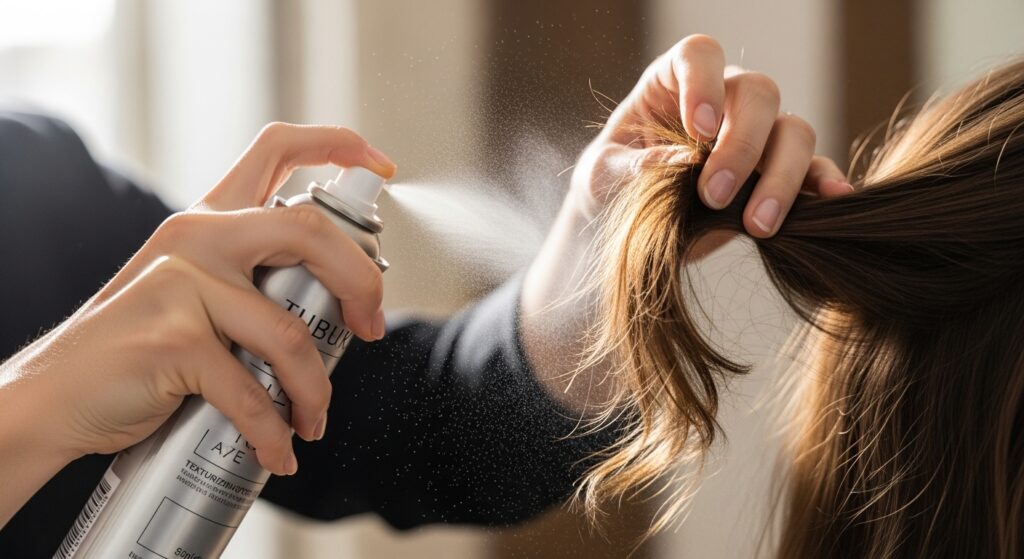
- Dry Texture Spray: This is your MVP. A quick spritz at the roots and through the lengths adds volume and hold without crunch.
- Lightweight Mousse: For fine hair, a pear-sized amount scrunched into damp hair before drying gives amazing body.
Toolkit: You Only Need 2 Things

We’re keeping this minimalist. Complicated tools lead to complicated styles. Here’s all you really need to create magic.
- The Coil Tie (aka Telephone Cord Tie): This is the game-changer. It grips without snagging and holds all day without creating a crease.
- Bobby Pins: Get the good, matte-finish ones. You only need two or three to secure any wispy bits invisibly.
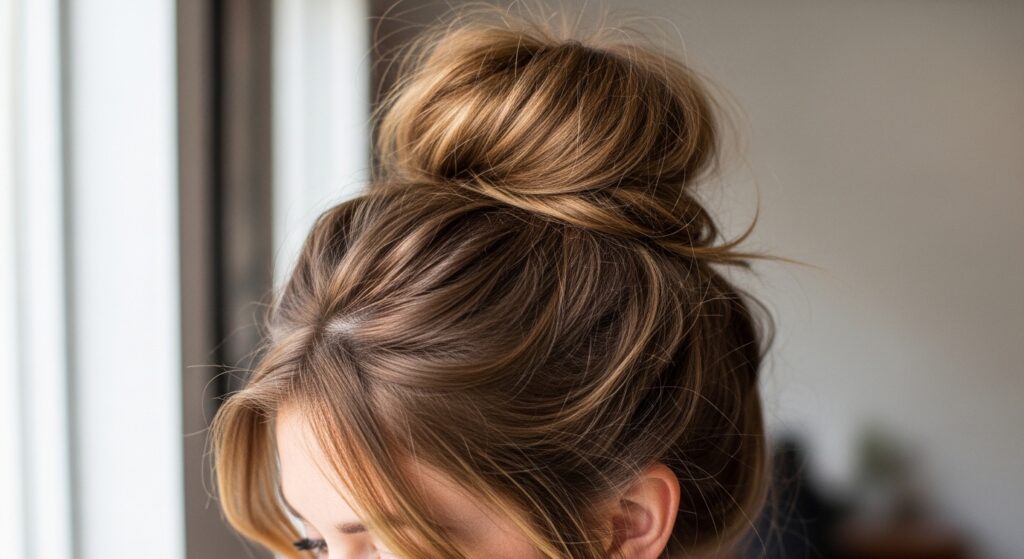
Method 1: The 30-Second Basic Bun
This is your foundational move. Master this, and the rest are just fun variations. It works on medium to long hair of all textures.
- Gather your hair as if making a high ponytail, but don’t pull it all the way through on the last loop of the tie. You should have a loop.
- Twist the loop gently to tighten it slightly, then wrap it around the base of the ponytail.
- Tuck any loose ends under the bun with your fingers and secure the base with a bobby pin if needed. Gently pull at the sides for fullness.
Method 2: The Twist & Pin (For Short or Fine Hair)
If your hair is too short for a traditional bun or slips out easily, this method is for you. It gives the illusion of more hair and stays put.
- Gather hair at your crown or nape. Twist the entire section tightly until it starts to coil on itself.
- Hold the coil flat against your head in the shape you want the bun. Don’t worry about perfection.
- Use 3-4 bobby pins in a criss-cross pattern to pin the coil directly to your head. Pull out face-framing pieces.
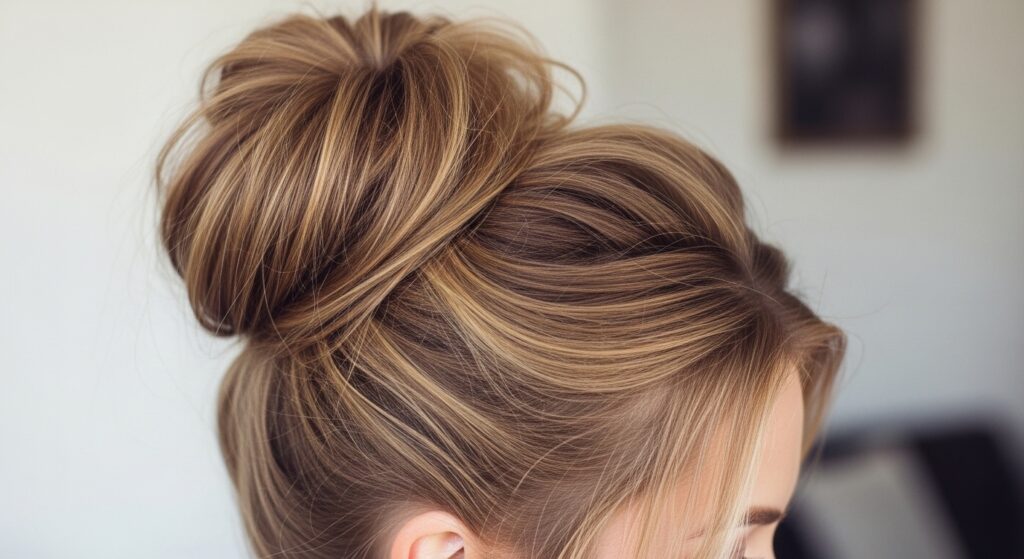
Method 3: The “Sock Bun” Hack (Maximum Volume)
Remember the 2010s sock bun? We’re bringing it back, but better. This creates that full, rounded shape that looks amazing from every angle, perfect for that glitchy glam hair vibe of mixing classic with undone.
Use a small hair donut (or make one by cutting the toe off a sock and rolling it). Place your ponytail through the center. Spread your hair evenly around the donut and tuck the ends under. Secure with a second hair tie over the bun, then hide the donut by pulling hair over it.
Making It Look “Polished” Not “Sloppy”
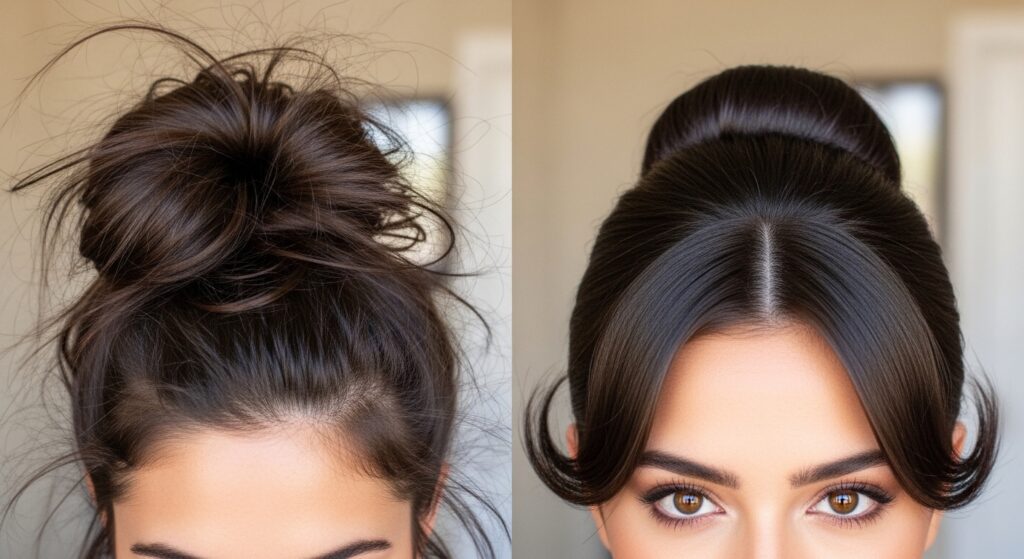
This is the key. Polished means intentional. After you’ve secured your bun, take 15 extra seconds for these finishing touches.
- Face-Framing Pieces: Deliberately pull out 2-3 small pieces near your temples and cheeks. Curl them slightly with a flat iron for a soft bend.
- Smooth the Crown: Lightly run your hand over the top of your head to smooth any major bumps, but don’t make it helmet-flat.
- Hairspray on a Brush: Spritz a clean toothbrush with hairspray and gently tame any wild baby hairs around your hairline.
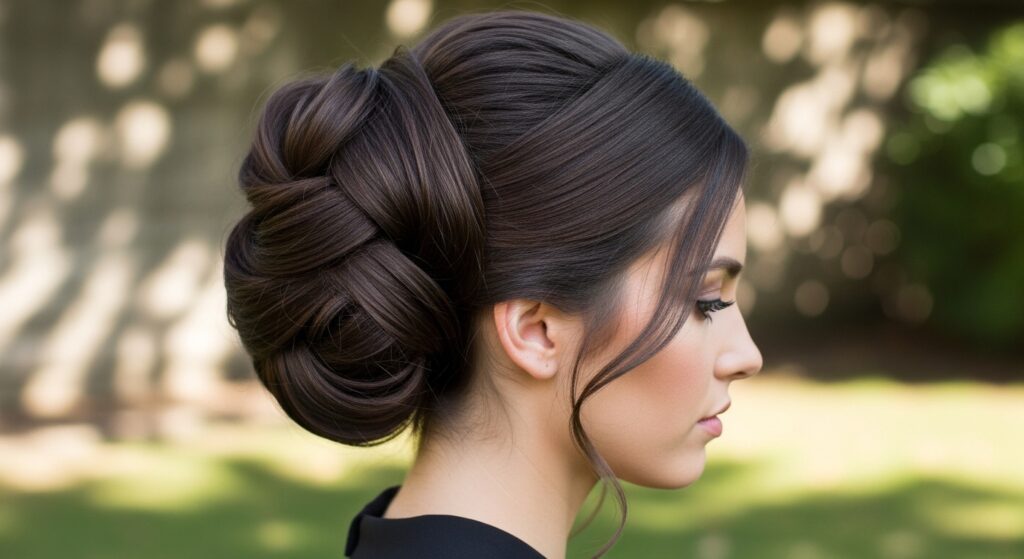
The Perfect Placement: High, Low, or Side?
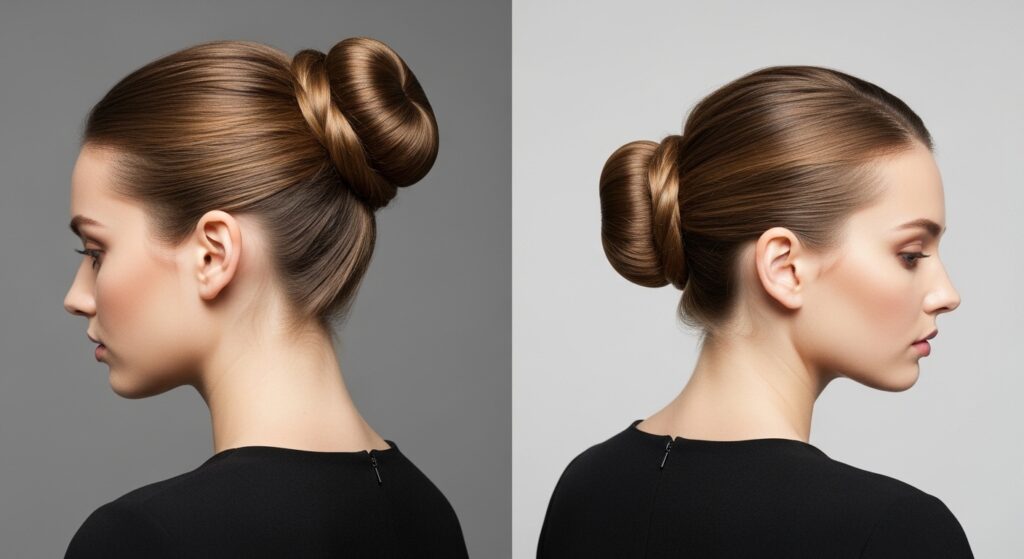
Where you place your bun changes the whole vibe. It’s an easy way to play with different 2026 hairstyle moods without actually changing your cut.
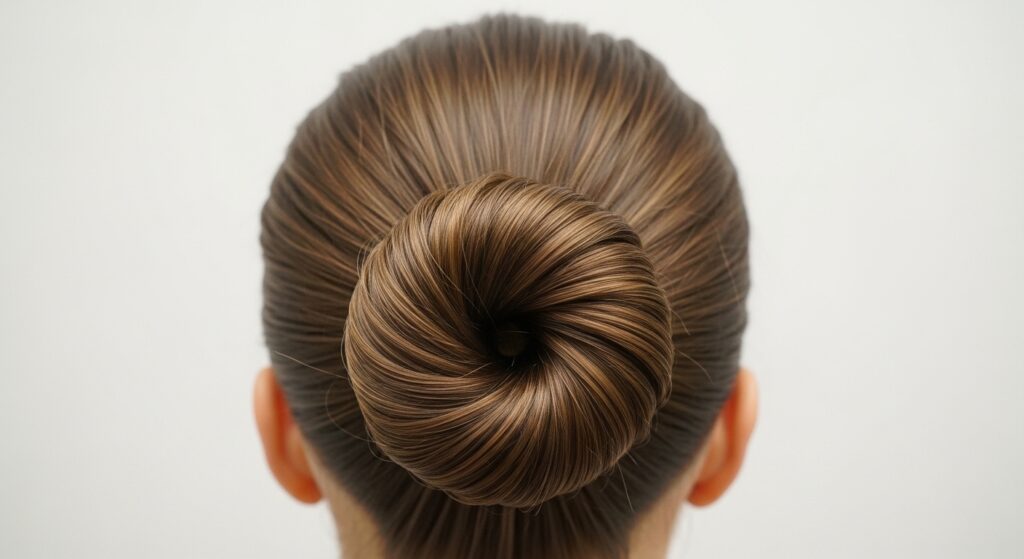
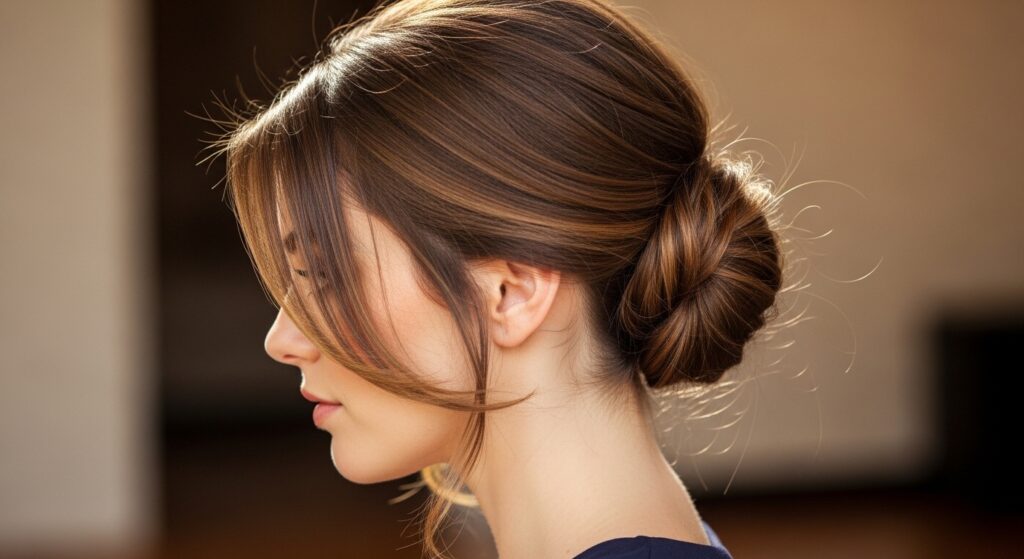
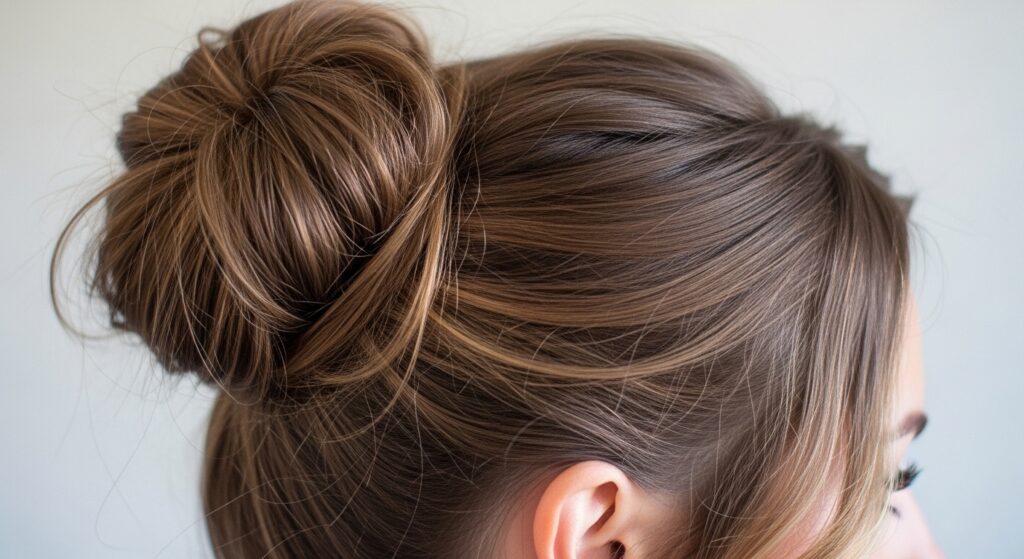
A high bun is perky and athletic. A low bun at the nape is elegant and leans into that old money hair aesthetic. A side bun feels romantic and a bit playful, great for adding a twist to simpler outfits.
Adding Texture for That “Lived-In” Look
Once your bun is secure, the real magic happens. Don’t be afraid to mess with it! This builds volume and makes it look natural.
Gently pull on the outer loops of the bun to enlarge it. Separate a few larger pieces around the bun to break up the shape. If you have layers, pull a few out to frame the bun itself. The goal is softness, not perfection.
Securing It All Day (No Slip!)
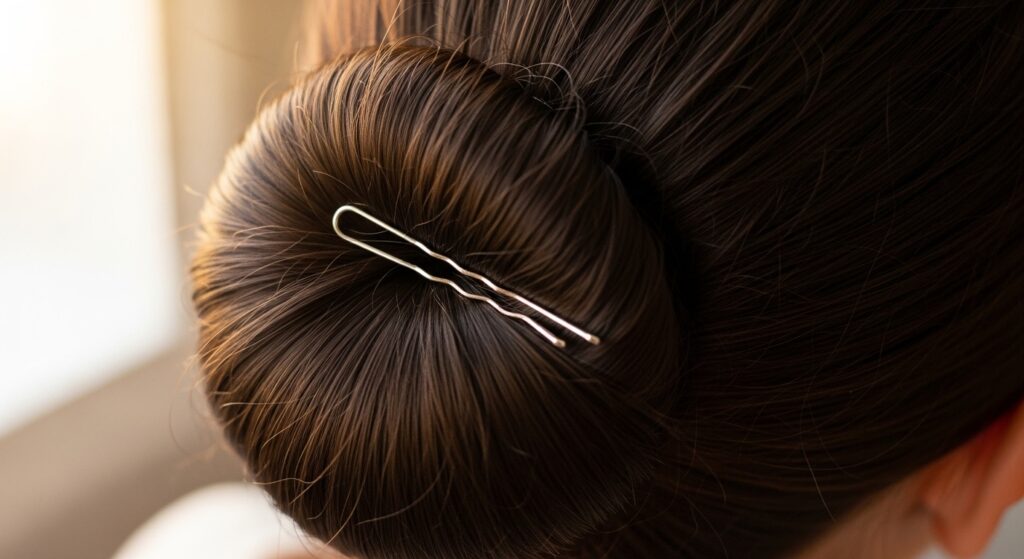
Nothing is worse than a bun that gets droopy by lunch. The trick is in how you pin. Bobby pins should always be inserted with the wavy side down, gripping your scalp.
For heavy buns, insert pins in a criss-cross or “X” pattern at the base. If you have slippery hair, a light mist of dry shampoo at the crown before styling adds incredible grip. That’s the pro secret.
Adapting for Curly or Coily Hair
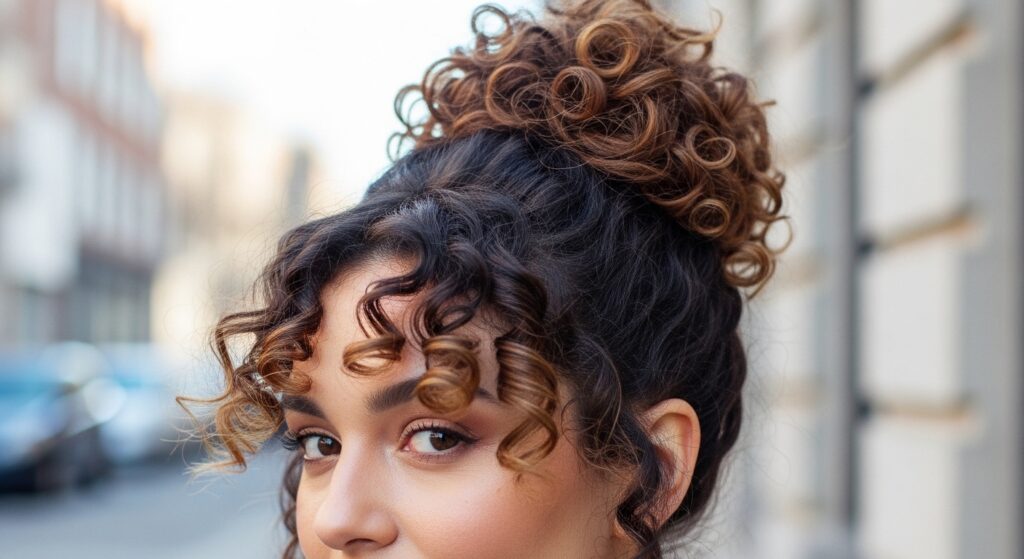
Your natural texture is a huge advantage for a messy bun! Embrace it. The goal is to showcase your curls, not flatten them. Style on dry hair that has been moisturized and defined.
Gather your hair gently, using your fingers, not a brush. You may need a stronger-hold gel or cream at the roots for hold. Let some curls escape freely around your face and neck—this is what makes it beautiful and effortless.
What To Do With Bangs & Face-Framing Layers
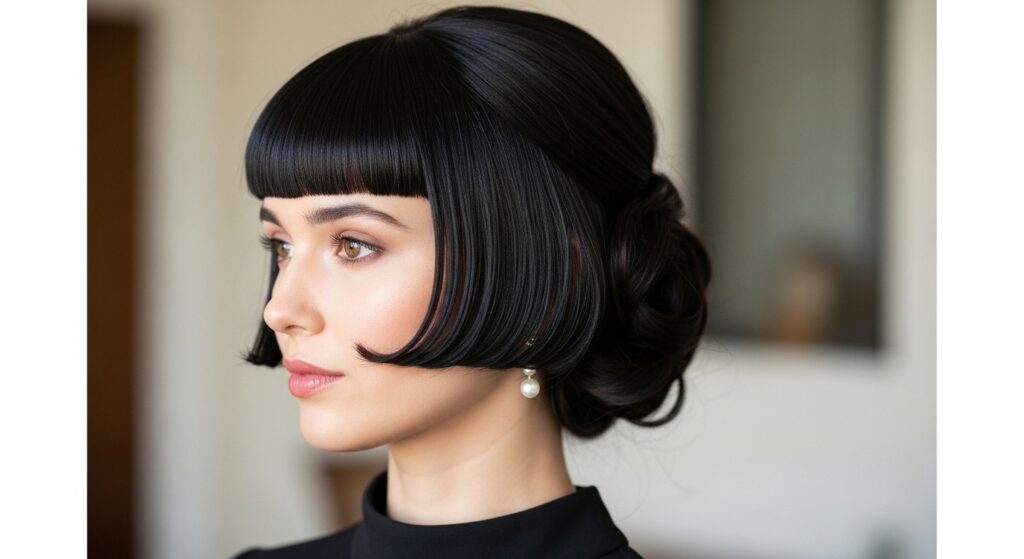
Bangs and layers are a blessing, not a curse. They make the messy bun look even cooler. For blunt bangs or a hime cut, keep them down! They provide a perfect, polished frame.
For curtain bangs or face-framing layers, pull them out after making your bun. You can leave them straight, twist them back, or use a flat iron to create a soft, sweeping wave away from your face before tucking them behind your ear.
The “Second-Day Bun” Rescue
Sometimes, the best messy bun happens on day two or three. Your hair has even more natural texture and body. If it’s looking flat, focus the volume at the crown.
Flip your head over, gather your hair at the crown, and secure it loosely while you’re still upside down. When you flip back, you’ll have instant lift. Spritz with a texturizing spray and follow the usual steps.
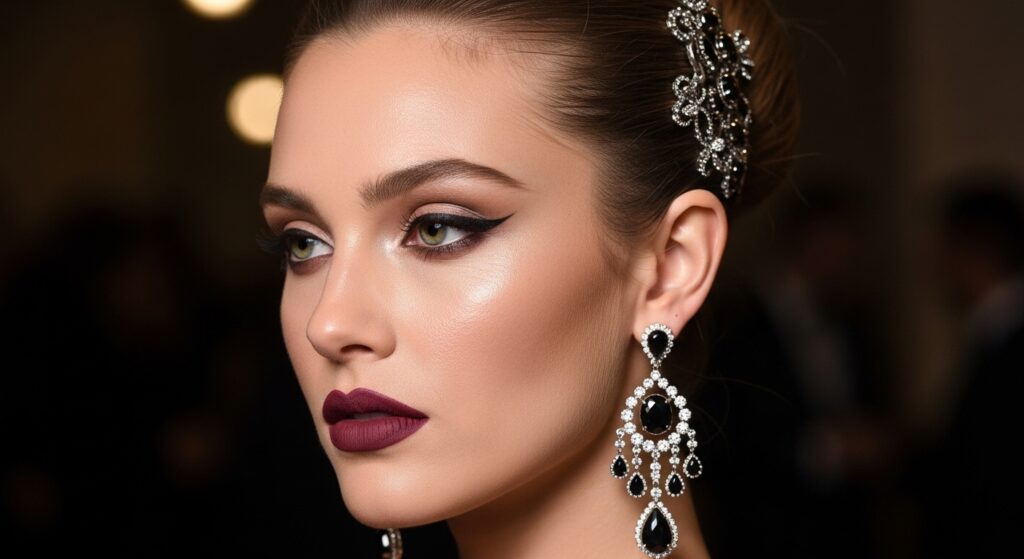
Accessorizing Your Bun (Beyond a Scrunchie)
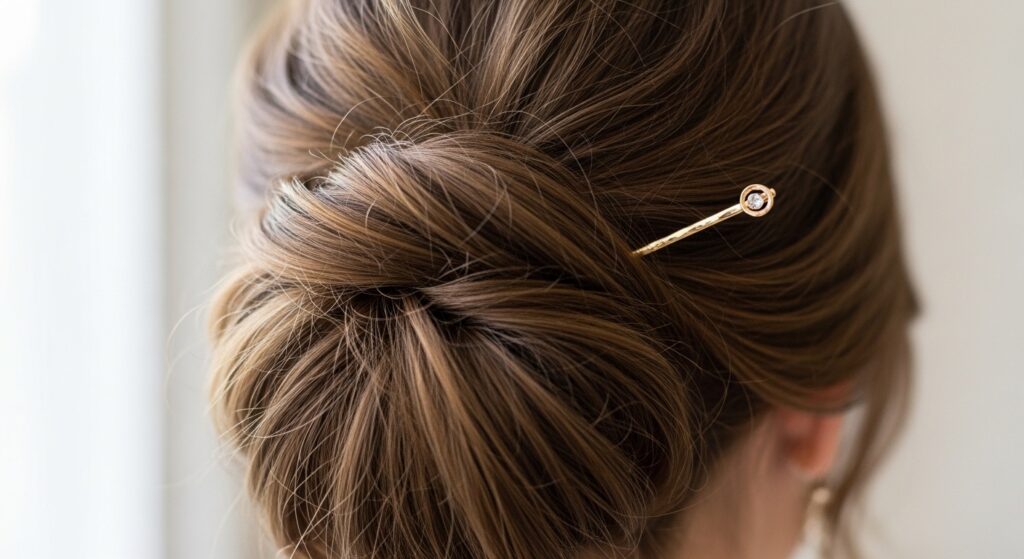
A simple accessory can elevate your bun in seconds. Think minimalist and elegant to keep that polished feel. A small, delicate claw clip can hold the base beautifully.
Slide in a decorative hair pin or two. Wrap a delicate chain (a necklace works!) around the base. For a touch of romantic goth or vampire haircut energy, try a dark velvet ribbon or a silver ornamental pin.
The “Office Ready” Polished Bun
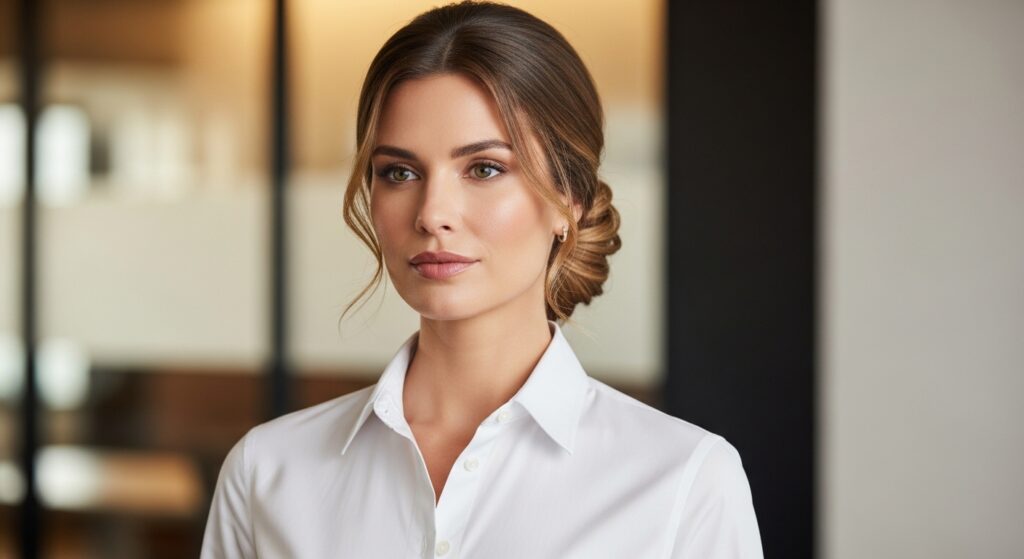
Yes, you can wear a messy bun to the office. The key is control and neatness around the edges. A low bun is your best bet here. Follow the basic method, but before you twist, make sure your ponytail is smooth.
After creating the bun, use that toothbrush trick with hairspray to slick down any baby hairs. Keep the face-framing pieces minimal and neat. This is quiet luxury hair at its best.
The “Workout-Proof” Athletic Bun
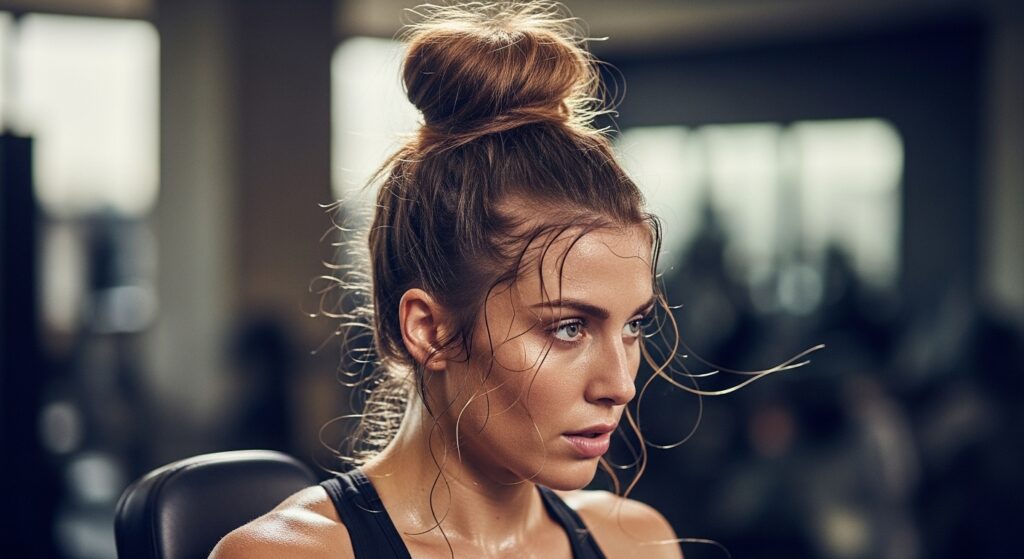
This bun needs to survive burpees. Start with dry hair or use dry shampoo on sweaty roots. A high placement is most secure. Make a tight ponytail first, then create your bun.
Use the criss-cross bobby pin method at the base. Then, wrap the bun with a second, thin hair tie for extra security. It might look too tight at first, but after you pull it apart for texture, it will be perfect.
From Day to Night: The 60-Second Upgrade
Your daytime bun can easily transition to evening. It’s all about the details. Take the bun down and quickly re-twist it, a little looser this time for more volume.
Pull out a few more strategic pieces around your face. Add a shine spray for a touch of glamour. Swap your simple studs for statement earrings. The contrast of a casual bun with glam accessories is pure glitchy glam hair magic.
Common Messy Bun Mistakes (And How to Fix Them)
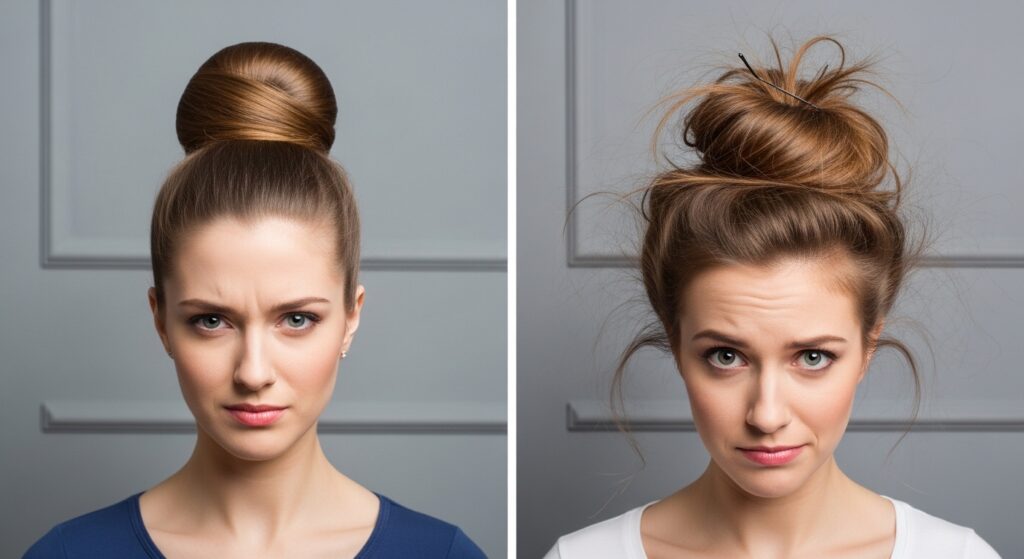
We’ve all made them. The “too tight” bun gives a headache and looks severe. The “too loose” bun falls out in an hour. The fix is in the initial gather.
Don’t use a brush—only use your fingers to gather. Make the initial ponytail or twist just snug enough, not tight. Remember, you can always tighten it with bobby pins after you’ve created the shape.
Inspiration From 2026 Hair Trends

The messy bun is a perfect canvas for trending details. Try adding a bold money piece framing your face. Or, create a bun with wet-look gel for a modern, editorial edge.
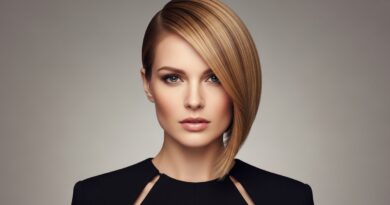
Play with contrasting textures, like a sleek front with a wildly textured bun. This style works with the softness of a quiet luxury bob or the edginess of a vampire haircut. It’s endlessly adaptable.
Quick Fixes for Fine, Thin Hair
Fine hair can create an amazing bun—it just needs a different approach. Volume is key. Tease the hair at the crown gently before gathering. Use a texturizing powder for incredible grip and lift.
The twist & pin method or the sock bun hack are your best friends. They create the illusion of thickness. Always finish by pulling the bun apart to cover any visible donut or scalp.
Quick Fixes for Thick, Heavy Hair
The challenge here is weight and bulk. Section your hair sometimes. Make two ponytails (one on top of the other) and combine them into one bun for better distribution.
Use strong, durable coil ties and more bobby pins. Don’t be shy about pinning every section. Embrace the volume, but shape it by pulling the bun into a slightly more elongated shape rather than a round ball.
Your Final Checklist Before You Walk Out
Do a final mirror check. Is there enough texture, or does it look too slick? Are the face-framing pieces soft and intentional? Does the bun feel secure if you gently shake your head?
Finally, did you add that one polished touch—smooth edges, a piece of jewelry, a shine spray? If you can say yes, you’re ready to go. You’ve mastered it.
And just like that, you’ve got a go-to style that works for literally almost every occasion. It’s the kind of hair hack that makes your morning routine simpler and gives you a boost of confidence because you look put-together, even when you’re just in jeans and a tee.
The beauty of the messy bun is that it gets better with practice, but even your first try will be pretty great. It’s about letting go of perfect and embracing easy, polished style. I use one of these methods almost every single week.
Save this post to Pinterest so you always have these steps handy! And tell me in the comments—which method are you trying first? Is it the basic 30-second twist or the volume-boosting sock bun hack? Can’t wait to hear!