Master Box Braids Refresh Mid-Week Without Removal
Okay, let’s be real. It’s Wednesday. Your box braids, which looked absolutely flawless on Saturday, are starting to feel a little… less than fresh. The frizz is creeping in, your scalp is whispering for attention, and the idea of taking them all out is just not on the agenda.
I get it. We’ve all been there. But what if I told you there’s a way to hit the reset button without a full removal? A mid-week refresh is totally possible, and it’s easier than you think.
This isn’t about a complicated routine. It’s about quick, practical steps that bring back that just-done feeling. Think of it as giving your braids a mini spa day, so you can keep rocking them with confidence.
Let’s ditch the idea that you have to suffer through limp braids. Grab your spray bottle and your favorite oil, and let’s get your style looking snatched again in no time.
Why a Mid-Week Refresh is a Total Game-Changer

Pushing your style an extra week or two feels like a major win, right? A proper refresh does exactly that. It extends the life of your protective style, saving you so much time and money in the long run.
More importantly, it’s about scalp health and maintaining your hair’s strength underneath. A quick refresh tackles dryness and buildup before they become real problems.
Think of it as preventative care. You’re avoiding the major tangles and breakage that can happen when braids get too old. Your future self, with her healthy hair, will thank you.
Gather Your Refresh Toolkit First
You don’t need a salon’s worth of products. Just a few key items will make this process smooth. Having everything in one place before you start is the secret to making it feel easy, not like a chore.
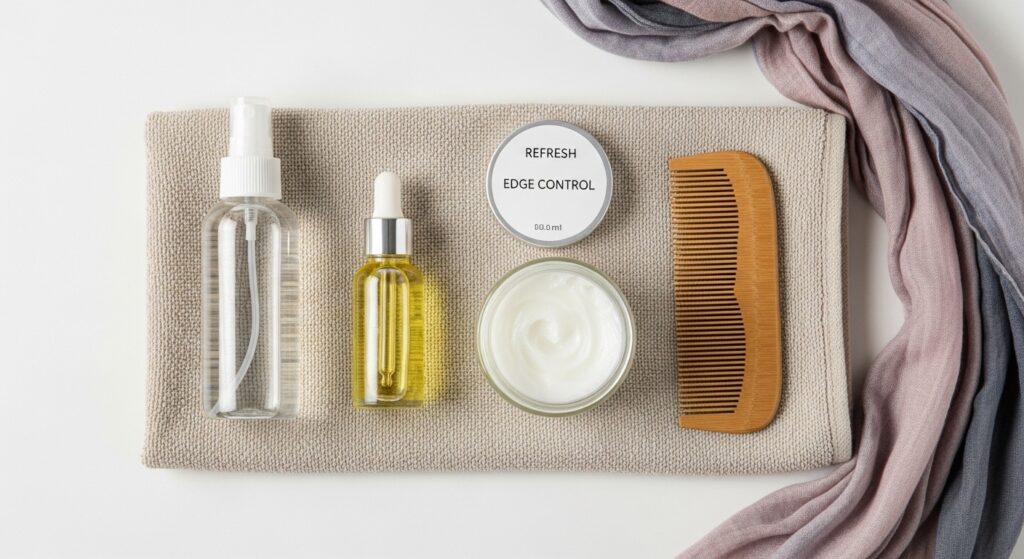
Here’s your basic kit:
- A clean spray bottle filled with water or a light leave-in mix
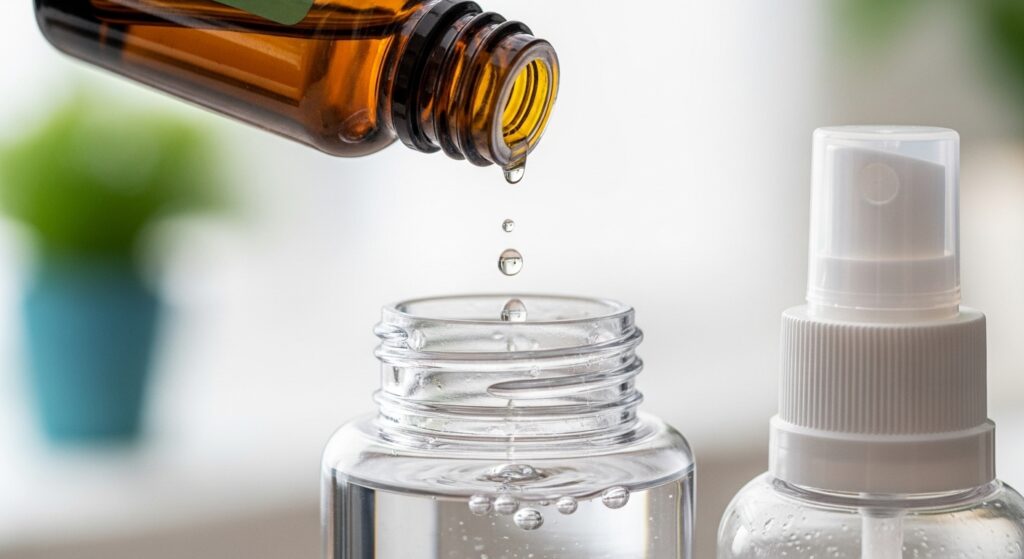
- A lightweight oil (like jojoba or argan) for shine and moisture
- Edge control or gel for flyaways
- A wide-tooth comb or your fingers
- A soft, satin or silk scarf for setting
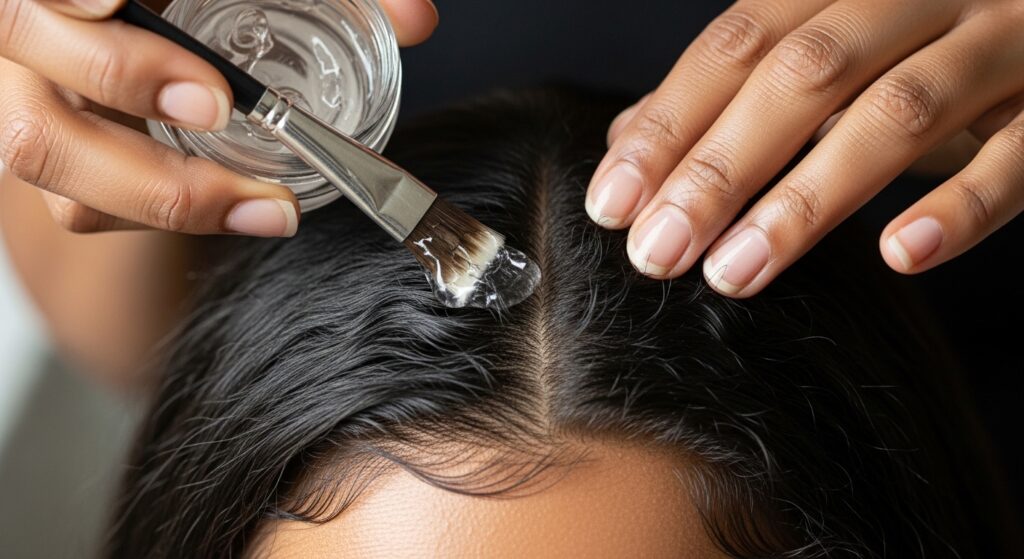
Step 1: The Dry Shampoo & Scalp Reset
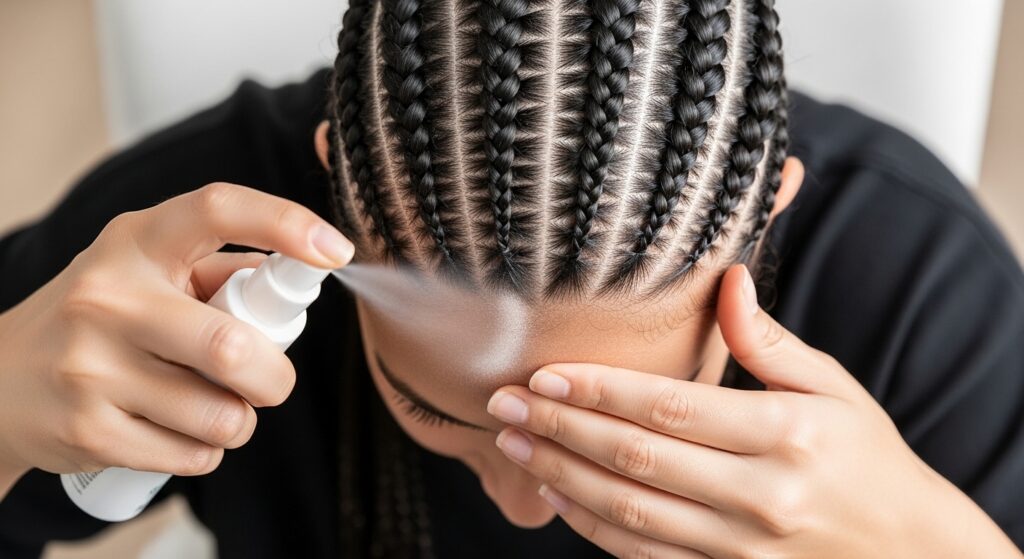
Let’s start at the roots. If your scalp feels oily or has product buildup, a dry shampoo is your best friend. You don’t need to wet your whole head just yet.
Carefully apply a little dry shampoo or a light, alcohol-free witch hazel directly to your part lines. Use the nozzle to get it right to the skin.
Gently massage it in with your fingertips. This will absorb excess oil and give your scalp a much-needed breath of fresh air. It’s the instant pick-me-up that makes everything else work better.
Step 2: The Targeted Moisture Spritz
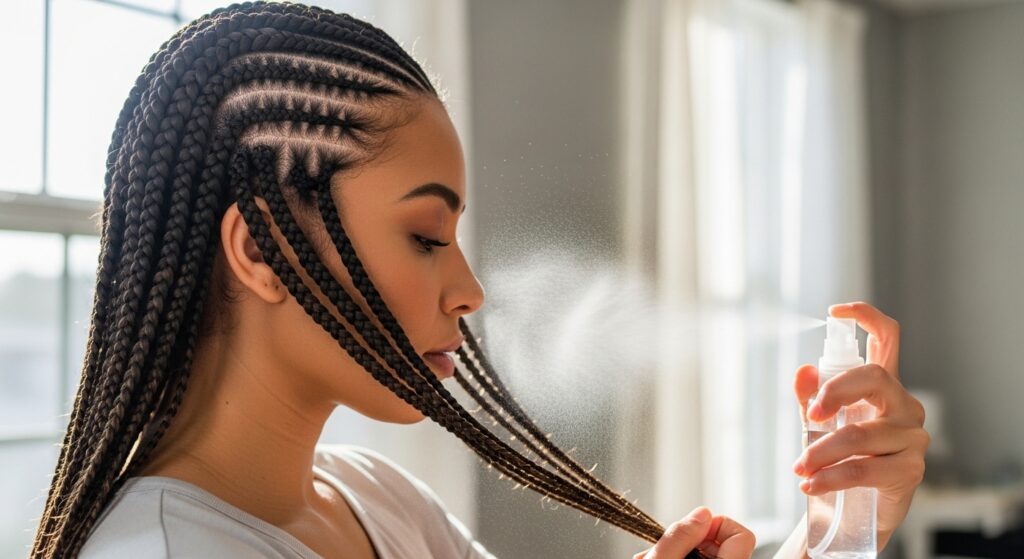
Now for the hydration. Fill your spray bottle with lukewarm water. You can add a capful of a lightweight leave-in conditioner if your hair feels particularly dry.
The key here is targeted spraying. Don’t soak your braids. Lightly mist them, paying special attention to the older-looking midsections and ends where dryness shows first.
Your goal is to dampen the hair, not make it dripping wet. This moisture will help smooth the frizz and make the braids more pliable for any styling we do next.
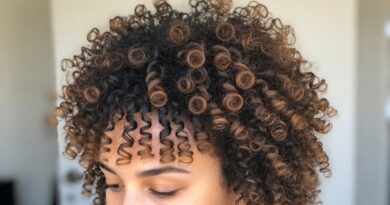
Step 3: Smoothing Down the Frizz & Flyaways
This is where the magic happens. Take a tiny amount of your lightweight oil or a dedicated braid sheen spray. Rub it between your palms.
Then, gently glide your hands over the surface of your braids. Focus on the areas with the most frizz. This technique, called “palming,” adds shine and tames those wild hairs without making your braids greasy.
For your edges and baby hairs, use a soft brush and a little edge control or gel to lay them down neatly. This instantly polishes your whole look.
Step 4: Tightening Any Loose Braids (The Safe Way)
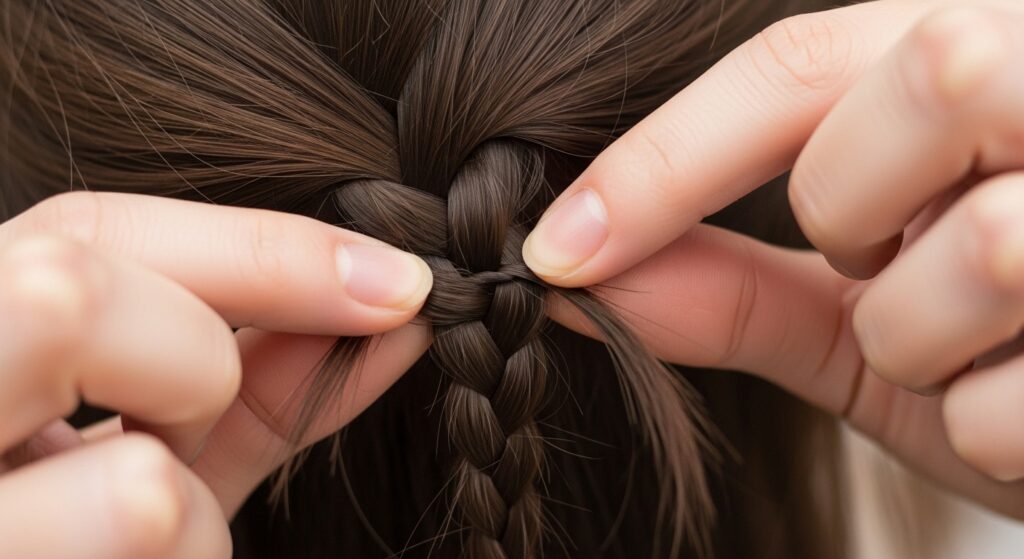
Notice one or two braids feeling loose at the root? You can fix that without redoing the whole thing. Be very gentle to avoid stress on your real hair.
Only re-braid the first inch or so, right at the scalp. Use the existing braid as a guide and simply incorporate the loose hair back in. Don’t pull too tight.
If a braid is loose further down, you can sometimes carefully twist it tighter or use a clear elastic to secure the end. This is a spot treatment, not a full redo.
Step 5: The Silk or Satin Scarf Set

This step locks in all your hard work. A silk or satin scarf reduces friction while you sleep or just lounge around, which is the main cause of frizz.
After your refresh, lay the scarf over your hairline and tie it securely at the nape of your neck. You can also use a satin bonnet if that’s more your style.
Leave it on for at least an hour, or ideally overnight. When you take it off, your braids will be smoother, your edges will be laid, and everything will look freshly styled.
Quick Style Update: The Half-Up Crown

Sometimes a new look is the best refresh. A half-up style is perfect for mid-week. It lifts your face and makes your braids feel brand new.
Gather the front section of your braids, from about temple to temple. Gently pull them back to the crown of your head.
Secure them with a hair tie or a cute scrunchie. You can leave it as a ponytail or wrap the ends into a small bun. It’s effortless and looks so put-together.
Quick Style Update: The Side-Swept Look
This is the easiest change you can make. Simply part your hair deeply to one side and sweep all your braids over the opposite shoulder.
It instantly changes your silhouette and feels very glamorous. It’s a vibe that fits right in with that quiet luxury bob energy—understated but incredibly chic.
For extra hold on a busy day, you can use a discreet bobby pin or two underneath to keep the braids in place on that shoulder.
Quick Style Update: Accessorize It Up
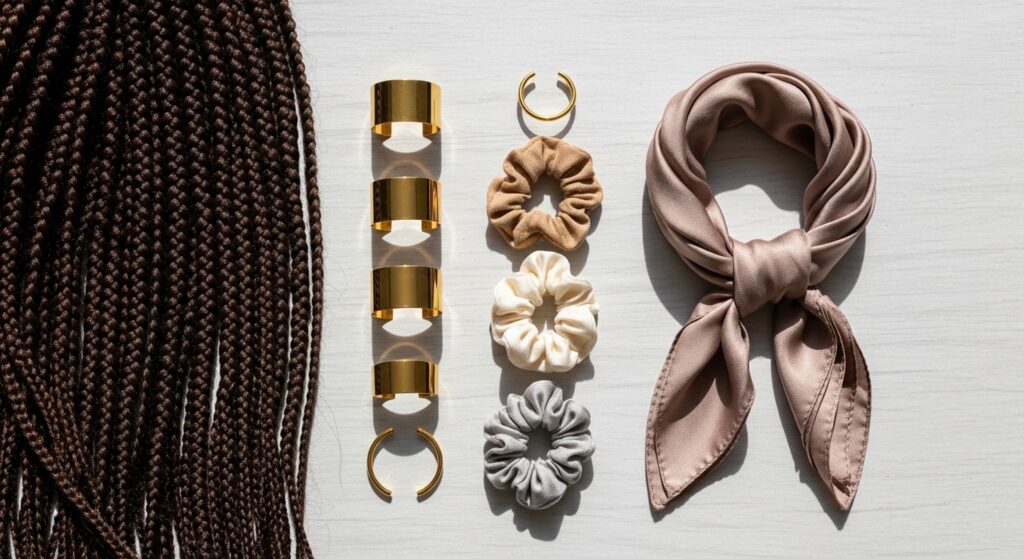
Accessories are a instant refresh button. Sliding a few gold or silver cuffs onto some of your front braids adds immediate polish.
Try swapping your standard hair tie for a beautiful quiet luxury-style scrunchie in satin or velvet. Or, take a small silk scarf and wrap it around a base of a high ponytail.
These tiny changes draw the eye and make your entire style feel intentional and fresh, much like how the right accessory updates any 2026 hairstyles trend.
When to Actually Take Them Down
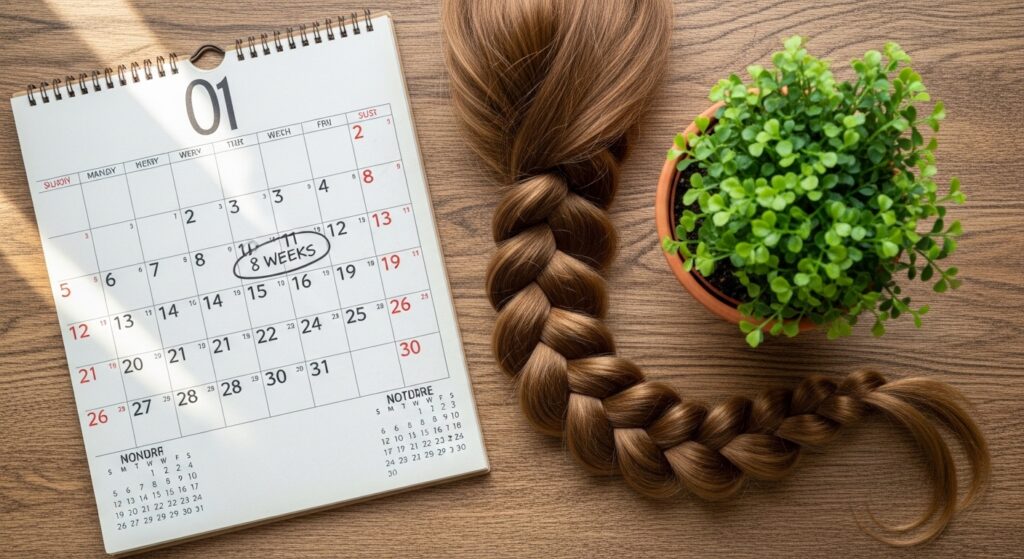
Refreshes are amazing, but they aren’t forever. Knowing when to call it is key for your hair’s health. A good rule of thumb is 6 to 8 weeks max.
Listen to your scalp. If it’s constantly itchy, sore, or has a lot of buildup no matter what you do, it’s time. Check your new growth; if it’s extensive, the braids are putting too much tension on your roots.
Also, if your braids are looking extremely thin and frayed at the root, they’ve done their job. Let them go with love and plan your next protective style.
My Go-To Products for a Flawless Refresh

I keep it super simple. For my spray, I love a mix of water with a few drops of glycerin and a splash of aloe vera juice. It’s light and non-sticky.
For oil, pure jojoba oil is my holy grail. It mimics the scalp’s natural sebum, so it moisturizes without clogging. A little goes a very long way.
For edges, I prefer a light-hold, non-flaking gel. The goal is definition, not a hard crust. And of course, my trusty silk scarf is the most important “product” of all.
How to Protect Your Refresh Overnight
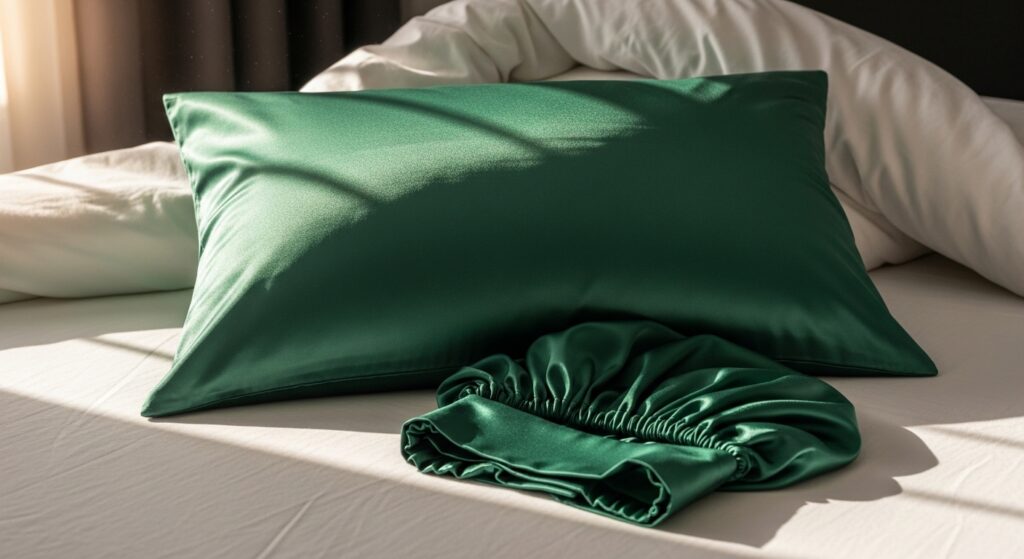
Nighttime is when most frizz fights are lost. Protecting your refresh while you sleep is non-negotiable. A satin or silk bonnet is the easiest solution.
Before bed, I loosely gather my braids on top of my head and place them in the bonnet. If I don’t have one, I’ll use my large silk scarf and tie it down properly.
If you’re not a bonnet person, invest in a satin pillowcase. It drastically reduces friction. This simple habit keeps your braids smooth for days longer.
What NOT to Do During a Refresh
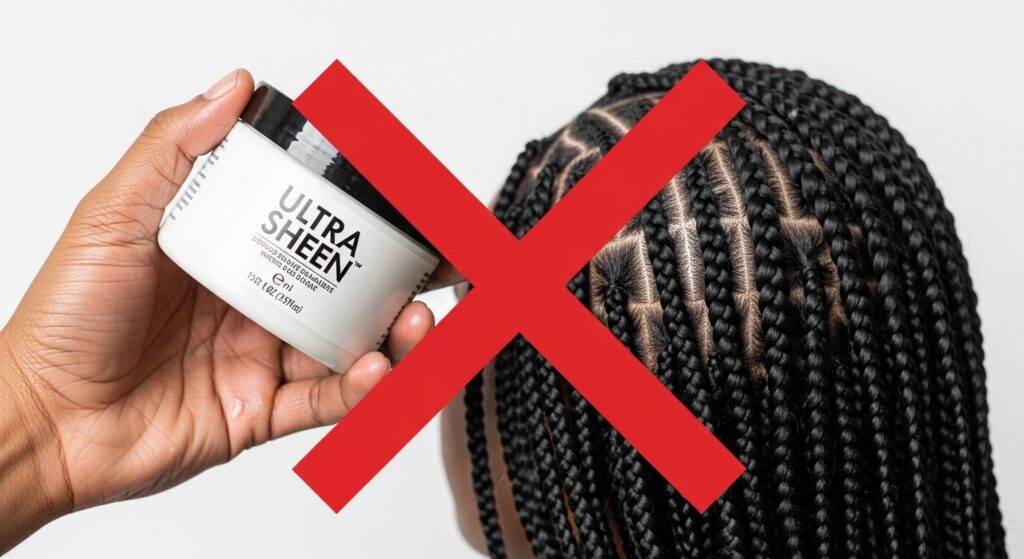
Avoid heavy, waxy products. They build up fast and attract dirt, making your scalp feel worse. Stick to light, liquid-based moisturizers.
Don’t braid too tightly when fixing loose ones. Tension is the enemy of healthy edges. Gentle is the way.
Never use heavy oils like castor oil on already-installed braids unless you plan to wash them immediately. It’s very difficult to rinse out and will lead to major buildup.
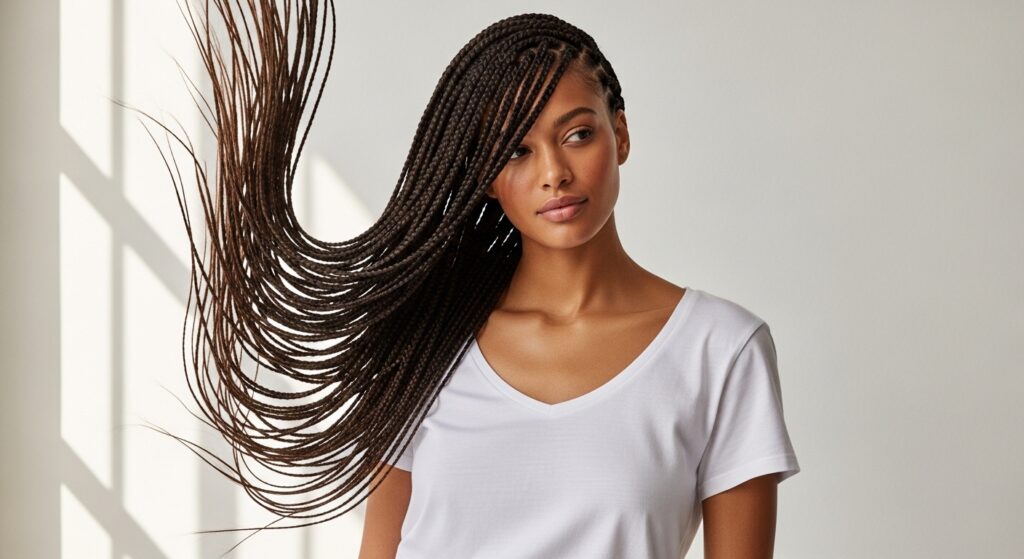
Refreshing Short vs. Long Box Braids
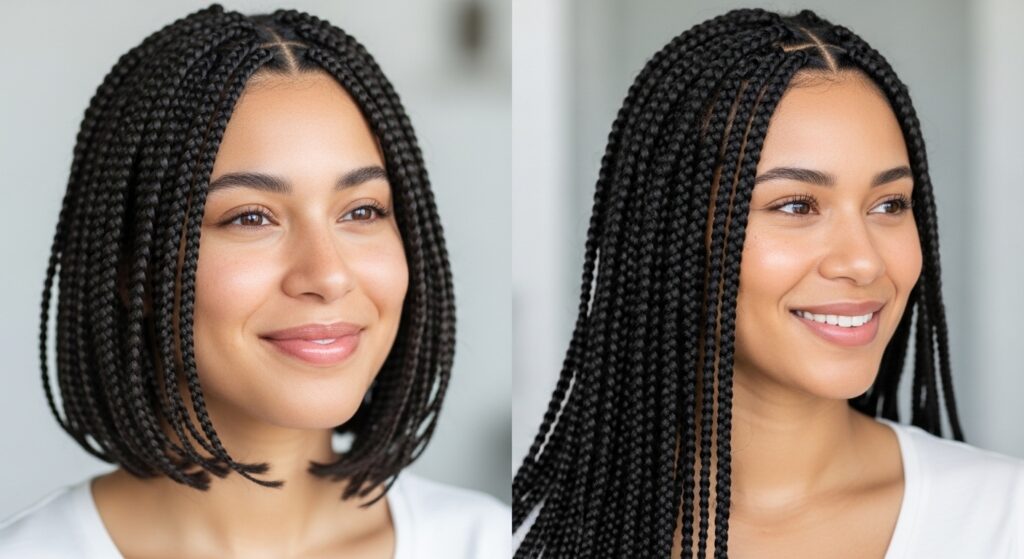
The technique is similar, but the focus shifts. For shorter braids, like an asymmetrical lob length, pay extra attention to the ends, which can fray quickly. Styling is often about shape—fluffing them for volume.
With long braids, the weight can cause tension. Focus moisture on the midsections and ends. Styling is easier in terms of updos, but be mindful of the pull on your scalp when putting them up.
Both lengths benefit hugely from the scarf method. It keeps short braids neat and prevents long ones from tangling around each other at night.
Making Your Braids Smell Fresh Again
Over time, hairstyles can hold onto odors from cooking, smoke, or just life. You can make a simple, refreshing scent spray.
Add a few drops of a refreshing essential oil, like peppermint, tea tree, or lavender, to your water spray bottle. Shake well before each use.
Lightly mist your braids and scalp. Not only will it smell amazing, but oils like tea tree have natural antibacterial properties that benefit your scalp. It’s a total sensory refresh.
The 10-Minute Emergency Refresh
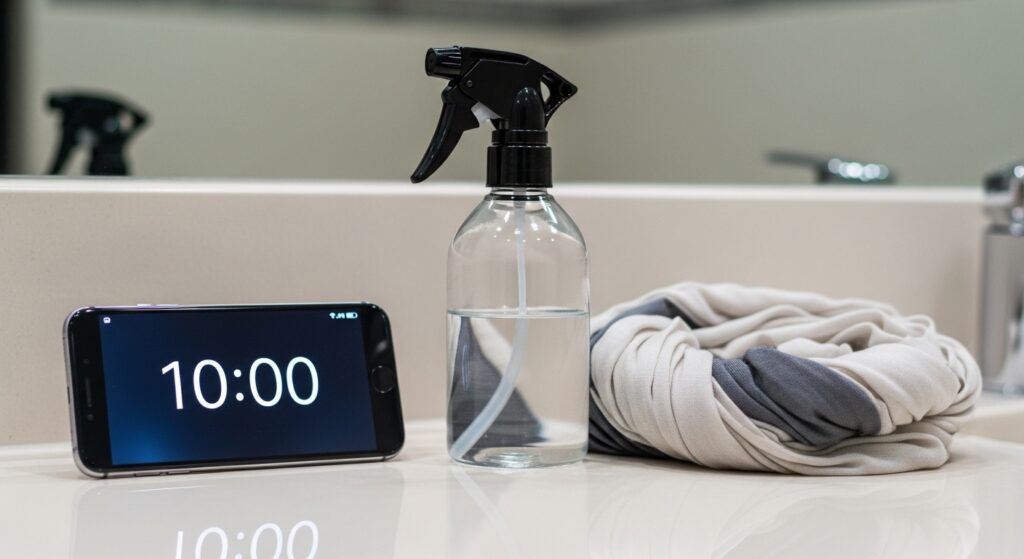
We all have those “I need to leave now” mornings. Here’s your crash course. First, spray your edges and any major frizz zones with water.
Quickly “palm” some oil over the frizziest parts. Brush and gel your edges down. Then, throw your hair into a low, sleek ponytail or a high bun.
Wrap your scarf around your head for just five minutes while you get dressed. Take it off, and you’ve got a polished, pulled-together look in record time.
Drawing Inspiration From Other Styles
Look beyond box braids for styling ideas. The sleek, blunt feel of a hime cut can inspire a super neat, middle-parted look with your braids.
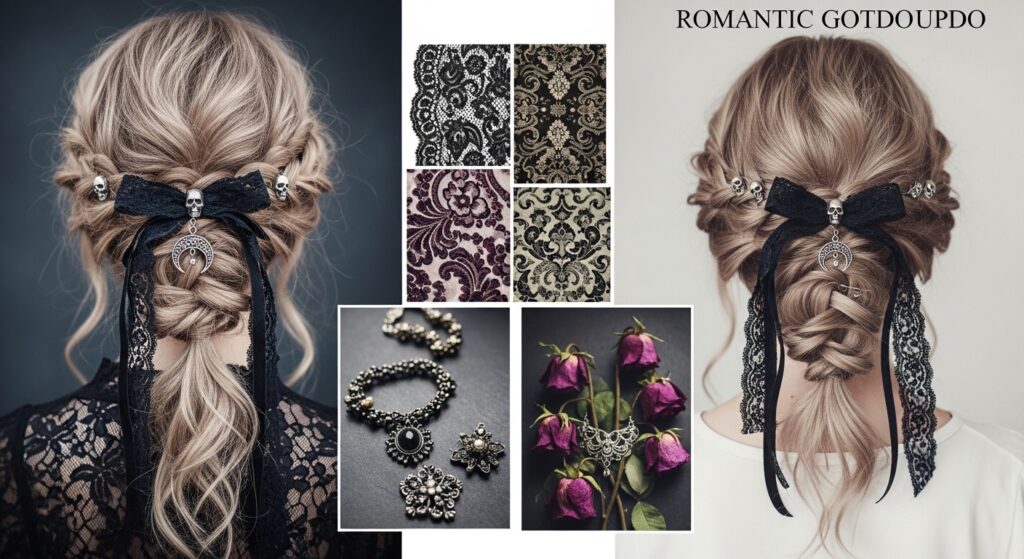
The texture of braids plays well with romantic goth hairstyles—think adding dark, delicate hair chains or weaving in a few black ribbons.
Even the intentional, piece-y disconnect of glitchy glam hair can be mimicked by leaving a few face-framing braids out or varying the thickness of your braid sections.
Keeping Your Natural Hair Healthy Underneath
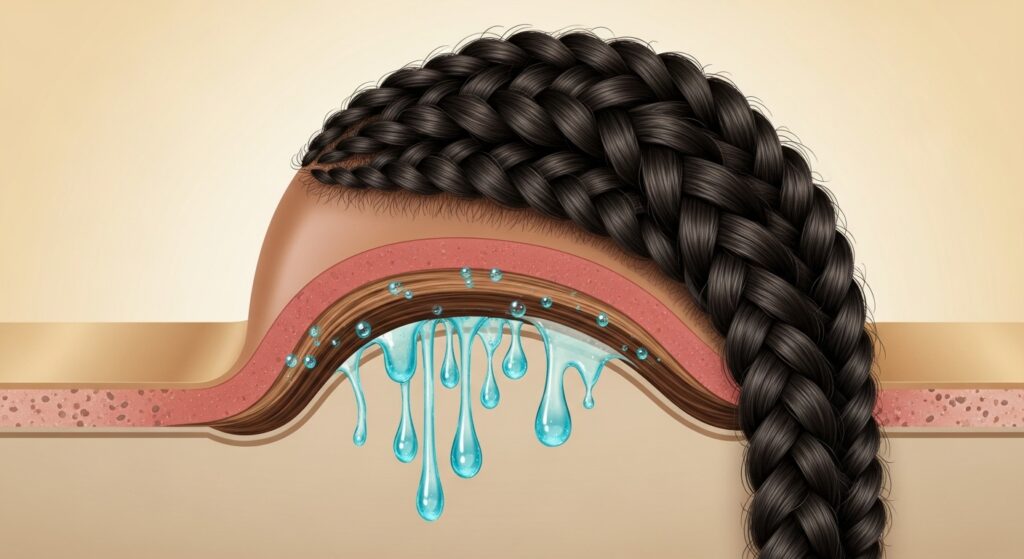
The whole point of a protective style is to protect! Your hair underneath still needs care. When you do your moisture spritz, make sure you’re getting the product to your real hair by lifting the braid slightly.
Gently apply your light oil to your scalp along your parts. This keeps your scalp from getting too dry and flaky.
Avoid constant, heavy manipulation. The less you pull and re-braid the same section tightly, the better. Your hair is resting, so let it.
Your Mindset Makes All the Difference

Don’t see a refresh as a chore. See it as a form of self-care. It’s ten minutes you’re taking for yourself to feel pulled together and confident.
Put on your favorite podcast or playlist. Enjoy the process of caring for your hair. That positive energy translates into how you carry yourself all day.
When your hair feels good, you feel good. It’s that simple. This little ritual is about maintaining your vibe, not just your hairstyle.
Final Thoughts From My Chair
So there you have it—your complete guide to avoiding the mid-week braid slump. It really comes down to a little targeted moisture, some gentle smoothing, and protecting your style at night.
These steps have saved me so many times, letting me push my styles further while keeping my natural hair happy and healthy underneath. It’s the practical magic of hair care.
Remember, the best hairstyle is one that makes you feel confident and doesn’t stress you out. A quick refresh puts you back in control.
I hope this guide helps you love your braids for just a little bit longer. The goal is always to make your hair routine work for you, not the other way around.
These small acts of maintenance are what make a style truly yours. They give you that “I just left the salon” feeling on a random Wednesday afternoon, and that’s a special kind of power.
Save this post to Pinterest so you always have these steps handy for your next refresh! And tell me in the comments—what’s your #1 braid refresh tip? I’m always looking for new ideas from you.