
Quick Guide to Dutch Braids Staying Secure Daily
Okay, let’s be real. You finally nailed that perfect Dutch braid, felt like a total queen for an hour, and then… it all started to sag. By lunch, those crisp, beautiful braids are a frizzy, loose mess. I’ve been there so many times, and it’s the most frustrating thing.
But what if I told you it doesn’t have to be that way? Keeping your Dutch braids tight, smooth, and secure from morning coffee to evening wind-down is totally possible. It’s not about magic; it’s about a few simple, game-changing steps.
This quick guide is everything I’ve learned from years of braiding (and many, many fails). We’re going to cover the prep, the technique, and the finishing touches that make all the difference. Let’s get those braids to last all day, every day.
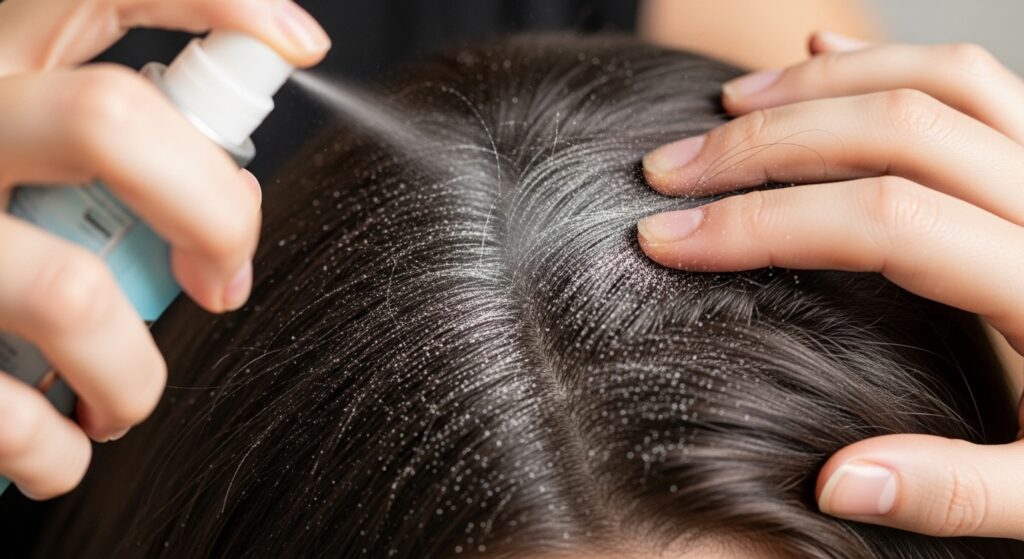
Start With The Right Foundation: Clean-ish Hair
Perfect braids start before you even pick up a comb. The ideal hair texture is not squeaky clean. Day-old hair, or hair with a bit of dry shampoo, has more natural grip and texture.
If your hair is freshly washed and super silky, don’t panic. Just add a light-hold texturizing spray or a dusting of volumizing powder at the roots. This creates the slight friction your braid needs to hold its shape.
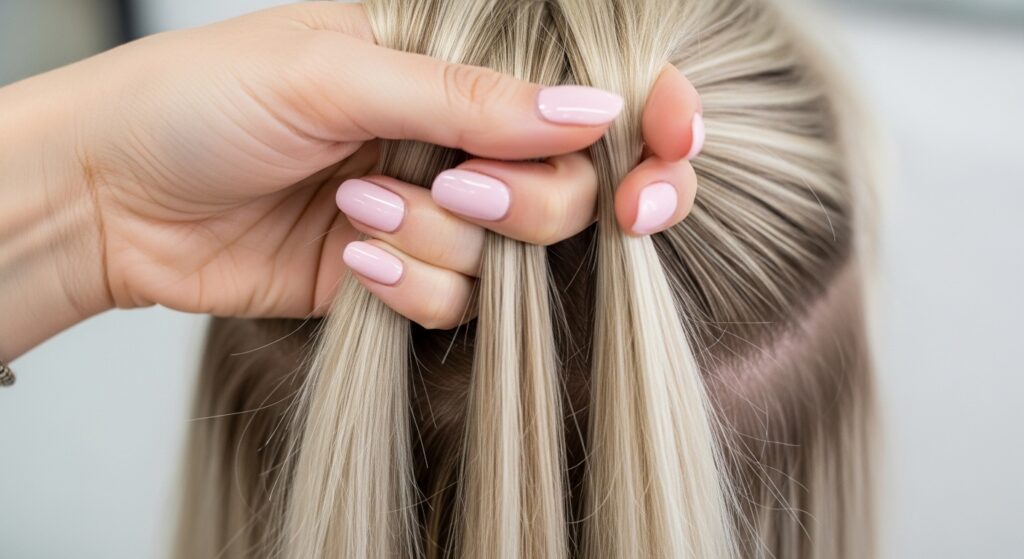
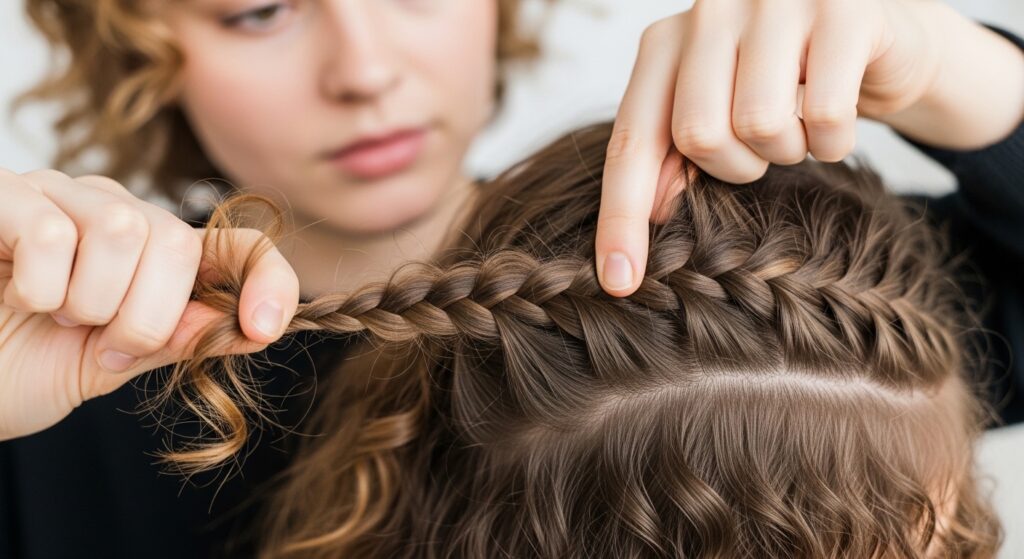
Master The Initial Section: It’s All About Tension
The first cross of your Dutch braid sets the stage for everything. This is where most people go wrong by being too gentle. You need a firm, consistent tension right from the start.
Divide your top section cleanly. As you cross the first right strand under the middle, pull it diagonally down and slightly outward. Keep that same tight, diagonal pull with every single addition. This initial tightness is non-negotiable for security.
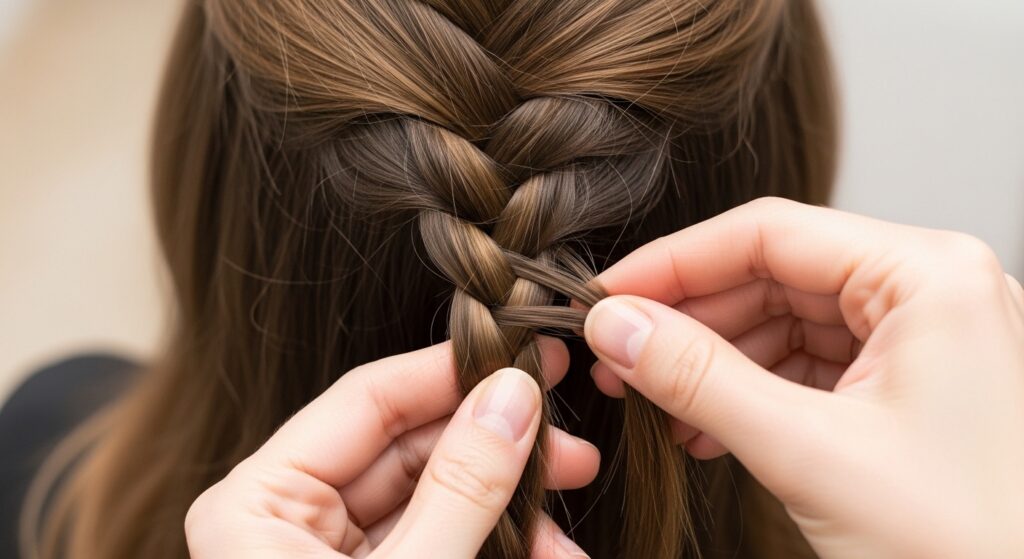
Add Hair In Small, Consistent Amounts
Big, chunky sections are the fast track to a loose braid. For all-day security, you need to add smaller, more frequent sections of hair as you braid down your head.
Think of it like building a brick wall. Small, even additions create a stronger, more cohesive structure. Each time you pick up new hair, make it a thin, manageable slice. This gives you more control and a tighter, flatter braid against your scalp.
Keep Your Elbows Up And Out
Your body position matters more than you think. If your arms are down by your sides, you lose leverage and power. It makes your braiding motion weak and inconsistent.
For maximum control, keep your elbows up and out, almost like chicken wings. This posture gives you a stronger, more fluid range of motion. It allows you to maintain that crucial downward and outward tension on every strand.

Braid All The Way To The Very Ends
Don’t stop braiding when you run out of hair to add in. Once you’ve incorporated all the hair from the sides, continue doing a regular three-strand braid right down to the very tips of your hair.
This final section of traditional braiding is what locks everything in place. Keep it as tight as you can manage. A braid that’s secured right at the ends is far less likely to unravel or become frizzy later on.

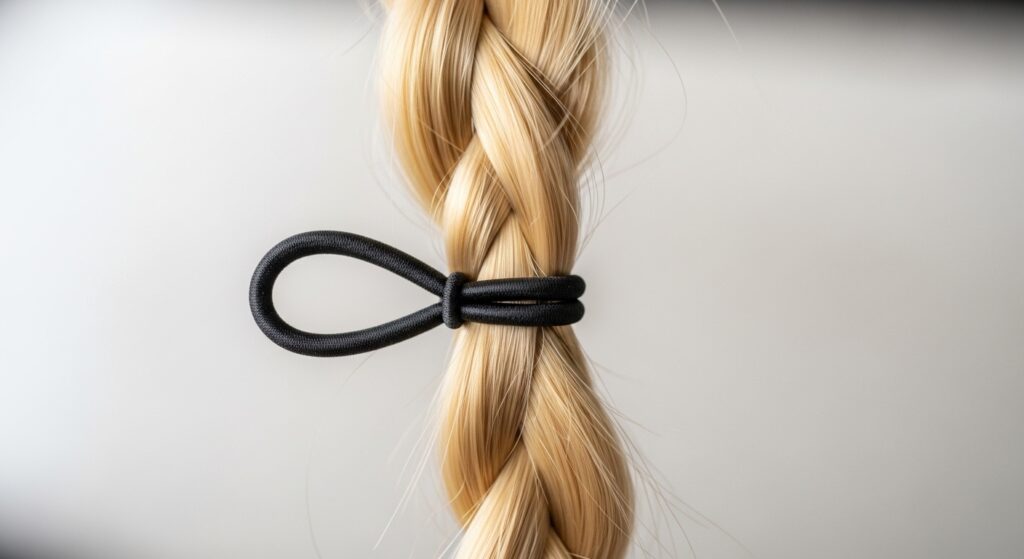
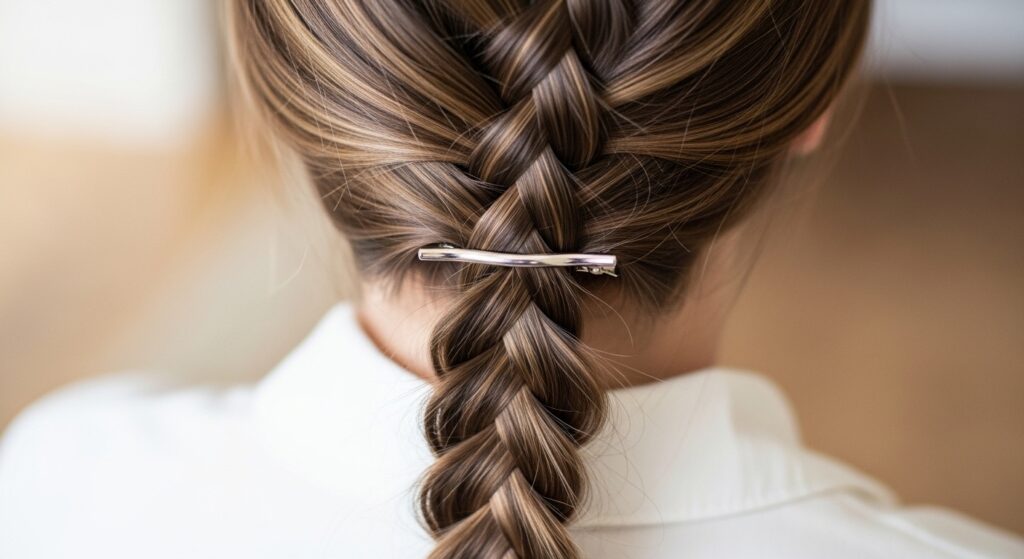
The Secure Finish: A Tight, Wrapped Elastic
Your elastic is the final lock on the door. A flimsy, wrapped-once hair tie will not cut it. You need a strong, small elastic that you can wrap multiple times very tightly.
Hold the end of your braid firmly. Wrap the elastic as close to the tips as possible, and don’t be shy—pull it tight. For extra security, use two elastics, or a single elastic and a clear, tiny rubber band at the very end.
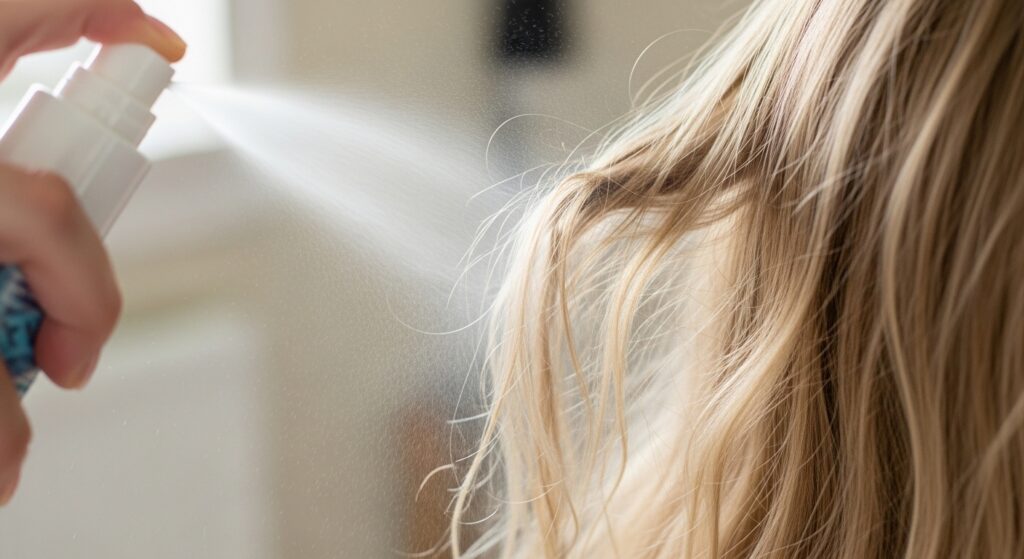
Lock It Down With A Light Hairspray
A light-hold, flexible hairspray is your secret weapon. I’m not talking about the crispy, helmet-head kind. Look for a formula that says “flexible hold” or “working spray.”
Hold the can about 10 inches away and give your finished braids a light, overall mist. Then, focus a bit more spray along the braided line on your scalp to tame any baby hairs. This sets everything without making it stiff.

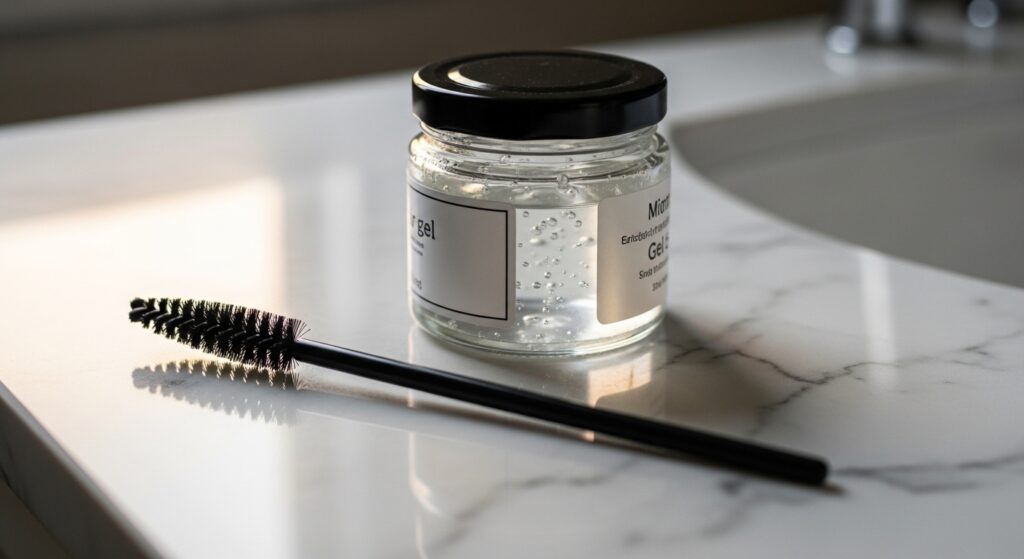
Tame Flyaways With A Toothbrush & Gel
Even with perfect technique, little flyaways happen. For a super polished look, keep a clean, disposable mascara wand or a small toothbrush and a tiny bit of strong-hold gel or pomade nearby.
Dip the tip of the brush into a pea-sized amount of product. Gently brush it over the surface of your braid, focusing on the hairline and any escaping pieces. This glues down frizz without disturbing the braid’s structure.
For Fine Hair: Texture Is Your Best Friend
If you have fine, slippery hair, you need to create artificial grip. Before braiding, work a texturizing mousse or spray through damp hair and blow-dry. You can also lightly backcomb the roots at your crown for hidden volume.
Another trick is to braid your hair slightly damp. The water adds weight and grip, helping the braid hold its shape as it dries. Just be sure to let it fully dry before touching it too much.
For Thick or Curly Hair: Stretch Sections & Hydrate
Thick or curly hair can get bulky fast, making the braid loose at the roots. As you braid, gently stretch each section sideways before crossing it under. This flattens and elongates the hair for a tighter weave.
Hydration is key to preventing frizz. Use a light cream or oil on your hair before braiding to clump curls together and add slip, which actually helps you braid more smoothly and tightly.
The Night-Before Trick For Second-Day Perfection
Want amazing, lived-in braids with zero morning effort? Braid your hair tightly before bed. Use silk or satin scrunchies to avoid creases and breakage.
When you wake up, gently undo the braids. You’ll have gorgeous, secure waves with incredible texture that’s perfect for a quick re-braid or a beautiful “undone” look that fits right in with the quiet luxury bob vibe.

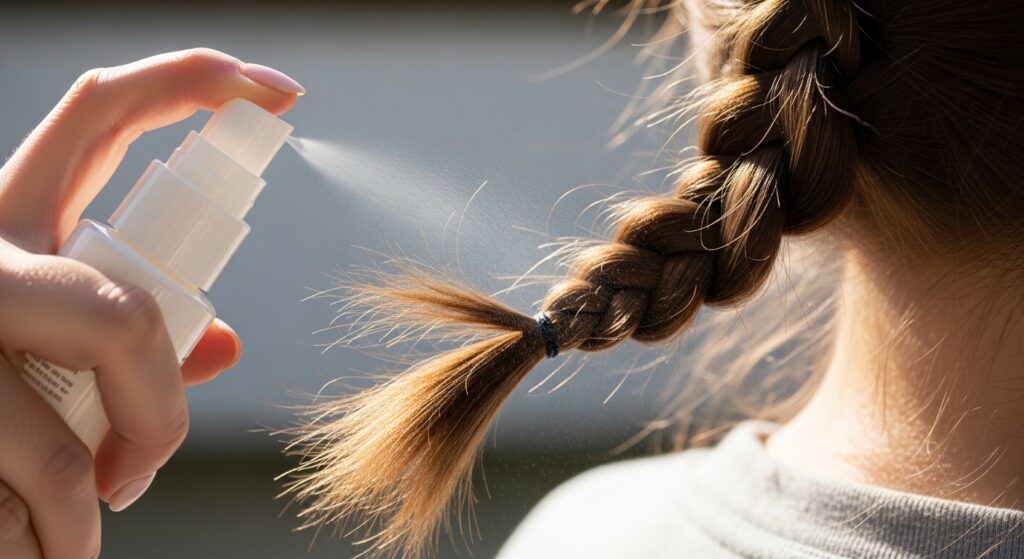
Refresh, Don’t Redo: The Midday Save
If your braid gets a little loose in the afternoon, you don’t have to start over. Simply mist a tiny section of hair near your scalp with water or a leave-in conditioner spray.
Then, using your fingers, gently pinch and smooth the loosened part of the braid back into place. The dampness will reactivate any product and let you reshape it without frizz.
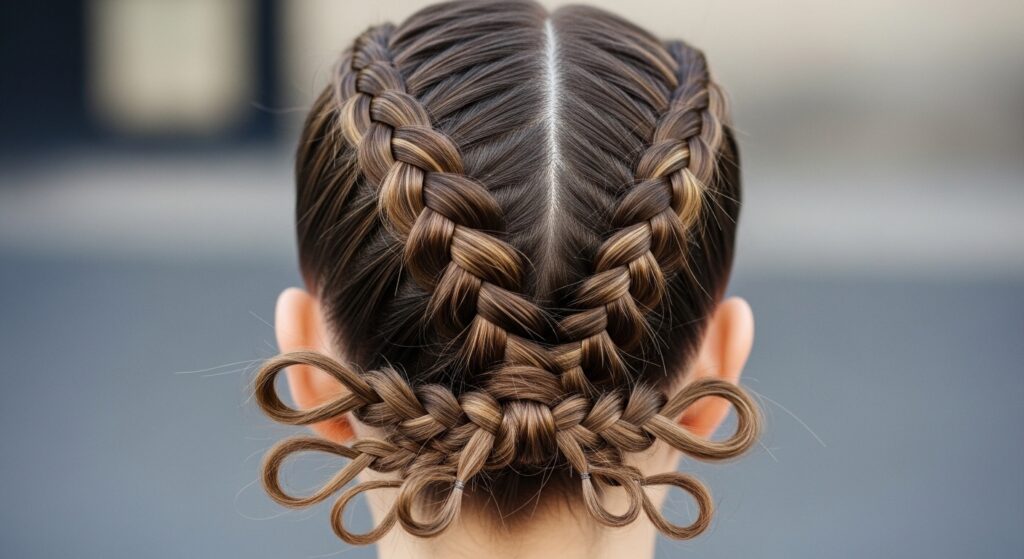
Accessorize For Function & Style
Small, snap-clip barrettes or bobby pins aren’t just cute—they’re functional. If you have a section that always slips, secure it discreetly with a pin that matches your hair color.
For a trendy twist that nods to romantic goth hairstyles, add a few delicate velvet ribbons woven into your braid, or use ornate, dagger-like pins at the ends for a touch of vampire haircut drama.
Practice Makes Permanent (Not Just Perfect)
Your hands need to build the muscle memory for tight, even tension. Don’t wait for a special day to practice. Braid your hair while watching TV, on your commute, or anytime you have 10 minutes.
The more you do it, the more your hands will automatically apply the right pressure. Soon, a secure Dutch braid will be as easy as a ponytail. It’s the ultimate foundation for nailing any of the intricate 2026 hairstyles you see trending.

Switch Up Your Part For A Fresh Look
A simple side part or deep side part completely changes the vibe of your Dutch braids. It creates asymmetry and volume that feels modern and chic, perfect for an asymmetrical lob look even with long hair.
For something truly dramatic and on-trend, try a middle part with twin Dutch braids that feed into a low bun. It gives off serious hime cut and regal energy, proving secure braids can be high-fashion.

Incorporate Trends Like Glitchy Glam
Secure braids are your canvas. The glitchy glam hair trend is all about imperfect perfection. After braiding, gently pull a few strategic loops of hair out to make them larger and “glitchy.”
Because your base braid is so tight and secure, you can afford to play with these intentional loose pieces. They’ll stay put in their new, artful shape instead of collapsing into frizz.
From Gym To Dinner: The Ultimate Test
A truly secure braid can handle a workout. The key is a super tight finish and maybe an extra elastic. After the gym, if your scalp gets sweaty, let your hair dry completely before touching it.
Then, just smooth the surface with a touch of oil on your hands. You’ll go from gym-ready to dinner-ready with that effortless old money hair aesthetic—polished without looking like you tried.

Don’t Forget Your Hair Health
Constant tight braiding can stress your hairline. Always listen to your scalp. If it hurts, it’s too tight. Give your hair breaks between styles and massage your scalp regularly.
Nourish your hair with weekly masks and protect it at night with a silk bonnet or pillowcase. Healthy, strong hair is the best foundation for any hairstyle, braided or not.

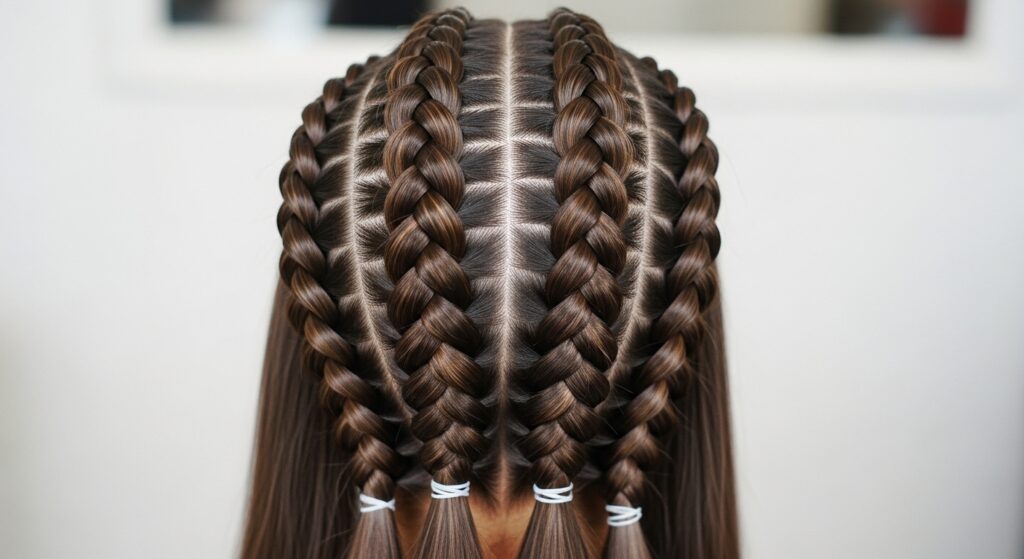
Double Dutch Braids: The Symmetry Challenge
Doing two even braids is a next-level skill. Section your hair cleanly down the middle first. Braid the side you’re less confident on first, when your hands are fresher.
Try to mirror the tension and section sizes on the second side. It takes practice, but the result—a perfect, secure pair of braids—is the ultimate cutesymmetrical and practical style.
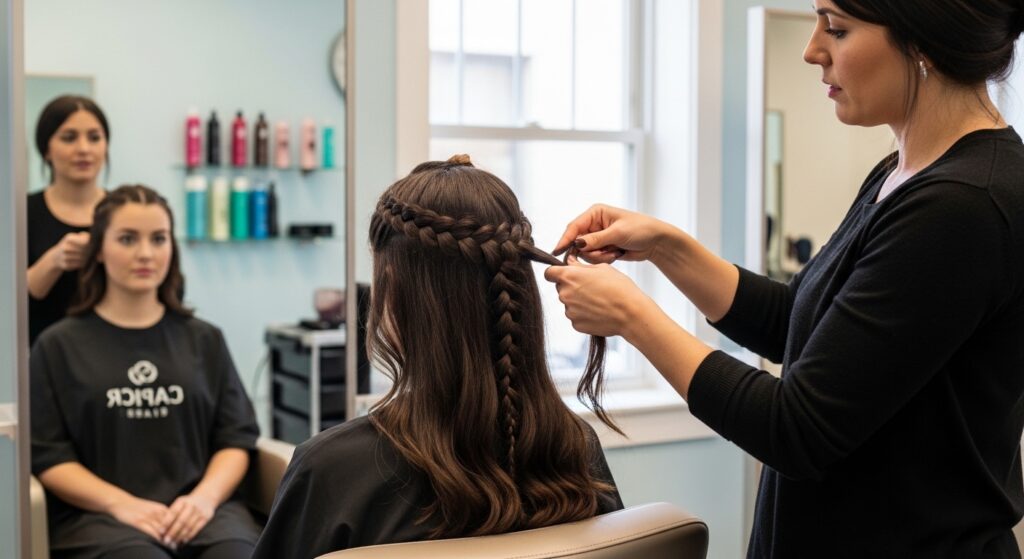
When To Seek A Pro’s Help
If you’re really struggling, treat yourself to a salon braid. Watch the stylist’s technique closely—see how they hold the hair, how they add tension. Ask them questions!
Sometimes, feeling the correct tension on your own head is the best lesson. You can then replicate that feeling at home. It’s an investment in your future braiding success.
Your Quick Checklist For Daily Security
Let’s wrap this up with a foolproof list. Run through these points every time you braid:
- Start on day-old or textured hair.
- Maintain firm, diagonal tension with every cross.
- Add hair in small, thin sections.
- Braid tightly all the way to the very ends.
- Secure with a tight, small elastic.
- Set with a light, flexible-hold spray.
And there you have it—the no-fuss, no-mystery guide to Dutch braids that actually last. It’s not about having a magical touch; it’s about understanding a few key techniques that make all the difference between a braid that survives and one that falls apart.
Remember, even the best braiders had to start somewhere. Your first perfect, all-day braid is going to feel like such a win. Trust me, once you get the hang of that tension and finish, you’ll be able to rock this style with any trend, from sleek old money hair to edgy romantic goth hairstyles.
Now I’d love to hear from you! What’s your biggest braid struggle? Or do you have a killer tip I missed? Spill it all in the comments below! And if this guide helped you, do a friend a favor and save this post to Pinterest so you can both come back to it anytime.