22 Low-Key Waves for Office Days Looking Polished
Hey you. We’ve all been there: staring at the mirror at 7 AM, trying to make our hair look “office-ready” without spending an hour on it. You want to look polished, not overdone. You want a style that says you’re capable, but also that you have a life outside those four walls.
That’s where low-key waves come in. They’re the ultimate secret weapon for looking put-together with minimal effort. They work on almost every hair length and texture, and they have this effortless, I-woke-up-like-this vibe that just works.
I’ve rounded up 22 of my favorite ways to wear them. Think of this as your go-to guide for looking polished from your first meeting to after-work drinks. No complicated tools needed, just simple, practical styles that actually work for real life. Let’s get into it.
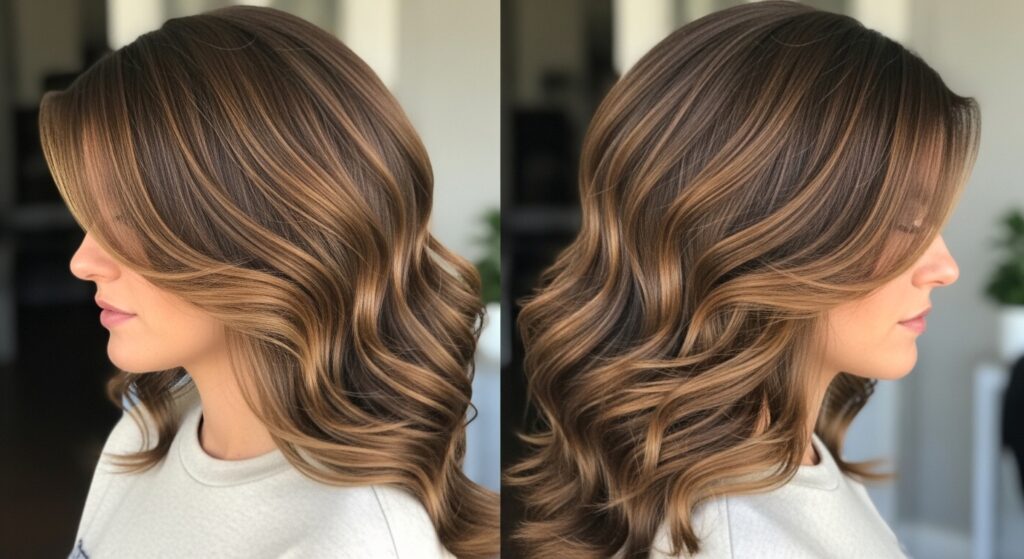
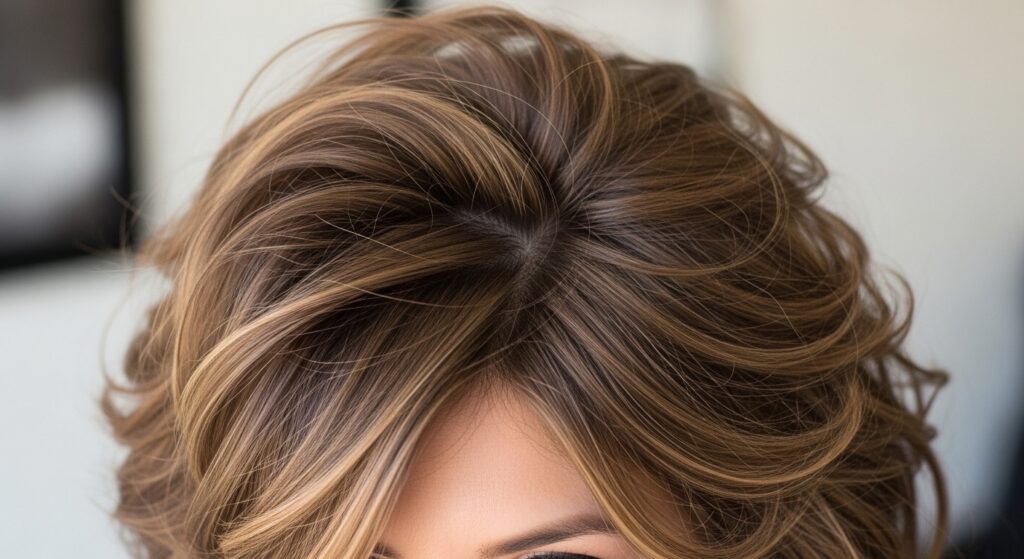
The Classic Blowout Wave
This is your foundation. It’s the polished, “I just left the salon” wave that never goes out of style. The key is volume at the root and a smooth, bouncy curve through the ends.
It works perfectly with a quiet luxury bob or longer hair. Use a round brush and a blow dryer, or cheat with a large-barrel curling iron.
- Start with heat protectant on damp hair.
- Section your hair and wrap 2-inch sections around a large round brush, drying as you go.
- Once cool, run your fingers through to break up the curls into soft waves.
The “I Air-Dried It” Wave
For the ultimate low-key look, lean into your natural texture. This is all about enhancing what you already have with the right products and zero heat.
It’s perfect for a relaxed Friday or a more creative office environment. The goal is soft definition, not perfect curls.
- Apply a wave-enhancing cream or mousse to very damp hair.
- Scrunch your hair upward toward your scalp to encourage the wave pattern.
- Let it air dry completely, then scrunch again to break any cast from the product.
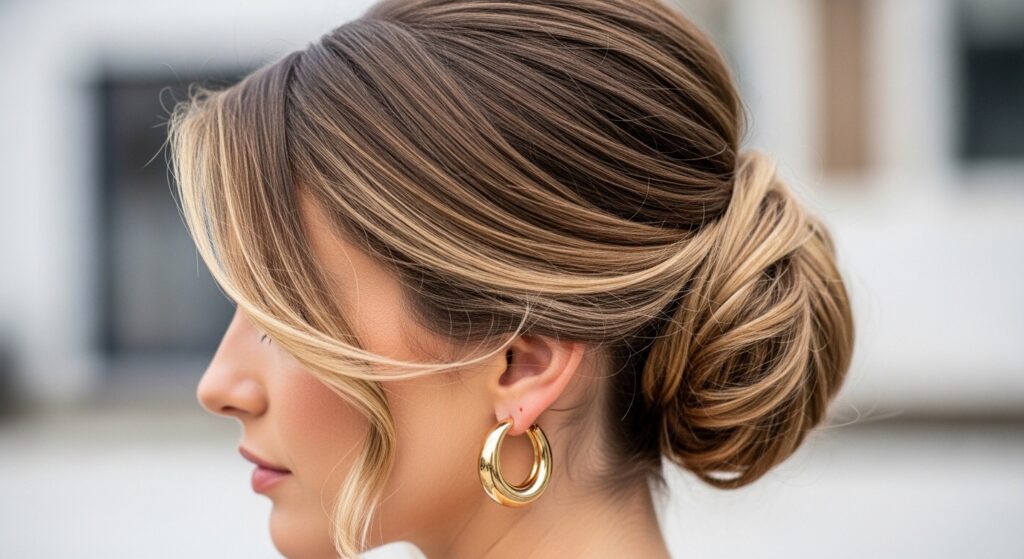
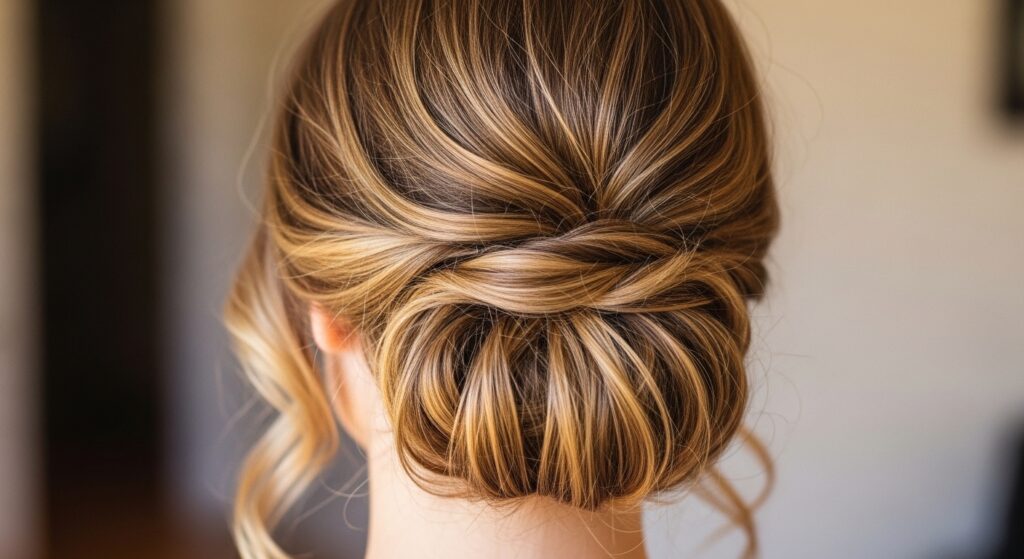
The Low Bun with Wispy Waves
Pull your hair back but keep it soft. Start with day-old waves or create loose ones with a curling wand. Then, gather your hair into a low, loose bun at your nape.
Don’t make it tight. The magic is in pulling out a few face-framing pieces and letting some waves escape at the back.
- Creates an elegant, out-of-your-face look for busy days.
- Keeps you cool and works perfectly with statement earrings.
- It’s a cornerstone of that old money hair aesthetic—understated and chic.
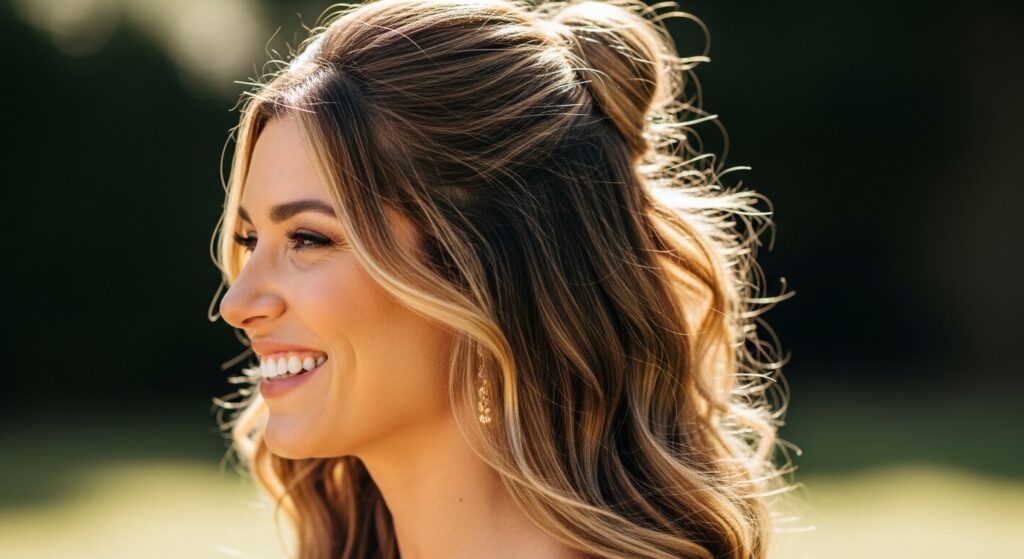
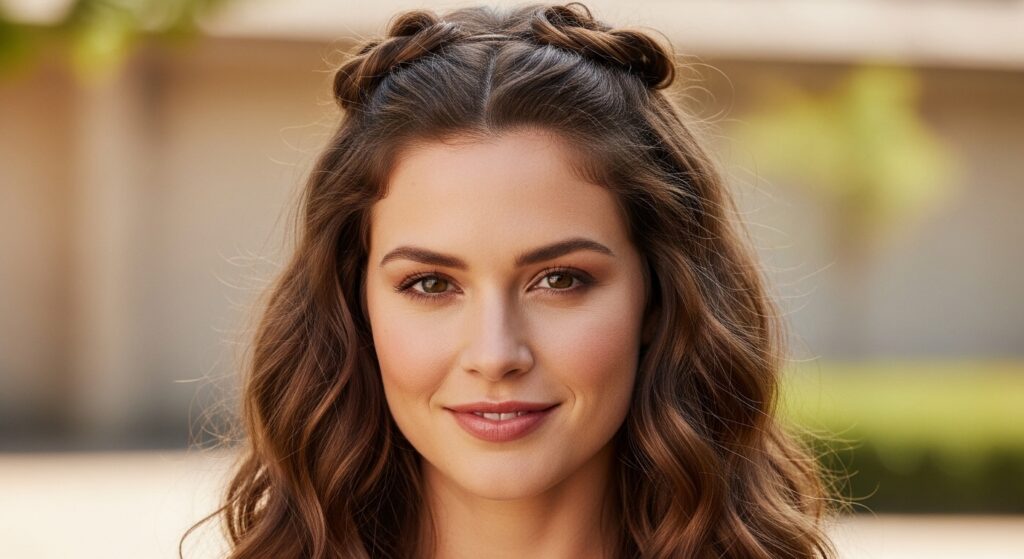
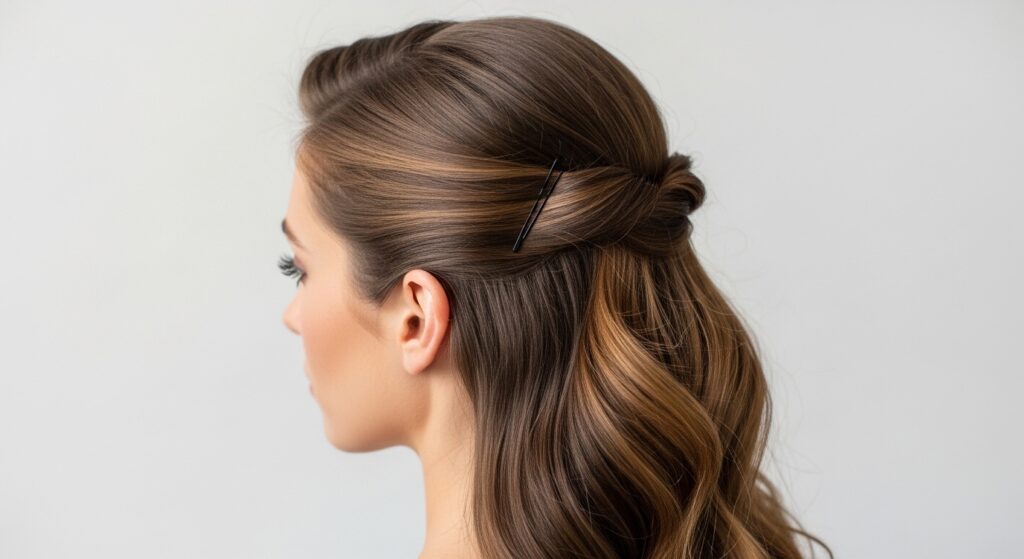
The Half-Up, Half-Wave
This is my go-to when I want to feel cute but still professional. It gives you the best of both worlds: the practicality of having hair off your face and the prettiness of down waves.
Simply take a section of hair from your temples back, twist or pull it gently, and secure it at the back of your crown. Let the rest of your waves flow.
- Tease the crown section slightly before securing for a bit of volume.
- Use a clear elastic or a chic claw clip for a more modern look.
- Pull the half-up section a little looser for a relaxed feel.
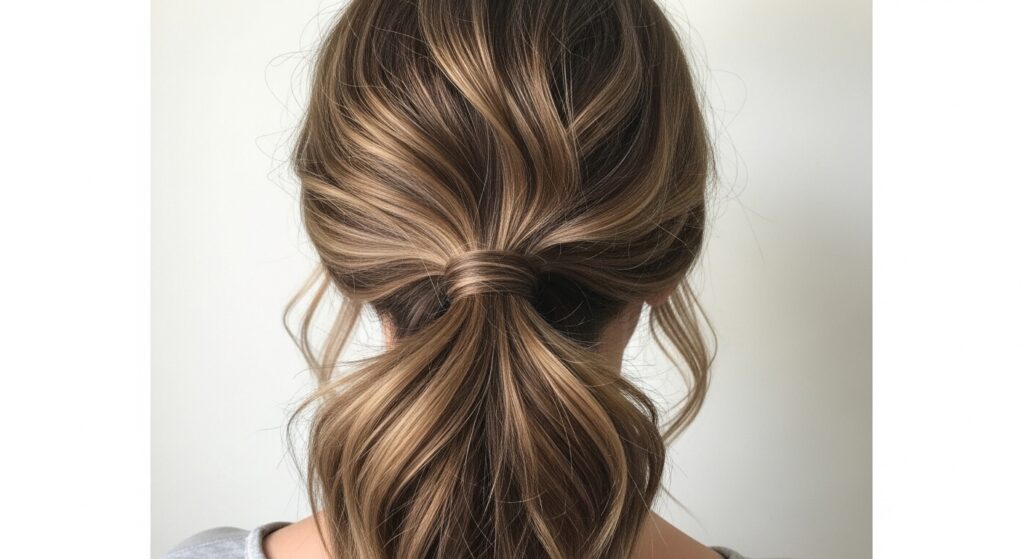
The Tousled Ponytail Wave
Ditch the sleek, high pony for something with more movement. A low or mid-height ponytail made from loose waves instantly looks more intentional and less severe.
After creating your waves, gather your hair at your desired spot. Before securing it, gently pull the hair at your crown up a tiny bit for lift.
- Wrap a small piece of hair around the elastic to hide it.
- Pull a few waves loose near your temples and ears.
- This style transitions flawlessly from desk to dinner.
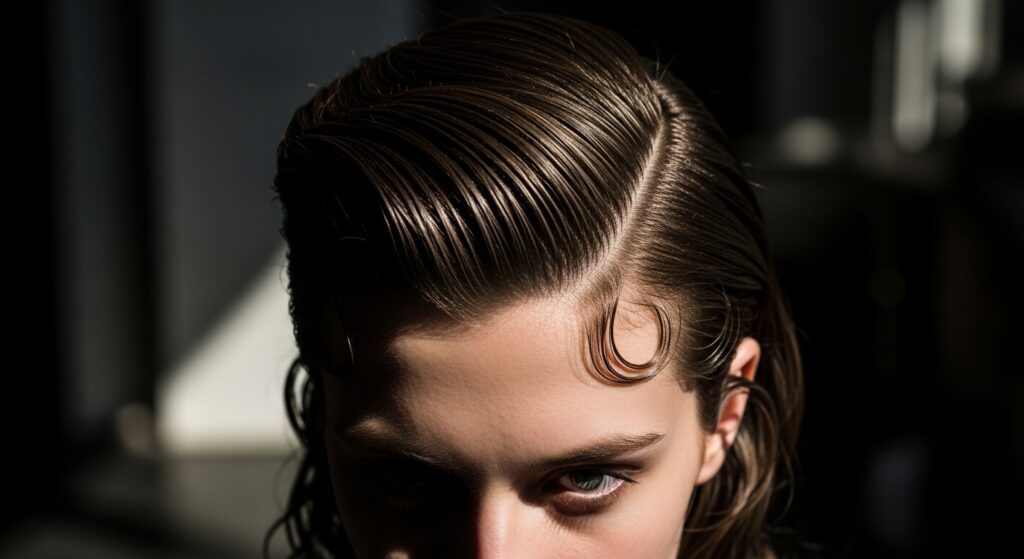
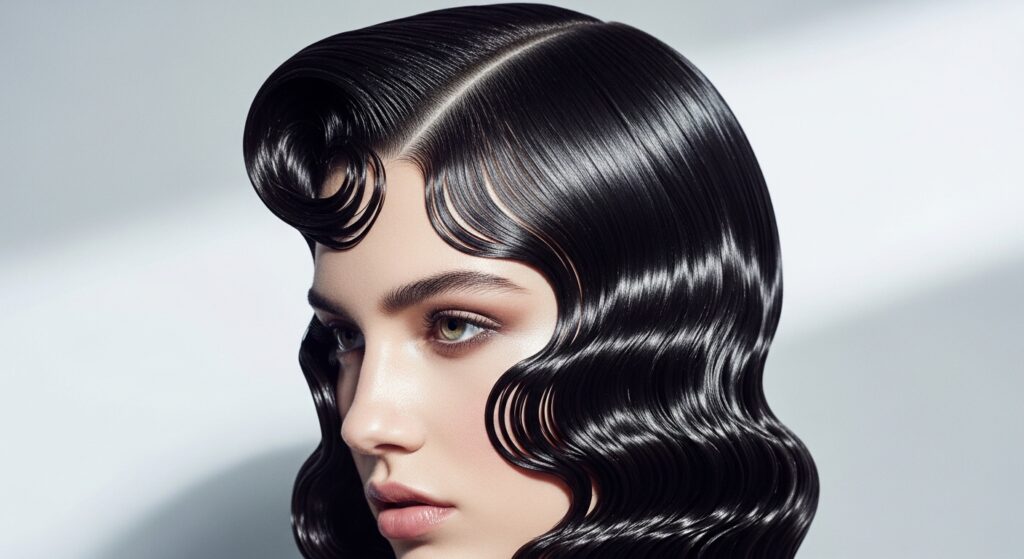
The Slick-Back into Waves
This is a power look. It combines the sharpness of a slicked-back front section with the softness of waves in the back. It’s editorial and confident.
Use a strong-hold gel or pomade to smooth your hair from your hairline back to your crown. Secure it subtly at the back, and let your wavy ends flow free.
- Perfect for showing off your features and statement makeup.
- Keep the waves starting below the ear for a clean contrast.
- A modern take on 2026 hairstyles we’re already seeing.
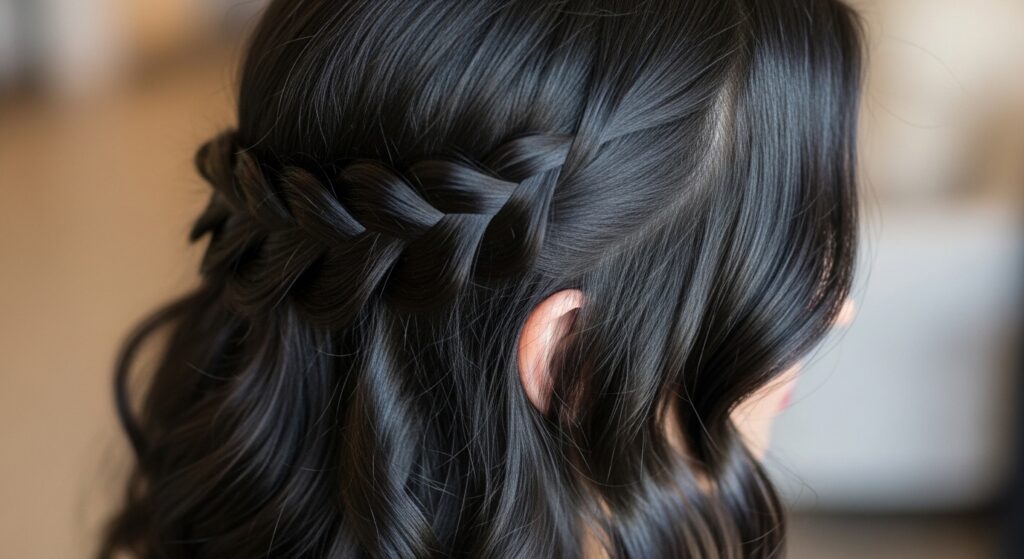
The Braid-Accented Wave
Add a little detail without going full boho. Create a simple, small braid along your hairline or within a section of your waves.
It could be a Dutch braid starting at the temple, or a single braid tucked behind your ear. This adds a touch of intricate polish to simple waves.
- Keep the braid loose and gently pull on the edges to make it wider.
- Use it to pin back one side of your hair for an asymmetrical look.
- It’s a subtle nod to more romantic goth hairstyles when done with darker hair.
The Wet-Look Wave
For a seriously modern office vibe, try the wet look on your waves. This doesn’t mean soaking wet, just a defined, glossy finish.
Apply a strong-hold gel or glossing serum to very damp hair, scrunch in your waves, and then do not touch it until it’s 100% dry. The result is defined, chunkier waves with major shine.
- This style is bold and works best in creative fields.
- It’s a key element of the glitchy glam hair trend—polished but with an edge.
- Keep your makeup fresh to balance the strong hair look.
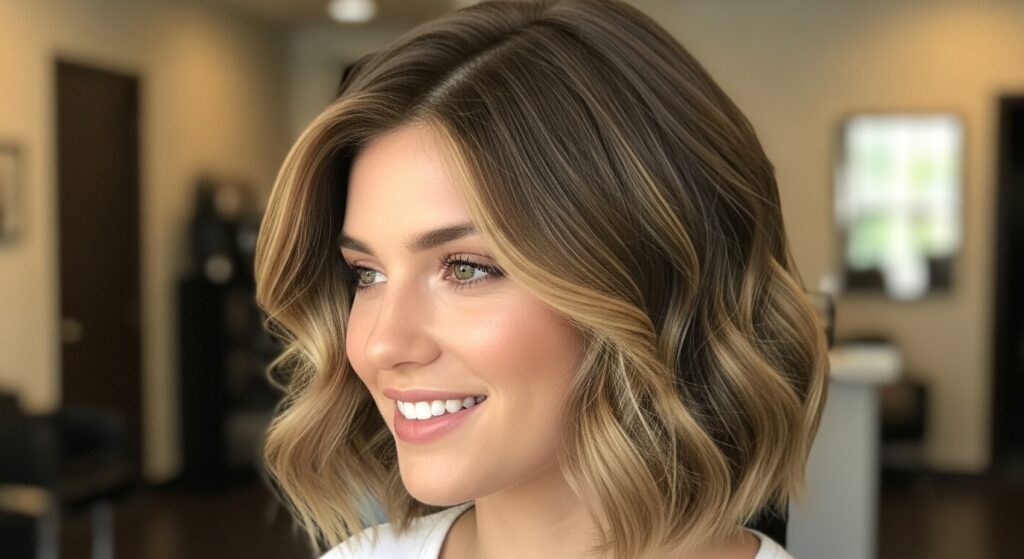
The Asymmetrical Lob Wave
If you have an asymmetrical lob (a longer bob cut shorter in the back), waves are your best friend. They add movement and soften the dramatic angles of the cut.
Focus on creating outward-facing waves at the longer front sections and softer bends in the shorter back. It creates incredible shape.
- Use a flat iron to create bends instead of curls for a more angular wave.
- The asymmetry naturally looks polished and fashion-forward.
- It’s a cut that makes every wave look intentional.
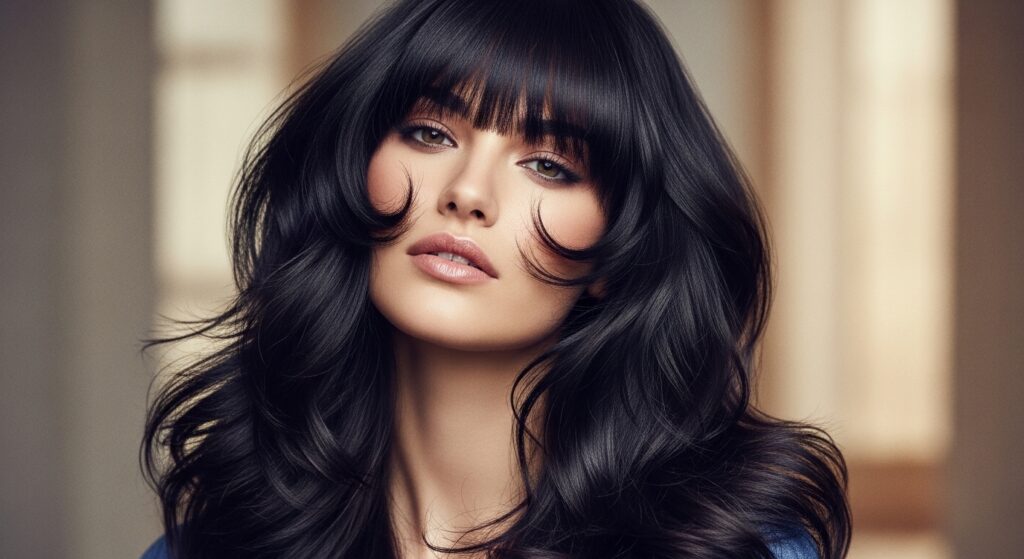
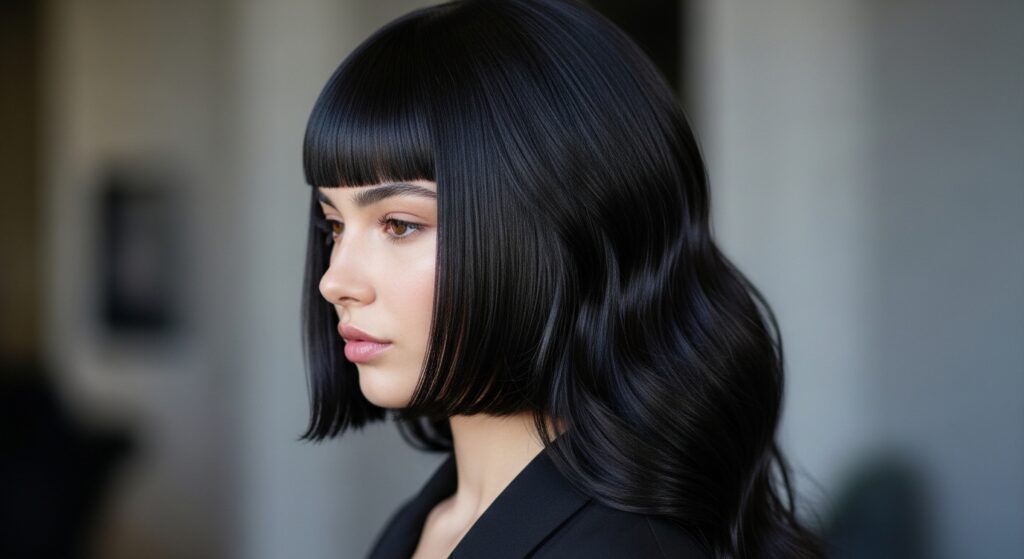
The “Vampire Cut” Texture
The vampire haircut—think sharp, blunt bangs with layered lengths—thrives with wave texture. It brings the cut to life, adding that undone, romantic feel.
Don’t over-style. Use a texturizing spray on dry hair and twist random sections with your fingers, then pin them until they cool for piece-y waves.
- Embrace a slightly darker root for added depth.
- Keep the bangs sleek or give them a slight bend.
- This is the ultimate romantic goth hairstyles office adaptation.
The Hime Cut Wave Accent
The hime cut (with its characteristic straight-across front pieces and long back) gets a modern update with waves. Add soft waves just to the long back section.
Keep the iconic straight front pieces smooth and sharp. The contrast between the straight front and wavy back is stunning and deeply polished.
- This style is inherently dramatic yet incredibly neat.
- Use a straightener on the front pieces for a razor-sharp line.
- The waves in the back prevent the look from being too severe.
The Twisted Headband Wave
Use your hair as an accessory. Take a front section of hair, twist it gently back along your hairline, and secure it behind your ear. Do this on both sides.
It acts like an invisible headband, holding your hair back in the most graceful way while showcasing your waves. It’s simple but looks like you tried.
- Start with a deep side part for a different effect.
- You can pin the twists at the back for a more secure look.
- Leaves your waves beautifully displayed in the back.
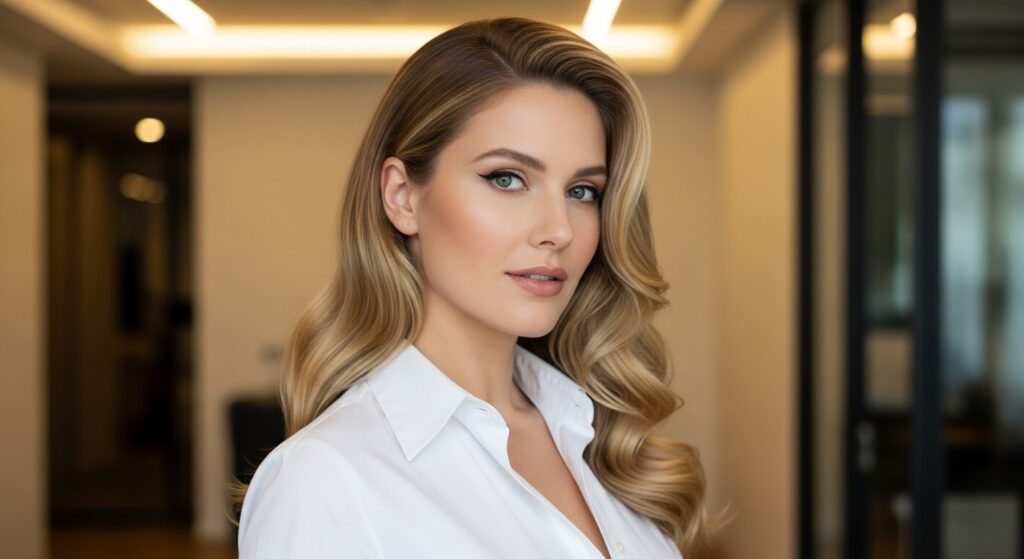
The Deep Side Part Wave
Sometimes, all you need is a change in your part. A deep side part instantly adds volume and sophistication to basic waves.
It creates a dramatic, swooping effect over one eye, making your waves look fuller and more styled. It’s a five-second upgrade.
- Use the tail of a comb for a clean, sharp part.
- Direct the waves on the heavier side to flow away from your face.
- This is a classic old money hair move—simple and effective.
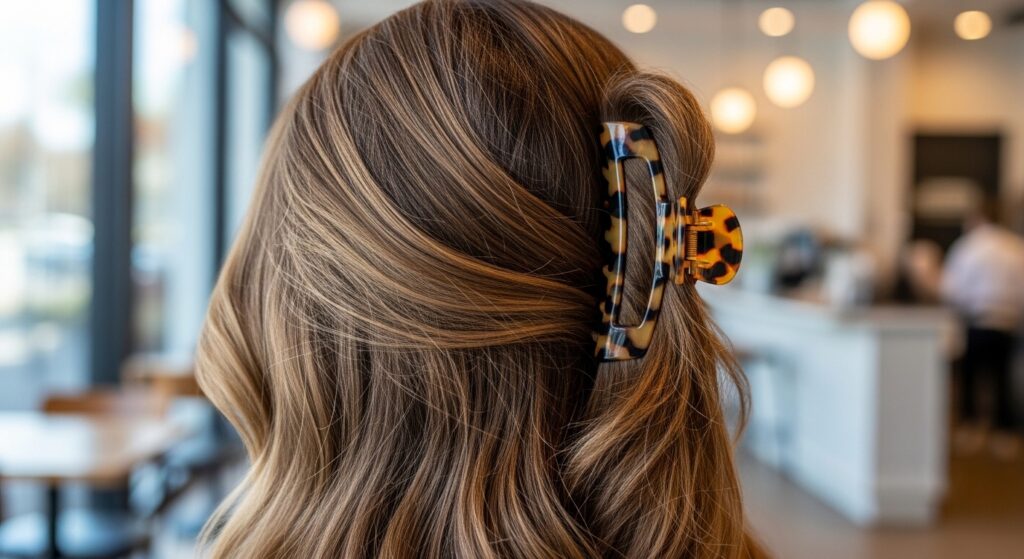
The Clip-and-Go Wave
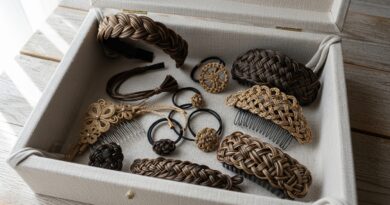
Claw clips are back, and for good reason. They’re an easy way to look polished. Gather your waves into a loose, low twist or bunch at the back of your head and secure with a large, elegant clip.
Let some pieces fall free. It’s secure, comfortable, and looks like you know exactly what you’re doing.
- Choose a clip in a neutral color like tortoiseshell or gold.
- For finer hair, tease the roots before clipping for grip and volume.
- It’s the perfect solution for second or third-day waves.
The Overnight Heatless Wave
My secret for perfect morning waves? Make them while I sleep. There are so many heatless methods: robe ties, socks, braids. You wake up with defined, gentle waves.
This is the ultimate in practical, low-key styling. It saves time and is so much healthier for your hair.
- For larger waves, try the “headband method” with a soft, coiled headband.
- For tighter waves, sleep in two loose braids.
- Spritz with a texturizing spray in the AM to refresh.
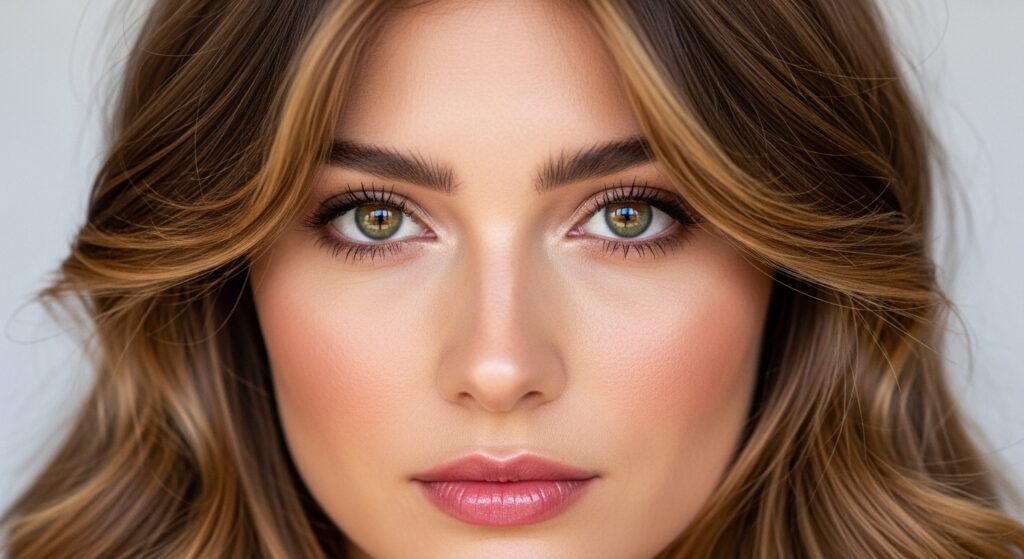
The Face-Framing Layer Wave
If you have layers, make them work for you. Use a curling wand to wrap just the shortest, face-framing layers away from your face.
Leave the rest of your hair as is, or with a looser wave pattern. This highlights your cut and draws attention to your eyes and cheekbones.
- This technique adds a ton of dimension without much effort.
- It’s especially flattering on quiet luxury bob cuts with layers.
- Use a smaller barrel just for those front pieces.
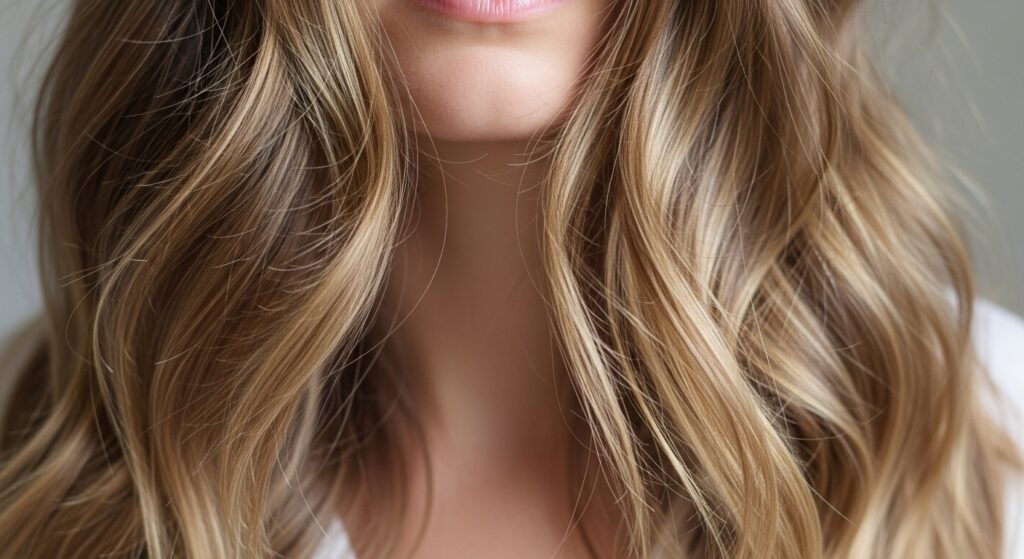
The Textured “Messy” Wave
Polished doesn’t have to mean perfect. “Messy” here means artfully textured. After waving, run a texturizing paste or dry shampoo through your mid-lengths and ends.
Then, gently twist small sections and pinch them to separate the waves. It adds grit and body, making the style last longer.
- This is the antidote to flat, lifeless office hair.
- It gives a cool, creative edge that’s still office-appropriate.
- Perfect for nailing that glitchy glam hair texture.
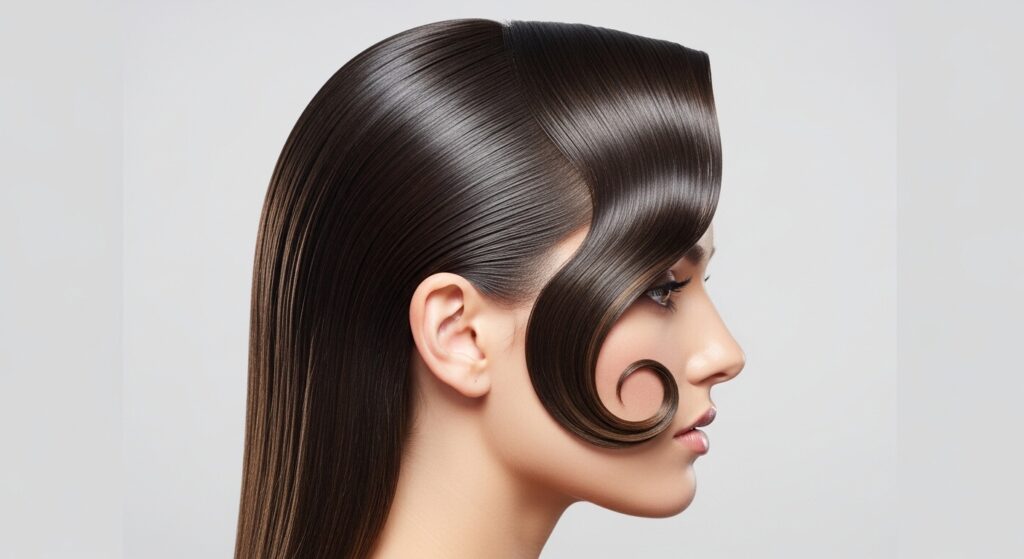
The Single Statement Wave Piece
Short on time? Just style one piece. Take the front section of hair on one side and create a perfect, bouncy wave that curves away from your face.
Leave the rest of your hair straight or in its natural state. This focal point looks incredibly chic and intentional.
- It’s a minimalist’s approach to looking styled.
- Draws the eye and pairs beautifully with bold lipstick.
- A trick often seen in 2026 hairstyles previews—accent pieces.
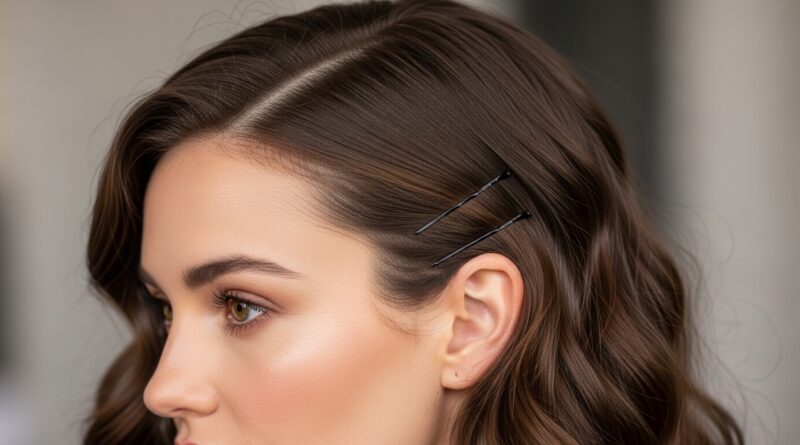
The Pinned-Back Wave
Use bobby pins as jewelry. After creating your waves, pin back one side just behind your ear with two criss-crossed pins. Or, create a small, flat twist and pin it.
It’s a tiny detail that makes your whole look feel more curated and neat, especially on windy days or when you need clear vision.
- Choose pins that match your hair color or use decorative ones.
- This works wonders on growing-out bangs or shorter layers.
- It’s a subtle nod to vintage polish.
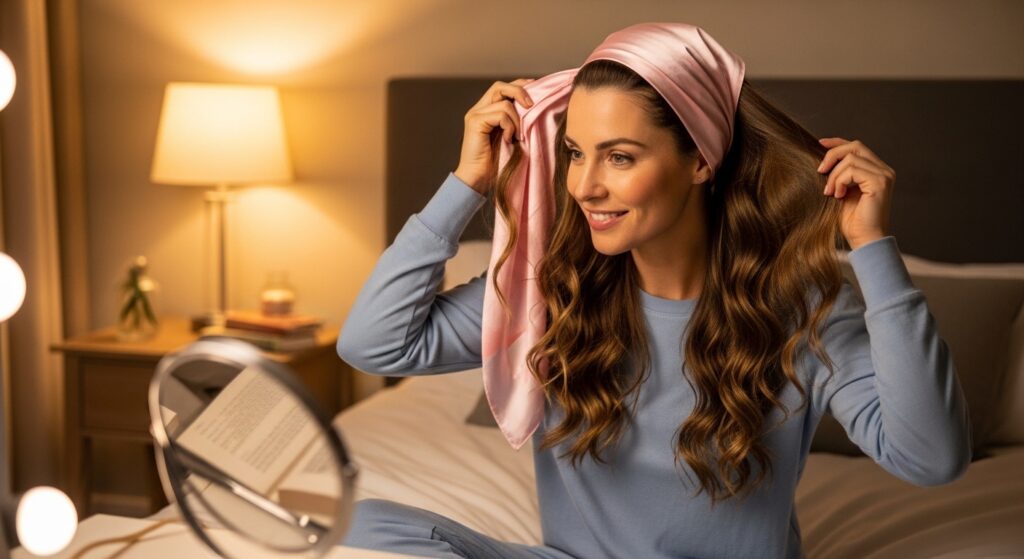
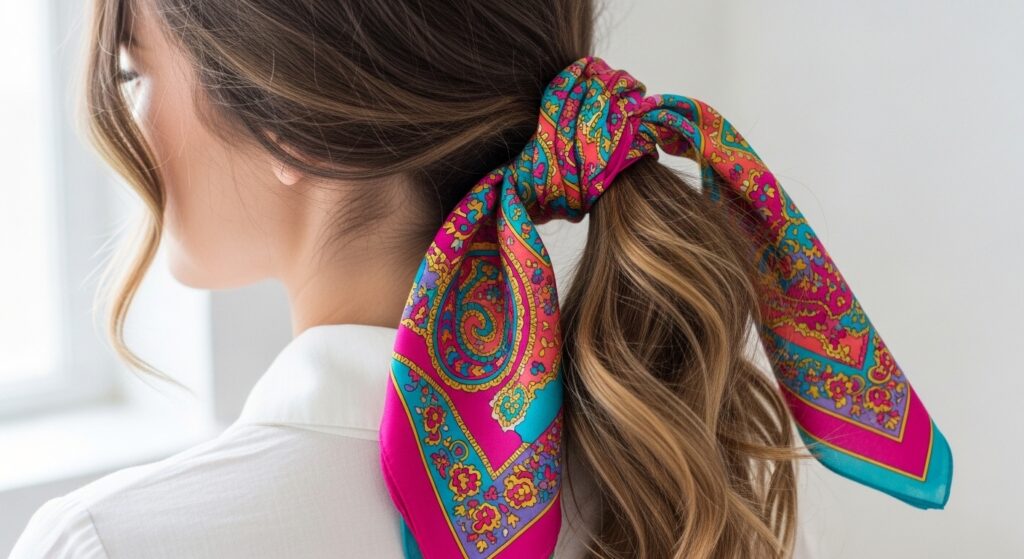
The Wave with a Silk Scarf
Incorporate a silk scarf for a pop of color and polish. You can tie it around a low ponytail or bun, use it as a headband, or weave it through a braid within your waves.
It instantly elevates your look and makes it feel special, like you have a secret dose of color hidden in your hair.
- Keeps hair off your face in a stylish way.
- Protects your waves from frizz on humid days.
- Adds a personal, fashionable touch to a standard wave style.
The “Undone” Updo with Waves
For important meetings, an updo feels right. But make it a wavy one. Pull your hair into a loose, low chignon or twist, but leave out all your wavy ends.
Let them curl and frame your neck. It’s structured yet soft, formal yet approachable. Secure with pins, not a tight elastic.
- Pull gently on the sides of the updo to loosen it after pinning.
- This style works beautifully with an asymmetrical lob.
- It’s the epitome of quiet, powerful dressing.
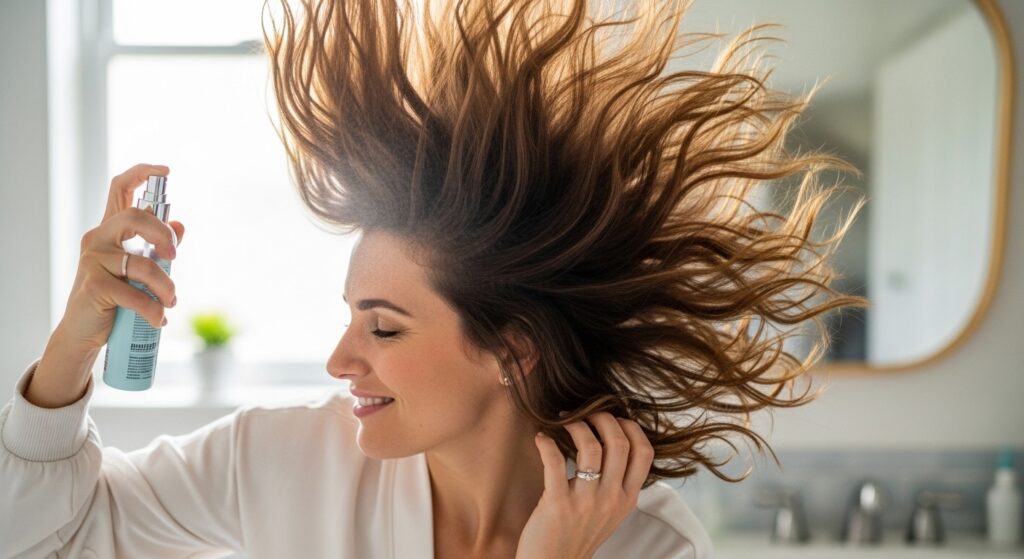
The Refresh-and-Go Wave
This is for day-two or three hair. Revive your waves without re-curling. Flip your head over, spritz dry shampoo at the roots, and massage.
Then, lightly mist a wave refresh spray or a mix of water and conditioner on the ends. Scrunch and let it air dry for 10 minutes while you do your makeup.
- The dry shampoo adds volume and absorbs oil.
- The water reactivates your wave pattern.
- You save time and protect your hair from daily heat.
The Polished Wave for Fine Hair
Fine hair can hold waves beautifully with the right prep. The goal is volume and separation, not heavy curls. Use a volumizing mousse at the roots and a texturizing spray on the ends.
Create waves with a curling wand, but immediately run your fingers through them and spritz with a light-hold hairspray for lasting power