Guide to Trimming Bangs at Home Safely Now
Okay, let’s be real. The moment your bangs hit that awkward stage where they’re poking your eyes but you just can’t face the salon, we’ve all been there. That “I can totally do this myself” thought is equal parts empowering and terrifying. What if you go too short? What if they’re crooked?
Take a deep breath. I’m here to tell you that trimming your own bangs is absolutely doable. With the right prep, the right tools, and a healthy dose of patience, you can nail a salon-fresh look from your own bathroom.
This guide is your step-by-step safety net. We’re going to walk through everything, from gathering your supplies to making those final, confident snips. Whether you’re rocking a classic quiet luxury bob or experimenting with a dramatic vampire haircut, well-maintained bangs make all the difference. Let’s get your fringe back in frame.
Why You Should Learn to Trim Your Own Bangs

Beyond the obvious salon savings, learning this skill gives you total control. You can maintain the perfect length for your favorite style, whether it’s a full fringe or wispy face-framing pieces. No more waiting weeks for an appointment.
It’s also a huge confidence boost. Mastering a small beauty task like this makes you feel capable and put-together. Plus, regular trims keep your overall hairstyle looking intentional, even between professional cuts.
Gather Your Tools: The Non-Negotiables
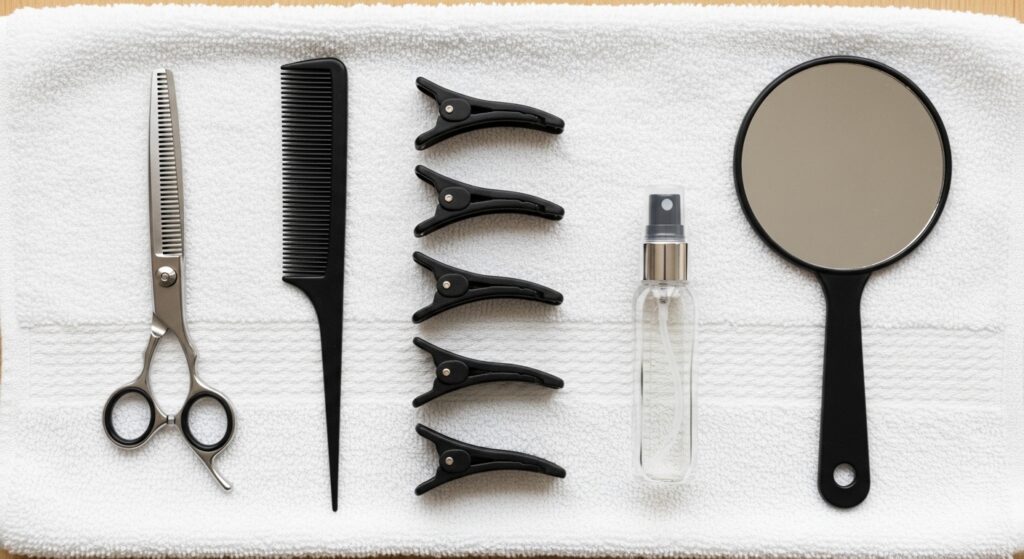
Do not, I repeat, do not use kitchen scissors or craft scissors. This is the number one rule. You need proper hair shears. They create a clean cut instead of crushing the hair, which leads to split ends.
Here is your must-have list:
- Sharp Hair Shears: Dedicated only to hair.
- Fine-Tooth Comb: For precise sectioning and tension.
- Sectioning Clips: To keep the hair you’re NOT cutting out of the way.
- Spray Bottle with Water: For dampening hair.
- Hand Mirror: To check the back and sides.
Start with Clean, Dry Hair
This is crucial. Hair can shrink as it dries, so if you cut soaking wet bangs, you might end up shockingly short. I recommend washing and fully drying your hair first, or at least dampening only the bang section with your spray bottle.
Dry cutting allows you to see the true weight, texture, and natural fall of your hair. This is especially important for curly or wavy bangs, as dry cutting prevents surprises when your hair dries into its natural pattern.
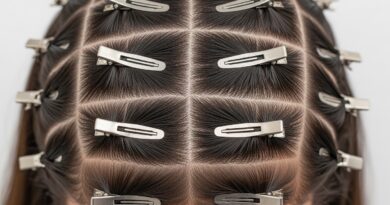
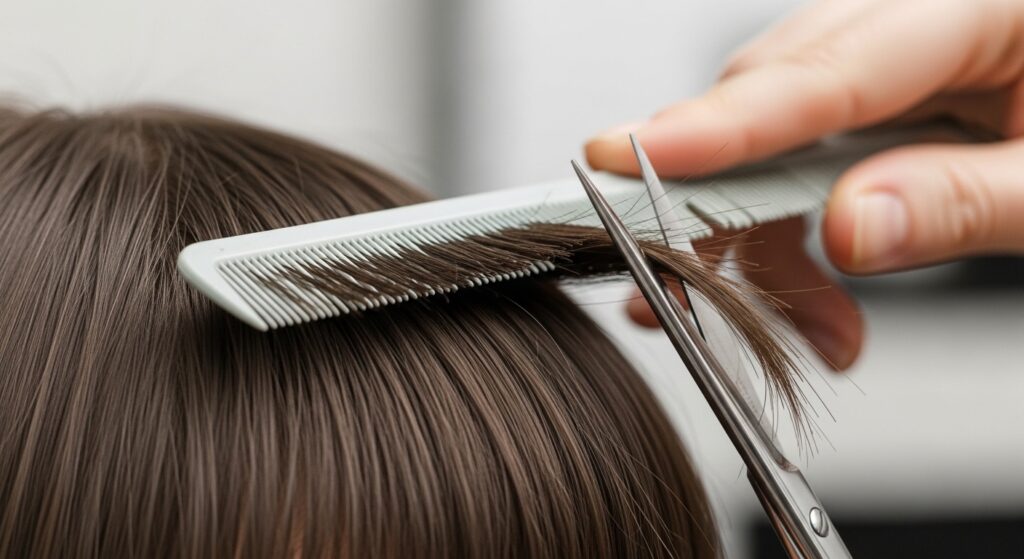
Section Your Bangs Perfectly
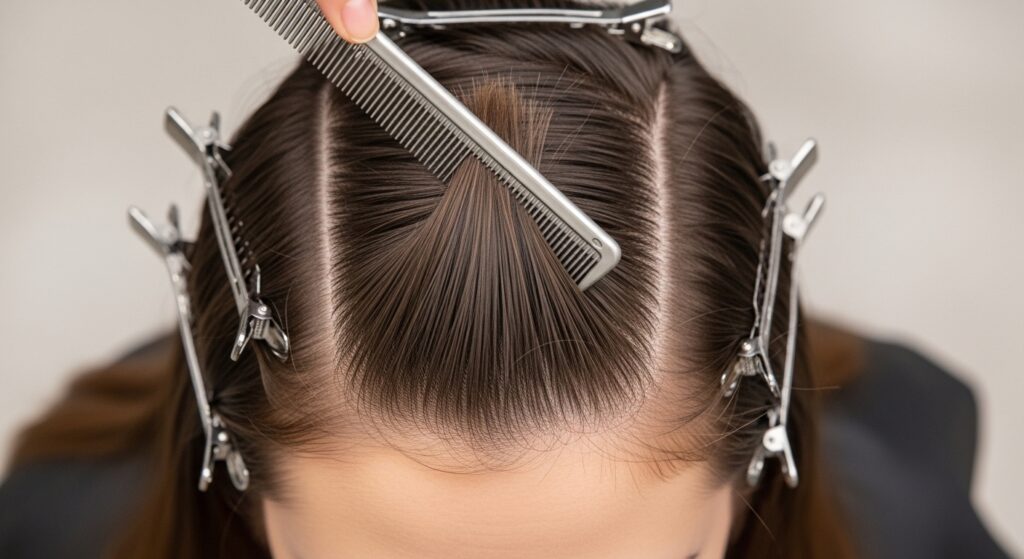
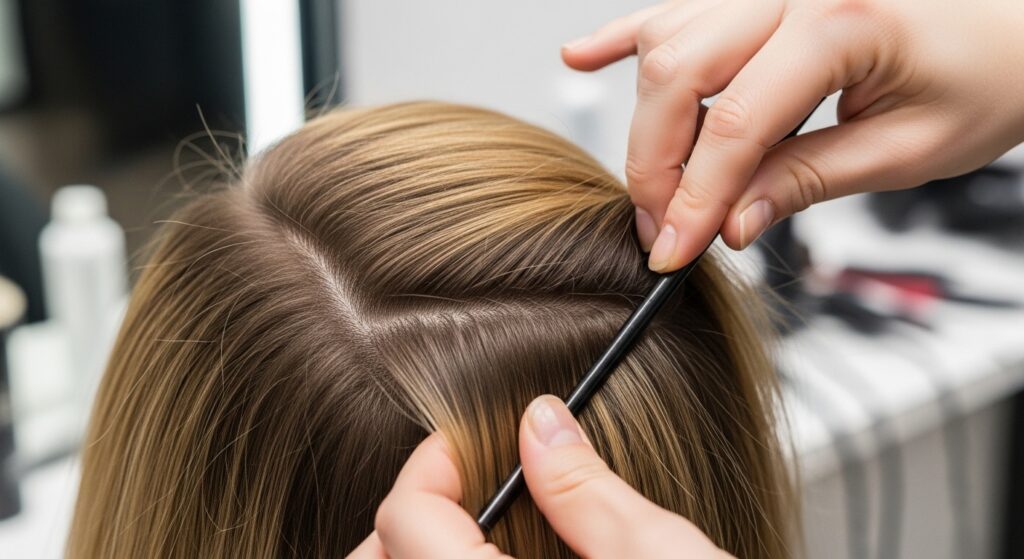
Use the fine-tooth comb to create a clean triangle section. Start from the crown of your head, drawing lines down to each outer corner of your eyebrow. This triangle captures all the hair that truly belongs to your fringe.
Once you’ve combed the triangle forward, securely clip all the hair outside of it back and away. Double-check that no stray hairs are mixed in. A clean section is the foundation of a clean cut.
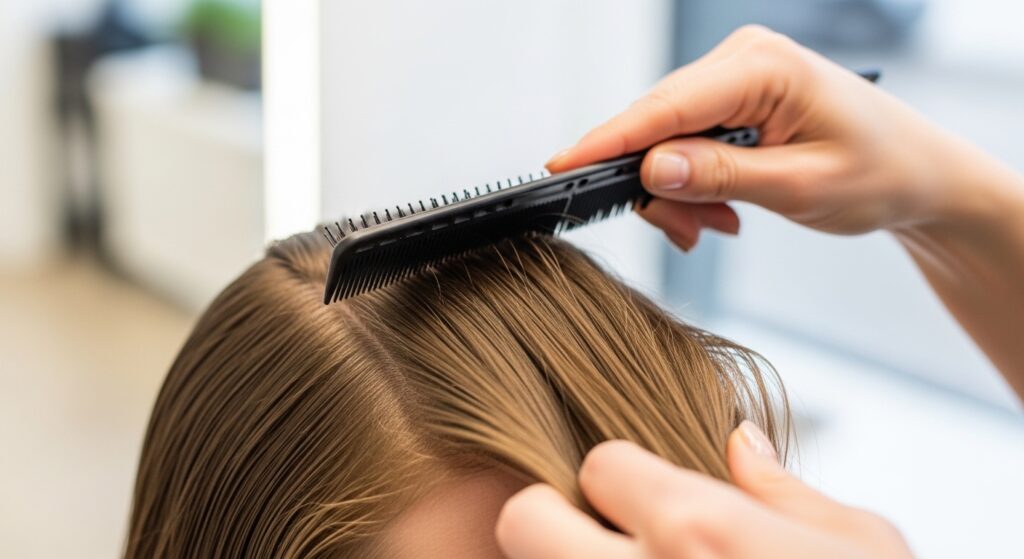
Comb and Hold with Proper Tension
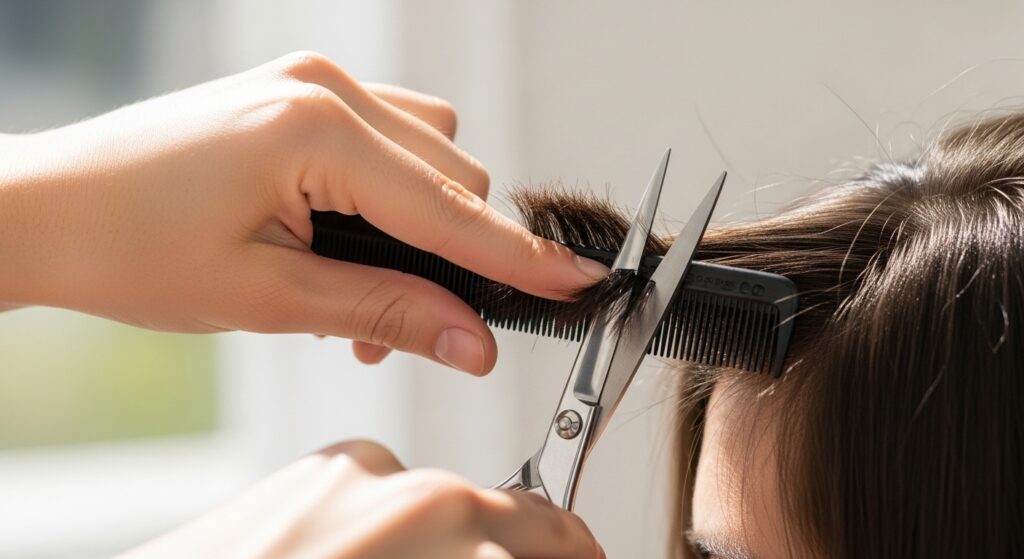
Comb your bangs straight down over your forehead. Hold the hair between your index and middle finger, pinching firmly. Your fingers will act as a guide and a guard against cutting too much.
Apply even, gentle tension by pulling the hair slightly away from your forehead. Avoid pulling it tight to your skin, as this can cause the hair to spring back up shorter than expected once released.
The Golden Rule: Cut Less Than You Think
You can always take more hair off, but you can’t put it back. For your first snip, aim to cut just a quarter-inch or even less. This is a trim, not a full restyle. The goal is to clean up the ends and maintain shape.
If you’re going for a specific look, like the straight-across fringe of a hime cut or the piecey texture of glitchy glam hair, remember you can gradually build toward it. Start with a conservative length and refine from there.
Cutting Straight-Across Bangs

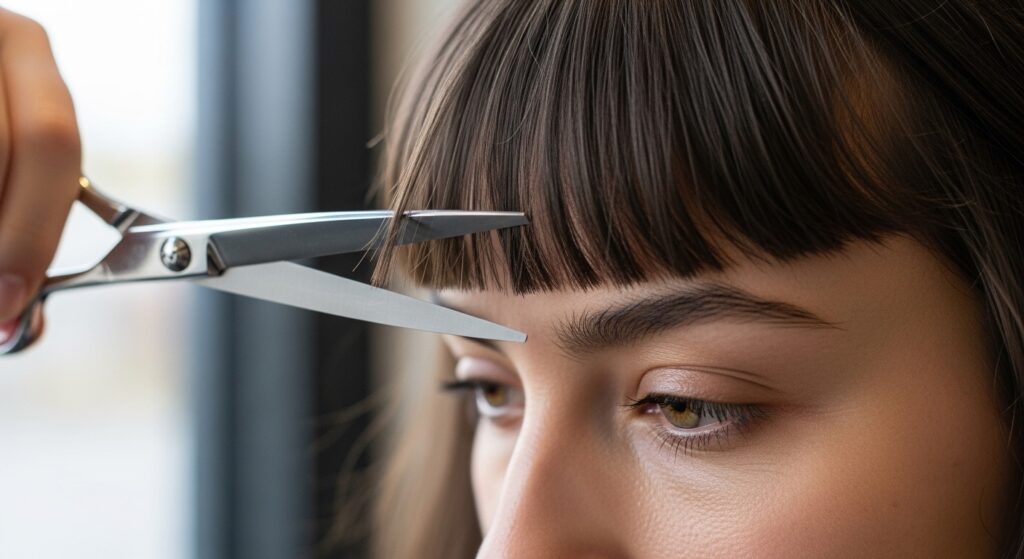
Position your guiding fingers horizontally, right at the point where you want the new length. For a classic straight-across look, align your fingers just below your eyebrows. Keep your hand steady and level.
Using the tips of your shears, make small, careful cuts along the line created by the bottom of your fingers. Cut vertically into the hair (point-cutting) for a softer edge, or straight across for a blunt, defined line.
Cutting Curtain Bangs
Curtain bangs are longer at the sides and shorter in the center. To trim them, you’ll work in two sections. Part your bangs down the middle. Clip one side away.
On the other side, hold the hair between your fingers at a diagonal angle, starting shorter near the part and angling longer toward your cheekbone. Snip following that diagonal guide. Repeat on the opposite side, mirroring the angle.
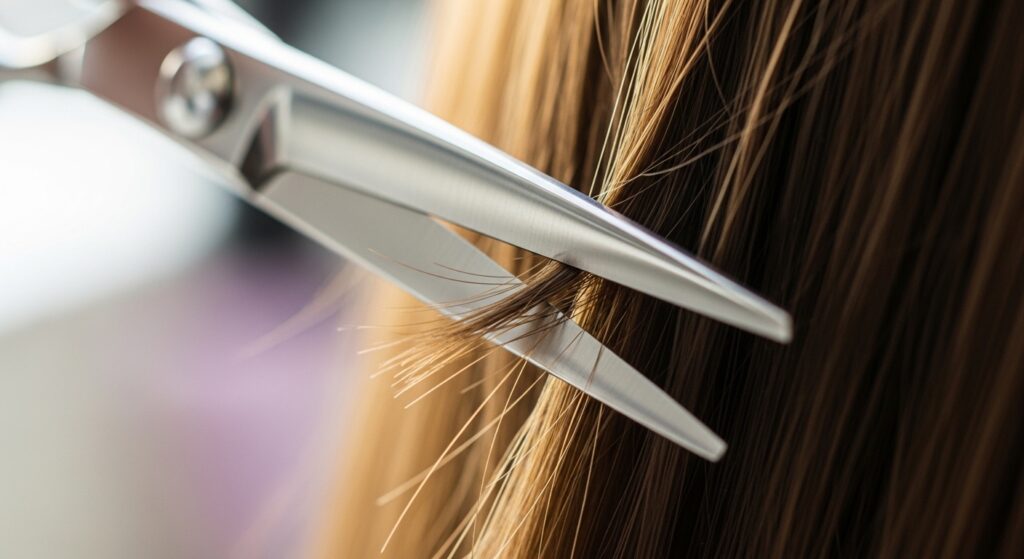
Point-Cutting for Softness
If your bangs look too blunt or heavy after trimming, point-cutting is your best friend. Instead of cutting straight across, take your shears and hold them vertically. Make small, upward snips into the ends of your hair.
This technique removes weight and creates a feathered, softer, more lived-in texture. It’s perfect for avoiding a harsh, “just-cut” line and works beautifully with 2026 hairstyles that favor effortless texture.
Check Your Work with a Hand Mirror
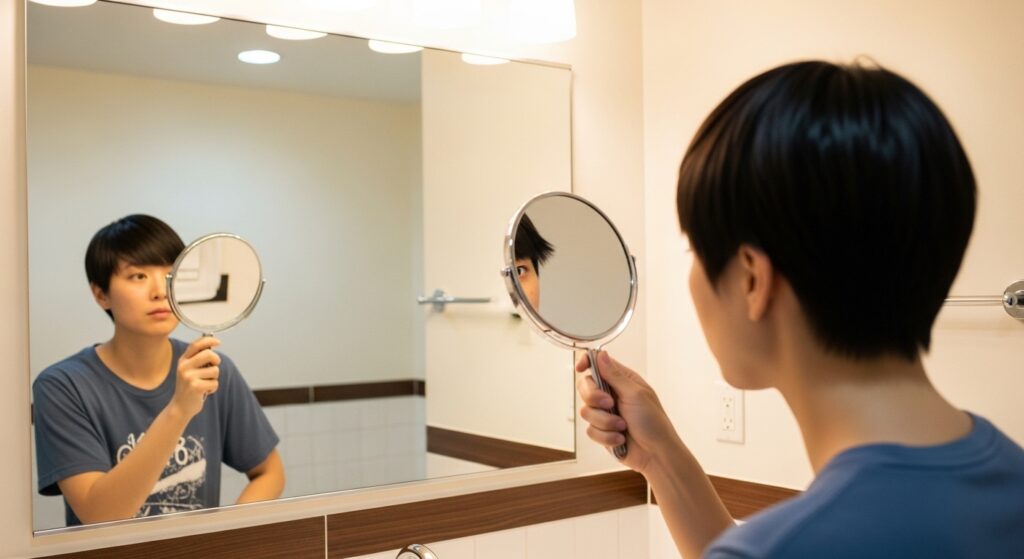
After your initial trim, unclip your hair. Use your hand mirror to look at your bangs from every angle—front, sides, and even from above. Look for any uneven spots or longer pieces you might have missed.
This step helps you see your hair as a whole, not just the front view. It’s essential for catching strays and ensuring your bangs blend seamlessly into the rest of your style, like an asymmetrical lob or old money hair waves.
How to Fix Uneven Sides
If one side feels longer, don’t panic. Re-section just the side that needs fixing. Comb it straight down and hold it with the same tension as before. Very carefully, trim a tiny amount, checking constantly against the other side.
Always cut with the longer side as your guide. Match the shorter side to it, rather than cutting the longer side shorter to match a side you may have over-cut. Go slowly, one small snip at a time.
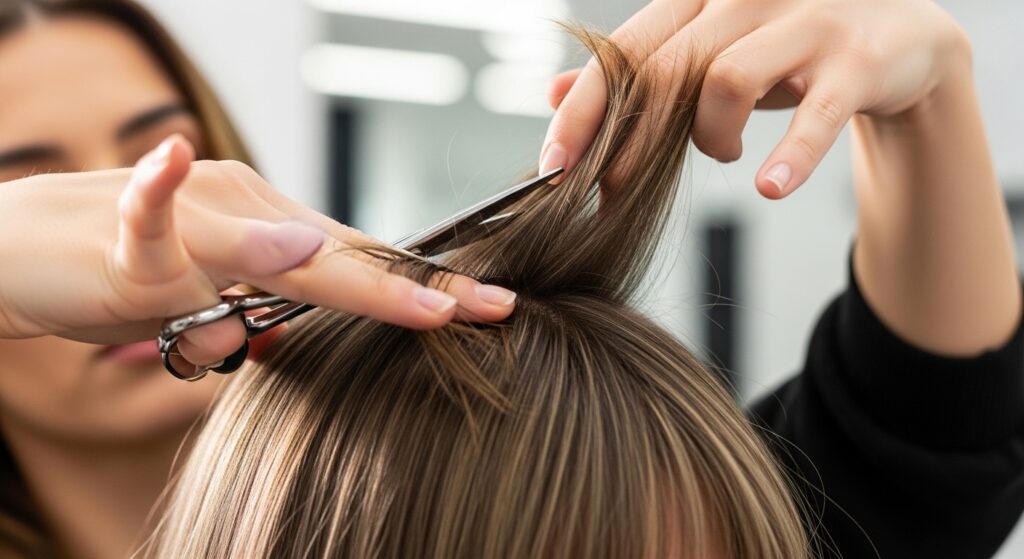
Blending Bangs into Long Hair
For a natural look, your bangs shouldn’t look like a separate block of hair. Unclip the hair immediately next to your bang section. Take small, vertical sections where your bangs meet your longer hair.
Use point-cutting to subtly blend the lengths together. This creates a seamless transition, which is key for styles like the romantic goth hairstyles that use soft, blended layers around the face.
Dealing with Cowlicks and Texture

A stubborn cowlick can make bangs sit differently. The trick is to cut them slightly longer when dry, accounting for the lift. If you fight it and cut too short, the cowlick will just push the hair up more.
Work with your natural texture. For curly bangs, cut each curl individually while stretched slightly to find its true length. For wavy hair, make sure it’s in its natural dried state before you make any final decisions.
Styling After the Trim
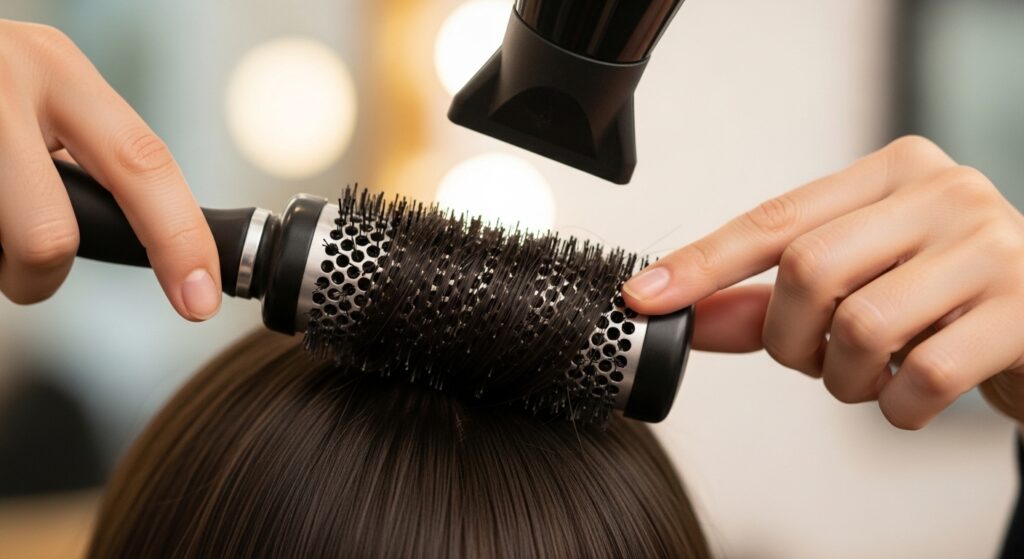
Once you’re happy with the length, style as usual. For a smooth look, blow-dry your bangs with a round brush, rolling them under. For a piecey, textured look, use a flat iron to add slight bends or waves.
A little styling product can help. A light-hold spray will keep them in place, or a tiny bit of pomade can separate pieces for that modern glitchy glam hair effect.
Common Mistakes to Avoid
Let’s learn from others’ errors! First, cutting bangs when they are soaking wet. Second, using dull or wrong scissors. Third, cutting straight across without checking for balance. Fourth, trying to cut too much at once.
Avoid cutting bangs when you’re rushed or anxious. This is a task that requires a calm, focused moment. And never cut vertically up into your bangs—this creates choppy, uneven pieces that are hard to style.
When to Call a Professional
If you want a major bang style change—like going from long hair to full fringe, or creating a very technical shape—see a pro first. They can set the perfect foundation that you can then maintain at home.
Also, if you have a major haircut event (like a wedding or photoshoot), trust your stylist. And of course, if you do have a minor at-home mishap, a good stylist can always fix it and get you back on track.
Maintaining Your Bangs Between Trims
To extend the time between trims, keep your bangs looking fresh. Use dry shampoo at the roots to absorb oil. A quick pass with a flat iron or round brush can revive their shape in seconds.
At night, you can use a silk scarf or a large clip to keep them flat and trained. This prevents them from getting bent or oily while you sleep, so you wake up with better-looking bangs.
Adapting Your Bangs to Different Trends
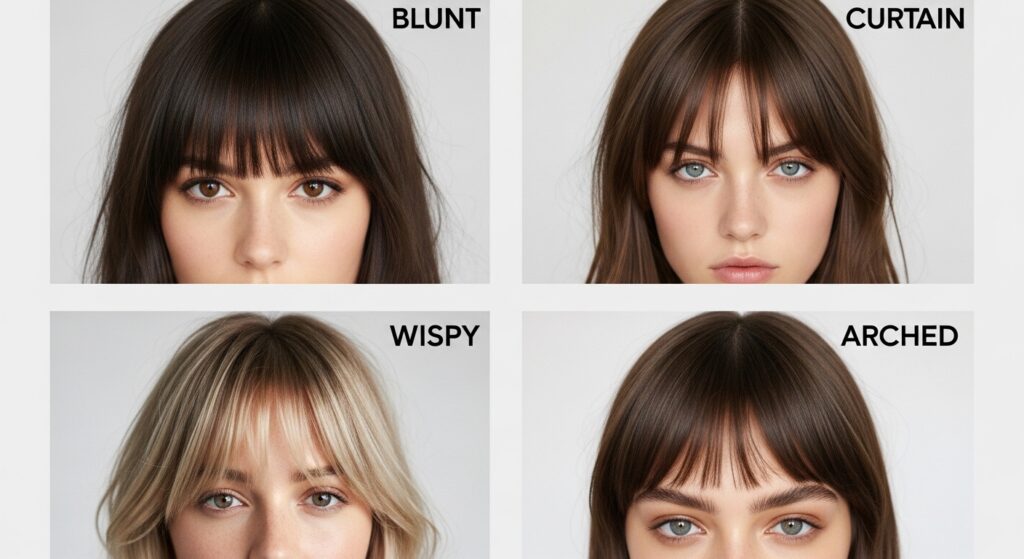
Your bangs are versatile! With a good foundation, you can style them to fit different aesthetics. Sweep them to the side for an old money hair vibe. Keep them blunt and heavy for a vampire haircut.
Add texture and piece-y separation for romantic goth hairstyles. Or, keep them long and wispy to blend into a quiet luxury bob. A simple trim maintains the health, letting you play with style.
Building Your Confidence

The first time is the hardest. With each successful trim, you’ll gain more confidence. Remember, hair grows. Even if a cut isn’t perfect, it will grow out in a few weeks. View it as a learning experience.
Start with tiny trims. Celebrate the small win of saving time and money. Soon, you’ll be the friend everyone asks for bang advice. You’ve got this.
Your At-Home Bang Trim Checklist
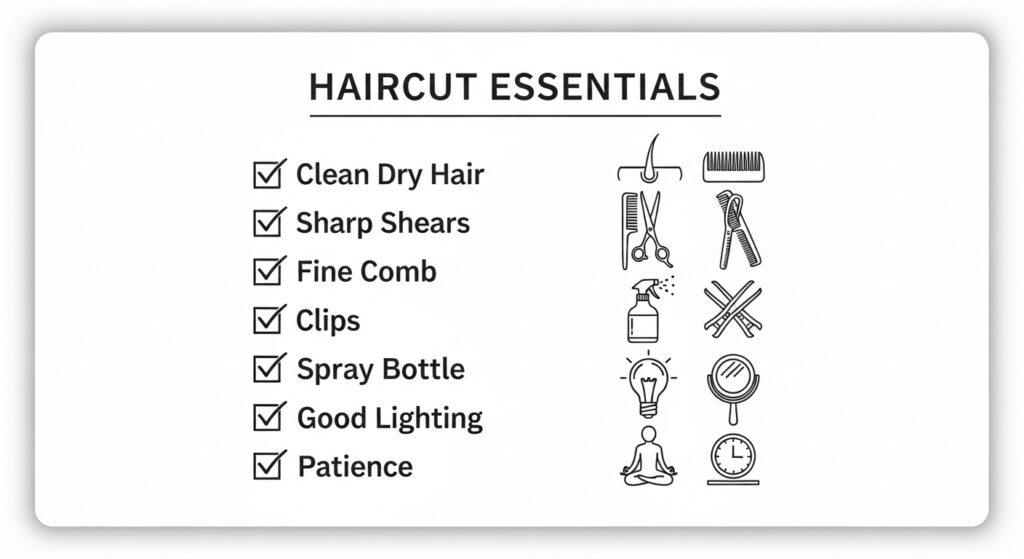
Before you start, run through this list:
- Hair is clean and dry (or only damp).
- All tools are laid out and ready.
- You have strong, even lighting.
- You are not rushed.
- You’ve reviewed your technique.
Patience is your most important tool. Go slow, cut less than you think, and check your progress often. A methodical approach always wins.
You Did It! Now Rock Those Fresh Bangs
Give yourself a pat on the back. You just mastered a core beauty skill that will serve you for years. Freshly trimmed bangs instantly lift your entire look, making you feel polished and fresh.
Whether you’re keeping it classic or channeling the latest 2026 hairstyles, well-kept bangs show you pay attention to the details. Now go out and show them off.
And just like that, you’re equipped with everything you need to keep your fringe flawless on your own schedule. No more panic when your bangs get that just-past-perfect look. You have the knowledge, and that’s seriously empowering.
Remember, every stylist started somewhere. Your at-home trims will get quicker and more confident every time. It’s all about trusting the process, using the right tools, and knowing that a little off the ends makes a huge difference.
Save this post to Pinterest so you always have this guide handy for your next trim session! And tell me in the comments—what’s your biggest bang-trimming win or fear? I love hearing your stories.