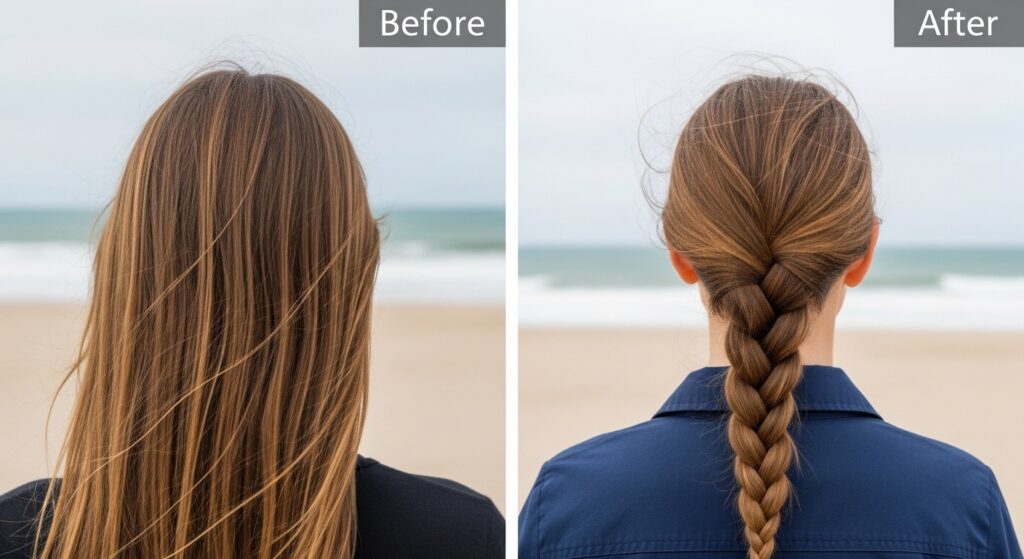
Travel-Friendly Braids Holding Up for Weeks Easily
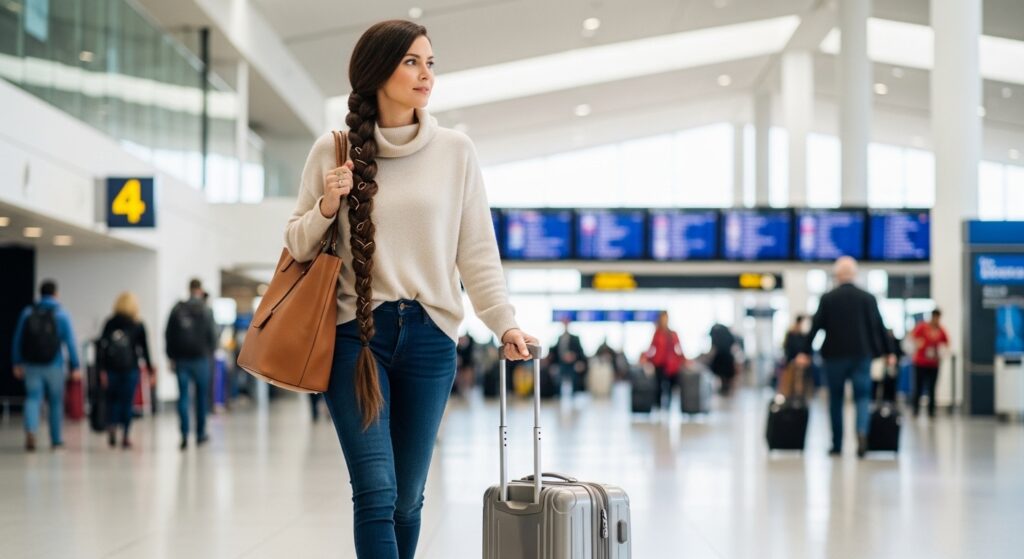
Okay, let’s be real. Packing for a trip is stressful enough without worrying about your hair. You want to look put-together in photos, survive humidity, and basically not think about styling for days. I get it. That’s why I’m obsessed with long-lasting braids.
This isn’t about complicated styles you need a pro for. We’re talking simple, travel-friendly braids that you can do yourself and that actually hold up—for weeks. Imagine landing, hitting the ground running, and your hair just… works.
It’s the ultimate hack for looking polished with zero daily effort. Whether you’re chasing adventure or just need a low-maintenance win, these braids are your new best friend. Let’s dive into the easy, step-by-step guide to vacation-ready hair that lasts.
Why Braids Are the Ultimate Travel Hack
Braids are more than just a cute style. They are a strategic travel tool. They keep your hair contained, prevent tangles on long flights or windy beaches, and drastically cut down your getting-ready time.
Once they’re in, they create beautiful, lasting waves. You can dress them up or down, sleep in them easily, and they protect your hair from the elements. It’s a win-win-win for style, convenience, and hair health.
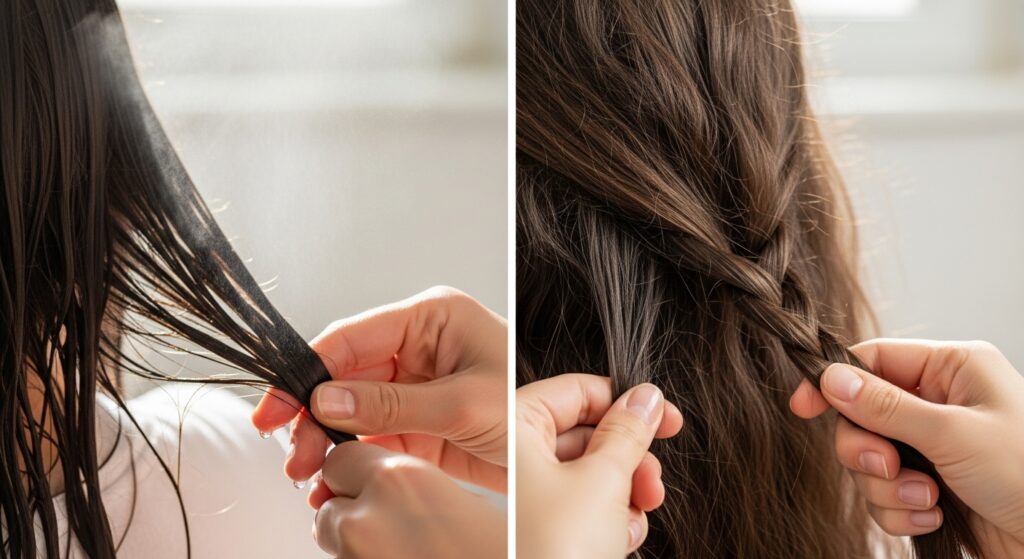
Pre-Braid Prep: The Secret to Longevity
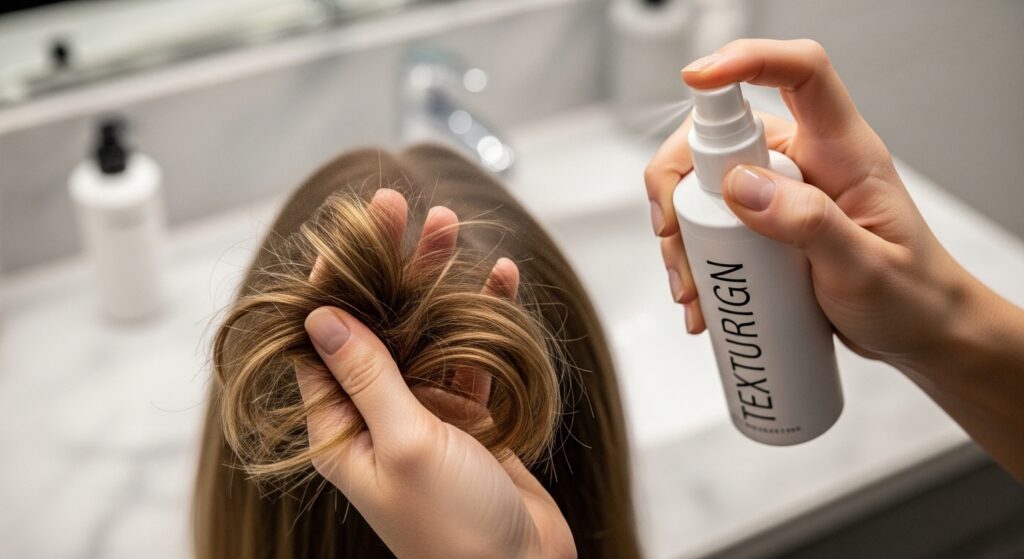
Want your braid to last more than a day? It all starts with the prep. Clean hair is too slippery. You need some grit and texture for the style to grip and hold its shape.
- Day-Old Hair is Best: Braid on the second or third day after washing.
- Use a Texturizer: A sea salt spray or dry shampoo is your best friend. It adds the perfect amount of grip.
- Detangle Thoroughly: Work through any knots with a wide-tooth comb before you start. Smooth hair braids better.
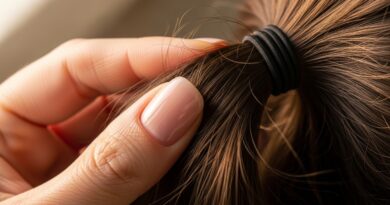
The Classic Three-Strand Braid: Your Foundation

Don’t overlook the simple three-strand. It’s the base for everything. Mastering a tight, even braid is key. Start higher on your head than you think for a longer-lasting style.
Pull the sections firmly as you go, and secure the end with a small, clear elastic. For extra hold, lightly mist the finished braid with a flexible hold hairspray. This classic is the core of so many 2026 hairstyles we’re seeing.
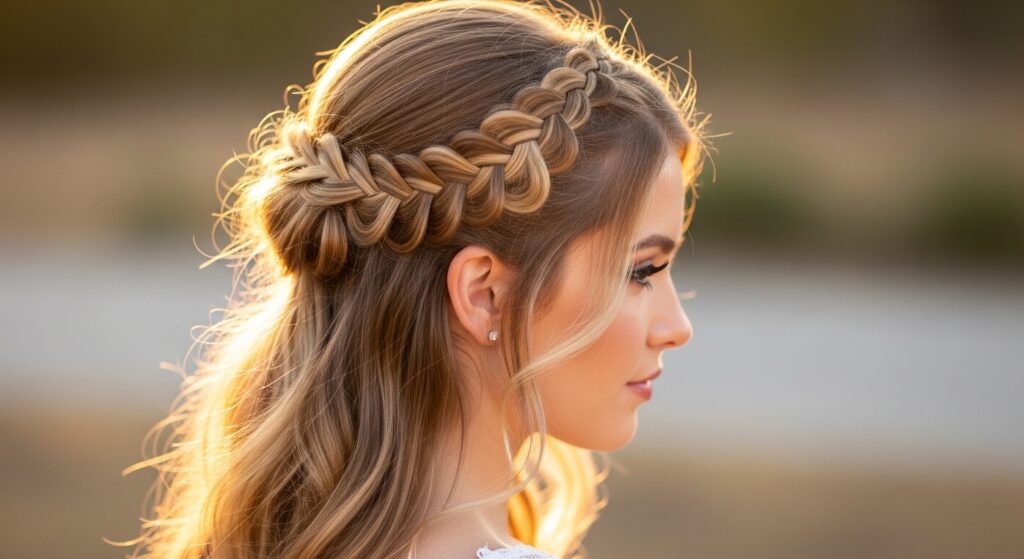
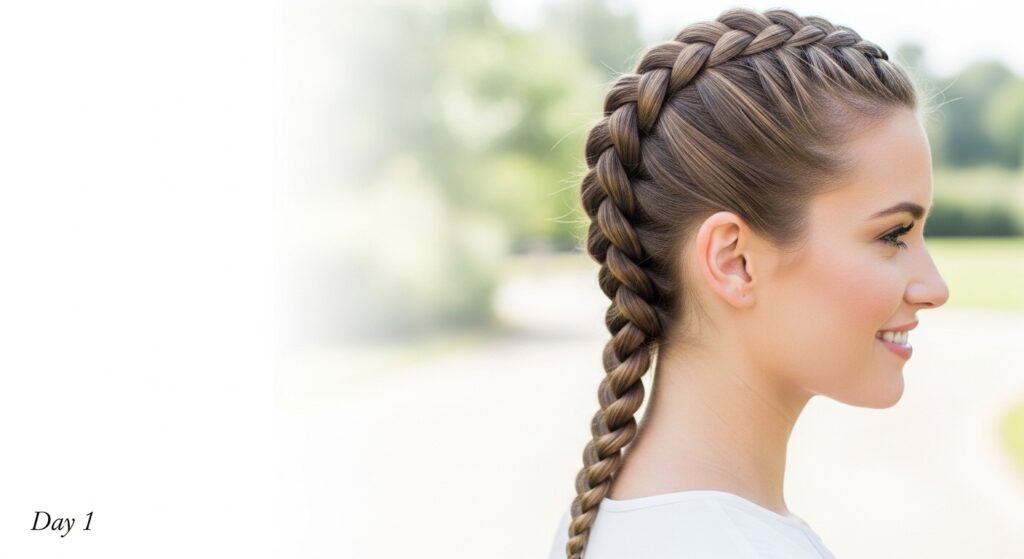
The Dutch Braid: Sleek & Secure

Also called an inside-out braid, this is my go-to for active trips. It lies flat against your head, so it’s perfect under hats or for hiking. It feels more secure than a regular braid and looks incredibly polished.
It’s just like a French braid, but you cross the sections under, not over. Practice makes perfect! This style gives off major old money hair vibes—think timeless, athletic elegance.
The French Braid: Romantic & Lasting
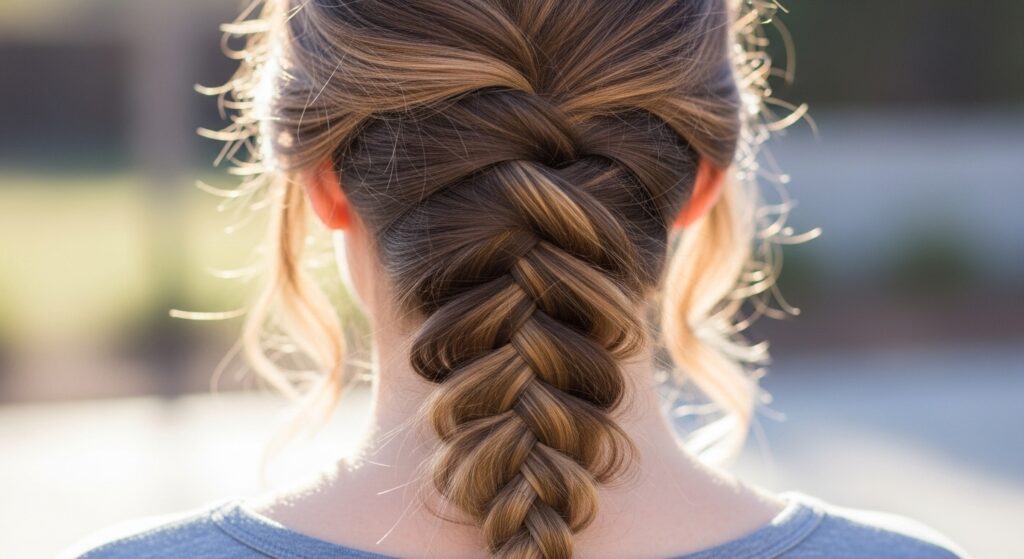
The French braid is a forever classic for a reason. It distributes hair evenly, creating a sturdy, beautiful style that lasts for days. It’s the perfect base for an updo later in your trip, too.
For a softer, more romantic goth hairstyles feel, braid it loosely and pull out a few wispy pieces around your face. Once you take it down, you’ll have incredible, lasting waves.
Boxer Braids: For Active Adventures

Double Dutch braids, or boxer braids, are the ultimate for keeping hair completely off your face and neck. They are surprisingly chic and hold up through anything—sweaty workouts, humid exploring, you name it.
They create a gorgeous, defined wave pattern when taken out. This style is a cornerstone of the glitchy glam hair trend, mixing athletic precision with a cool-girl aesthetic.
The Milkmaid Braid: No-Fuss Elegance

This style looks fancy but is so practical for travel. You create two braids (Dutch or French are best for hold) and pin them across the top of your head like a crown.
It keeps all your hair up and out of the way in the most beautiful manner. It’s perfect for a nice dinner out or a day of sightseeing where you want to feel put together. It’s the epitome of quiet, practical luxury.
Braiding on Damp vs. Dry Hair
This is a big one. For tighter waves that last, braid damp, freshly washed hair. Let it dry completely in the braid before taking it out.
For the braid style itself to last multiple days as a style, start with dry, textured hair (as mentioned in prep). The damp method is for creating the wave; the dry method is for wearing the braid as your look.
The Perfect Tools to Pack
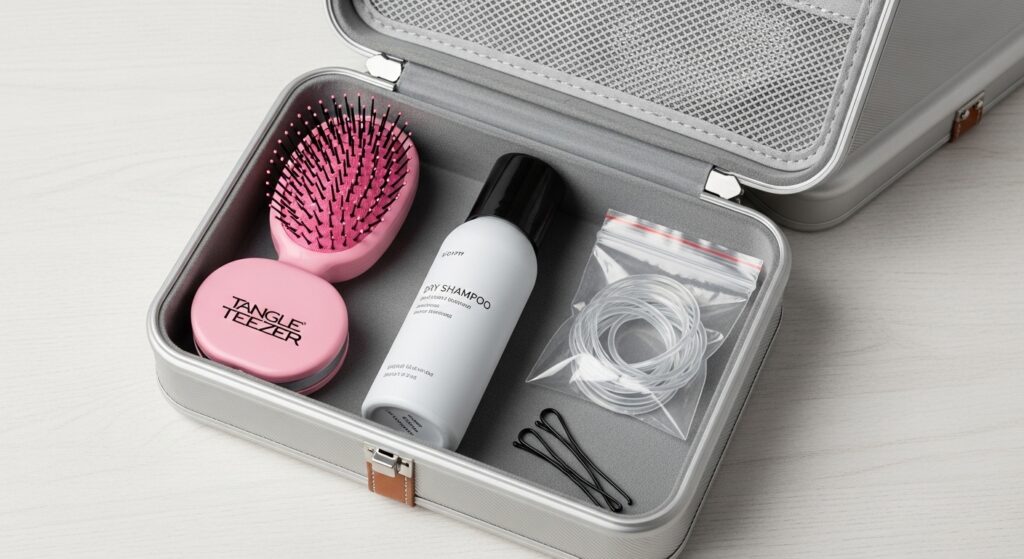
You don’t need much. A mini dry shampoo or salt spray is non-negotiable. Pack a handful of small, strong elastics and a few bobby pins. A tiny brush or wide-tooth comb helps.
That’s really it! These few items will maintain your braids and help you refresh them. They take up zero room in your toiletry bag, leaving more space for souvenirs.
Sleeping in Your Braids to Preserve Them

To make your braid last for days, you need to protect it at night. The easiest method is to simply re-braid it loosely before bed. This keeps it from tangling and getting fuzzy.
If you have multiple braids, you can wrap them in a loose silk scarf or use a silk pillowcase. This reduces friction, so you wake up with your style still looking fresh.
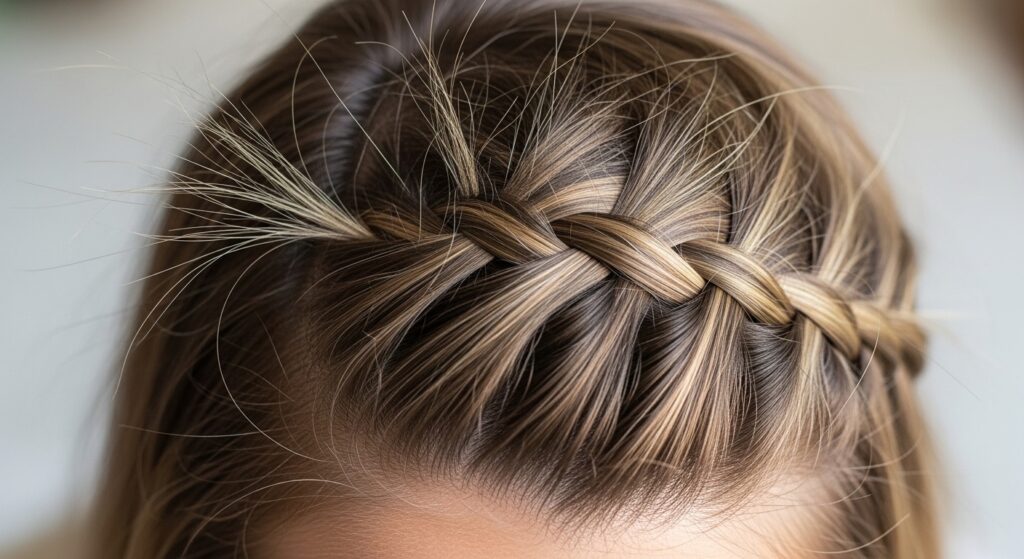
Refreshing Your Braid Mid-Trip
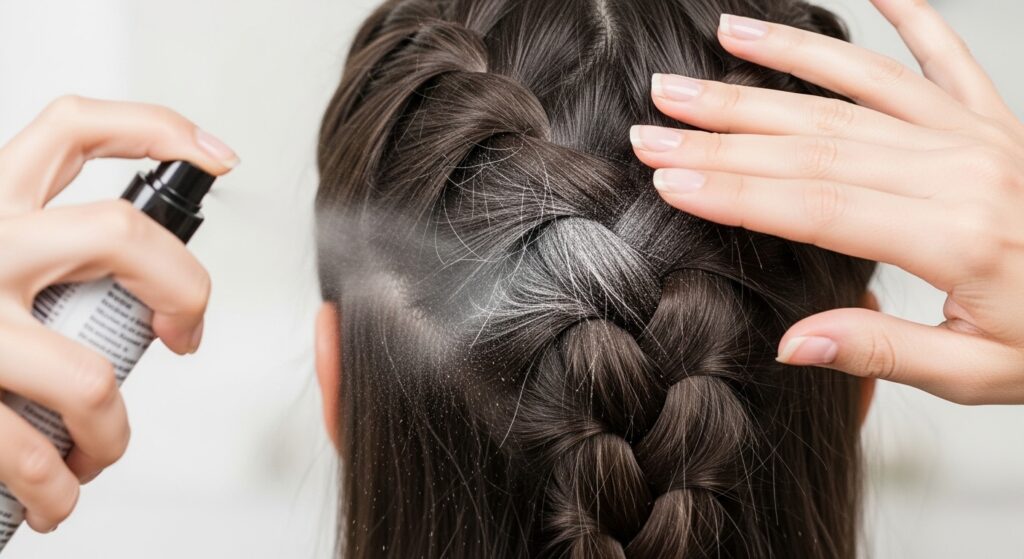
After a few days, your braid might get a little limp. No problem! This is where your dry shampoo saves the day. Lift sections of the braid and spray a little at the roots for volume.
Gently tighten the braid by pulling on the outer loops to smooth it, and secure the end again. A light hairspray mist can tame any flyaways. Good as new in two minutes.
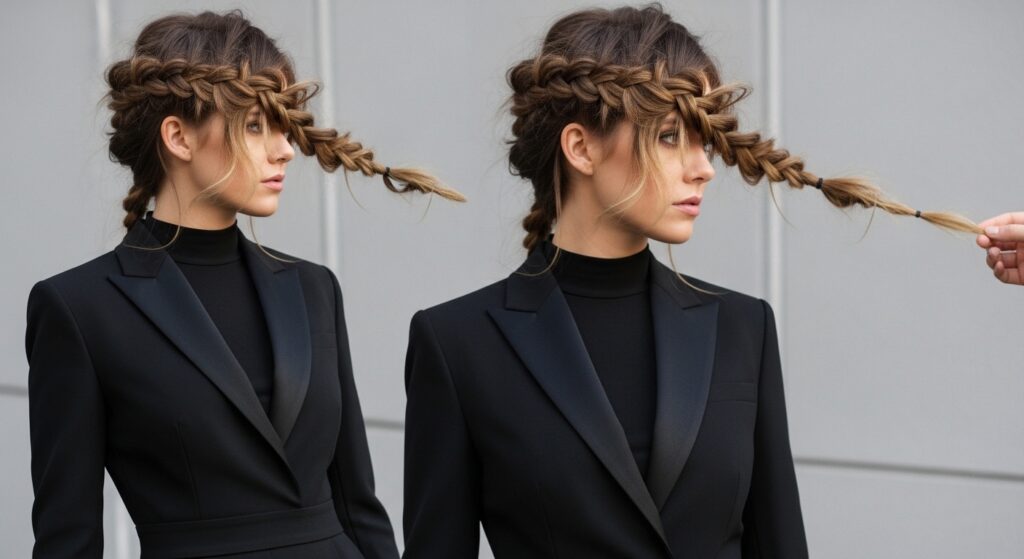
From Braid to Effortless Waves
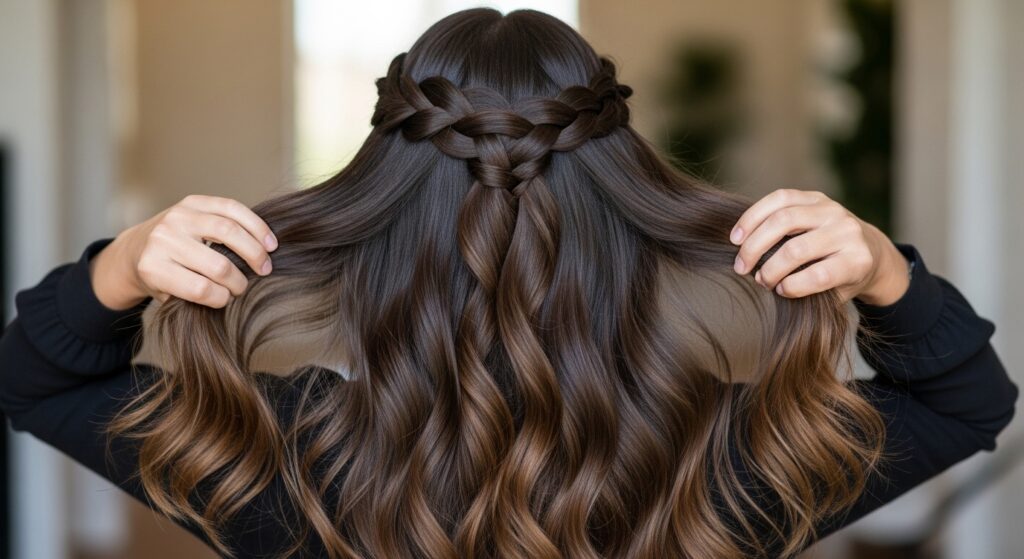
This is the magic part. When you finally take your braid out, you’ll have amazing, heat-free waves. Don’t just rip the elastic out! Gently unravel the braid with your fingers.
Flip your head over, run your fingers through the roots for volume, and scrunch the waves. You’ve just achieved a perfect, lived-in wave that fits right in with the asymmetrical lob texture trend.
Accessorizing Your Travel Braids

A little accessory can make your braid feel brand new. Pack a few lightweight options. Think a delicate scarf woven into the base, a few simple gold clips, or even temporary hair cuffs.
This is an easy way to transition your day braid to an evening look without redoing it. It’s a simple trick that screams quiet luxury bob energy—understated but deeply chic.
The Half-Up Braided Crown
If a full braid feels like too much, this is your perfect compromise. Just braid the top section of your hair (from ear to ear) into a small Dutch or French braid, and pin it back.
It keeps hair out of your face, looks adorable, and when you take it down, you have gorgeous volume and wave at the roots. It’s a subtle nod to the hime cut’s face-framing intention.
Braids for Short Hair: Yes, You Can!
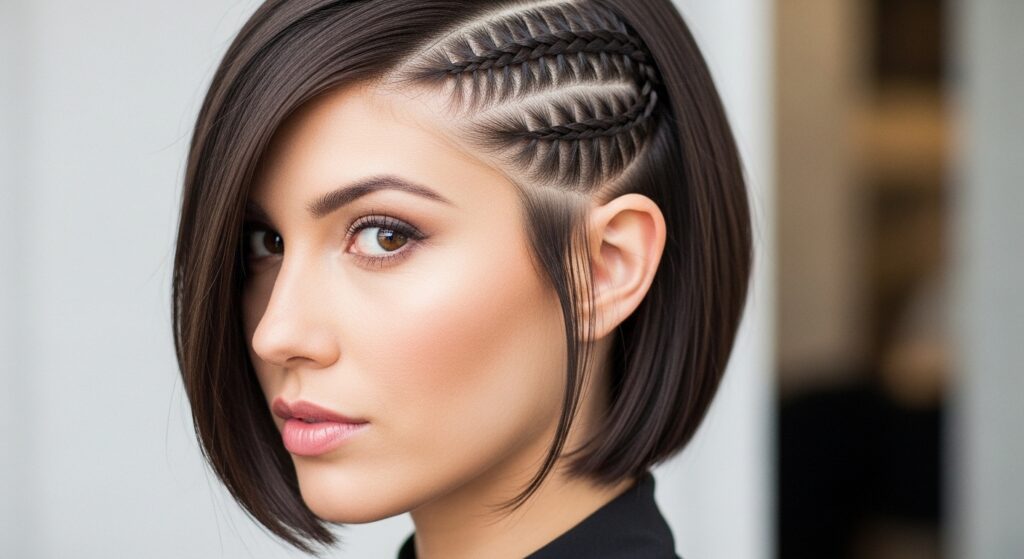
Short hair friends, you’re not left out! Focus on accent braids. Try a small Dutch braid along your hairline to pull hair back. Or create a mini braid at the end of a section for a fun detail.
These little braids add so much style to a quiet luxury bob or an asymmetrical lob and are perfect for keeping shorter pieces tame in the wind.
Incorporating the “Vampire Haircut” Vibe
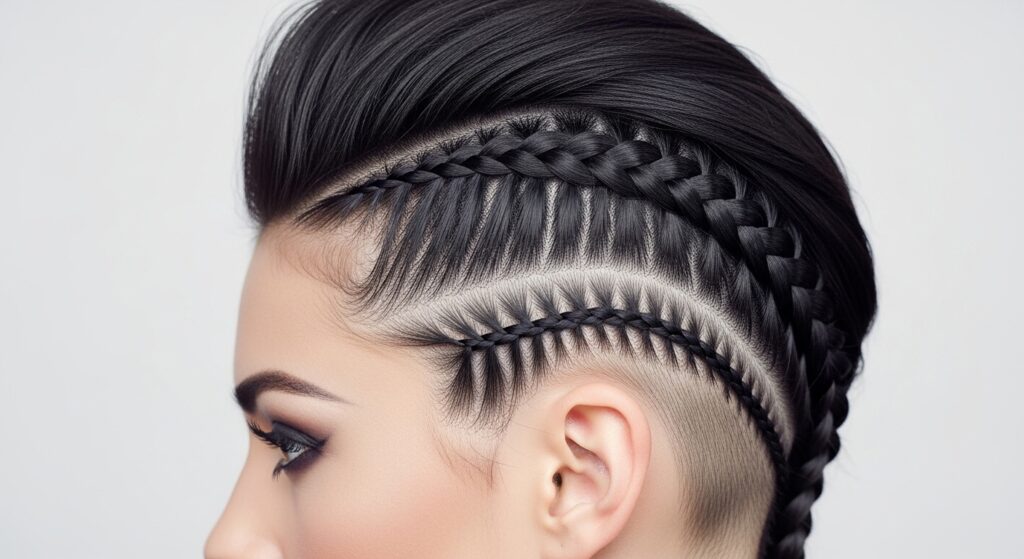
The vampire haircut trend is all about sharp, dark, and romantic. You can channel this with your braids. Think extremely sleek, tight braids placed dramatically—like a single braid behind one ear.
Use a strong-hold gel or pomade to slick down any baby hairs for that polished, intentional look. It’s a powerful style with minimal effort.
Creating “Glitchy Glam” Texture
Glitchy glam hair is about imperfect perfection. To get this look with a braid, don’t make it too neat. Braid it, then gently pull on the outer loops to widen and loosen it.
Intentionally pull out a few strategic pieces. The goal is a braid that looks cool, lived-in, and artistically messy. It’s the ideal low-maintenance, high-style travel look.
Protective Styling & Hair Health
Beyond style, braids are a fantastic protective style. They minimize breakage from brushing, shield your ends, and prevent tangles. This is huge when you’re in different climates and water.
Your hair gets a break from heat and daily manipulation. You’re basically giving it a vacation, too. You’ll return home with your hair in better shape than when you left.
Transitioning Your Braid Through Your Trip
Start with a sleek, tight braid on day one. By day three, maybe twist it into a low braided bun. Later, take it out for waves, then re-braid it into a looser, more textured style.
One initial braid can give you three distinct looks throughout your journey. This is the ultimate in packing light and smart for your beauty routine.
Common Braiding Mistakes to Avoid
The biggest mistake is starting too loose at the scalp. Those first few crosses need to be tight to anchor everything. Also, avoid braiding soaking wet hair if you want the style to hold as a braid—it can take forever to dry and get musty.
Finally, don’t use thick, bulky elastics. They’re uncomfortable to sleep on and can cause breakage. Tiny, clear ones are your friend.
Your Travel Braid Checklist
- Hair with some texture (day-old or with product)
- Texturizing spray or dry shampoo
- Small, clear hair elastics
- 2-3 bobby pins
- A positive attitude! (Seriously, practice at home first.)
So there you have it—your complete guide to never having a bad hair day on a trip again. Braids are the unsung hero of travel beauty. They give you freedom, style, and the gift of time to actually enjoy your adventure.
I hope this makes your next packing list a whole lot simpler. Remember, the goal isn’t perfection. It’s ease, and looking like you effortlessly have it all together (even if you’re just winging it).
Save this post to Pinterest so you have these tips right at your fingertips for your next getaway! And tell me in the comments—what’s your go-to travel hairstyle? I’m always looking for new ideas from you!