20 Textured Pixie Variations for Edgy Confidence
Okay, let’s be real. Sometimes you just need a change. A big one. And nothing says “new chapter” quite like a textured pixie. It’s the ultimate blend of low-maintenance and high-impact, giving you that edgy confidence without the fuss of long hair.
But I know what you’re thinking: “Won’t it all look the same?” Absolutely not. The magic is in the texture. We’re moving way beyond the basic buzz. Think tousled, piece-y, soft, spiky, or sleek.
This is your guide to 20 variations that feel fresh, modern, and totally *you*. Whether you’re into 2026 hairstyles with a futuristic twist or a more timeless old money hair vibe, there’s a pixie here with your name on it. Let’s find your perfect cut.
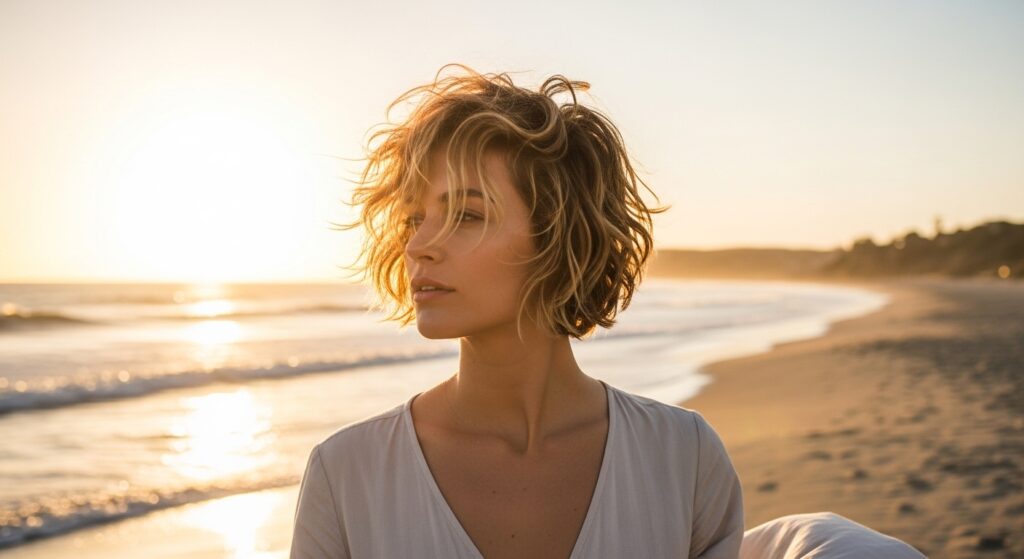
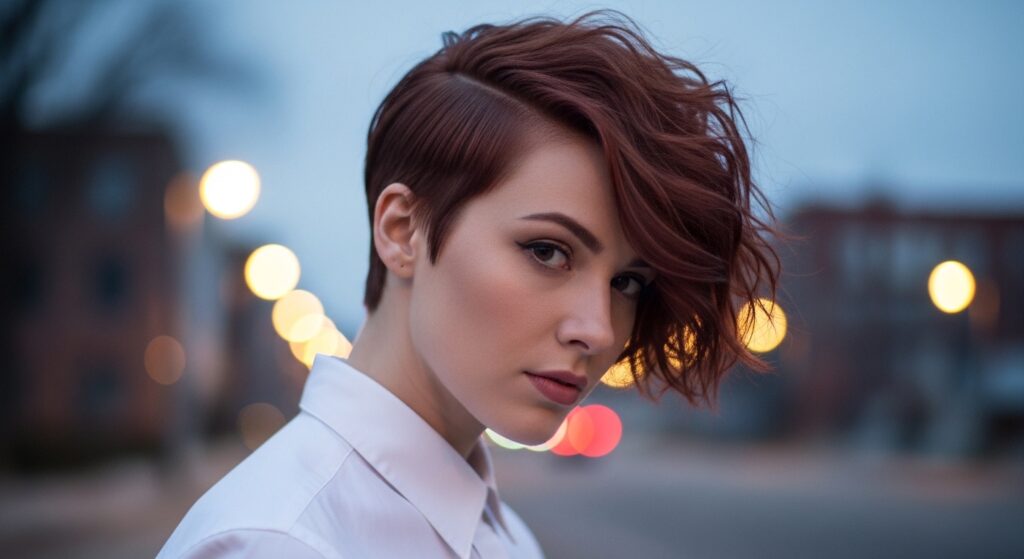
1. The Tousled Beach Pixie
This is your “I woke up like this” masterpiece. It’s all about creating soft, piece-y waves that look effortlessly cool. The key is a good sea salt spray and a texturizing paste.
Ask your stylist for choppy, uneven layers throughout. The length should be a bit longer on top to allow for that messy movement. This style works for straight, wavy, or curly hair, adding that perfect “lived-in” texture.
- Use a dime-sized amount of texturizing paste on damp hair.
- Scrunch your hair as it air-dries or use a diffuser.
- For extra piece-y-ness, twist random small sections when dry.
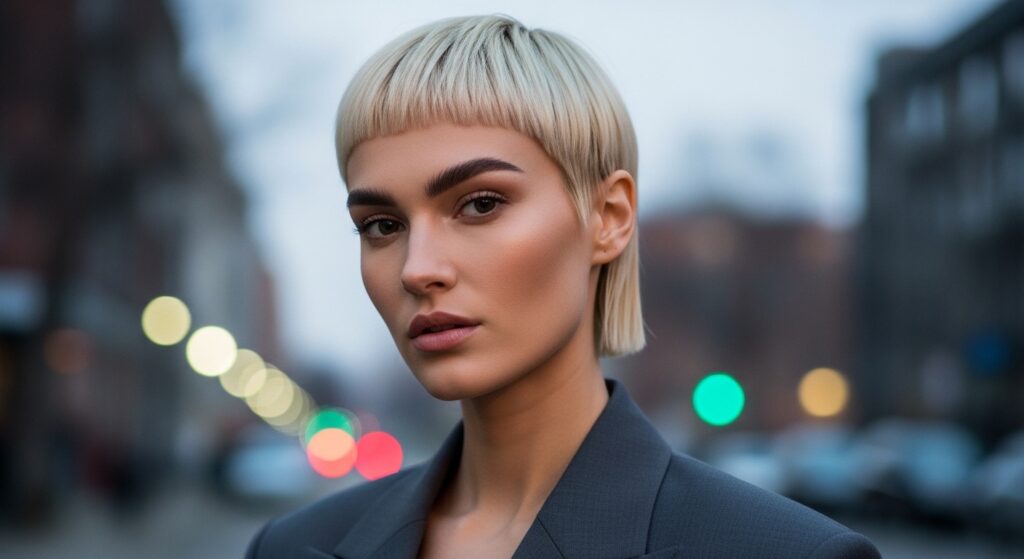
2. The Sharp Asymmetrical Pixie
For a seriously bold statement, asymmetry is your best friend. This cut features one side significantly longer than the other, often with a sharp, angled line. It’s a cornerstone of edgy confidence.
The contrast creates instant drama and highlights your bone structure. You can wear it sleek and polished or add texture for a more undone, rock-and-roll feel. It’s a modern take on the asymmetrical lob, just in a shorter, fiercer package.
- Commit to a strong side part to emphasize the angle.
- A flat iron can sharpen the longer side’s line.
- Use a strong-hold hairspray to keep that sharp shape all day.
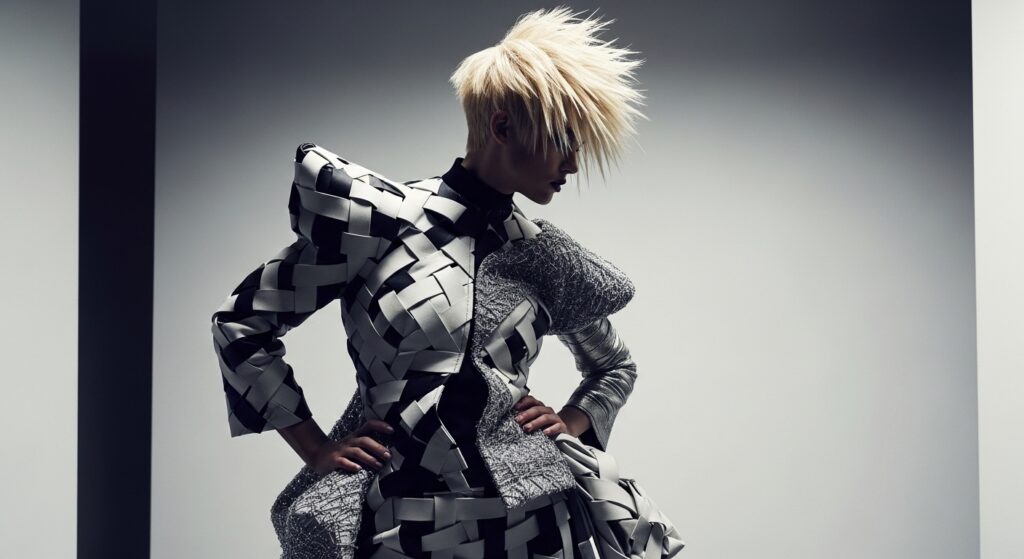
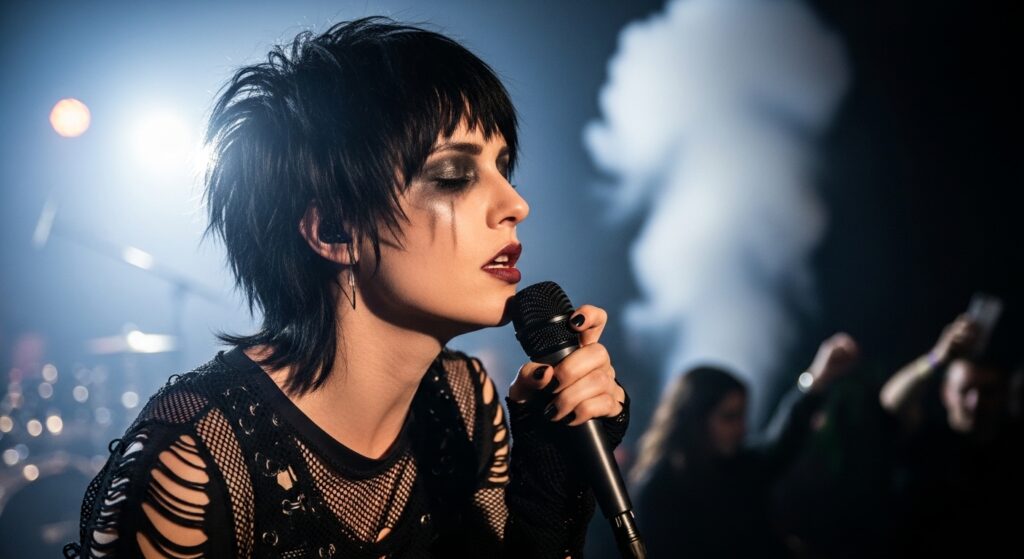
3. The Piece-Y, Spiky Pixie
Channel that early 2000s rockstar energy with intentional spikes and separation. This isn’t about helmet hair; it’s about artistic, defined pieces that stand up and out.
You’ll need a strong-hold styling gel or a sticky pomade. Work it through towel-dried hair, then use your fingers to create individual spikes or clumps. Let it air-dry for a rigid hold or diffuse for volume.
- Apply product to very damp hair for maximum control.
- Use your fingertips, not a comb, to shape the pieces.
- A tiny bit of hairspray on your fingers can help reshape stray pieces later.
4. The Soft, Romantic Pixie
Who says short hair can’t be romantic? This variation uses soft curls, waves, and face-framing pieces to create a delicate, feminine look. It’s like a romantic goth hairstyles vibe but in a lighter, airier form.
Request lots of layers, especially around your face. A curling wand with a small barrel is your best tool here. Create random, loose curls and then gently break them apart with your fingers.
- Use a heat protectant and a light-hold curl cream.
- Curl small sections in alternating directions for natural volume.
- Finish with a shine spray to keep those curls looking soft, not crunchy.
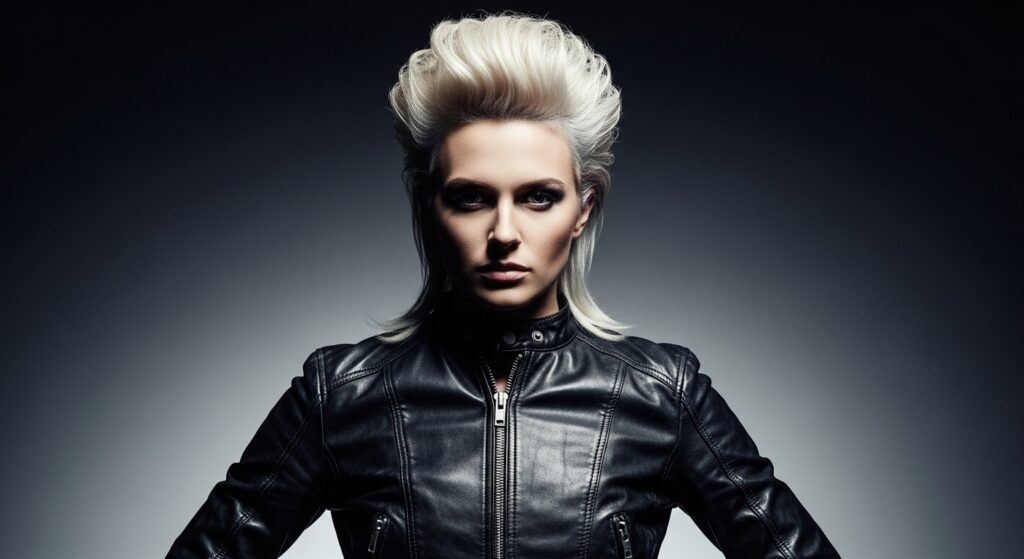
5. The Undercut & Long Top Pixie
This is the ultimate in contrast styling. With the sides and back shaved or closely clipped, all the length and texture sits on top. It’s dramatic, cool, and surprisingly versatile.
You can slick the top back for a sleek look, wear it in a messy quiff, or let it fall to one side. It gives you the freedom of short hair with the styling options of longer hair. A perfect base for glitchy glam hair experiments.
- Invest in a good home clipper to maintain the shaved sides.
- Use a blow dryer and round brush to add volume to the top.
- A strong pomade will help sculpt and hold any style on top.
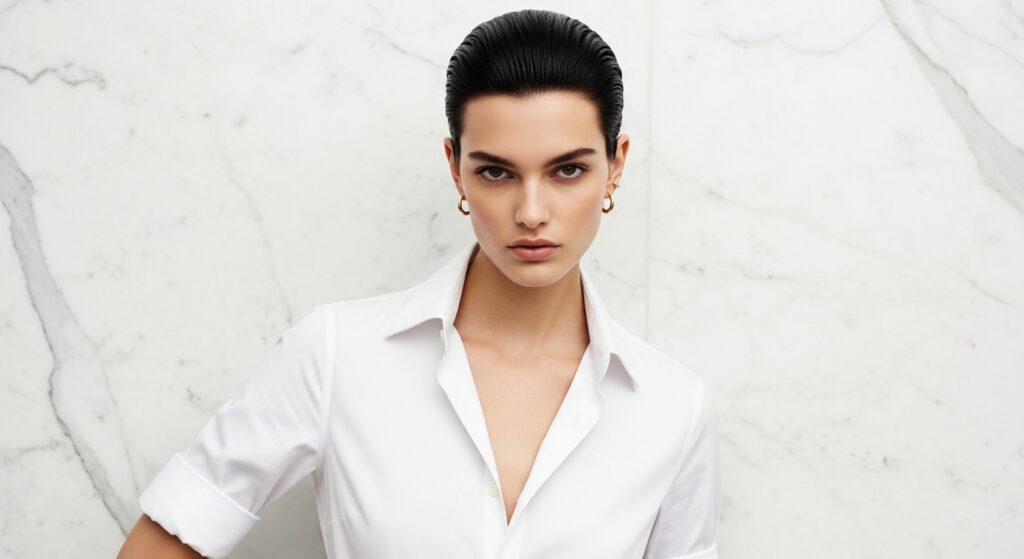
6. The Slicked-Back Wet Look
Sophisticated, sleek, and seriously chic. This style is all about high-shine and control. It’s a red-carpet favorite that brings a touch of quiet luxury bob polish to a pixie cut.
The goal is a seamless, glossy finish with no flyaways. You’ll need a strong-hold gel or a high-shine pomade applied to soaking wet hair. Use a fine-tooth comb to smooth everything back.
- Apply product evenly from roots to ends on dripping wet hair.
- Comb through thoroughly, then let it air-dry for a true “wet” look.
- For extra gloss, add a tiny drop of hair oil over the set style.
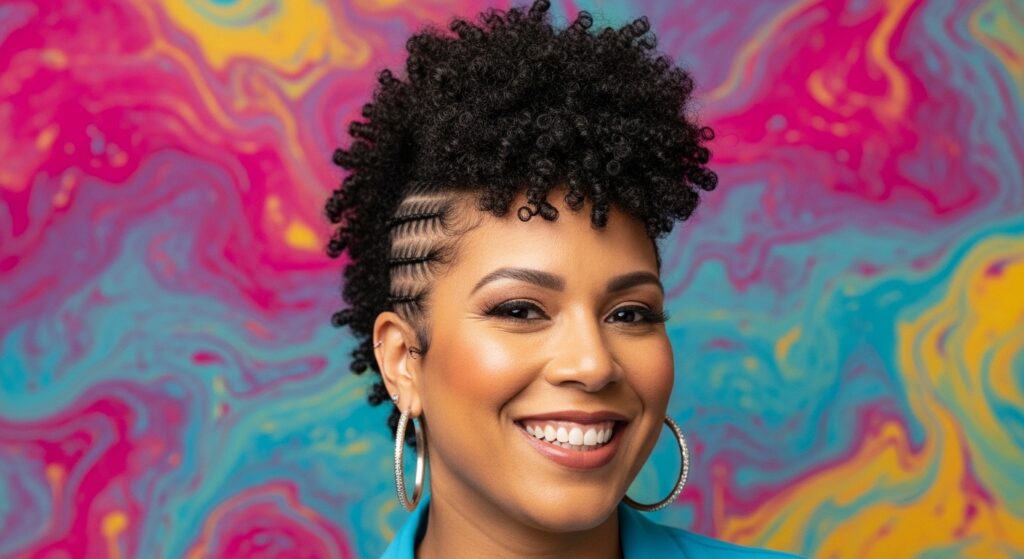
7. The Curly Fro-Hawk Pixie
Celebrate your natural curls with this bold, raised style. By trimming or shaving the sides, your gorgeous curls are encouraged to stand tall and proud down the center of your head.
This cut maximizes volume and minimizes bulk. It’s a powerful, joyful style that requires embracing your curl pattern. Use defining creams and gels to enhance your curls, not fight them.
- Cut on dry curls so your stylist can see the true pattern.
- Apply curl definer with praying hands, then scrunch.
- Diffuse with your head tilted to the side to boost root volume.
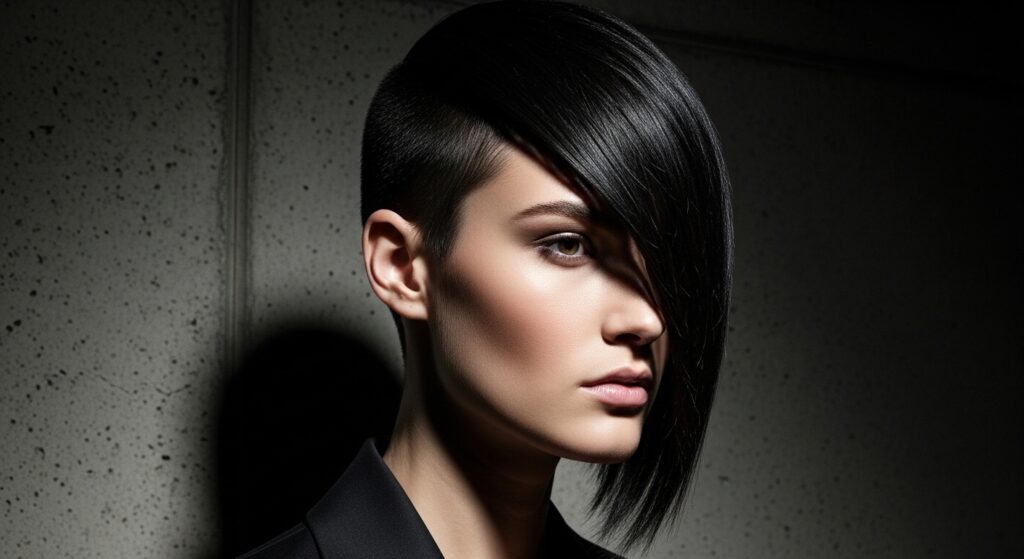
8. The Blunt, Geometric Bob-Pixie
Think of this as a bob that got brave. It has the solid, heavy shape of a blunt bob but sits above the ears. It’s graphic, modern, and very Parisian-chic, falling into that old money hair aesthetic with its precision.
The texture here comes from the cut itself—sharp, clean lines that create impact. You can wear it perfectly straight or add a slight bend at the ends for movement. It’s a statement in simplicity.
- A flat iron is essential for achieving that razor-sharp line.
- Use a smoothing serum to eliminate any frizz and boost shine.
- Regular trims every 4-6 weeks are a must to maintain the shape.
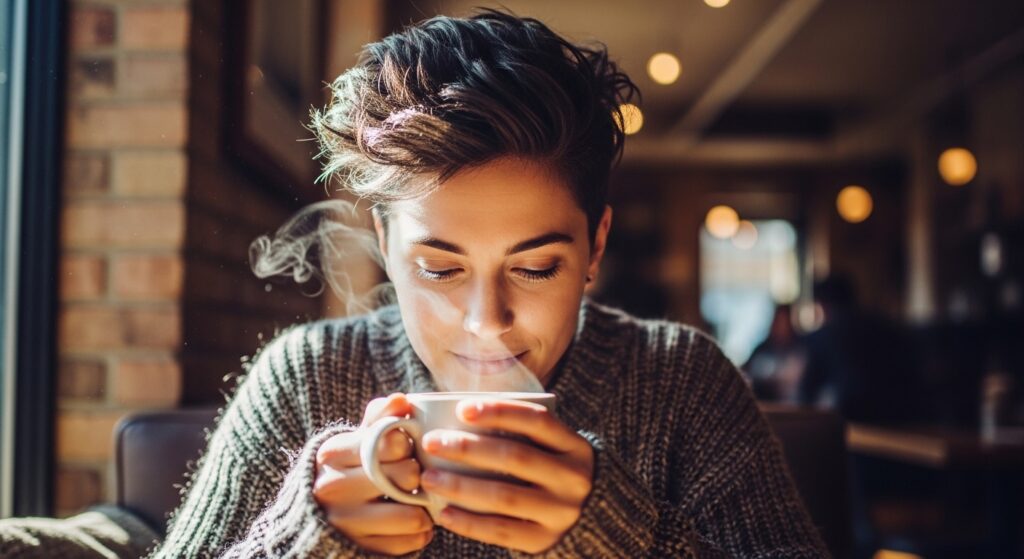
9. The Messy, Grown-Out Pixie
This is the sweet spot. When your pixie has just enough length to play with (about 2-3 inches), you get amazing texture with minimal effort. It’s the perfect “in-between” style that always looks cool.
The layers start to blend, creating natural volume and separation. Just add a bit of texturizing spray, ruffle your hands through your hair, and go. It’s the epitome of effortless style.
- Embrace the awkward phases—they often create the best texture.
- A matte texturizing powder at the roots adds instant grip and volume.
- Use your fingers as your primary styling tool, not a brush.
10. The Side-Swept Volume Pixie
Big volume, major drama. This style is all about lifting the hair at the roots and sweeping it dramatically to one side. It’s glamorous, face-framing, and perfect for a night out.
You’ll need a round brush and a blow dryer, or hot rollers for longer-lasting lift. Teasing at the crown can help support the volume. Finish with a strong-hold hairspray to keep that sweep in place.
- Blow-dry your hair in the opposite direction first to build root lift.
- Backcomb gently at the crown for hidden support.
- Use a bobby pin discreetly at the part to hold the heavy side in place.
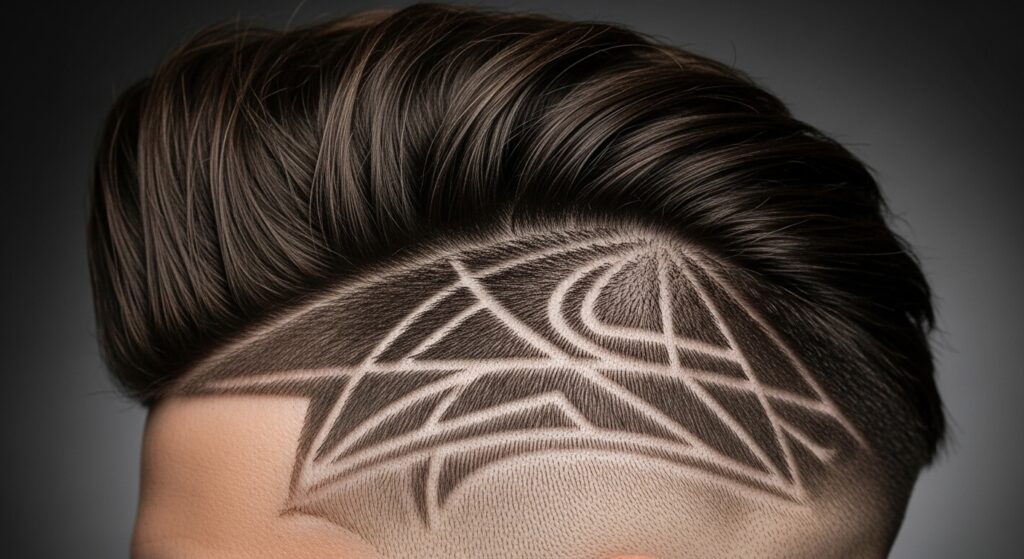
11. The Faux-Hawk with Shaved Designs
Take your edgy confidence to the next level with personalized shaved designs. This could be simple lines, geometric patterns, or even words shaved into the undercut or side sections.
It’s a temporary tattoo for your hair. The design adds an extra layer of artistry and personal expression. Keep the top textured and messy to contrast the sharp, clean shave below.
- Find a stylist experienced in barbering and detailed shave work.
- Take a clear picture of the design you want.
- Maintain the design with at-home trims every 1-2 weeks.
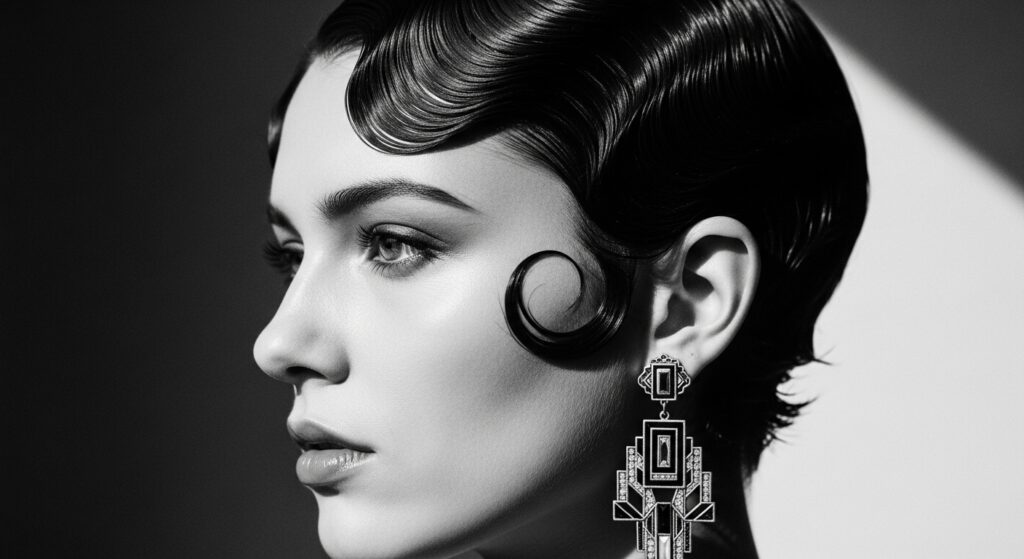
12. The Vintage-Inspired Finger Wave Pixie
Step back into the glamour of the 1920s and 30s with sculpted finger waves. This style is artistic, elegant, and shows incredible skill. It’s texture created through precise molding.
You’ll need a strong setting lotion, wave clips, and patience. It’s a special-occasion style that never fails to impress. It pairs beautifully with bold makeup and statement earrings.
- Apply setting lotion to damp, combed hair.
- Use a rat-tail comb to create the “S”-shaped waves, clipping each one in place.
- Allow hair to dry completely before gently removing the clips.
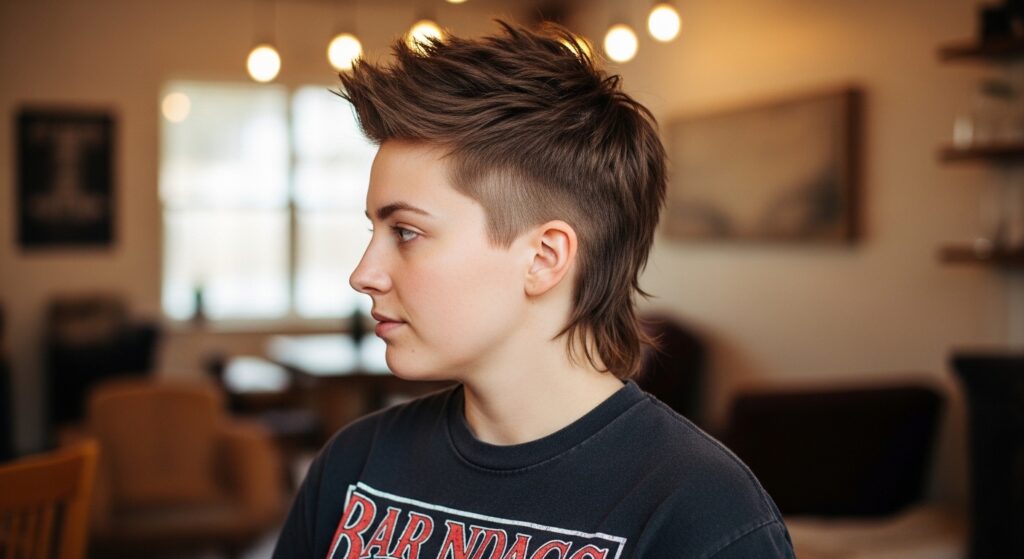
13. The Textured Mullet-Pixie Hybrid
The mullet is back, but make it pixie-sized. This cut is short and textured at the front and sides, with a little extra length and flair at the nape of the neck. It’s playful and rebellious.
The “party in the back” is all about texture—choppy, layered, and fun. It’s a great way to dip your toes into the mullet trend without going full-on 80s. Perfect for the vampire haircut enthusiast.
- Ask for lots of texture and point-cutting on the back section.
- Use a texturizing wax to separate and define the ends in the back.
- Style the front messy and up, away from your face.
14. The Pixie with Wispy Bangs
Bangs can completely transform a pixie, adding softness and mystery. Wispy, piece-y bangs that graze the eyebrows are incredibly flattering and frame the eyes beautifully.
They add a touch of romance and can soften stronger facial features. Keep them light and airy, not heavy or blunt. These bangs work with almost every pixie texture, from curly to straight.
- Use a small, flat iron to curve the bangs under slightly.
- Keep them dry-texturized with a light hairspray on a toothbrush.
- Trim them yourself every 2-3 weeks to maintain the perfect length.
15. The Disconnected, Chunky Pixie
This look plays with clear, disconnected weight. Think of chunky, distinct sections of hair that aren’t meant to blend seamlessly. It’s a very editorial, fashion-forward take on texture.
The “chunks” are created through precise cutting and often emphasized with styling products to keep them separate. It has a deconstructed, artistic feel that’s perfect for making a statement.
- Ask your stylist for a heavily layered, disconnected cut.
- Use a matte pomade and twist small sections to define them.
- Avoid brushing after styling to maintain the separation.
16. The Pixie with a Deep Side Part
Sometimes the simplest detail creates the biggest impact. A deep, severe side part instantly adds polish and structure to a textured pixie. It creates a sleek side and a voluminous side.
This is a great technique for fine hair, as it creates the illusion of thickness and volume. You can pair it with a sleek look or a more textured, messy top. It’s a classic technique that always looks sophisticated.
- While hair is damp, use the tail of a comb to carve out a deep part.
- Blow-dry the hair on the heavier side over a round brush for lift.
- Use a light-hold spray to keep the part defined and flat.
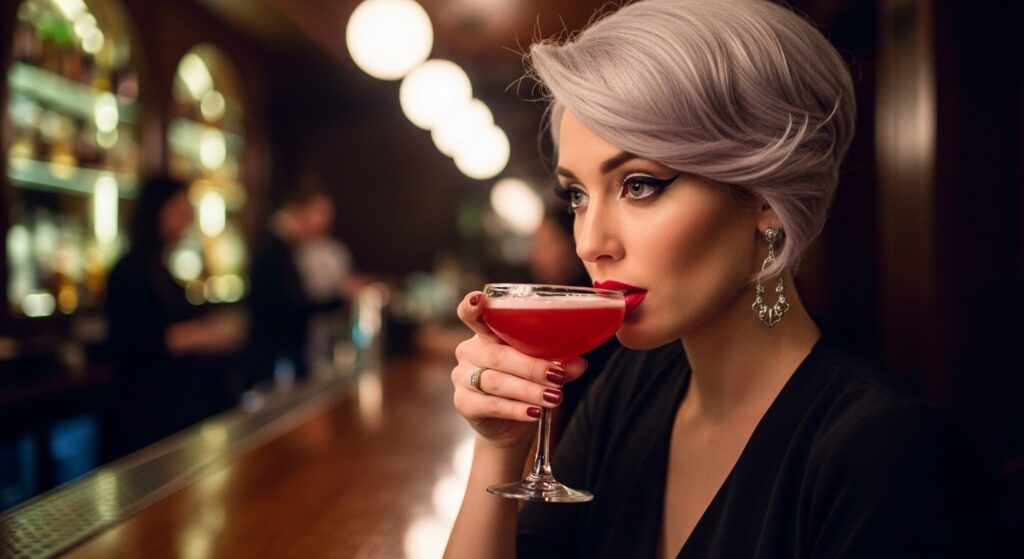
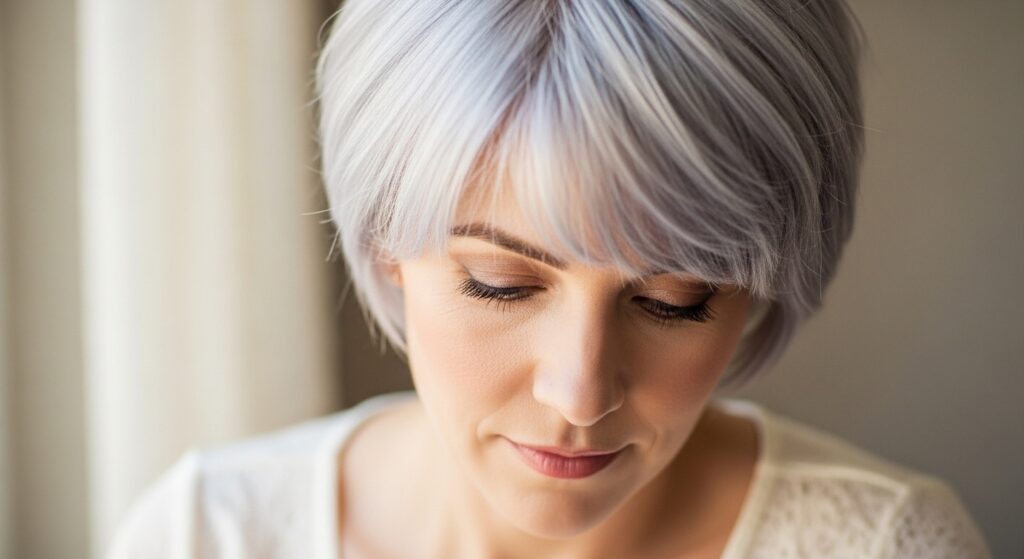
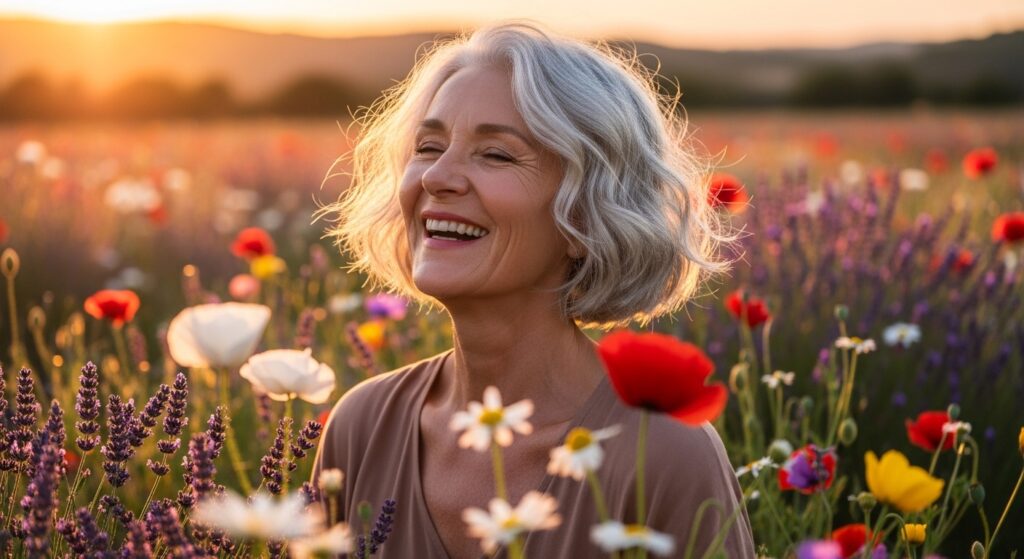
17. The Ethereal, Grown-Out Silver Pixie
Let your natural gray or a gorgeous silver dye job shine with a soft, grown-out texture. This look is all about embracing the natural wave and movement of your hair as it grows.
The different tones of silver and gray create their own inherent, beautiful dimension. Add a curl cream to enhance any wave and fight frizz for a soft, cloud-like finish. It’s wisdom and coolness combined.
- Use a purple shampoo once a week to keep silver tones bright.
- Hydrate with a moisturizing mask weekly to combat dryness.
- Embrace your natural root growth as part of the style.
18. The Punk Rock Shag Pixie
Inject some 70s punk energy into your cut. The shag pixie is all about extreme layers, choppy ends, and a ton of attitude. It’s messy, rebellious, and full of dynamic texture.
This cut often features heavy, textured bangs and layers that stick out in every direction—on purpose. It’s low-maintenance in spirit but high in impact. The ultimate vampire haircut for the punk enthusiast.
- Request a razor cut for the choppiest, most textured result.
- Styling is easy: rub in some matte paste and go.
- The messier it is, the better it looks.
19. The Pixie with Accent Colors
Texture isn’t just about cut—it’s about color dimension too. Add pops of bold color (like hidden rainbows, money pieces, or dipped ends) to make your textured pieces stand out even more.
This is where glitchy glam hair really comes to life. A bright color on the undercut or on the tips of your textured top adds a surprise element that’s uniquely you.
- Start with a bold streak or an underlayer to test the waters.
- Use color-depositing conditioners to maintain vibrancy at home.
- Protect colored hair with heat protectant and UV spray.
[Back of