
How to Do a Silk Wrap for Soft, Smooth, and Straight Hair
Looking for a way to make your straightened natural or relaxed hair feel softer, sleeker, and more polished? The silk wrap technique might be just what you need. While the idea of wrapping your hair in plastic wrap may sound odd at first, it’s a tried-and-true method for locking in moisture and reducing frizz—especially after heating straight hair. Whether you’ve just used a flat iron, blowout, or roller set, a silk wrap can boost the longevity and feel of your style.
Here’s how to master the silk wrap technique at home.
What Is a Silk Wrap?
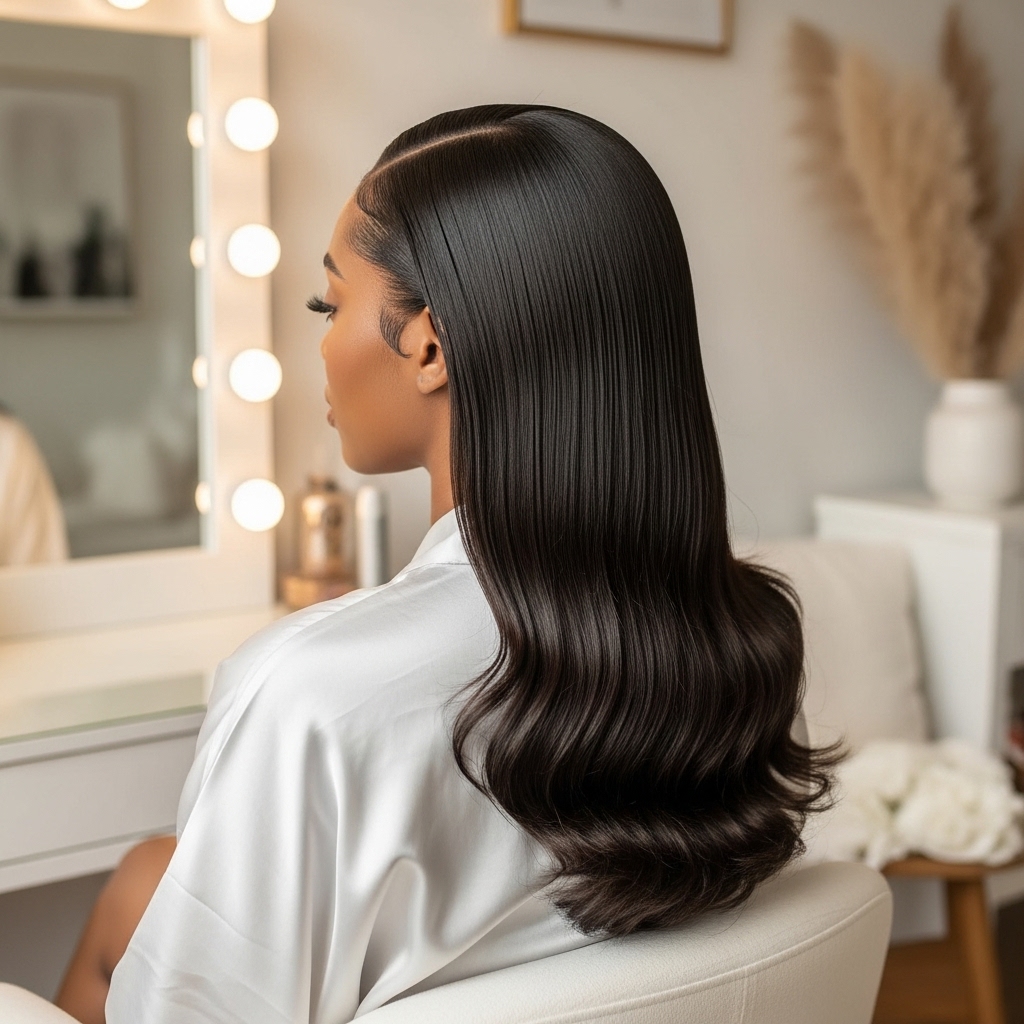
A silk wrap is a heat-setting method used on straightened hair to create a soft, smooth, and silky finish. After straightening, your hair is wrapped around your head, covered in plastic wrap, and then lightly heated. The result? A glossy, frizz-free finish that feels like salon-quality straightening.
Step 1: Prep Your Hair for Wrapping
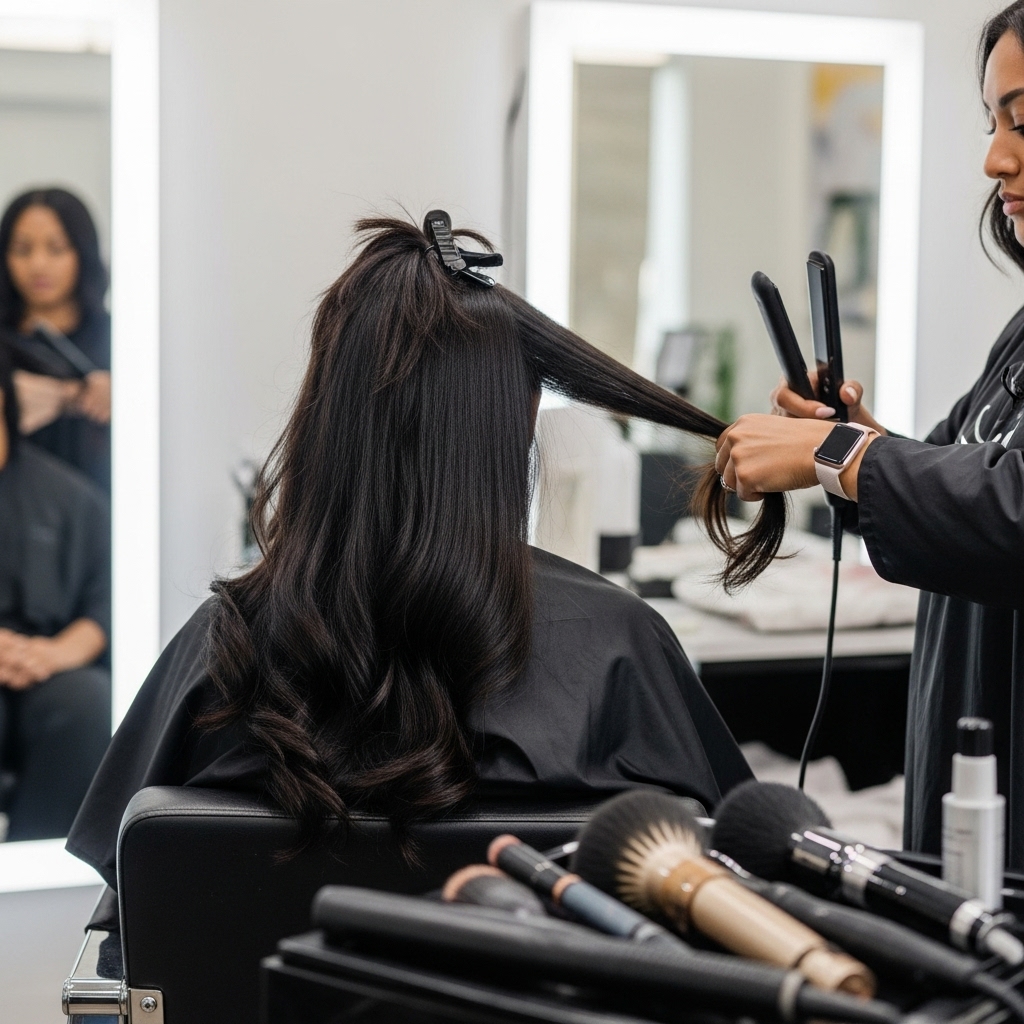
Start with Straightened Hair
Your hair needs to be fully straightened before beginning. Use your preferred method—flat iron, blowout, or roller set. The silk wrap enhances your current straight style, so there’s no need to change what already works for you.
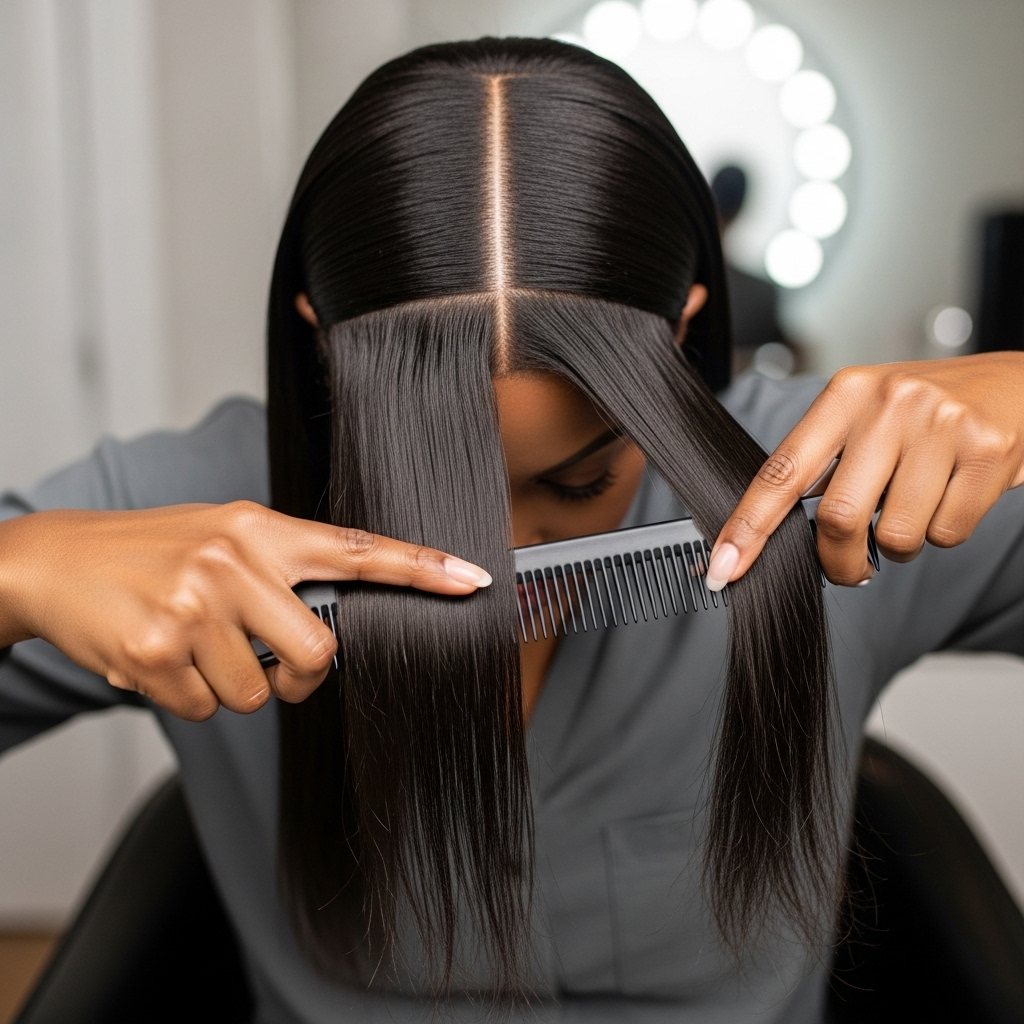
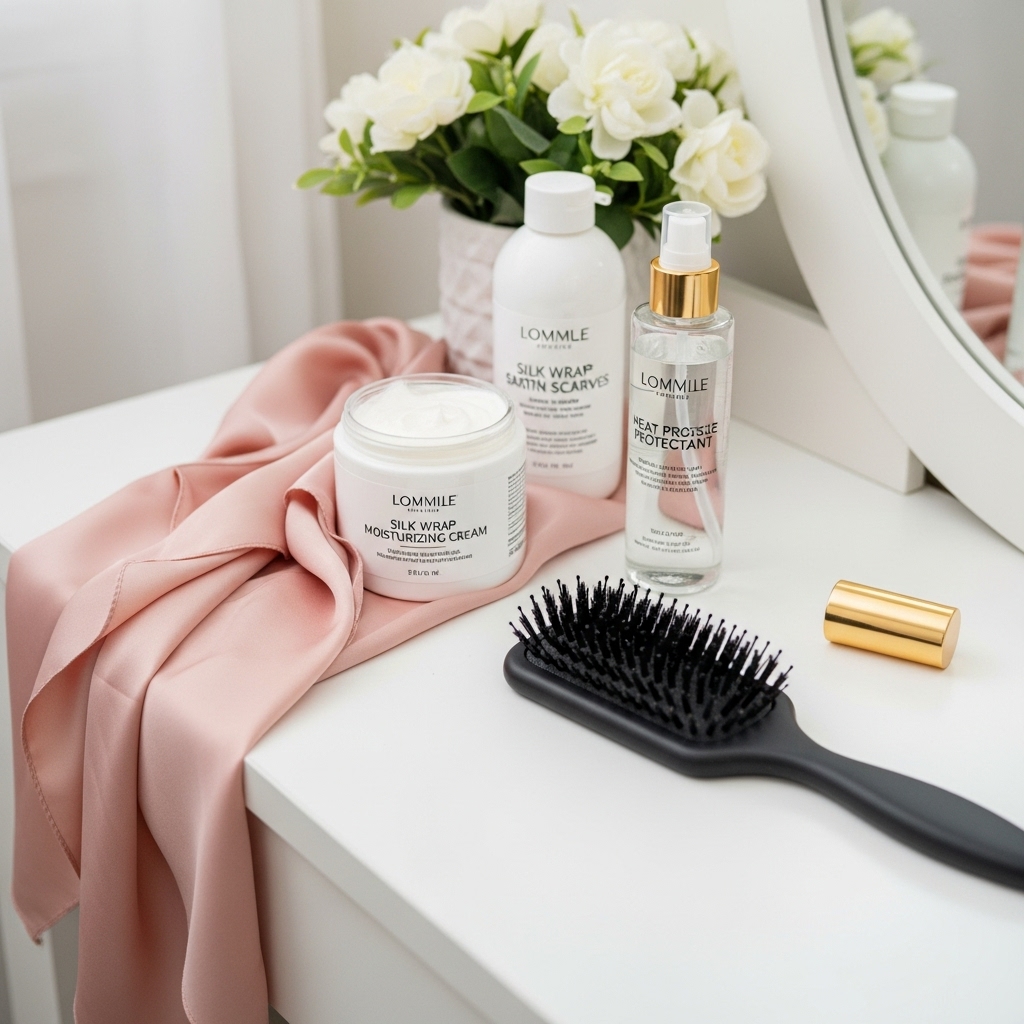
Apply a Lightweight Moisturizer
Use a dime-sized amount of a lightweight, non-greasy moisturizer. Focus on your ends and mid-lengths while avoiding the roots to prevent heaviness. Rub the product between your palms to warm and emulsify it, then gently distribute it throughout your hair. Make sure your hair is dry before applying.
Step 2: Create the Hair Wrap
Flip and Section
Lean forward and gently flip your hair downward. Use a comb to create a center part if needed to help direct the hair. Then, brush your hair smoothly around your head in a circular motion.
Wrap and Clip
Begin brushing your hair around your head in one continuous direction (clockwise or counter-clockwise), securing sections with flat clips or bobby pins as you go. Use as many clips as needed to ensure the hair lies flat and secure without creasing.
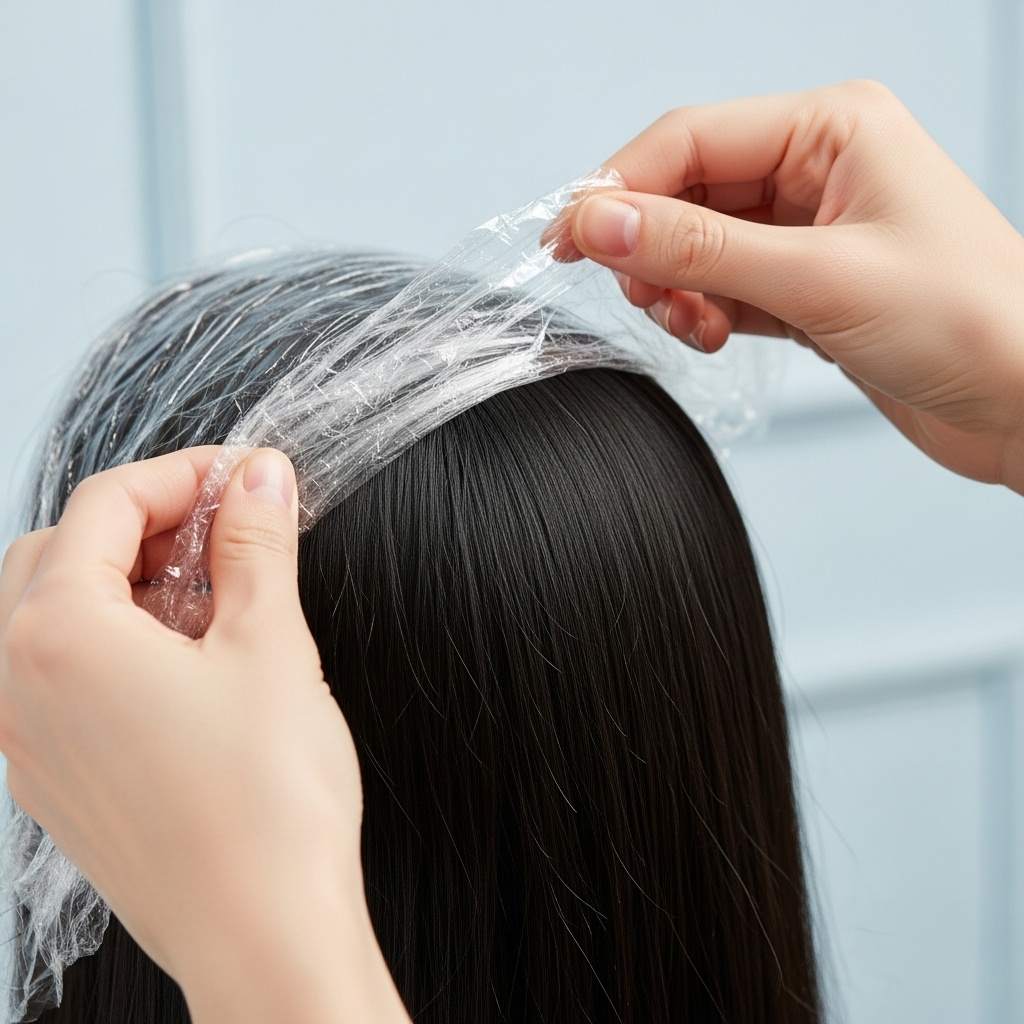
Step 3: Apply the Plastic Wrap
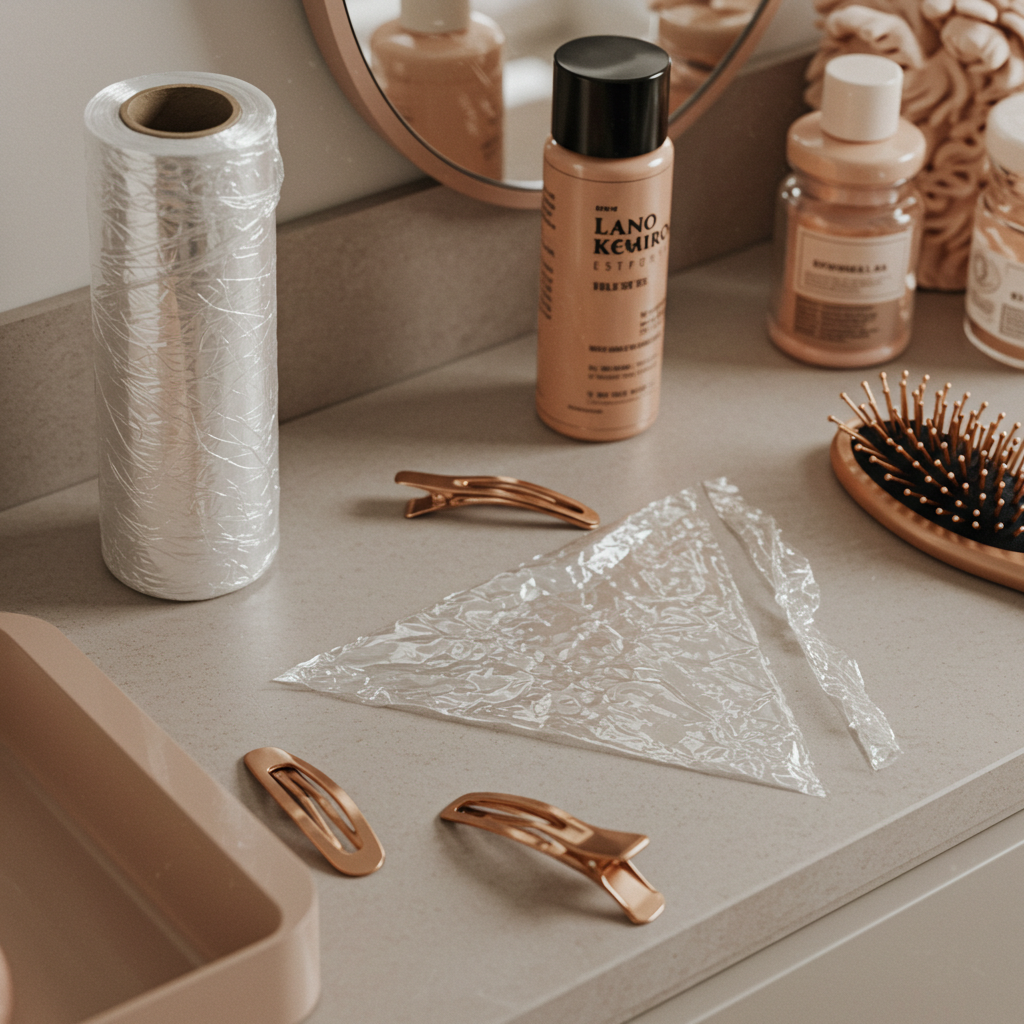
Start with a Triangle Fold
Take the end of your plastic wrap and fold it into a triangle to give yourself a starting point. This helps with accuracy and prevents the wrap from slipping.
Begin Wrapping
Hold the triangle at the back of your head and begin wrapping the plastic around your head, making sure to cover your entire hairline and forehead. Wrap snugly but not tightly—you want the wrap to stay in place without cutting off circulation.
Add Layers
Continue wrapping, working your way up the head in overlapping layers until all hair is covered. Check the crown of your head to ensure no strands are left out.
Secure the Plastic
Once your hair is fully covered, tear or cut the plastic wrap from the roll and press it down securely onto itself to seal it.
Step 4: Apply Heat to Set the Wrap

Use a Hooded Dryer or Blow Dryer
Sit under a hooded dryer on medium to high heat for 10–20 minutes. This sets the wrap without overheating your hair. Avoid using heat above 400°F (204°C) to prevent damage. If you don’t have a hooded dryer, use a handheld blow dryer on high heat, moving it in a circular motion around your head for about 15 minutes.
Step 5: Remove and Style
Unwrap and Unclip
Gently peel off the plastic wrap, starting from the crown or forehead. Remove any clips carefully, especially if they are metal and still warm.
Brush It Out
Use a paddle or bristle brush to gently comb out the wrap. You’ll notice how silky, smooth, and light your hair feels—like it’s fresh from the salon. Brush through each section to restore volume and movement.
How Long Does a Silk Wrap Last?
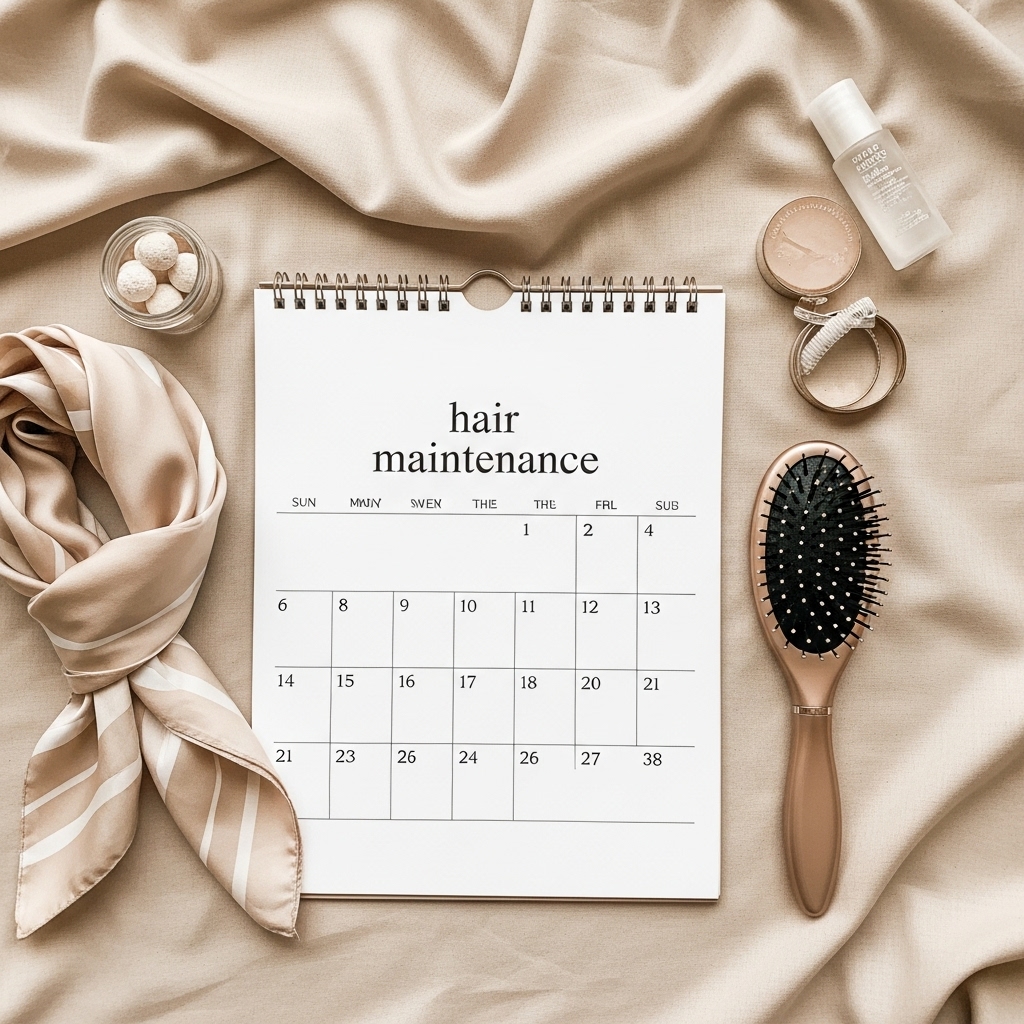
A properly done silk wrap can last up to two weeks with minimal maintenance. To extend the life of your style:
-
Wrap your hair in a silk or satin scarf before sleeping.
-
Avoid water or sweat—use a wrap when showering or working out.
-
Avoid excessive brushing or restyling.
If your hair starts to feel dry or lose its sheen, you can repeat the silk wrap process every couple of weeks. Just be sure to give your hair a break if it shows signs of heat fatigue or dryness.
Final Tips for the Perfect Silk Wrap
-
Choose the right products: Lightweight moisturizers and heat protectants are essential for softness and protection.
-
Use flat clips: They help avoid creases that can disrupt the smoothness of your wrap.
-
Don’t skip the heat: The plastic wrap holds in moisture, but the light heat is what seals the look.
-
Avoid daily wrapping: Too much heat or wrapping can lead to breakage. Every two weeks is a healthy interval.
Is a Silk Wrap Right for You?

Silk wraps are ideal for anyone with natural or relaxed hair looking to prolong straight styles while maintaining softness and shine. It’s a gentle alternative to daily heat styling and can easily be done at home with the right tools and patience.
Whether you’re getting ready for an event or just want your straightened hair to last longer, the silk wrap method is a smart, low-maintenance option that keeps your hair looking and feeling amazing.
Explore more hairstyles posts here