Evolve 10 Triple Strand Twists for Protective Styling Beginners
Hey friend. Let’s talk about protective styling. It sounds fancy, but it’s really just about giving your hair a break. If you’re new to this, the world of braids and twists can feel overwhelming. Where do you even start?
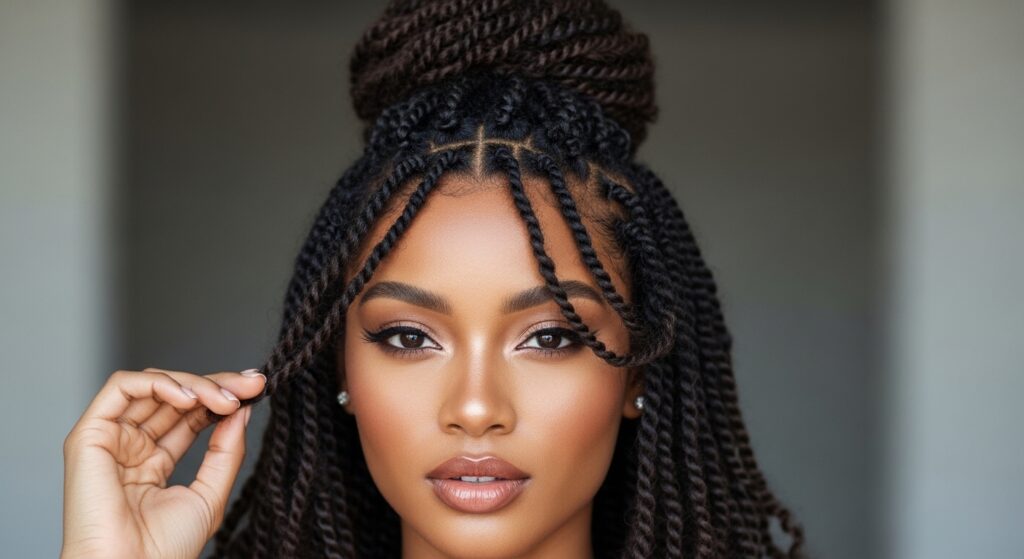
I was there too. I wanted something simple, effective, and actually cute enough to wear out. That’s when I found the magic of triple strand twists. They’re the perfect beginner project.
They’re less bulky than box braids but more defined than two-strand twists. And the best part? You can evolve this one style into so many different looks. Today, I’m walking you through 10 easy ways to wear them, from day one to day thirty. Let’s get your hair the rest it deserves, without sacrificing style.
Why Triple Strand Twists Are a Beginner’s Best Friend
If you can braid, you can do this. The triple strand twist is just like a basic braid, but instead of crossing strands over, you simply twist them together. This creates a beautiful, rope-like effect that lays flatter than a traditional braid.
It’s forgiving for beginners because it doesn’t have to be perfect to look good. The twisted texture hides small inconsistencies. Plus, it’s faster than you think. Once you get the rhythm, your hands will fly.
- Gentle on Edges: Less tension than feed-in braids.
- Versatile Base: A perfect canvas for all the styles below.
- Low-Management: Once they’re in, you’re basically done.
What You Need Before You Start Twisting
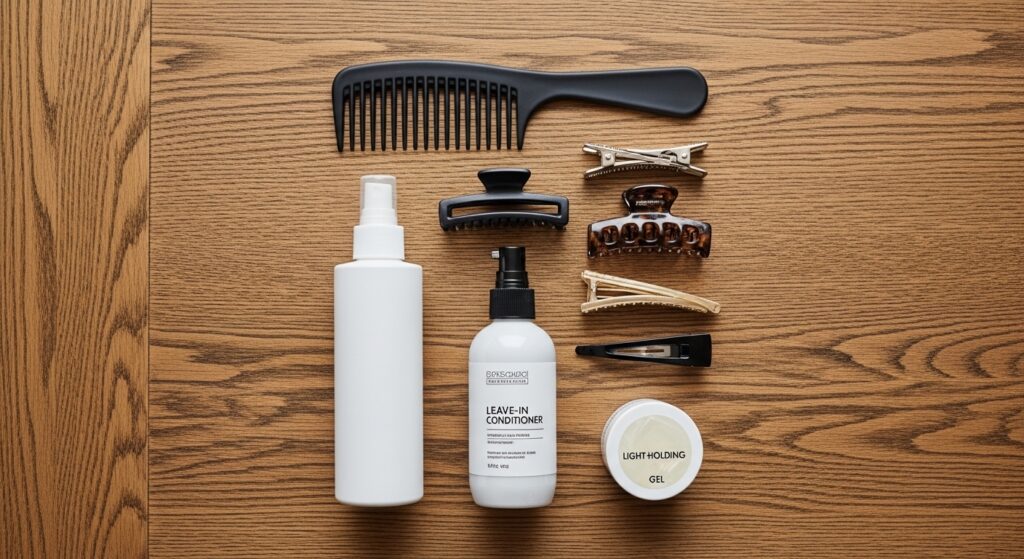
You don’t need a salon full of products. Keeping it simple is key, especially when you’re just starting out. The goal is hydrated, tangle-free hair that will hold the style without buildup or stickiness.
Start with freshly washed and deeply conditioned hair. This is non-negotiable. You want to lock in that moisture for the long haul. Section your hair into four or six large parts with clips to keep things organized.
- Hydration is Key: A creamy leave-in conditioner.
- Light Hold: A defining gel or twisting butter.
- Tools: Wide-tooth comb, clips, spray bottle with water.
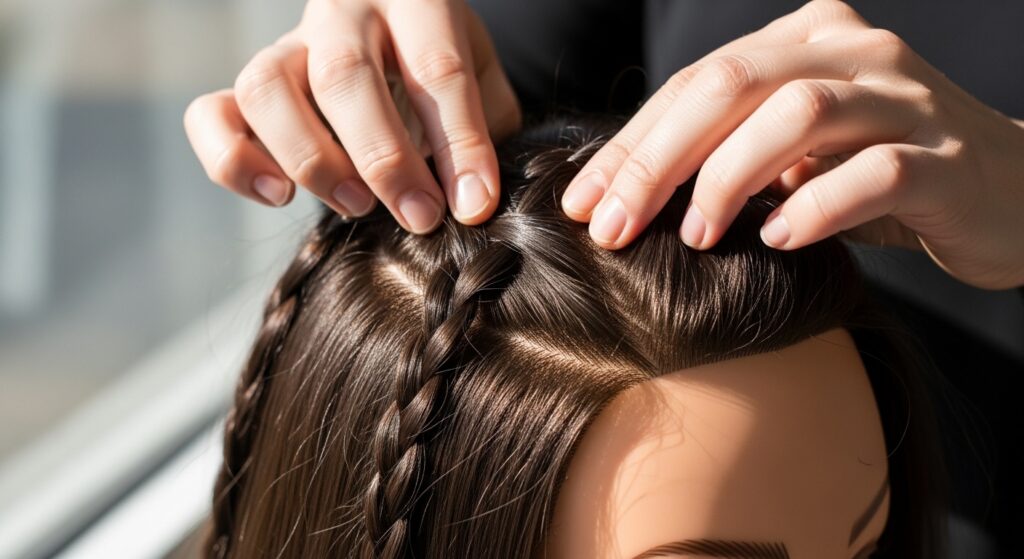
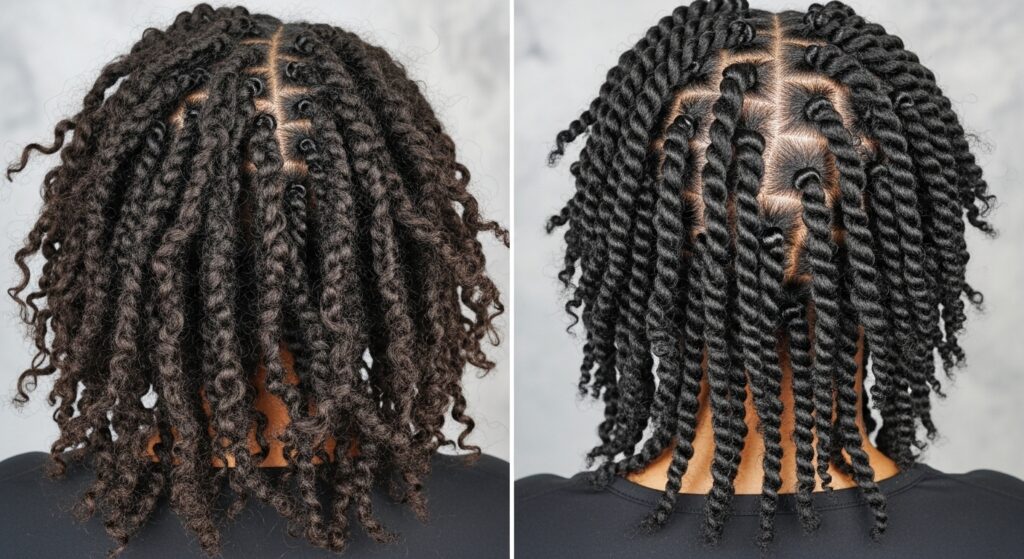
The Basic Triple Strand Twist: Step-by-Step
Let’s break down the actual motion. Take a small section—smaller than you’d use for a braid. Divide it into three equal strands. Now, instead of crossing left over middle, you’re going to twist them all in one direction.
Hold the strands taut. Twist the right strand clockwise around the center strand. Then, twist the left strand clockwise around the new center strand. Repeat this process all the way down to the ends.
- Divide into three even strands.
- Twist right strand around center.
- Twist left strand around the new center.
- Repeat to the ends and secure with a small band.
Look 1: The Fresh Twist-Out (Day 3)
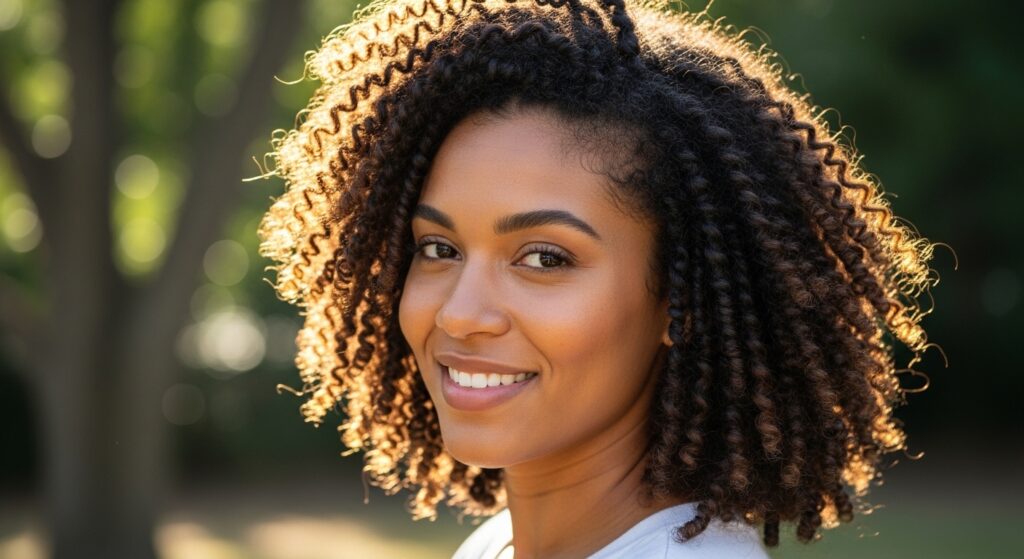
After a few days, your twists will have settled and developed amazing texture. This is the perfect time to take them down for a gorgeous twist-out. It gives you big, bouncy, defined curls without any heat.
Gently unravel each twist from the bottom up. Use your fingers to separate the curls for more volume. Fluff your roots gently. You’ll be shocked at the full, healthy head of hair you’ve created. It’s a classic for a reason.
Look 2: The Half-Up, Half-Down Romantic Vibe
Got your twist-out? Let’s dress it up. Take the top section of your hair, from about your temples back. Gather it loosely at the crown of your head. Don’t pull it tight—we want softness.
Twist that section once or twice and secure it with a cute claw clip or scrunchie. Let the rest of your hair flow down. Pull out a few tiny face-framing pieces. Instant romantic goth hairstyles elegance, but make it protective.
Look 3: The Sleek Low Bun for Quiet Luxury
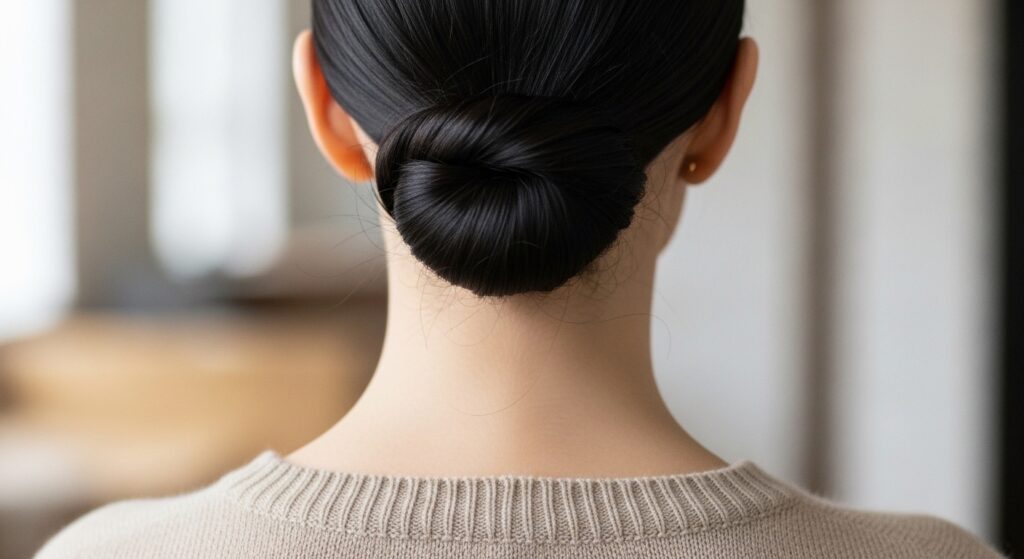
This is your go-to for looking polished in two minutes. Gather all your twists into a low ponytail at your nape. Twist the length of the ponytail itself and wrap it around the base to form a bun.
Secure with bobby pins. Now, take a soft-bristle brush and a tiny bit of edge control to smooth your baby hairs and front edges. This look screams quiet luxury bob energy, but with your natural texture.
Look 4: The Accessorized Headscarf Moment
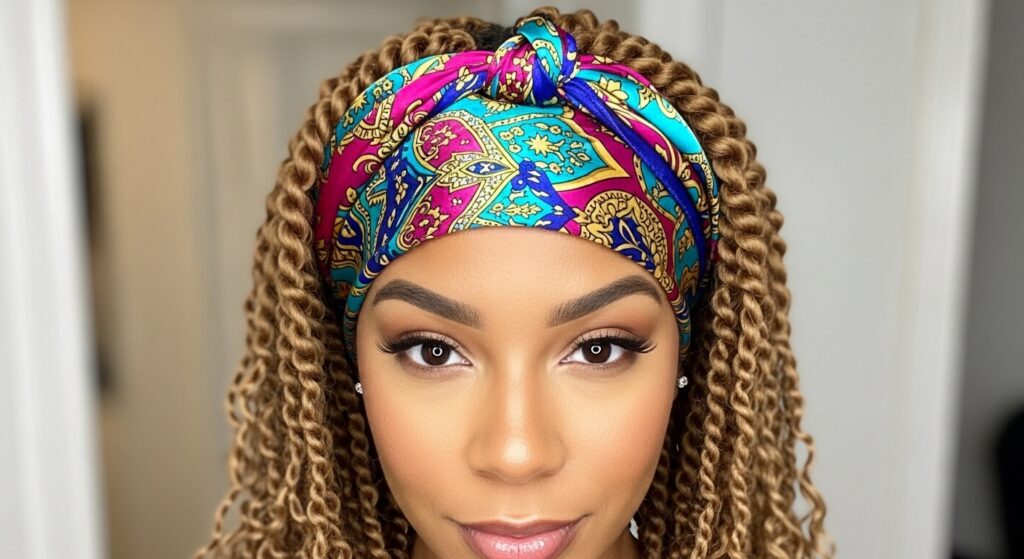
On a day when you don’t feel like fussing, a scarf is your savior. Fold a long silk scarf into a band. Tie it around your head, covering your hairline, and knot it at the nape of your neck.
You can also tuck the ends. This protects your twists from friction and adds a major pop of color or pattern to your outfit. It’s practical, stylish, and takes 30 seconds.
Look 5: The Side-Swept Goddess Braids
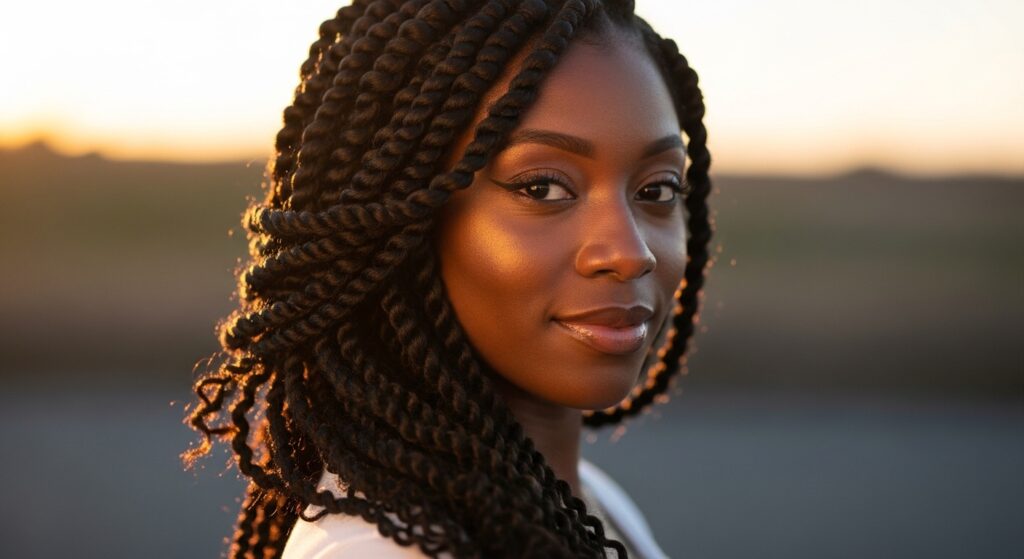
This is effortlessly chic. Gather all your twists to one side of your body. You can simply let them hang loose over your shoulder for a casual look.
For more detail, take three of the twists near your face and loosely braid them together, incorporating them into the side-swept style. It frames your face beautifully and feels very ethereal.
Look 6: The Pineapple Updo for Volume
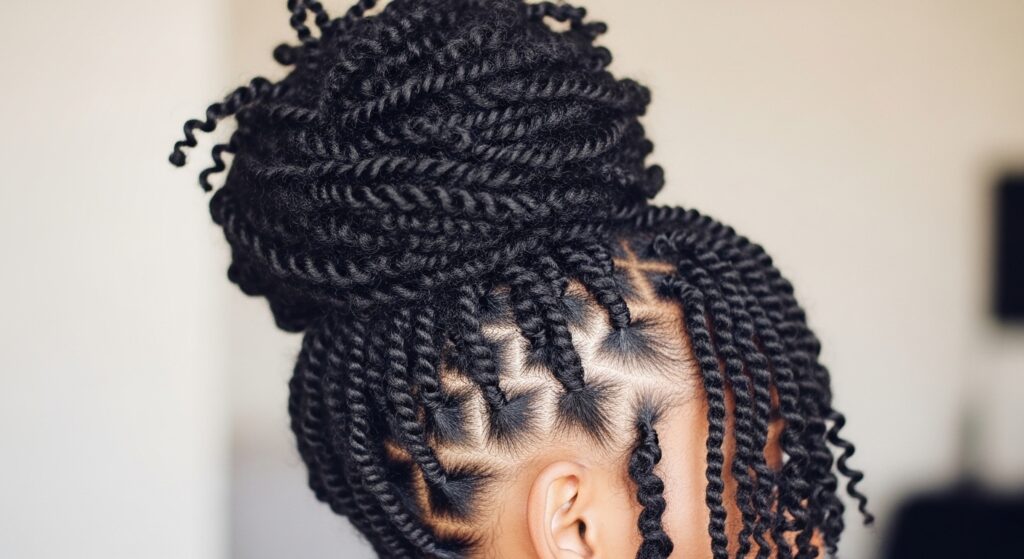
Perfect for second or third-day twist-outs when you want mega volume. Gently gather all your hair at the very top of your forehead, as if you’re making a super high ponytail.
Use a coiled hair tie (it doesn’t pull) to secure it loosely. Don’t pull the ends through; let the ends puff out. Fluff the front for a halo of volume. This preserves your curls while you sleep, too.
Look 7: The Crown Braid Elegance
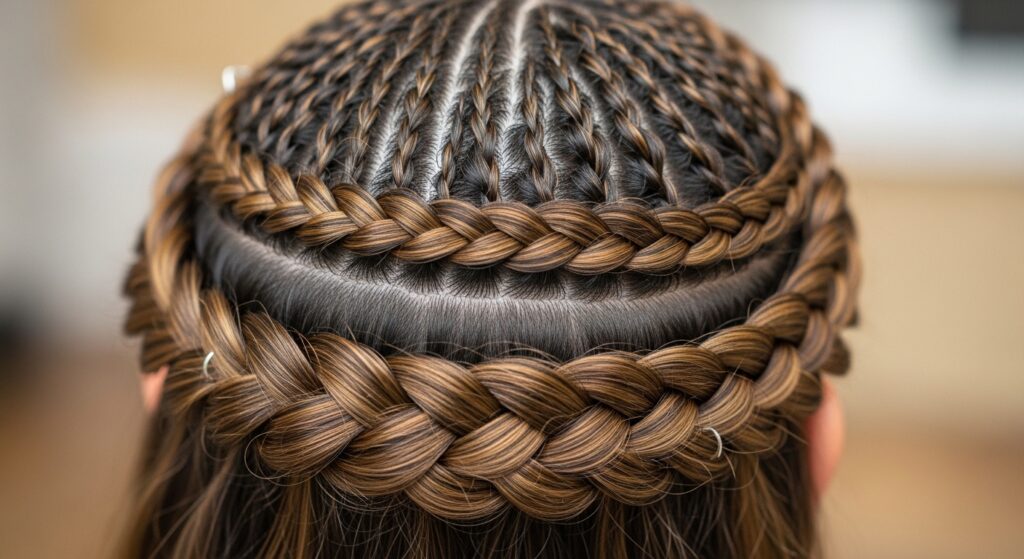
This looks complicated but is simple with pre-twisted hair. Split your twists into two equal sections. Take one section and begin loosely wrapping it around your head like a crown, pinning as you go.
Repeat with the second section, starting from the opposite side and filling in the gaps. Tuck the ends and secure with bobby pins. You’ve just created an elegant updo that lasts for days.
Look 8: The Space Buns Playfulness
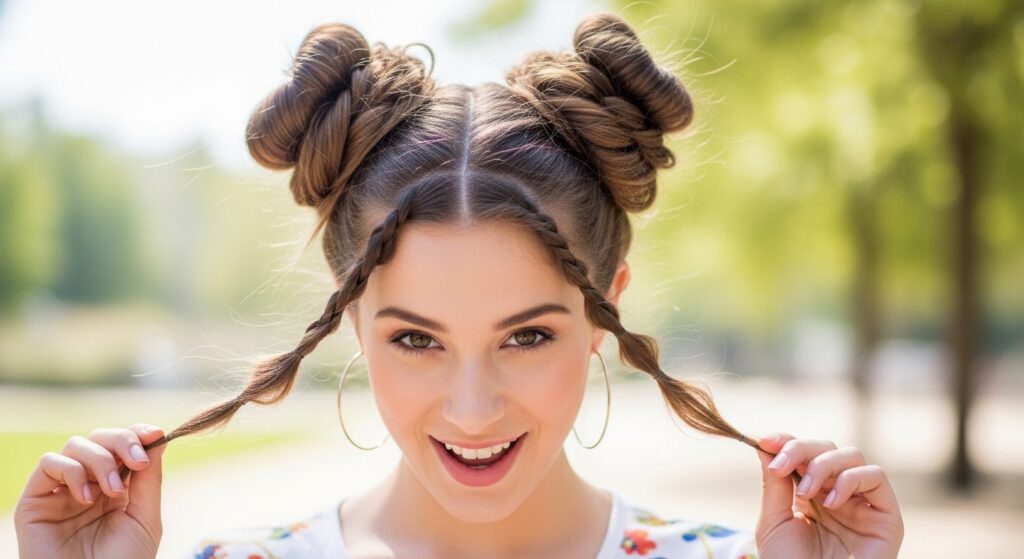
Channel some fun! Part your hair down the middle. Gather all the twists on one side into a high ponytail and coil it into a bun. Repeat on the other side.
The texture of the twists makes these buns look full and interesting instantly. It’s a playful take that works for a workout or a concert, fitting right in with playful 2026 hairstyles trends.
Look 9: The Elegant Twisted Ponytail
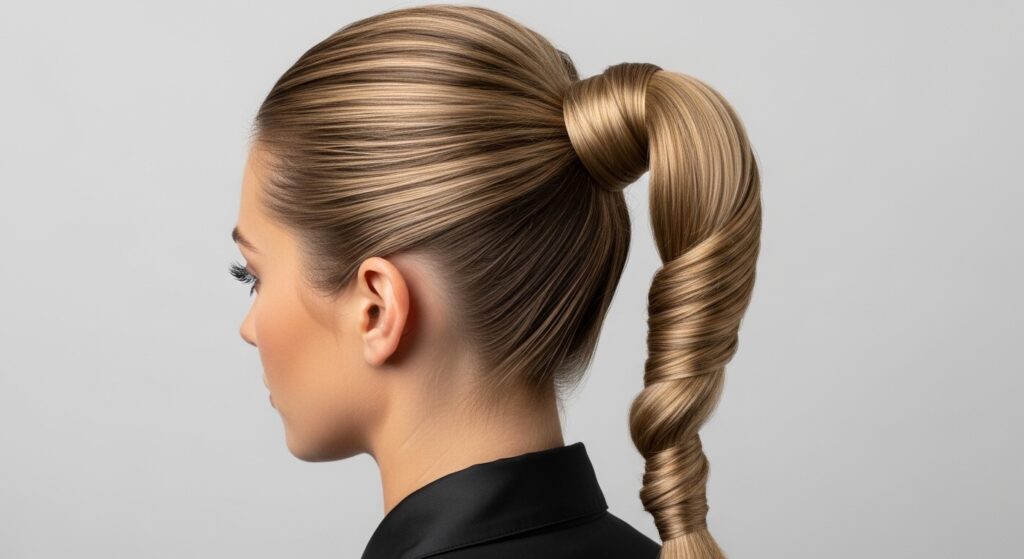
Elevate a basic ponytail. Gather your twists into your desired ponytail height. Secure with a hair tie. Now, take one loose twist from underneath the ponytail and wrap it around the base to conceal the band.
Secure the end with a bobby pin underneath. This adds a detail that makes it look like you tried way harder than you did. It’s a staple of old money hair aesthetics—polished and understated.
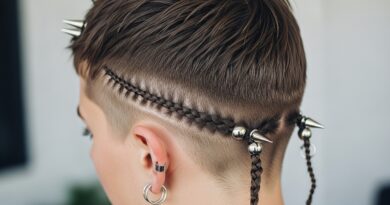
Look 10: The Edgy Asymmetrical Look
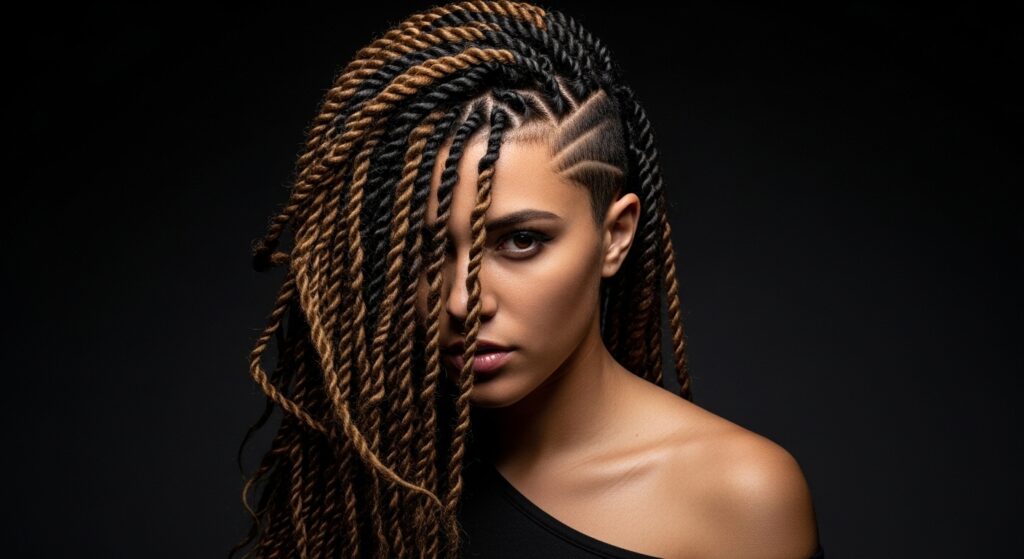
Create instant drama with a deep side part. Sweep all your twists over one shoulder. Let them cascade down.
For an extra edge, you can pin the hair on the sparse side very flat against your head. This asymmetrical look has hints of the asymmetrical lob and even the vampire haircut vibe—sharp, cool, and modern.
How to Blend with Other 2026 Trends
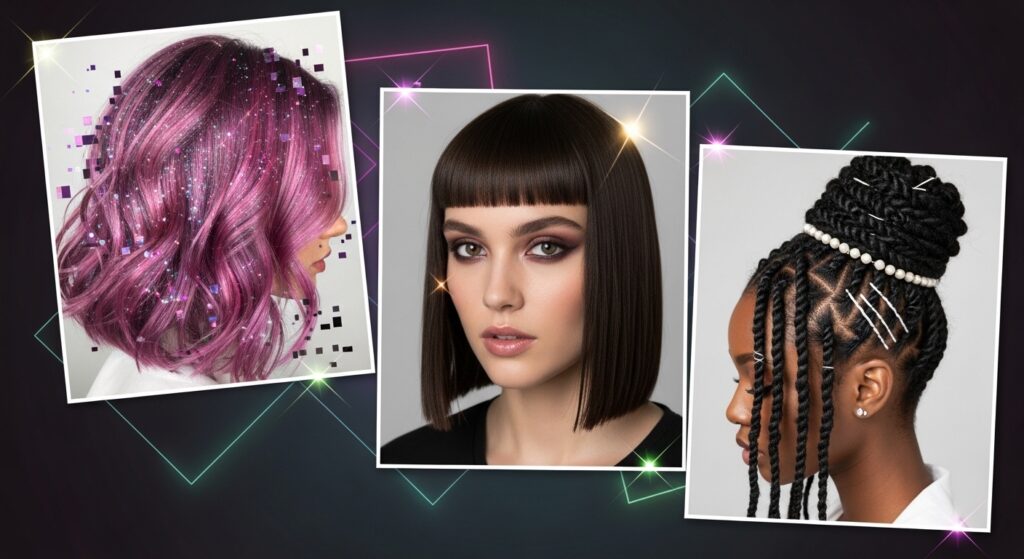
Your twists are more versatile than you think. See the blunt, fringe-heavy hime cut? You can create a similar effect by pinning your front twists into blunt bangs.
The glitchy glam hair trend is all about intentional, artistic pieces. Add a few bright colored faux locs or yarn into a couple of your twists for a pop of unexpected, textured color.
Nighttime Routine to Make Your Style Last
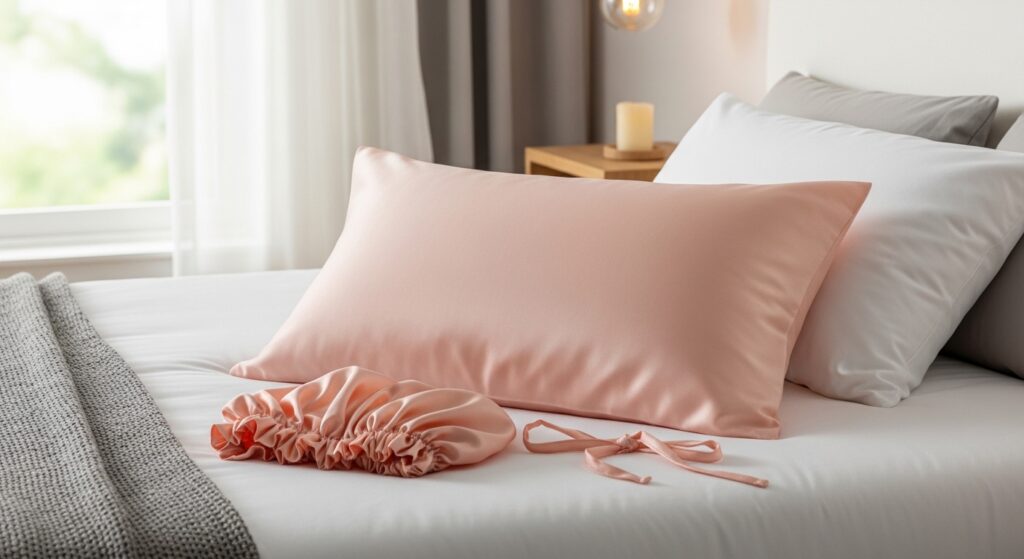
Protection doesn’t stop when you finish styling. How you sleep determines how long your style lasts. Always, always protect your twists or twist-out at night.
A silk or satin bonnet is the best investment. If you hate bonnets, a silk pillowcase is a great alternative. This reduces friction, prevents frizz, and keeps your style intact for days longer.
- Always Wear a Bonnet: Non-negotiable for longevity.
- Refresh in the AM: A light spray of water and oil to revive.
- Pineapple It: For twist-outs, use a loose high pony.
Washing Your Hair While in Twists
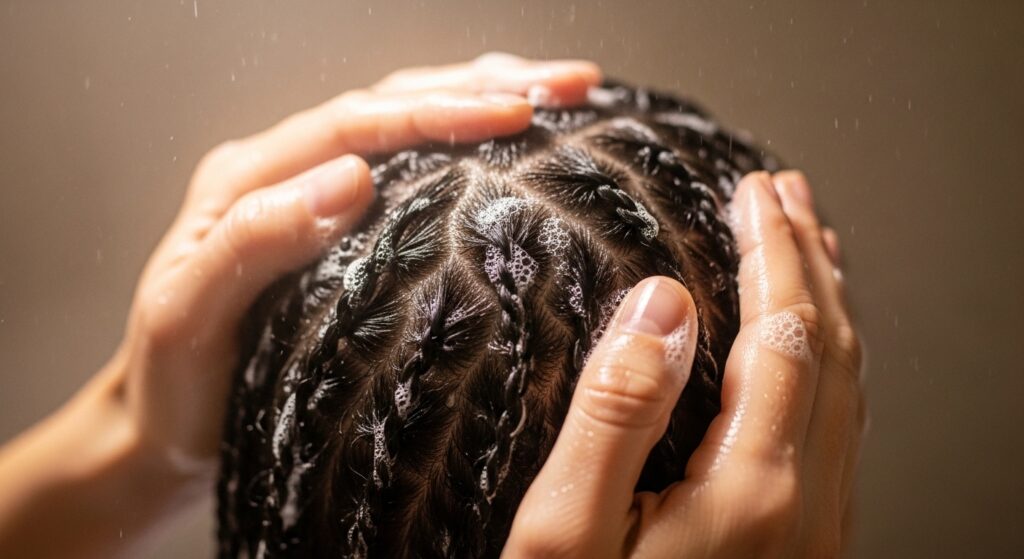
Yes, you can and should wash your scalp while your twists are in! This is crucial for health. Dilute your shampoo with water in an applicator bottle.
Part your twists and apply the shampoo directly to your scalp. Gently massage with your fingertips—don’t rub the twists themselves. Rinse thoroughly. Your twists will frizz a little, but they’ll reform as they dry.
When to Take Your Twists Down
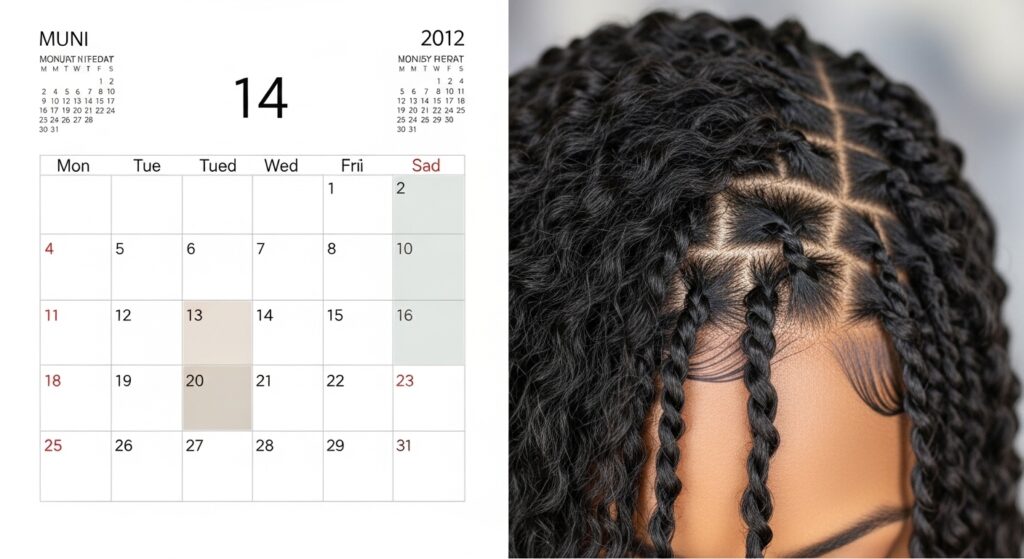
A good rule of thumb is 3 to 4 weeks. Listen to your hair. If you see significant build-up at the roots, or if your new growth is causing too much tension, it’s time.
Gently take them down with lots of slip from a conditioner or oil. Detangle each section as you go. Follow with a clarifying wash and a deep conditioning treatment. Your hair will thank you.
Common Beginner Mistakes to Avoid
We all make them. The biggest one is taking sections that are too big. Smaller sections give better definition and last longer. Another is twisting soaking wet hair without product—this can lead to mildew.
Also, avoid twisting too tightly at the root. Your style should be comfortable from day one. Pain is not a sign of it working. Be gentle on your edges.
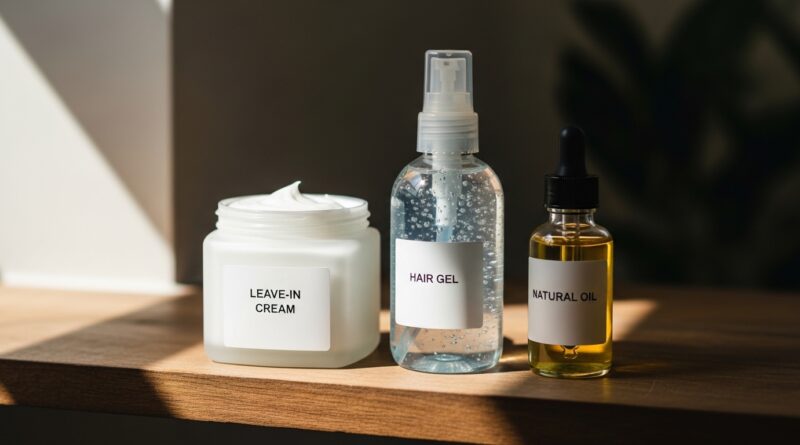
My Favorite Products for the Job
I keep my product lineup simple. For moisture, I love a rich, creamy leave-in conditioner. For hold without crunch, a light flaxseed gel is my hero.
And to seal it all in and add shine, a few drops of pure jojoba or argan oil does the trick. You don’t need the whole store. Find a moisturizer, a holder, and a sealer that work for you.
Answering Your Top 3 Questions
“How long does this take?” The first time, maybe 2-3 hours. But you’ll get faster! “Why is it so frizzy?” Some frizz is natural texture. Too much means you may need more product or damp hair.
“Should I re-twist the roots?” You can, but it can cause tension. I prefer to let new growth be and just style around it. It’s healthier for your hairline.
Your Hair, Your Rules
The most important thing to remember is that this is your journey. What works for my hair might need tweaking for yours. That’s okay. The goal is healthy hair and a style that makes you feel confident.
Don’t compare your day-one twists to someone’s on social media. Be patient with your hands and your hair. You’re learning a new skill, and that’s something to be proud of.
And there you have it! Ten fresh ways to wear one simple style. The beauty of protective styling is in its flexibility—it’s a tool for health that also lets you express yourself. Whether you’re feeling the quiet luxury of a low bun or the playful edge of space buns, your twists can get you there.
I hope this takes the intimidation out of starting. Your hair deserves this kind of love and attention. Remember, every expert was once a beginner who just kept trying.
Save this post to Pinterest so you can easily come back to these ideas whenever you need a style refresh. And I’d love to know—which look are you trying first? Tell me in the comments below!
Happy twisting, friend.
Hailey & Team