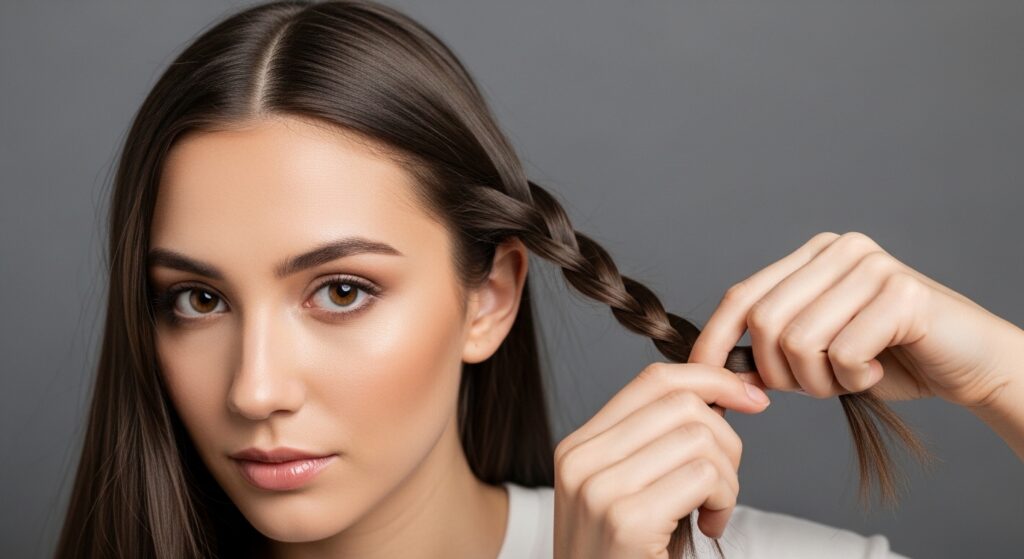
Magic 28 Infinity Symbol Braids Looping Endlessly with Precision
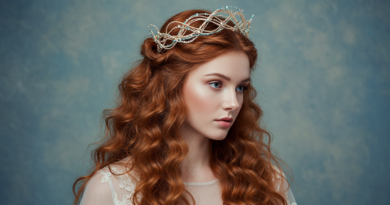
Okay, let’s be real. We’ve all seen those mind-bending, impossibly perfect braids on Pinterest and thought, “How on earth…?” I’m talking about the ones that look like a piece of living art, looping and twisting in a way that seems to defy gravity. It’s enough to make you want to grab your shears and try a completely different vibe, like a simple quiet luxury bob instead.
But what if I told you that masterpiece braid has a name and a (somewhat) simple secret? It’s called the Infinity Symbol Braid, and it’s the kind of detailed, precision work that turns heads. It feels like it belongs in the conversation with 2026 hairstyles we’re starting to see—intricate, personal, and deeply artistic.
This isn’t a rushed, messy bun kind of tutorial. This is for when you want to create something stunning, whether for a special event or just because you deserve a dose of beautiful magic. I’m breaking it all down, step-by-step, so you can actually do it. Let’s get into it.
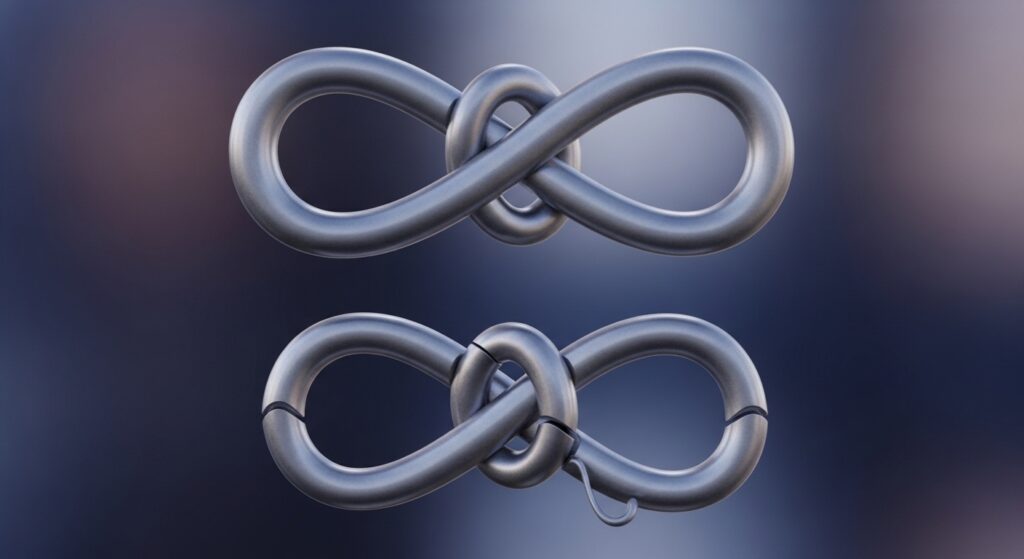
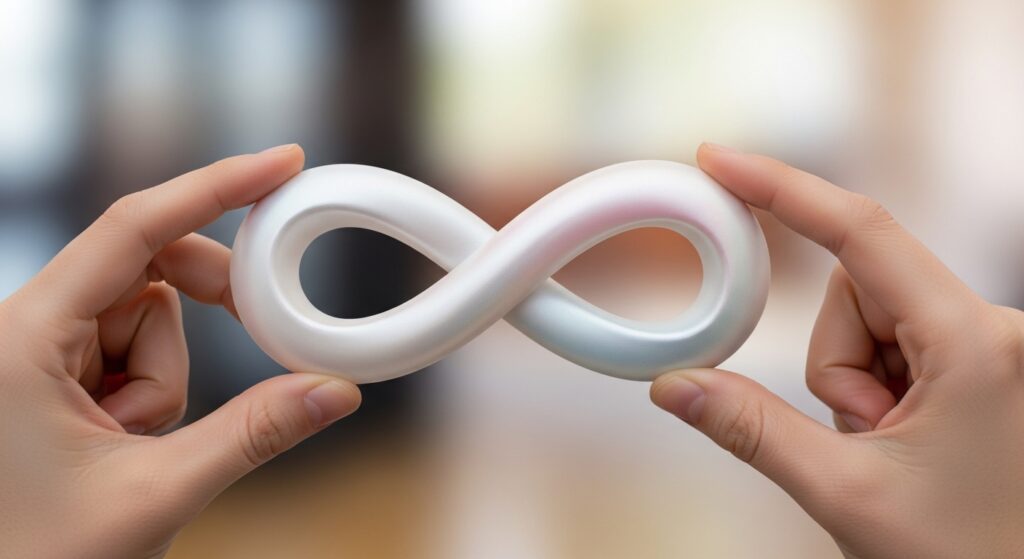
What Are Infinity Symbol Braids?
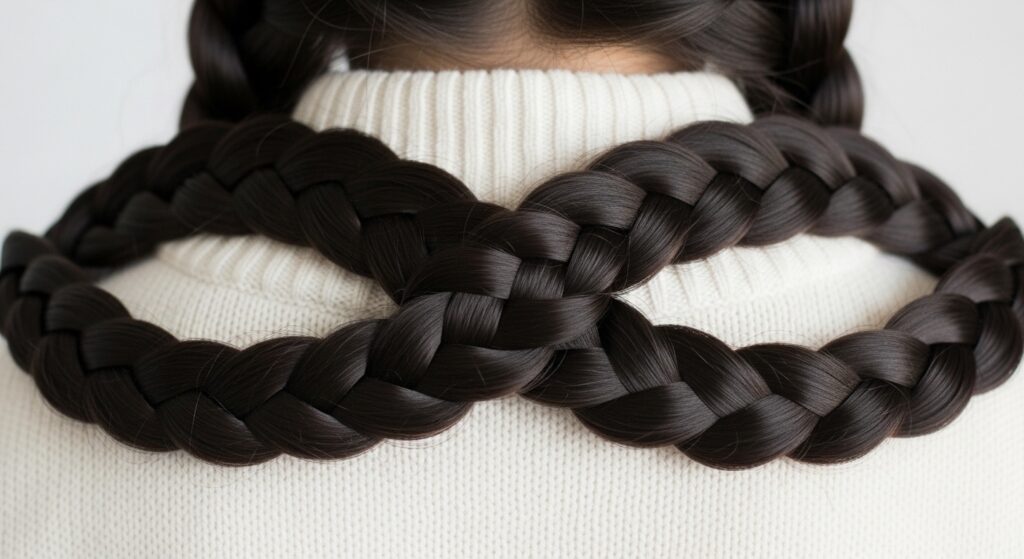
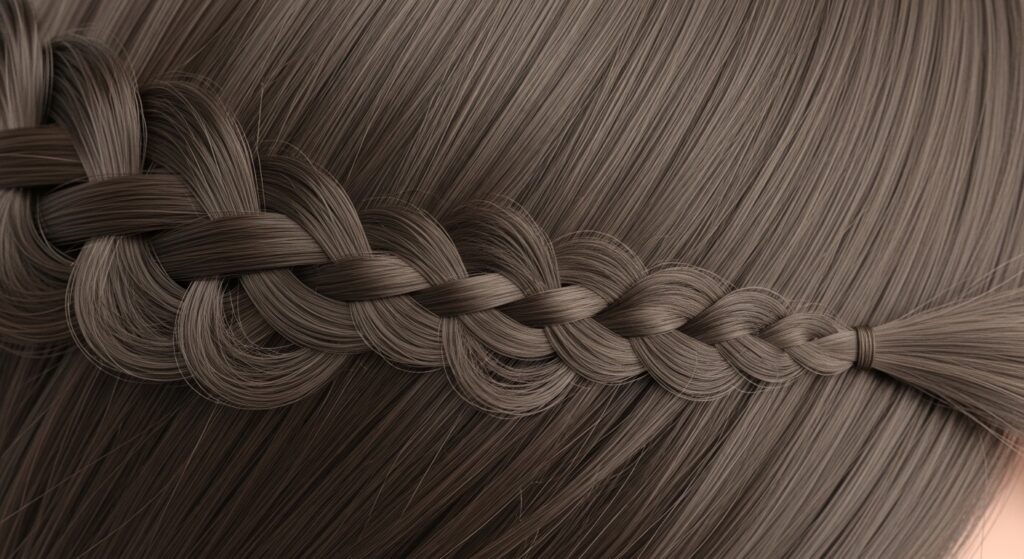
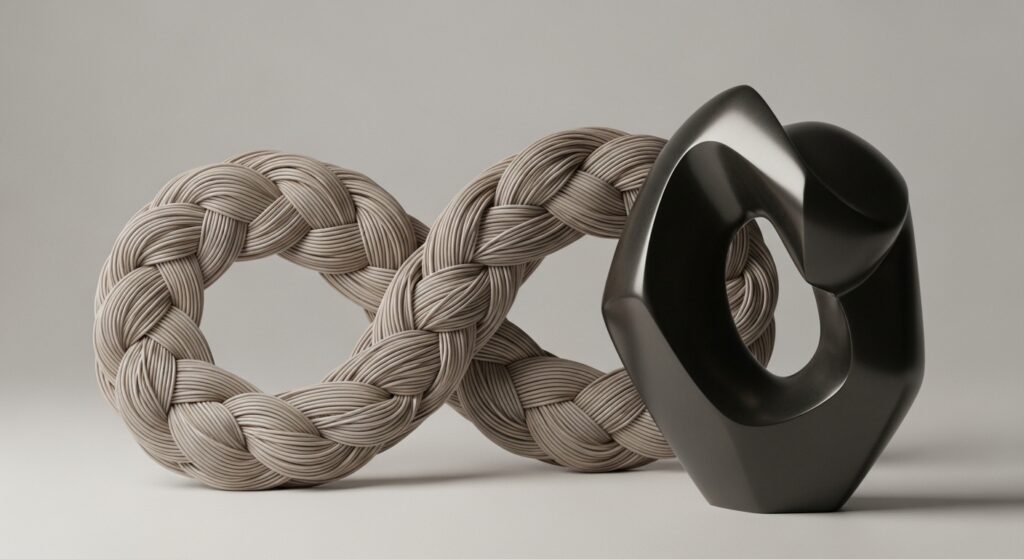
Think of them as the elegant cousin of a basic braid. Instead of a straightforward plait, the hair is looped and woven to create a continuous, flowing infinity symbol pattern along the length of the braid. It creates an illusion of hair looping endlessly into itself.
The result is a 3D, textured look that’s full of movement and sophistication. It’s less about wild volume and more about meticulous, beautiful detail. It’s a style that bridges gaps—it can feel romantic, a bit editorial, and utterly unique all at once.
Why This Braid is Everywhere Now
This braid perfectly captures the current shift in hair. We’re moving away from overly done and toward intentional, skill-focused styles. It’s not a glitchy glam hair moment, but it has that same “how did they do that?” appeal.
It fits the old money hair aesthetic—it looks expensive and time-consuming because it is (in the best way). It’s also popping up in contrast with edgier trends like the vampire haircut or romantic goth hairstyles, showing its versatility from light to dark aesthetics.
Hair Type & Length You’ll Need
You can absolutely do this on various hair types! Texture is your friend here, as it helps hold the loops. Straight hair might need a bit of texturizing spray first. The real key is length.
You’ll need hair that is at least armpit-length to have enough to work with for the looping. Mid-back length or longer is ideal. If you have shorter hair, like an asymmetrical lob, this specific braid might be tricky, but the looping concept can inspire smaller details.
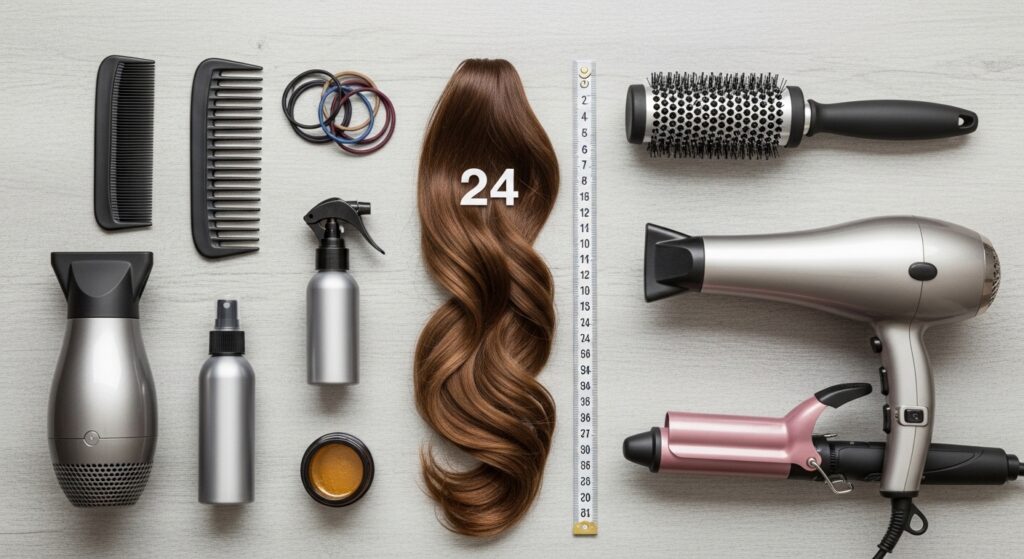
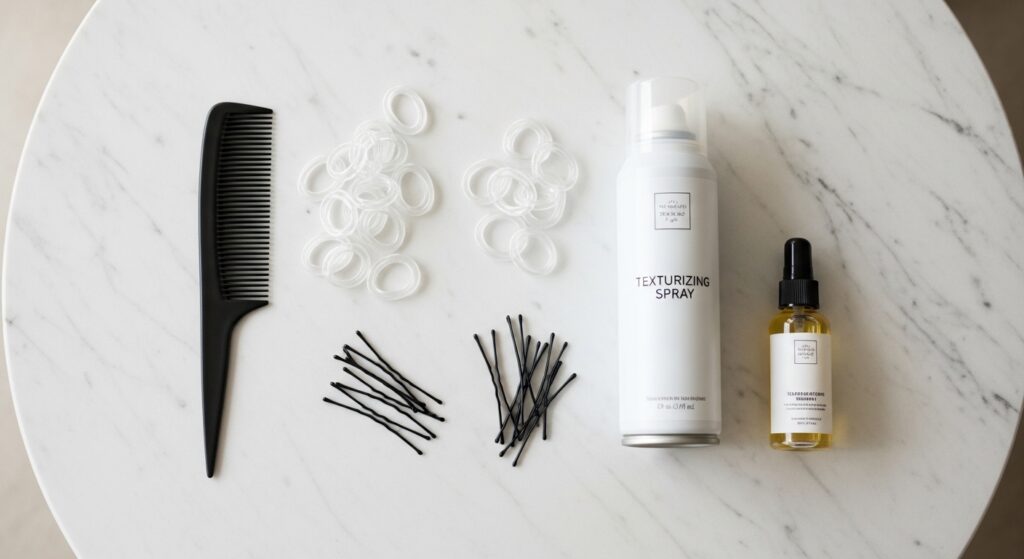
Essential Tools & Products Checklist
Gathering the right stuff first makes everything smoother. You don’t need a salon full of products, just these key players:
- A fine-tooth comb for clean sections
- Strong, small clear elastics (they’ll be hidden)
- Bobby pins that match your hair color
- A light-hold texturizing spray or mousse
- A shine serum or hair oil for flyaways
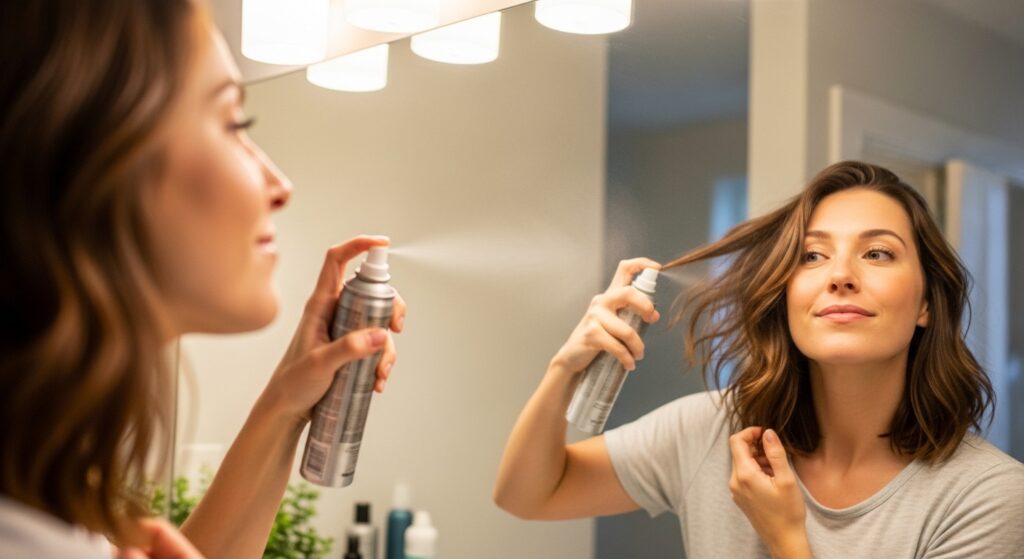
Prepping Your Hair is Non-Negotiable
Start with day-old hair or add some dry shampoo. Freshly washed hair can be too slippery. Work a texturizing mousse through damp hair and blow-dry for grip, or spray a texturizing spray on dry hair.
Don’t skip this! That slight grit and volume are what will hold the intricate loops in place for hours. Think of it as priming a canvas before you paint your masterpiece.
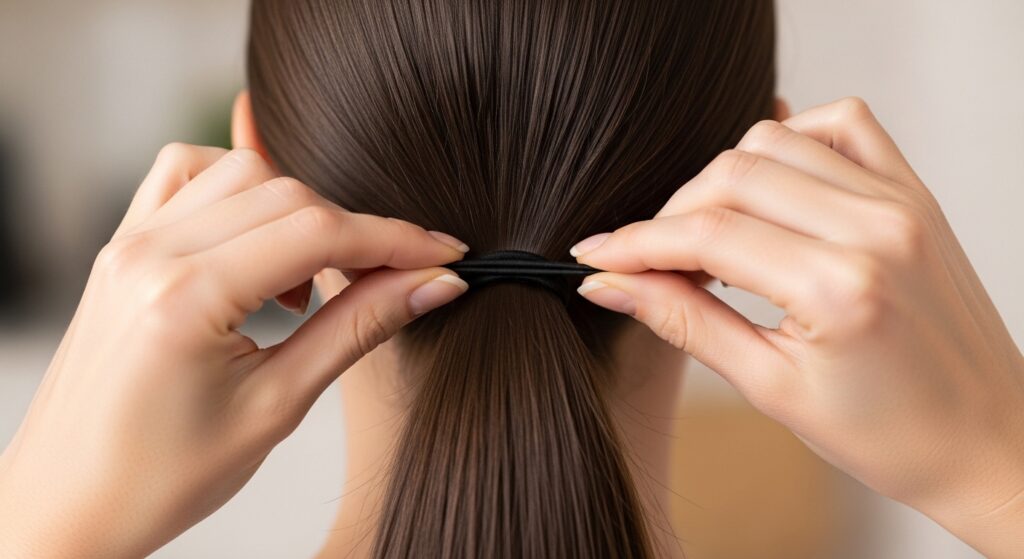
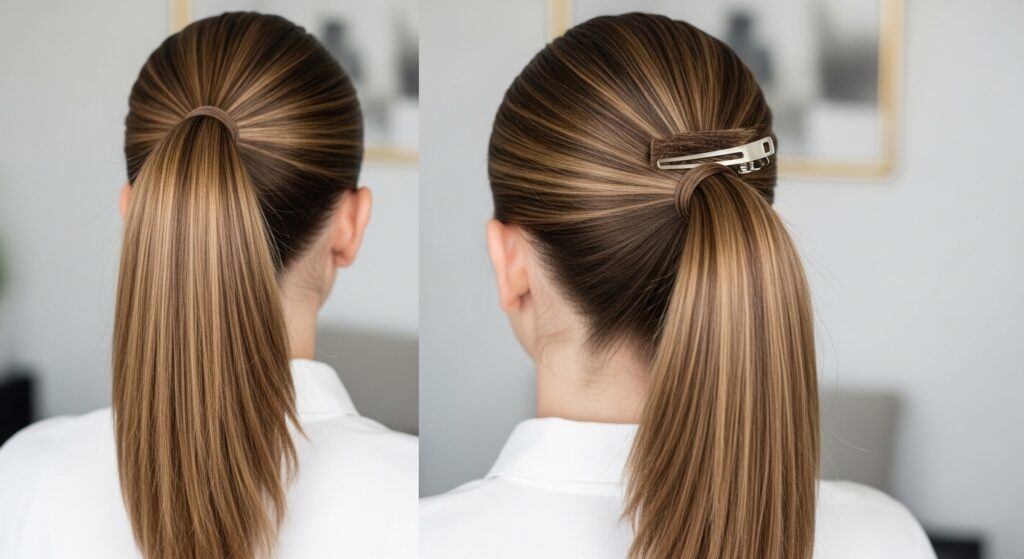
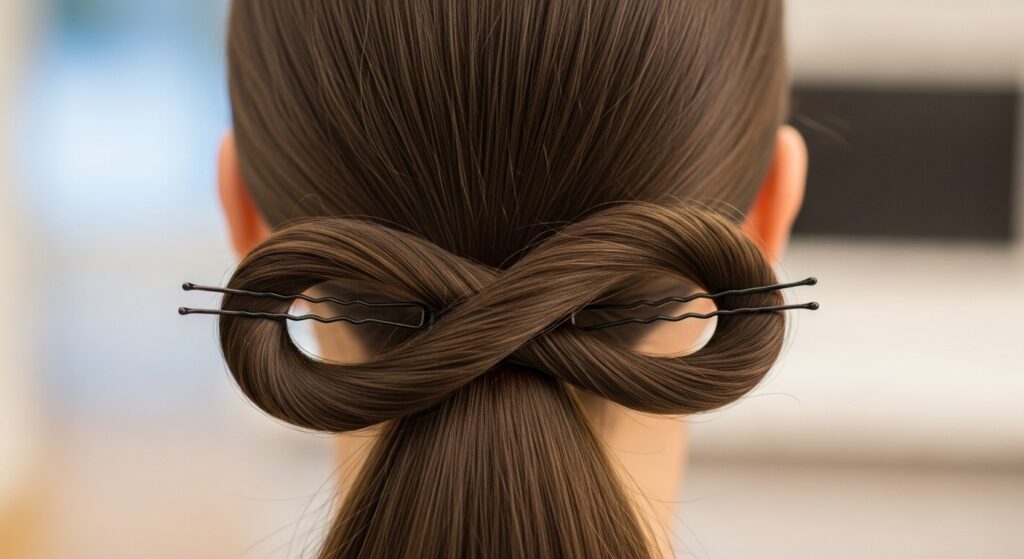
Step 1: The Foundation Ponytail
Begin with a sleek, low ponytail at the nape of your neck. Use the fine-tooth comb to make it smooth. Secure it with a clear elastic. This is your anchor; all the weaving starts from here.
Make sure it’s tight and exactly where you want the braid to start. A low placement gives a beautiful, elegant drape down the back and works with many aesthetics, from classic to romantic goth hairstyles.
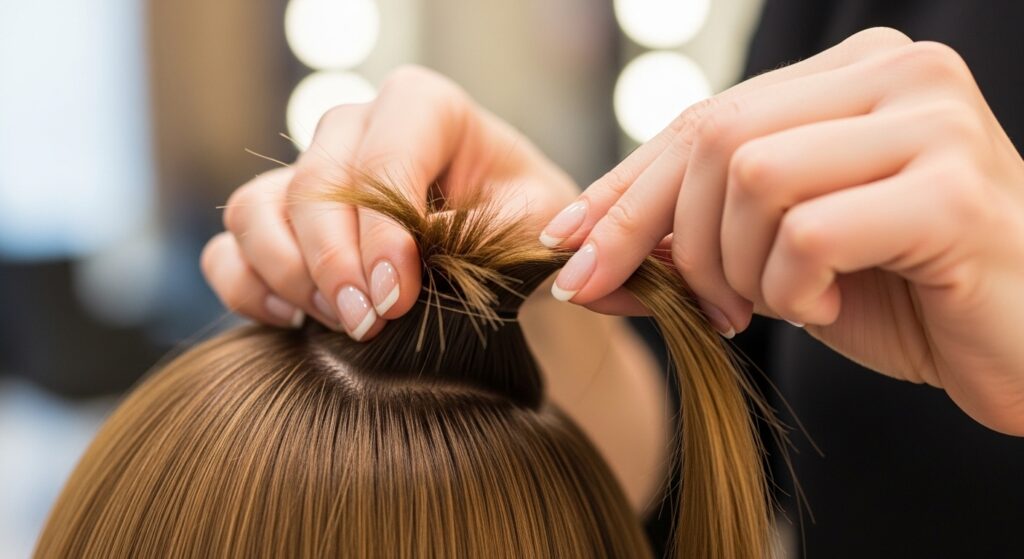
Step 2: Dividing Your Canvas
Now, divide your ponytail into two equal sections. These are not three sections like a normal braid—just two. Use your comb to make the part perfectly clean down the middle of the ponytail.
Secure one of these sections temporarily with a clip so it doesn’t get in the way. We’re going to work with one section at a time to maintain control and precision.
Step 3: Creating the First Loop
Take the first section. Split it into two smaller strands. Now, twist these two strands around each other once, like the start of a rope braid.
Instead of continuing to twist, form the top strand into a small loop (like a backward “C”) and pin its end to the base of your ponytail with a bobby pin. This loop is the start of your first infinity symbol.
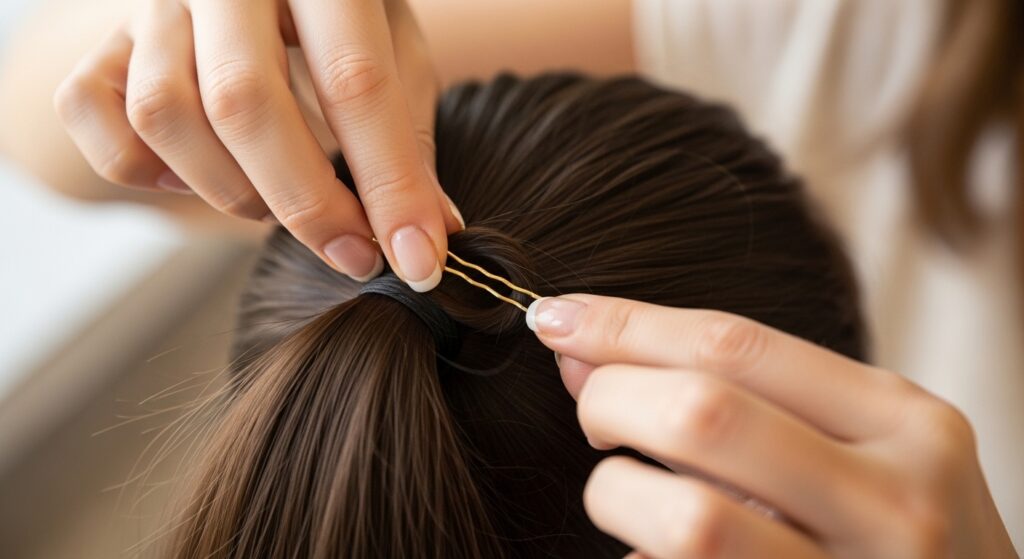
Step 4: Weaving the Second Strand Through
You have your first loop pinned. Now take the remaining strand from that first section. Weave it over and under the loop you just created, following the shape of the infinity symbol.
This part is fiddly. Go slow. You’re essentially threading the strand through the center of the loop and around to start forming the bottom curve of the “8” shape.
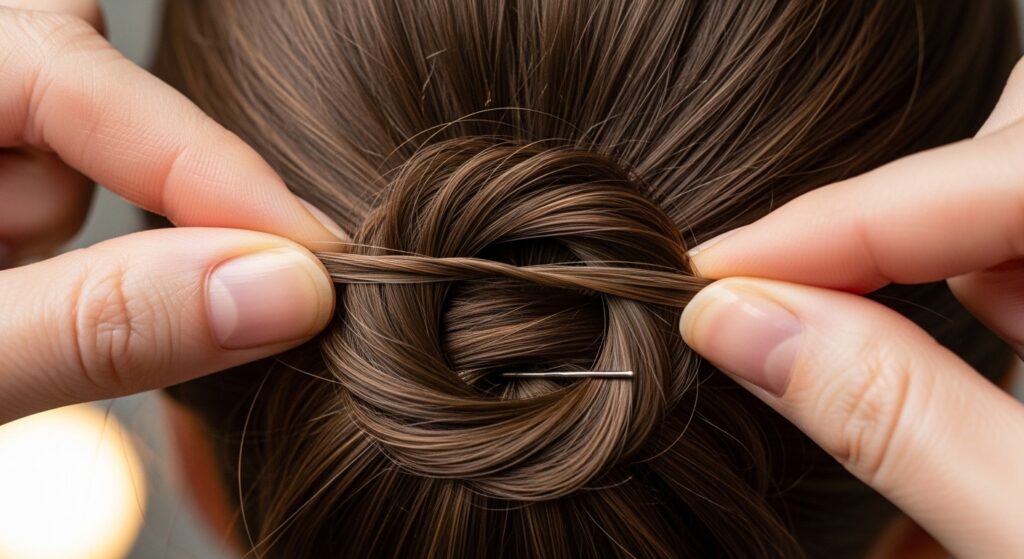
Step 5: Securing the First Infinity
Once you’ve pulled the strand through to create the bottom curve, bring its end back up to the base of the ponytail. You should now see a loose, figure-8 shape.
Adjust the loops so they are even. Then, secure the end of this working strand right next to the first pinned end, using another bobby pin. Your first complete infinity is done!
Step 6: Incorporating New Hair (The Secret!)
This is the magic step. Unclip the second main section from your ponytail. Take a small, horizontal subsection from the top of it—this is your new hair to add.
Combine this new hair with the tail end you just pinned. Now, this combined piece becomes your new “working strand” to create the next infinity link down the braid.
Step 7: Repeating the Looping Process
With your new, thicker working strand, repeat the process from Step 3. Split it, twist once, form a loop from the top strand and pin it right below your first infinity.
Weave the remaining bottom strand through that new loop to form the next figure-8. Secure it. You’re now building the braid downward, link by link.
Step 8: Keeping Tension & Consistency
The key to a beautiful result is consistent loop size and steady tension. Don’t pull too tight, or it will look strained. Don’t leave it too loose, or it will fall apart.
After each infinity, take a second to gently adjust the two loops to make them even and full. This mindful, slow approach is what leads to that precision look.
Step 9: Working Down the Length
Continue the pattern: incorporate a new, small subsection of hair from your reserved main section into your working strand after each infinity. Create, loop, weave, and pin.
Each new infinity should sit snugly below the last. You’ll see the elegant, woven column of braid beginning to take shape down your back.
Step 10: Finishing the Tail End
When you’ve used almost all the hair from your reserved main section, you’ll stop adding new hair. Use the remaining length to create one or two final infinity symbols without incorporating new sections.
This tapers the braid naturally. For the very end, you can simply finish with a small basic braid or twist and secure it with a clear elastic.
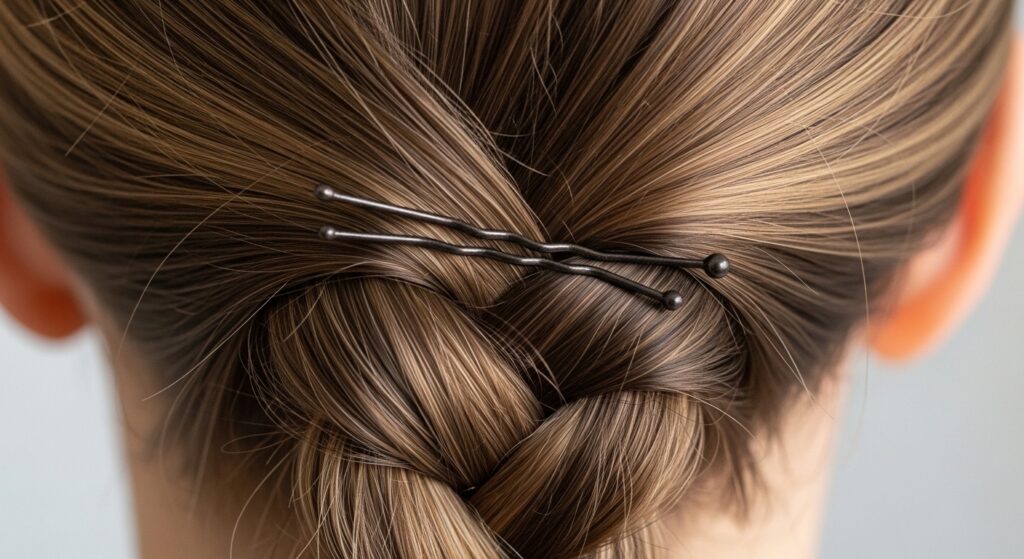
Step 11: Hiding the Bobby Pins
This is the professional touch. Go back up to the top of your braid. Carefully remove each bobby pin one by one, and immediately re-pin it by sliding it back into the exact same spot, but this time, weave the pin through the braid base to hide it completely.
It should look like the loops are magically holding themselves together (which, at this point, they mostly are thanks to the weaving).
Step 12: The Perfecting Touch-Ups
Spray a light-hold hairspray on your hands and gently smooth over the surface of the braid to tame any flyaways. Avoid spraying directly, which can make it look stiff.
Then, take a tiny drop of shine serum or hair oil and run it over your fingertips. Lightly gloss over the surface of the loops to give them a healthy, finished sheen.

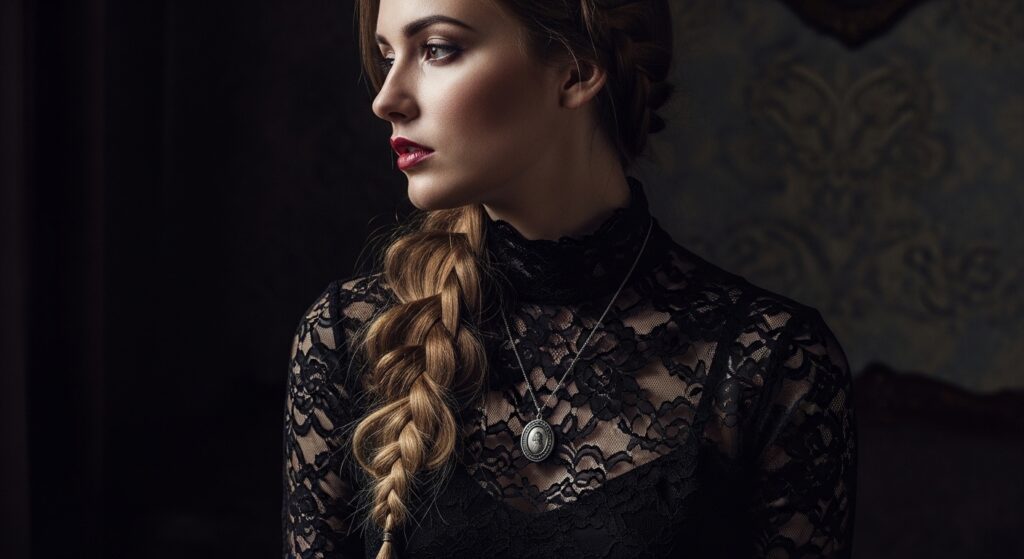
Styling Variations: Side Infinity Braid
Not just for the back! Start with a deep side part and gather all your hair to one shoulder. Create a ponytail there and follow the same process. This asymmetrical look is stunning and feels very now, playing with the same drama as an asymmetrical lob.
It’s a beautiful way to show off the detail, as the braid will cascade over your shoulder and front.

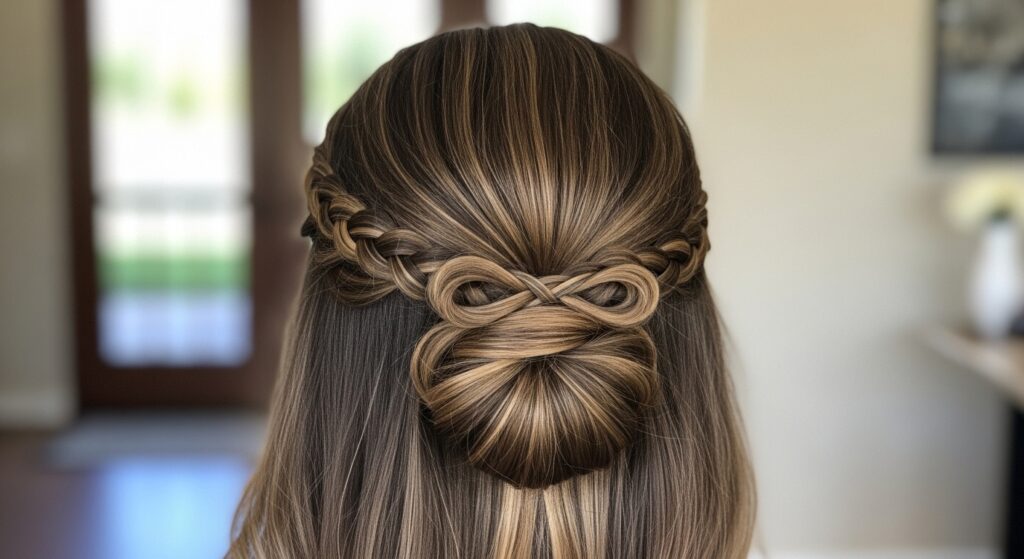
Styling Variations: Half-Up Crown
For a regal touch, create this braid as a half-up style. Take a crown section from ear to ear, make a ponytail, and create a short infinity braid. Then, pin it into a small, elegant bun or let the short braid sit as an accent.
This has a hint of hime cut princess vibes but in a much more subtle and modern way.
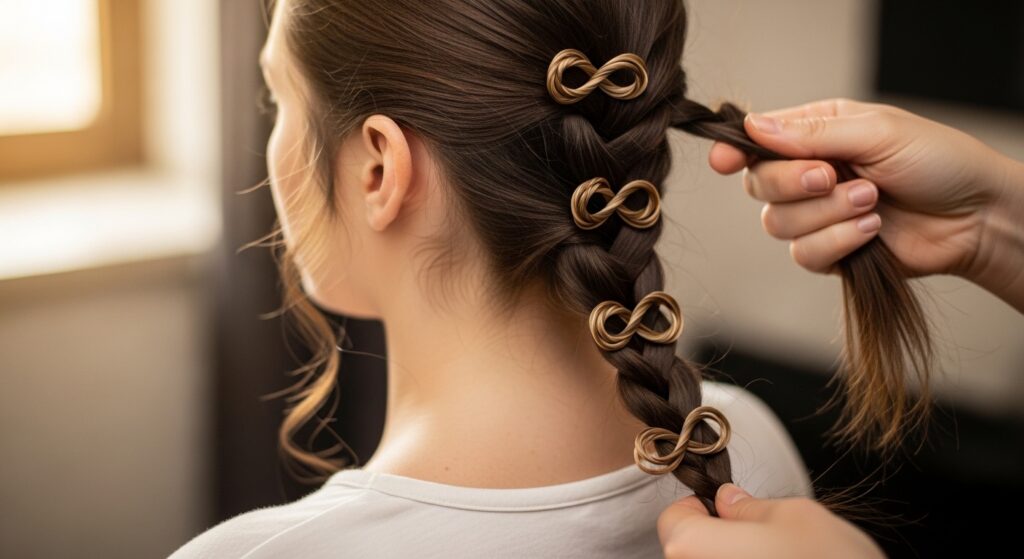
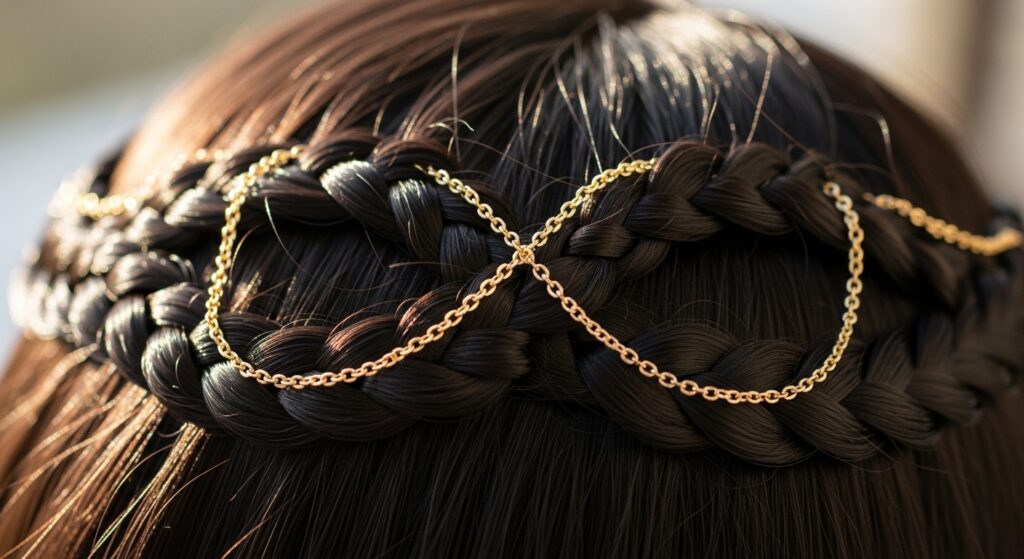
Pairing with Hair Accessories
This braid is a perfect base for delicate accessories. Weave a thin, sparkly chain or a pearl hair string through the loops. Or, add small, elegant clips at the intersections of the infinity symbols.
Keep accessories minimal—let the braid be the star. A single, beautiful clip at the top near the ponytail base can be enough.
Making It Last All Day & Night
To ensure your hard work stays put, do a final, light mist of strong-hold hairspray from a distance. Focus on the pinned areas. Carry a few extra bobby pins and a clear elastic in your bag, just in case.
If you’re dancing the night away, a quick bathroom check to tuck any escaped hairs back in with a pin is all you’ll need. This style holds up surprisingly well.
Common Mistakes & How to Fix Them
The loops are uneven. Fix: After pinning each one, adjust with your fingers before moving on. The braid feels loose. Fix: Your initial ponytail wasn’t tight enough, or you’re not pinning securely. Don’t be shy with the bobby pins!
It’s looking messy. Fix: This means your sections weren’t clean. Take it down, re-do the foundation ponytail, and comb each section thoroughly.
How This Fits Into 2026 Hairstyles
This braid is a textbook example of where hair is going: technical skill, personal expression, and artful detail over big, uniform curls. It’s a style that requires and shows patience.
It sits alongside the rise of personalized, nuanced trends. It’s not the opposite of a glitchy glam hair look or a vampire haircut; it’s part of the same spectrum of wearing something intentional and conversation-starting.
My Final Pep Talk For You
Your first attempt might not be perfect. That’s 100% okay. Mine definitely wasn’t! This is a skill that improves with practice. The second or third time you try it, your hands will understand the weaving motion.
The satisfaction of creating something this beautiful with your own two hands is so worth the initial fuss. It’s a form of self-care and creativity rolled into one.
So there you have it—the complete map to creating those magical, looping braids you’ve been swooning over. It’s more than just a hairstyle; it’s a little project that ends with you feeling incredibly accomplished and put-together.
Remember, hair is meant to be fun and expressive. Whether you master this or decide you’re more of a quiet luxury bob person this week, the point is to play and enjoy the process. You’ve got this.
Save this post to Pinterest so you can always find the steps when you’re ready to try it! And tell me in the comments—what’s the most intricate hairstyle you’ve ever attempted? I love hearing your stories.
XOXO, Hailey & Team