
Romance 24 Headband-Free Crowns Using Hair Pins Creatively Now
Okay, let’s be real. We’ve all seen those gorgeous, romantic “crown” braids online. They look amazing, but the idea of wrestling with a bulky headband or a complicated, tight braid that gives you a headache by noon? No, thank you. I was totally over it.
But I still wanted that soft, romantic vibe. So, I got creative with the simplest tool in my kit: hair pins. Not just bobby pins, but all the pretty, decorative ones too.
What I discovered changed my hair game. You can create 24 different, stunning, headband-free crowns that are comfortable, elegant, and perfect for any vibe. From old money hair to something a bit more edgy, it’s all possible. And I’m sharing every single one with you right now.
The Simple Twist & Pin Crown
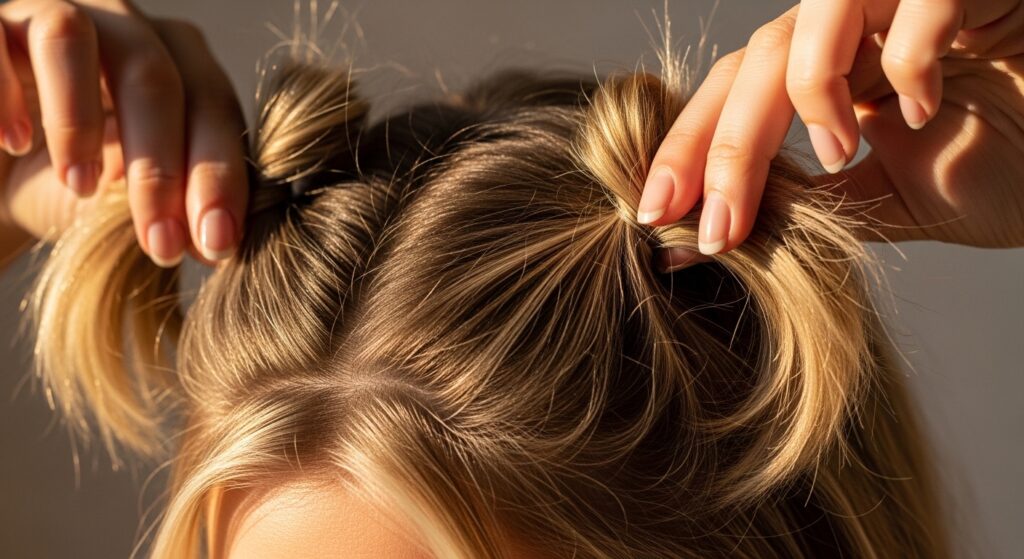
This is your absolute beginner-friendly start. It takes two minutes and looks like you spent an hour. It’s the perfect foundation for all the styles we’ll build on.
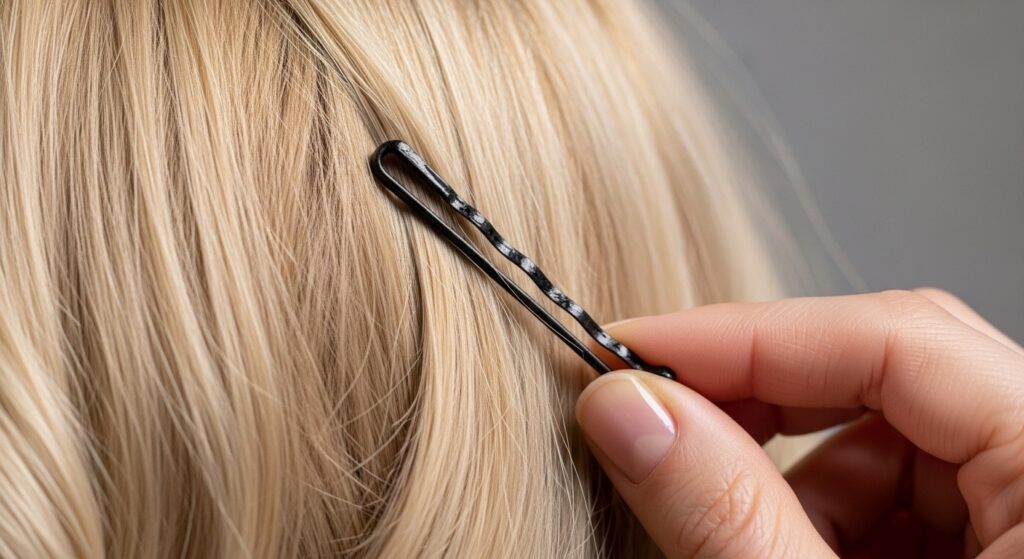
Start with day-old hair for grip. Take a one-inch section from each temple. Twist each section back towards your crown, keeping them loose and soft. Cross the twists over each other at the back of your head and secure the ends with criss-crossed pins.
The “Lived-In” Boho Crown
For that perfectly imperfect, just-back-from-the-festival look. This style embraces texture and flyaways. It pairs beautifully with loose waves.
Create a deep side part. On the heavier side, gather a thick section and loosely French braid it along your hairline, stopping at your opposite ear. Don’t pull it tight. Wrap the braid across your forehead like a headband and tuck the end behind your ear, pinning securely. Pull out a few face-framing pieces.

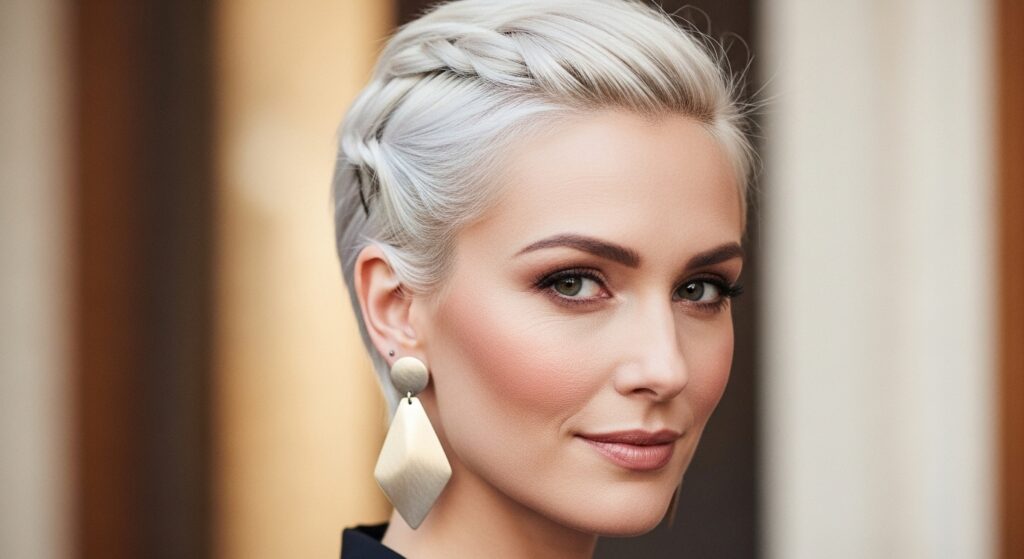
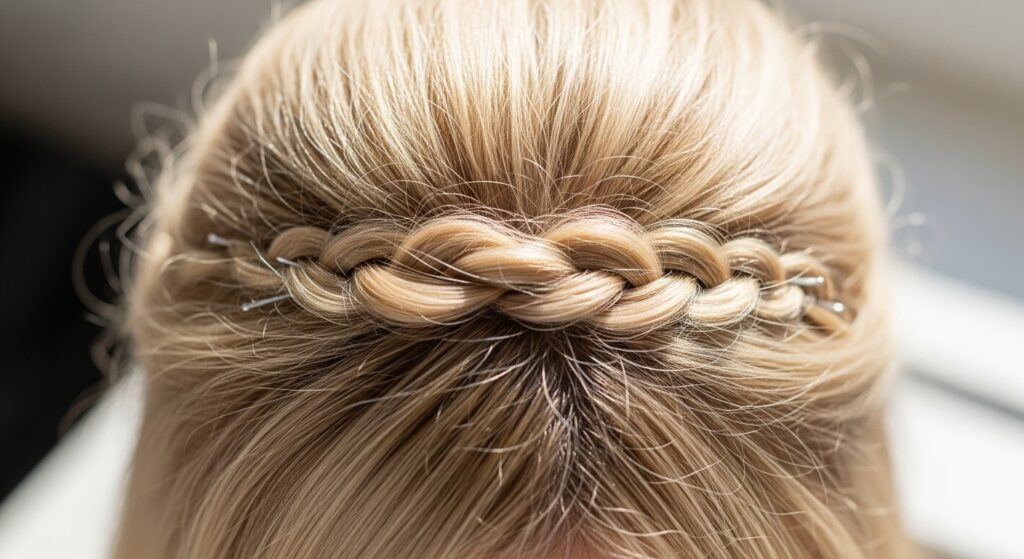
The Quiet Luxury Half-Up Crown
This is the essence of quiet luxury bob styling. It’s polished, minimal, and screams understated wealth. It works best on blunt cuts and sleek hair.
On smooth, brushed hair, take a small, neat section from each side above the ear. Twist each section once, then bring them to the back, just above the crown. Secure them together with a single, elegant gold hair pin. The key is neatness and precision.

The Gothic Romance Crown
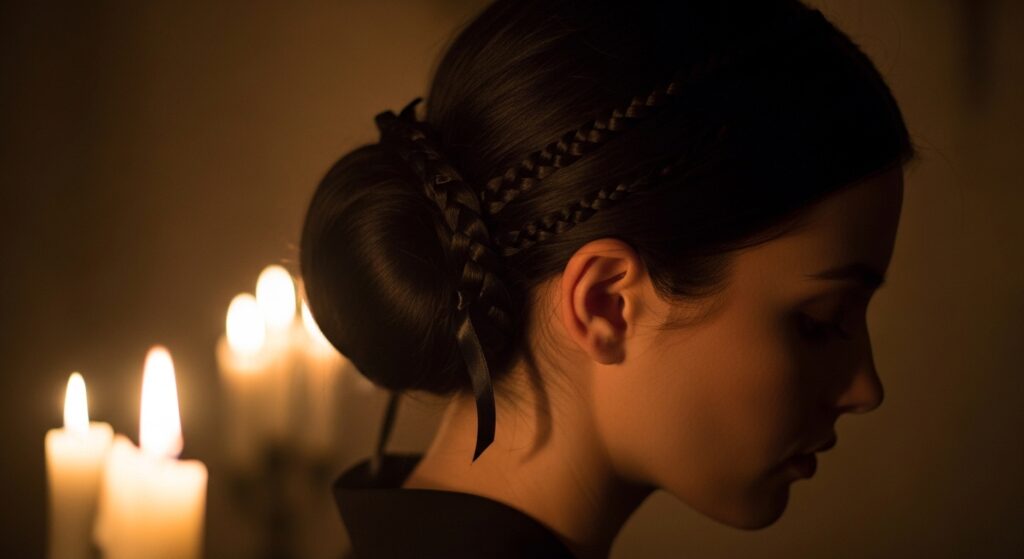
Time to dip into romantic goth hairstyles. This is darkly pretty, with a touch of Victorian influence. Think velvet ribbons and pearl-tipped pins.
Part your hair down the middle. Create two low, loose Dutch braids starting at your temples, weaving in a thin black velvet ribbon. Bring them to the back and coil them into a small, intricate bun at your nape. Use ornate, dark metal pins to secure the bun and tuck in the ribbon ends.
The Asymmetrical Pin Cascade
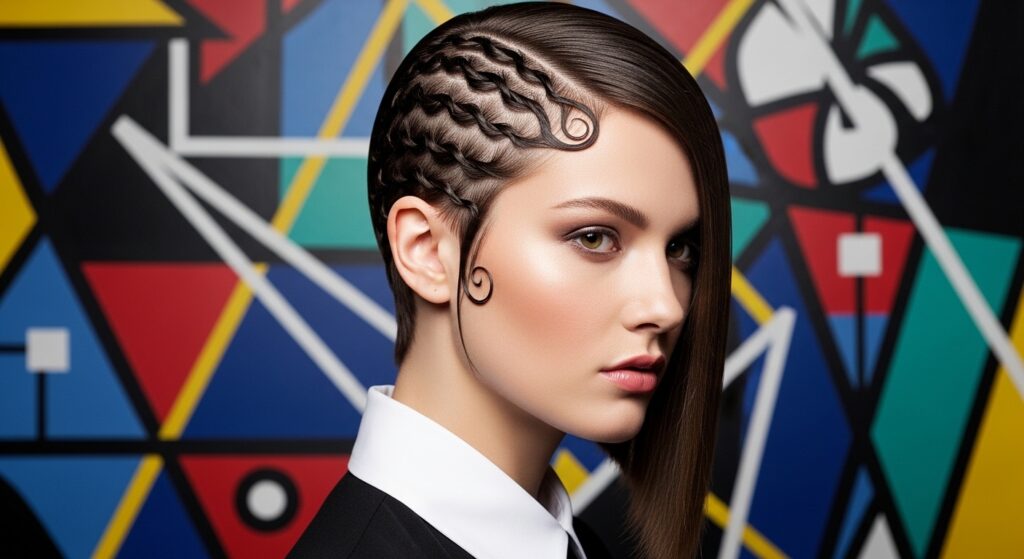
This plays with the cool-girl energy of an asymmetrical lob. It’s geometric, modern, and incredibly chic. It directs all the attention to your best features.
With a deep side part, take a section from the heavier side only. Create a series of small, flat twists along the hairline, pinning each twist as you go with mini pins. Let the twists cascade back over your ear, blending into the rest of your hair. Keep the other side sleek and simple.
The Hime Cut Accent Crown
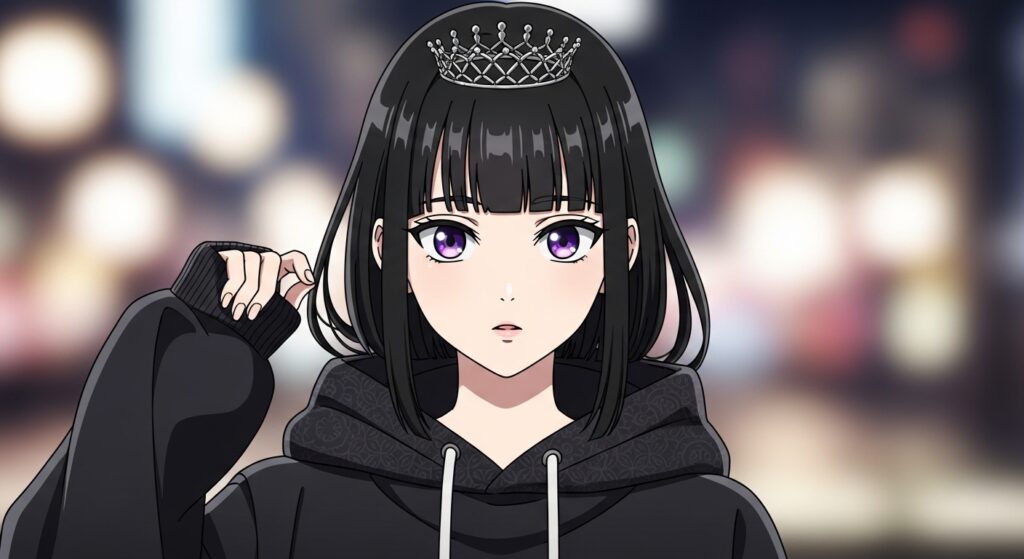
If you rock the iconic hime cut, this style highlights its beautiful structure. It frames the face without hiding those dramatic, blunt front pieces.
Isolate your long front sections. Gather the rest of your top layer hair (from the crown forward) and create a small, high ponytail. Twist the ponytail into a flat coil and pin it to form a tiny crown base at the top of your head. Let your hime strands flow freely around it.
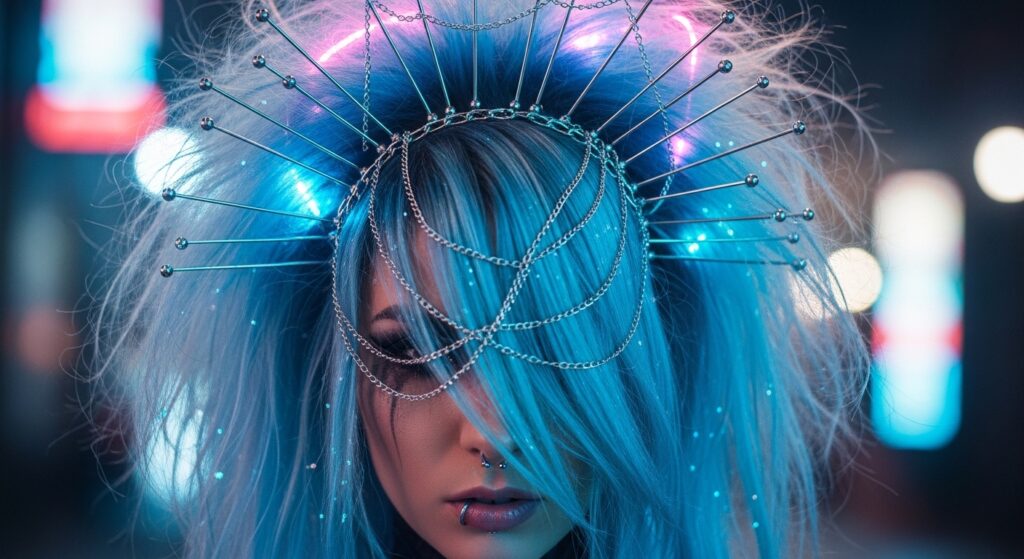
The Glitchy Glam Pin Web
This is for your experimental nights out. It captures the glitchy glam hair trend—a little disheveled, a little futuristic, totally cool.
Tease the crown of your hair slightly for volume. Instead of neat twists, create random, small sections and twist them in different directions. Use an array of mismatched, metallic pins to secure them to your head in a “web-like” pattern. Leave some ends sticking out intentionally.
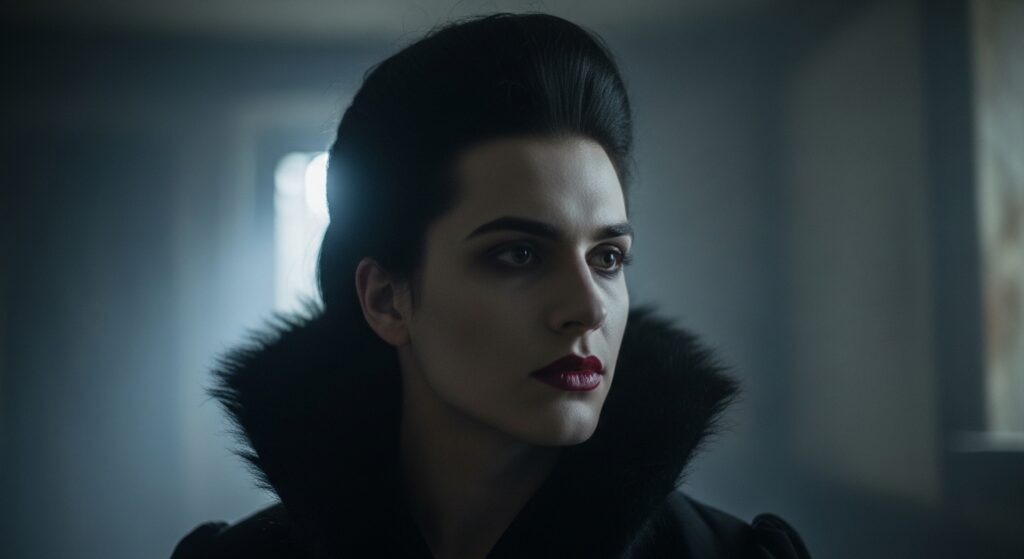
The Vampire Court Elegance
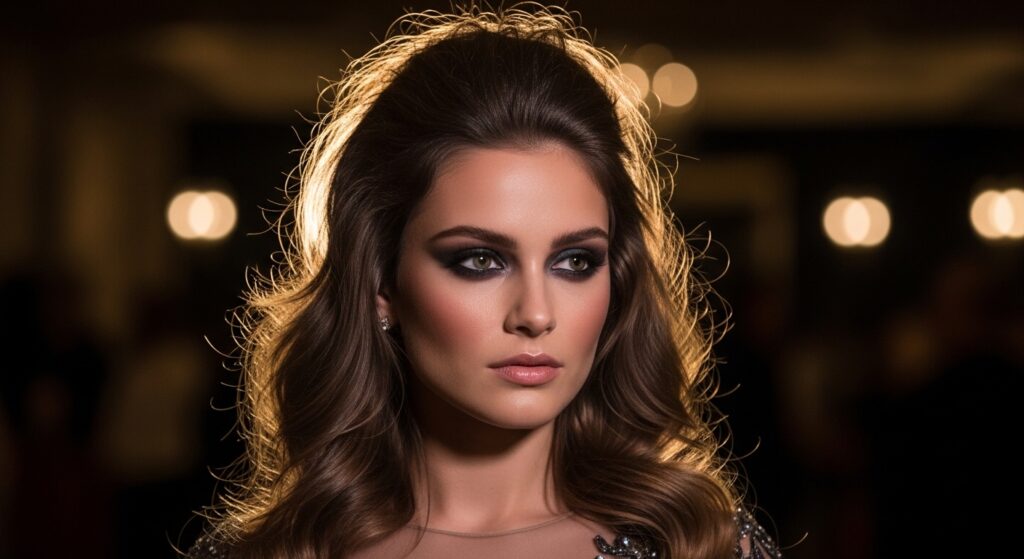
Inspired by the vampire haircut with its heavy layers, this style is all about dramatic, soft volume and a touch of mystery. Perfect for a date night.
Curtain bangs or face-framing layers are key here. Pull the top layers from both sides back, but leave out your framing pieces. Gently backcomb the roots for lift at the crown, then gather and twist the sections loosely, pinning just above the occipital bone. Let the rest of your layers flow wildly.
The Milkmaid Braid Refresh
A classic, but we’re ditching the tight, heavy braids. This version is soft, low, and comfortable enough for all-day wear. It’s surprisingly modern.
Create two low, loose pigtail braids (regular or Dutch) at the nape of your neck. Don’t braid to the very end. Gently pull each braid up and across the back of your head, pinning them flat like a headband. Tuck the ends under and secure. No bulky knots on top!

The Twist-Back For Short Hair
Short hair friends, this is for you. You can absolutely wear a crown style. This adds instant polish to a pixie or a very short bob.
Using a strong-hold wax or pomade, take small sections along your hairline. Twist them back and away from your face, pinning each one flat against your head with mini bobby pins. Work your way around your entire front hairline. It creates a beautiful, clean frame.
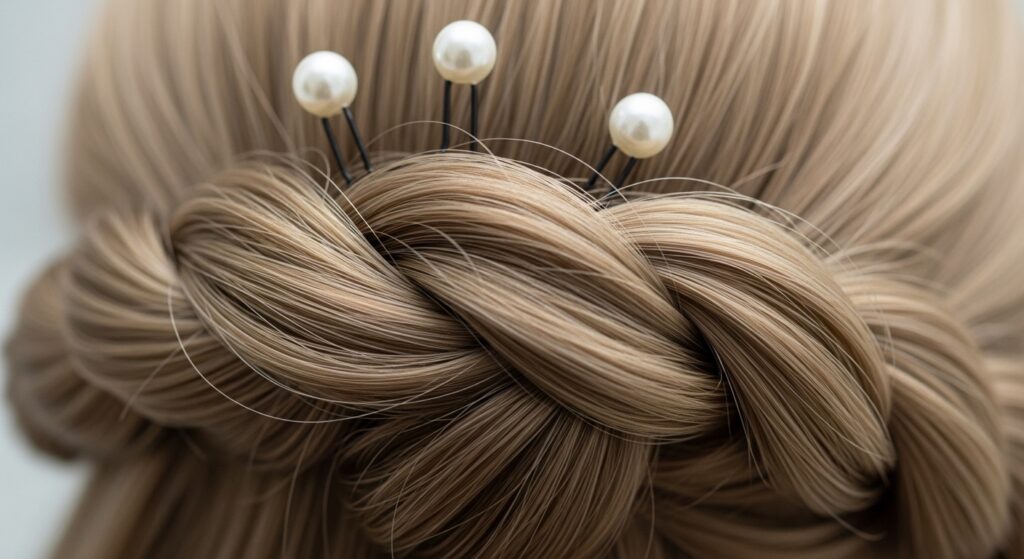
The Pearl-Encrusted Statement
This is less about the braid and more about the pins. It’s a luxurious upgrade that turns any simple style into an event. Think 2026 hairstyles trending towards exquisite accessories.
After creating any simple twist crown (like our first one), don’t just hide your pins. Use them as decoration. Strategically place 3-5 beautiful pearl- or crystal-tipped pins along the twist line. Space them out artfully. Let them be seen.
The “No-Slip” Secure Method
If you have silky hair, you know the struggle. Pins slide right out. This technique is a game-changer for hold without hairspray buildup.
- Always use pins with a good grip (textured lining).
- Before pinning, lightly mist the section with texturizing spray.
- Insert the pin, then push it slightly *upward* against the direction of growth before sliding it back down. This hooks it into more hair.
- Always criss-cross two pins for a major hold point.
The Five-Minute Office Crown
You have a big meeting in five minutes and need to look pulled together. This is your savior. It’s professional, elegant, and foolproof.
Sweep all your hair into a low, loose ponytail at your nape. Twist the ponytail into a rope and wrap it around the base to form a simple bun, tucking the end under. Now, take a small section from the front on either side, twist back, and wrap them around the bun, pinning to secure. Instant polished updo.

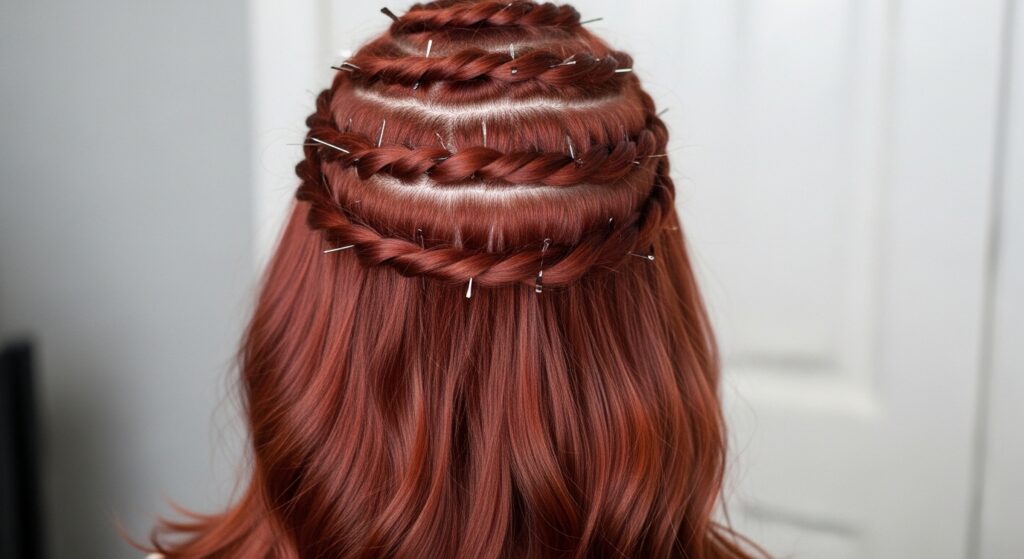
The Double Twist Crown
This looks intricate but is just two simple steps repeated. It gives the illusion of a complex braid without any braiding. Perfect for medium-length hair.
Create the Simple Twist & Pin Crown as your base. Then, take two new sections from just below the first crown. Twist them back and pin them just below the first row, slightly overlapping. It creates a beautiful, layered crown effect.
The Scarf & Pin Hybrid
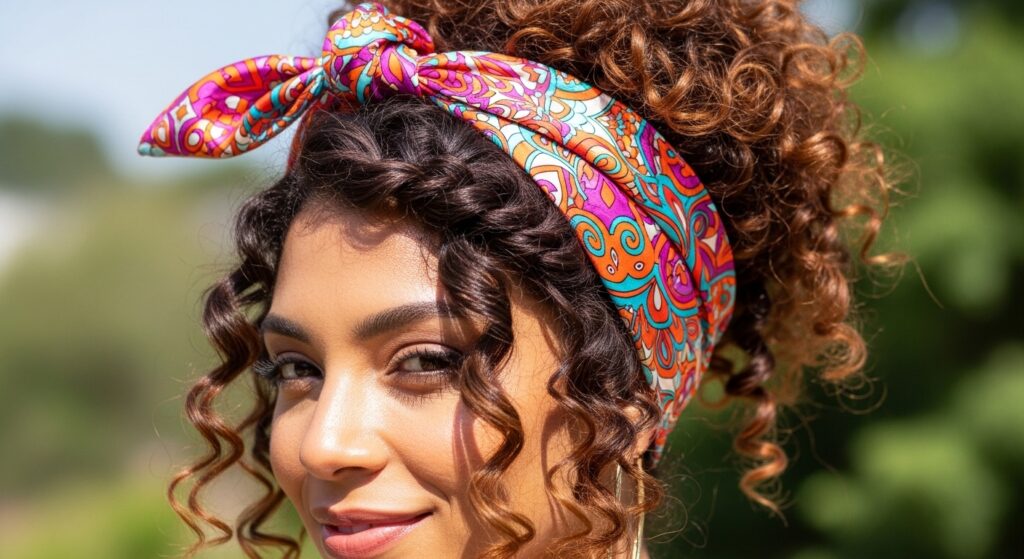
Incorporate a silk scarf for a pop of color and pattern. It’s a timeless, chic look that feels fresh again. This works for all hair lengths and textures.
Fold a long, thin scarf into a band. Tie it around your head like a headband, with the knot at the nape. Take a small section of hair from near the scarf on each side, twist it, and pin it over the scarf to secure it and add a hair detail. This locks the scarf in place beautifully.
The “Undone” Evening Crown
For when you want to feel dressed up but not stiff. This is the ultimate romantic goth hairstyles adjacent look for a dinner party or concert.
Create messy, voluminous waves. Do a simple twist crown with very thick, loose sections. Once pinned, gently pull apart the twists to make them wider and fuller. Strategically pull out dozens of tiny pieces around your face and neck. The goal is artful chaos.
The Crown for Thick, Heavy Hair
If you have a lot of hair, a few pins won’t cut it. This method distributes weight and uses your hair’s volume as an asset, not a problem.
Section your hair. Create two or three separate, smaller twist crowns side-by-side, each secured with its own set of criss-crossed pins. This is stronger than one big twist. Use larger, durable pins or even small, hidden claw clips for the underlayer.
The Crown for Fine, Thin Hair
The goal here is to create volume and the illusion of thickness. The right technique prevents your style from looking sparse or flat.
Prep with a volumizing mousse at the roots. Tease the crown area lightly before you start. Use very small, clear micro pins instead of large ones—they disappear and hold better without slipping. Create smaller, tighter twists for more definition.
The “Pin-Only” Deconstructed Crown
No twists, no braids. This is pure pin artistry. It’s abstract and very fashion-forward. A great way to use all those unique pins you’ve collected.
Gather small, random sections of hair from around your crown. Don’t twist them. Simply fold, loop, or drape each section and pin it directly to your head in an artistic arrangement. Mix pin styles and sizes. It should look like a sculptural piece.

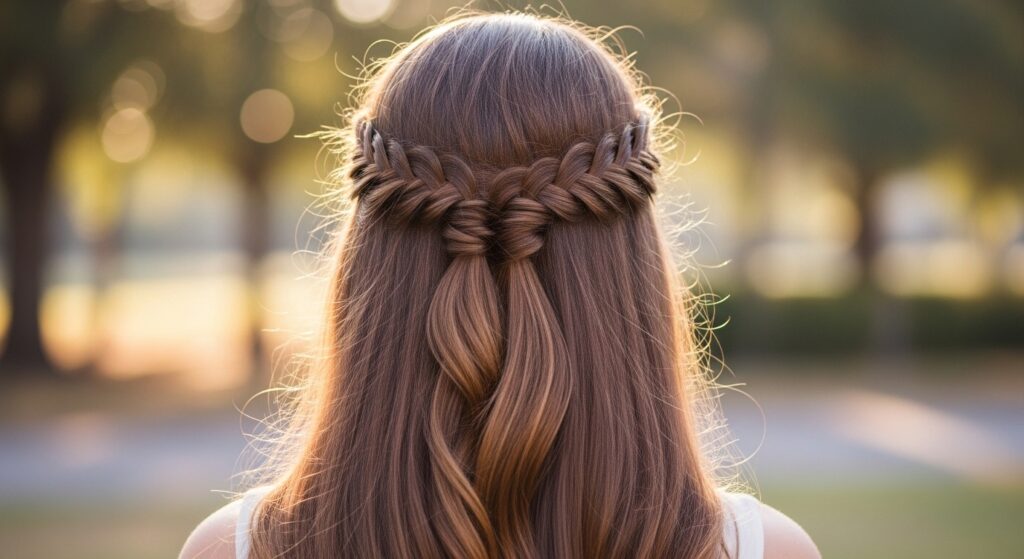
The Half-Down, Half-Crown
The perfect compromise style. You get the romance of the crown but get to show off your length or beautiful hair texture down back.
Only work with the top half of your hair. Section it off from ear to ear. Create your chosen crown style (like the Simple Twist) just within that top section. Leave the bottom half of your hair completely down and free. It’s flattering and functional.
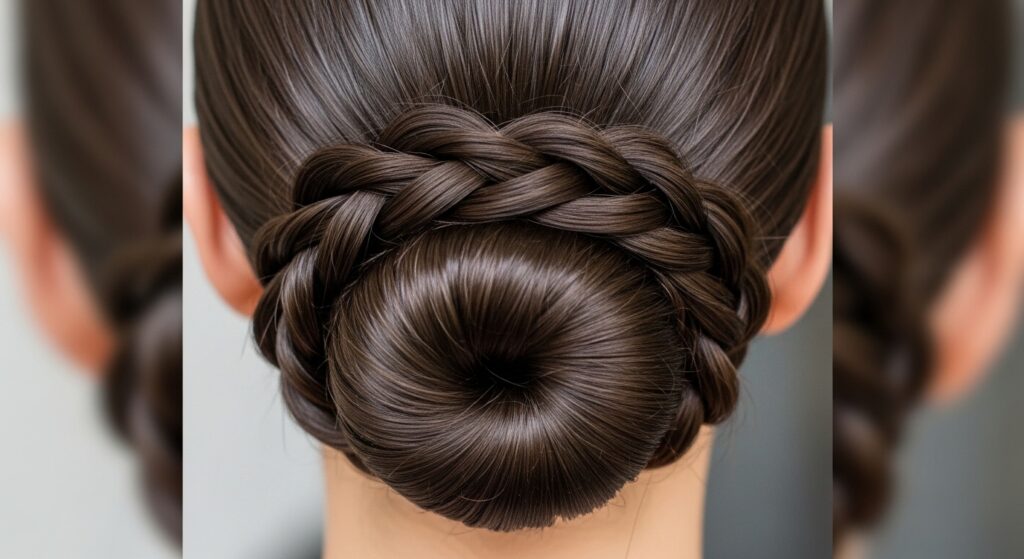
The Low Crown & Bun Combo
This is an elegant updo that looks like it came from a salon. The crown element sits low at the nape, perfect for showing off your neckline.
Gather your hair into a low ponytail but leave out two front sections. Twist those two sections separately. Wrap the ponytail into a bun and pin. Then, wrap the two twists around the base of the bun, crossing them over each other, and pin to secure.
The Festival-Proof Crown
This style needs to survive dancing, wind, and a long day. It’s secure, comfortable, and still looks amazing. Add flowers or glitter for extra fun.
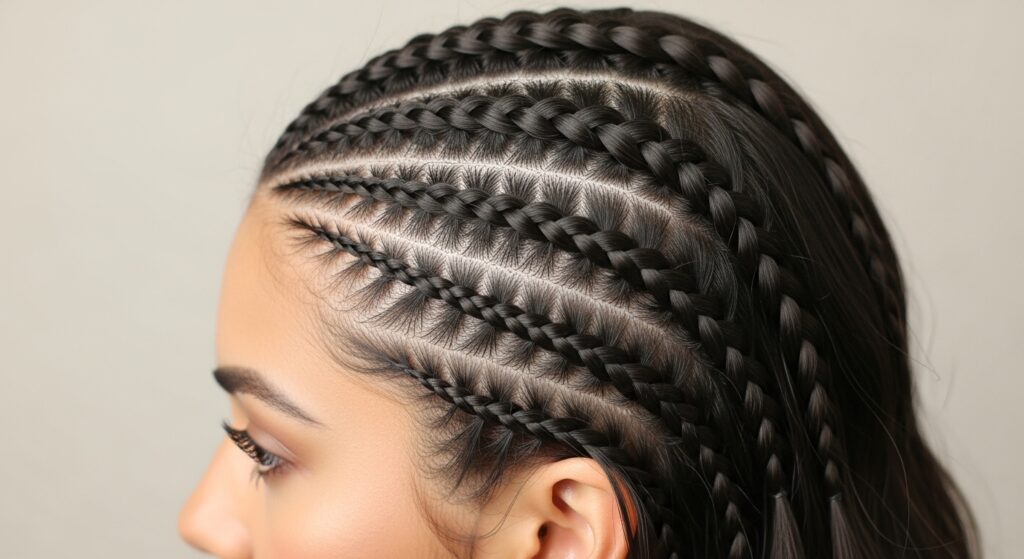
Start with braids for maximum hold. Do two Dutch braids along your hairline, meeting at the back. Pin them flat across your crown. Then, take the remaining hair and incorporate it into a secure braid or bun. Use more pins than you think! Seal with a strong-hold spray.

Choosing Your Perfect Pins
Not all pins are created equal. The right tool makes everything easier and more beautiful. Here’s a quick guide to building your pin collection.
- Bobby Pins: Get them in your hair color for hiding, and in metallic shades for decorating.
- U-Pins / Hair Forks: Amazing for holding thick buns and large twists. They distribute weight.
- Decorative Pins: Look for ones with secure clasps. Pearls, crystals, and geometric shapes are my go-tos.
- Mini Pins: Essential for fine hair and securing tiny, detailed sections.
And there you have it! Twenty-four ways to wear a crown without ever touching a headband. The beauty of using pins is the freedom—you can be as minimalist or as extravagant as you feel that day.
I hope this unlocks a new level of creativity for your hair routine. It did for me. Now, my pretty pins are actually getting used, and my hairstyles feel fresh again without any fuss.
Save this post to Pinterest to keep all these ideas handy for your next hair inspiration day! Which style are you trying first? Tell me in the comments below—I love hearing from you!