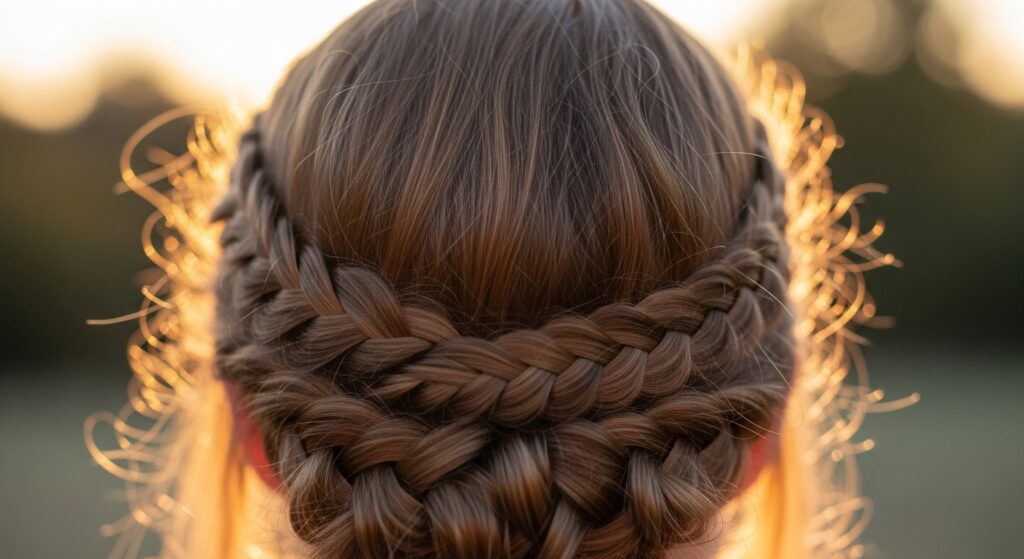
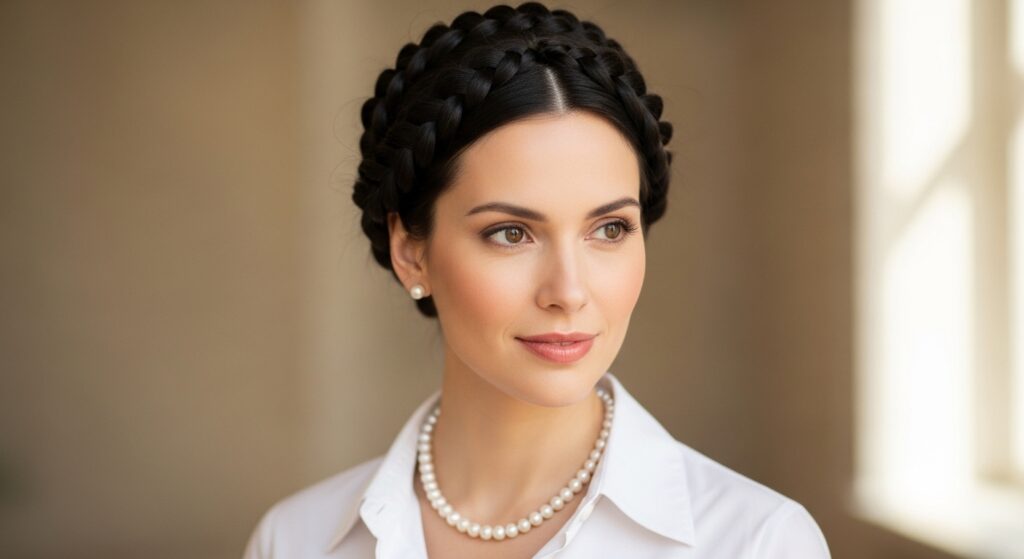
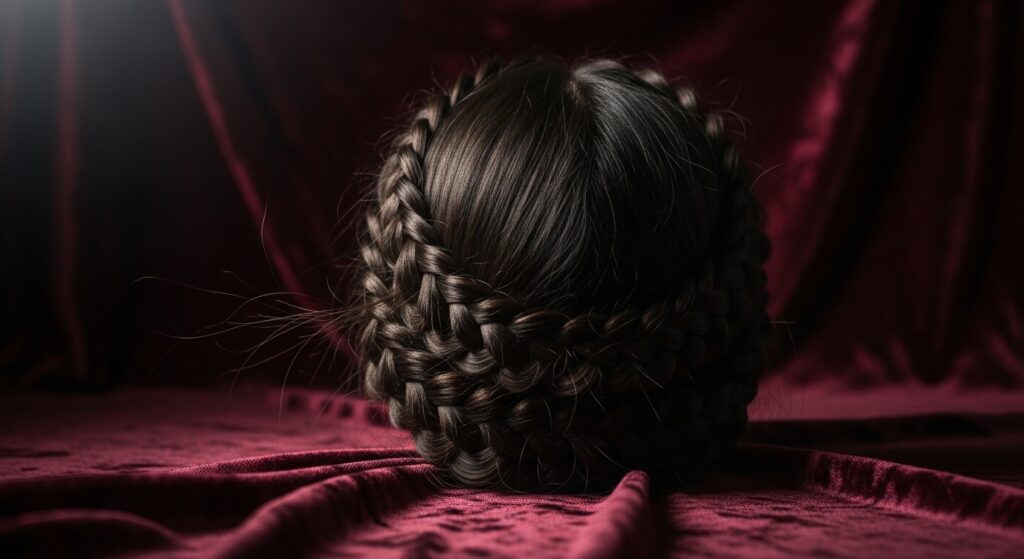
Soulful 14 Double Halo Braids Circling Twice for Goddess Vibes
Okay, let’s be real. We’ve all scrolled past those goddess-level braids and thought, “That’s stunning, but I could never.” I felt the same way until I found a method that’s actually doable. The double halo braid—circling your head twice—sounds intense, but it’s just two simple braids working together.
This style gives you that ethereal, crowned look without needing a professional. It’s perfect for when you want to feel put-together and magical, whether it’s for a special event or just a Tuesday. I’m breaking it all down, step-by-step, so you can get these soulful vibes at home.
Think of this as your quick-start guide to looking like you just stepped out of a painting. We’ll cover everything from prep to the final pin. Let’s get into it.
Why This Double Halo Braid is a Total Game-Changer
This isn’t your average crown braid. By circling twice, you get incredible volume and a detail that looks far more intricate than it is. It stays put all day, which is a win for anyone with active plans. Plus, it works on almost every hair length and texture with a little know-how.
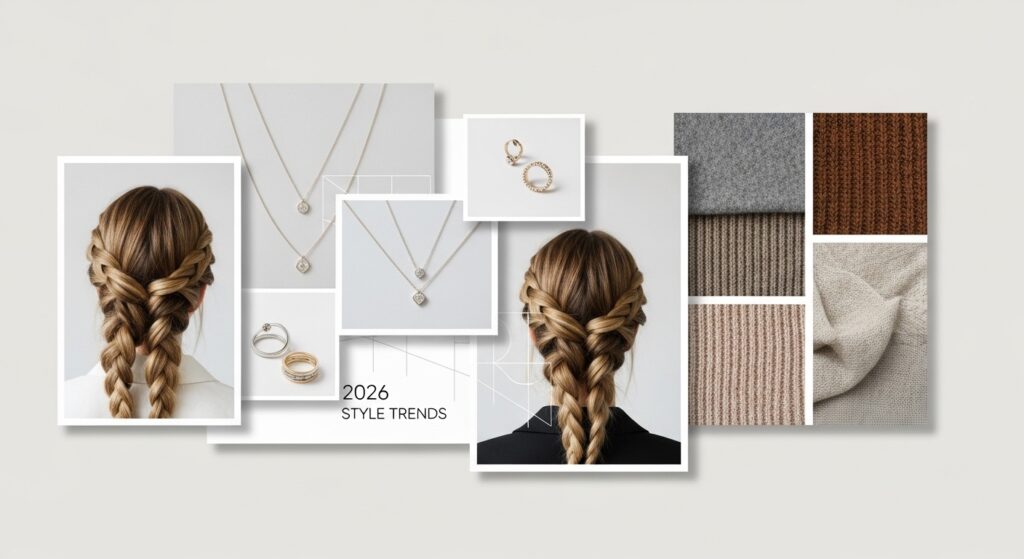
It taps into that “quiet luxury” hair trend—effortlessly elegant and meticulously crafted. While 2026 hairstyles are all about personal expression, this braid is a timeless technique you’ll use for years. It’s less about fast trends and more about mastering a beautiful skill.
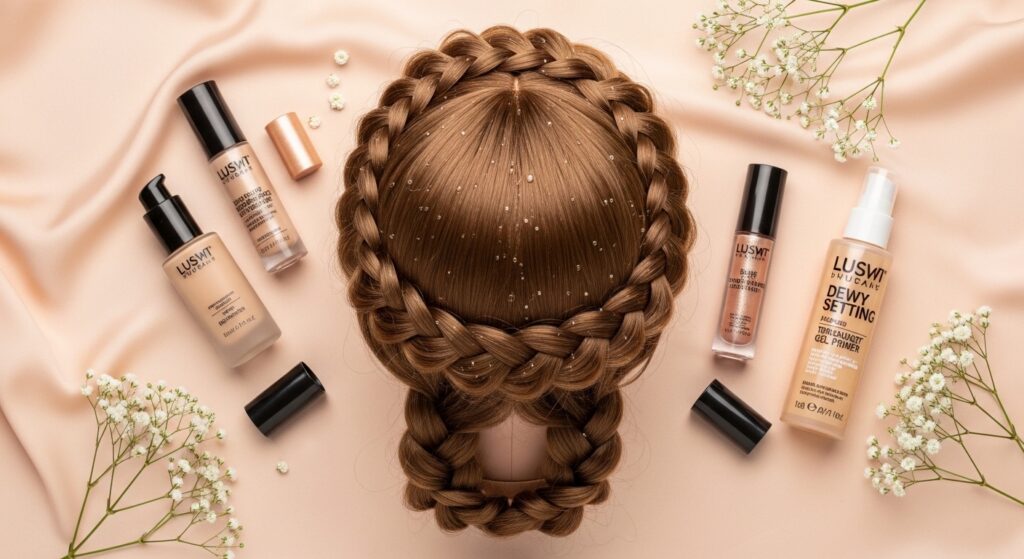
Gathering Your Tools: Keep It Simple
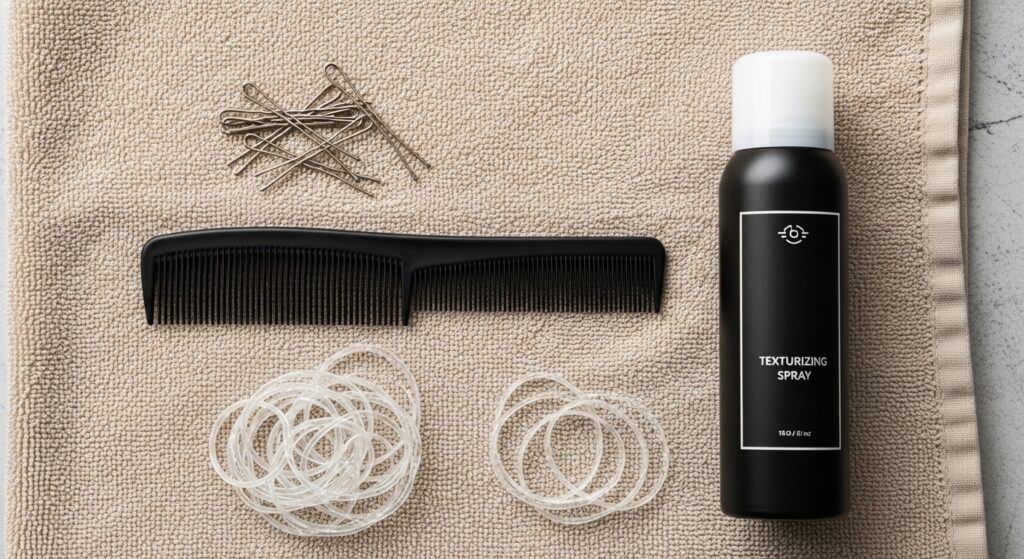
You don’t need a salon’s worth of products. Here’s your minimalist toolkit:
- A fine-tooth comb for clean parts.
- Strong, clear elastic bands (small).
- Bobby pins that match your hair color.
- A light-hold texturizing spray or mousse.
- A mirror you can walk around is super helpful.
That’s really it. The focus is on technique, not product overload. The texturizing spray is key for giving slightly slippery hair some grip, making the braiding process much smoother.
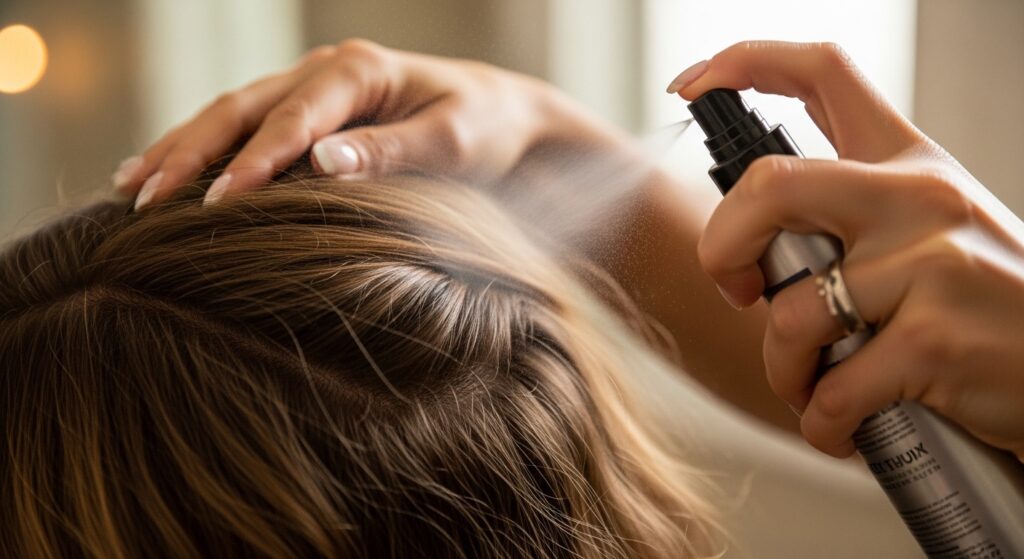
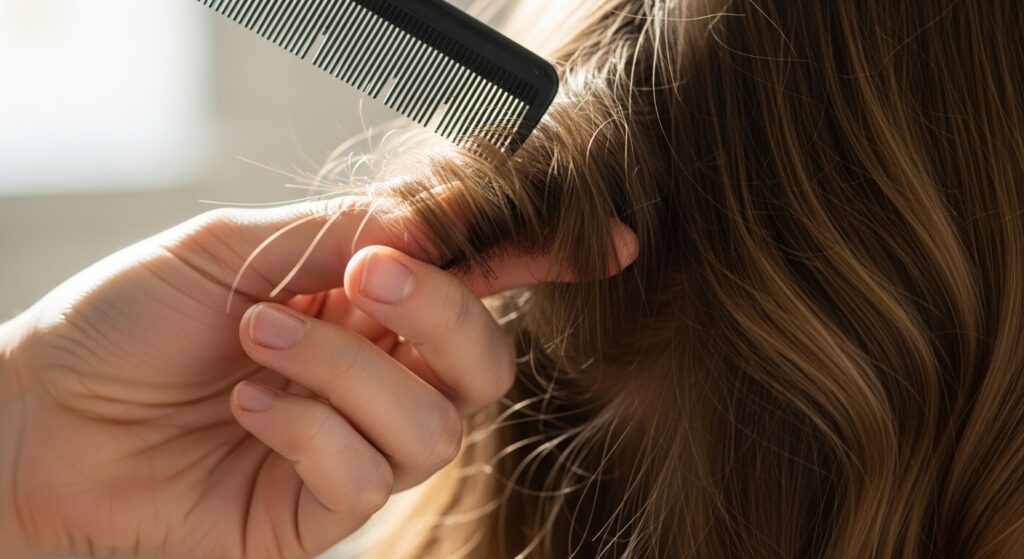
Step 1: The Perfect Prep for Lasting Hold
Start with day-old hair or spray dry roots with a little dry shampoo. This gives you the perfect amount of texture and grip. If your hair is freshly washed, apply a light mousse to damp hair and blow-dry for volume.
Do not brush it out smooth. We want that slight grit. Comb through to detangle, but that’s it. The goal is manageable hair that isn’t fighting you or sliding out of the braid. This prep step is what separates a braid that lasts from one that falls apart.
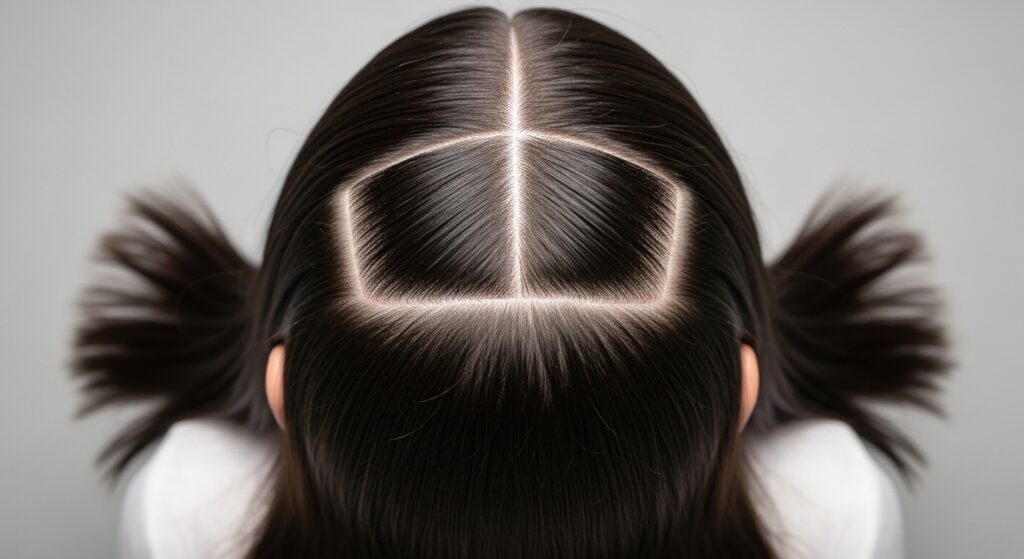
Step 2: Mapping Your Two Sections
This is the most important step. Using the end of your comb, part your hair cleanly down the middle, from forehead to nape. You now have a left and right side.
On each side, create a horizontal part from the top of your ear back to your center part. This separates the top section (which you’ll braid first) from the bottom reservoir of hair. Clip the bottom sections out of the way. You should have two top sections ready to braid.
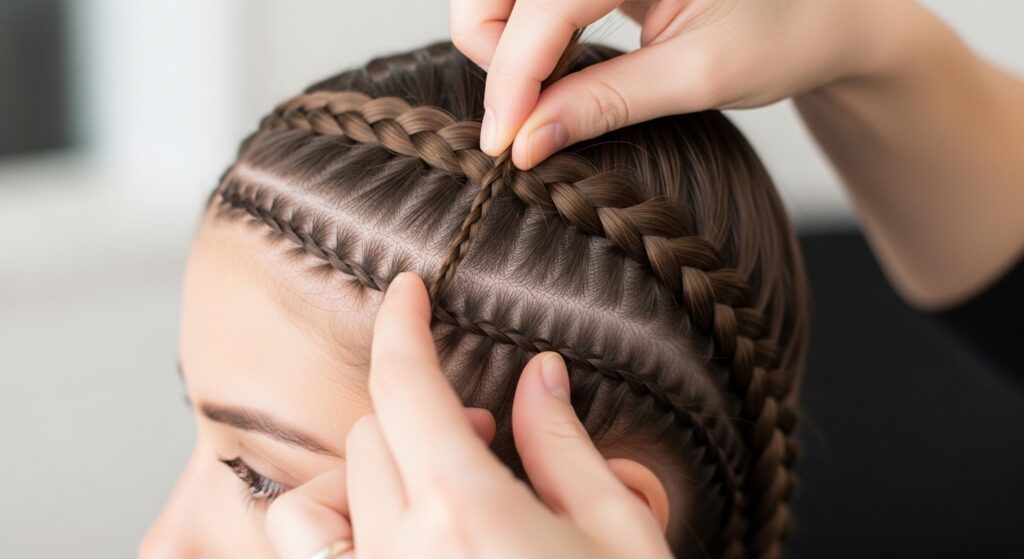
Step 3: Braiding the First Crown (The Top Layer)
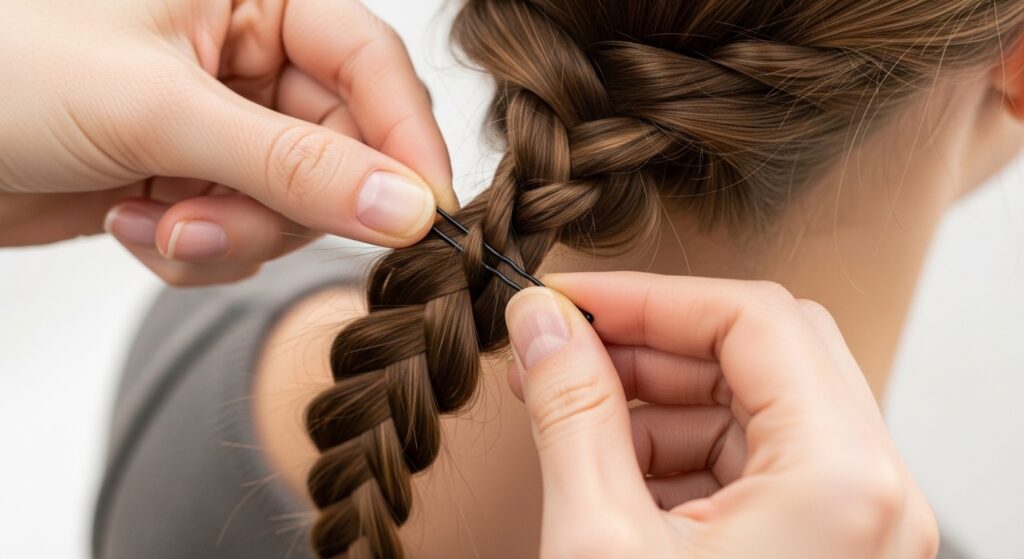
Start on your dominant side for easier control. Take the top section of hair and begin a simple three-strand braid. Braid tightly along your hairline, adding in small pieces of hair as you go (this is a Dutch or inside-out braid technique).
Continue braiding this way, following your hairline around the back of your head. Stop when you reach the opposite side, near the end of your horizontal part. Secure the end with a clear elastic. Don’t worry about the tail; we’ll deal with it later.
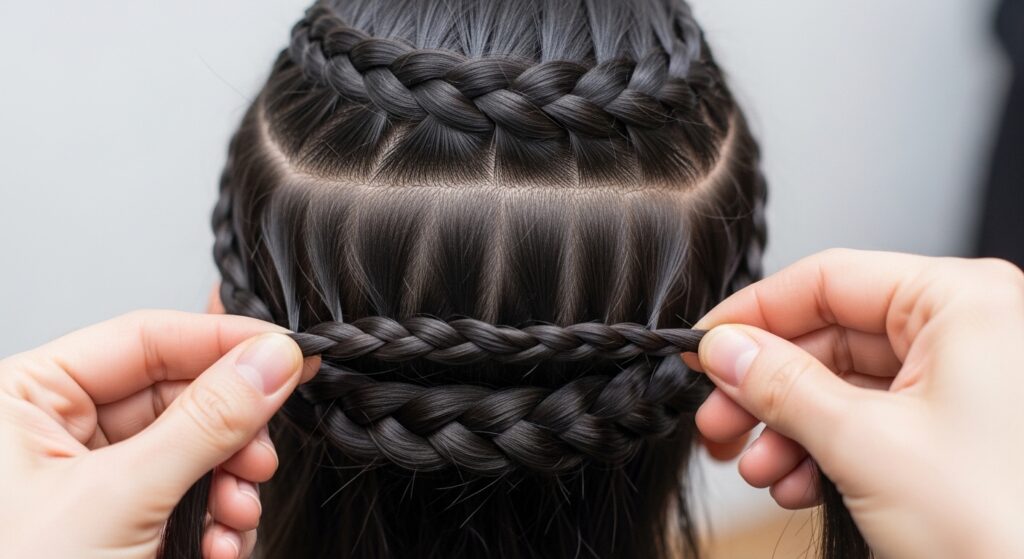
Step 4: Braiding the Second Crown (The Bottom Layer)
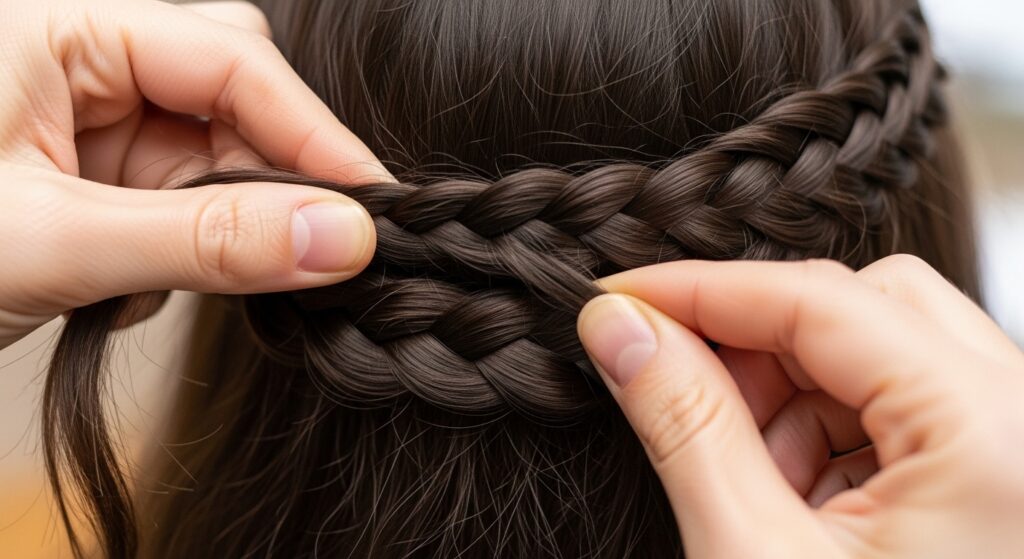
Unclip the bottom reservoir of hair on the side you started. Combine it with the tail from your first braid. Now, start a second Dutch braid right below the first one, using all this hair.
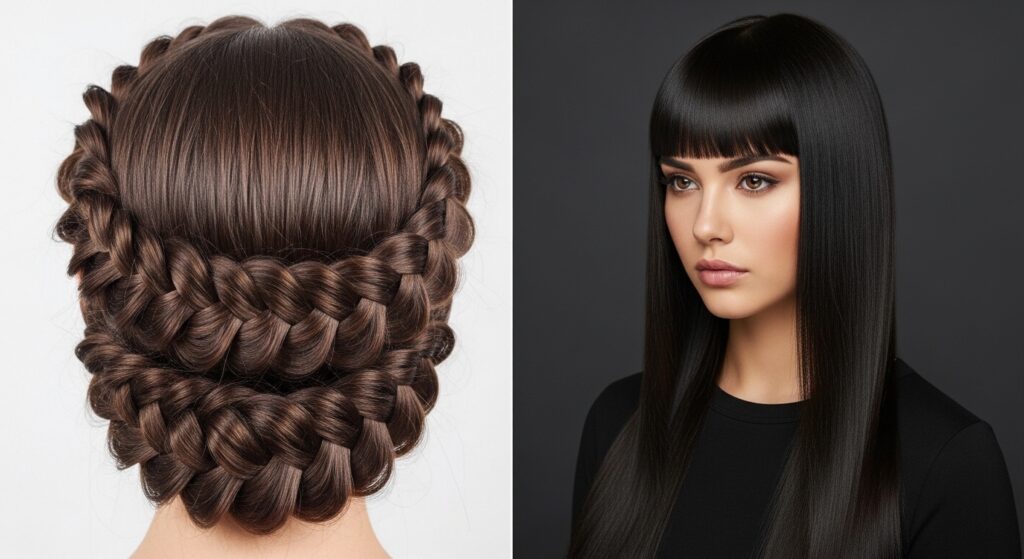
This braid will feel thicker. Follow the same path, staying just under the first braid. Go all the way around until you run out of hair to add and have a braided tail. Secure it with an elastic. You should now have two braids circling your head.
Step 5: Wrapping & Securing the First Braid
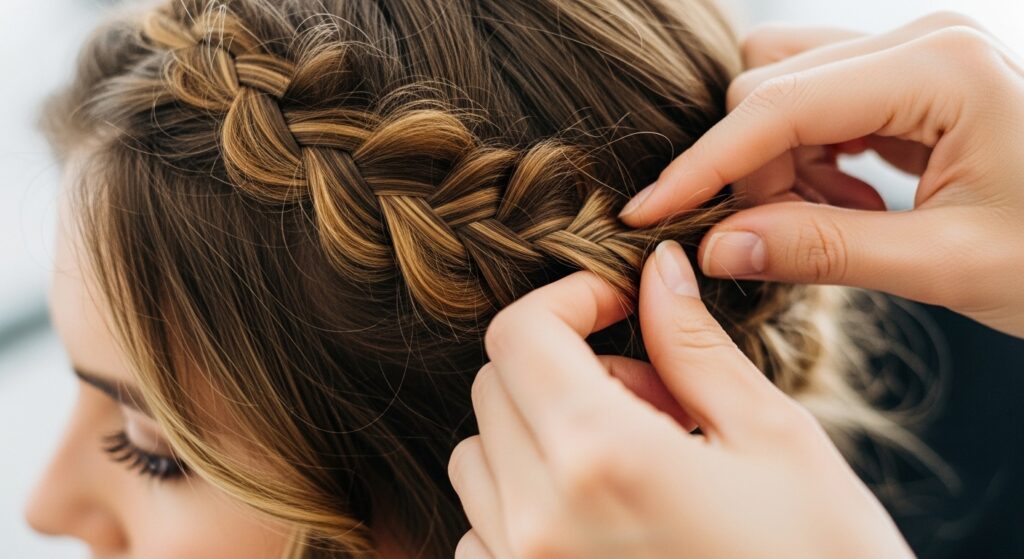
Take the tail of your first (top) braid. Gently wrap it around your head, following the path of the braid. Use bobby pins to secure it underneath the braid itself, hiding the pins completely.
Tuck the end of the tail under the start of the second braid if you can. The goal is to make it look like one continuous, seamless circle. Pin every few inches for security. Don’t be shy with the pins!
Step 6: Wrapping & Securing the Second Braid
Now, do the exact same thing with the tail of your second (bottom) braid. Wrap it around, pinning it underneath itself. This second wrap fills in any gaps and creates that stunning “double” effect.
Where the second braid ends, try to tuck it under the start of the first braid. This creates a perfect loop. Check for loose spots by gently shaking your head. Add more pins where needed.
Step 7: The Final Fluff & Polish
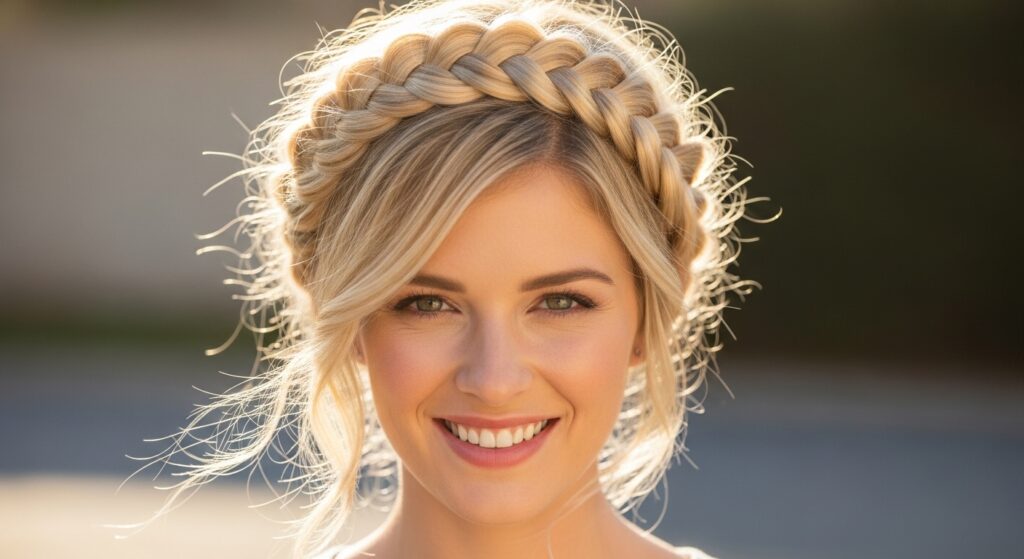
This is where the magic happens. Gently pull on the outer loops of both braids to loosen them and create a fuller, softer look. You want them to look romantic, not tight and severe.
Spray a light mist of hairspray over the entire style, focusing on any flyaways. You can also use a tiny bit of pomade on your fingertips to smooth down any baby hairs around your face for a polished finish.
Pro Tip: Making It Work for Fine Hair
If you have fine or slippery hair, prep is everything. Use a texturizing spray on dry hair before starting. When you braid, make your sections smaller and braid tighter.
Consider a tiny bit of backcombing at the roots of each section before you braid it for extra grip and volume. It makes a huge difference. Don’t be afraid to use more pins, either—the goal is hold.
Pro Tip: Styling on Thick, Curly Hair
For thick or curly hair, this style is a dream for showcasing texture. Start on stretched or blown-out hair if you want a more defined braid. Use a strong-hold mousse for control.
Your braids will be incredibly voluminous. You might not need to “fluff” them as much at the end. Embrace the natural volume and use strong-hold pins to manage the thickness. The result is absolutely majestic.

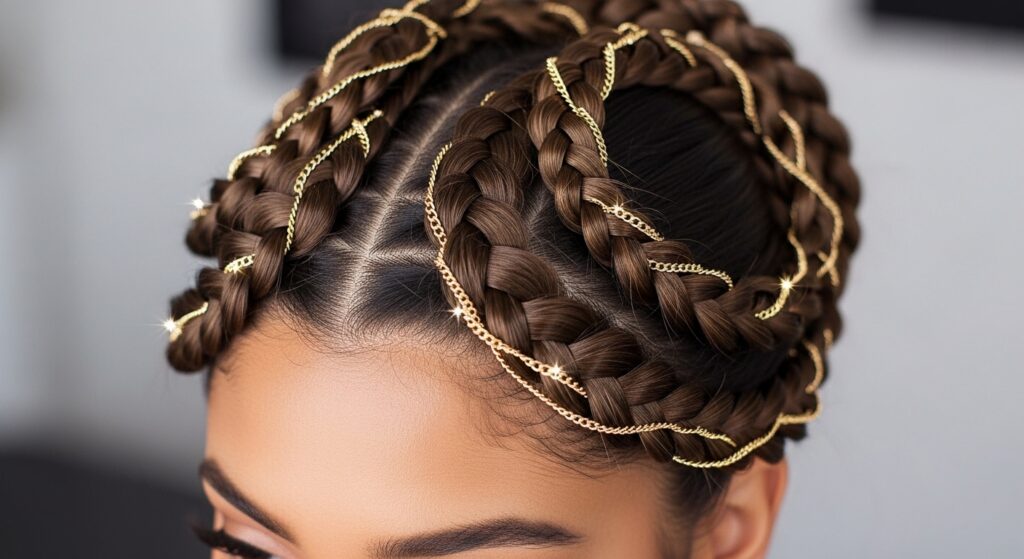
How to Accessorize Your Goddess Braids
This style is beautiful alone, but adding accessories takes it to another level. Try these ideas:
- Weave a delicate gold or pearl chain into the braids.
- Pin small, fresh flowers or silk blooms along the crown.
- Use fancy bobby pins or hair vines for a touch of glitchy glam hair detail.
Keep accessories minimal so the braid itself remains the star. A few strategic pieces are all you need to feel truly regal.
From Day to Night: Transforming the Look
Wore this to the office? Transform it for dinner in two minutes. Pull out a few face-framing pieces to soften the front. Add those sparkly accessories we talked about.
You can also gently pull the braids a bit looser for a more romantic, undone vibe. A stronger hold hairspray can refresh the style and add shine. It’s the ultimate versatile look.
Common Mistakes and How to Fix Them
Braids too tight and giving a headache? Gently pull the outer loops to release tension. Parts not clean? Use the pointed end of a comb and a mirror to check your work before braiding.
Is the braid slipping? You likely didn’t pin underneath the braid itself. Take it down and re-pin, angling pins into the braid for a solid anchor. Practice makes perfect!
Pairing This Braid with Your Makeup Look
This ethereal hairstyle pairs beautifully with soft, glowing skin. Go for a dewy base, flushed cheeks, and defined brows. For eyes, try soft brown smokiness or a pop of shimmer.
If you’re feeling a romantic goth hairstyles twist, pair it with a deep berry lip and softer eye makeup. The contrast between the delicate braid and a bold lip is stunning. It’s a great way to edge up the look.
Why It Feels More “Old Money” Than a Messy Bun
There’s an undeniable old money hair quality to this style. It’s not loud or trendy; it’s a display of skill and quiet confidence. It speaks to effort and care, which is the opposite of thrown-together.
It has that timeless, aristocratic feel—like something you’d see in a vintage portrait. It’s polished without being stiff, which is the ultimate goal of quiet luxury aesthetics.
Comparing Styles: Halo Braid vs. Hime Cut
While the halo braid is all about intricate wrapping, the hime cut is a bold, structured cut with dramatic face-framing pieces. Both make a statement but in very different ways.
The braid is a temporary style you can do yourself. The hime cut is a serious commitment to a cut. If you love the crowned feel of the halo but want a permanent change, the hime cut could be a fascinating alternative to explore.
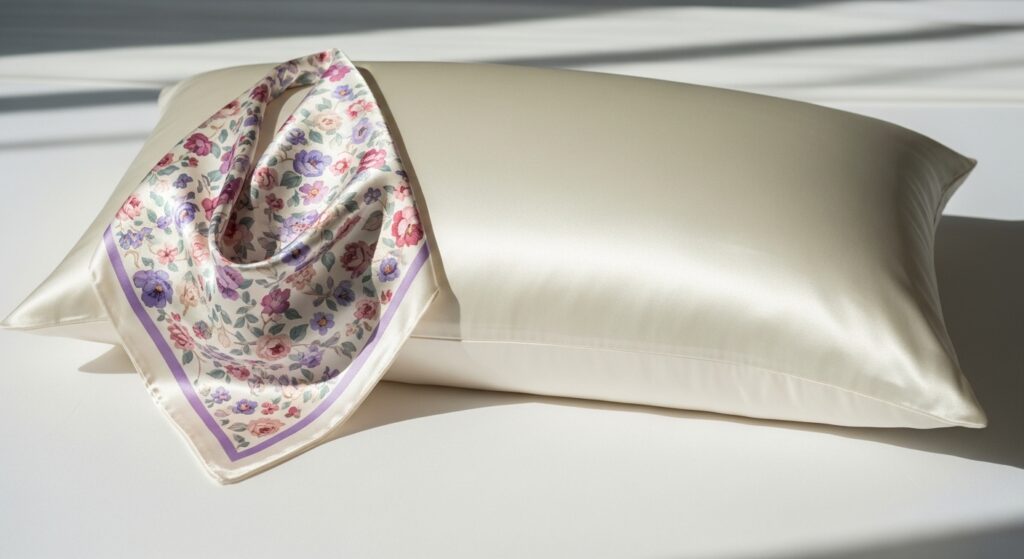
Maintaining Your Braids Overnight
Want to save this style for a second day? Sleep on a silk or satin pillowcase. Loosely wrap your head in a silk scarf, or put your hair in a loose, high ponytail using a silk scrunchie.
In the morning, remove the scarf, refresh with a little texturizing spray at the roots, and re-pin any loose sections. You’ll get a beautifully lived-in, romantic version of the original style.
This Braid in the Context of 2026 Hairstyles
As we look at 2026 hairstyles, the trend is moving toward personalized, meaningful style. This braid fits perfectly—it’s not about a fad, but about a feeling. It’s soulful and expressive.
It aligns with the rise of “glitchy glam” and “quiet luxury” where detail and craftsmanship are key. It’s a hands-on style in a digital world, which makes it feel even more special and authentic.
When to Choose This Over an Asymmetrical Lob
An asymmetrical lob is a killer cut, but it’s a permanent change. This double halo braid gives you that same edge and interest without the scissors. It’s all about temporary transformation.
Choose the braid when you want maximum impact for an event or just a mood. Choose the lob when you’re ready for a daily, low-maintenance style that still has a cool-girl factor. Both are winners, just for different reasons.

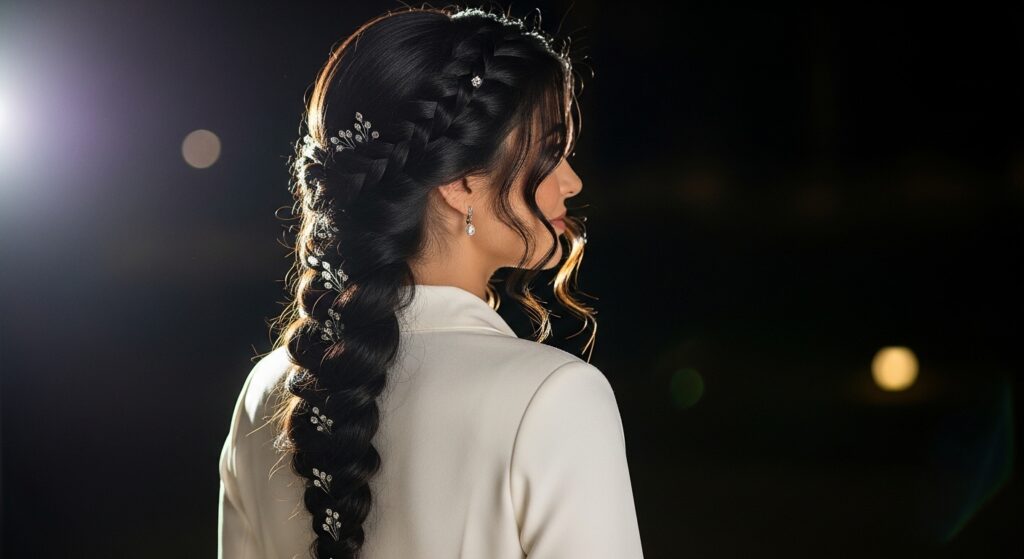
The Vampire Haircut Vibe: Dark & Romantic
There’s a definite overlap with the vampire haircut aesthetic here—think dark romance, Victorian elegance, and a touch of drama. This braid would fit right into that world.
To lean into the vibe, keep your hair its natural dark color or add a temporary color spray. Pair it with pale skin and dramatic eyes. It’s a fun way to theme your style for a party or just embrace your inner romantic goth.
Your Final Confidence Boost
Walking out with this style, you will feel powerful. It takes time and patience to master, so wearing it is a badge of honor. It says you care about the art of getting ready.
Embrace the compliments. You did this yourself! That feeling of creating something beautiful with your own hands is the real goddess vibe. It’s not just about the look, it’s about the act of creating it.
And there you have it—your complete guide to achieving those soulful, double-wrapped halo braids. It might take a practice run or two, but once you get the mapping down, it becomes a surprisingly quick style. Remember, perfection isn’t the goal; a little softness and volume make it even better.
This is one of those hairstyles that grows with you. Each time you do it, you’ll get faster and maybe start adding your own twists. It’s a tool in your beauty toolkit that always delivers a dose of magic when you need it most.
I’d love to see your creations! Did you add flowers? Try it on curly hair? Save this post to Pinterest to keep the guide handy, and drop a comment below telling me which pro tip helped you the most. Happy braiding, friend!