Loop 29 Pinch-Out Curls Defined Naturally After Protective Styles
Okay, let’s talk about that post-protective style moment. You’ve taken down your braids or twists, and your hair is… confused. It’s stretched, maybe a little frizzy, and you’re staring at it wondering what to do next. I’ve been there so many times.
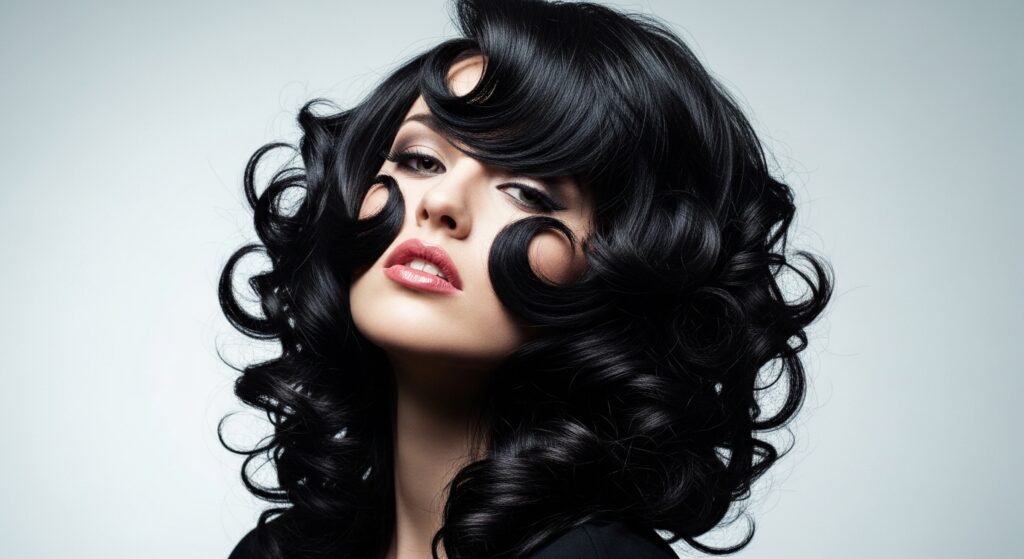
But what if I told you this is the perfect time for the most defined, bouncy curls of your life? No, seriously. The secret is a technique called the Loop 29 Pinch-Out. It sounds fancy, but it’s just a simple, gentle way to coax your curls back to their natural pattern.
This method saved my hair after my last set of knotless braids, and today, I’m walking you through every single step. It’s the perfect reset for embracing your natural texture and trying out some of the effortless 2026 hairstyles we’re all loving. Let’s get those dreamy, defined curls back.
What Are Loop 29 Pinch-Out Curls?
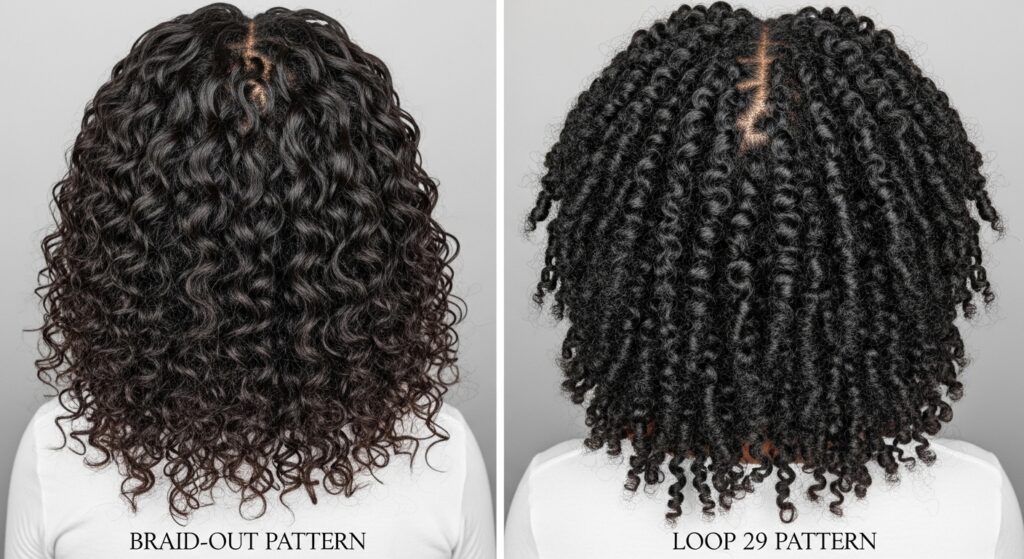
First things first, let’s break down the name. “Loop 29” refers to a specific, gentle hand-coiling motion that forms perfect loops. The “Pinch-Out” is the magic finishing step that separates the clumped curls for volume and definition without causing frizz.
Think of it as the ultimate curl rehabilitation. It works beautifully on hair that’s been stretched or loosened from being in protective styles for weeks. This technique gives you control, allowing you to shape your curls into everything from soft, old money hair waves to more structured ringlets.
Why Your Hair Needs This After Protective Styles
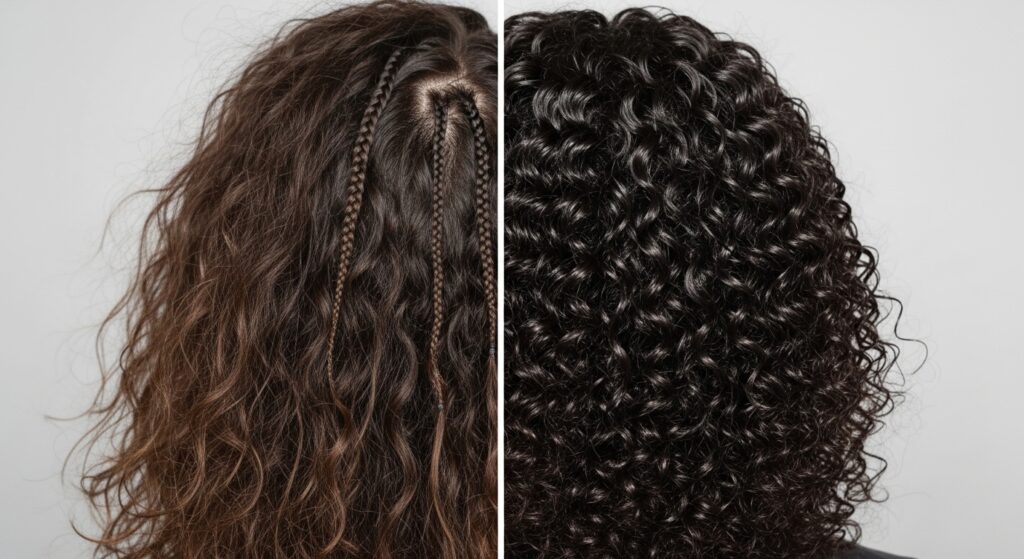
Protective styles are a lifesaver for growth and giving your hair a break. But when you take them down, your natural curl pattern can be a little… lazy. It’s used to being in a certain position and needs a gentle reminder of how to spring back.
Harsh brushing or raking through with a comb can lead to major frizz and breakage at this delicate stage. The Loop 29 method is all about encouraging your curls, not forcing them. It helps redefine your pattern from root to tip, ensuring your hair looks healthy and intentional, not just “taken down.”
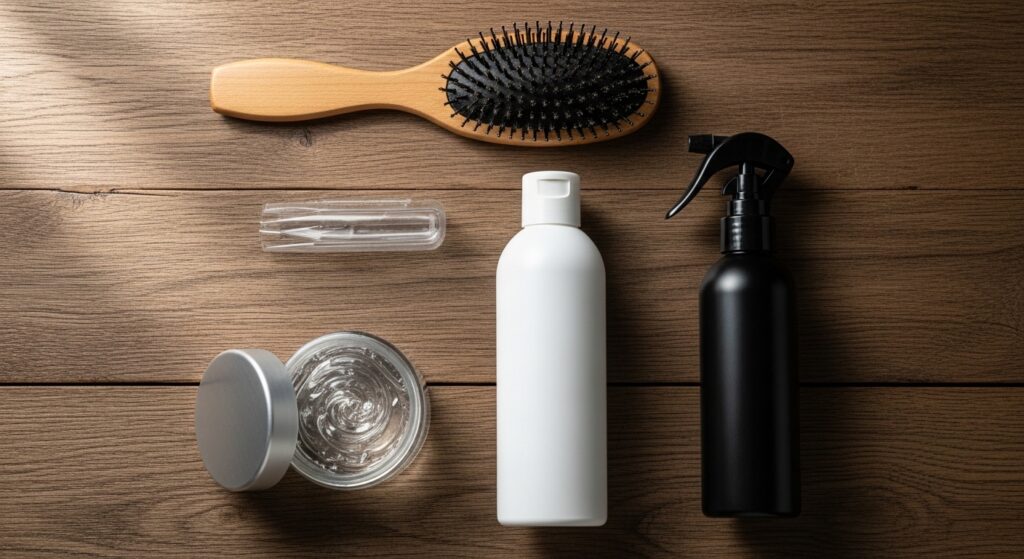
Gathering Your Simple Toolkit
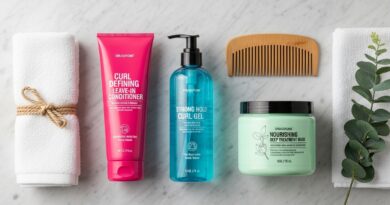
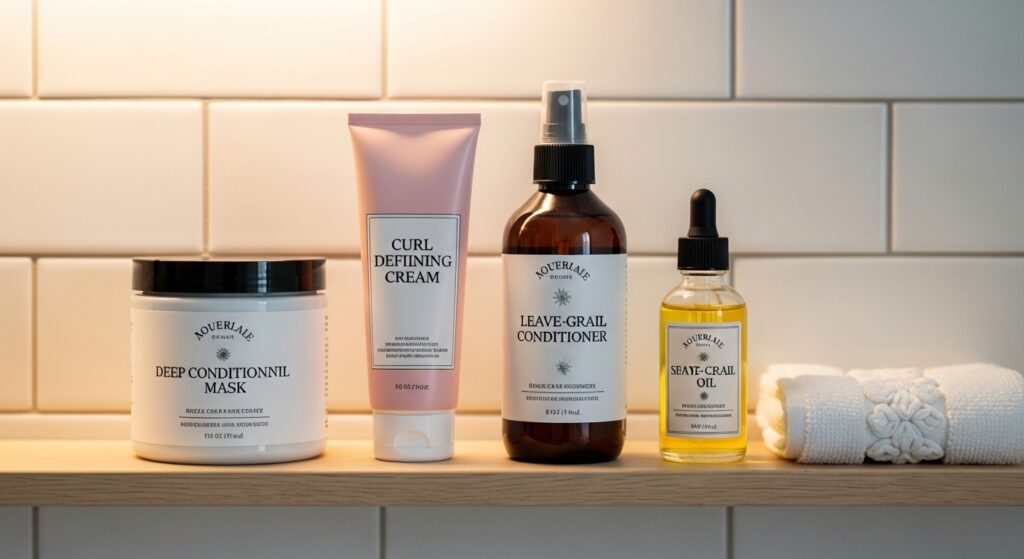
You don’t need a salon’s worth of products. The beauty of this method is in its simplicity. Here’s what you’ll need for the best results:
- A great leave-in conditioner or curl cream.
- A lightweight gel or mousse for hold.
- A wide-tooth comb and a detangling brush.
- A spray bottle with water.
- Your hands! They’re your best tool.
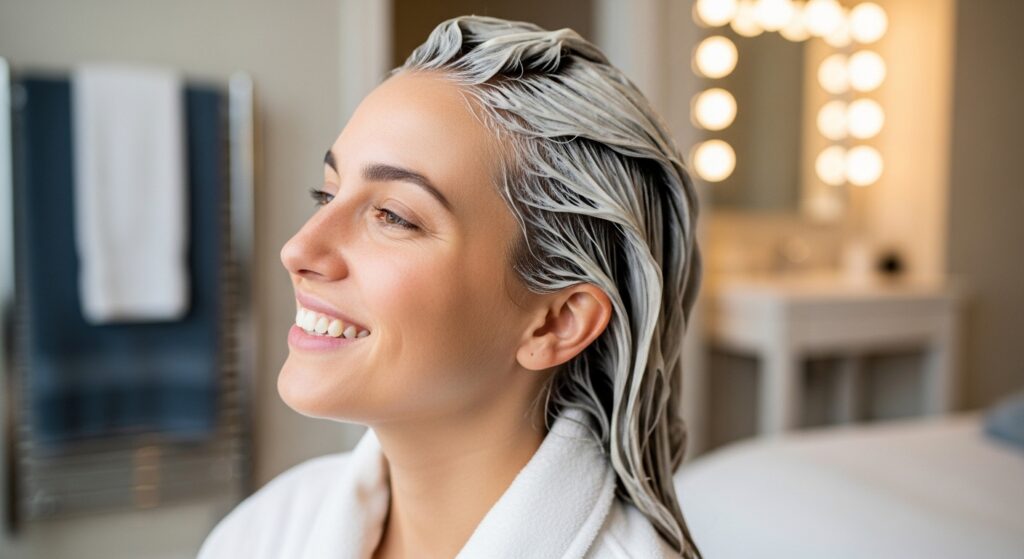
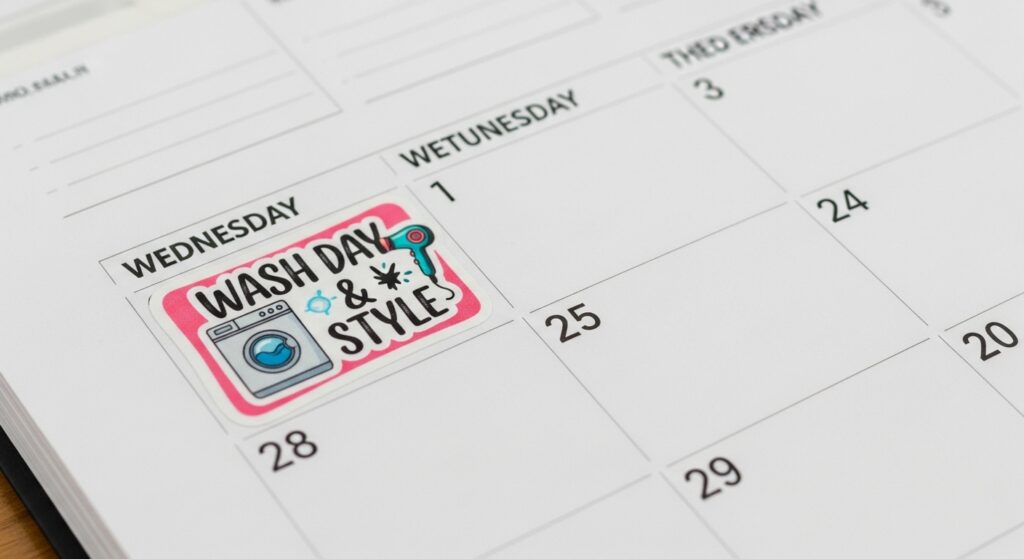
Step 1: The Perfect Post-Style Wash Day
Start with a super hydrating shampoo and conditioner. This is not the time to skip deep conditioning! Your hair is thirsty after being tucked away. I always use a moisturizing mask for at least 20 minutes with a little heat.
The goal is to get your hair as soft and manageable as possible. Detangle thoroughly in the shower with conditioner in your hair. You want a clean, smooth, and super moisturized slate to work with before you even think about styling.
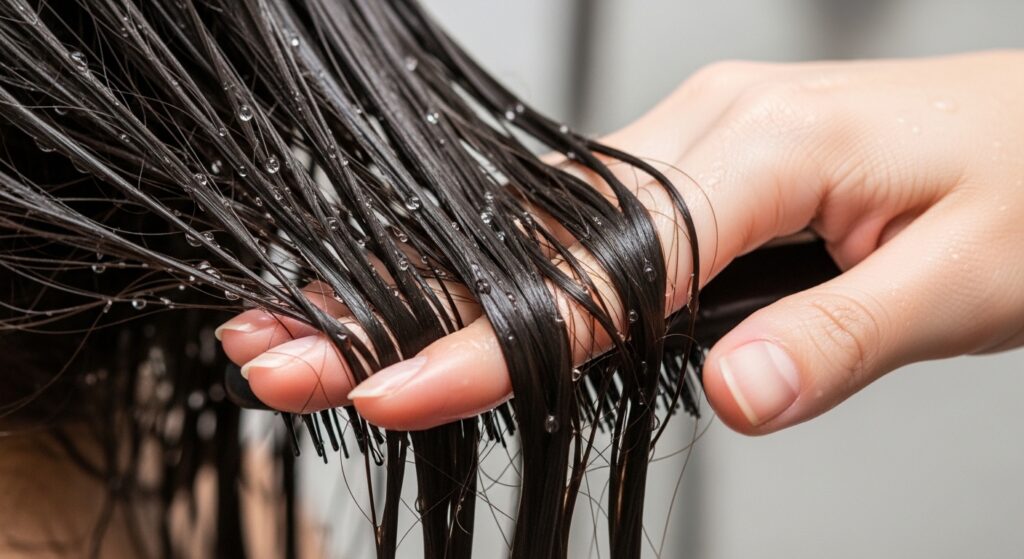
Step 2: The Key to Clump-Free Detangling
After rinsing, apply your leave-in conditioner to soaking wet hair. Section your hair into four parts. This makes everything easier and ensures you don’t miss any spots.
Using your detangling brush, start from the ends and gently work your way up to the roots. The hair should be so wet you hear a “squish” sound. This moisture is what will help form those perfect, juicy curl clumps later on.
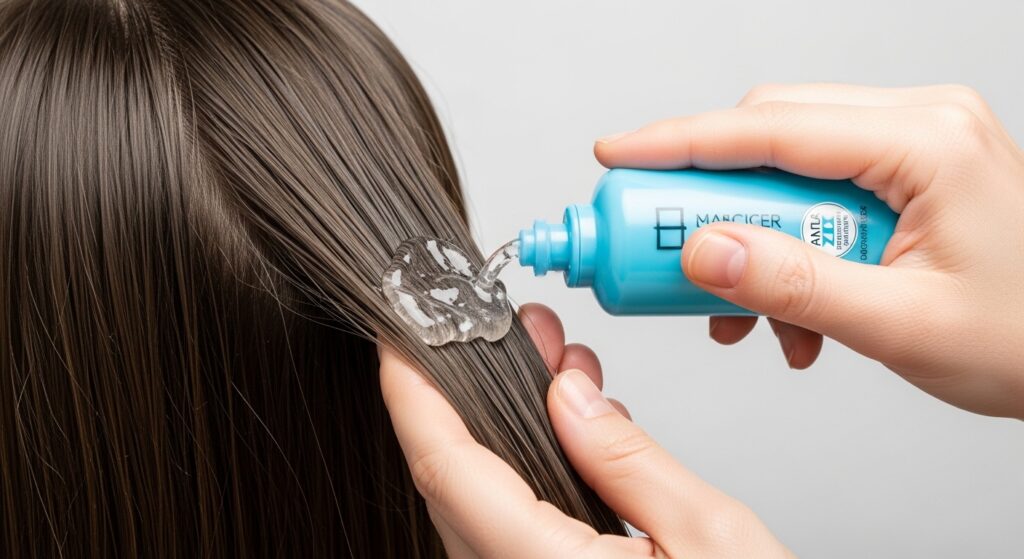
Step 3: Applying Your Defining Products
Now, apply your curl cream or defining product to each section. Use the “praying hands” method to smooth it down the hair shaft. This helps align the hair and reduces frizz.
Follow up with your gel or mousse. Don’t be shy with the gel—you need it for a good cast that will lock in the shape. The order is key: hydration first, then hold. Your hair should feel coated and slippery.
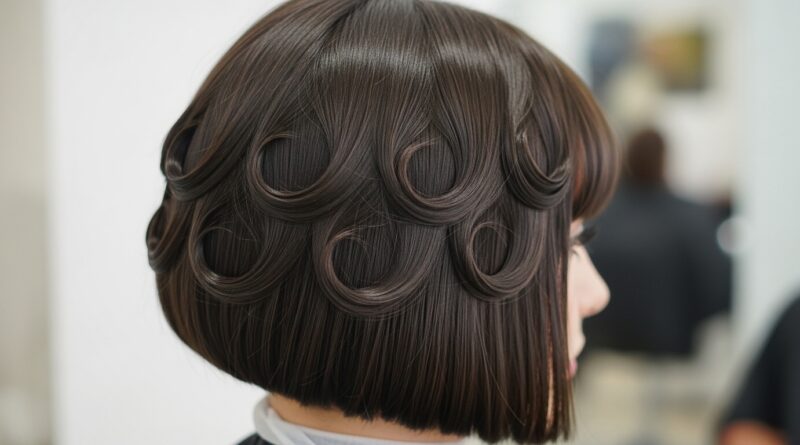
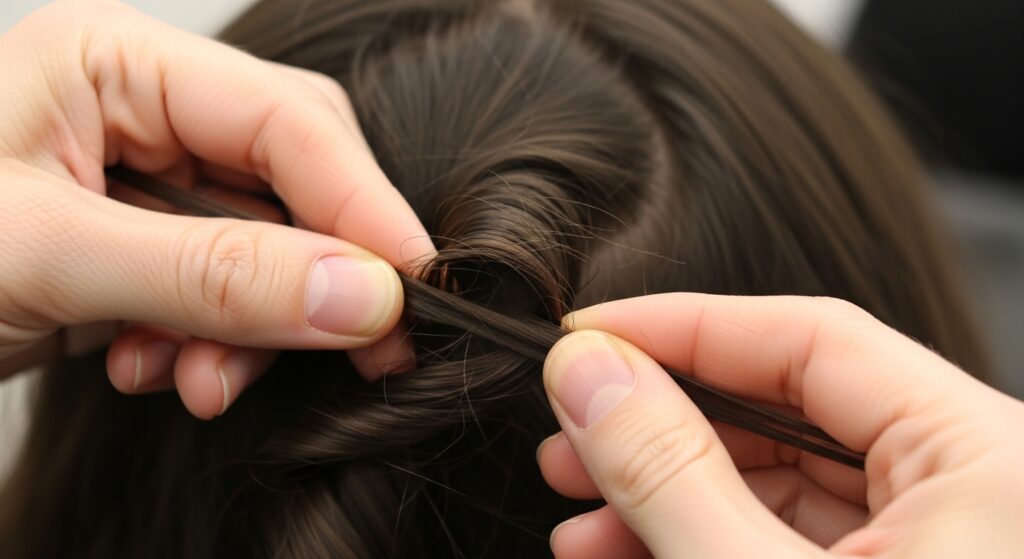
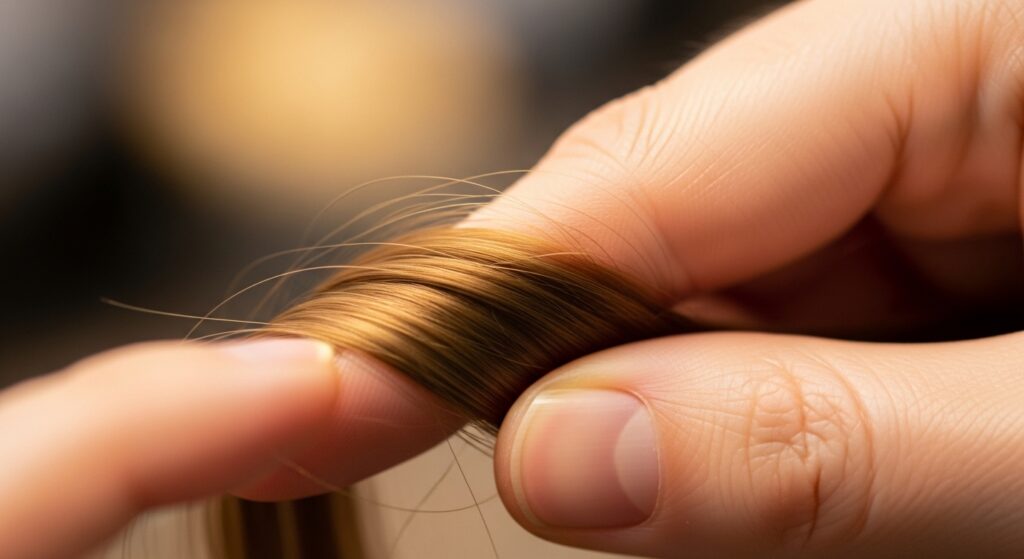
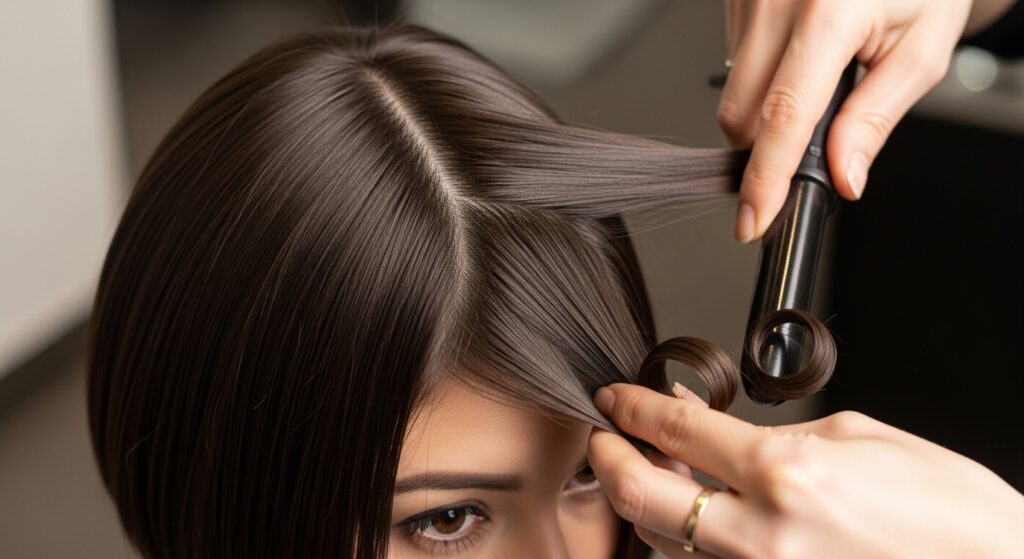
Step 4: The Loop 29 Motion Explained
Here’s where the magic happens. Take a small, horizontal subsection of hair. With your index finger and thumb, start at the root and gently begin to coil the hair around your finger.
Create a loose loop, almost like you’re making a ribbon curl. The motion is soft and continuous. Don’t pull too tight. You’re guiding the hair into its natural curl memory. Practice makes perfect here!
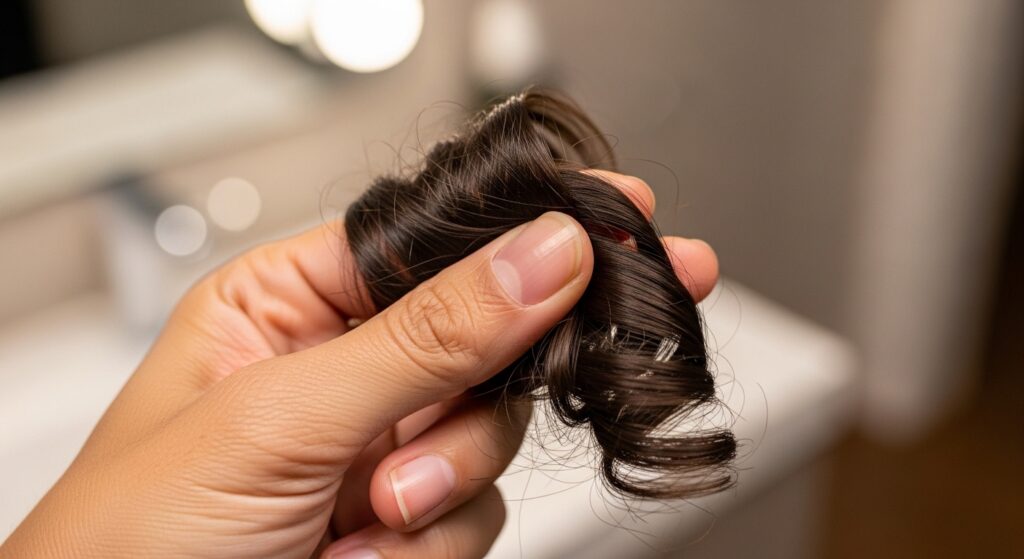
Step 5: Mastering the “Pinch-Out” Finish
Once you’ve coiled a section from root to end, you’ll have a beautiful, shiny curl clump. Now, gently “pinch” this clump between your thumb and index finger and slide them down to the end.
This motion slightly separates the strands within the clump, adding instant volume and preventing a crunchy, stringy look. It’s the difference between a wet look and a soft, defined finish.
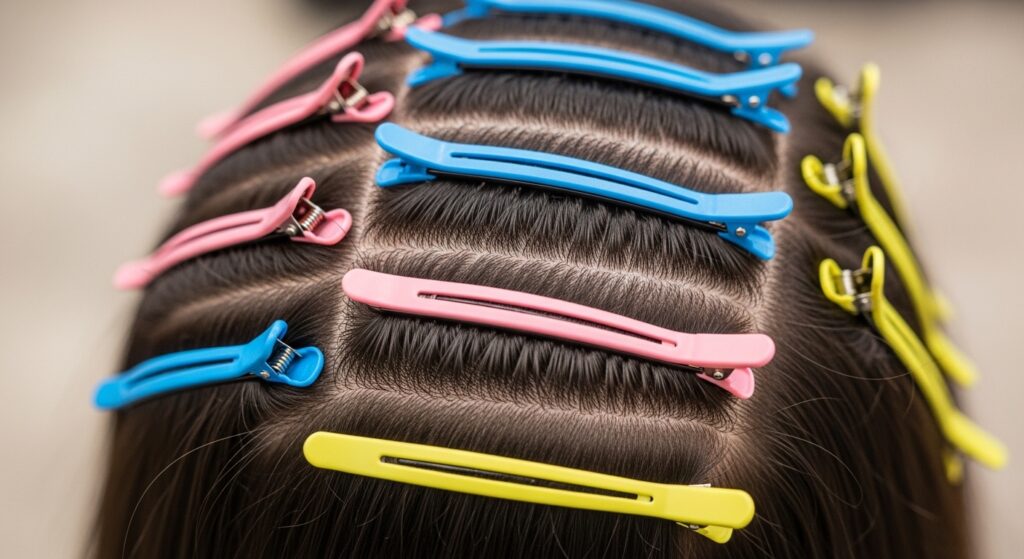
Step 6: Sectioning for Consistent Results
Work in small, manageable sections. I start at the nape of my neck and work my way up and around my head. Keep your spray bottle handy to re-wet any sections that start to dry.
Consistency in section size is what gives you a uniform curl pattern. Smaller sections mean more definition, while larger sections give a looser, wavier look—perfect for that asymmetrical lob vibe if that’s your goal.
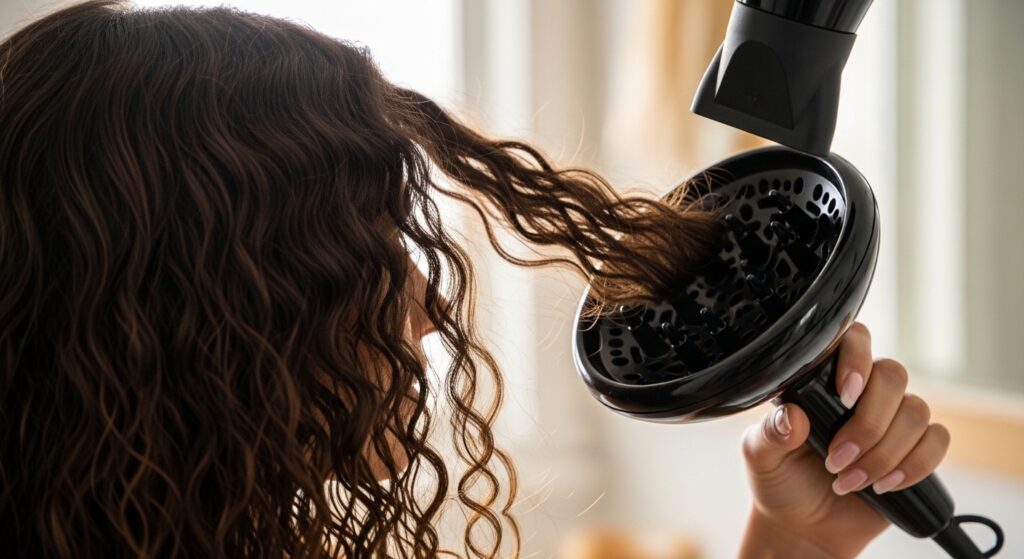
Step 7: Drying for Maximum Definition
Do not touch your curls while they dry! Let the gel cast form completely. You can air dry if you have time, but for less frizz and more bounce, use a diffuser.
With a diffuser, hover around the roots first to set them, then gently cup sections of curls in the bowl without disturbing them. Use low heat and low speed to prevent frizz.
Step 8: The Final “Scrunch Out the Crunch”
Once your hair is 100% dry and feels hard from the gel cast, it’s time for the final reveal. Put a tiny drop of hair oil or serum on your palms.
Gently scrunch your hair upwards towards your scalp. You’ll hear a slight crunching sound—that’s the gel cast breaking. Keep scrunching until all the hard feeling is gone and you’re left with soft, touchable, defined curls.

Styling Your New Curls for Day Two
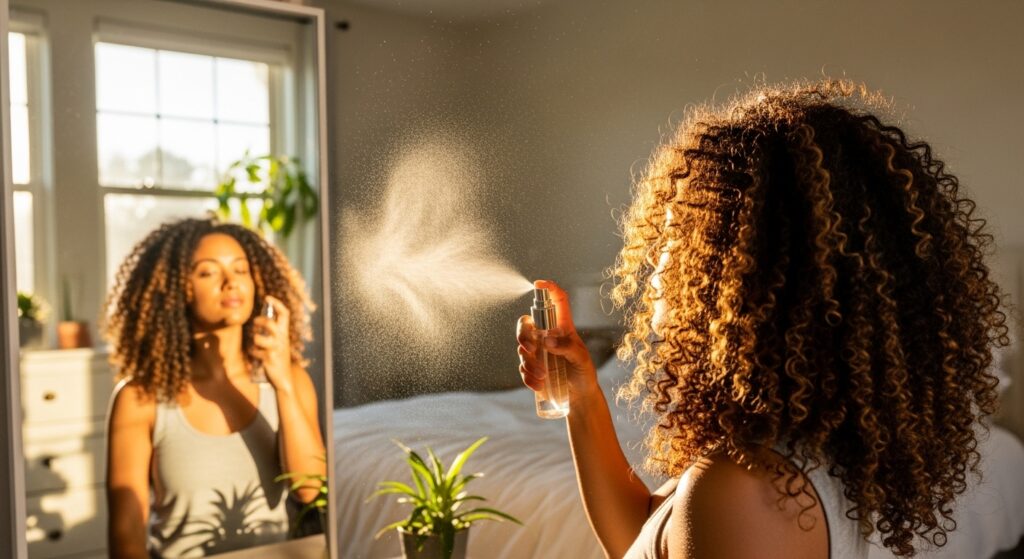
Sleep on a satin pillowcase or in a satin bonnet. In the morning, your curls will likely be a bit flat at the roots. No problem! Use a steam method or a spray bottle with water and a bit of conditioner to lightly dampen your hair.
Reshape a few random curls using the pinch-out method on any frizzy spots. Fluff your roots with your fingers for volume. This refresh process takes minutes and brings your curls right back to life.
Adapting the Technique for Different Lengths
Short hair? This method is amazing for adding definition and shape to a quiet luxury bob. Just use even smaller sections. For longer hair, you might need to create two loops per section to prevent stretching.
The principle is the same: guide, don’t force. On a hime cut with blunt front pieces, you can use this to create perfect, face-framing spirals.
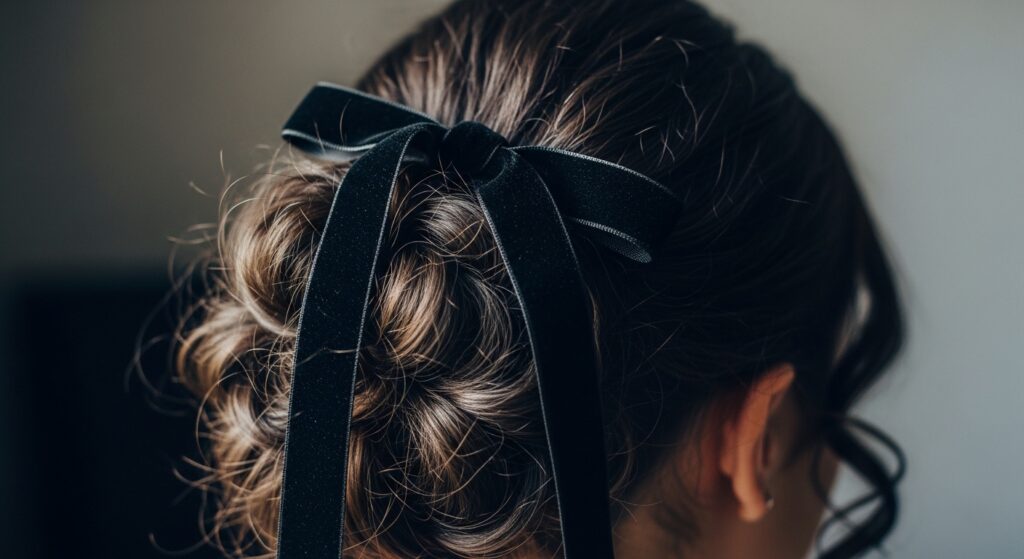
Creating Romantic Goth Hairstyles with Your Curls
These defined curls are the perfect base for so many styles. For a romantic goth look, add a deep side part and tuck one side behind your ear. Accessorize with a dark, velvet scrunchie or a few decorative pins.
You can also pull the top half back loosely for a soft, Victorian-inspired look. The defined curls add texture and drama that straight hair just can’t match for this aesthetic.
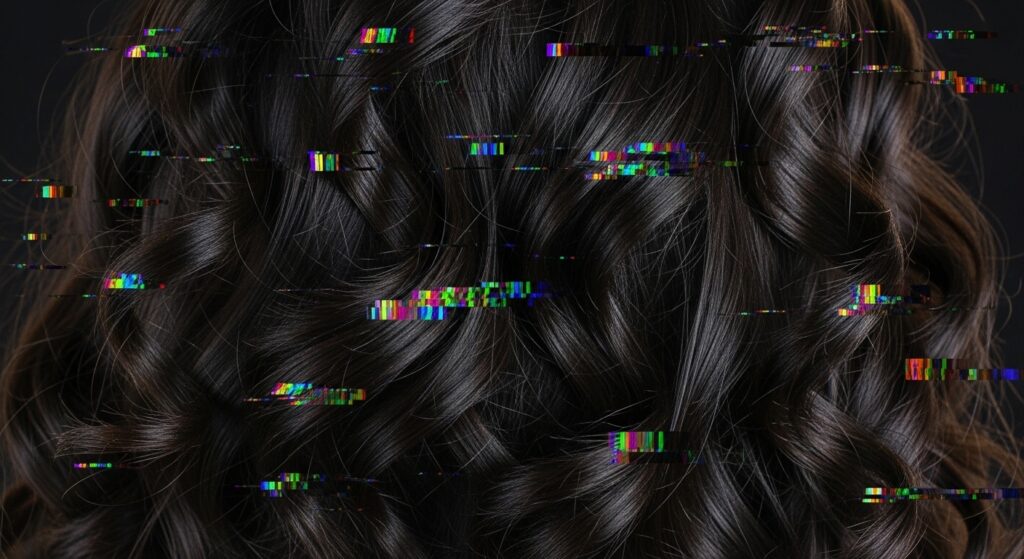
Getting the Glitchy Glam Hair Texture
Glitchy glam hair is all about intentional texture and “imperfect” perfection. After your pinch-out curls are set, gently pull apart a few select curls to make them wider and more piece-y.
Use a tiny bit of wax or pomade on your fingertips to separate and define a few stray pieces around your face. The goal is artful, edgy disarray, and your defined curl base makes it easy to achieve.
Channeling the Vampire Haircut Vibe
The popular vampire haircut often features heavy, face-framing layers and a generally undone-yet-stylish texture. Your newly defined curls are ideal for this.
Emphasize your front layers by styling them with extra definition. Let the rest of your curls fall more loosely. The contrast is key. It’s a great way to add a touch of edgy, effortless drama to your look.
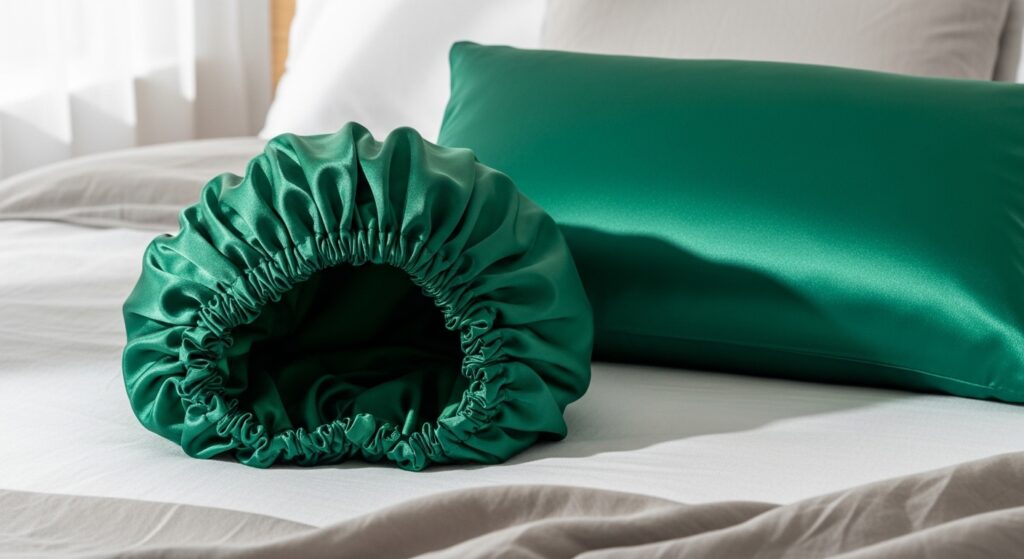
Protecting Your Curls at Night
Protecting your style is non-negotiable. I always use a satin or silk bonnet. Before putting it on, I loosely gather my hair at the crown of my head—this is called “pineappling.”
For shorter hair, you can use a satin scarf or even just a satin pillowcase. This simple step reduces friction, prevents frizz, and makes your gorgeous curls last for days, not just one day.
My Favorite Products for This Method
I keep my product lineup simple. For a cream, I love one that’s rich but not heavy. For gel, a strong-hold one that still scrunches out soft is my go-to.
Always remember, your perfect product might be different from mine. The technique matters more than the specific brand. Look for products labeled for curl definition and moisture.
- Curl Cream: Moisturizing, no alcohol.
- Gel: Strong hold, water-based.
- Mousse: For a lighter, airier feel.
Troubleshooting Common Problems
Frizzy while wet? Your hair might not be wet enough. Soak it. Curls won’t hold? You might need more gel or a stronger hold product. Crunch won’t scrunch out? You might have used too much product or not let it dry fully.
Sticky or flaky results? Check for product buildup or incompatible products (e.g., mixing silicone with protein). A clarifying shampoo before you start can solve many issues.

How Often Should You Do This?
This is a perfect wash-day styling routine. You don’t need to do it every day. In fact, your curls will last 3-5 days with proper nighttime protection and light refreshing.
I do this full routine once a week. On other days, I just refresh. Over-manipulation can lead to breakage, so let your beautiful curls rest and live their lives between wash days.
Why This Beats Regular Twisting or Braiding
While twisting and braiding are great, they can sometimes create a more uniform, less natural-looking pattern. The Loop 29 Pinch-Out works with your hair’s exact natural bend.
It creates variation in curl size, just like your natural hair has, which results in a more effortless, lived-in volume. It’s faster on drying time than many braid-outs too!
Your Curls, Your Signature Style
The best part about mastering your natural texture is that it becomes your signature. Whether you’re rocking a timeless old money hair look with polished waves or channeling a bold romantic goth vibe, it starts with healthy, defined curls.
This technique gives you the foundation. From there, you can accessorize, cut, and style your way to any trend, from the asymmetrical lob to the vampire haircut, all on your own terms.
Ready to Try Loop 29 Pinch-Out Curls?
I promise, once you try this, you’ll never dread taking down your protective styles again. It turns a potentially frustrating hair day into a celebration of your natural texture.
It might take one or two tries to get the motion just right, but be patient with yourself and your hair. The results are so worth it. You’ve got this!
And that’s it, friend! My complete guide to getting those dreamy, defined curls back after your braids, twists, or any long-term style. It’s a game-changer for seeing your natural hair in a whole new, beautiful light.
This method has given me so much confidence in my texture between protective styles. It’s practical, it works, and it makes you feel put-together with minimal effort. That’s the kind of hair win we all need.
Save this post to Pinterest so you have the steps handy for your next take-down day! And tell me in the comments—what’s your biggest struggle after taking out a protective style? I’d love to help.