Braid 17 Extension Blending Methods Ensuring Invisible Natural Transitions
Let’s be real. We’ve all seen those braids where the extensions start a good two inches from your scalp, and the “blend” is more of a harsh line. It’s the quickest way to ruin a gorgeous style, from a sleek quiet luxury bob to intricate romantic goth hairstyles. You deserve better.
Blending extensions into braids is an art, but it doesn’t have to be a mystery. It’s all about technique, placement, and choosing the right hair for your look.
Whether you’re aiming for 2026 hairstyles with subtle dimension or timeless old money hair elegance, the goal is seamless, invisible transitions. I’ve gathered every method I know—from basic to pro-level—so you can finally achieve that flawless, “is-it-even-her-hair?” finish.
These 17 methods will give you the natural, undetectable blend you’re dreaming of. Let’s dive in and get your braids looking absolutely perfect.
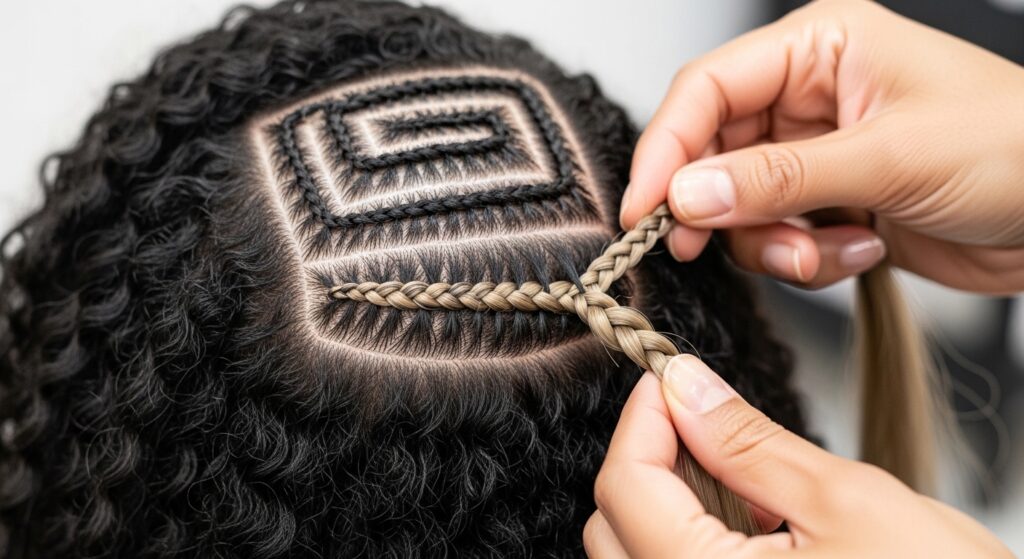
1. The Feathering Technique for a Soft Start
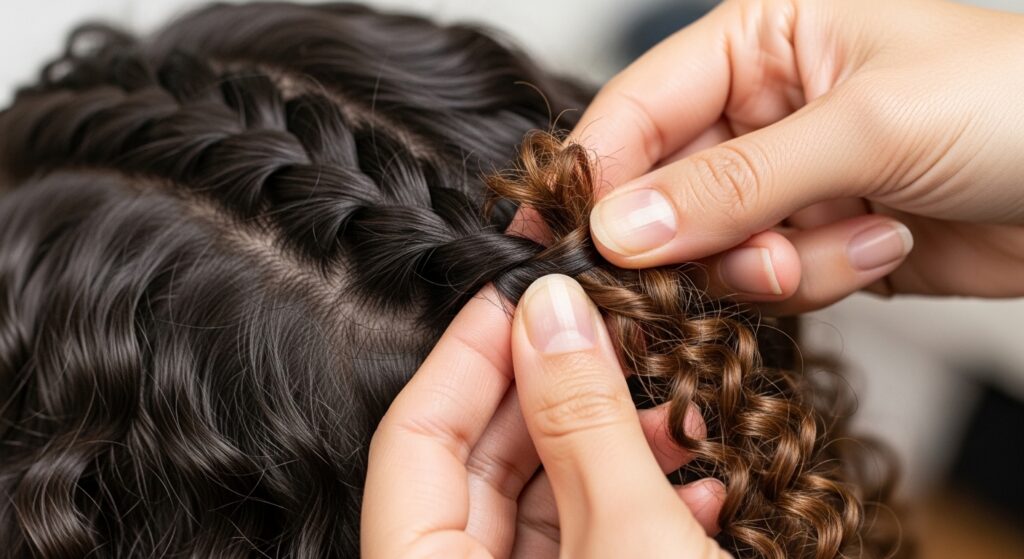
This is your foundation. Instead of grabbing all your hair at the root, you take tiny, staggered sections of your natural hair to start the braid. Think of it like soft layers in a haircut.
You gradually incorporate more of your own hair over the first inch or two before adding the extension. This creates a gentle, graduated thickness that hides the start of the added hair completely.
- Take a very small section of your natural hair.
- Begin a basic three-strand braid for two stitches.
- On the third stitch, pick up a tiny bit more of your hair AND a thin strand of the extension.
- Continue this gradual add-in until the extension is fully integrated.
2. Color Melting with Multiple Extension Shades
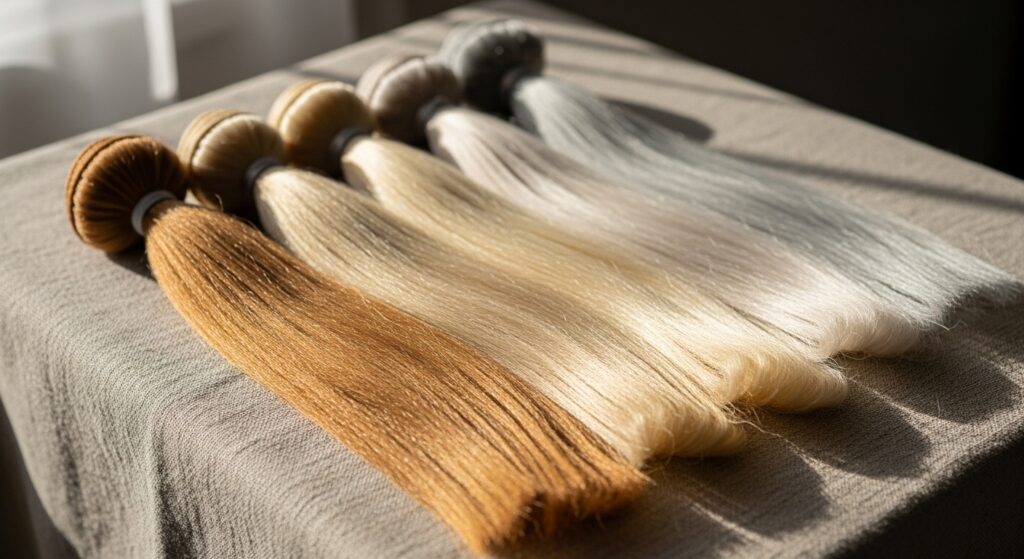
Rarely does anyone’s hair have just one flat color. Using multiple shades that match your natural highlights and lowlights is a game-changer. This is key for glitchy glam hair looks with dimensional color.
Buy two or three packs of hair in tones close to your own. When you braid, alternate which shade you use in different sections of your head. This mimics the natural variation of real hair and prevents a solid, fake-looking block of color.
3. The “Underneath Weave” for Invisible Roots

This method is brilliant for styles where the top layer is crucial, like an asymmetrical lob recreated with braids. You place the extension weft underneath a top layer of your natural hair.
Braid by incorporating that top layer of your real hair over the extension. The extension provides volume and length from beneath, while your own hair covers the attachment point at the root, making it disappear.
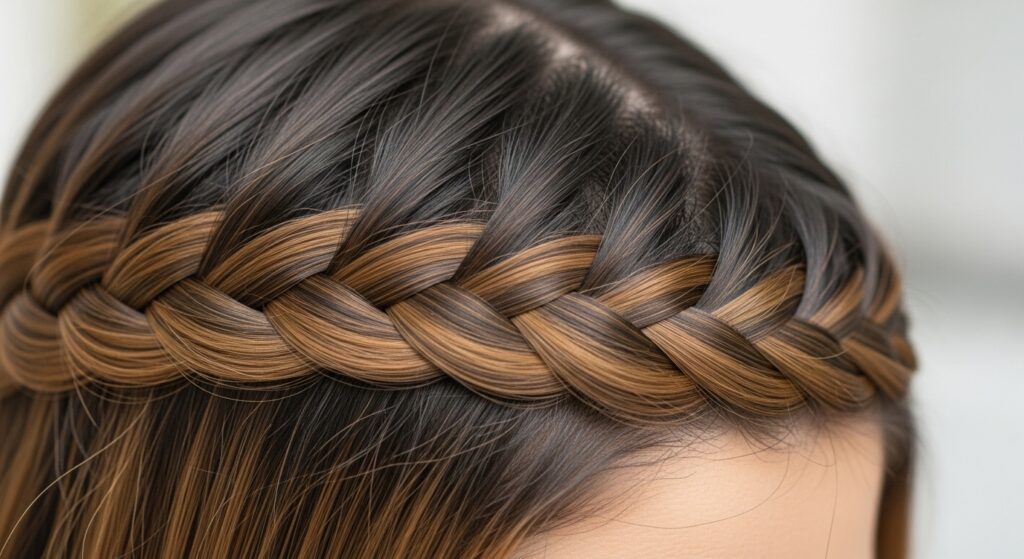
4. Micro-Braiding at the Hairline
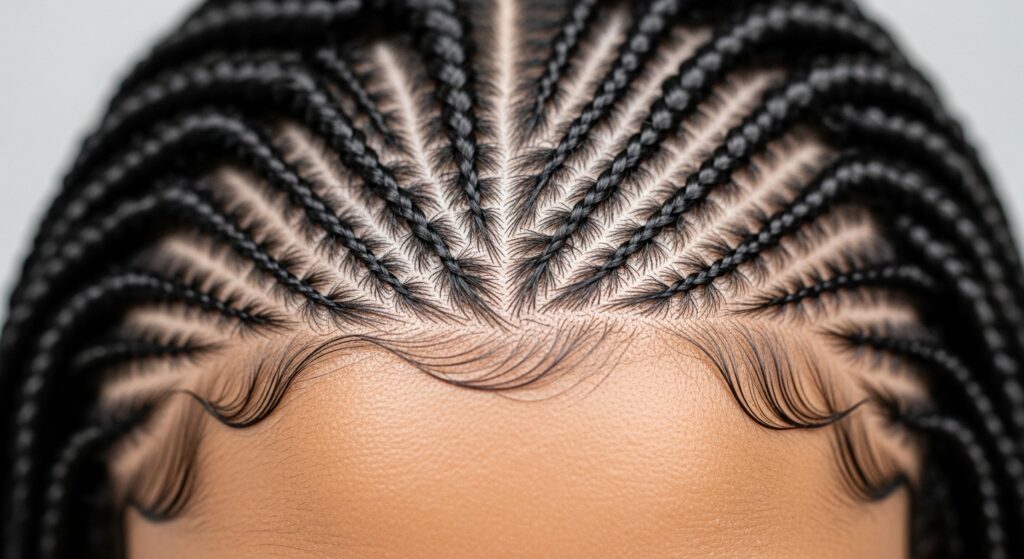
The hairline is the most scrutinized area. For a truly natural look, the braids here must be exceptionally fine. Use the feathering technique but on a micro scale.
Use very thin extension strands and only a few hairs of your own to start. This patience pays off, creating a wispy, realistic front that frames your face beautifully, essential for any hime cut inspired fringe or bang area.
5. Knotless Braid Method for Tension-Free Blending
Traditional box braids start with a knot that can be bulky and obvious. The knotless method eliminates that. You start the braid with only your natural hair.
You then gradually feed in the extension hair as you braid down. This results in a braid that starts thin and gets thicker, mirroring natural growth. It’s smoother, less painful on your scalp, and the blend is impeccable.
6. Using Human Hair for the Most Natural Movement
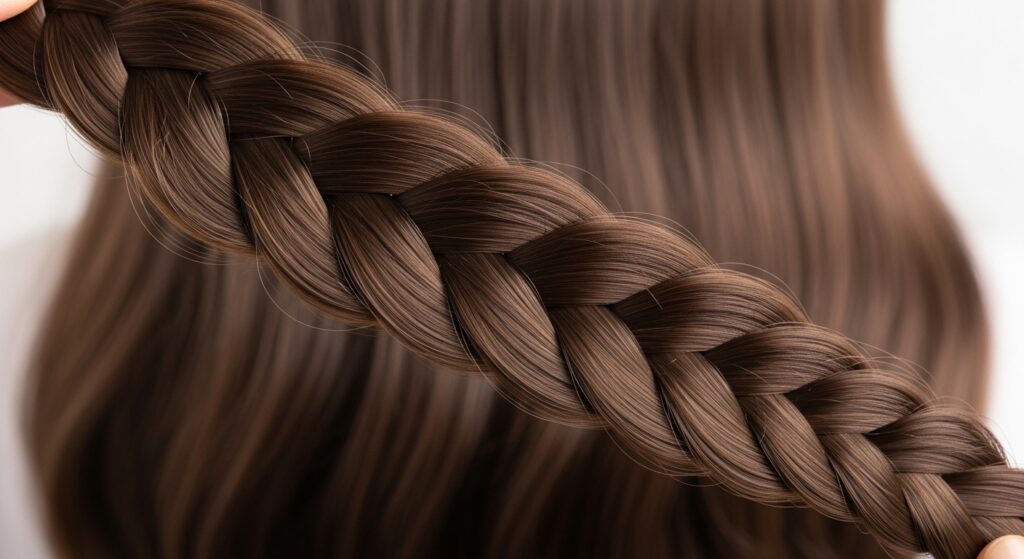
Synthetic hair has come a long way, but for the ultimate invisible blend, human hair is unmatched. It moves, shines, and reacts to humidity just like your own. It’s a must for high-shine old money hair aesthetics.
You can also style it with heat, meaning you can curl or flat-iron the braid itself to better match your natural texture. This investment makes coloring and blending the ends much easier, too.
7. Tapering the Extension Ends
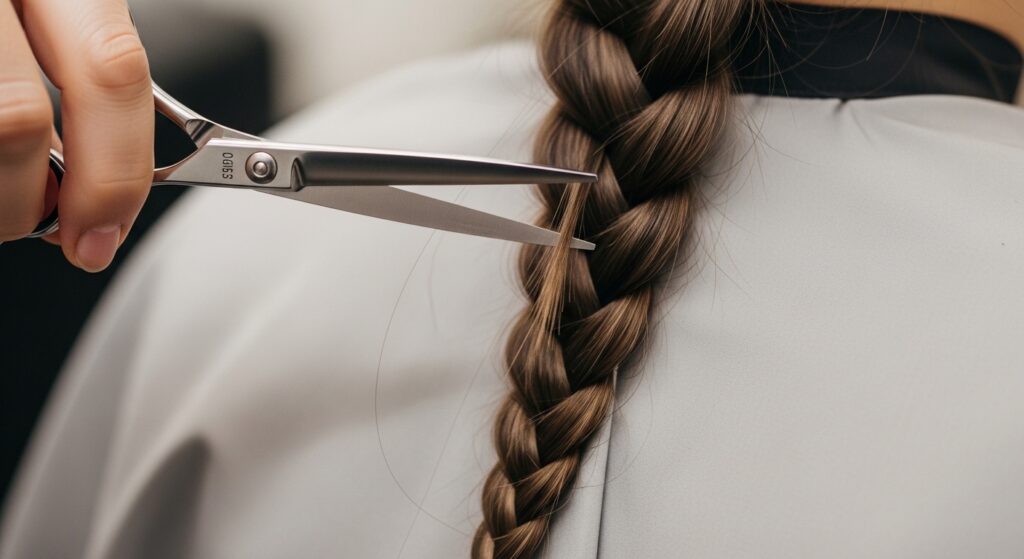
Blending isn’t just about the top; the ends matter too. Chopped, blunt ends on every braid can look heavy and artificial. Taking time to taper the ends of each braid changes everything.
Once the braid is complete, use sharp shears to carefully point-cut or slice vertically into the ends. This thins them out, making them look worn and natural, as if your hair just gracefully tapers off.
8. The “Twist-and-Feed” for Curly Textures
If you have naturally curly or coily hair, blending requires a different approach. Before adding an extension to your braid, pre-twist it with a small section of your own hair.
This marries the textures from the very start. Then, use that combined strand as one part of your three-strand braid. It ensures the curl pattern integrates smoothly, preventing a straight-extension-meets-curly-root contrast.
9. Strategic Placement for Volume, Not Bulk
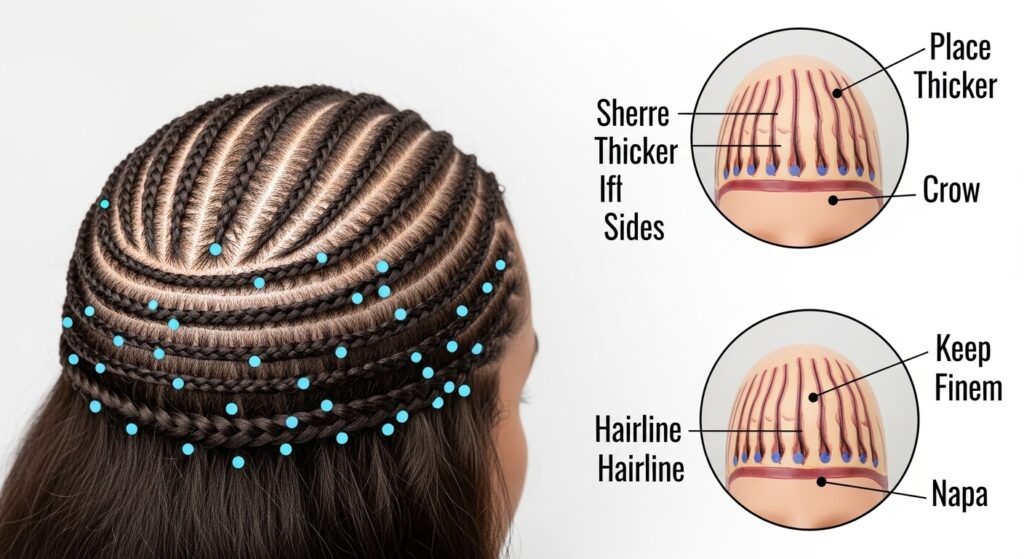
Where you put your thicker, extension-heavy braids is strategic. Concentrate them in areas where natural volume occurs: the crown and the sides. Keep braids finer around the hairline and nape.
This placement mimics how hair naturally grows—thicker on top, softer around the edges. It creates a silhouette that looks born from your head, perfect for adding drama to a vampire haircut without looking bulky.
10. Pre-Bleaching Knots on Synthetic Hair

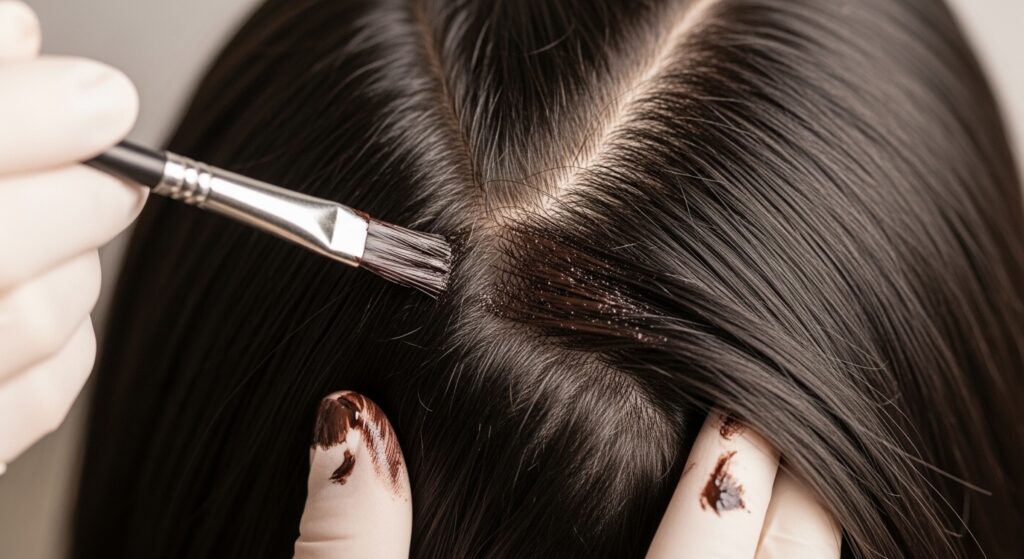
Synthetic hair often has dark, factory-made knots at the base of the tracks or loops. These can peek through like little dots against your scalp. A simple fix is to lightly bleach just those knots.
Use a gentle bleach mixture and apply it only to the dark knots with a small brush. This lightens them to a blonde or transparent color, making them virtually disappear against your scalp, for a cleaner, more seamless look.
11. The “Sandwich” Method for Center Parts
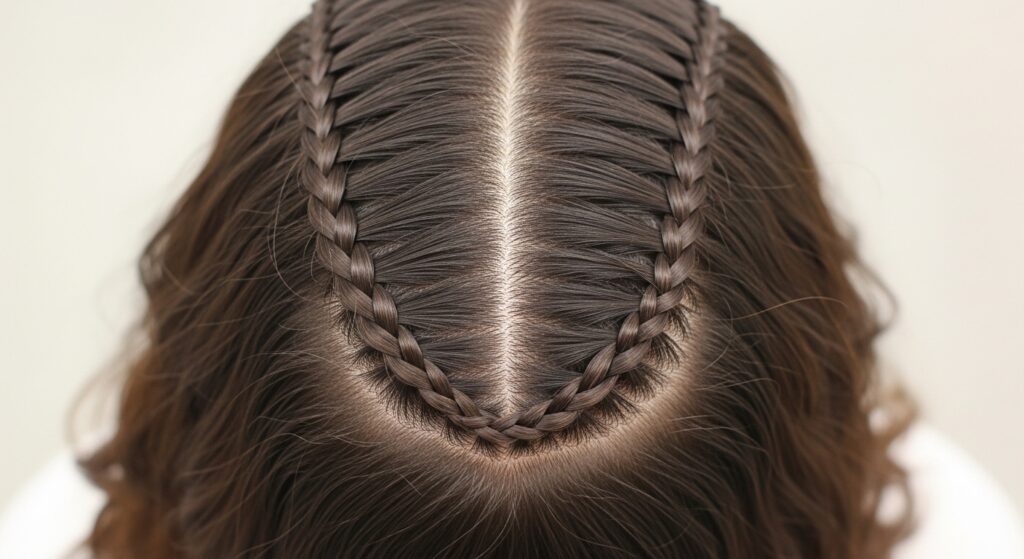
A center part exposes your scalp in the most visible way. To protect it, create two very fine braids immediately on either side of the part using mostly your own hair (feathering technique).
These two braids act as a “sandwich,” framing the part and covering any tracks or wefts that start slightly behind them. It gives you a clean, natural-looking part line that doesn’t reveal your secrets.
12. Custom Coloring the Extension Roots
If you have visible roots or a shadow, match them! Use a semi-permanent or fabric marker (safe for synthetics) to color the first inch of the extension hair to match your root color.
This is especially useful for gray blending or if you have a bold color regrowth. When that colored root section is braided in with your own roots, the transition zone becomes a perfect, gradient match.
13. Crochet Braiding for Ultimate Scalp Blending
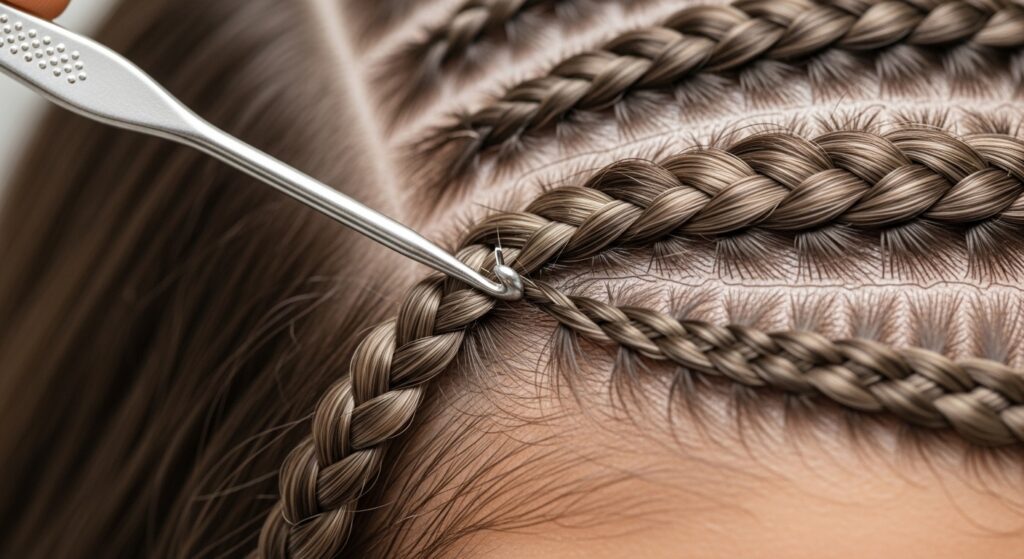
With crochet braids, your natural hair is cornrowed first. Then, pre-braided or curled extension hair is attached directly to the cornrow with a hook. The magic? You can leave out sections of your own hair along the cornrow partings.
This “leave-out” is then styled or braided to cover the cornrow bases. When done well, it looks like the hair is growing directly from every part of your scalp.
14. Texturizing Spray on Synthetic Ends
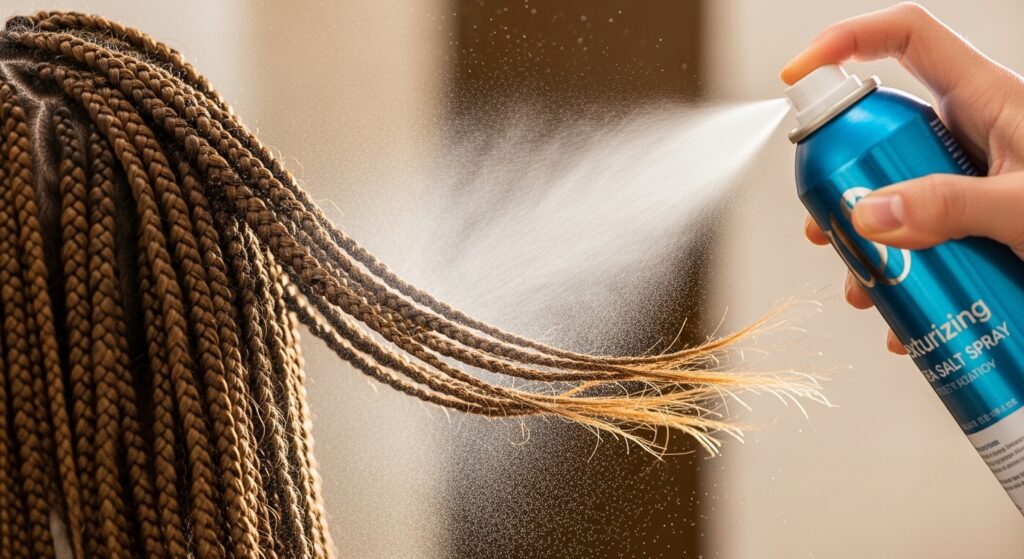
New synthetic hair can have an unnatural, plastic-like shine. To dull that down and add a lived-in texture, use a texturizing or sea salt spray lightly on the braids, focusing on the mid-lengths to ends.
This reduces glossiness and creates a slight, gritty texture that mimics real hair that’s been styled. It’s a quick hack for achieving that effortless glitchy glam hair vibe.
15. The “Braid-in-Braid” for Complex Styles

For special styles like a braided crown or a halo, integrate your natural hair into the design itself. Create a small, decorative braid using only your hair from the front or temple.
Then, physically weave that small braid over and into the larger extension braids. This literally ties your real hair into the style, creating undeniable and artistic points of connection.
16. Proper Tension is Everything
Blending isn’t just visual; it’s tactile. Braiding too tightly pulls your scalp, causing bumps and making the braid bases look strained and obvious. It can also lead to breakage, which ruins future blends.
Maintain a firm but gentle tension. The braid should be secure but not painful. This allows the braid to sit smoothly against your scalp, creating a flatter, more natural-looking base for seamless transitions.
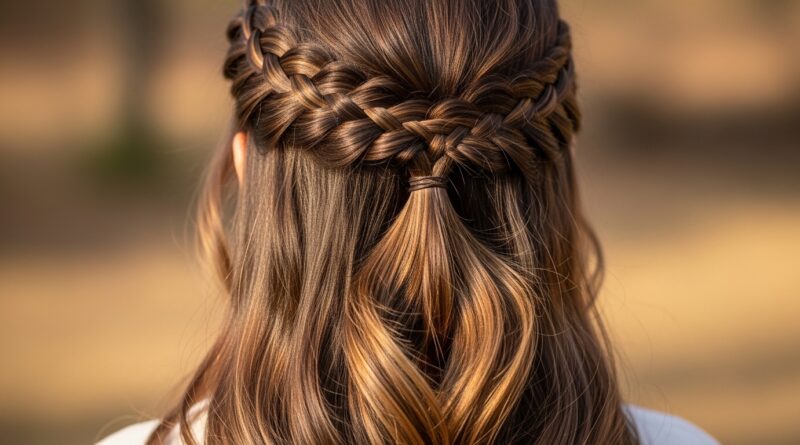
17. The “Waterfall” Effect for Half-Up Styles
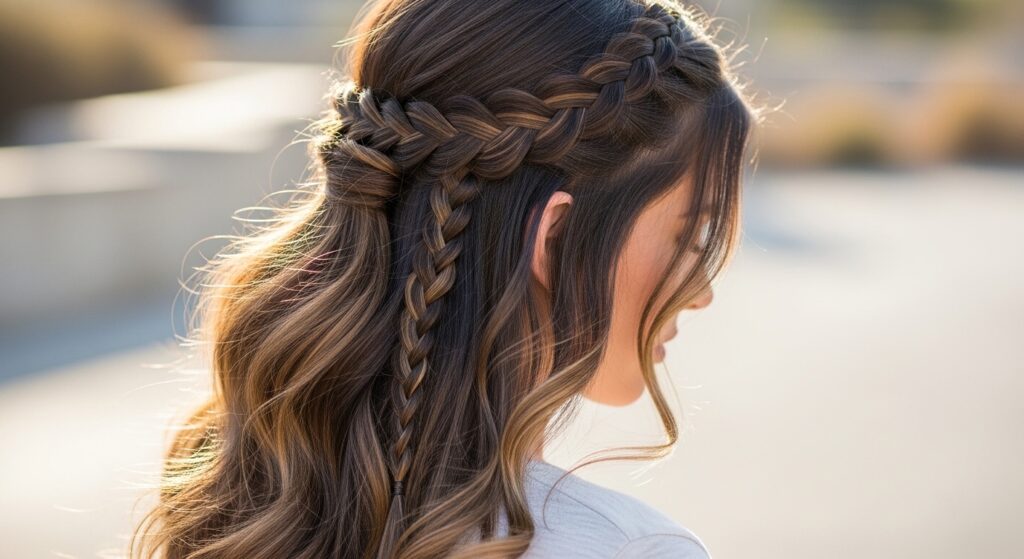
When doing a half-up braid, don’t braid the extensions all the way down. Stop halfway and let the rest of your natural hair, plus the extension, flow free together.
Use your fingers to gently tousle and blend the loose extension strands with your own hair. This creates a beautiful, romantic blend that’s perfect for romantic goth hairstyles or soft, everyday looks.
18. Matching Texture Precisely
This seems obvious, but it’s the most common mistake. If your hair is bone straight, don’t buy wavy extensions. If your hair is coarse, avoid silky-smooth strands. The texture mismatch will always be visible.
Spend time finding a match. Bring a sample of your hair to the store if you can. For curly hair, match both the curl diameter and the tightness of the coil. Perfect texture matching does half the blending work for you.
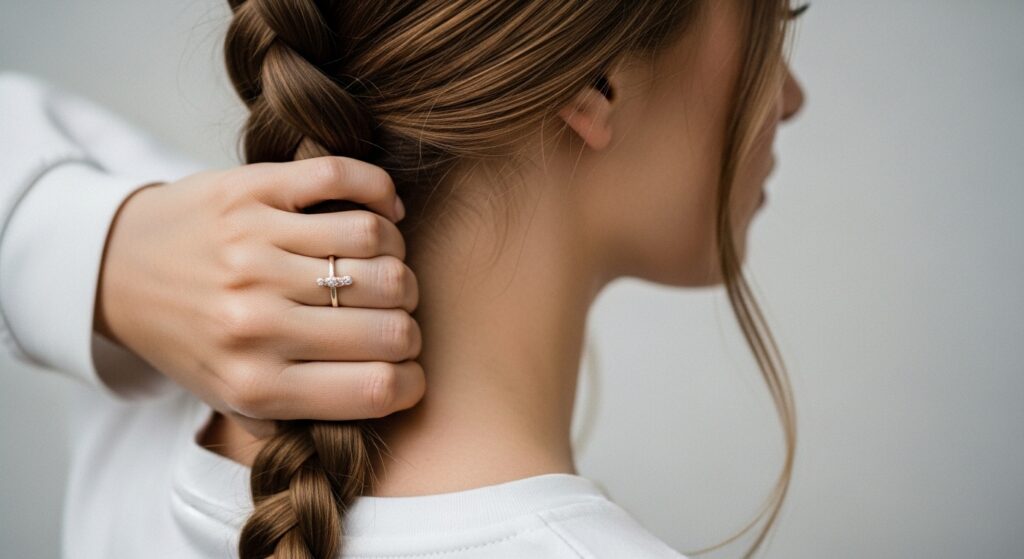
19. The “Pinch and Slide” for Finishing

Once all your braids are done, they can look a bit too perfect and tight at the roots. A simple trick is to gently pinch the base of each braid between your thumb and forefinger.
Give a very slight downward slide or wiggle. This loosens the braid just at the root area by a millimeter, creating a tiny bit of softness and shadow that makes it look like it grew there.
20. Regular Maintenance and Redos
Blending doesn’t last forever. As your hair grows, the blend shifts. Schedule time for touch-ups, especially around the front edges and part lines, every 2-3 weeks.
Gently re-braid just the first inch of the braids in these key areas. This maintenance keeps the style looking fresh and the transitions invisible for the entire lifespan of your braids, making the upkeep worth it.
And there you have it—your full toolkit for braids so seamless, people will have to ask if it’s all you. It’s not about having one magic trick, but about combining a few of these methods that work for your specific hair and the style you’re craving.
Remember, the best style is one that makes you feel confident because it looks and feels like a part of you. Don’t be afraid to experiment with these techniques, whether you’re channeling a sharp asymmetrical lob or the delicate fringe of a hime cut.
Save this post to Pinterest so you always have these blending methods handy for your next braid appointment or DIY session. Which method are you most excited to try? Tell me in the comments below—I love hearing your plans!