Bun 30 Messy Sock Donuts Perfected for Polished Casual Days
Okay, let’s be real. We’ve all been there. You grab a sock, cut the toe off, roll it into a donut, and wrestle your hair into a “messy” bun that ends up looking more “I gave up” than “effortlessly chic.” I was so over it.
But I refused to give up on the sock bun dream. It’s cheap, it’s easy on your hair, and when it’s done right, it looks so polished. So, my team and I went on a mission. We tried every hack, every technique, over 30 times.
And guess what? We finally cracked the code. This isn’t about a perfect ballerina bun. This is about that perfect, lived-in, polished-casual bun that looks like you tried, but not too hard. It’s the ultimate “old money hair” vibe for your errand days. Let me show you exactly how we perfected it.
Why the Sock Bun Deserves a Comeback

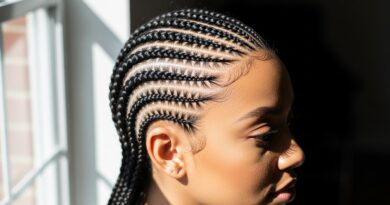
In a world of complex 2026 hairstyles, the humble sock bun is a quiet hero. It protects your ends, adds incredible volume, and creates that timeless, quiet luxury bob feeling—but in an updo. It’s the antithesis of over-styled hair.
This method gives you control. Unlike a pre-made bun donut, a sock is softer and molds to your head. You can make it as big or as small as you want. It’s the perfect foundation for that “I woke up like this” polish we’re all after.
The Sock Donut Prep: Choosing Your Weapon
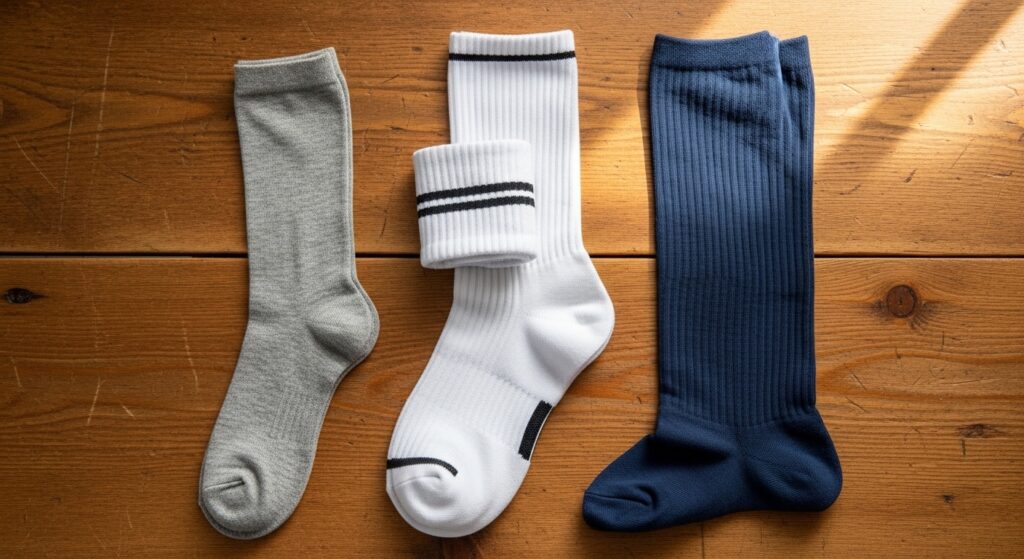
Not all socks are created equal. The material and thickness change everything. A thin, worn-out cotton ankle sock gives a smaller, tighter bun. A thick, fluffy athletic sock is for major volume.
My go-to is a standard cotton crew sock. It’s the Goldilocks choice. Here’s a quick guide:
- For fine hair: Use a thinner sock or cut the cuff shorter for less bulk.
- For thick hair: A full, thick sock is your best friend.
- Color tip: Use a sock that matches your hair color so it disappears completely.
Step 1: Creating the Perfect Donut
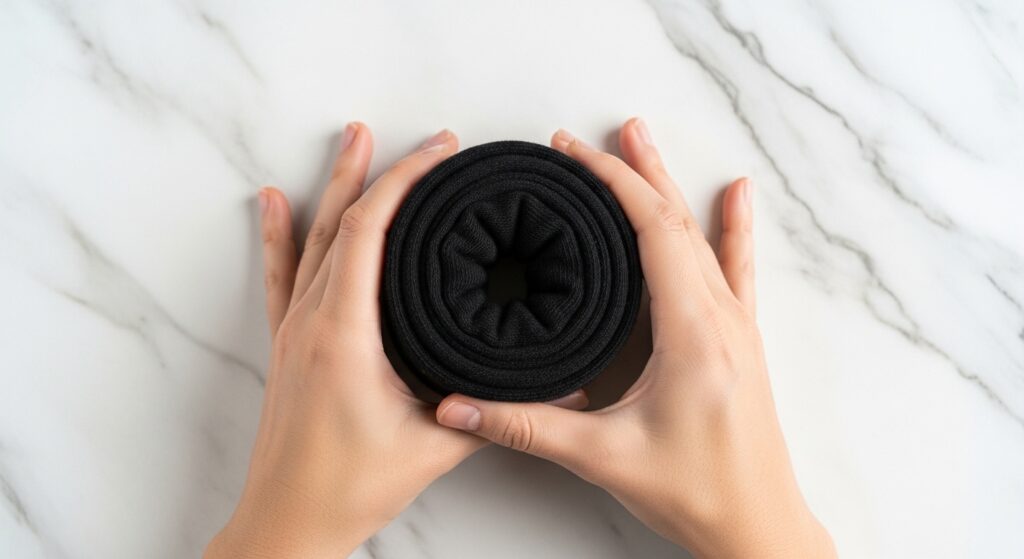
This step is crucial. A messy roll makes a messy (and not in a good way) bun. Lay the sock flat. Cut off the toe section completely. Now, starting from the toe end, roll the sock down towards the cuff, like you’re rolling a yoga mat.
Keep it even and tight. When you get to the end, tuck the cuff edge into the roll and flip the whole donut inside out. This hides the raw edge and gives you a super smooth, seamless circle. Give it a little pat into shape.
Step 2: The Ponytail Foundation

Do not make a slick, tight ponytail. That’s your first mistake. You want texture and grip. I always spray a light texturizing spray or dry shampoo at my roots and through the lengths first.
Pull your hair into a ponytail at your desired height. For a classic look, aim for the crown. For something more relaxed, go for the nape. Secure it with a coil-free hair tie. Leave it a little loose—perfection is not the goal here.
Step 3: Threading Hair Through the Donut
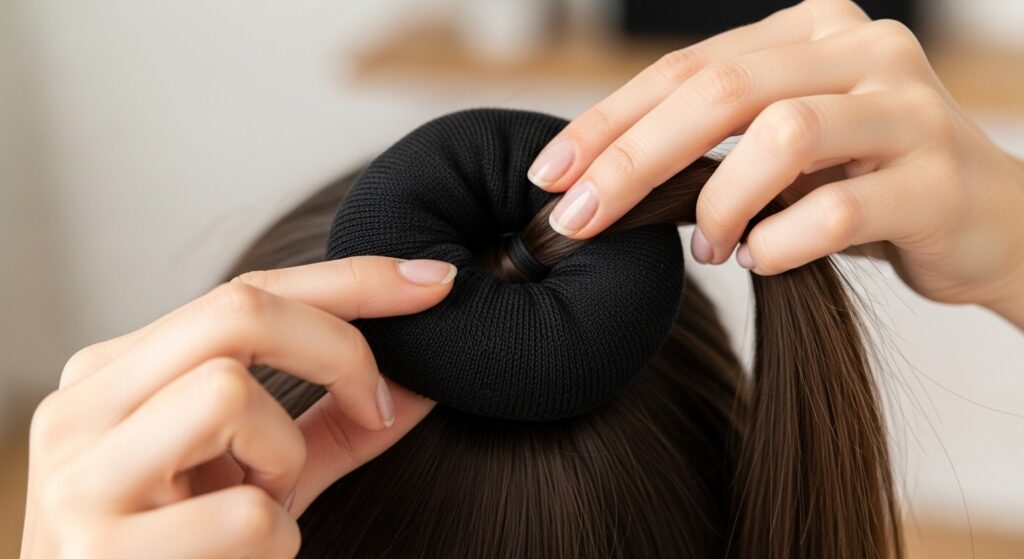
Take your sock donut and place it at the base of your ponytail. Feed the tail of your ponytail up through the center of the donut, like you’re putting on a giant bracelet.
Pull the hair all the way through so the donut sits snug against your scalp, right at the base of the ponytail. Your hair should now be flowing up and out of the center of the donut. This is your starting canvas.
Step 4: The Magic Spread & Tuck Technique
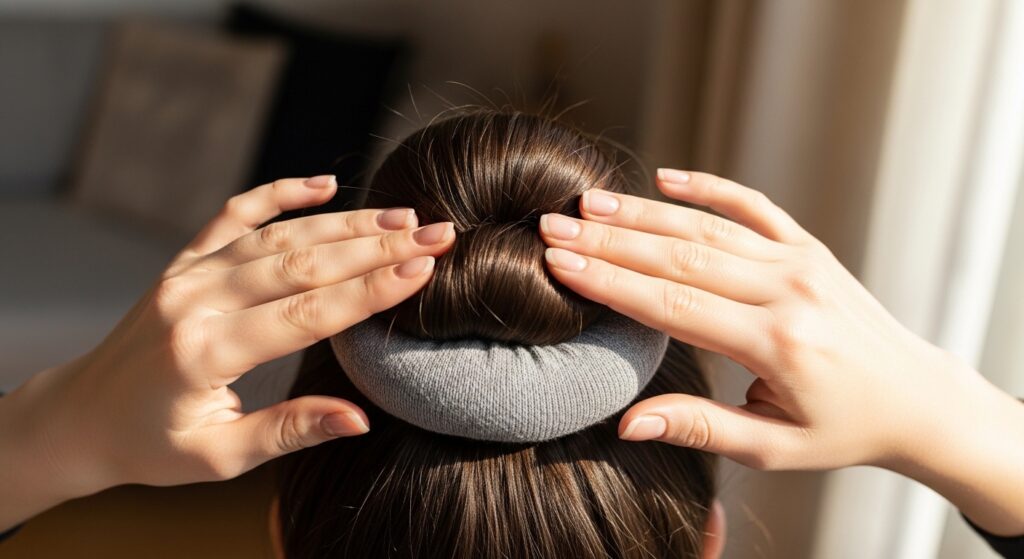
This is where the magic happens. Take the hair flowing out of the donut and gently spread it evenly over the sock, covering it completely. Imagine you’re draping a blanket over a pillow.
Once the sock is covered, start tucking the ends of your hair under the donut, using your fingers to smooth and secure. Work your way around the entire circle. Don’t worry about loose pieces yet—we’ll get to those.
Step 5: Securing the Base
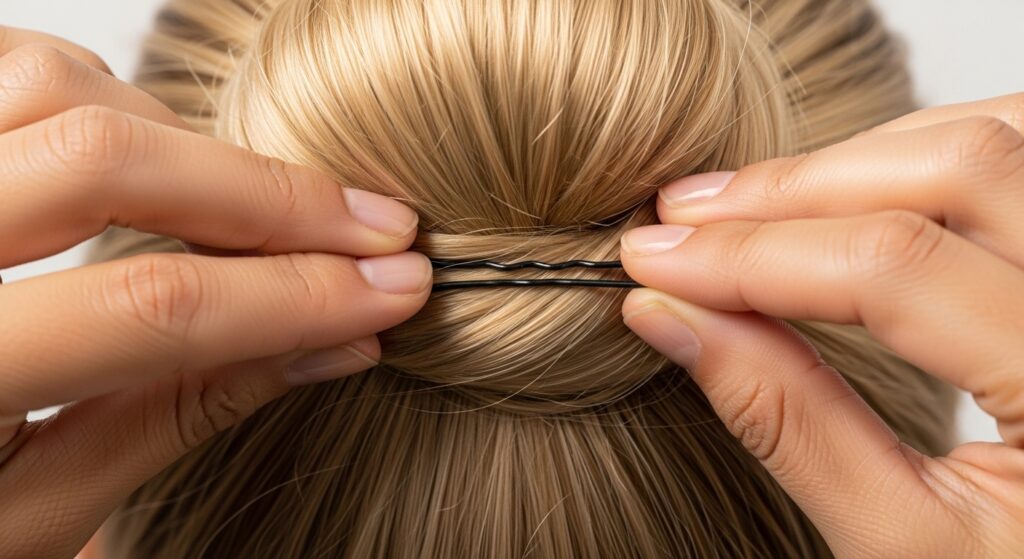
Now, secure that beauty. Take strong, good-quality bobby pins. Slide them through the outer edge of your bun (where your hair meets the sock) and into the donut and your base ponytail underneath.
Use at least 4-6 pins, placing them at north, south, east, and west points. Really push them in until they grip. This hidden structure is what makes the bun last all day without slipping.
Step 6: The “Messy” Part: Pulling & Texturizing
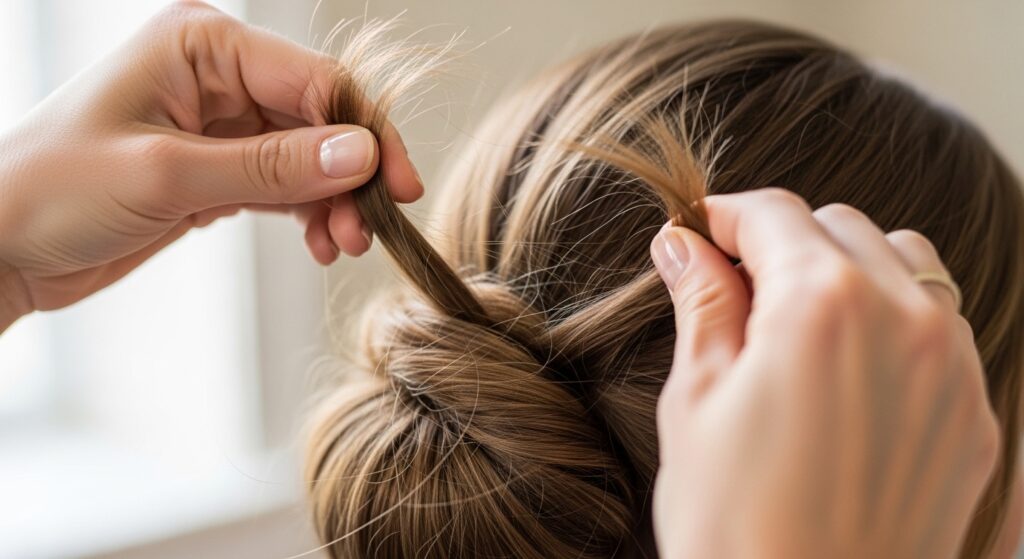
Here’s the polish. Look at your bun. It’s probably a little too perfect and round. Gently pull on small sections of the bun to loosen them and create fullness. Pull out a few pieces around your face and at the nape of your neck.
The goal is softness, not chaos. Think of it as deflating the bun just a touch. This creates that lived-in, romantic feel—almost like a cousin to those romantic goth hairstyles, but for daytime.
Step 7: The Final Hold & Shine
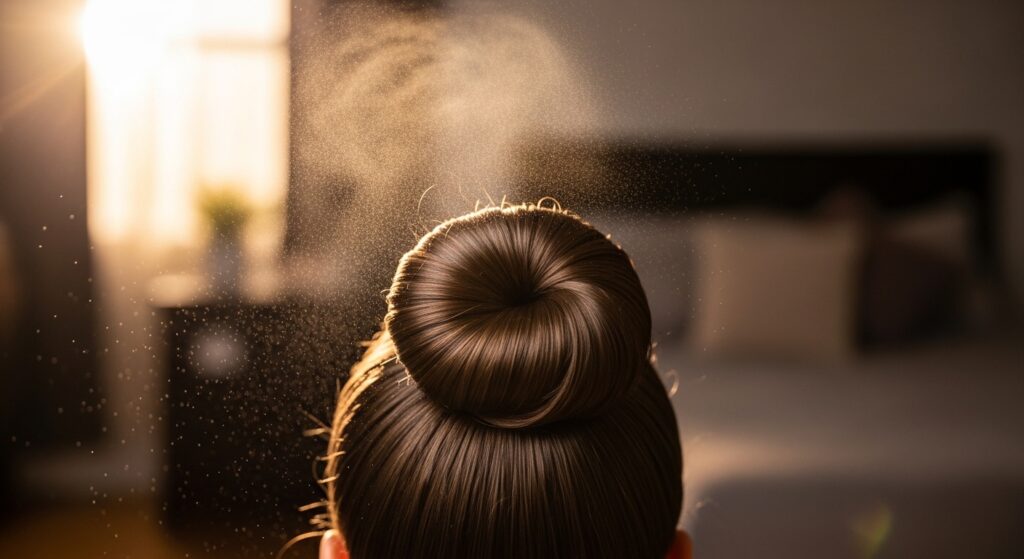
Lock it in, but softly. Hold a light-hold hairspray about 10 inches away and give it one quick, all-over mist. This kills any flyaways without making your hair crispy.
For a polished finish, rub a tiny drop of hair oil or shine serum between your palms and gently smooth it over the surface of the bun and those loose pieces. This gives that healthy, “glitchy glam hair” sheen—intentional and cool.
Variation 1: The Low, Lived-In Bun
This is my ultimate polished-casual look. Start with a ponytail at the nape of your neck. Follow all the same steps, but when you tuck and secure, aim for a slightly flatter profile against your head.
Pull out more pieces at the nape for a soft, undone finish. It’s the perfect pairing with a crisp button-down or a sleek trench coat. It whispers quiet luxury.
Variation 2: The High, Voluminous Crown
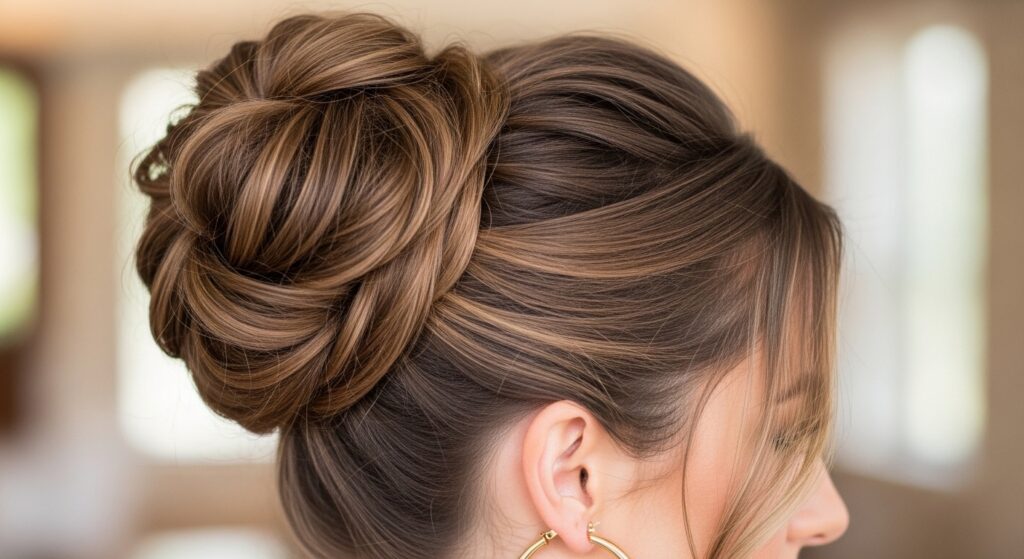
Want drama and volume? Place your ponytail high on your crown. Use a thicker sock donut. When you spread your hair, really pancake it out to cover the larger base.
This style gives you major height and a playful vibe. It’s fantastic for second or third-day hair when your texture is perfect for holding the shape. It feels youthful and confident.
Variation 3: The Half-Up “Hime” Bun
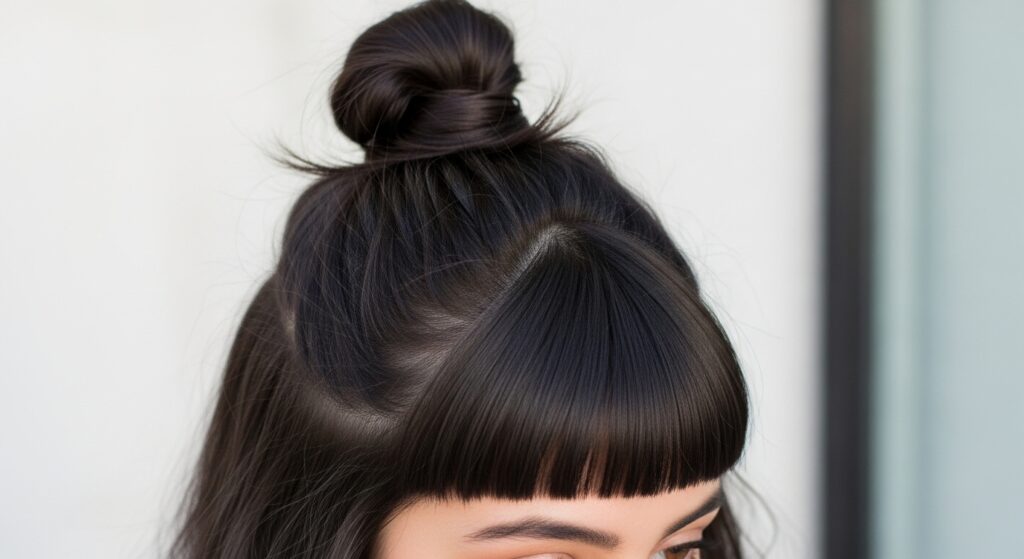
This is a fun twist. Only gather the top half of your hair (from your temples back) into a ponytail. Use a smaller sock donut for this section.
Create a small, cute bun on the top of your head, leaving the rest of your hair down. It gives a similar shape to a hime cut with its focused top volume, but it’s totally non-committal and super chic.
What to Do With Short Hair (Lob & Bob Lengths)
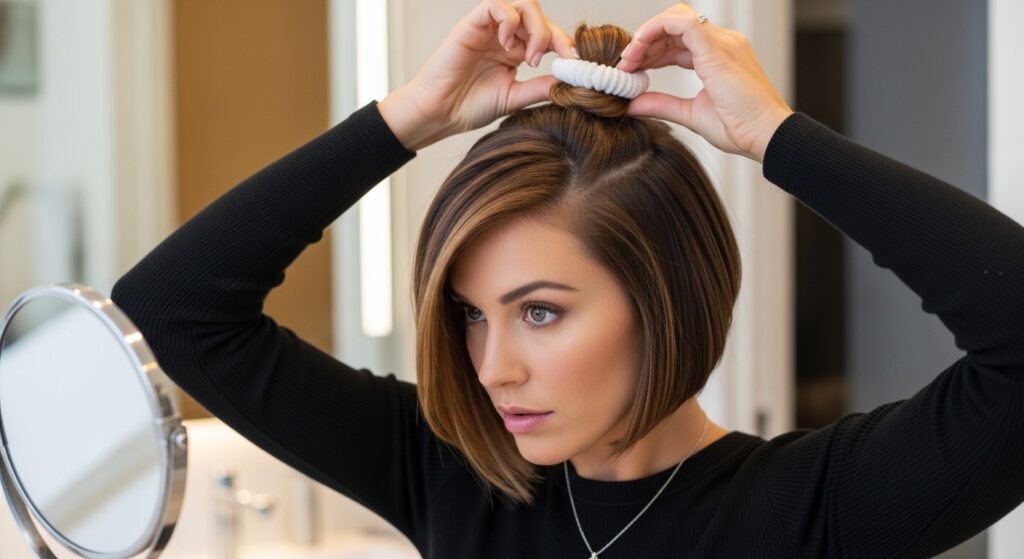
Yes, you can do this with a lob or bob! The key is a tiny donut. Use just the cuff of an ankle sock. Your ponytail will be small, and you won’t have much to tuck.
Focus on spreading the little hair you have over the mini donut and pinning aggressively. The result is a cute, twisted nub of a bun that works beautifully with an asymmetrical lob or a quiet luxury bob.
Adding Accessories for a Polished Finish
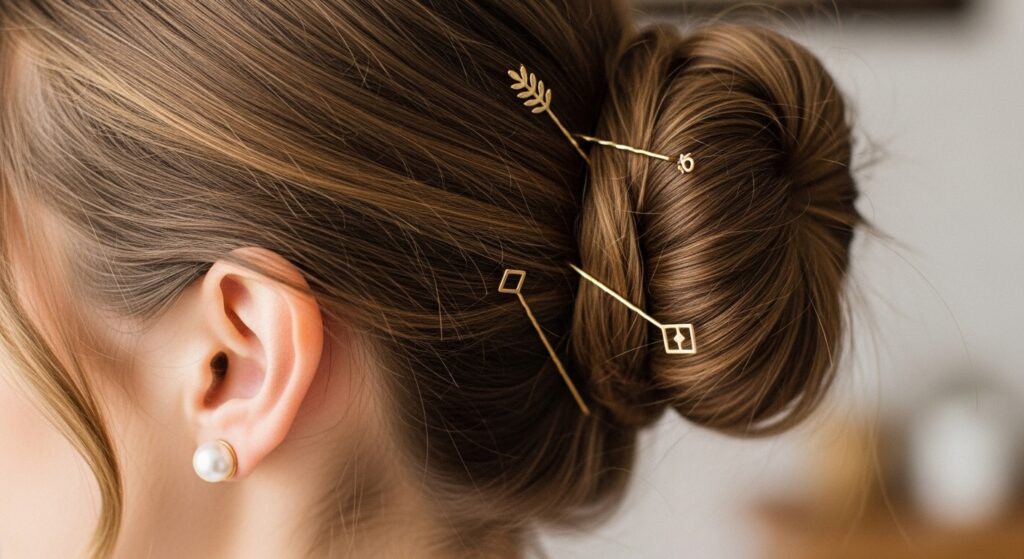
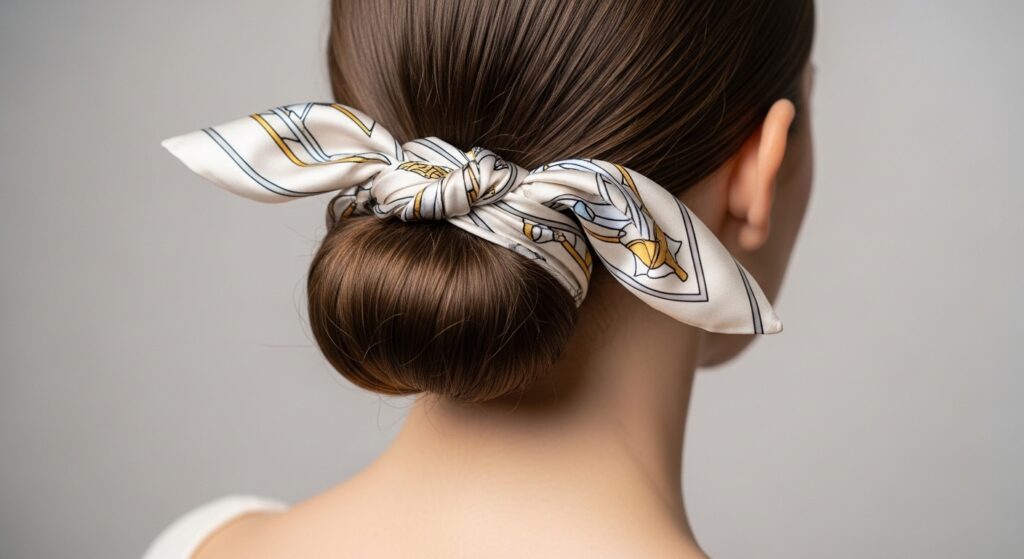
This is where you personalize it. After your bun is set, add one or two elegant accessories. Slide in a beautiful gold hair pin. Or wrap a silk scarf around the base, tying it in a small knot.
Keep it minimal. The bun is the star. The accessory is the supporting actor that elevates the whole look from “mom bun” to “editorial bun.”
Matching This Bun to Your Aesthetic
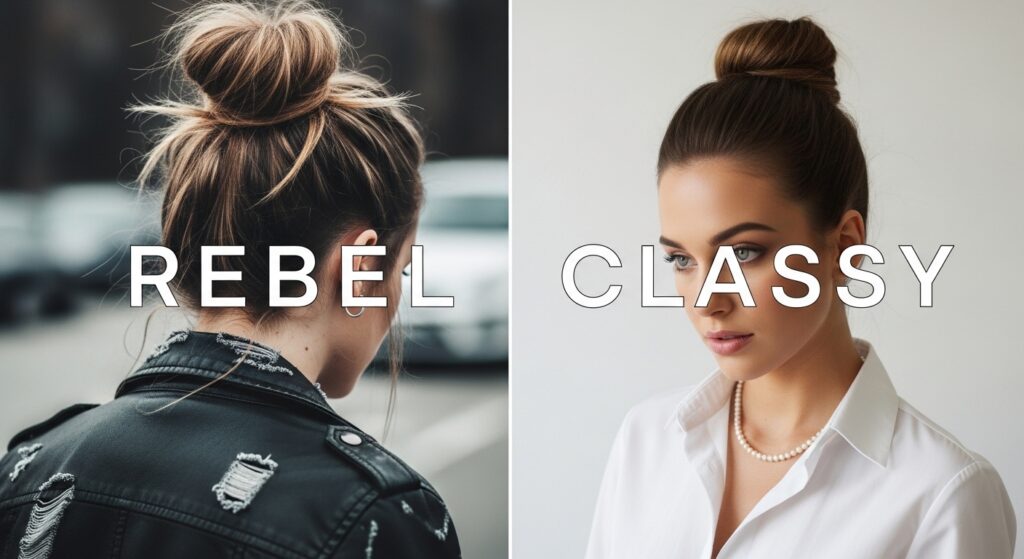
This bun is a chameleon. For a minimalist, quiet luxury look, keep it low, sleek, and paired with gold jewelry. For a touch of romantic goth or vampire haircut edge, make it messier, use a dark scarf, and pair with a bold lip.
For a glitchy glam hair moment, add a few face-framing highlights or a colored streak before you put it up. It’s all about the styling around it.
Common Mistakes & How to Fix Them
Mistake 1: The bun is lopsided. Fix: Ensure your initial ponytail is centered. Spread hair evenly over the donut.
Mistake 2: Hair is slipping out. Fix: You didn’t pin enough. Use more bobby pins, criss-crossing them for security.
Mistake 3: You can see the sock. Fix: Your hair wasn’t spread completely. Gently pull more hair from the bun to cover the gap.
Products That Make a Difference
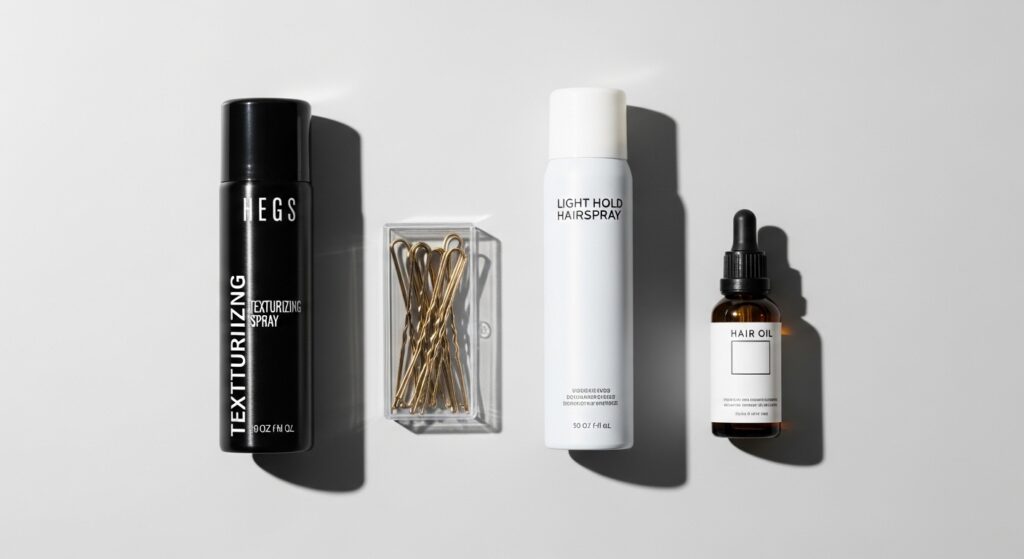
You don’t need much, but the right tools help. A good texturizing spray (my holy grail) gives your hair grip. Strong, matte-finish bobby pins won’t slip out.
A flexible-hold hairspray lets you reshape. A tiny bottle of hair oil adds that final polish. Investing in these four items will upgrade every hairstyle you do, not just this bun.
How This Bun Fits the 2026 Mood
Looking at 2026 hairstyles, we see a return to practicality with a high-fashion twist. It’s about looking put-together without the effort showing. This perfected sock bun nails that.
It’s sustainable (you’re reusing a sock!), kind to your hair, and creates a silhouette that feels both nostalgic and fresh. It’s the ultimate anti-curl-iron, anti-complex tool hairstyle.
From Day to Night: Transforming Your Bun

Your daytime bun can easily go to dinner. Pull out a few more strategic pieces to soften it further. Swap your simple studs for statement earrings—hoops or chandeliers.
Add a darker, sultry lip color. The contrast of the messy, soft bun with a sharp lip and bold jewelry is incredibly chic and takes about 60 seconds to achieve.
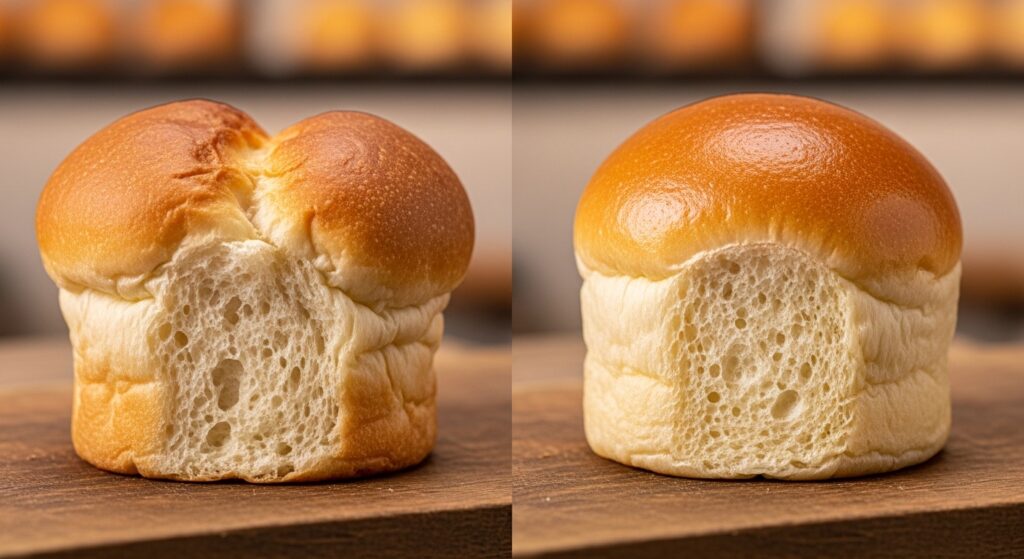
Why This Beats a Store-Bought Donut
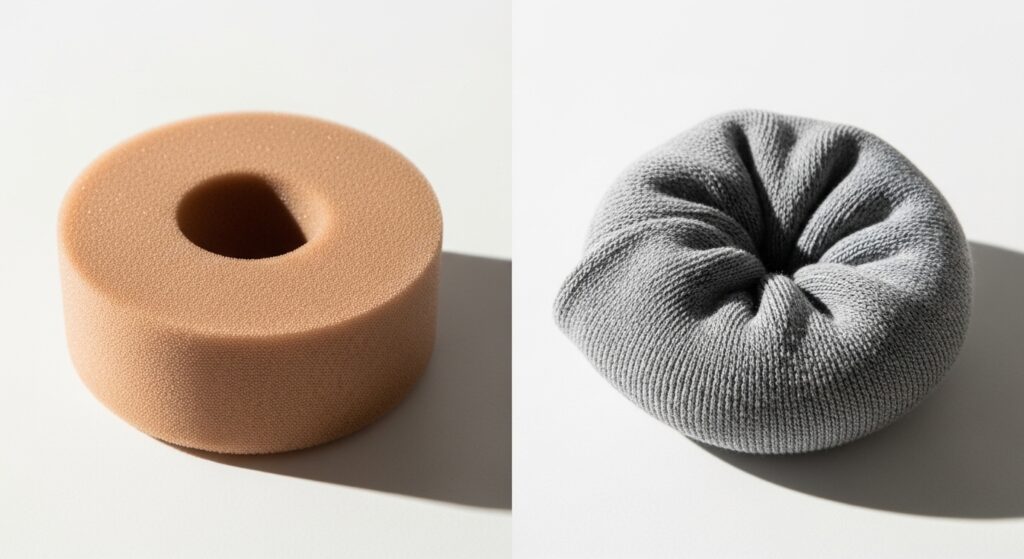
Store-bought foam donuts are often too rigid. They create a hard, round ball that can look artificial. The sock donut is soft and malleable.
It conforms to the shape of your head. It’s also adjustable—you can make it any size you want for free. The sock material grips your hair better, preventing slippage throughout the day.
Your Quick-Check Practice Routine

New to this? Practice makes perfect. Do a quick run-through three times in a row. First time: focus on making the donut. Second time: focus on the spread and tuck. Third time: focus on the messy polish.
By the third try, it will feel like second nature. Practice on day-old hair for the best texture. You’ll have it down in under 10 minutes total.
Final Touches from My Team
My team’s best tip? Don’t overthink it. The charm is in the slight imperfection. Hailey from our team has fine hair and uses a smaller donut. Maya has curls and loves the volume a big donut gives.
Play with it. Make it your own. That’s the real secret—confidence is the best accessory you can wear with any hairstyle, from this bun to a vampire haircut.
So, there you have it. Our 30-try journey to bun perfection, all laid out for you. It might seem like a lot of steps, but I promise, once you do it twice, it becomes a five-minute routine. It’s my most reliable, go-to style when I want to feel pulled together but don’t have the energy for heat styling.
This bun has saved me on more early mornings, rushed workdays, and “I have nothing to wear” moments than I can count. It’s the quiet workhorse of my hairstyle arsenal, and now it can be yours, too.
Save this post to Pinterest so you always have the steps handy! And tell me in the comments—what’s your biggest hair hack for looking polished in a pinch?