Finger 15 Coil-Out Methods Defining Curls Without Gel Products
Okay, let’s be real. How many times have you spent a small fortune on gels, creams, and mousses, only to end up with hair that feels crunchy, sticky, or just… not you? I’ve been there. The quest for perfect, defined curls without the product overload is real.
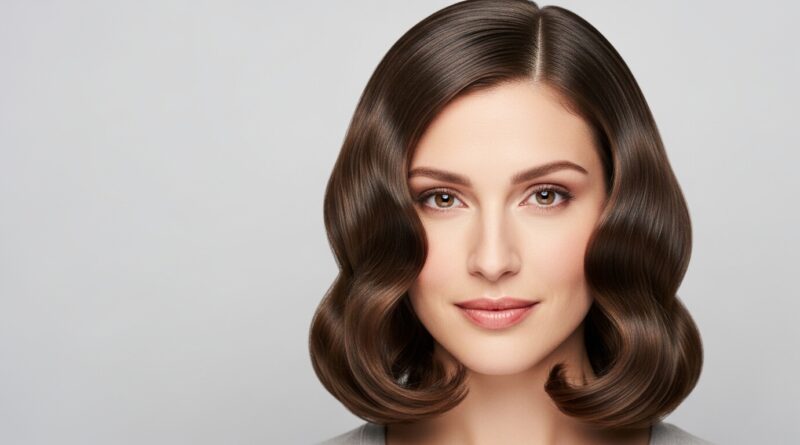
That’s why I’m obsessed with the finger coil-out. It’s a game-changer. It uses zero gel, just your fingers, water, and a little conditioner. The result? Soft, bouncy, incredibly defined curls that feel like actual hair.
This method is my secret weapon for a low-maintenance, high-impact look. It works for so many curl patterns and is the perfect base for everything from 2026 hairstyles to that effortless old money hair vibe. Let’s ditch the goop and get back to basics.
What Exactly Is a Finger Coil-Out?
Think of it as giving your natural curl pattern a gentle roadmap. Instead of raking product through your hair, you take small sections and twist them around your finger from root to tip. This encourages your curls to clump together in their most defined, uniform shape.
The “out” part means you let these coils dry completely, then gently separate them. You’re not creating a tight, permanent spiral. You’re teaching your hair how to dry in its best possible form, leading to volume, definition, and unbelievable softness.
Why Skip the Gel? The Benefits Are Huge
Ditching heavy stylers lets your hair’s true texture shine. You avoid build-up, which means less washing and healthier hair over time. Your curls will have incredible movement and a soft touch that gels often sacrifice for hold.
It’s also faster and cheaper. Your routine becomes simplified: water, a leave-in, and your hands. This method celebrates your natural hair, making it perfect for achieving that quiet luxury bob feel—effortless and expensive-looking without the fuss.

What You’ll Need: A Super Simple Toolkit
- A wide-tooth comb or detangling brush
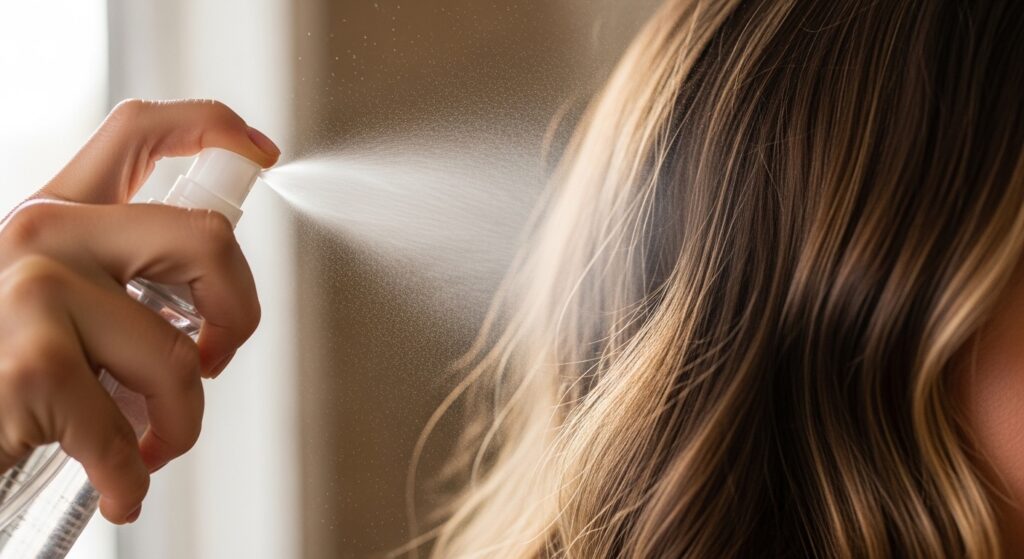
- A spray bottle filled with water (keep it handy!)
- Your favorite leave-in conditioner or cream
- A microfiber towel or an old cotton t-shirt
- Clips to section your hair (optional but helpful)
- That’s it! No fancy products required.

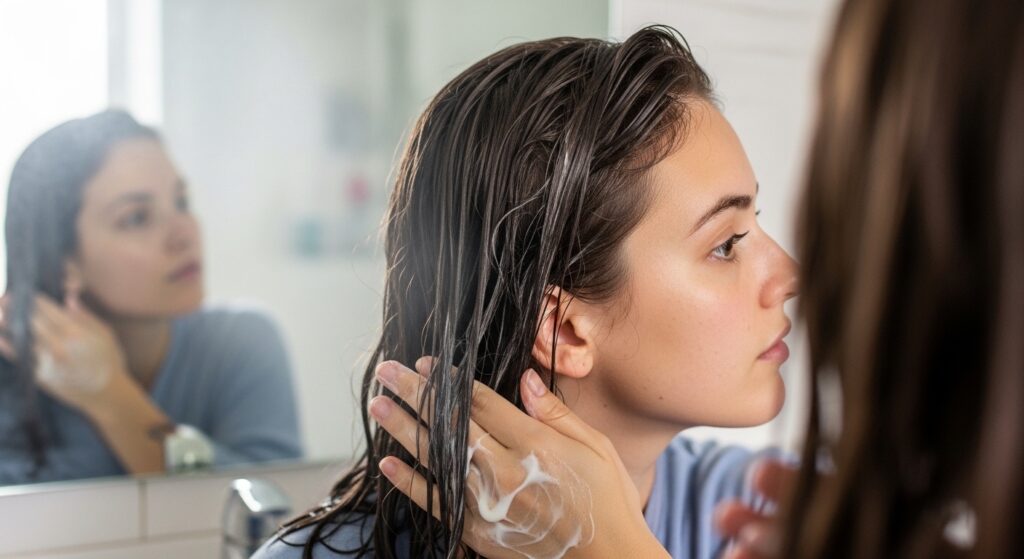
Prepping Your Hair Is Everything
Start with damp, freshly washed hair, or thoroughly wet your hair in the shower. Gently detangle from the ends up to the roots using your fingers or a comb. This prevents breakage and ensures smooth coils.
Apply a quarter-sized amount of leave-in conditioner through your mids and ends. Your hair should be slippery and damp, not soaking wet or dry. This is your only product, so make sure it’s one you love.
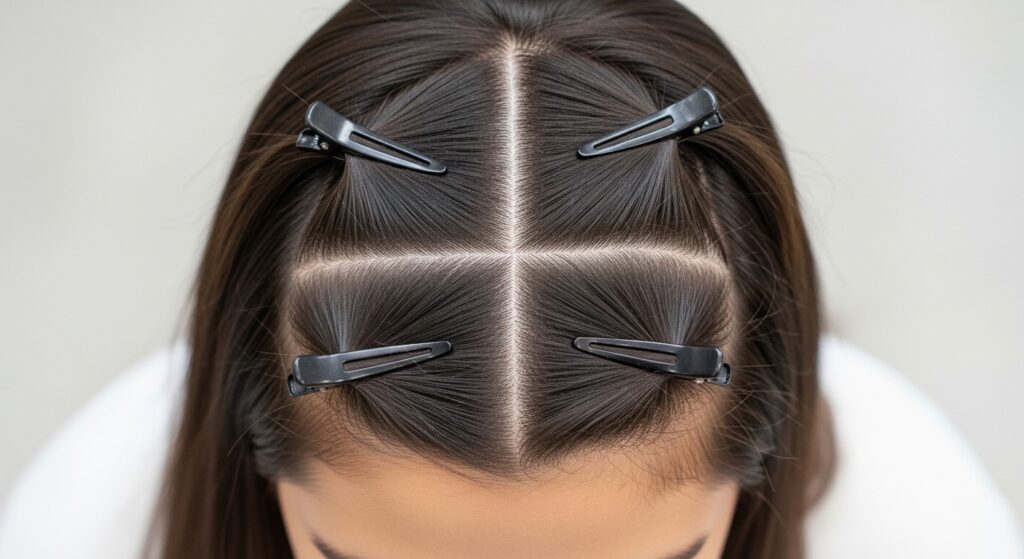
Sectioning Your Hair for Success
Don’t try to coil your whole head at once. Part your hair down the middle. Then, clip the top half up. Start with the bottom back section, as it’s the least visible and a great practice area.
Work in manageable sections, about 1-2 inches wide. Smaller sections give tighter definition; larger sections give a looser, fuller wave. You can adjust as you go to see what suits your density and desired look.
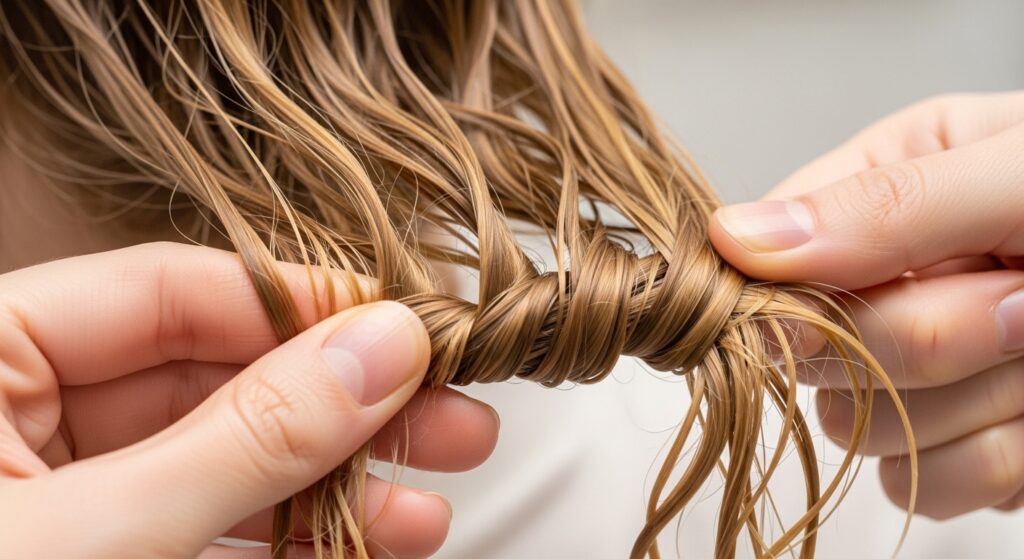
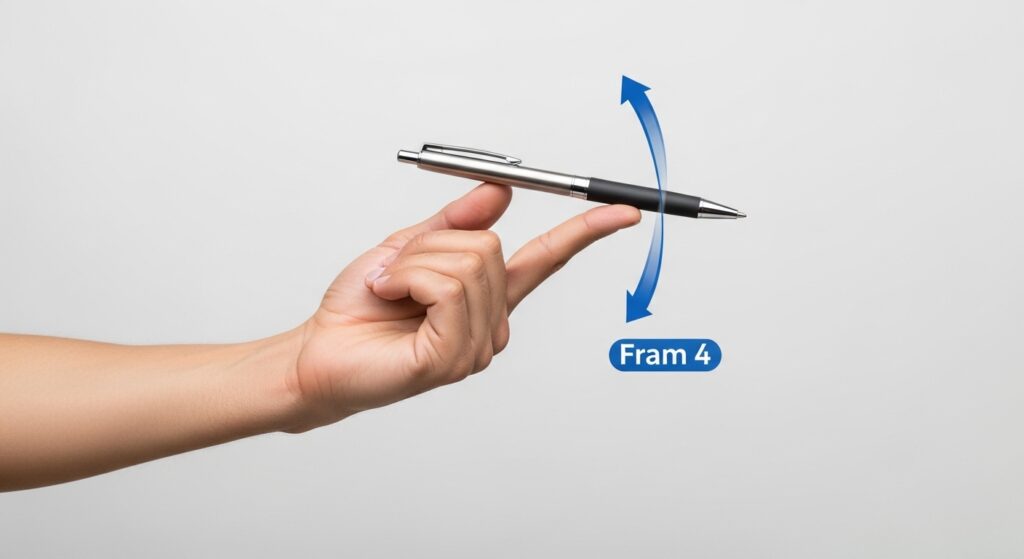
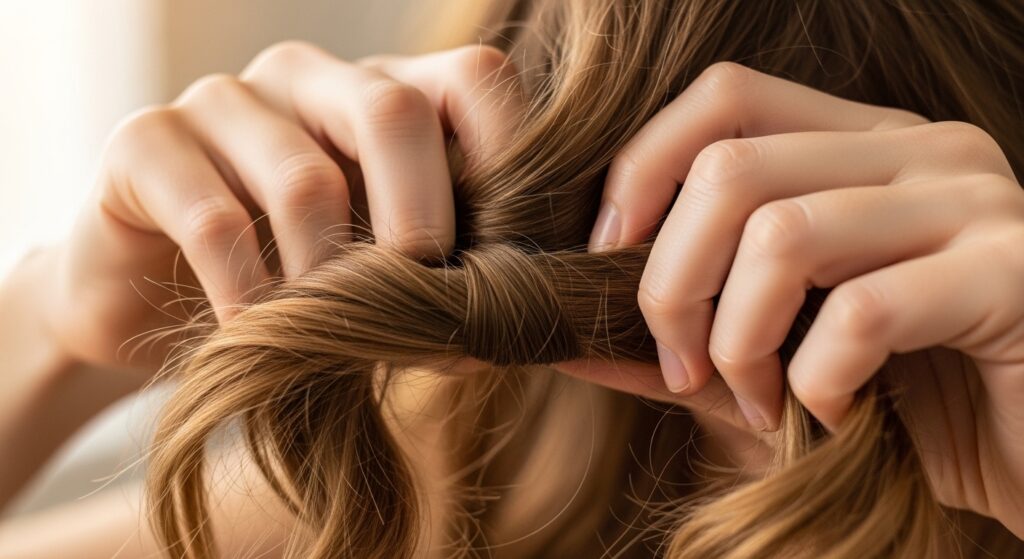
The Core Finger Coiling Technique
- Take one small section. Mist it with water if it starts to dry.
- Place your index finger at the root of the section.
- Wrap the hair around your finger, spinning it downward toward the ends.
- Keep the tension even and gentle. Don’t pull too tight.
- Once coiled, gently slide your finger out. The curl should hold its shape.
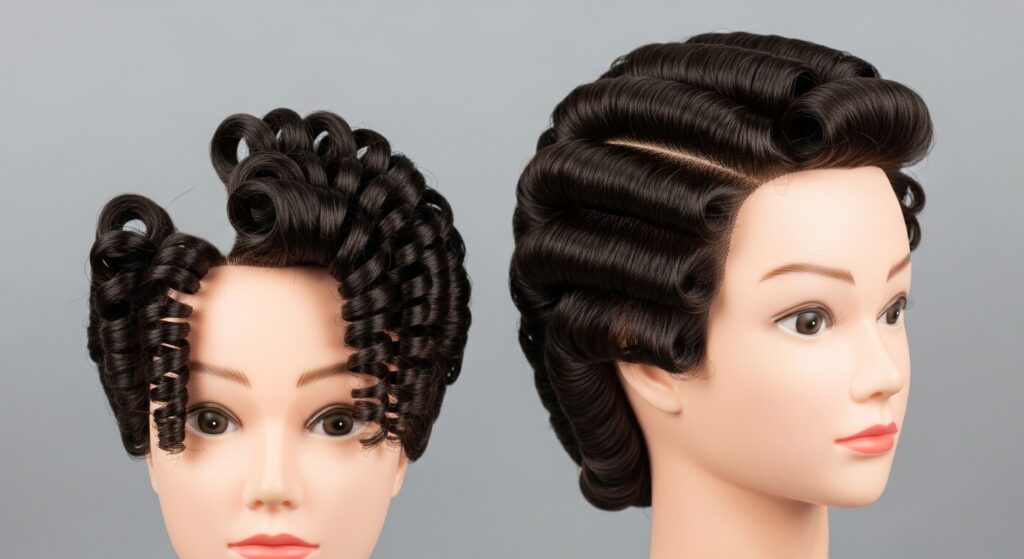
Finding Your Perfect Coil Size
The size of your sections and how tightly you coil changes everything. For a defined, voluminous look like a glitchy glam hair texture, use smaller, tighter coils. For a softer, beachier wave, use larger sections and a looser wrap.
Play with it! Your hair on the crown might like smaller coils for lift, while the underneath layers might look better with bigger twists. There are no rules, only what makes you feel amazing.
Working Through Different Hair Zones
The hair around your face and at the crown is key for your style’s frame. Take extra care here, coiling away from your face for lift or toward it for a softer frame. These front pieces can define your whole look, whether you’re going for an asymmetrical lob shape or something more rounded.
For the back, where it’s hard to see, you can be a bit quicker and use slightly larger sections. The goal is even coverage, not perfection where you can’t see it.

Drying Your Coils Gently & Completely
This is the patience part. Let your coils air dry 100%. If you’re in a rush, you can use a diffuser on low heat and low speed, hovering it around your head without disturbing the coils.
Never, ever scrunch or touch them while they’re damp. You’ll cause frizz. When they’re completely dry, they will feel light and crunchy in a way? That’s just the cast from the water and leave-in. It’s a good sign!

The Magic of “SOTC” (Scrunch Out the Crunch)
Once your hair is bone-dry, the fun begins. Take a tiny drop of hair oil or serum on your palms, rub them together, and gently scrunch your hair upwards toward your scalp. You’ll hear a slight crunching sound—that’s the cast breaking.
Keep scrunching section by section until all the crunch is gone. What’s left is the softest, most defined curl you’ve ever felt. The volume you get from this is incredible.
Fluffing and Styling for Maximum Volume
After SOTC, flip your head over and gently shake your roots with your fingers. You can also use a pick at the roots for extra lift. Be gentle to maintain definition.
Style as usual! This method gives you a perfect, defined base that works for any look. Part it deep for drama, or leave it centered for a classic feel. It’s your canvas.

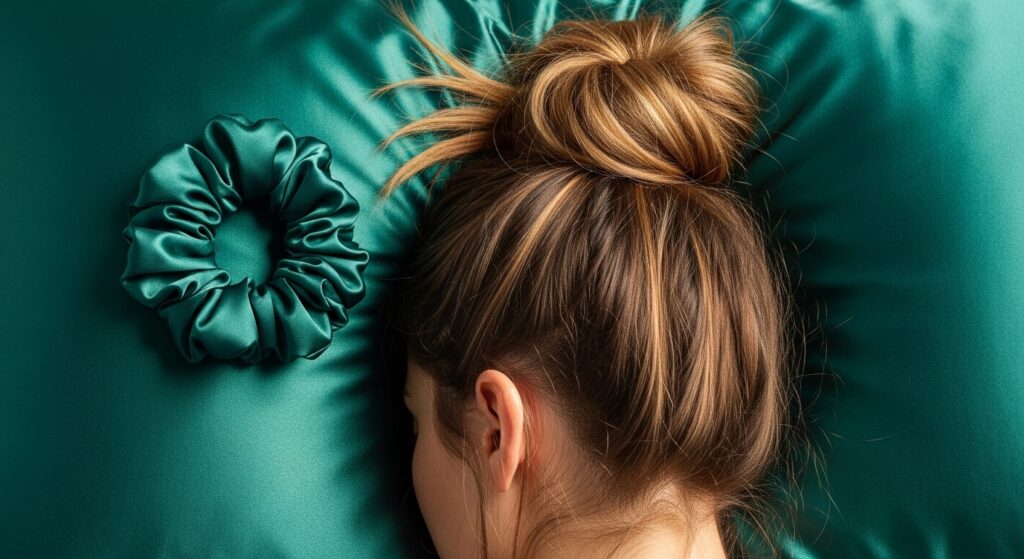
Making Your Coil-Out Last for Days
Sleep on a satin or silk pillowcase. Before bed, loosely gather your hair into a “pineapple” (a high, loose ponytail on top of your head) using a satin scrunchie. This preserves the curls at your crown.
In the morning, just take it down, shake, and maybe refresh a few front pieces with a spritz of water and a quick re-coil. Day 2 and 3 hair is often even better!
Refreshing Your Curls Morning By Morning
Don’t rewash! Mix water and a tiny bit of leave-in in your spray bottle. Lightly mist your hair, focusing on areas that look frizzy or flat.
Then, you have two options: gently scrunch to reactivate the curls, or selectively re-coil a few key sections. This takes 5 minutes max and brings your style completely back to life.
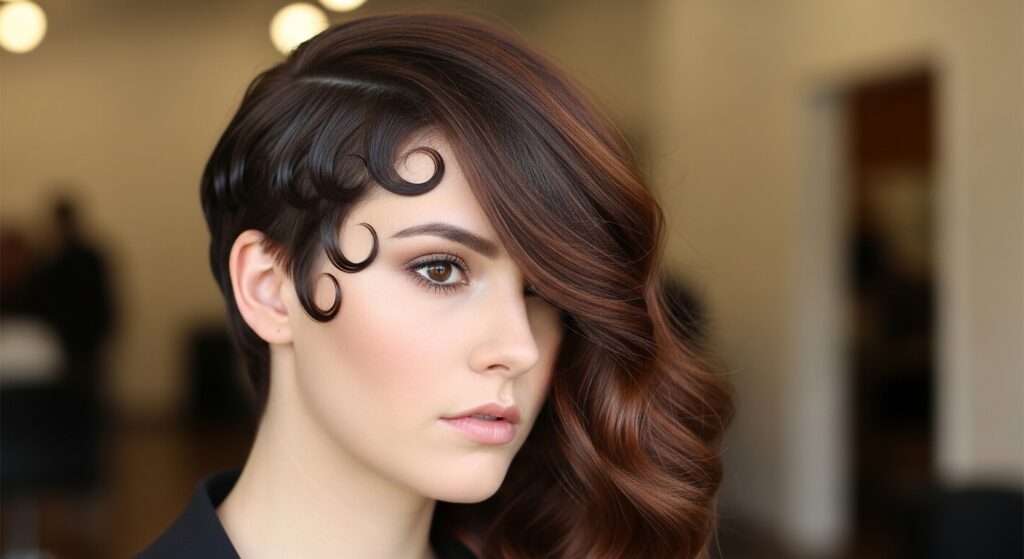
Adapting for Straight to Wavy Hair (Type 1-2)
If your hair is straighter, this method creates beautiful, uniform waves. Make sure your hair is very damp, almost wet, when you start. Use larger sections and don’t expect super-tight curls.
The result will be a soft, romantic wave perfect for that old money hair aesthetic—think polished, touchable, and naturally pretty. It’s a heatless styling dream.

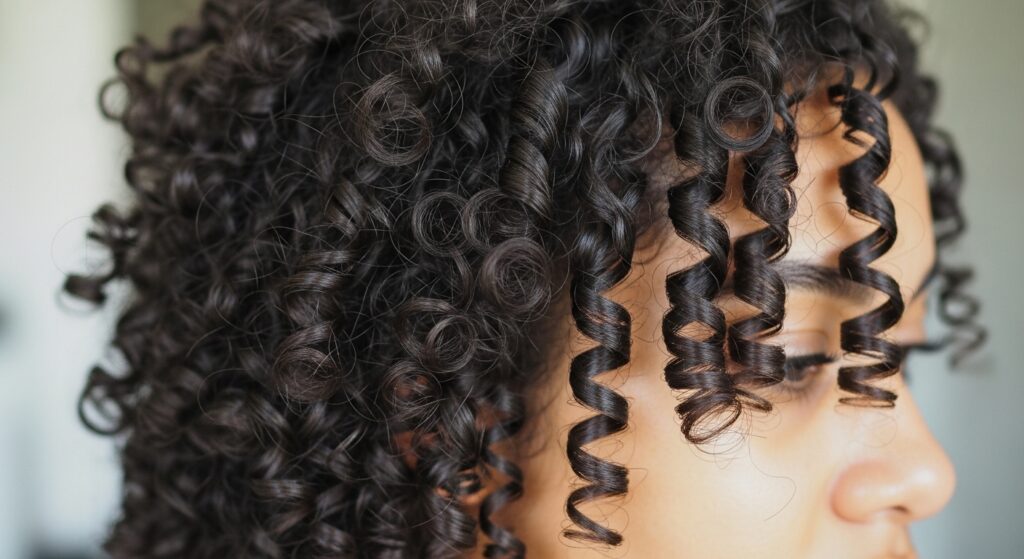
Adapting for Curly Hair (Type 3)
This is where the method truly sings. Your curls will clump beautifully. Use smaller sections for more definition, or larger ones for big, juicy curls. The water is your best friend here—don’t be afraid to re-wet sections as you work.
You’ll achieve definition that gels often promise but without the weight or residue. It’s a fantastic way to reset your curls mid-week.
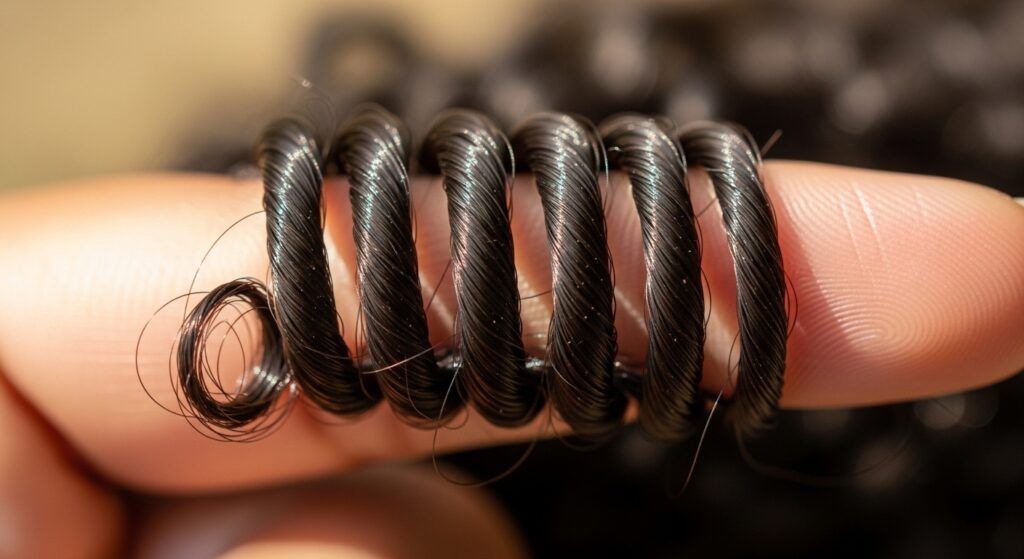
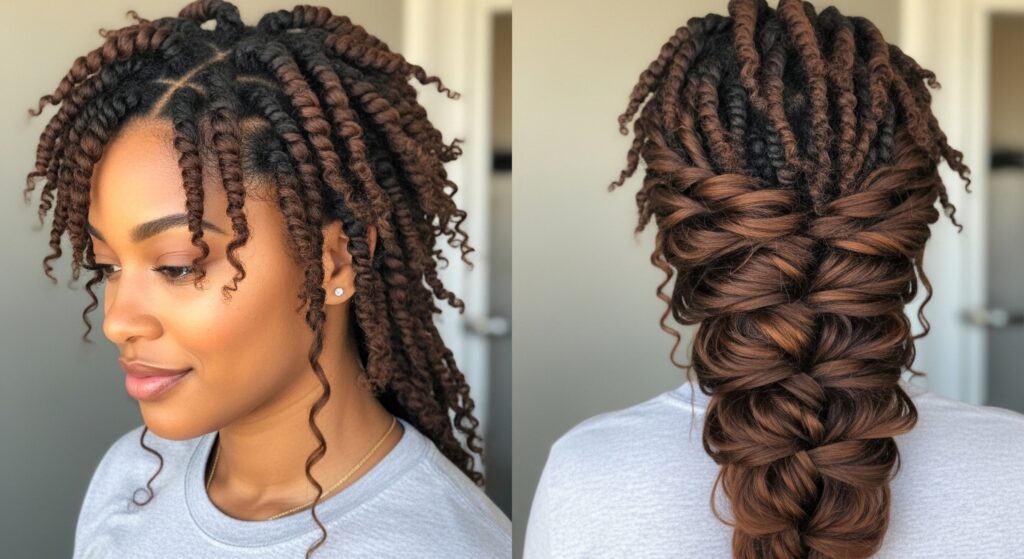
Adapting for Coily Hair (Type 4)
For tighter coil patterns, your hair should be very wet, almost dripping, during the process. Use a generous amount of leave-in for slip. Take small, small sections for maximum definition and stretch.
This technique is amazing for twist-outs and braid-outs, creating incredible elongation and shine. It’s a protective style that showcases your natural pattern beautifully.
Creating an Asymmetrical Lob Shape
The coil-out is perfect for textured bobs and lobs. When sectioning, make sure your part is clean. For an asymmetrical lob, create a deep side part before you start coiling.
Coil the shorter side away from your face to add volume, and the longer side with a slight backward direction. When you scrunch out the crunch, you’ll have a perfectly shaped, piecey textured lob that’s full of movement.
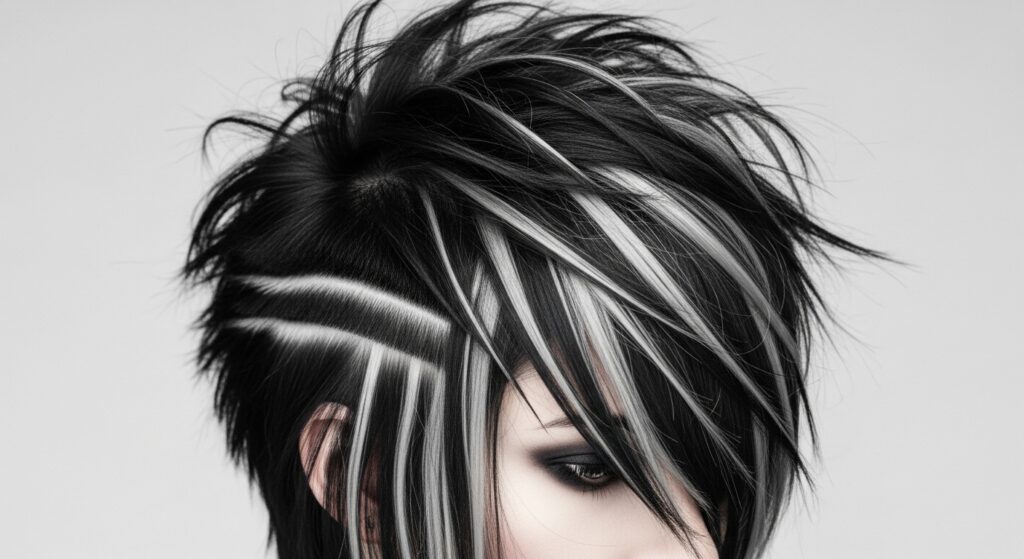
Getting the “Vampire Haircut” Texture
That choppy, piecey, vampire haircut texture is all about separation. After your SOTC, don’t just fluff. Take individual coils and gently pull them apart vertically (from root to tip) to create more pieces.
Use your fingers to place pieces around your face for that intentional, slightly undone look. It’s a perfect match for romantic goth hairstyles—soft but with serious attitude.
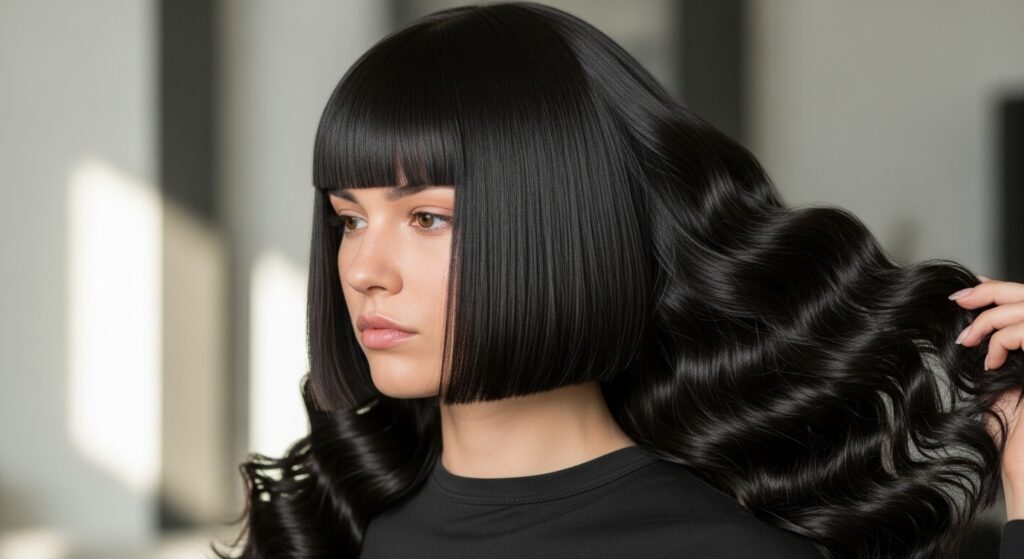
Achieving a Soft Hime Cut Silhouette
The hime cut relies on strong, blunt front pieces. Isolate those front sections (the “hime”) and coil them separately with extra care. You can coil them under or backward to frame your jawline.
Keep the rest of your hair in larger coil sections for body. When dry, the contrast between your sleek, blunt cut and your soft, coiled texture will be stunning.
Mixing Techniques: Braids & Twists
Don’t limit yourself! Try finger coiling just the top layer for definition and braiding the underlayer for a wavy effect. Or, do two-strand twists on larger sections for a different texture.
Mixing methods gives you a unique, multidimensional look. It’s how you create those trending 2026 hairstyles that look complex but are built on simple techniques.
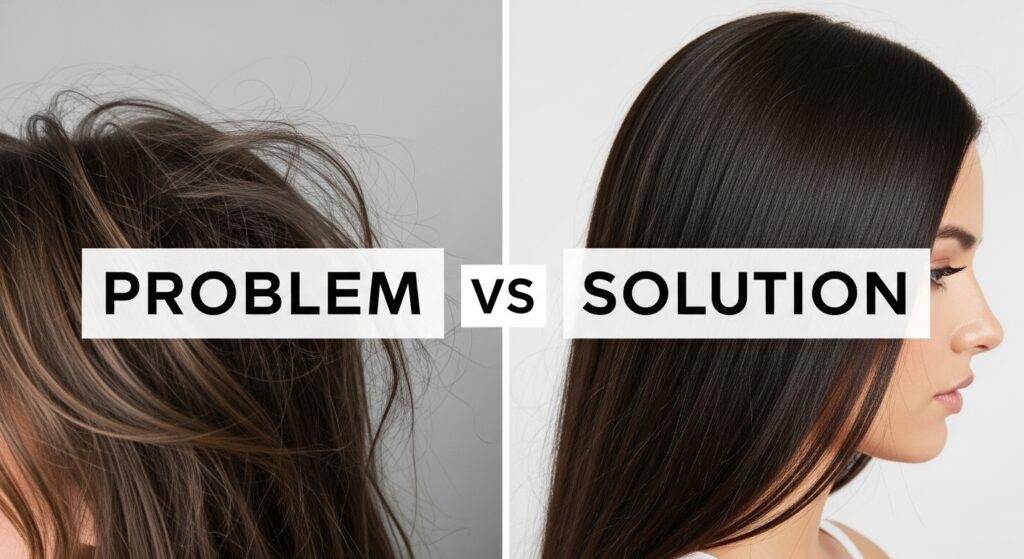
Troubleshooting Common Problems
Frizzy coils? Your hair wasn’t wet enough, or you touched it while drying. Stringy coils? Your sections were too small or you used too much product. No hold? Your hair may need a light-hold mousse added to your leave-in, but try just water first.
Practice makes perfect. Your first try might not be your best, but you’ll learn exactly what your hair needs. It’s a conversation with your curls.
Why This Method is a Total Game-Changer
It gives you control and knowledge over your own hair. You’re not hiding it under product; you’re enhancing its natural state. It builds hair health, saves money, and saves time in the long run.
Whether you’re aiming for a quiet luxury bob or full romantic goth hairstyles, it starts with a healthy, defined base. This technique is that foundation. It’s the ultimate in practical, beautiful hair care.
So, there you have it—my entire playbook for getting stunning, gel-free definition. It’s more than a method; it’s a shift in how you see your hair. It’s about working with what you have and making it spectacularly soft and touchable.
I promise, once you get the hang of it, you’ll never look back. Your hair will feel lighter, look healthier, and you’ll have this incredible sense of knowing exactly how to make it look good on any day. That confidence is the best accessory.
Save this post to Pinterest so you always have the steps handy! And I’d love to know—are you going to try the finger coil-out this week? Tell me in the comments below!